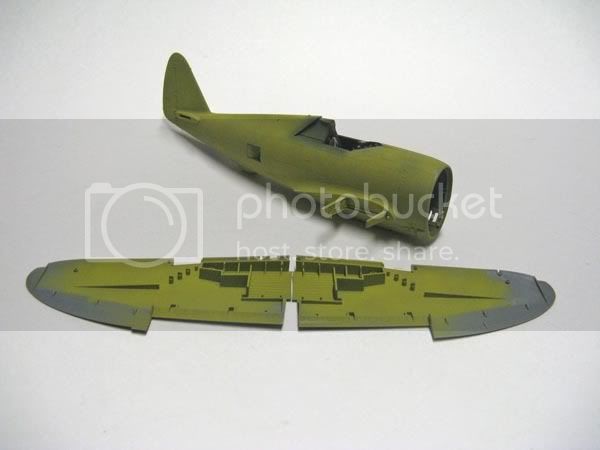
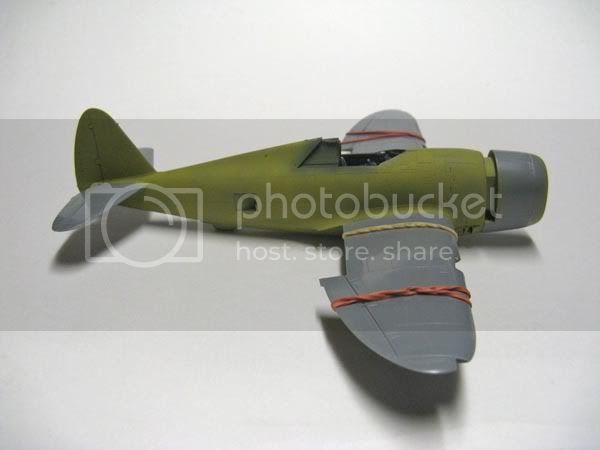
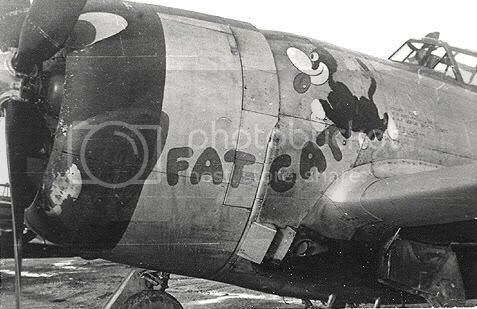
P-47D-22-RE Razorback named FAT CAT. She was part of the 509th FS, 405th FG and was flown by Lieutenant Henry Bakken.
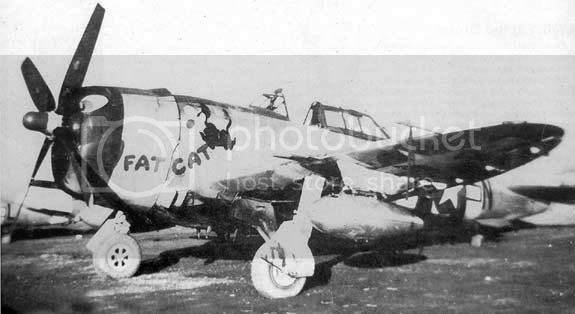
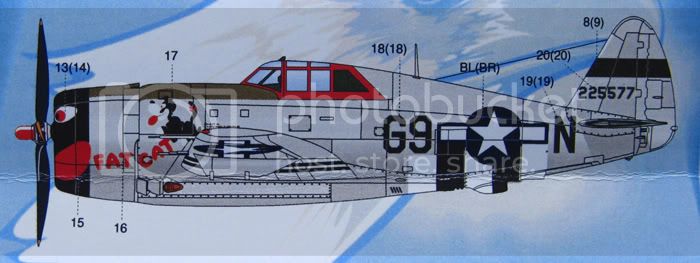
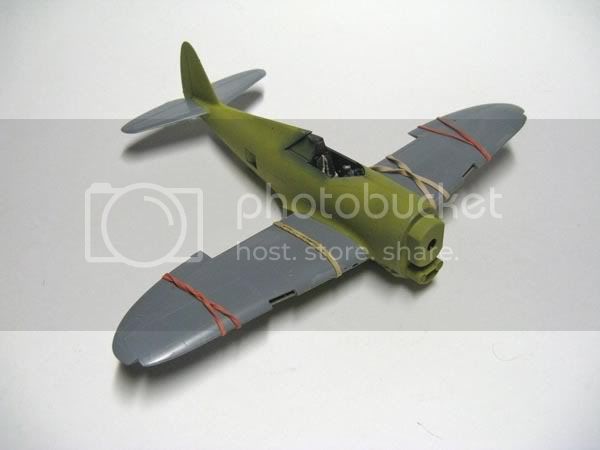
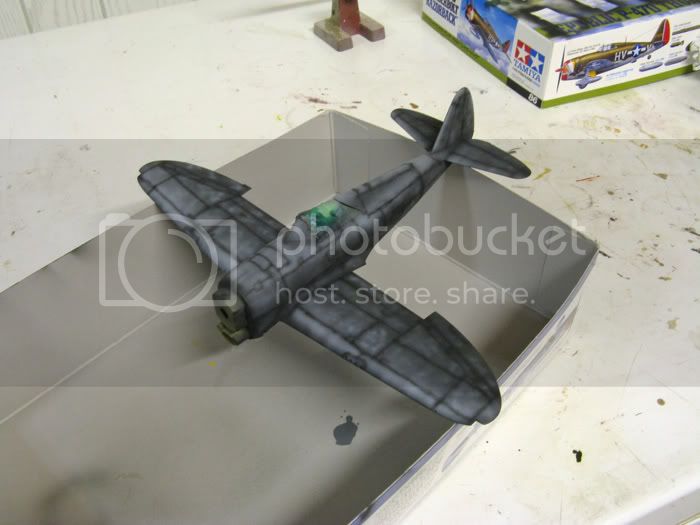
I'm building Tamiya's gorgeous 1/48 scale rendition of this monster. The decals are from Eagle Strike. Sheet 48098 named "Thunderbolts of the 405 F.G. American Jabos Pt.VII". I have a set of spoked diamond tread resin wheels from Ultracast (48121). Two etch sets from Eduard will be going in. A general Zoom set (FE 226) and a set of P-47 placards (FE 197). Finally to make life a little easier come painting I decided I might as well get a set of Eduards flexible masks (EX 010).
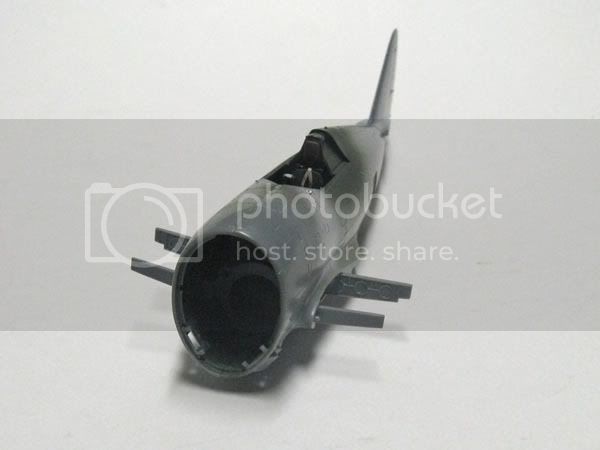
In a move that will no doubt send shock waves through the modeling community I decided to start this project with the cockpit.
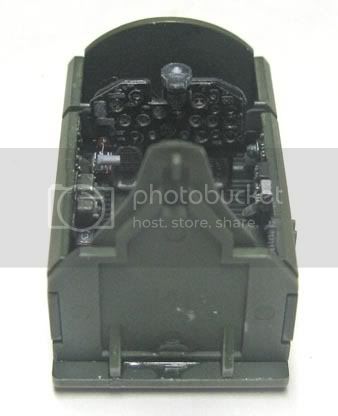
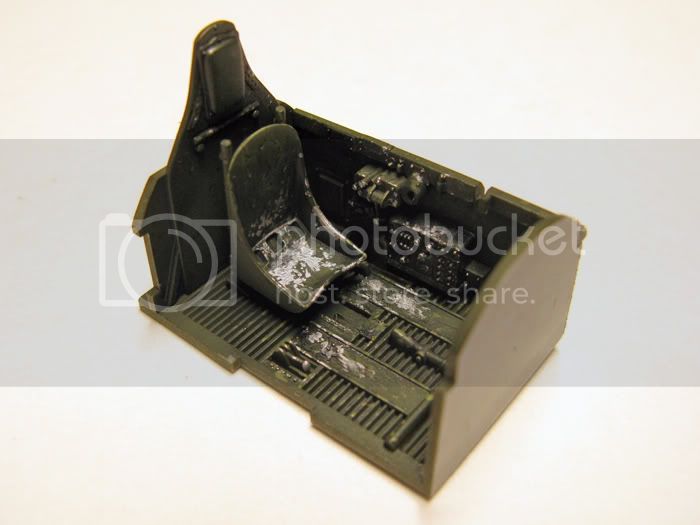
A very nicely detailed cockpit that I'm sure everyone has seen already. This is why I opted to simply go with the Zoom set instead of a full resin replacement.
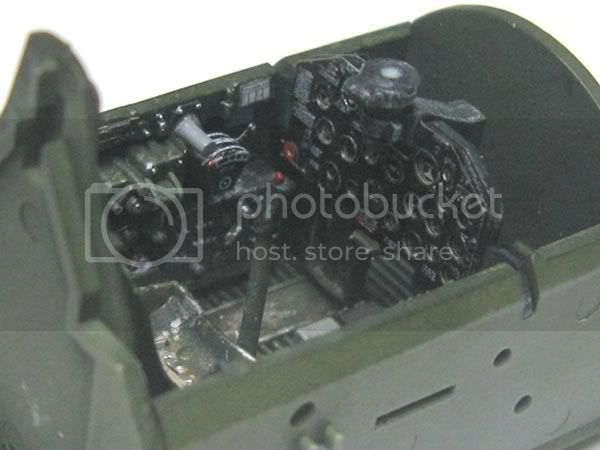
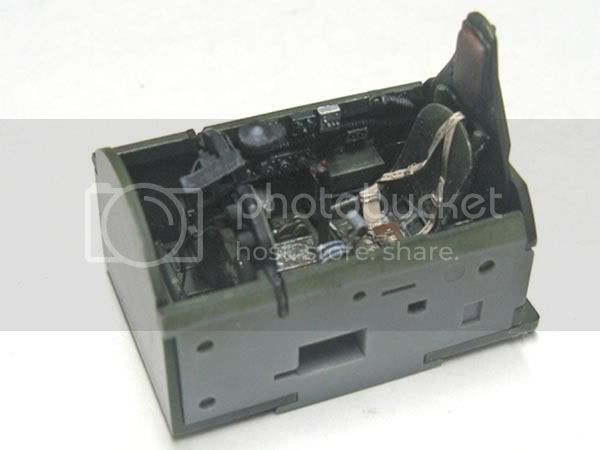
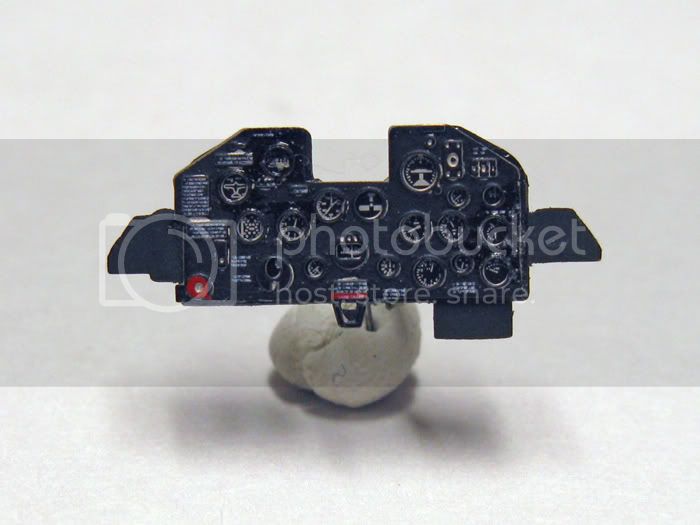
Various details were removed with an X-acto knife or file in preparation for the Zoom set. After that it was off to paint. The instrument panel had a few wires inserted into the back to replicate wires leading to the various instruments. The clear film with the instrument faces was painted white on one side and then glued down onto the panel. Over this went another layer in the panel sandwich. This top layer has some incredible detail printed on it.
Still more work to do on the panel but here's what it looks like now.
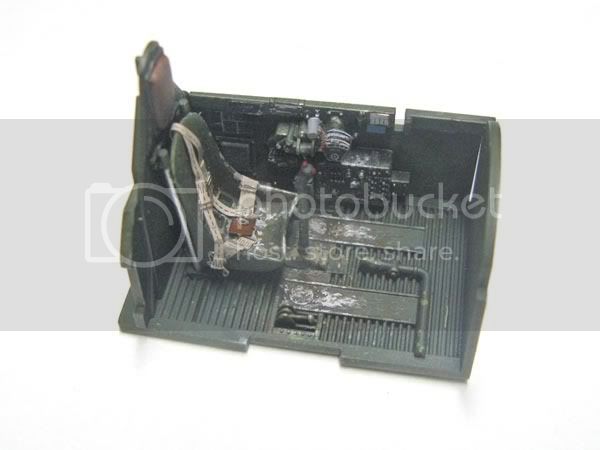
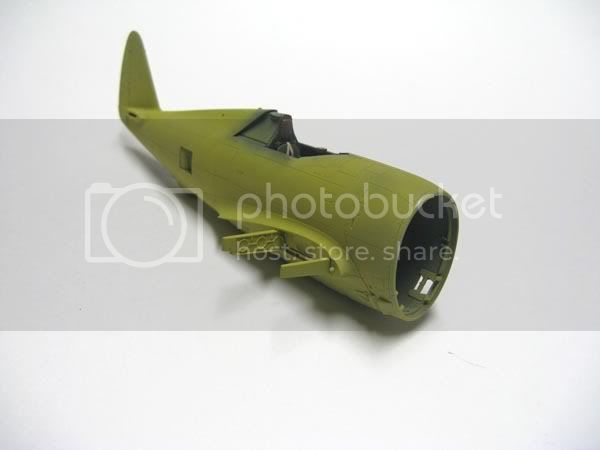
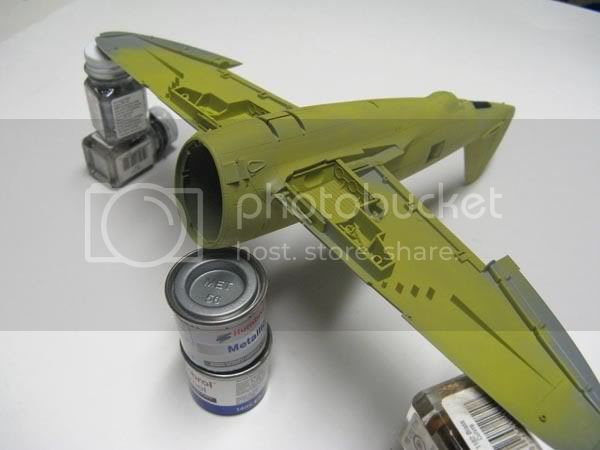
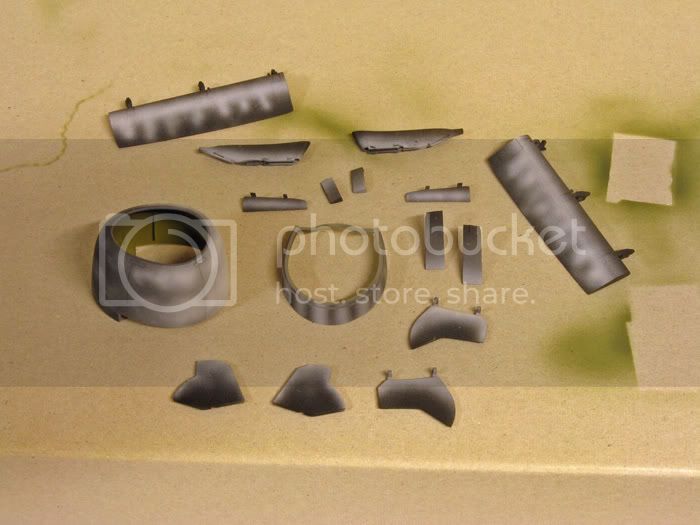
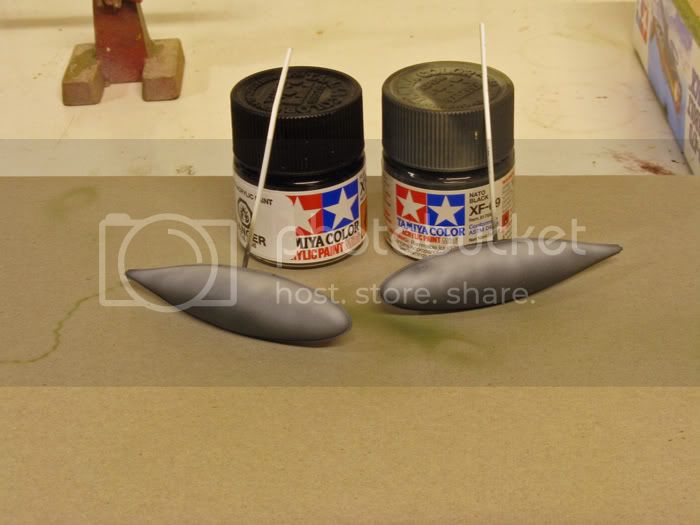
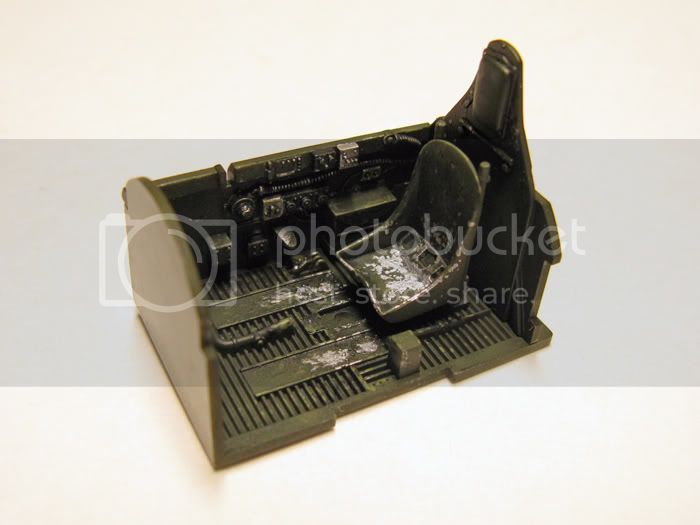
The cockpit was painted using Tamiya acrylics. The green was mixed from J.A. green XF-13 and flat blue XF-8. A darker shade to represent shadows was sprayed on using the same base green mix only with some NATO black (XF-69) added. Mixing some yellow green XF-4 into the base shade gave me a highlight colour. Various details were picked out with NATO black and silver.
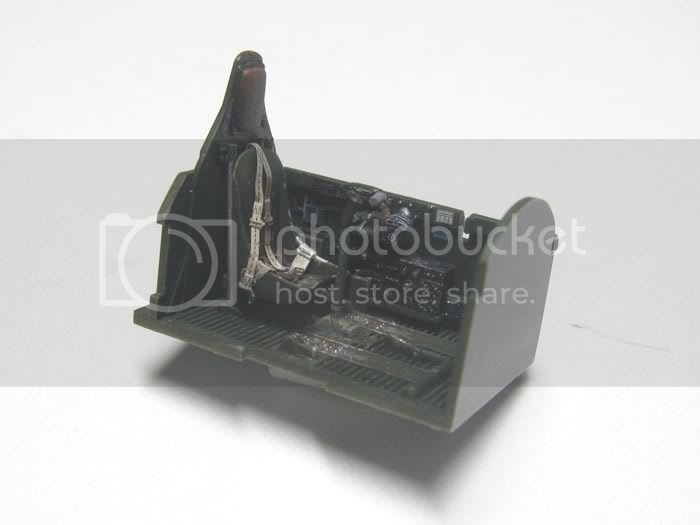
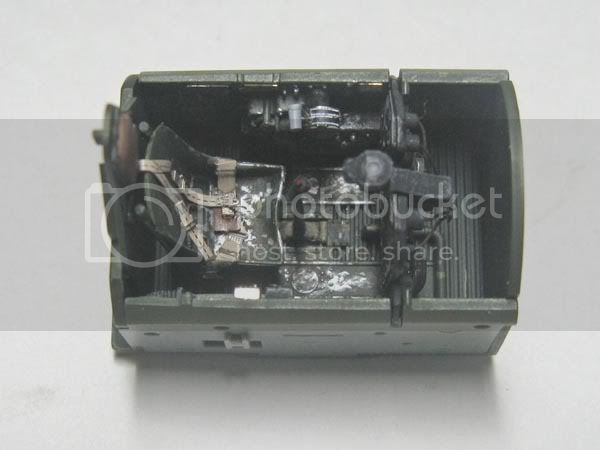
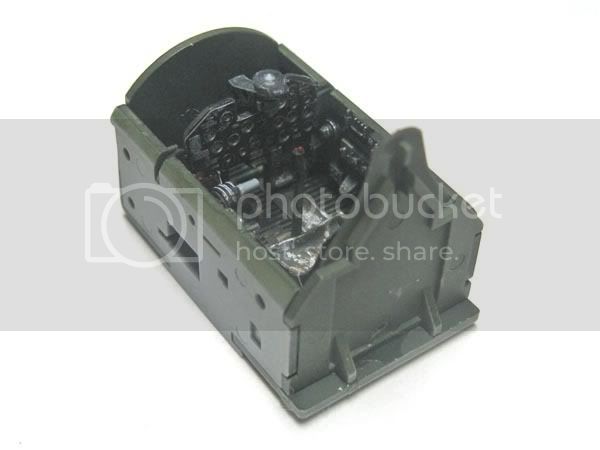
Some weathering was done by mixing a few different shades of green and adding little scrapes and scratches in a random fashion. The deeper scratches were picked out with small amounts of Testors silver. The seat received a fair amount of silver as I figured my P-47 was a well used war bird. Still have to add the throttle quadrant and paint the headrest.
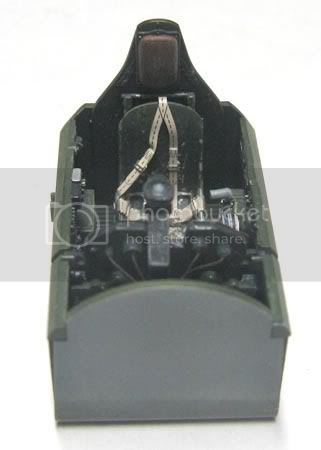
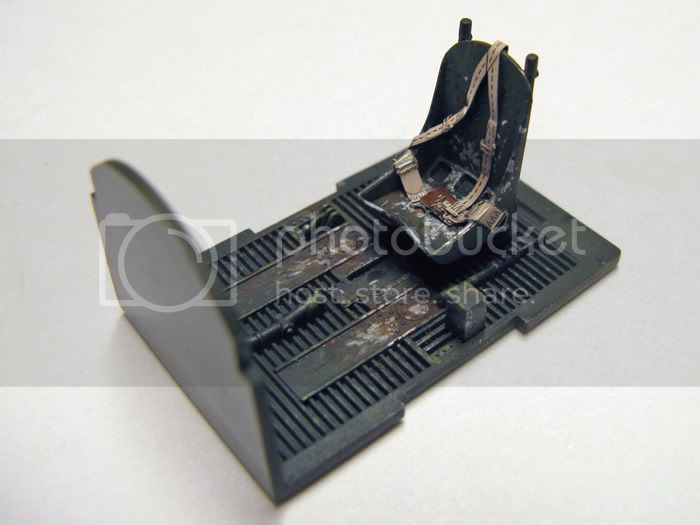
Before I finished up for the night I applied some pin washes using paynes grey. A little European dust was used to dirty up the floor. This pigment (Mig) was mixed with water first then painted on. Once dry the excess was removed with a stiff brush leaving the pigment in the depressions where dirt would naturally accumulate. Also I had to try out the colour etch seat harness.
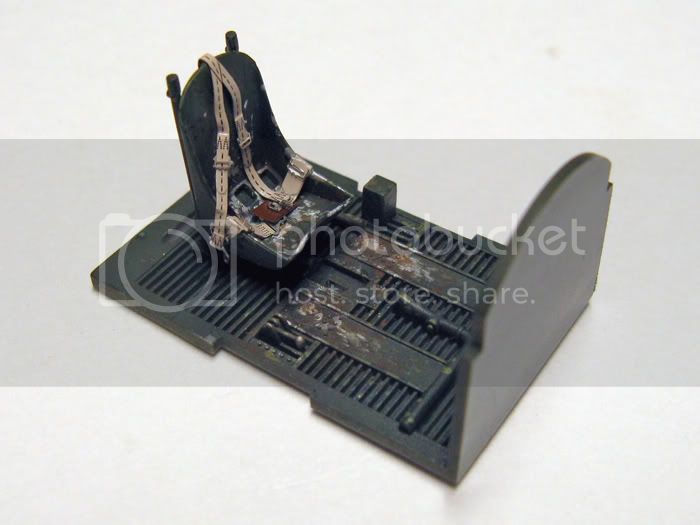
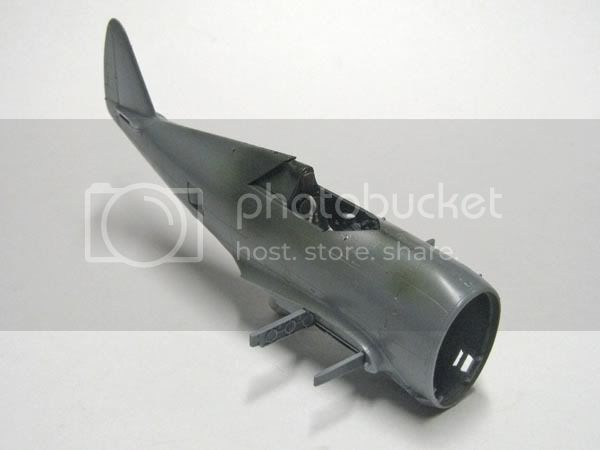
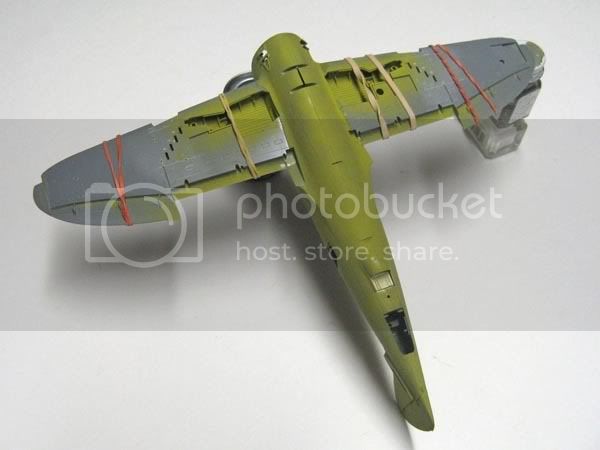
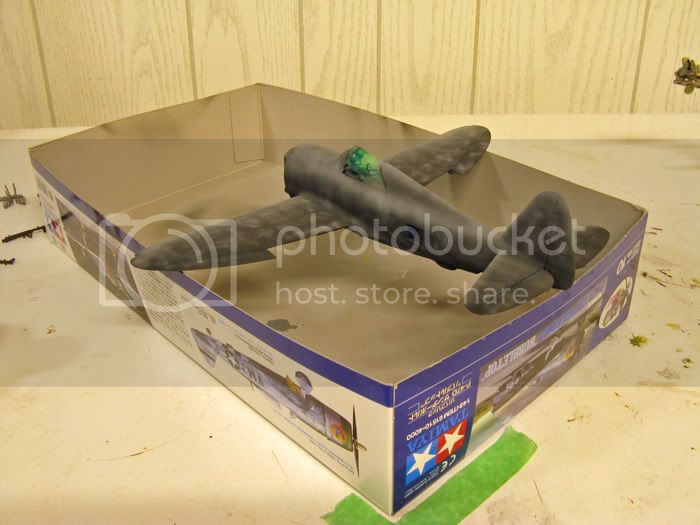
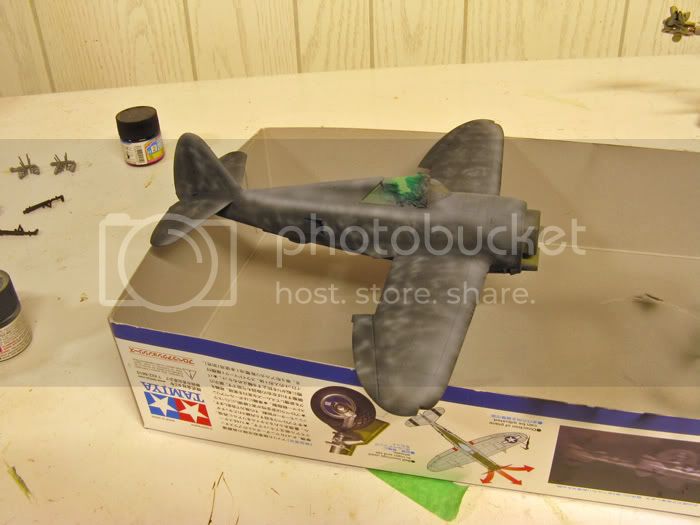
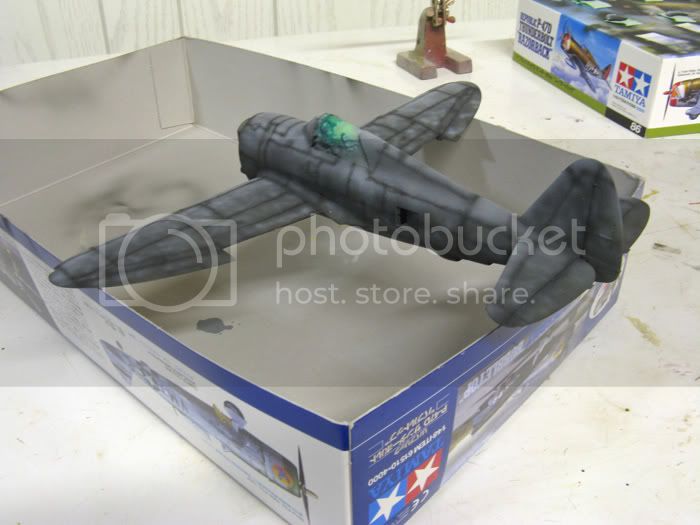
So that's where she is now. I work the next three days so I hope to finish up the cockpit Monday.
One more thing. I have yet to successfully finish a NMF project so I'm a little nervous about this one. This will be attempt number three. You know what they say about threes don't you?
-Matt