Hi all!
Quoted Text
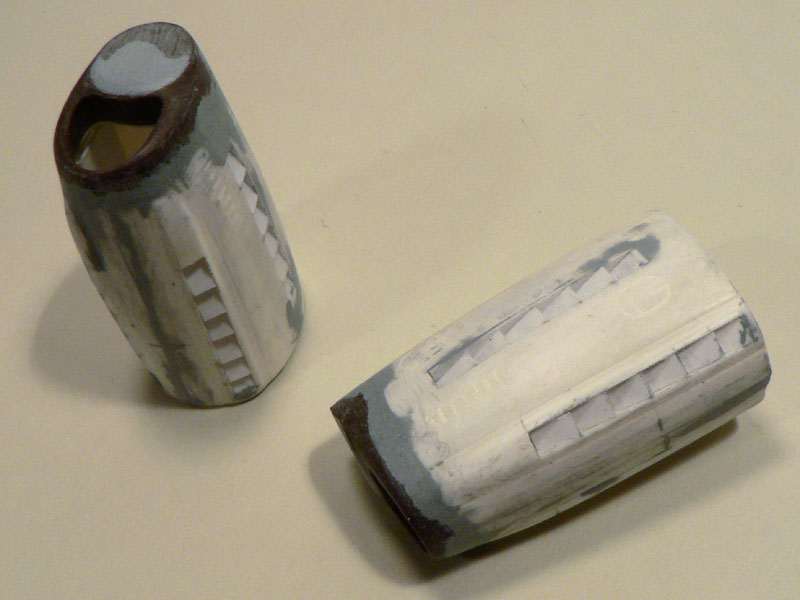
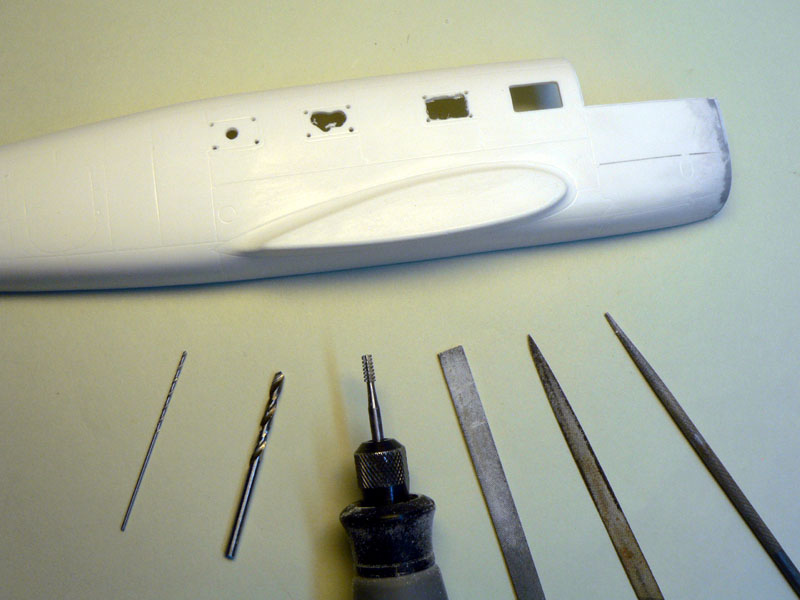
Did you mark the edges beforehand to know how much to grind?
Unfortunately no Eetu...

I must confess I didn't knew it was for that purpose. I always thought it was only to delimitate the parts on the plastic sheet. I've learned something the hard way here.
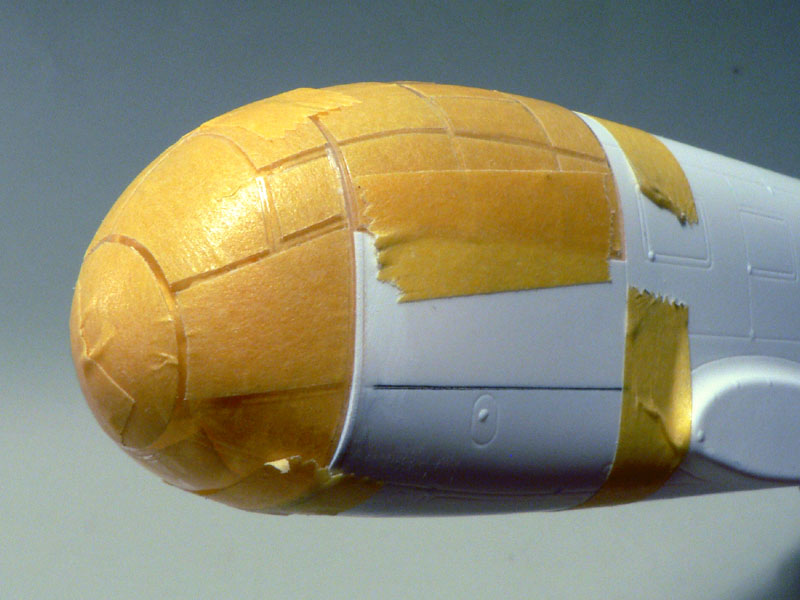
Quoted Text
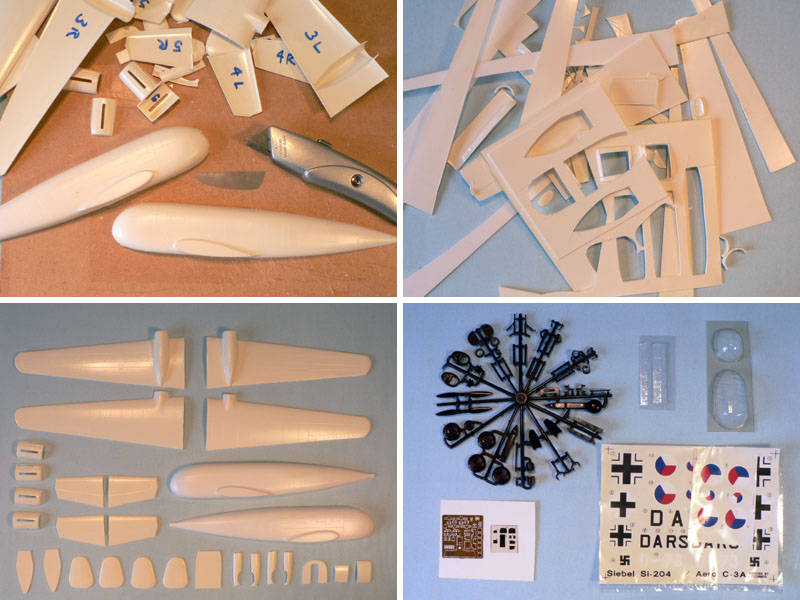
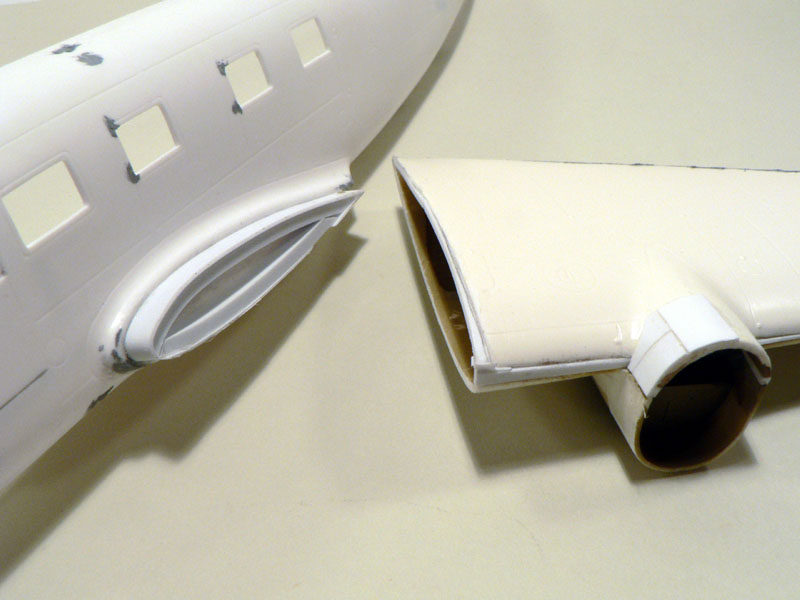
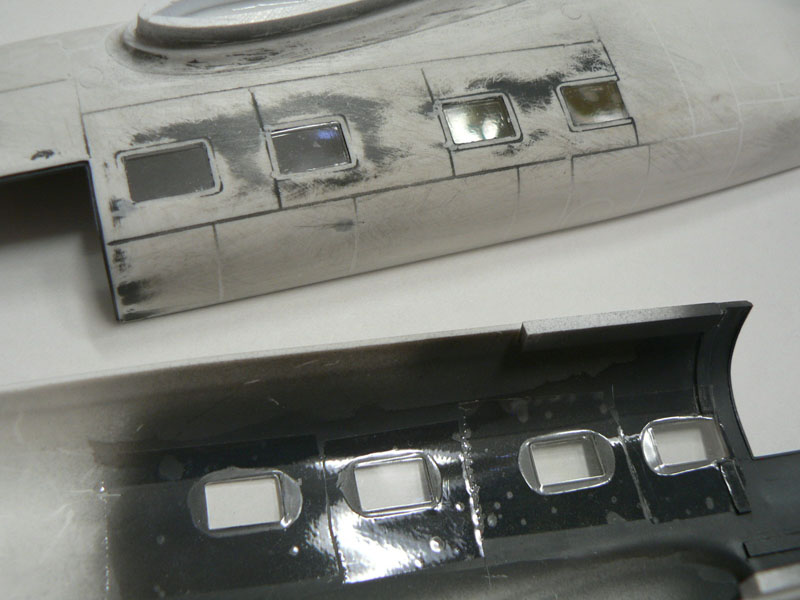
How's the surface detail on the vac-form parts? Looks pretty nice judging from those pics you posted, save for those few small raised pebbles. They look easy to fix, though.
Yes, I was also surprised by the surface quality of the kit. Though I don't know what these small dots are good for? But as you've said, they will be easy to eliminate.
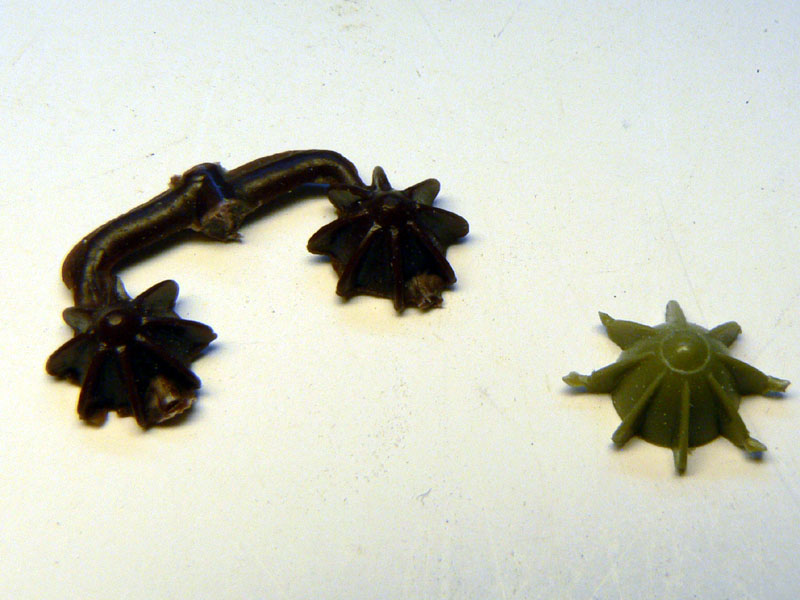
Quoted Text
That single injection-moulded sprue looks good from that pic, I have hard time seeing any flash. Any mould misalignment there?
No misalignment but the parts are pretty rough. Early short run quality for sure...
Quoted Text
Hey, we're talking about Eduard's Bf-108... That MPM kit must be 1:48 scale then. 
Yes, it's written in the thread's title... ;-)
Quoted Text
Nice choice... hope you are right on the soon MPM 1/48 injection mold model!!
I've read this in Wing Masters not long ago. Hopefully it wasn't an April fool...

I understand your disappointment Steffen. If MPM do release an injection molded Siebel, I'll build it as a French NC 701 Martinet!

Quoted Text
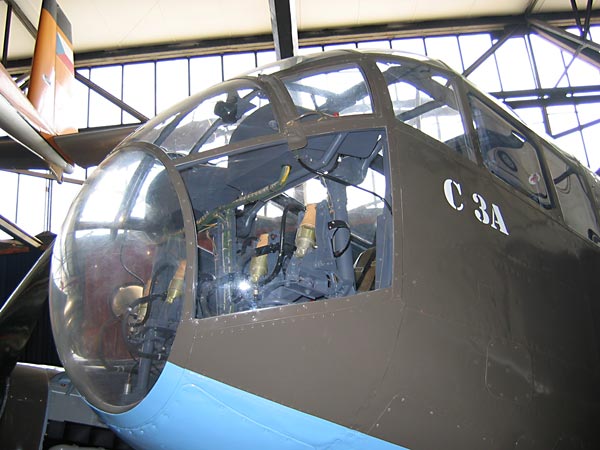
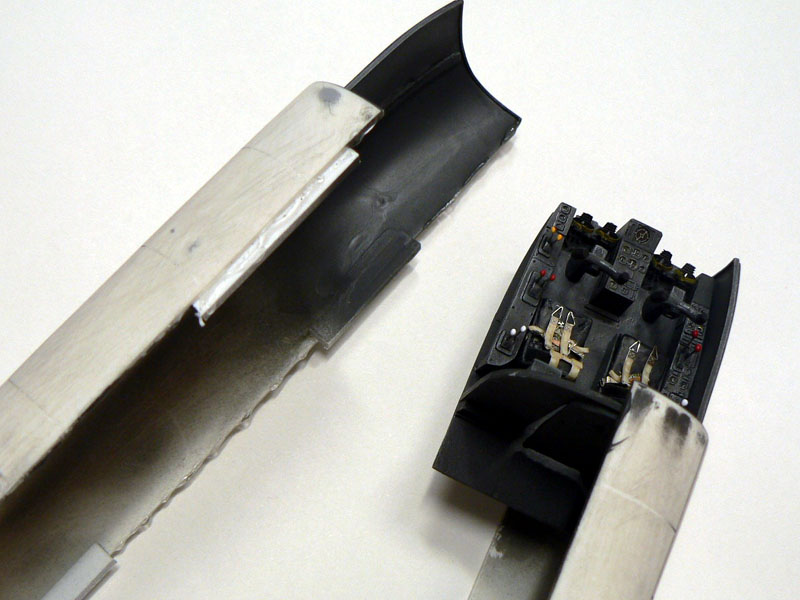
the ledger for the canopies is so vital!
You are quite right Chuck. It seemed an evidence for me to do them.
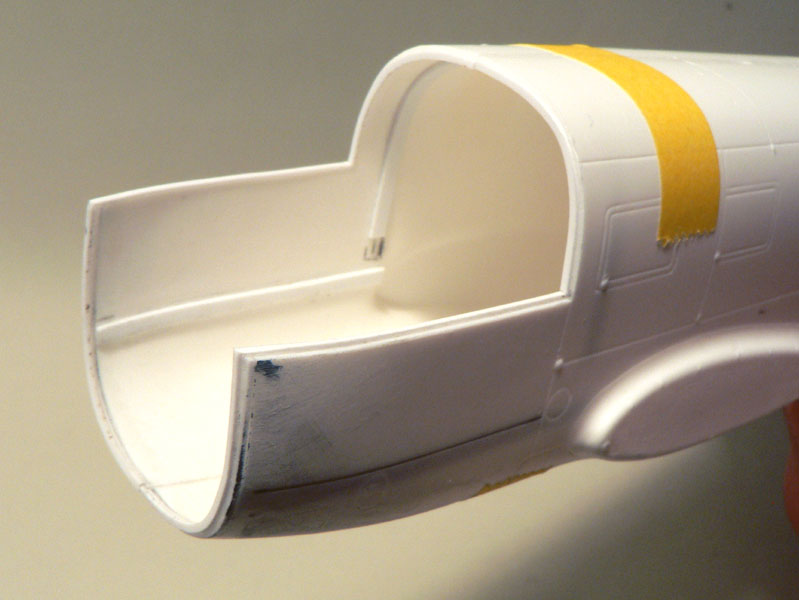
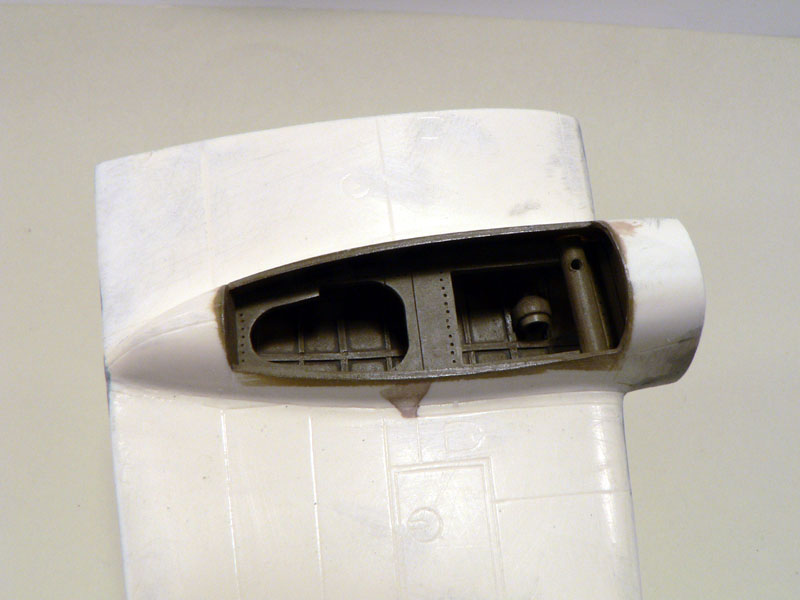
Here is a picture of the (almost) finished cockpit...
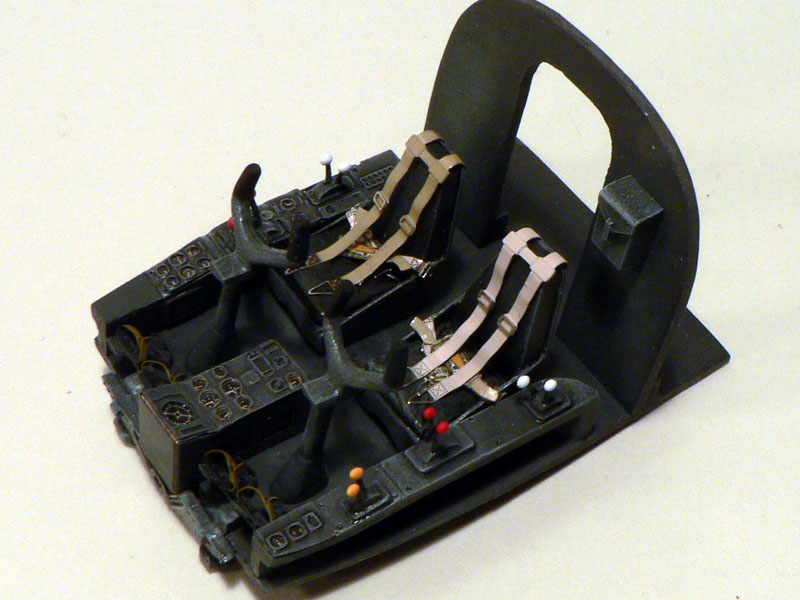
The interior is quite dark (RLM66) but the overall detail is nice thanks to the PE parts and the acetate instrument panels. Some pieces were difficult to get in place, especially the rudder pedals. I had to trim some plastic parts for a proper fit. The levers are PE parts with a blob of white glue. Some consols are missing because they must be positionned on the front glazing.
I replaced the sides of the seats with thin plasticard and added cushions for the pilot's... hum... bottoms. Other additions are the seatbelts from Eduard and the box on the rear bulkhead. Everything else comes from the kit.
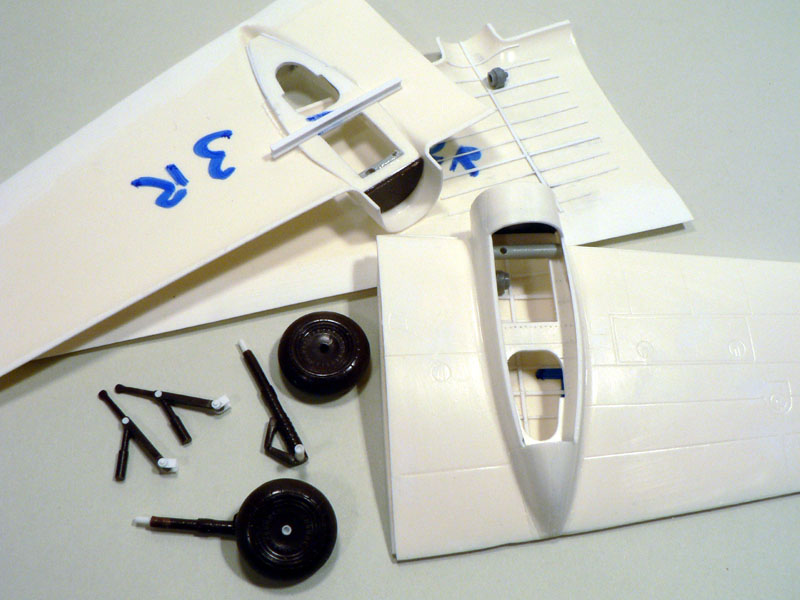
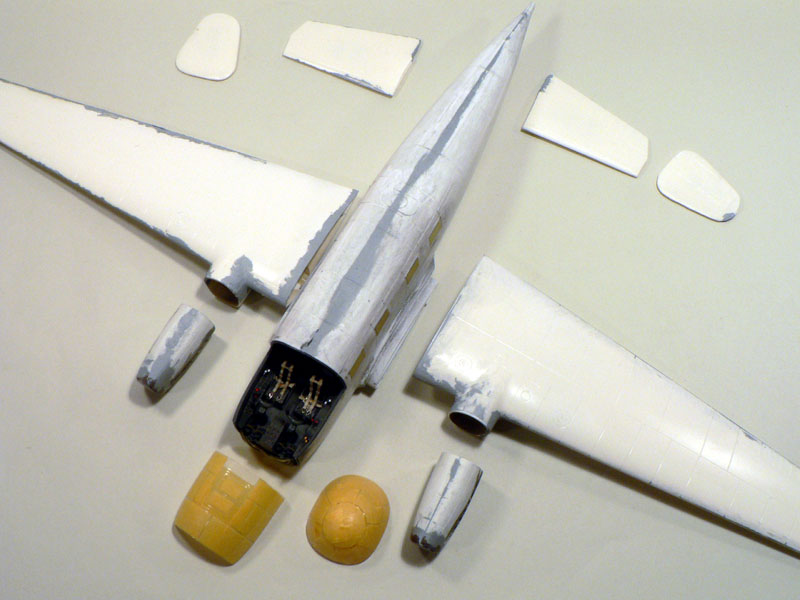
I will do the landing gear bays and the wings next...
Jean-Luc