_GOTOBOTTOM
Early Aviation
Discuss World War I and the early years of aviation thru 1934.
Eduard 1:48 Spad XIII
Louis
_VISITCOMMUNITY
Bas-Rhin, France
Joined: May 21, 2006
KitMaker: 472 posts
AeroScale: 471 posts
Posted: Tuesday, February 17, 2009 - 09:44 AM UTC
Good morning.

Thank you for receiving me here.


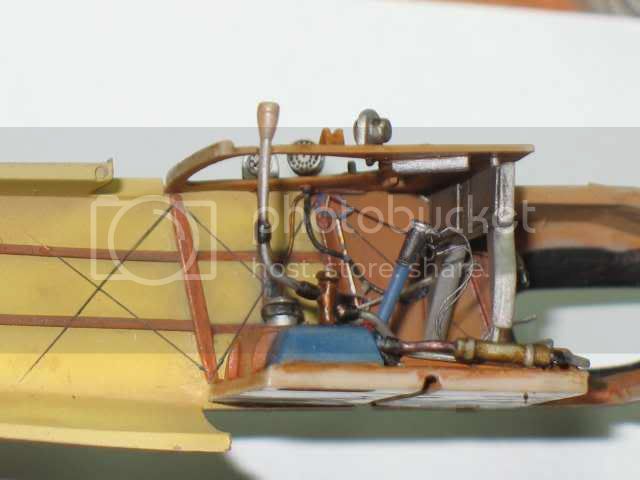
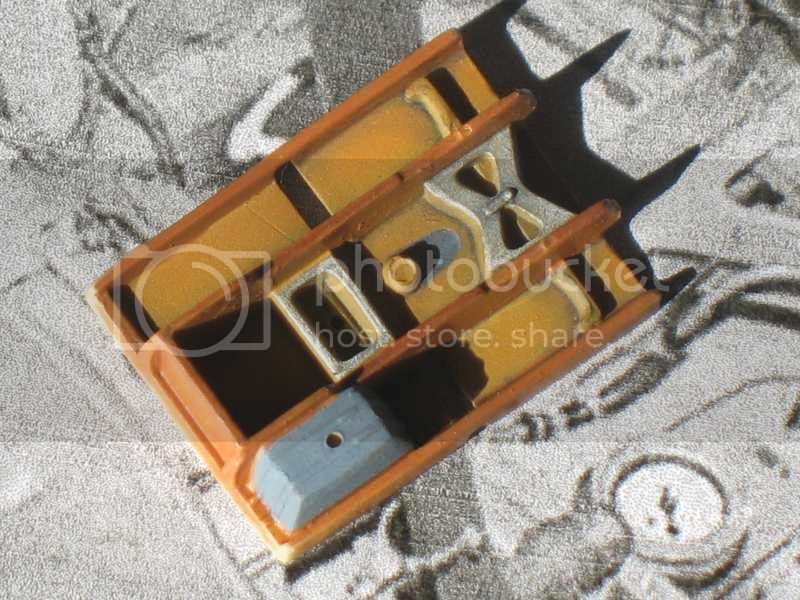
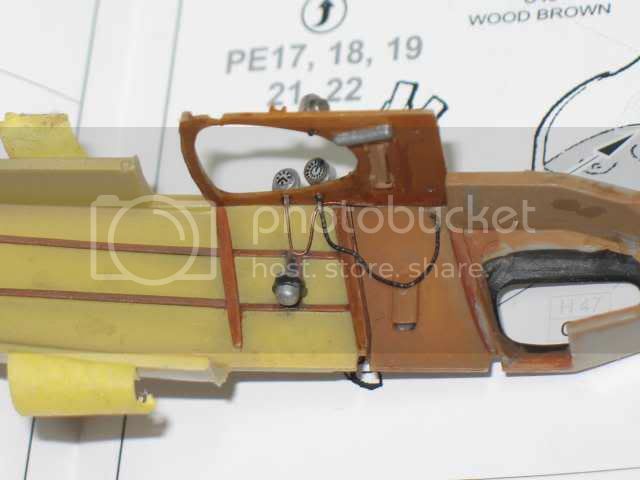
Everything is made in the airbrush ( humbrol paint 62 "orange brown" and 71+24 ) and oil paint for finishing.


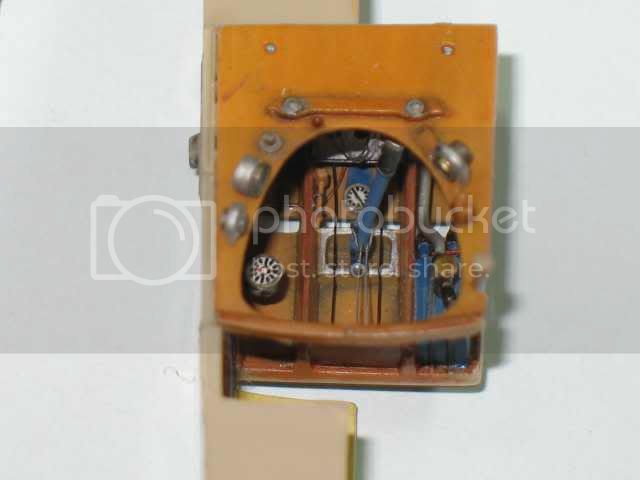
Reinforcement in metal (lead) on the ruder.


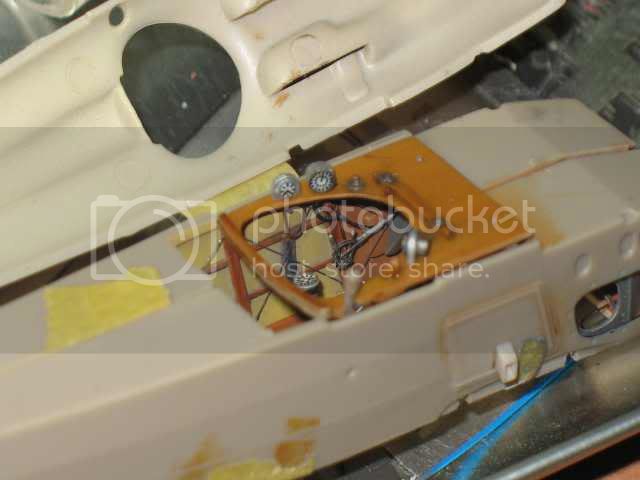
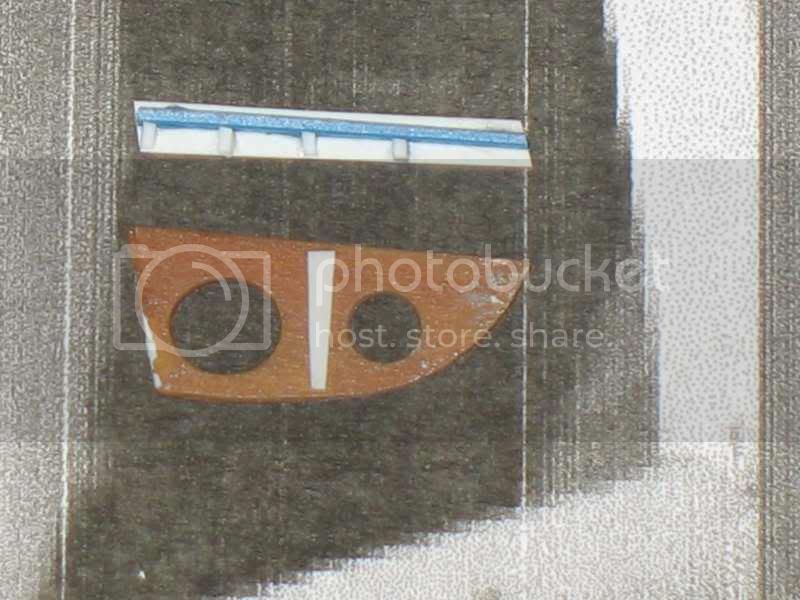
The bridge is painting with Humbrol 62. When dry we put clear and darker oil painting to make veins of wood and shades.


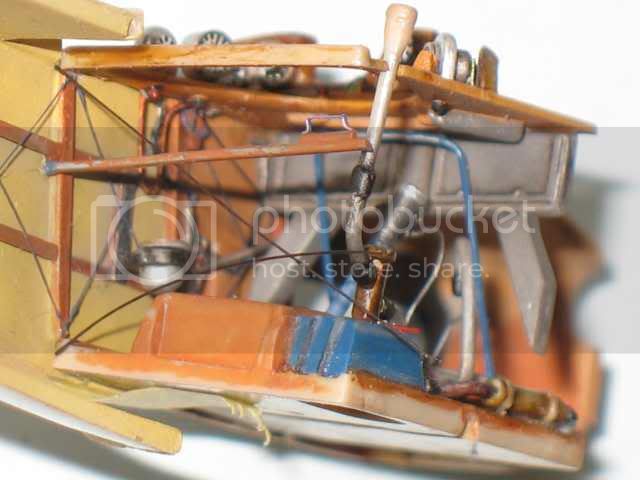
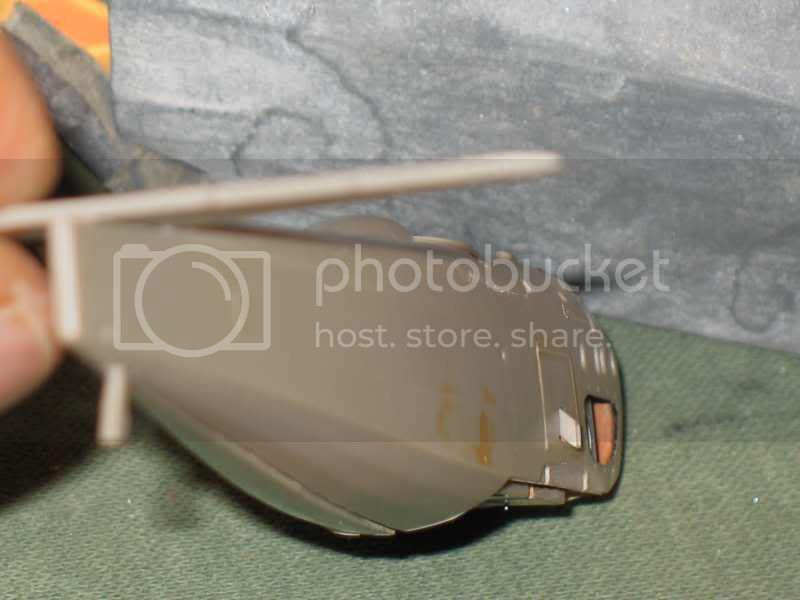
I added 2 stems on the left side. They are not "into the box"...


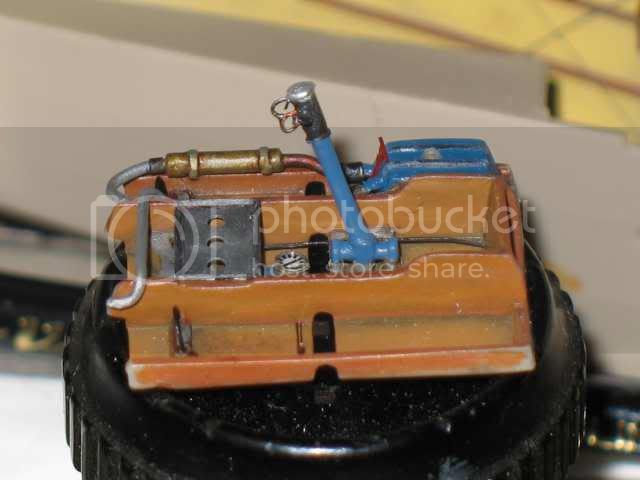
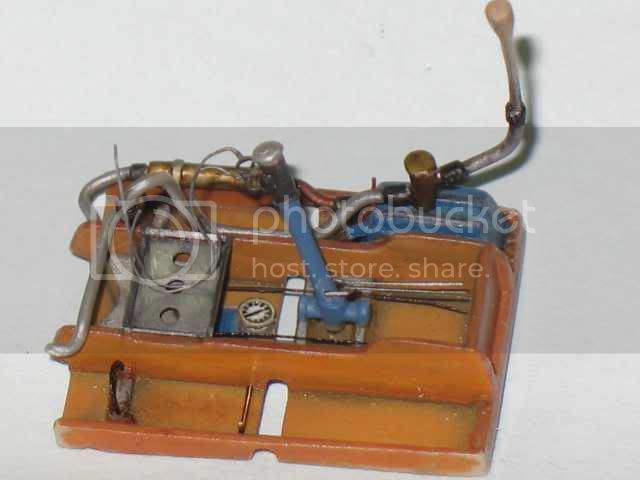
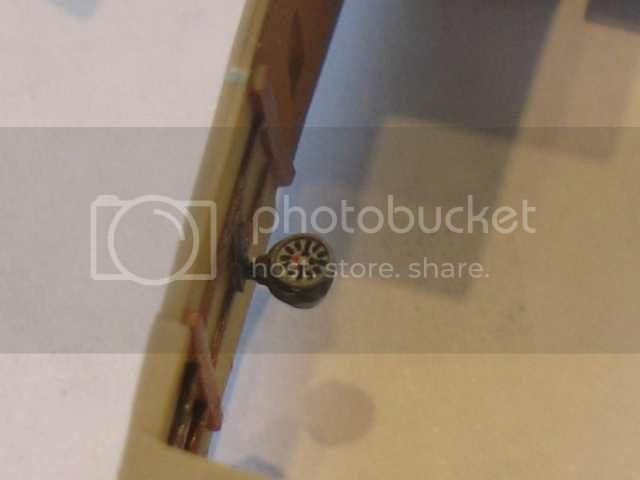
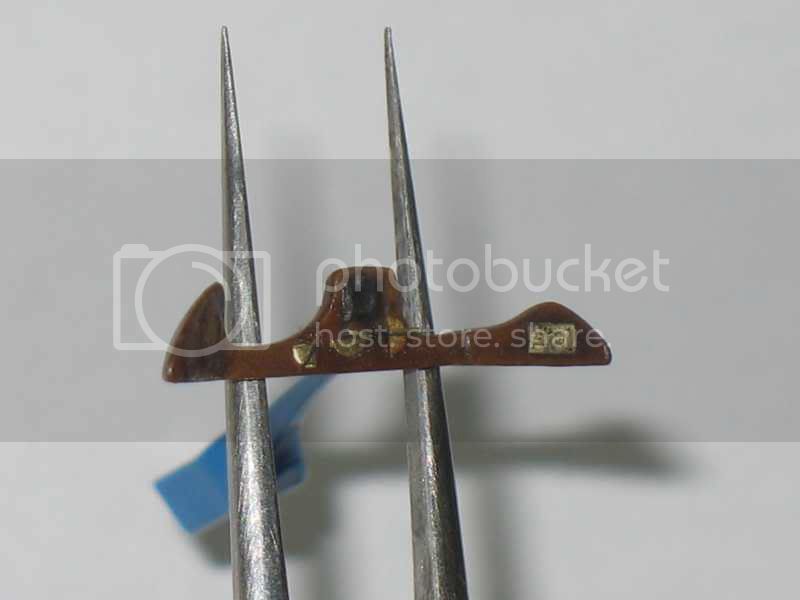
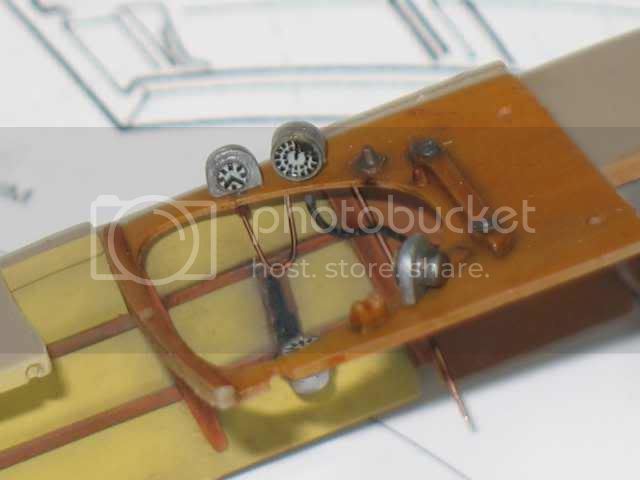
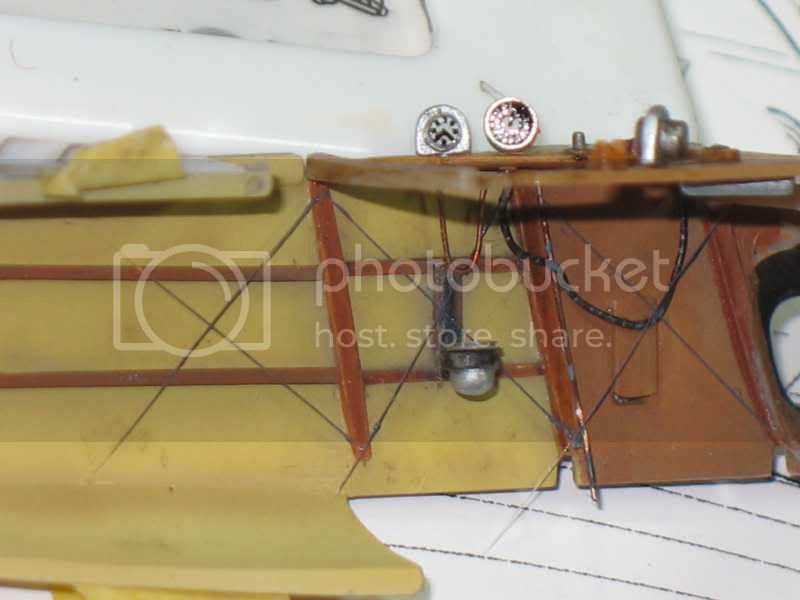
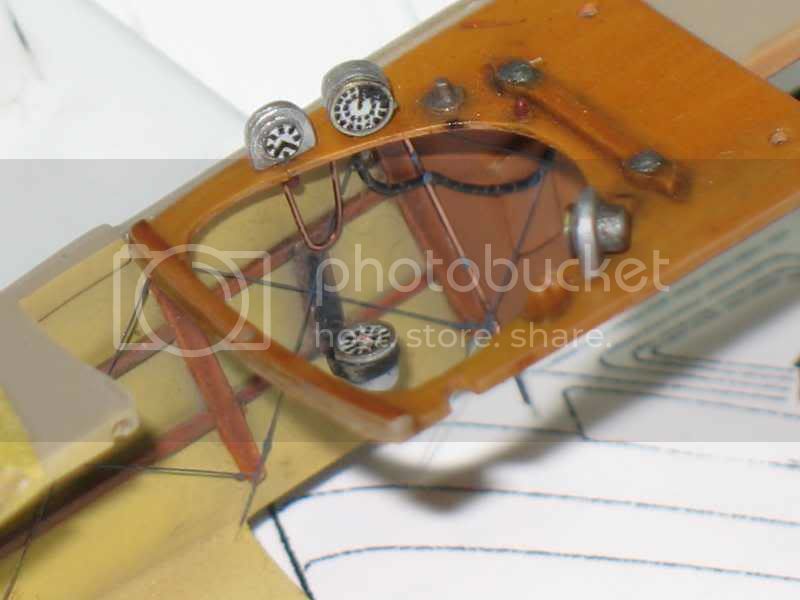
Pressure gauge and other one are very very small...


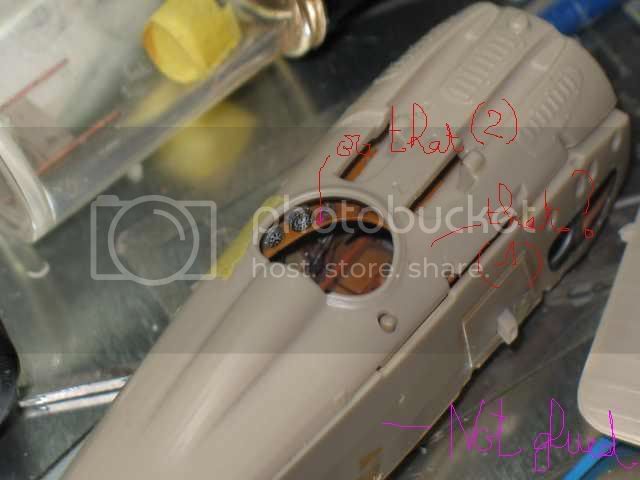
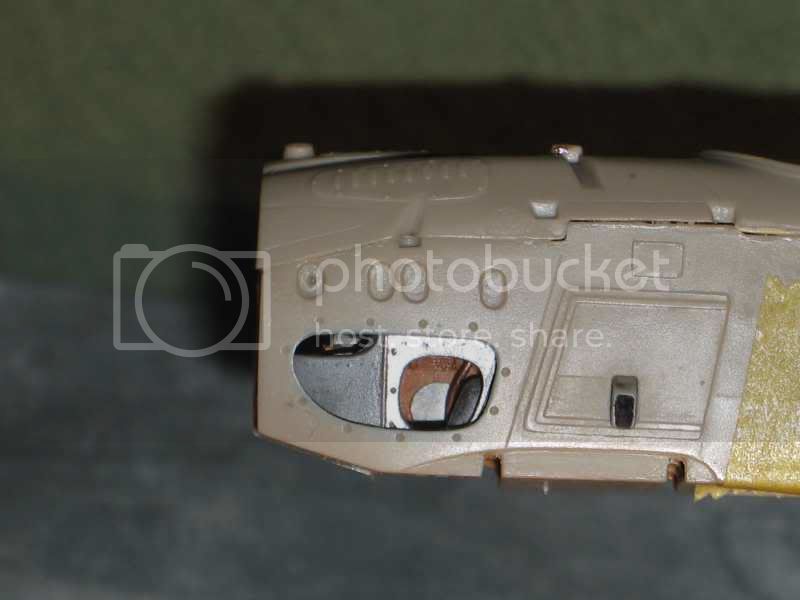
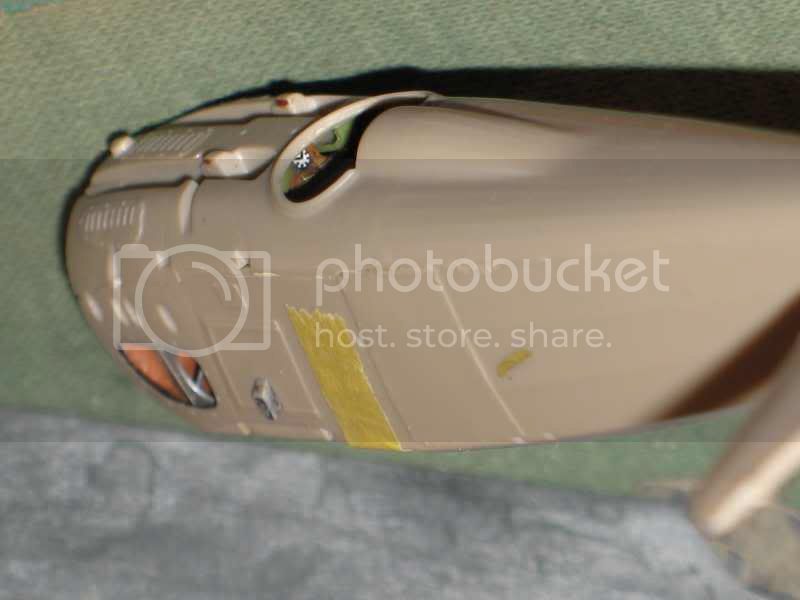
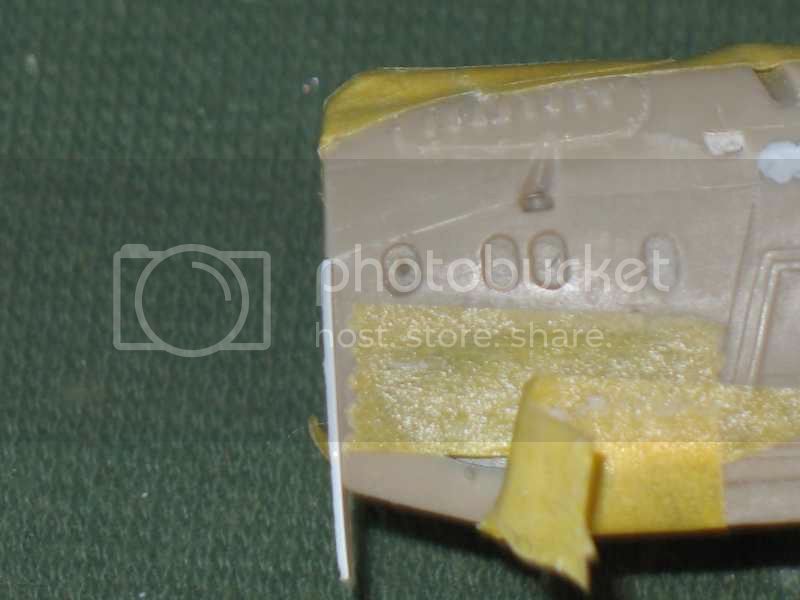
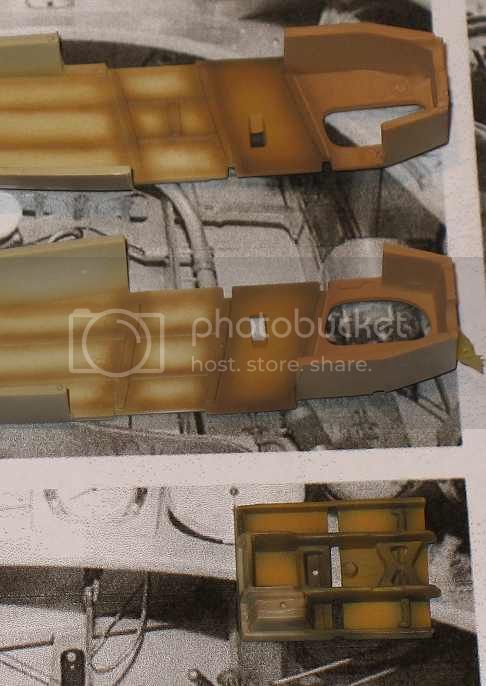
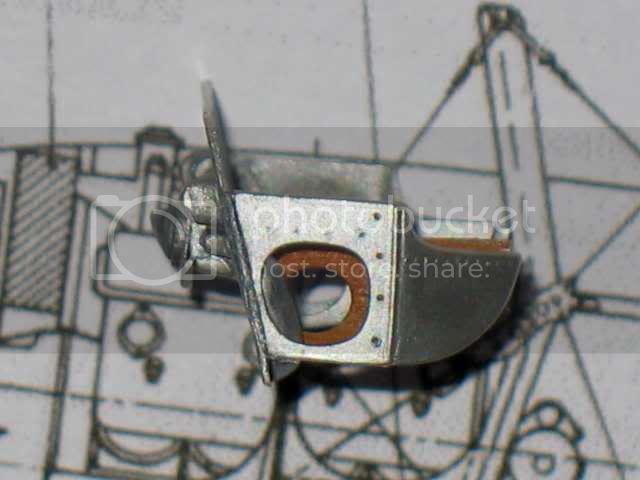
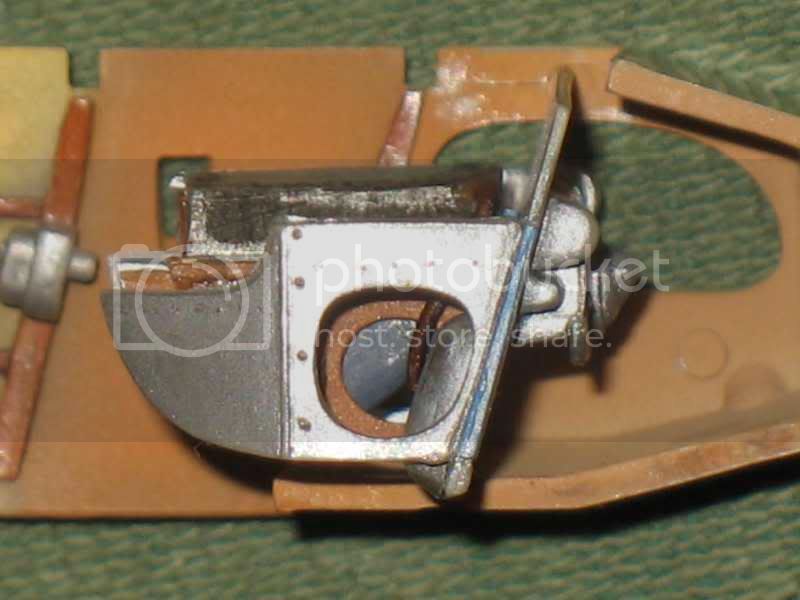
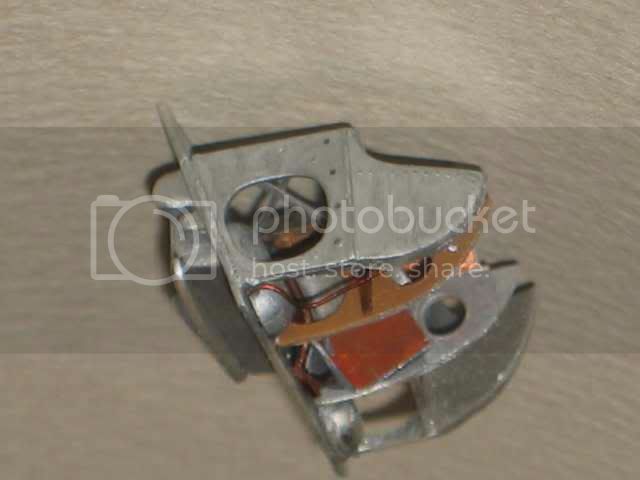
We can see many things by the holes of ventilation on each side from the hood. I want to leave them opened so I thinned both steel plates a bit by inside and blocked the hole with some plastic (blue).


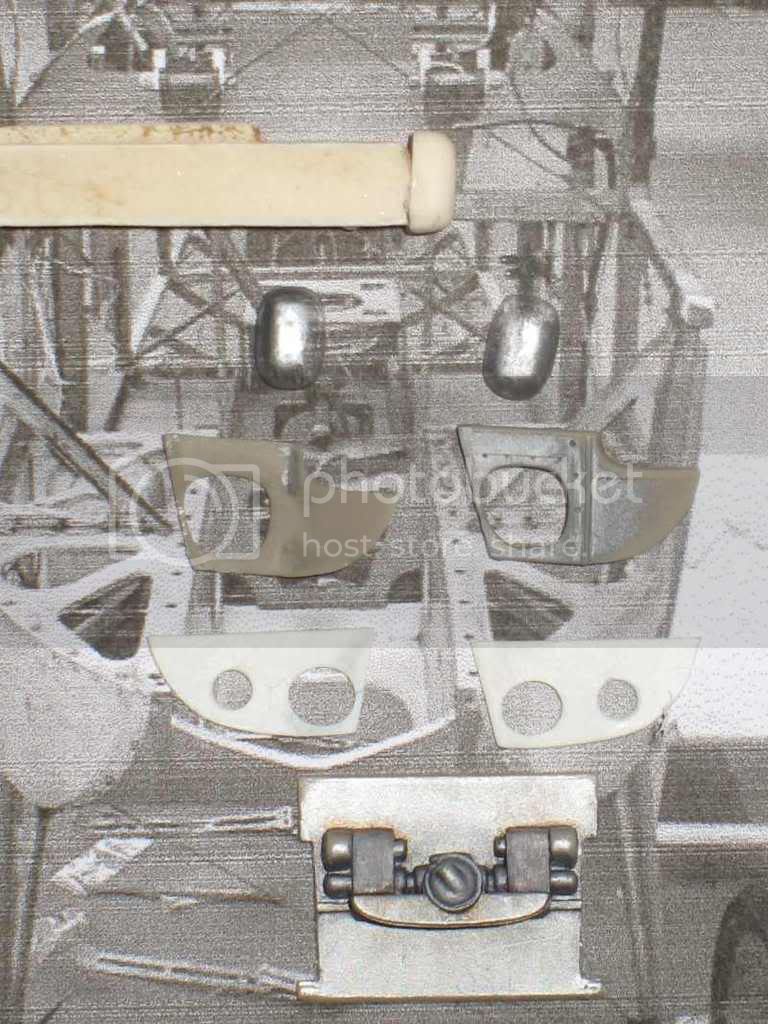
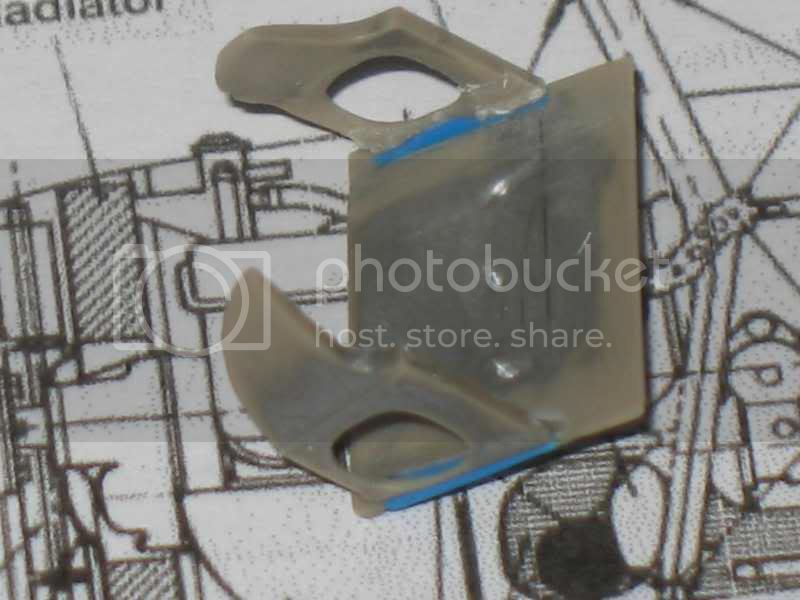
Both oval protuberances are "thermoforming" on a shaped fragment of resin or plastic and the engine bearer is cut up from the plastic card.


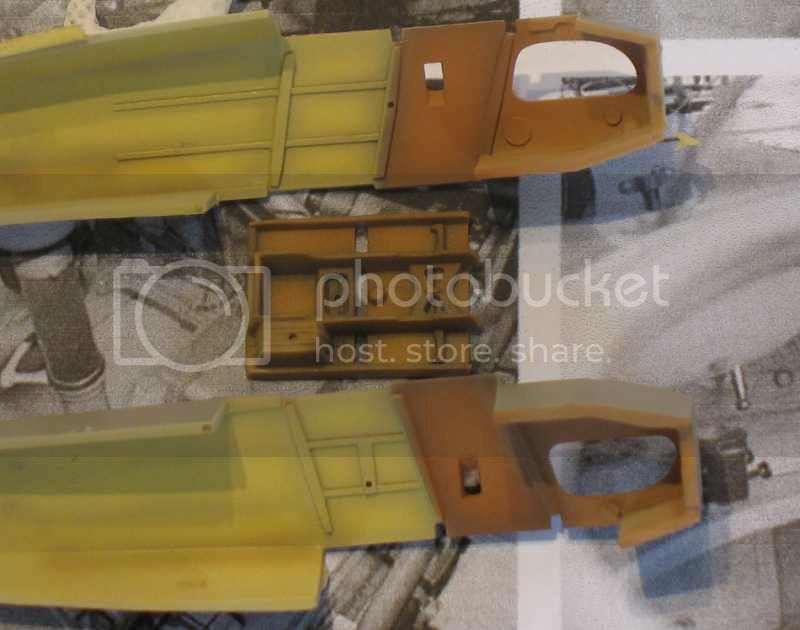
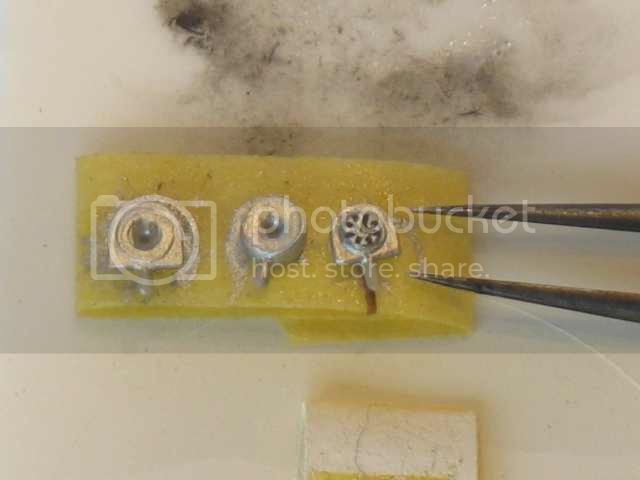
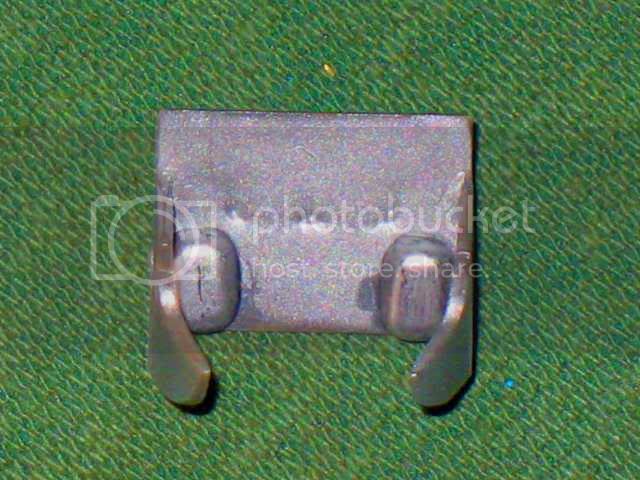
I did again "levers" with photo etch parts "rounded up" in sandpaper. The lever in her even is a small piece of photocut.


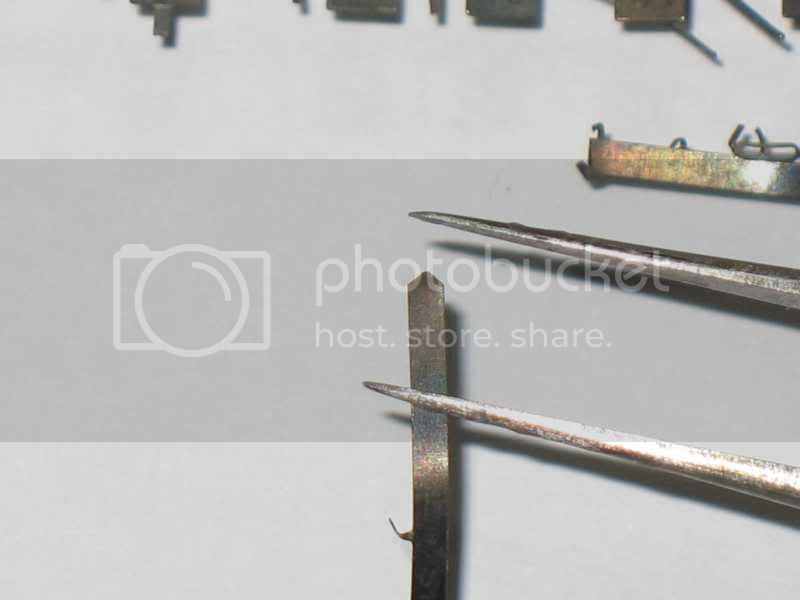
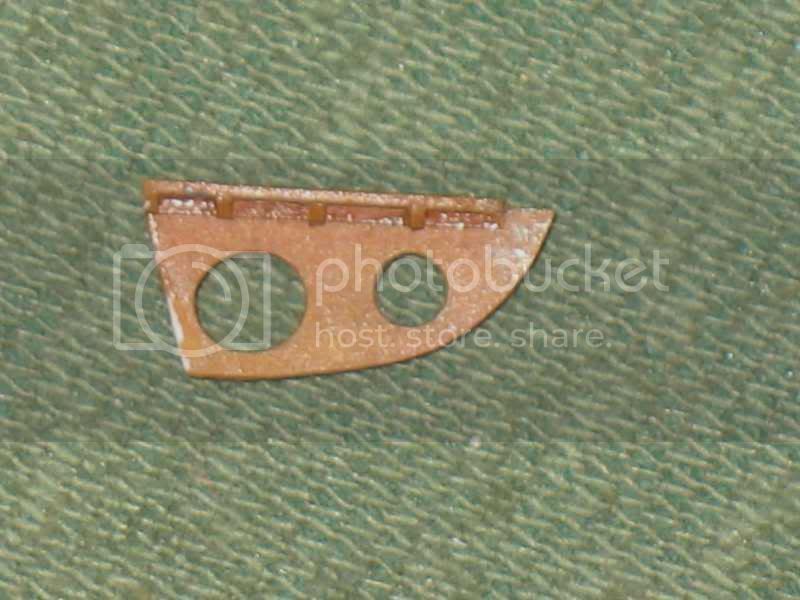
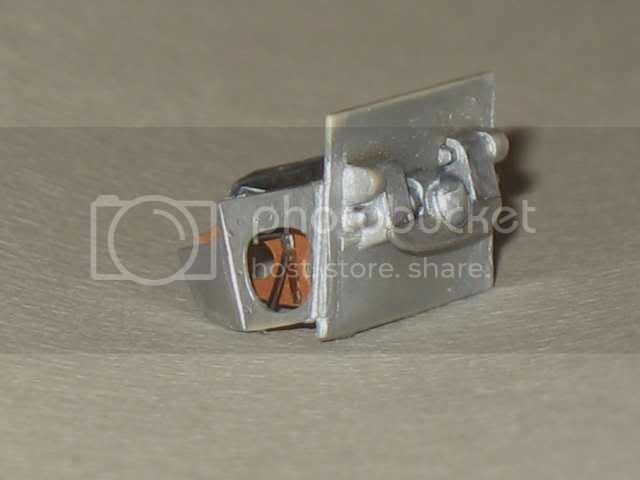
The plate is photo etch parts.


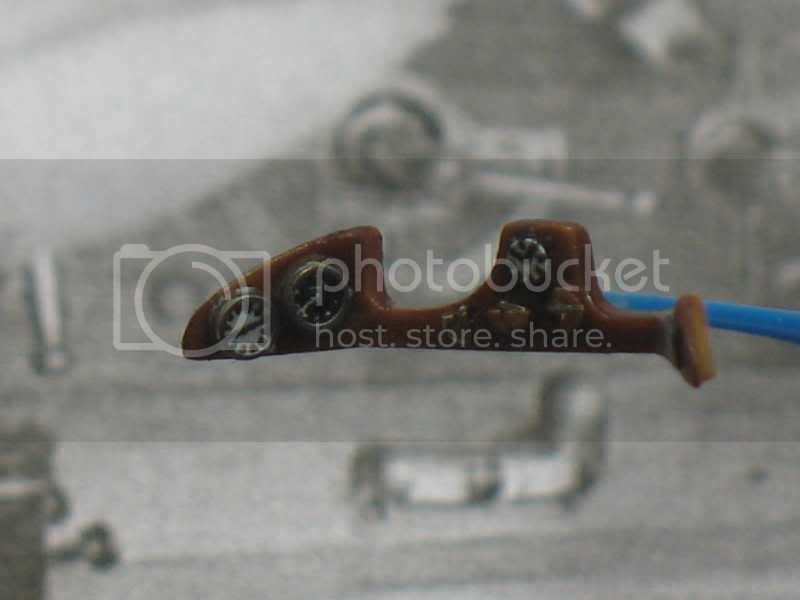
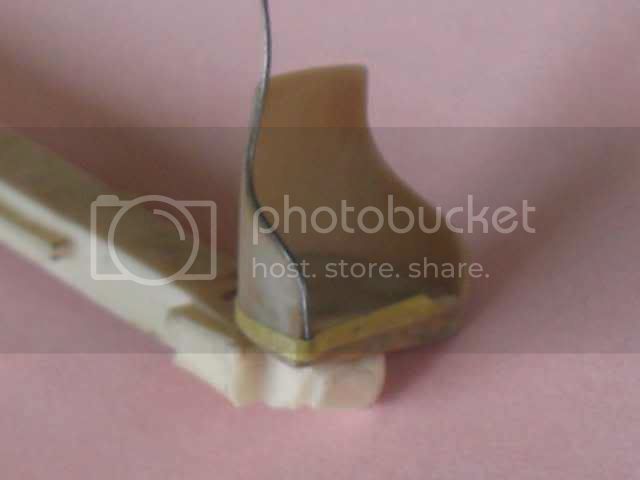
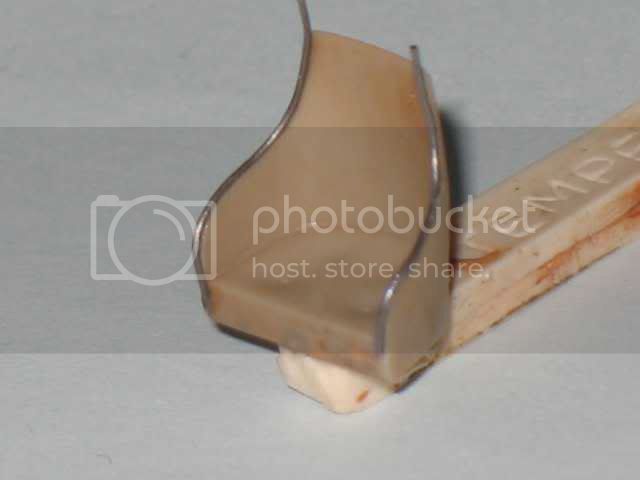
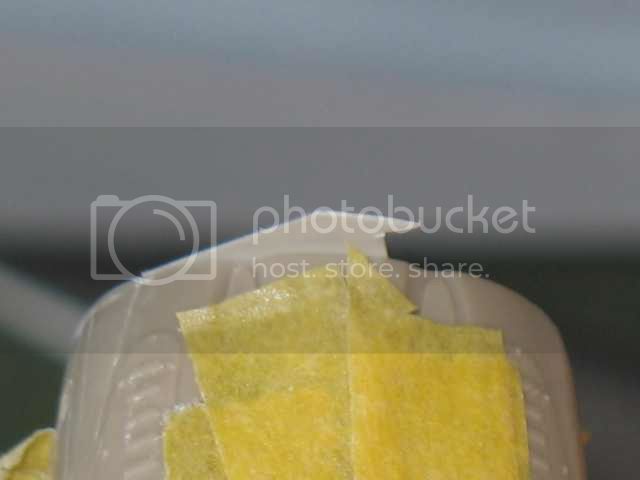
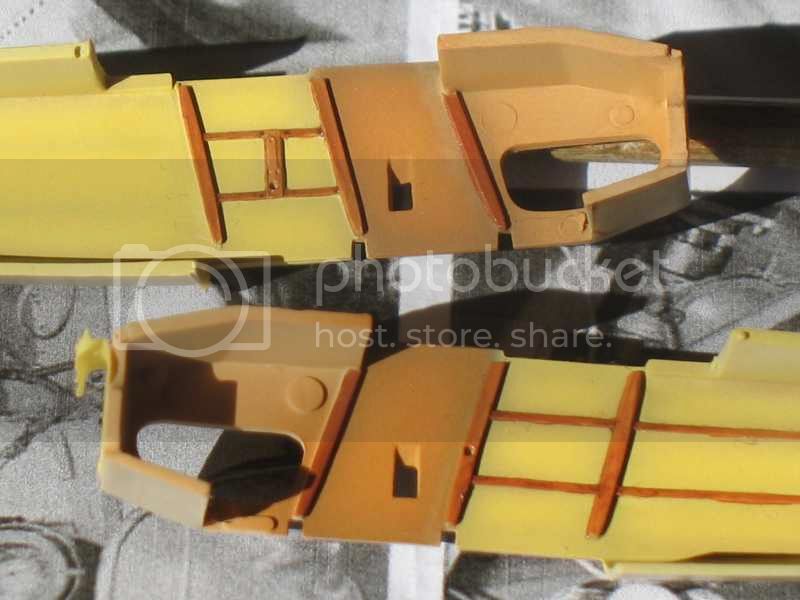
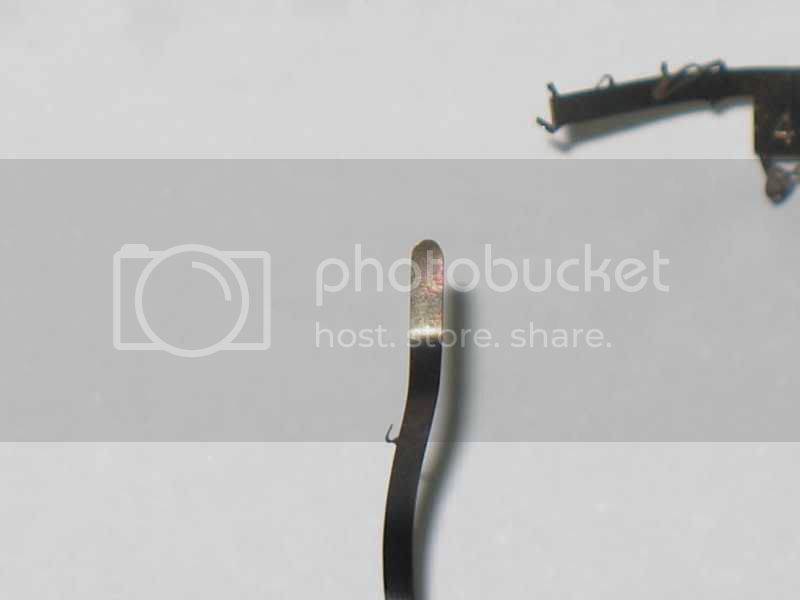
The stem blue is a piece of "square" plastic stretched above a flame. It keeps its square form.


Always slower:


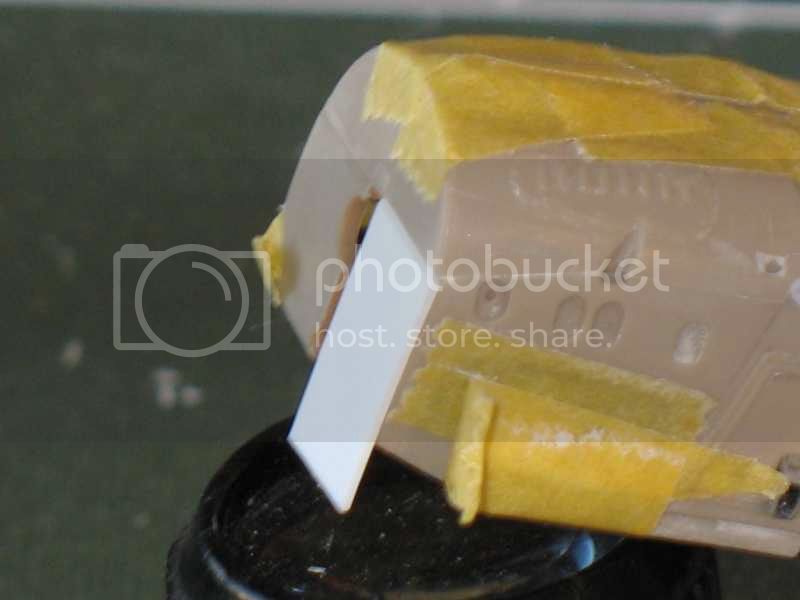
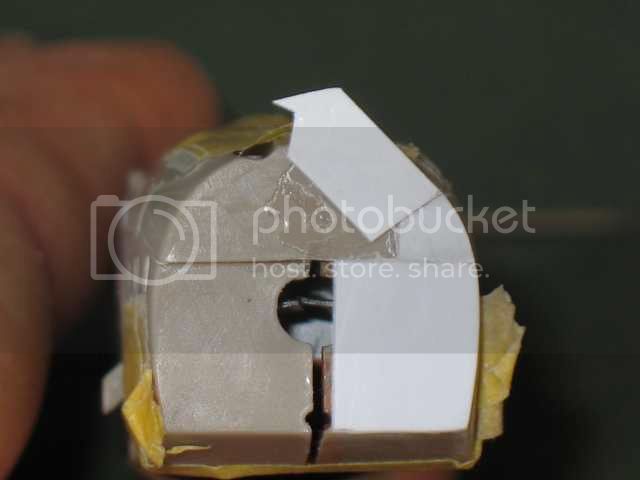
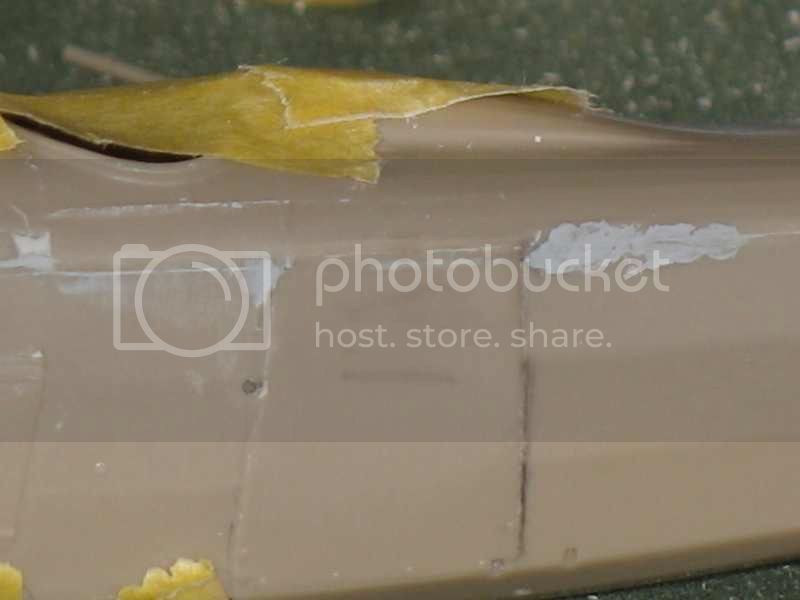
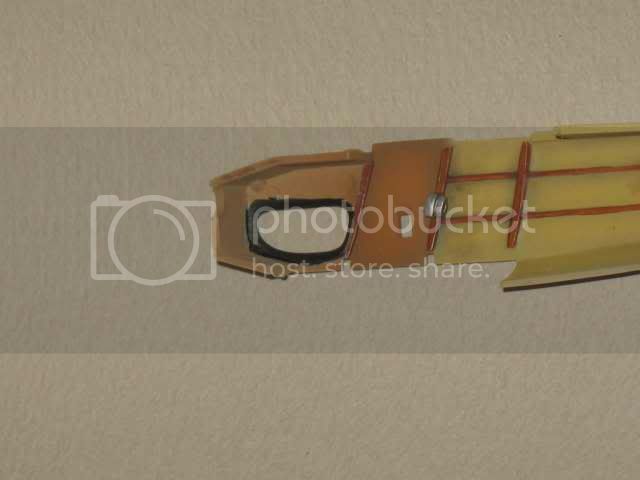
I returned the edges of the opening more slim and added some raidisseurs in metal and pieces of plastic.


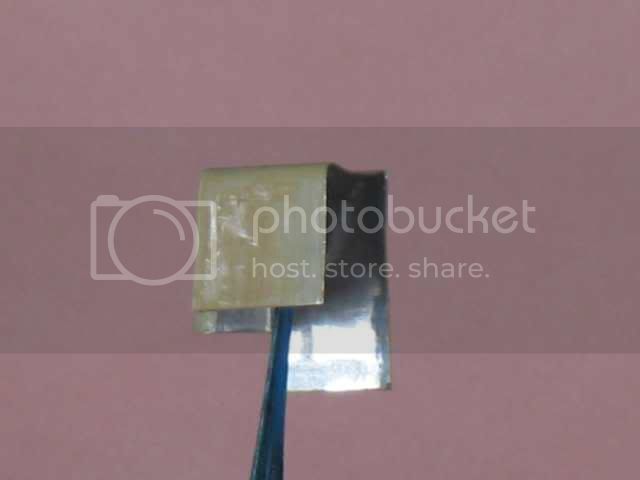
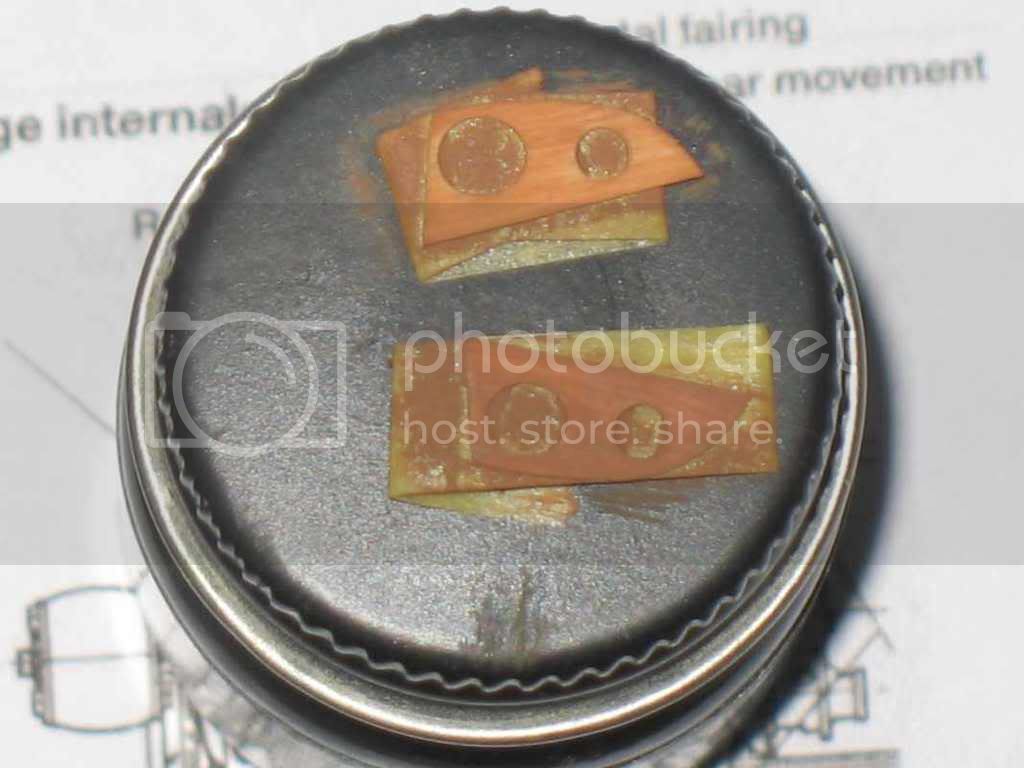
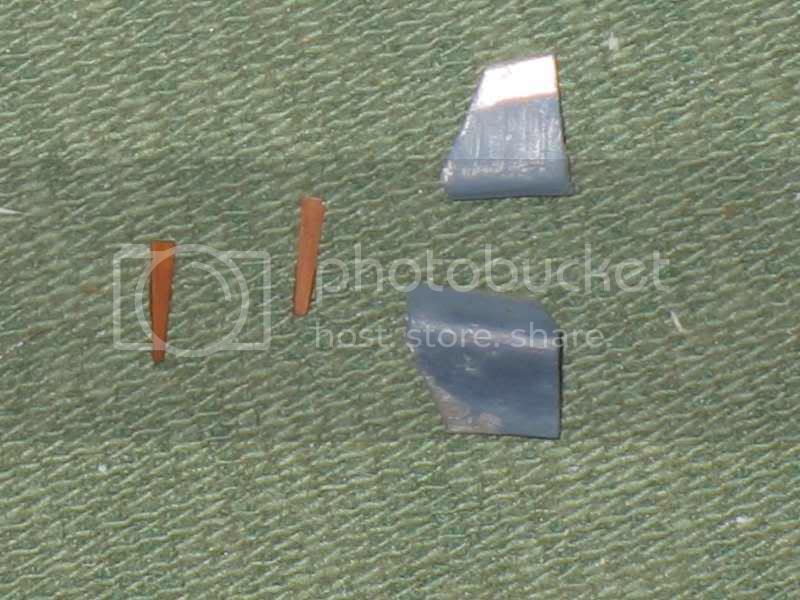
Some pieces of copper and tin:


The plate in alu (too big here) comes from a dish to industrial pie:


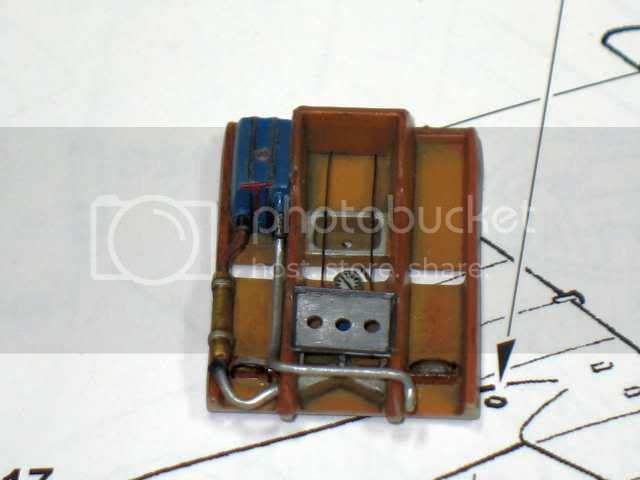
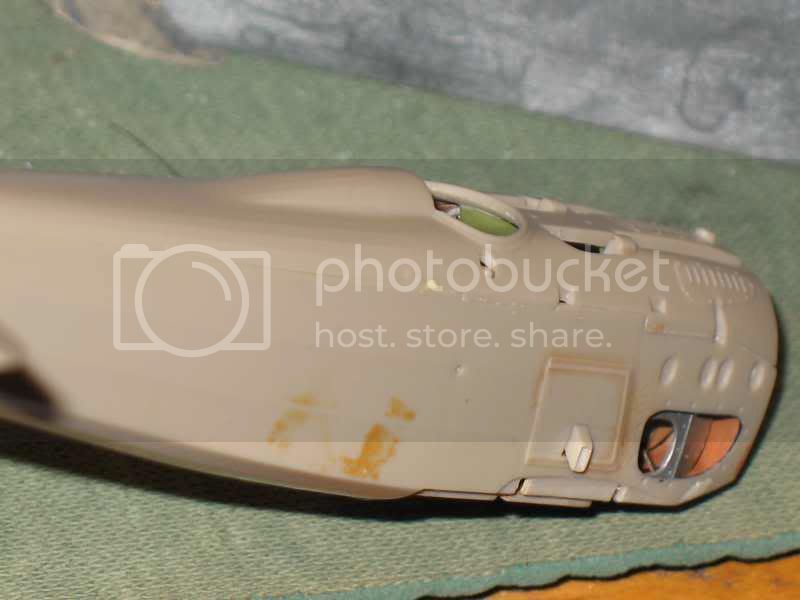
The reservoir was repainted in grey more " blue " and the handle in red for 1918 " dump valve" (vide-vite). Blue is not so blue on my kit...


A bientôt.


JackFlash
_VISITCOMMUNITY
Colorado, United States
Joined: January 25, 2004
KitMaker: 11,669 posts
AeroScale: 11,011 posts
Posted: Tuesday, February 17, 2009 - 07:43 PM UTC
Excellent build! Model On!

Here is my Eduard build.

Click Here.

There are some original images there. Hope it helps.
TedMamere
_VISITCOMMUNITY
Moselle, France
Joined: May 15, 2005
KitMaker: 5,653 posts
AeroScale: 4,347 posts
Posted: Wednesday, February 18, 2009 - 12:02 AM UTC
Hi Louis,

Excellent start indeed!

Where exactly are you from if I may ask? We are living not far away it seems...

Jean-Luc
Louis
_VISITCOMMUNITY
Bas-Rhin, France
Joined: May 21, 2006
KitMaker: 472 posts
AeroScale: 471 posts
Posted: Wednesday, February 18, 2009 - 12:39 AM UTC
Salut Jean Luc

J'habite entre Saverne et Strasbourg dans le fin fond du bout du monde, à Scharrachbergheim, et toi ?

I try to translate for our friends:

I'm living in Scharrachbergheim, a pretty village near Strasbourg.
TedMamere
_VISITCOMMUNITY
Moselle, France
Joined: May 15, 2005
KitMaker: 5,653 posts
AeroScale: 4,347 posts
Posted: Wednesday, February 18, 2009 - 12:57 AM UTC
Re-salut Louis,


Quoted Text

J'habite entre Saverne et Strasbourg dans le fin fond du bout du monde, à Scharrachbergheim, et toi ?


Moi j'habite à Loupershouse près de Puttelange-aux-lacs.

J'ai une tante à Saverne et mes grand-parents habitaient près de Dabo à une époque. Je connais (un peu) le coin. peut-être qu'on aura l'occasion de se retrouver sur une expo de modélisme? Pour moi la prochaine se sera certainement à Rohrbach-lès-Bitche.

Jean-Luc
thegirl
_VISITCOMMUNITY
Alberta, Canada
Joined: January 19, 2008
KitMaker: 6,743 posts
AeroScale: 6,151 posts
Posted: Wednesday, February 18, 2009 - 01:45 AM UTC
Welcome to areoscale , looking very sweet so far .
Rogga
_VISITCOMMUNITY
Östergötland, Sweden
Joined: November 21, 2005
KitMaker: 80 posts
AeroScale: 80 posts
Posted: Wednesday, February 18, 2009 - 02:59 AM UTC

This one lookes very great so far , realy inspiering.


Rogga
Kalt
_VISITCOMMUNITY
Mendoza, Argentina
Joined: June 14, 2006
KitMaker: 222 posts
AeroScale: 219 posts
Posted: Wednesday, February 18, 2009 - 06:19 AM UTC
Looking good, Louis!
Which version are you planning to depict?

Regards,
JackFlash
_VISITCOMMUNITY
Colorado, United States
Joined: January 25, 2004
KitMaker: 11,669 posts
AeroScale: 11,011 posts
Posted: Wednesday, February 18, 2009 - 10:31 PM UTC
For a quick comparison of the differences and similarities here is the DML kit build.

Hangar Queen
Louis
_VISITCOMMUNITY
Bas-Rhin, France
Joined: May 21, 2006
KitMaker: 472 posts
AeroScale: 471 posts
Posted: Friday, February 20, 2009 - 11:29 AM UTC
Small pieces of plastic and thread of copper:


Louis
_VISITCOMMUNITY
Bas-Rhin, France
Joined: May 21, 2006
KitMaker: 472 posts
AeroScale: 471 posts
Posted: Saturday, February 21, 2009 - 12:16 PM UTC
Thank you for your nice word.

The post of piloting is finished. The handle which opens the shutters of hood is a plastic triangle painted in brown, left grey is painted by top. The lever is a fall of photocut and the handle a stretched edge of plastic cut in the blade of rasoire.


The maul is plastic stretched.


I chose to glue together the bottom of post on a side of the airframe what seems to me less risked than to glue together it on the wing inferior and its girders (as stated). I however tried. I could not even take in the bottom of post into the airframe...

A+
JackFlash
_VISITCOMMUNITY
Colorado, United States
Joined: January 25, 2004
KitMaker: 11,669 posts
AeroScale: 11,011 posts
Posted: Saturday, February 21, 2009 - 01:34 PM UTC
It looks like the upper cowling deck is arched too high.
Louis
_VISITCOMMUNITY
Bas-Rhin, France
Joined: May 21, 2006
KitMaker: 472 posts
AeroScale: 471 posts
Posted: Saturday, February 21, 2009 - 06:56 PM UTC
Hi


N°1 is just put down but not glued together. Or is it second one?
JackFlash
_VISITCOMMUNITY
Colorado, United States
Joined: January 25, 2004
KitMaker: 11,669 posts
AeroScale: 11,011 posts
Posted: Sunday, February 22, 2009 - 08:18 AM UTC
Its like a bridge that is too high and needs to be pressed down in the middle to spread out the legs wider. The "second one" or "instrument shelf" may need beveling at the outer edge. But After bending open Part #1 I would cut down the inner edges too.
thegirl
_VISITCOMMUNITY
Alberta, Canada
Joined: January 19, 2008
KitMaker: 6,743 posts
AeroScale: 6,151 posts
Posted: Sunday, February 22, 2009 - 10:48 AM UTC
Could this be a flaw in the kit and something for other builders to watch for ?

Louis your work is outstanding ! The blue in the cockpit really draws your eye into the detail . Looking forward to more .................................................

Louis
_VISITCOMMUNITY
Bas-Rhin, France
Joined: May 21, 2006
KitMaker: 472 posts
AeroScale: 471 posts
Posted: Sunday, February 22, 2009 - 11:37 AM UTC
Thank you


The kit is not "conceived" (?) correctly!

I sanded a lot the inside of cover (the one,1) and taken down a little (1/2mm) the second one (2).

It's ok now.

JackFlash
_VISITCOMMUNITY
Colorado, United States
Joined: January 25, 2004
KitMaker: 11,669 posts
AeroScale: 11,011 posts
Posted: Sunday, February 22, 2009 - 01:40 PM UTC
Excellent Louis! Model On!
thegirl
_VISITCOMMUNITY
Alberta, Canada
Joined: January 19, 2008
KitMaker: 6,743 posts
AeroScale: 6,151 posts
Posted: Monday, February 23, 2009 - 03:37 AM UTC
Thanks Louis , will be watching of this in my build . How is the fit in the tail area ?
Kornbeef
_VISITCOMMUNITY
England - South East, United Kingdom
Joined: November 06, 2005
KitMaker: 1,667 posts
AeroScale: 1,551 posts
Posted: Monday, February 23, 2009 - 07:09 AM UTC
These things are sent to try us Louis, good to see you overcame it easily, and an outstanding build for sure

Keith
Louis
_VISITCOMMUNITY
Bas-Rhin, France
Joined: May 21, 2006
KitMaker: 472 posts
AeroScale: 471 posts
Posted: Friday, February 27, 2009 - 12:39 AM UTC
Hi! And thanks for your words.

And if and there is worse. I cut both reinforcements 1 / 2mm (I do not know any more if the photograph was made before or after operation):.


and sanded there:


After that it's correct ... I added the bar behind the seat (it will be right once glued together by every quoting idem for cables) and a " chest in cloth " which is fixed there:

The chest is alu food type there " box for congelation ":


I forgot to make a photograph inside the Spad.


Quoted Text

How is the fit in the tail area ?


Not good!

I glued together a side of the airframe with the cover (the best that I could). I began with the left side which is the most difficult to put, and ... it misses 1 / 2mm in the front and also 1 / 2mm in the back
The exit of shells is refined with a file and the top of the scalpel.


Then same job with the righthand which comes back almost perfectly. The bottom of the airframe is not reached yet:


This side is correct (...):


The opposite side, sanded is going to be needed and we must be delicate:


Since the photograph I stuck a little better by pushing it back of inside with a stem.

The seat is in refined including the low party because it bangs at home in the compass which is glued together on the fla


A piece of Tamiya tape fixes a piece of tin thread ( bought in a store of flyfishing). We twist it and we glue together, small end by small end.


Good news: The hood (the ring) puts on in place without problem and is correctly lined up.

A+
JackFlash
_VISITCOMMUNITY
Colorado, United States
Joined: January 25, 2004
KitMaker: 11,669 posts
AeroScale: 11,011 posts
Posted: Friday, February 27, 2009 - 07:01 AM UTC
Excellent Louis! I give it an A++ so far. My sincere thanks for you sharing your methods here good stuff!
CaptainA
_VISITCOMMUNITY
Indiana, United States
Joined: May 14, 2007
KitMaker: 3,117 posts
AeroScale: 2,270 posts
Posted: Saturday, March 07, 2009 - 11:01 AM UTC
Your scratch building skills and eye for detail are amazing.
Louis
_VISITCOMMUNITY
Bas-Rhin, France
Joined: May 21, 2006
KitMaker: 472 posts
AeroScale: 471 posts
Posted: Wednesday, March 18, 2009 - 08:46 AM UTC
Thank you for your words!


I repair holes today:


I glued plastic card (0.4mm) on the front of the plane. Left side was too short....


I 'm carving and sanding plastic card, and....It's not good:


I glued an other plastic card (0.15mm):


and an other on (0.15mm)


I sand the "nose" of the plane on a piece of sandpaper layed down flat (?)

I put a little glue (in red) on the angle to consolidate the whole and sand it.


On your left it's OK, on your right it's NOT OK (white):


We must glued both side together very strongly, and hope...(The underside of the plane is not glued together).


I ask myself if I am not going to take away the plate to do it again in plastic card. The top of the plate is difficult to sand and the angle must be right-angled:


Any sugestions ?

A+
thegirl
_VISITCOMMUNITY
Alberta, Canada
Joined: January 19, 2008
KitMaker: 6,743 posts
AeroScale: 6,151 posts
Posted: Thursday, March 19, 2009 - 01:56 AM UTC
So far Louis you are doing a fantastic jo on this build and it's nice to have your imput on fit issues for the rest of us who haven't tackled this kit yet .
Louis
_VISITCOMMUNITY
Bas-Rhin, France
Joined: May 21, 2006
KitMaker: 472 posts
AeroScale: 471 posts
Posted: Thursday, March 19, 2009 - 02:01 AM UTC
Thank you Terri!
 _GOTOTOP