Quoted Text
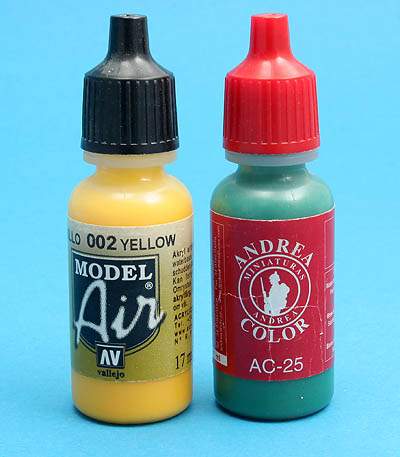
Great to see this Magnus. It gives me hope for the two Reggiane J 20 Falcos I have lurking about. The starting point is roughly the same. But the green is very very green...
Keep it up. I'll stay tuned, hoping I'll someday summon up the patience for something of this calibre.
 Tony
Tony
Remember that this is 1/72, it is a bit more forgiving than larger scales. Less area to sand you know

! The Reggianes, are they from Classic Airframes?
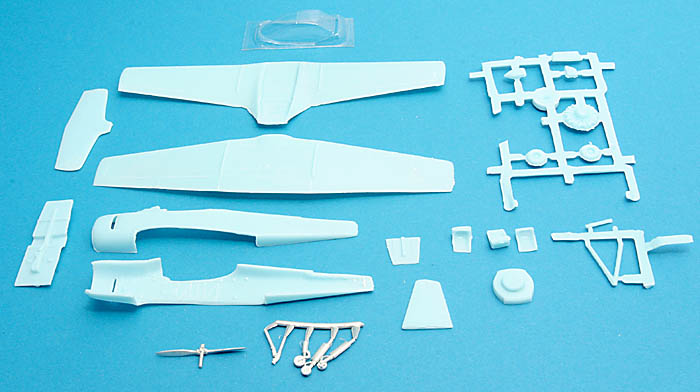
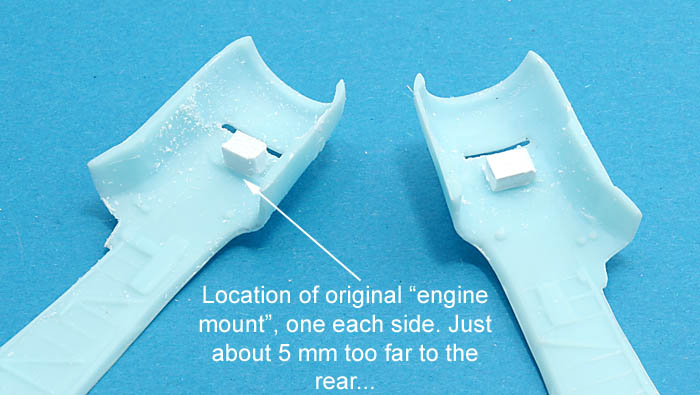
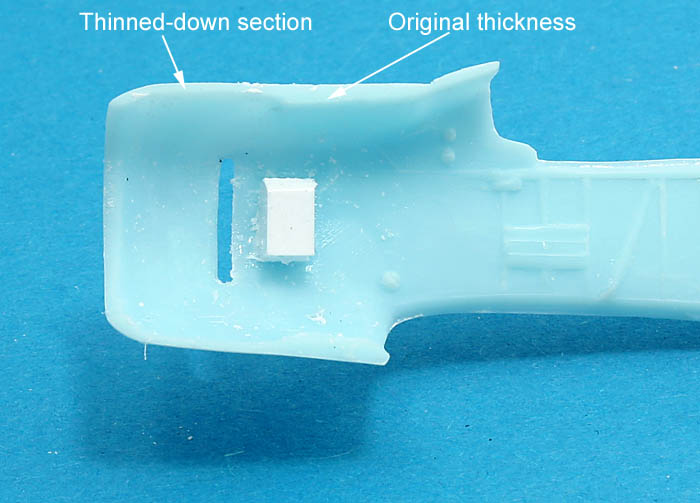
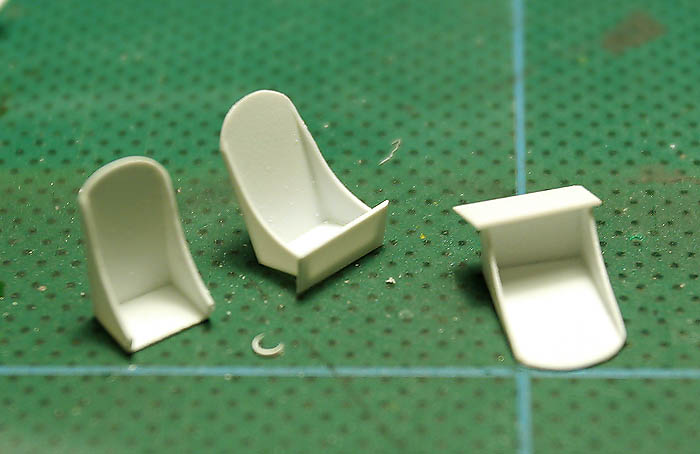
On to tonight's update. I knew there had to be something worse than the engine. And guess what - there was! The seats, three differently sized lumps of plastic that has very little to do with the look of the real thing. I thought that a good filing may save them (there might be a seat hidden below all that excess plastic) but I soon realised it wasn't worth the effort!
Aeroscale member grubbyfingers have a
very nice web page with his profile art (worth checking out, they are awesome!) and lots of other useful goodies. Among these is a
comprehensive walkaround of the Moorabbin Winjeel ,an excellent source for detail photos. As can be seen, the seats are thin sheet metal bucket seats, easily replicated in plasticard.
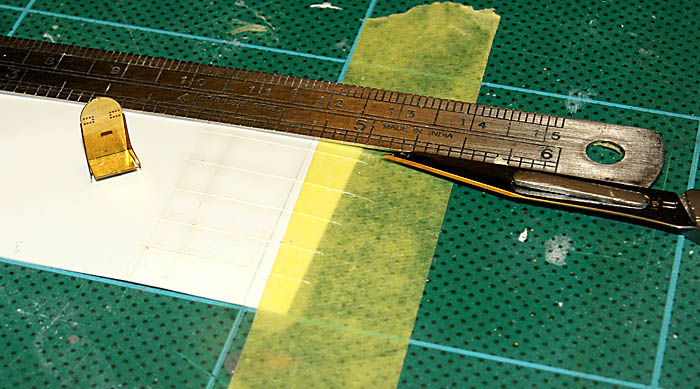
Master pattern is a Hurricane seat from Eduard. I scribed vertical lines in the plastic marking back and seat bottom that then will be bent in an "L"-shape. They were then cut to width (6 mm) using scalpel and straightedge.
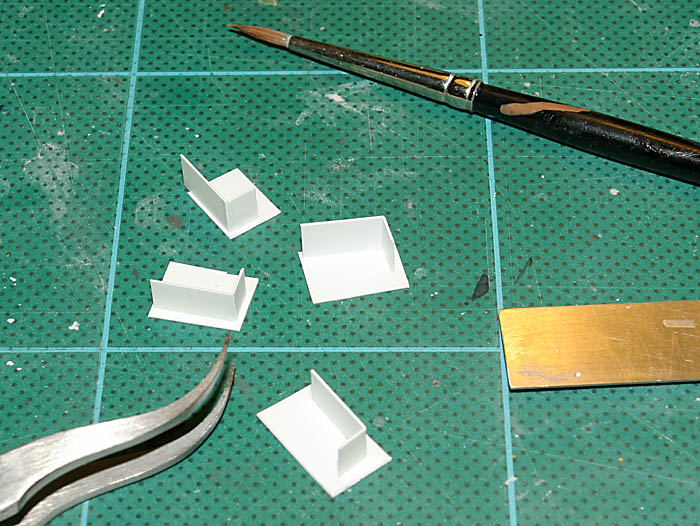
Back and bottom glued to one side. Yes, I know, the side part is a bit large (the metalsmith probably got something wrong when converting my drawings from mm to inches or the other way around
). Seriously, after making twenty or so carefully sized ribs for my Canberra flaps, cutting my thumb badly in the process, and then having to trim them afterwards since they didn't fit anyway I have stopped doing exact-fitting parts! With a sharp blade and a steady hand it is possible to get the same result without the skill and effort
...
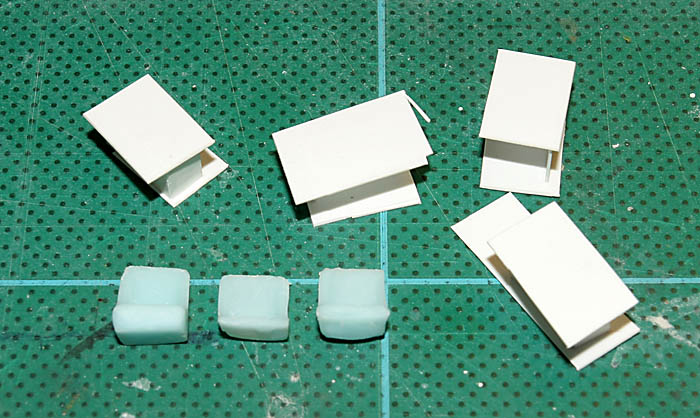
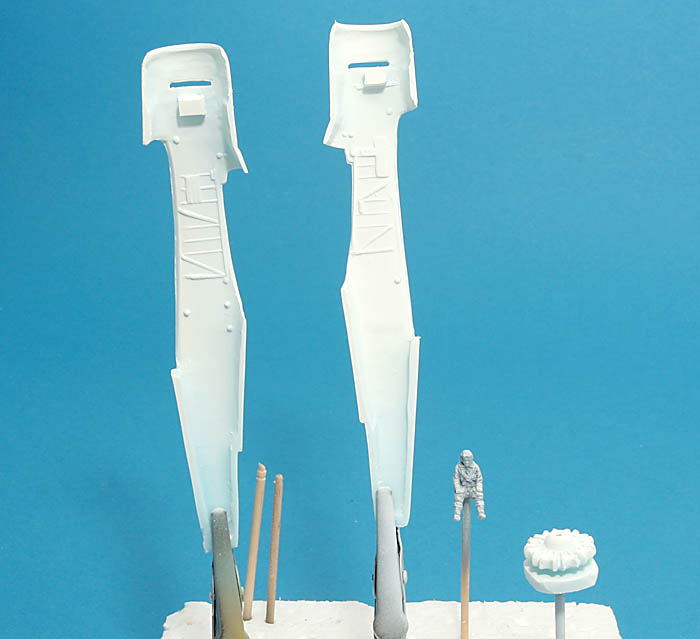
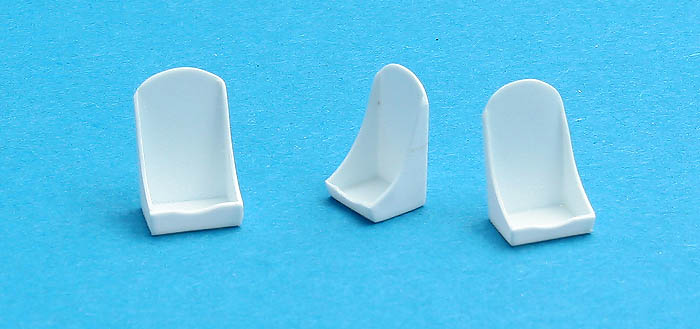
Four seat blanks left to dry. The blue lumps of plastic are the originals. They are up for donation if you need them, receiver to pay for postage!
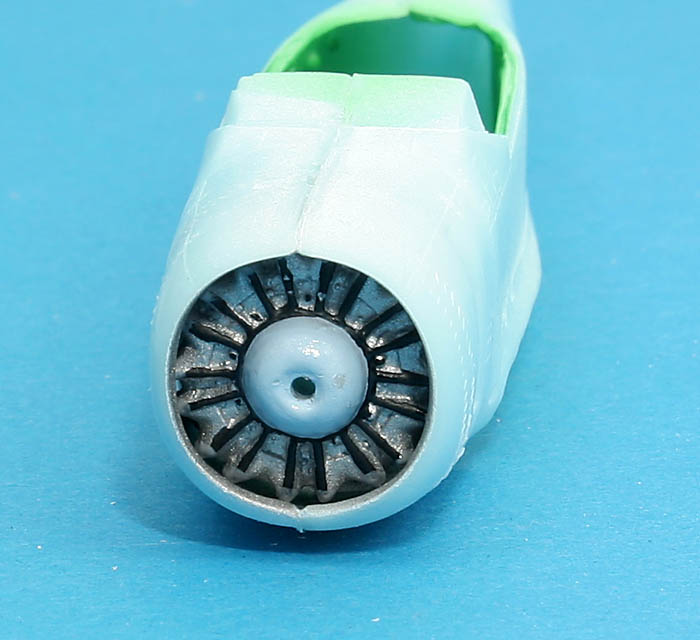
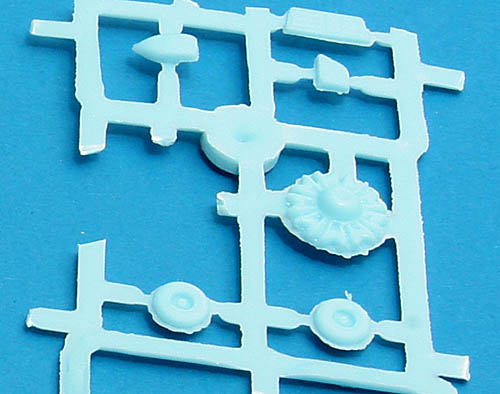
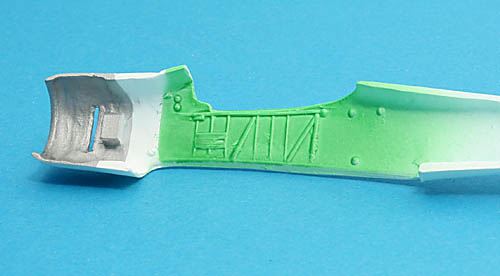
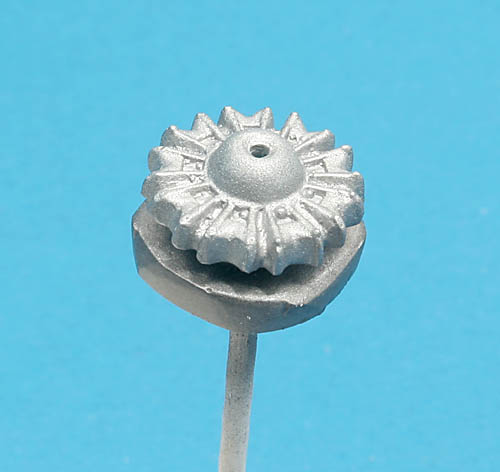
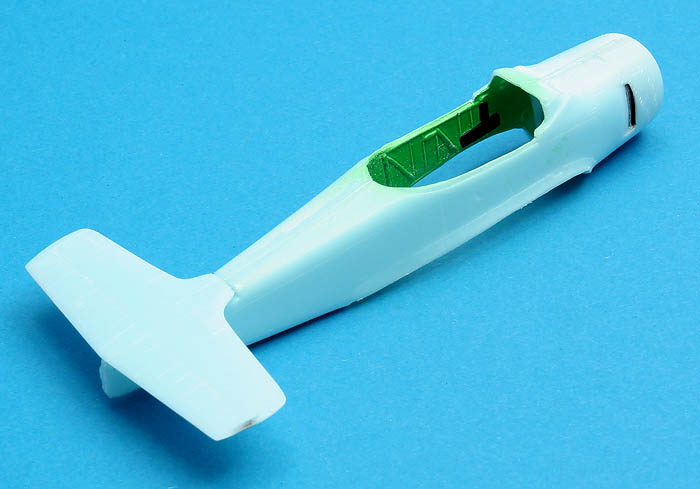
I've glued the fuselage halves. This is how the engine turned out. I will probably weather it carefully using the airbrush and Tamiya smoke, it does look a bit sterile in there! I also realise that I should have read
this article before closing the halves

!
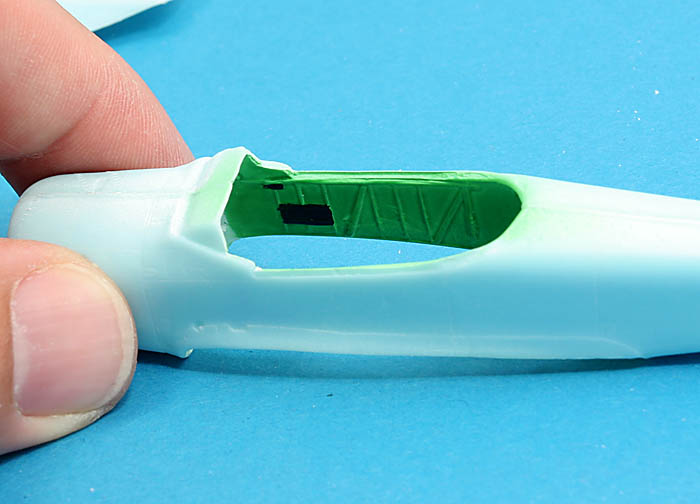
Internal fuselage detail and a close-up of my left thumb. Pick your own area of interest, I would recommend the Winjeel :-) !
Magnus