Techmod 1:48 Friedrichshafen FF-33E
Bas-Rhin, France
Joined: May 21, 2006
KitMaker: 472 posts
AeroScale: 471 posts
Posted: Wednesday, July 14, 2010 - 11:04 AM UTC
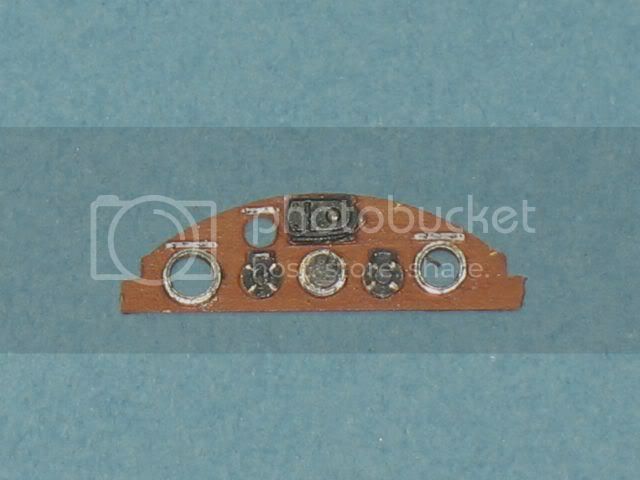
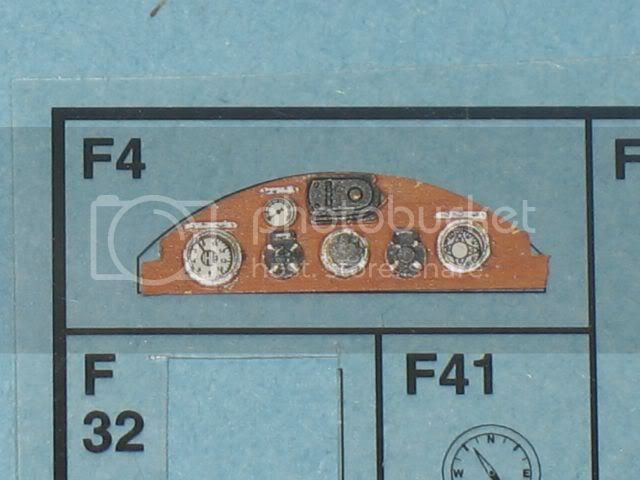
Well, I still succumbed to the temptation ... I could not resist buying the PART's PE add-ons for Techmod's FF 33E cockpit.
The Techmod kit contains the essential:
Some PE parts should be rebuilt because they are too thin
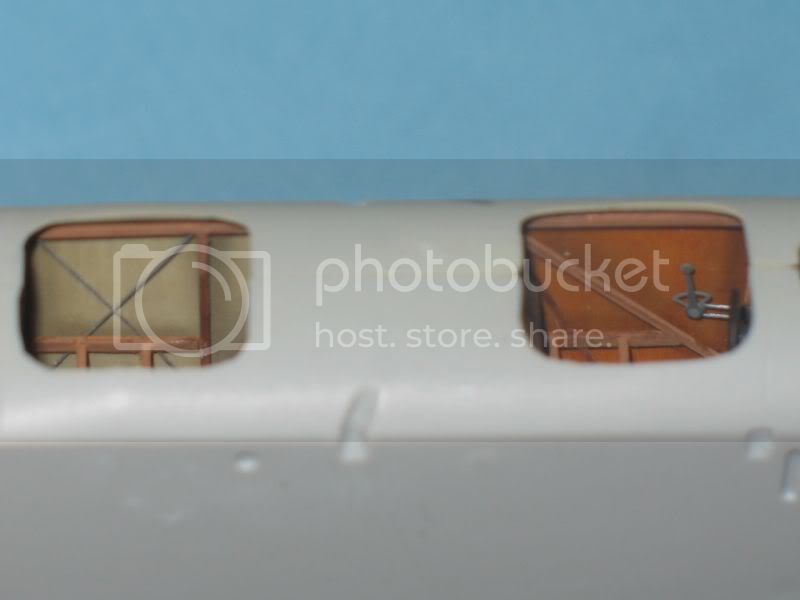
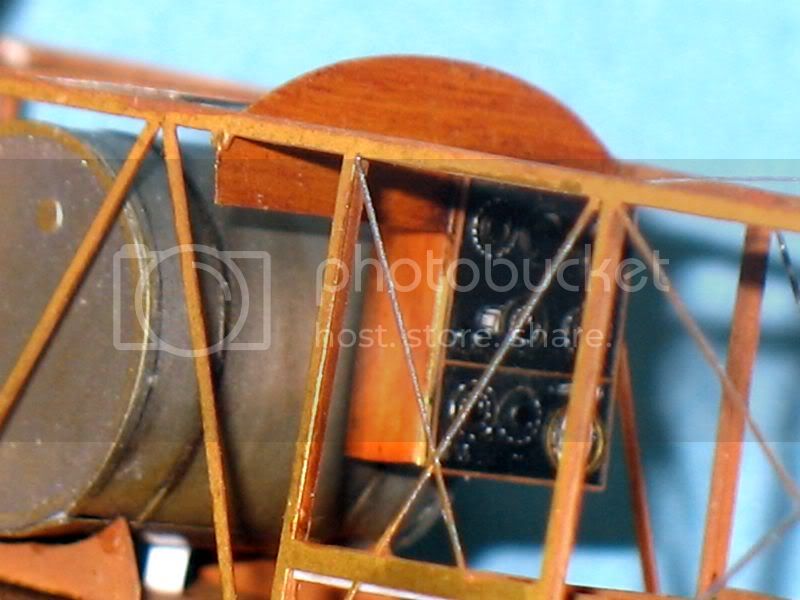
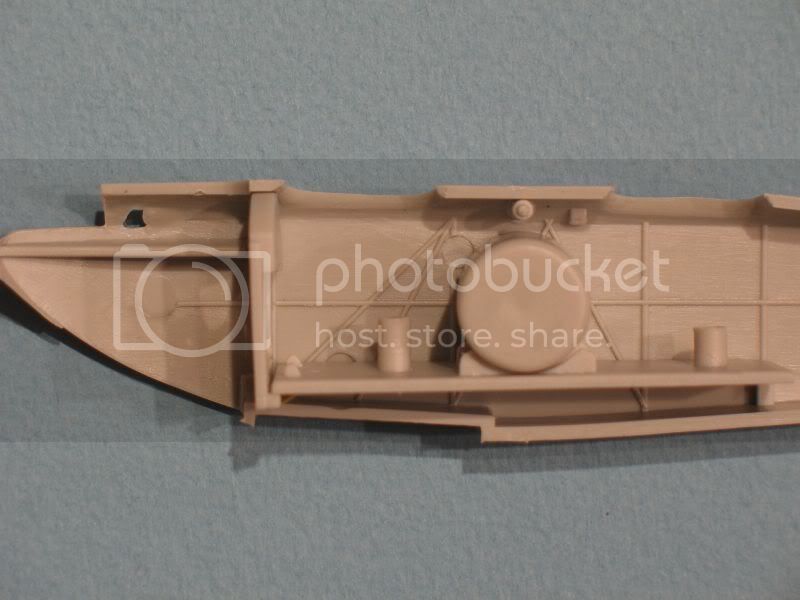
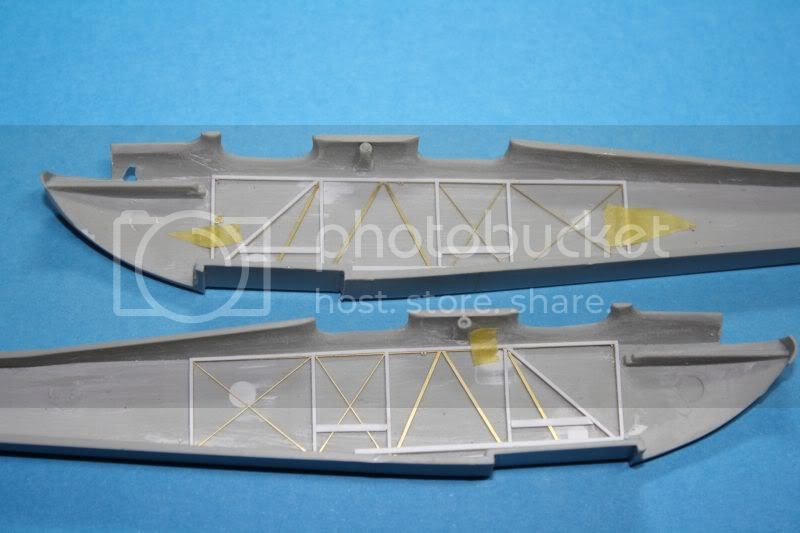
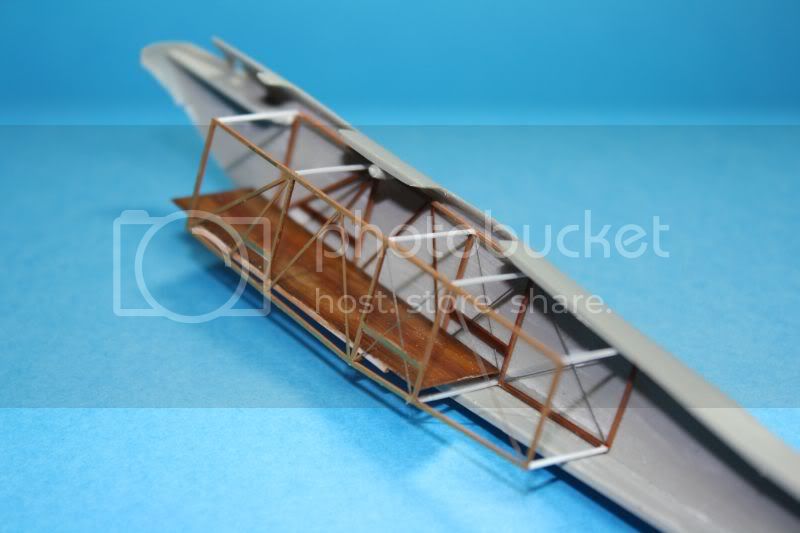
The cage-like structure which must represent the upright (horizontal and vertical) of the fuselage is too large by almost 1.5mm. So you can sand the fuselage or redone the structure. The PE sides fits perfectly in the cockpit.
I covered the side of the PE structure with Evergreen (0.5 X 0.4 mm).
Large flat pieces, tank and floor are curved in their width (on my add-ons anyway). I have not managed to flatten the floor and I decided to redo it with plastic card. The metal is very rigid and keeps its shape after having repeatedly softened over a flame.
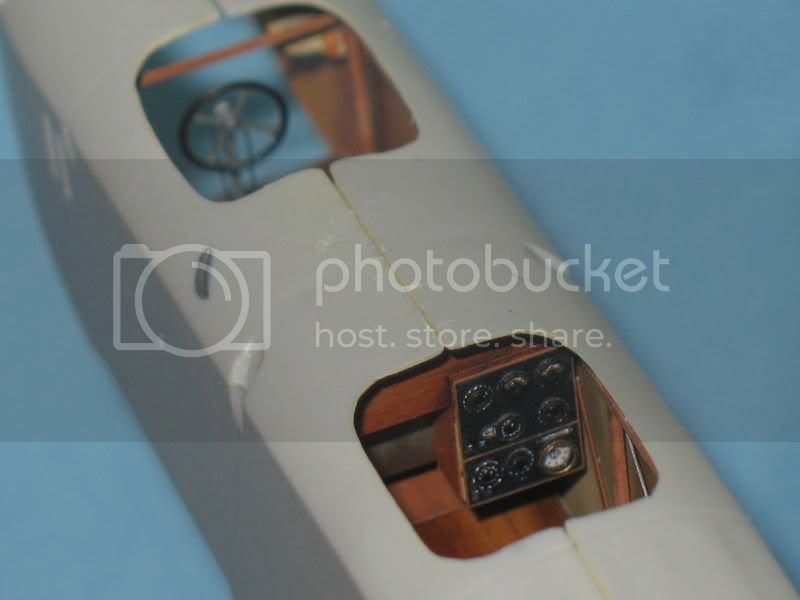
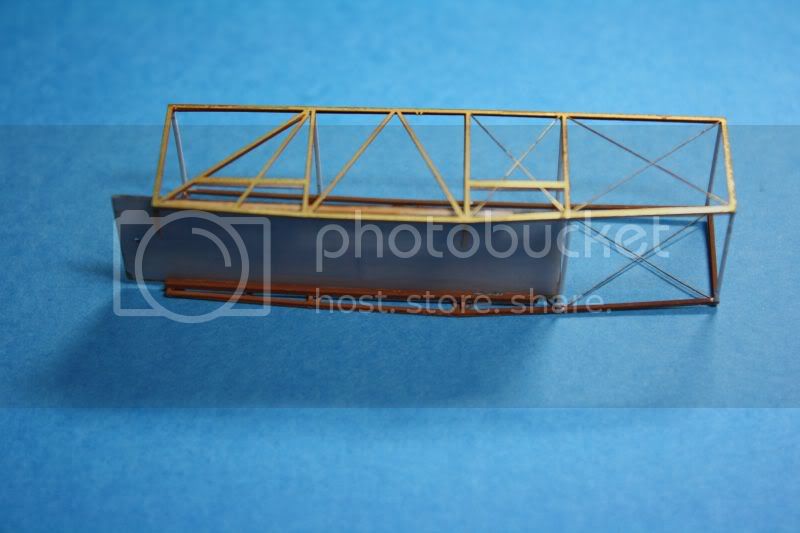
The two sides are set in the fuselage with tape. The floor is introduced by the front and glued. The crossbars are glued to the end.
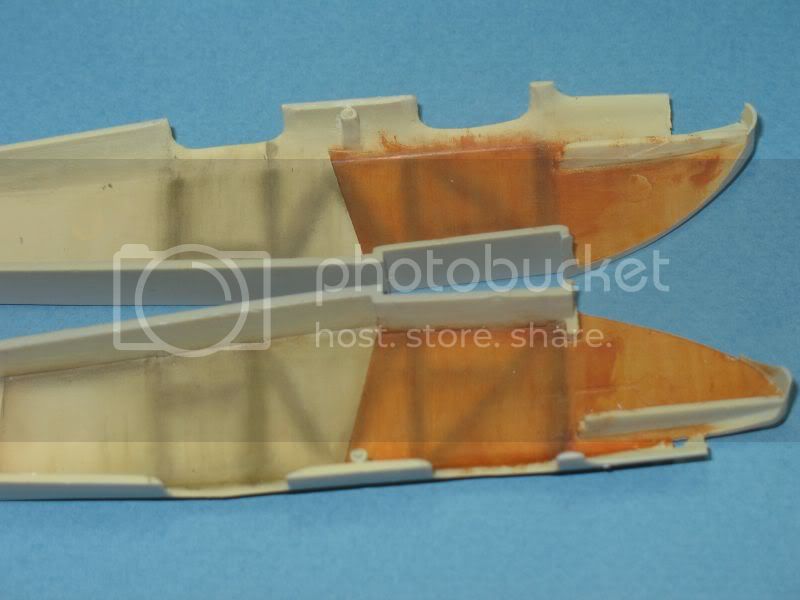
The floor is painted as usual and covered with brown ink (mixed with varnish)
When the ink is dryer, it is sanded in some areas.
Regards.
Le même montage en français:http://www.master194.com/forum/viewtopic.php?f=4&t=69004Alberta, Canada
Joined: January 19, 2008
KitMaker: 6,743 posts
AeroScale: 6,151 posts
Posted: Friday, July 16, 2010 - 02:25 AM UTC
This is going to be fantastic to watch Louis ! After along wait was finally able to get this awesome kit . The wing span is something else on this one , really wasn't expecting it to be so long ! The Part set looks intense , lots of small parts . Did you pick up the docking wheel set as well ?
Bas-Rhin, France
Joined: May 21, 2006
KitMaker: 472 posts
AeroScale: 471 posts
Posted: Thursday, November 11, 2010 - 10:36 AM UTC
Colorado, United States
Joined: January 25, 2004
KitMaker: 11,669 posts
AeroScale: 11,011 posts
Posted: Thursday, November 11, 2010 - 01:18 PM UTC
Louis it is another fine start. Any gripes or problems with the PE fit?
". . .The most important thing is to know why you build and then get the most that you can out of building." via D.D.
Milano, Italy
Joined: November 30, 2007
KitMaker: 642 posts
AeroScale: 382 posts
Posted: Thursday, November 11, 2010 - 08:52 PM UTC
Bonjour Louis!
A great start indeed, I am used to your very high standard and you are not disappointing me!!
I'll follow you closely as I know that you'll teach me something!
ciao
Edo
Bas-Rhin, France
Joined: May 21, 2006
KitMaker: 472 posts
AeroScale: 471 posts
Posted: Friday, November 12, 2010 - 07:20 AM UTC
Hello Edoardo, Hello Stephen, Hello everybody.
Quoted Text
Any gripes or problems with the PE fit?
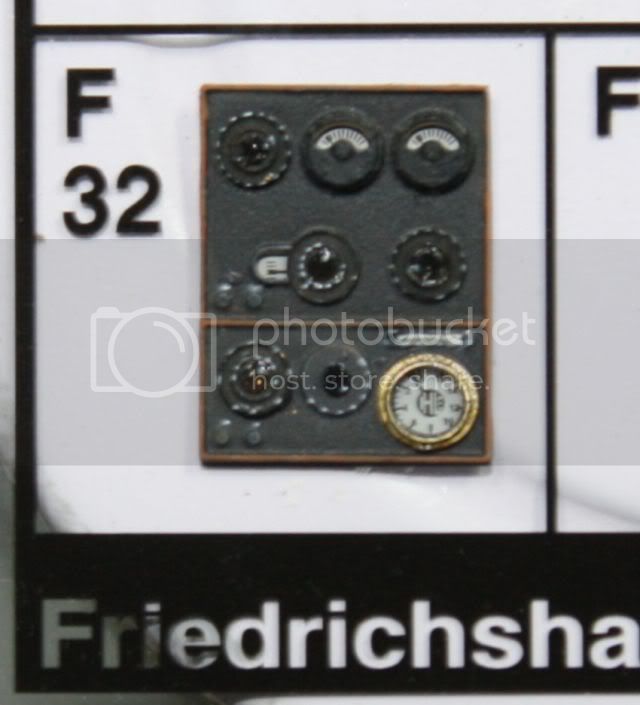
No, no, PART did a very good job, but the pieces are so small that I find difficult to paint. They are difficult to center, they slide on glue.
There is no indication for colors.
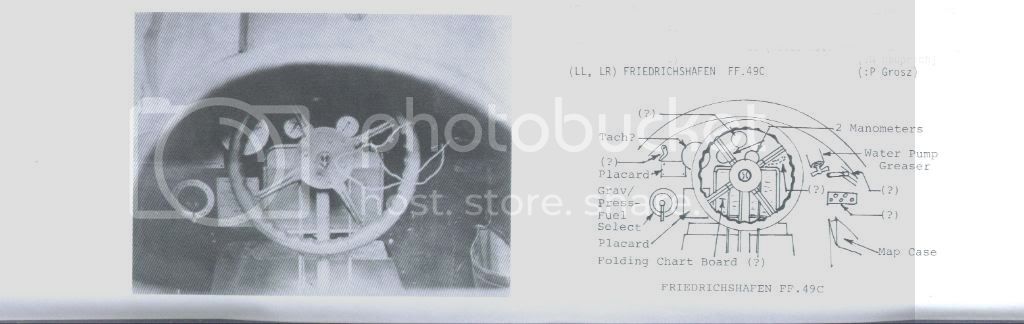
Just one picture from FF49c (thank you Doug):
Regards
Östergötland, Sweden
Joined: April 04, 2006
KitMaker: 1,058 posts
AeroScale: 1,004 posts
Posted: Monday, November 15, 2010 - 06:14 PM UTC
You done a good job so far my friend. I often paint the smallest etched parts when they are attached to the fret. After cutting them loose, a gentle touch up with some paint. A low stick tape on the backside of the etch so they don´t fly away.
Cheers
Larsa
Keep up the nice work, I´ll soon update my build.
Colorado, United States
Joined: January 25, 2004
KitMaker: 11,669 posts
AeroScale: 11,011 posts
Posted: Sunday, May 20, 2012 - 11:48 AM UTC
Louis, Here is the other one.
". . .The most important thing is to know why you build and then get the most that you can out of building." via D.D.
Bas-Rhin, France
Joined: May 21, 2006
KitMaker: 472 posts
AeroScale: 471 posts
Posted: Sunday, May 20, 2012 - 07:53 PM UTC
Thank you Stephen.
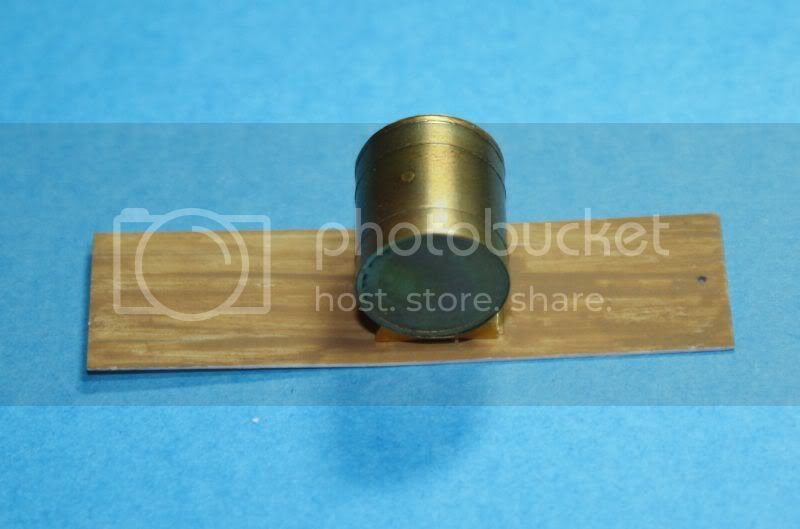
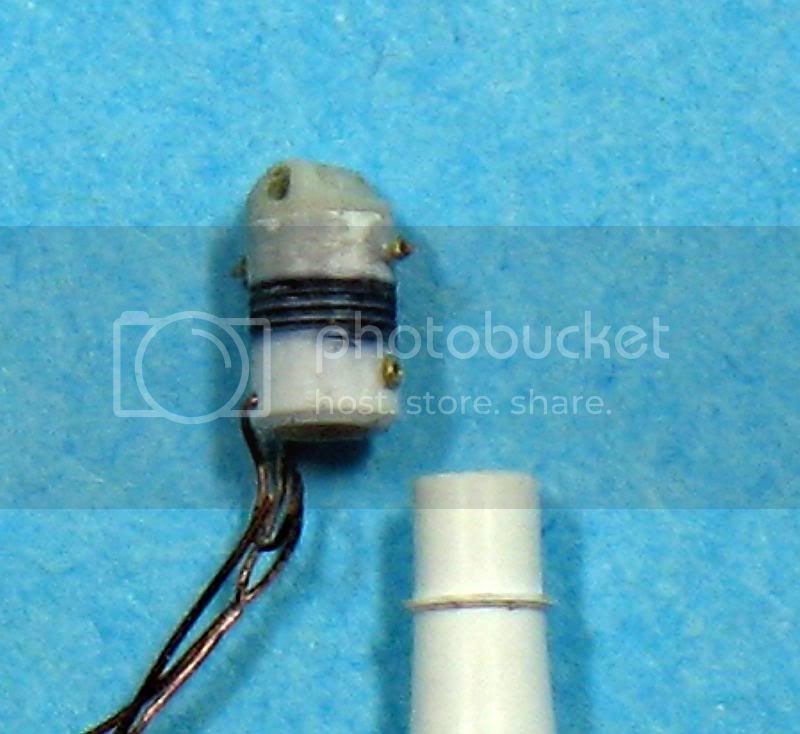
The engine cylinder is made on a lathe. I drilled it to put a rod and avoid "complicated" sanding .

The cylinder head will be taken on the kit and improved a bit.
Regards
Alberta, Canada
Joined: July 26, 2010
KitMaker: 1,032 posts
AeroScale: 1,025 posts
Posted: Monday, May 21, 2012 - 01:43 AM UTC
Louis,
Very nice work so far; this is a very interesting project to watch. I'll be following it closely.
Cheers,
Lance

Officially Retired as of 20 August 2013 and looking forward to some un-interrupted bench time. Currently starting Roden's Nieuport 28 and hoping to follow that with another WNW Fokker DVII.
Bas-Rhin, France
Joined: May 21, 2006
KitMaker: 472 posts
AeroScale: 471 posts
Posted: Tuesday, May 29, 2012 - 10:02 AM UTC
Thank you Lance.
The mold is made from one piece to avoid traces of jointing and sanding of the piece.
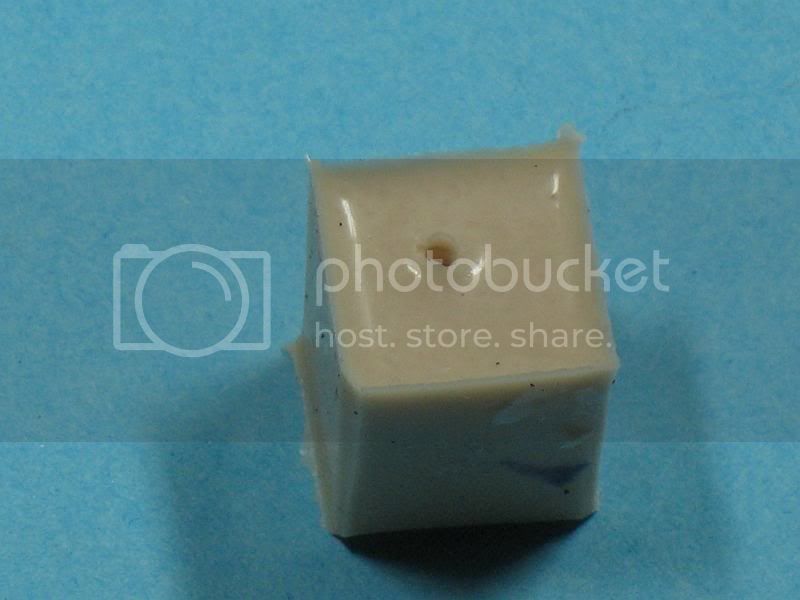
The cylinder when finished...
...is covered with silicone. The small hollows are filled with a point to avoid air bubbles.
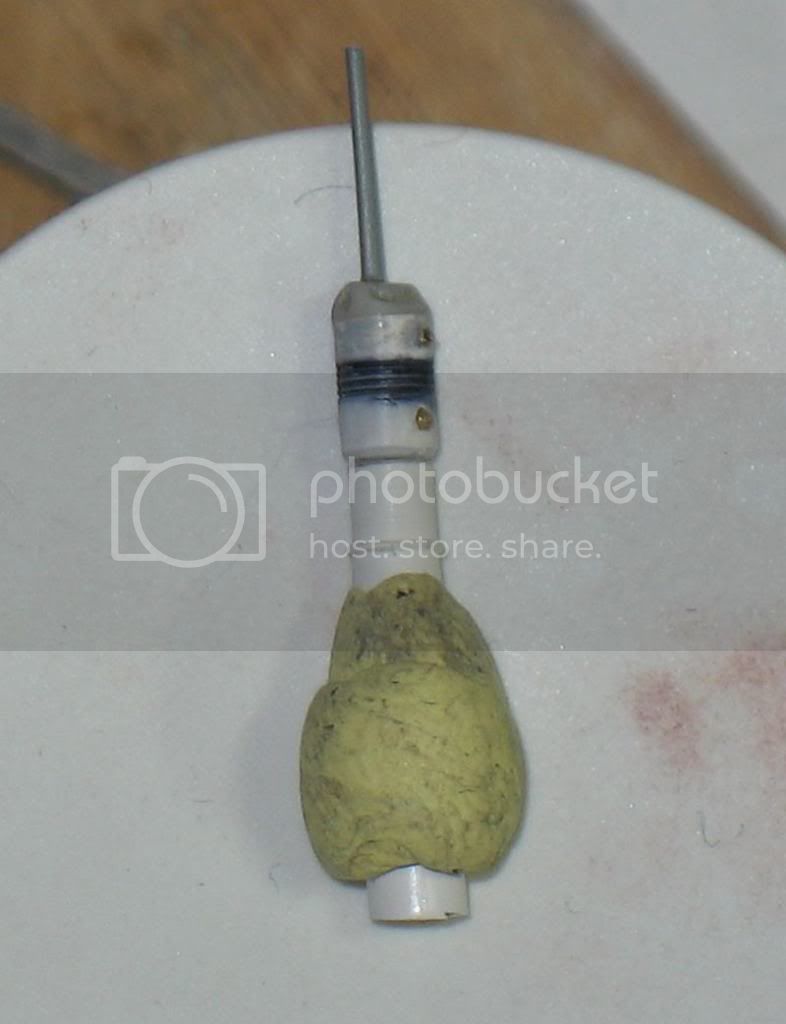
It is then immersed in silicone. I use "Lego" to the edges of the mold.
The resin is injected into it with an old pen.
The result looks good (???) but we'll see better with paint
Regards.
Bas-Rhin, France
Joined: May 21, 2006
KitMaker: 472 posts
AeroScale: 471 posts
Posted: Wednesday, May 30, 2012 - 09:41 AM UTC
And the same with some paint:
regards
Colorado, United States
Joined: January 25, 2004
KitMaker: 11,669 posts
AeroScale: 11,011 posts
Posted: Wednesday, May 30, 2012 - 03:44 PM UTC
Excellent work on the resin cylinder.
". . .The most important thing is to know why you build and then get the most that you can out of building." via D.D.
Krakow, Poland
Joined: August 21, 2010
KitMaker: 486 posts
AeroScale: 485 posts
Posted: Friday, June 08, 2012 - 07:47 AM UTC
Really beautiful work. The more that the model is not very accurate, and you needed to improve a much

good job
Bas-Rhin, France
Joined: May 21, 2006
KitMaker: 472 posts
AeroScale: 471 posts
Posted: Sunday, June 10, 2012 - 06:57 AM UTC
Yes....I'm not clear.
Hello,
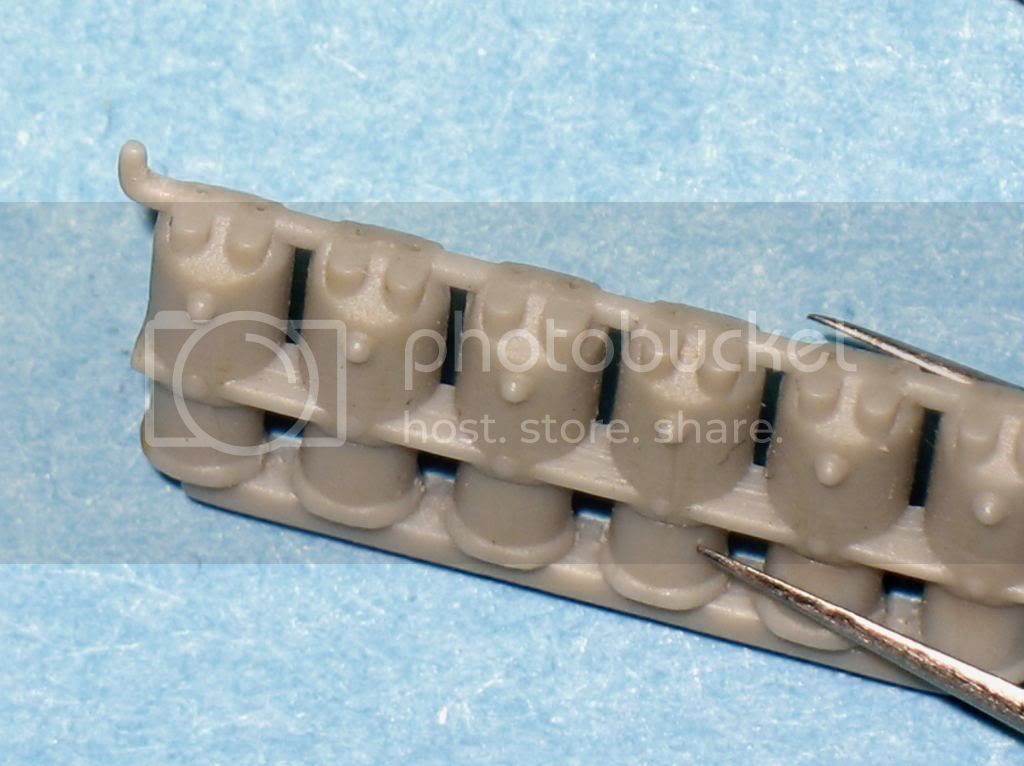
The cylinders are too skinny .... The upper parts of the cylinders should be almost edge to edge.

If I put them against one another, the exhaust would not be facing the hole. It should therefore be replaced...
What's more, the holes on the right side from which the stems of "rockers arm" would no longer aligned with the cylinders, it should therefore also redo the engine block ...
The resin contains some places, tiny bubbles that appear during polymerization . I'm tapping the mold during drying but there always. I tried a "vacuum pump" to "degas" it was worse.
If you know how I could doing.
A +
Next time I would think a little further.
Colorado, United States
Joined: January 25, 2004
KitMaker: 11,669 posts
AeroScale: 11,011 posts
Posted: Sunday, June 10, 2012 - 01:35 PM UTC
Greetings Louis,
I know a fellow who casts his own resin and bubbles are a hazard. Even the Tom's Modelworks kits had bubbles. Some of the resin from Vector (Neomega owner is a member & advertizer here). Barracuda studios also (recent review items), the old Hi-Tech and Pavla all prove to be bubble free. I am thinking it takes high injection force to avoid it completely.
One possible choice is styrene rod or tubing slow turned on a small lathe and a scribing tool cutting the lower troughs (valleys) between the water jacket ribbing. Evergreen or Plastruct may have what you want there.
". . .The most important thing is to know why you build and then get the most that you can out of building." via D.D.
Västra Götaland, Sweden
Joined: February 19, 2010
KitMaker: 1,473 posts
AeroScale: 1,450 posts
Posted: Sunday, June 10, 2012 - 09:50 PM UTC
What a great build Louis your attention to detail is fantastic. Shame about the air bubbles and skinny cylinders but they still look like a real improvement from the kit parts.
Hope to see more soon!
Best Regards
Mikael
_________________________________________________________
Just finished the Wingnut Wings Taube. On to the Junkers D.1
Bas-Rhin, France
Joined: May 21, 2006
KitMaker: 472 posts
AeroScale: 471 posts
Posted: Friday, July 06, 2012 - 01:26 AM UTC
Thank you gentlemen
Hello,
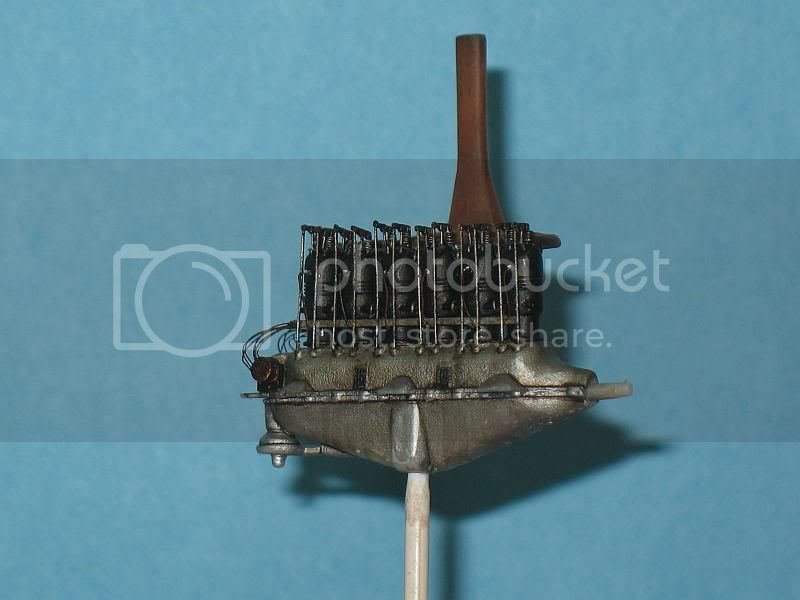
I made a new mold.
The cylinders are wider.
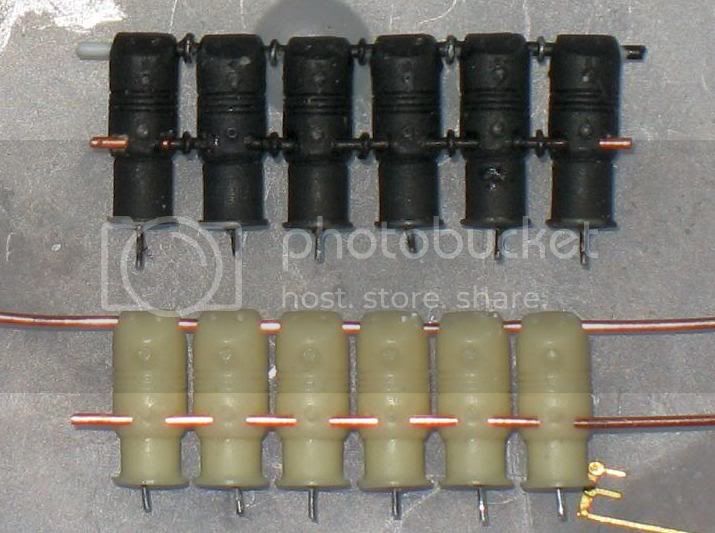

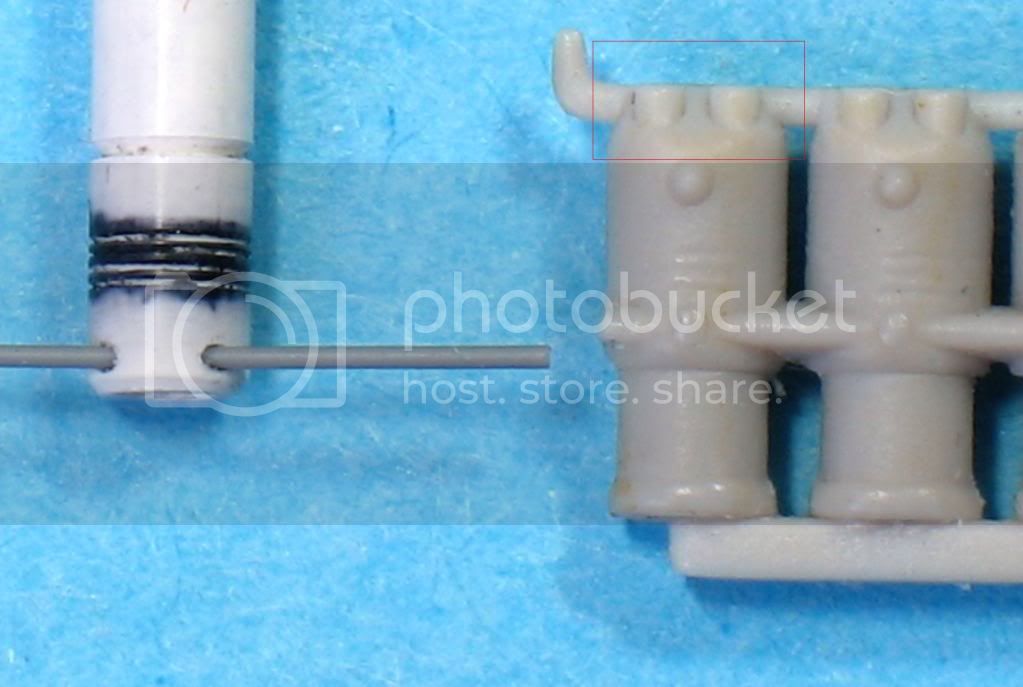
They are strung one after another, like beads, to be well positioned relative to the rocker shaft.
The rings on horizontal rods are lead wire.
The pipes containing cables ignitions are recovered on the photoetched PART.
The pushrods are those manufactured by PART.
The spring is made of metallic wire.
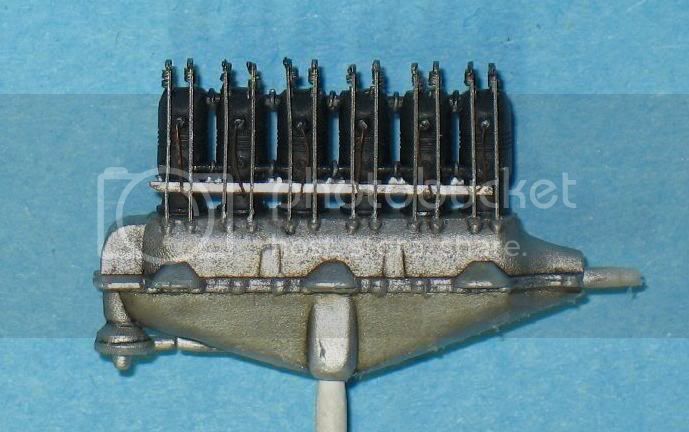
Of course they do not fit very well at the top of the cylinders.
At 1/48 that it does not see without a magnifying glass, fortunately...

Regards
Västra Götaland, Sweden
Joined: February 19, 2010
KitMaker: 1,473 posts
AeroScale: 1,450 posts
Posted: Saturday, July 07, 2012 - 03:51 AM UTC
Beautiful mods to the engine Louis, this is one interesting build!
Mikael
_________________________________________________________
Just finished the Wingnut Wings Taube. On to the Junkers D.1
Bas-Rhin, France
Joined: May 21, 2006
KitMaker: 472 posts
AeroScale: 471 posts
Posted: Saturday, July 07, 2012 - 11:52 PM UTC
Thank you Mikael.
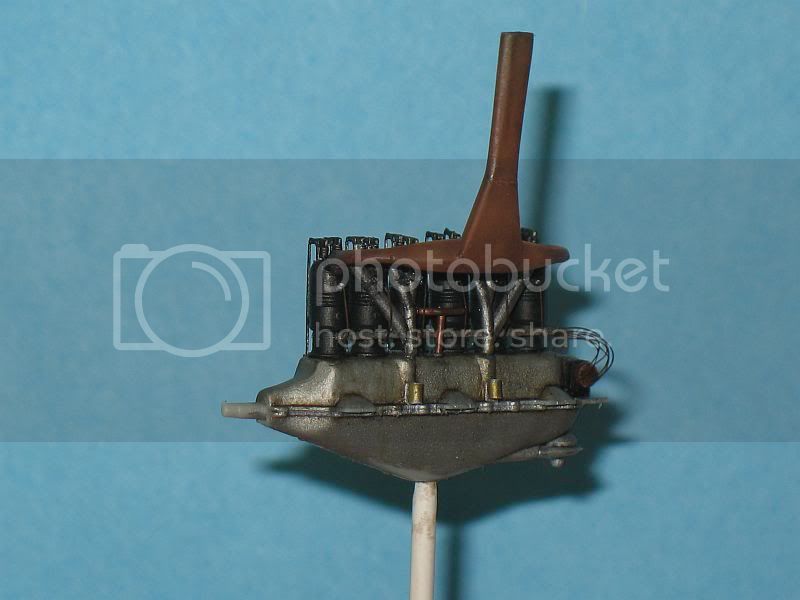
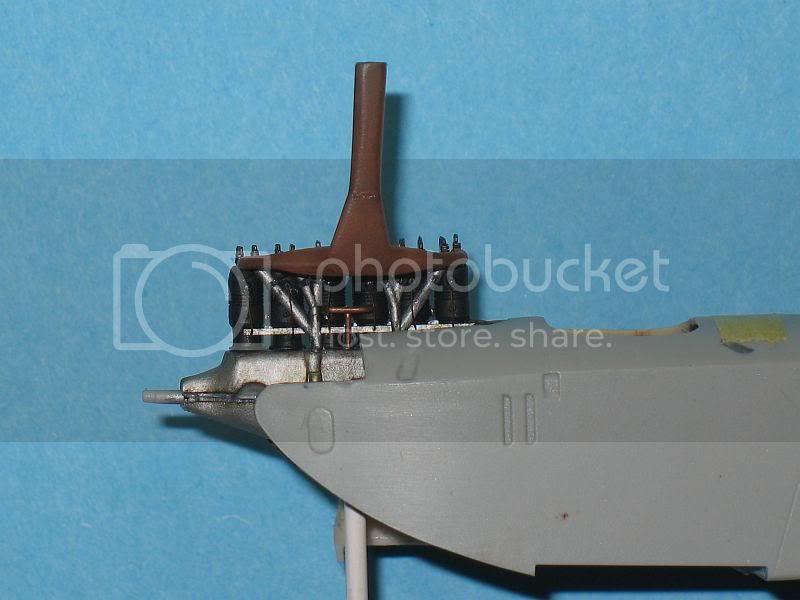
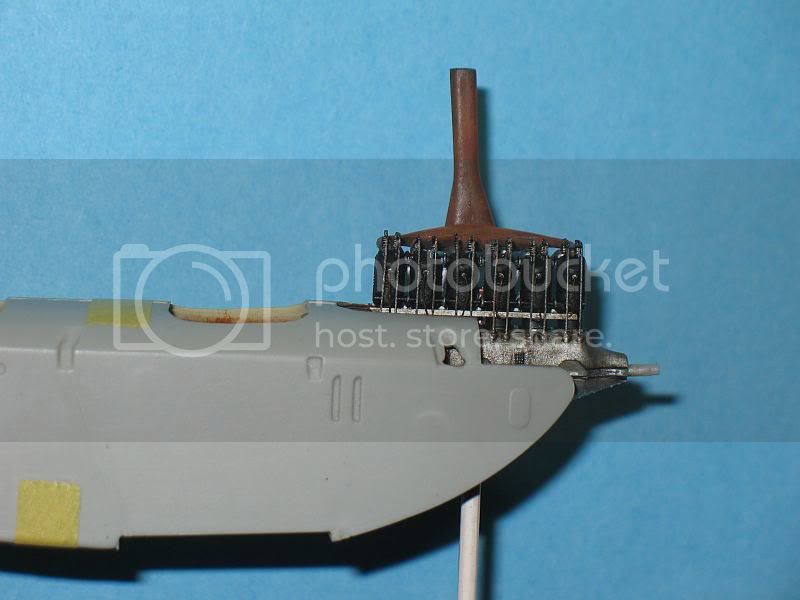
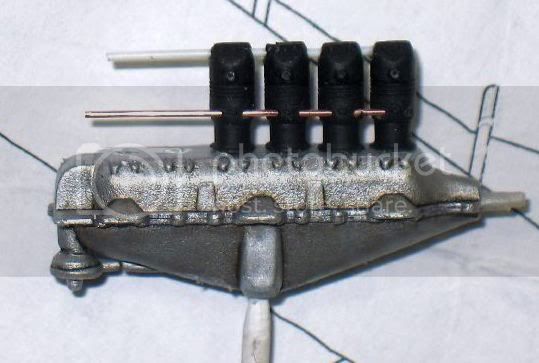
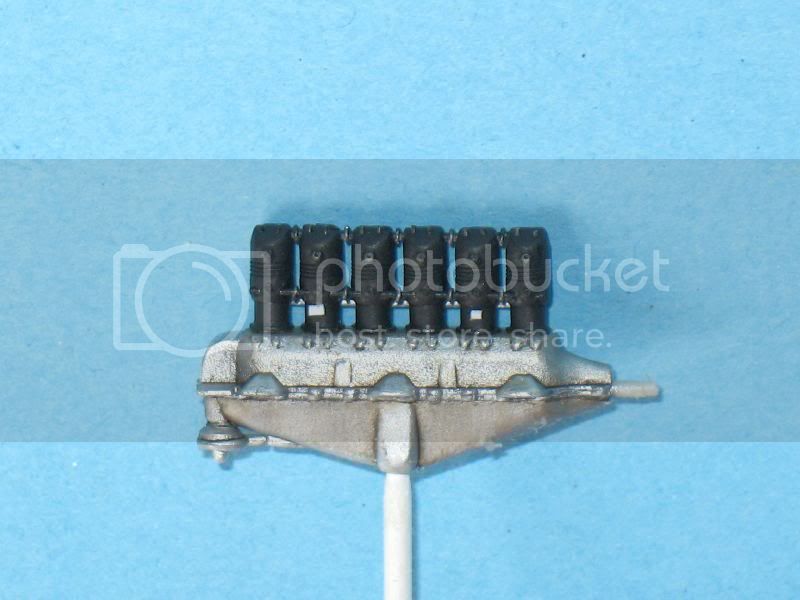
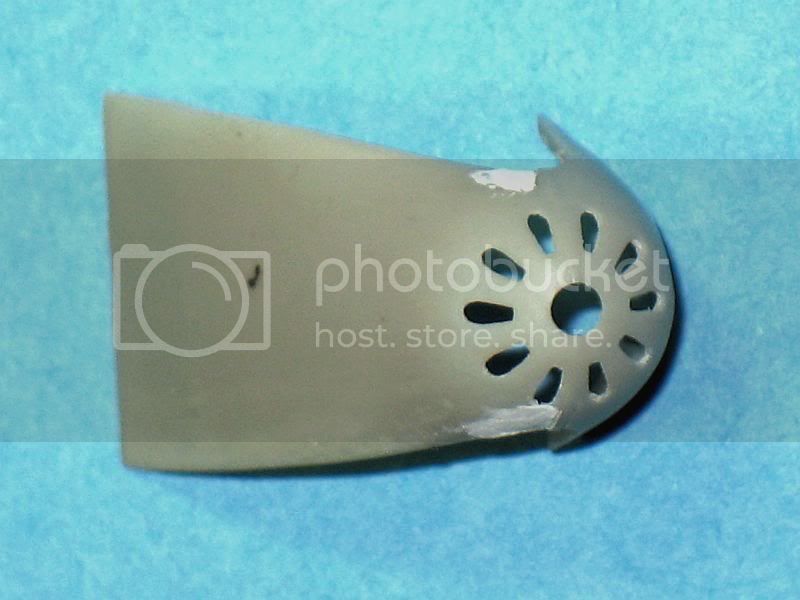
The forward fuselage is made thinner and perforated. The front hole is square and not pointed like on the kit.
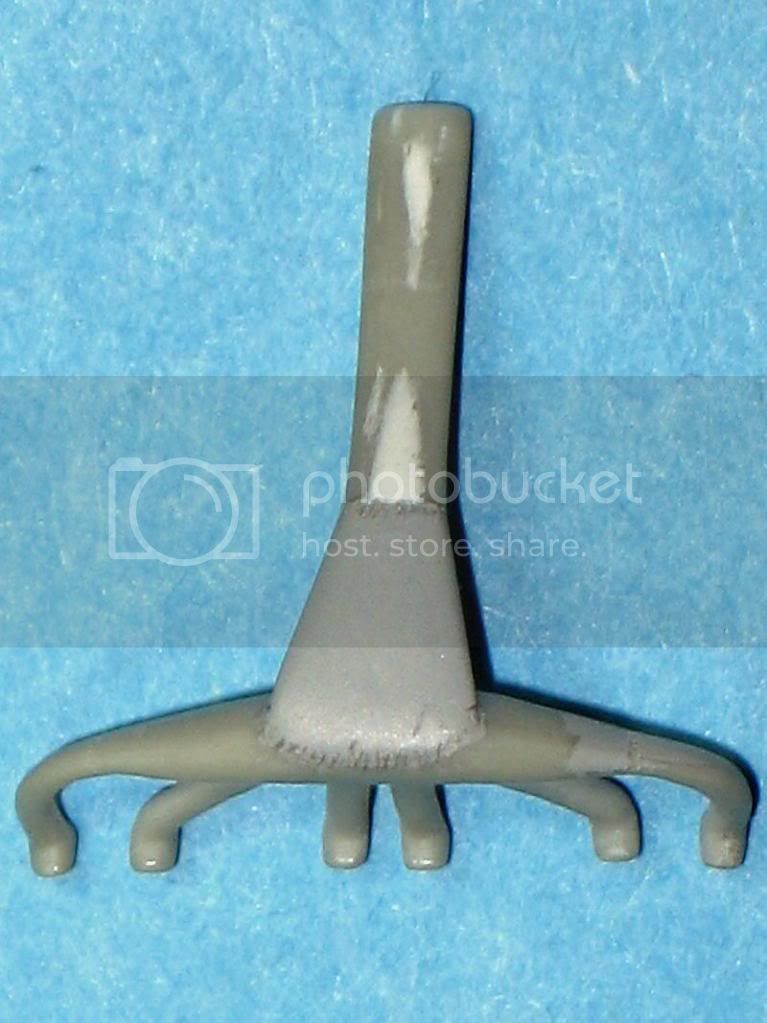
The exhaust with a "trace of welding". I did not find any photos of this model of exhaust.
A +
England - South East, United Kingdom
Joined: September 15, 2004
KitMaker: 4,728 posts
AeroScale: 1,351 posts
Posted: Sunday, July 08, 2012 - 05:18 AM UTC
Louis very nice work so far, I have this kit in the stash so will follow your build with interest.
On the bench...
Italeri A129 Mangusta
British Bulldog Spitfire theme build
Bas-Rhin, France
Joined: May 21, 2006
KitMaker: 472 posts
AeroScale: 471 posts
Posted: Monday, July 09, 2012 - 10:40 AM UTC
Bas-Rhin, France
Joined: May 21, 2006
KitMaker: 472 posts
AeroScale: 471 posts
Posted: Thursday, July 12, 2012 - 08:27 AM UTC
Hello,
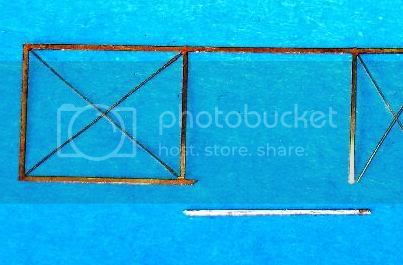
Some areas need to be filled along the fuselage.
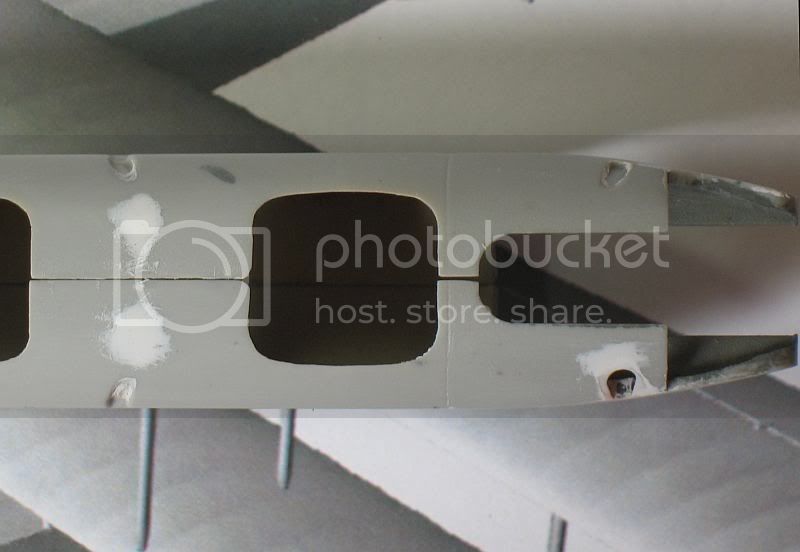
The orifice through which the pipe between the cooling system and a mast is filled with a piece of thin plastic card and recut.
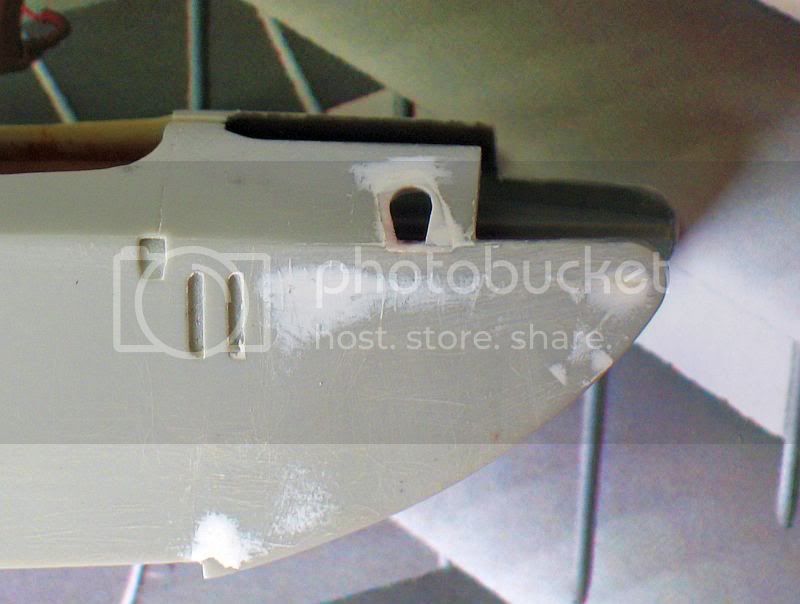

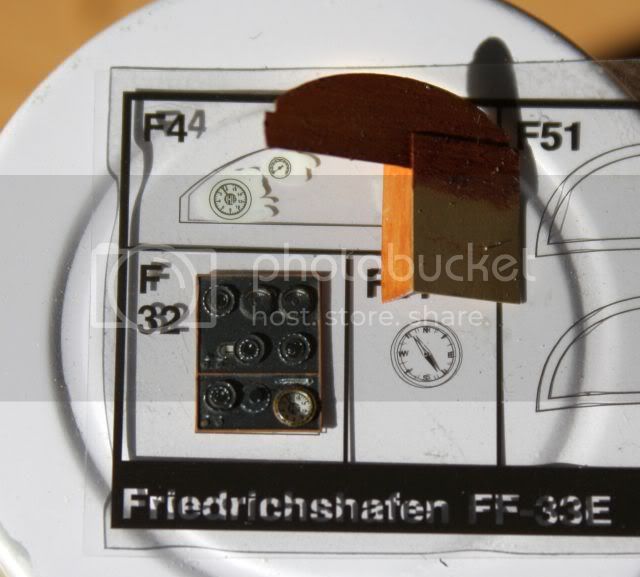
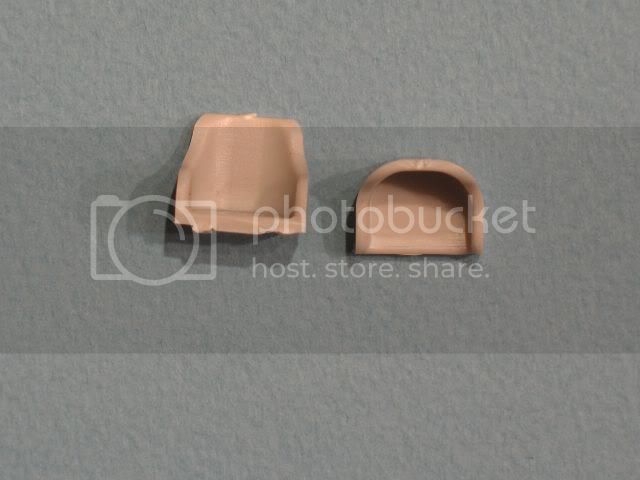
Problem: [/ b] How to convert a very small and very flat part into a curved air intake??
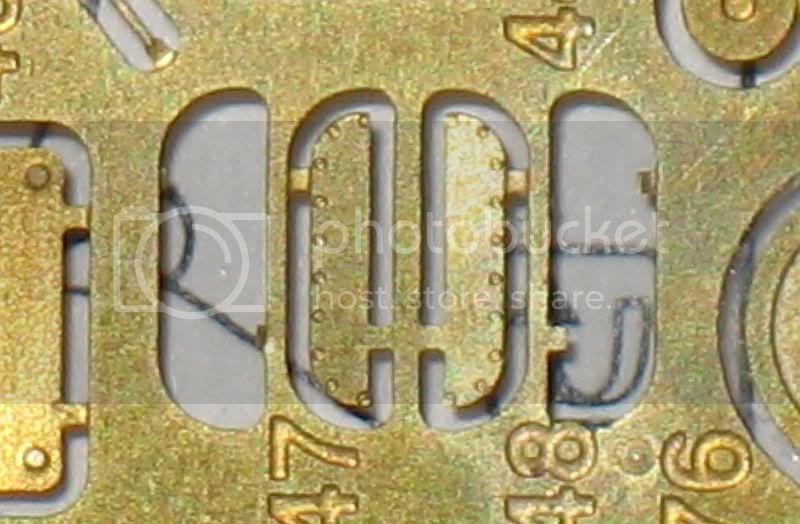
It covers these holes.

The plan indicates no symbol legend that I interpreted as "[i] you'll have to manage by yourself we do not know how you can make it [/ i]".
The piece is cut and cleaned and then taped to the back.
It is set up above the hole and then stamped with a toothpick.
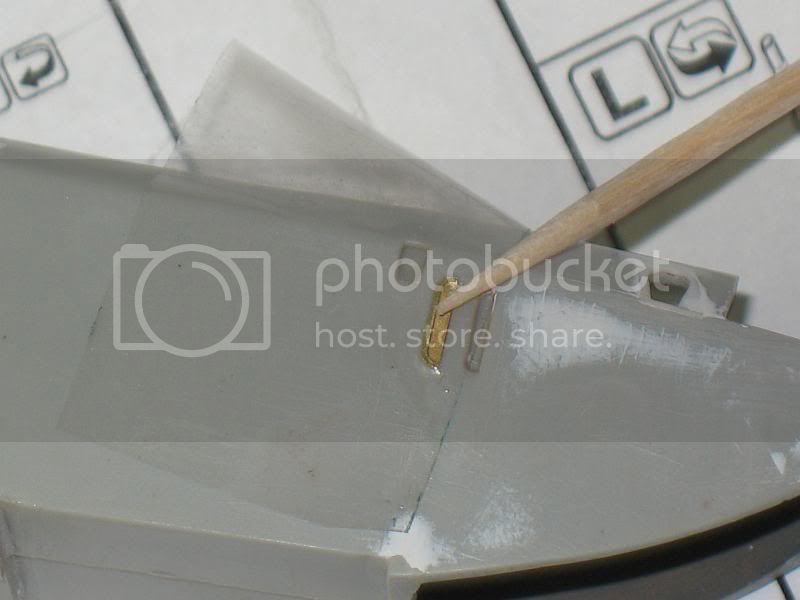
It looks like this:
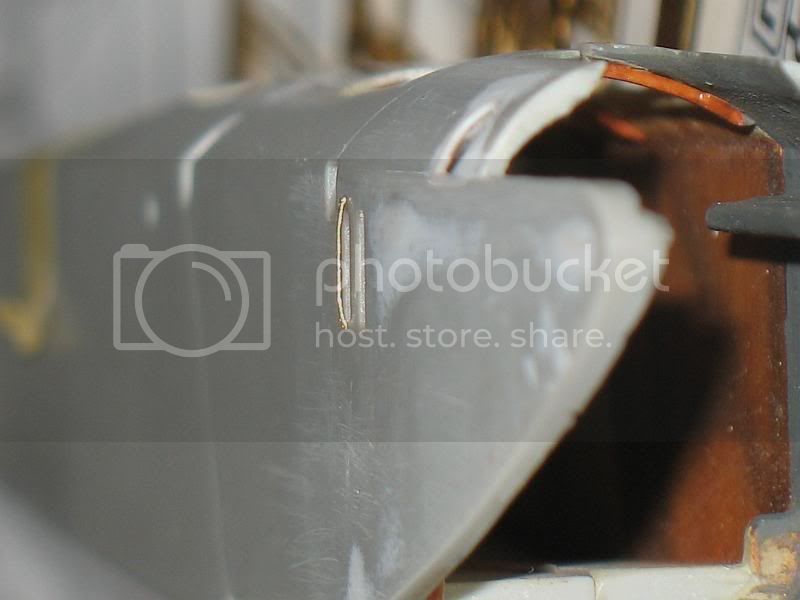
It's almost good.
I do not know how the designers from PART wanted to do that but they are well advised to make an effort to sell parts that can be used and instructions COMPREHENSIBLE!!
Thank you in advance.
Bas-Rhin, France
Joined: May 21, 2006
KitMaker: 472 posts
AeroScale: 471 posts
Posted: Sunday, July 15, 2012 - 12:22 AM UTC
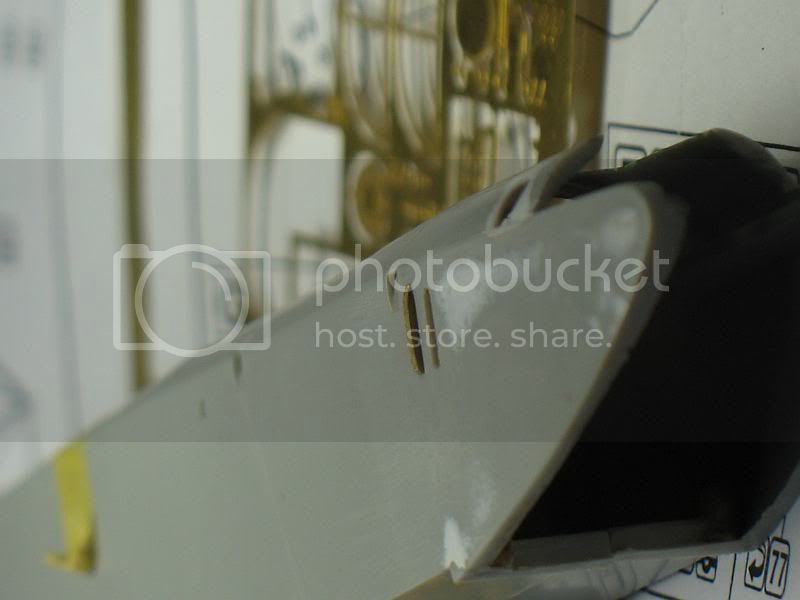
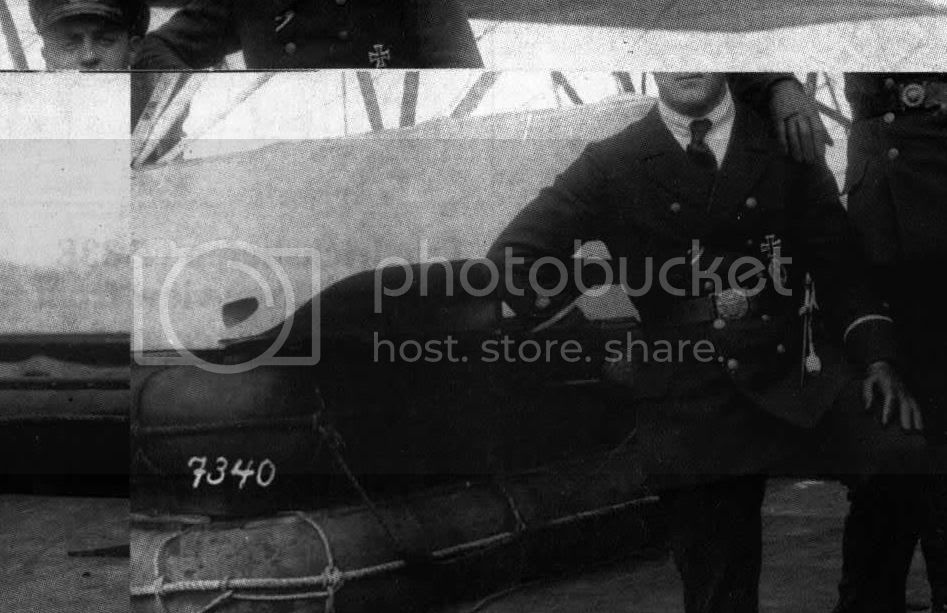
The FLOAT:
I find (winsock datafile) at least six differents types of floats ... The floats of the kit does not match any of them.
The rear section is "stand up" and wide. Two steps under the hull:
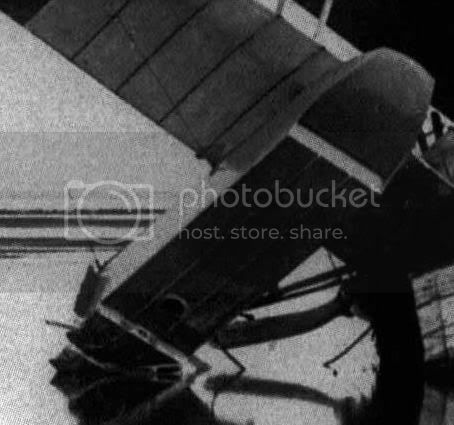
The even without the rounded careenage at the rear:
At the rear, after the "step", a long hull:
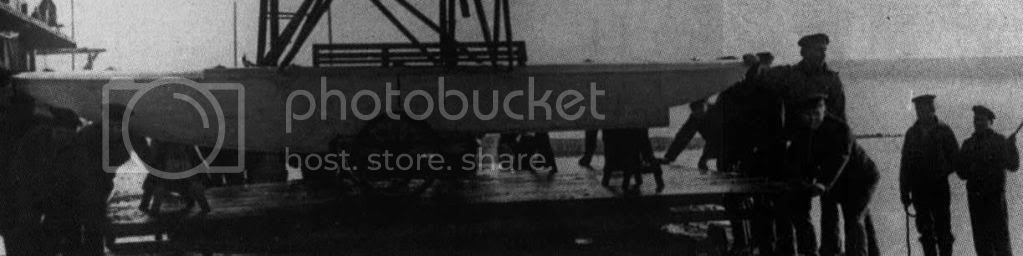
at the rear, after the "step", a small hull.

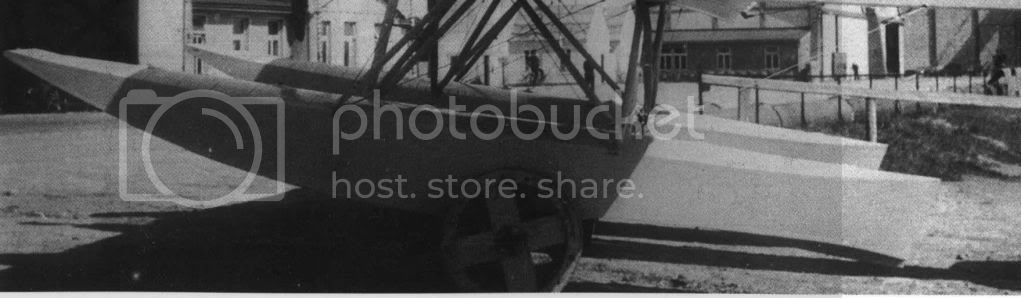
A "spoiler" was added on each side. A single step under the hull


You can choose the best one....
From "The Red Baron" :
"Only the very early ones with the small rudder had the longitudinal stiffeners on top of the floats like the kit ones (so are wrong), and the dimensions varied by batch - check the drawings on pages 32 and 33 of the Datafile.
Regards
Alberta, Canada
Joined: July 26, 2010
KitMaker: 1,032 posts
AeroScale: 1,025 posts
Posted: Sunday, July 15, 2012 - 01:18 AM UTC
Louis,
Certainly lots of adversity and challenges however you are doing a fine job on this one. The engine is supurb, and the rest is coming along to the same standard.
Compliments on a great effort!
Cheers,
Lance
Officially Retired as of 20 August 2013 and looking forward to some un-interrupted bench time. Currently starting Roden's Nieuport 28 and hoping to follow that with another WNW Fokker DVII.