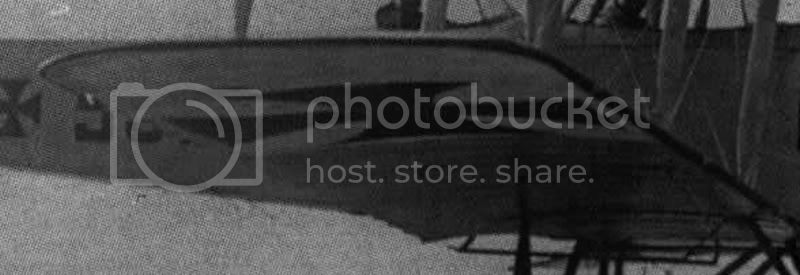
Thank you Lance.
The caps on the floats are line-in center.
N°871
Or not...
They are sometimes on the banks of the floats. On the right of the two floats.
N°841
N° 5...
On the left.
N°841 again
N°849
Tell me if you see the same thing ...or not.
Regards
Early Aviation
Discuss World War I and the early years of aviation thru 1934.
Hosted by Jim Starkweather
Techmod 1:48 Friedrichshafen FF-33E
Louis
Bas-Rhin, France
Joined: May 21, 2006
KitMaker: 472 posts
AeroScale: 471 posts
Joined: May 21, 2006
KitMaker: 472 posts
AeroScale: 471 posts
Posted: Sunday, July 15, 2012 - 09:21 AM UTC
Removed by original poster on 07/16/12 - 06:00:42 (GMT).
Louis
Bas-Rhin, France
Joined: May 21, 2006
KitMaker: 472 posts
AeroScale: 471 posts
Joined: May 21, 2006
KitMaker: 472 posts
AeroScale: 471 posts
Posted: Monday, July 23, 2012 - 10:11 AM UTC
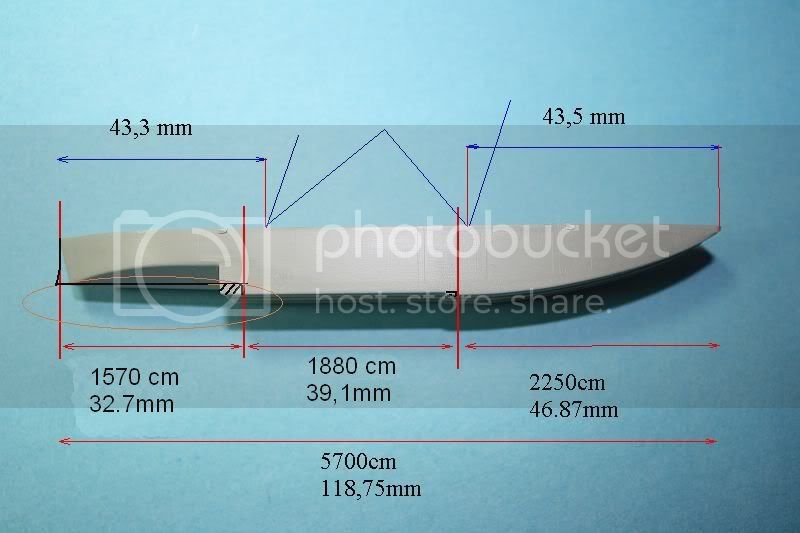
The trapdoors from Part are the ones of the Swedish FF49 kept(preserved). They are not good...
The new one:
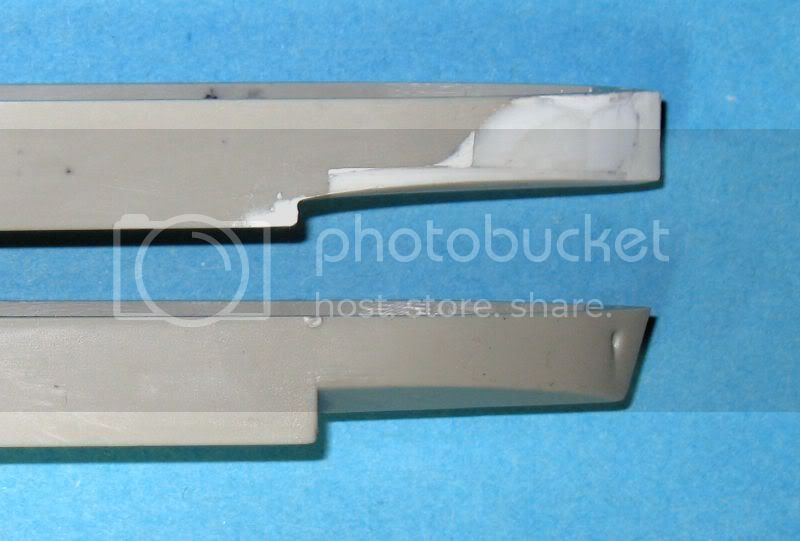
The floats of 884 are too much differents from those of the model ( the back).
N° 729, I don't see the radiator, floats are OK...
N°871 seems to be the best...but the rear of the float is not visible.
I'll remake floats.
I have only an indistinct plan in the thick lines.
All figures are not readable.
5700 = 1?70 + 1??0 + 22?0
I have to compare the plan with the scale, the figures and the photos.
I put the addition with readable figure. I eliminated solution which correspond least to the plan and to the photos.
After many hesitations (I don't read 1570...) I chose to keep(guard) these measures.
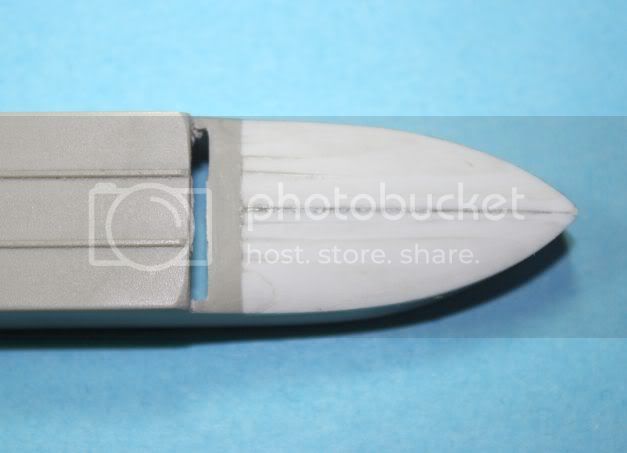
and after sanding....
Best regards.
JackFlash
Colorado, United States
Joined: January 25, 2004
KitMaker: 11,669 posts
AeroScale: 11,011 posts
Joined: January 25, 2004
KitMaker: 11,669 posts
AeroScale: 11,011 posts
Posted: Monday, July 23, 2012 - 02:27 PM UTC
Excellent! The images of Friedrchshafen FF-33e out of the water really reflect what you are doing to the floats.
Posted: Monday, July 23, 2012 - 02:49 PM UTC
Louis,
I appreciate all of the research and effort you are putting into this build!
Louis
Bas-Rhin, France
Joined: May 21, 2006
KitMaker: 472 posts
AeroScale: 471 posts
Joined: May 21, 2006
KitMaker: 472 posts
AeroScale: 471 posts
Posted: Monday, July 23, 2012 - 08:07 PM UTC
Thanks!!!
Regards
Regards
Louis
Bas-Rhin, France
Joined: May 21, 2006
KitMaker: 472 posts
AeroScale: 471 posts
Joined: May 21, 2006
KitMaker: 472 posts
AeroScale: 471 posts
Posted: Tuesday, July 24, 2012 - 05:09 AM UTC
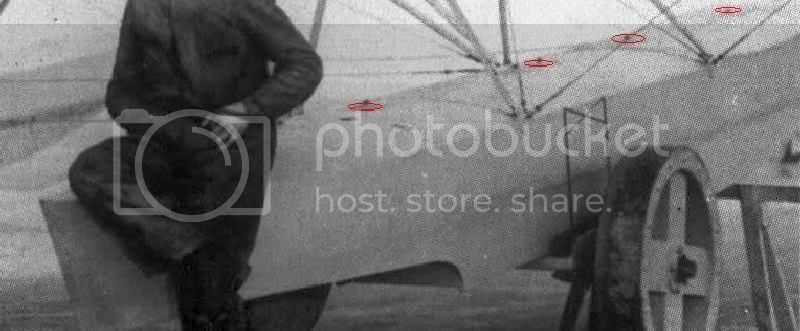
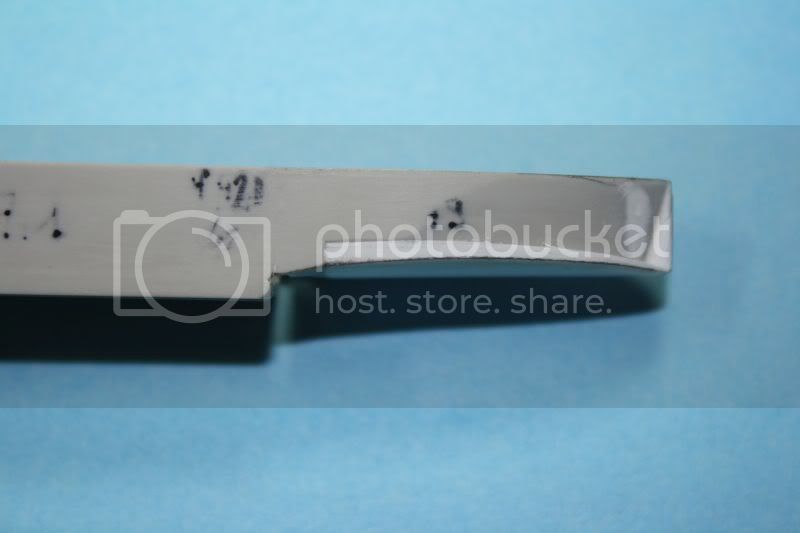
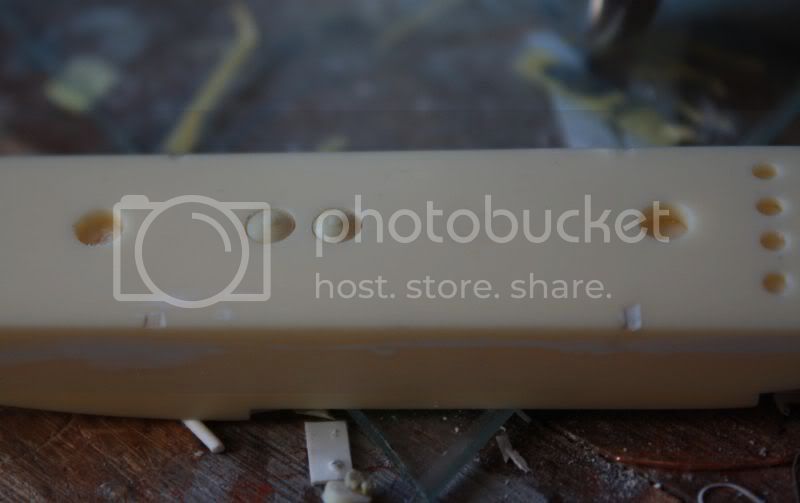
The floats have four dark marks just rear of the rear mounts -
Do you have any idea what they are?
Louis
Bas-Rhin, France
Joined: May 21, 2006
KitMaker: 472 posts
AeroScale: 471 posts
Joined: May 21, 2006
KitMaker: 472 posts
AeroScale: 471 posts
Posted: Tuesday, July 24, 2012 - 10:58 AM UTC
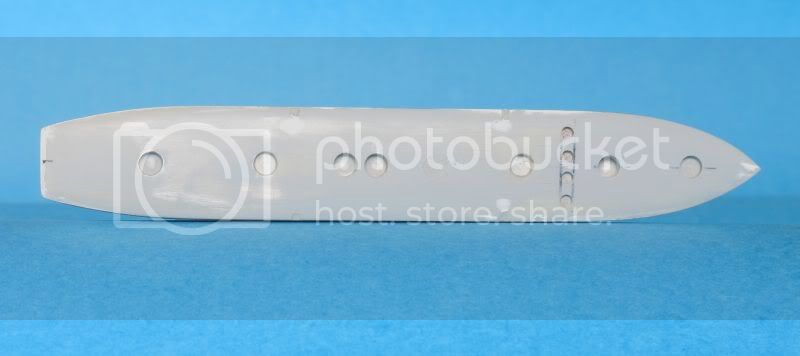
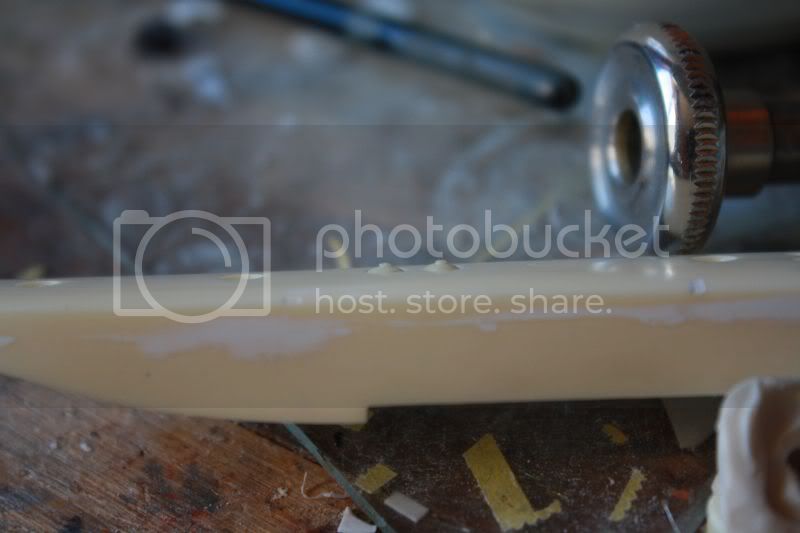
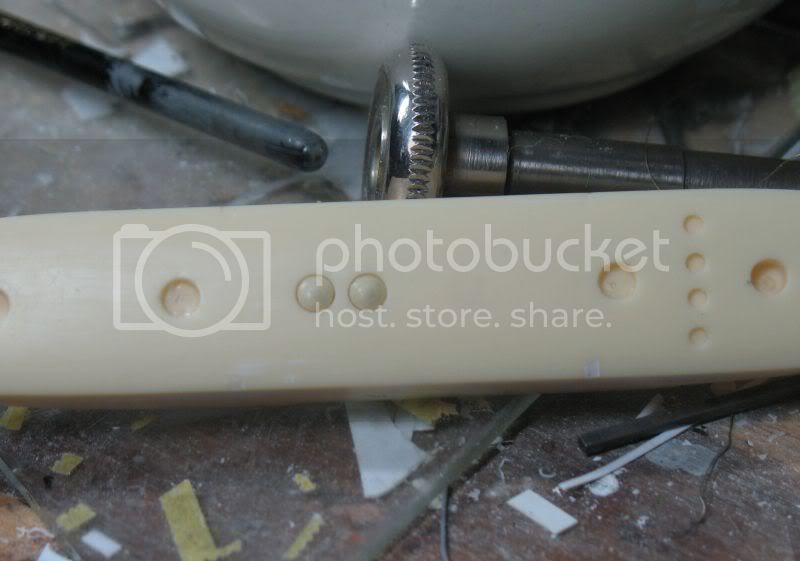
and more sanding....
Louis
Bas-Rhin, France
Joined: May 21, 2006
KitMaker: 472 posts
AeroScale: 471 posts
Joined: May 21, 2006
KitMaker: 472 posts
AeroScale: 471 posts
Posted: Thursday, July 26, 2012 - 10:46 AM UTC
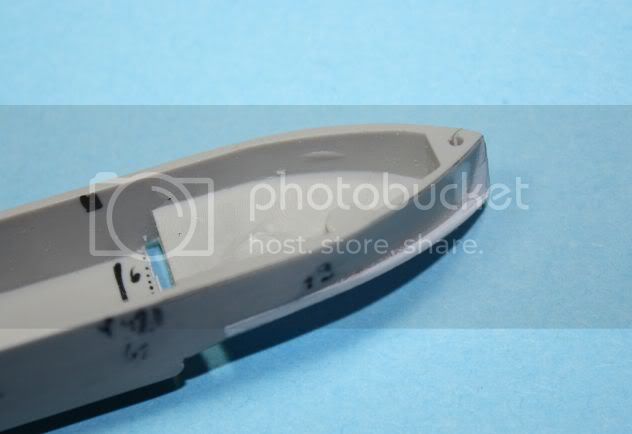
The deck of the float is stuck. The back is raised with a piece of plastic stuck under the bridge(deck) (arrow blue). The edges of the lid are sanded on all their length.
Remain to sand....
Regards.
Remain to sand....
Regards.
JackFlash
Colorado, United States
Joined: January 25, 2004
KitMaker: 11,669 posts
AeroScale: 11,011 posts
Joined: January 25, 2004
KitMaker: 11,669 posts
AeroScale: 11,011 posts
Posted: Thursday, July 26, 2012 - 12:40 PM UTC
Are you going to make resin copies of the floats? Anyone who owns this kit should be interested. By the way I just dusted some cobwebs off a few older synaptic pathways. . .if memory served there is an Old C&C USA issue that dealt with the Raider Wolf & her cub. The front cover has an image of Wolfchen out of the water. I'll give it a check later tonight.
Louis
Bas-Rhin, France
Joined: May 21, 2006
KitMaker: 472 posts
AeroScale: 471 posts
Joined: May 21, 2006
KitMaker: 472 posts
AeroScale: 471 posts
Posted: Friday, July 27, 2012 - 07:58 AM UTC
Quoted Text
Are you going to make resin copies of the floats? Anyone who owns this kit should be interested.
Hello Stephen,
I have never molded a part so big...
I thought of molding only the back part which was modified. If the float is "beautiful" I shall make a mould.
Regards.
Louis
Bas-Rhin, France
Joined: May 21, 2006
KitMaker: 472 posts
AeroScale: 471 posts
Joined: May 21, 2006
KitMaker: 472 posts
AeroScale: 471 posts
Posted: Friday, August 31, 2012 - 03:25 AM UTC
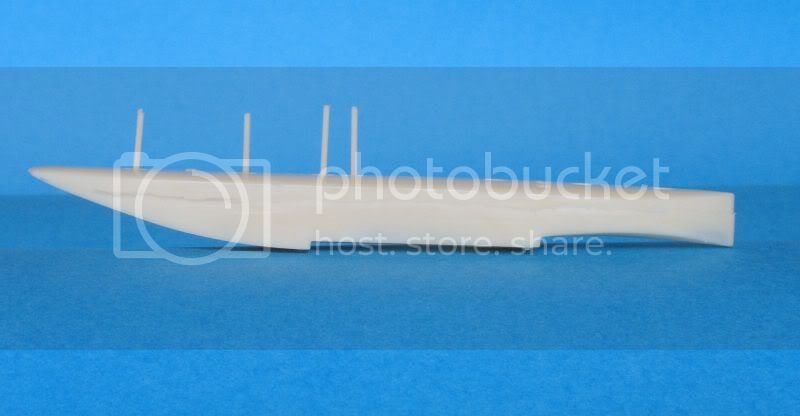
Hello,
I sanded, and still sanded...
So that it is as on the plan, I removed 2mm of its height.
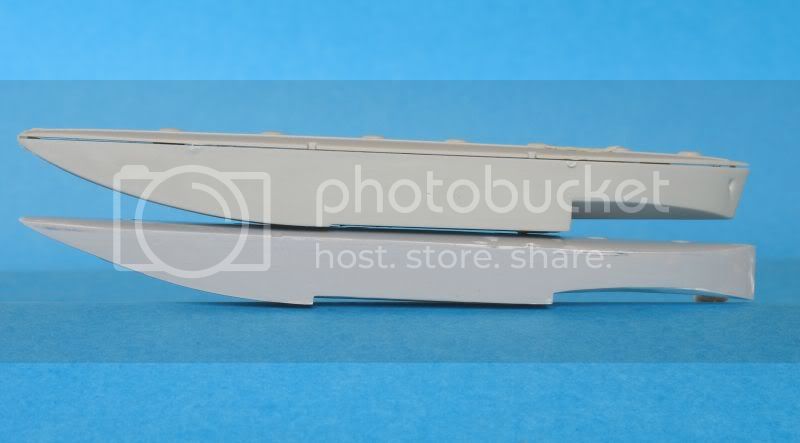
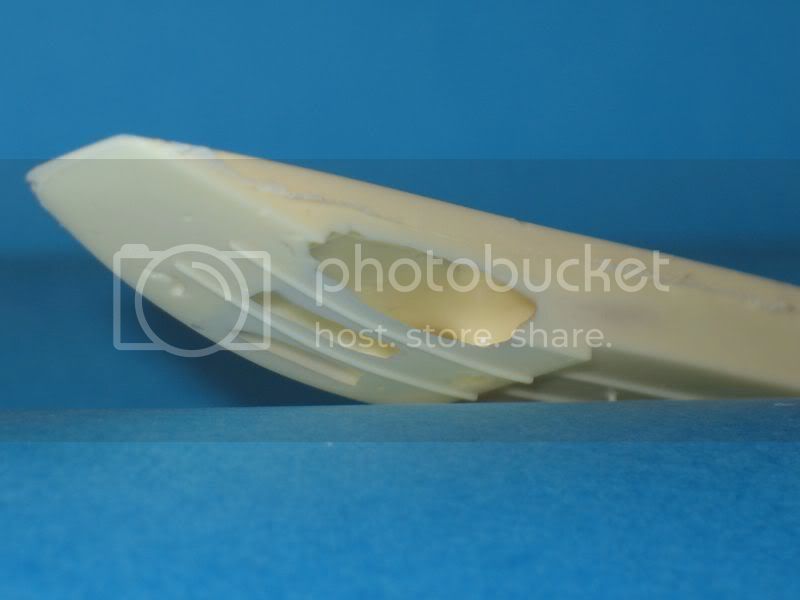
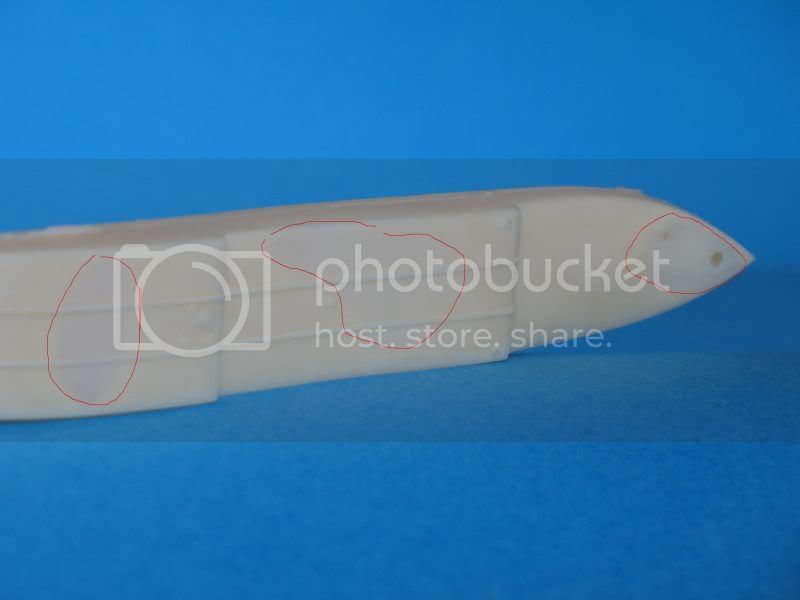
I made a copy in resin but I have big air bubbles inside (in red).
First try:
Second try:
Sides are very smooth but they are very fine by place.
The resin polymerizes very fast. I do not know how to avoid big bubbles.
Floats are heavy, 20g each.I hope that it will not raise problems.
Regards.
JackFlash
Colorado, United States
Joined: January 25, 2004
KitMaker: 11,669 posts
AeroScale: 11,011 posts
Joined: January 25, 2004
KitMaker: 11,669 posts
AeroScale: 11,011 posts
Posted: Friday, August 31, 2012 - 08:46 AM UTC
Greetings Louis. I may have a solution for you. I will know more tomorrow. I have to check with someone.
JackFlash
Colorado, United States
Joined: January 25, 2004
KitMaker: 11,669 posts
AeroScale: 11,011 posts
Joined: January 25, 2004
KitMaker: 11,669 posts
AeroScale: 11,011 posts
Posted: Friday, August 31, 2012 - 08:48 PM UTC
Check your Personal Messages inbox here at Aeroscale. We have a friend who says he will help.
Louis
Bas-Rhin, France
Joined: May 21, 2006
KitMaker: 472 posts
AeroScale: 471 posts
Joined: May 21, 2006
KitMaker: 472 posts
AeroScale: 471 posts
Posted: Friday, September 07, 2012 - 08:53 AM UTC
Thank you Sephen.
Mister "Taurus Models" explain to me how removed bubble.
It's perfect!
"As far as bubbles are concerned, it's true: walls will be deformed during painting, I'm sure of this... but You can manage with this bubbles with very easy trick. Note, that the order of actions is important.
1) Cover of Your casted float by Teflon oil (or alternatively paraffin oil).
2) Let it completly dry.
3) In the place easy to treat, the bubble is visible through the wall, drill small hole (0,5mm).
4) Prepare syringe with needle 0,5 mm for liquid resin.
5) Mix the resin and inject it into the bubble - the resin should flow outside the bubble through drilled hole.
6) Remove syringe and roughly clear flown resin by sheet.
7) Wait, untill the resin in the filled bubble hardens just a little (still little plastic) and remove any outside remains of resin (thanks to Teflon oil it is very easy)
8) Remove teflon oil by spirits (do not use acetone!!)"
Thank you very much Lukasz.
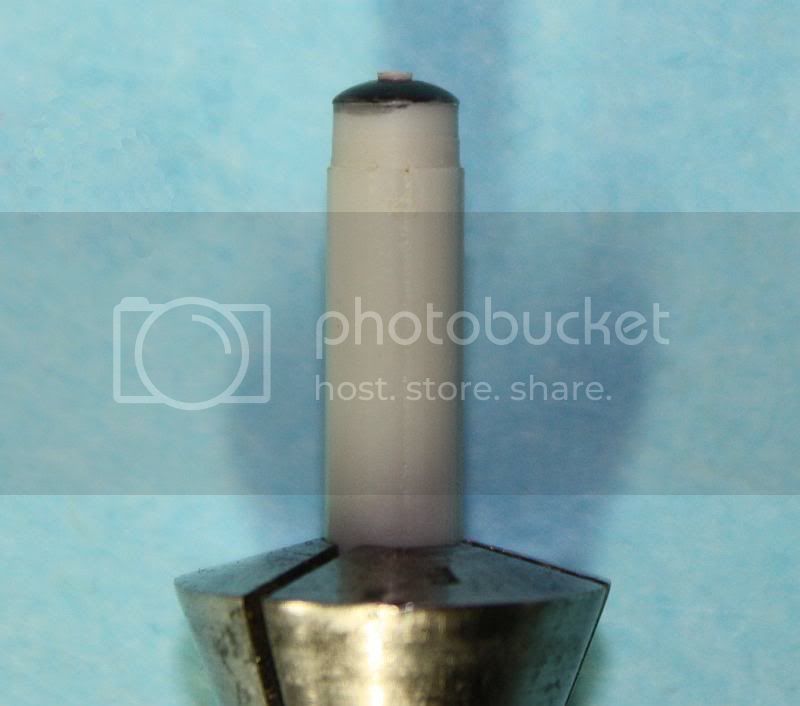
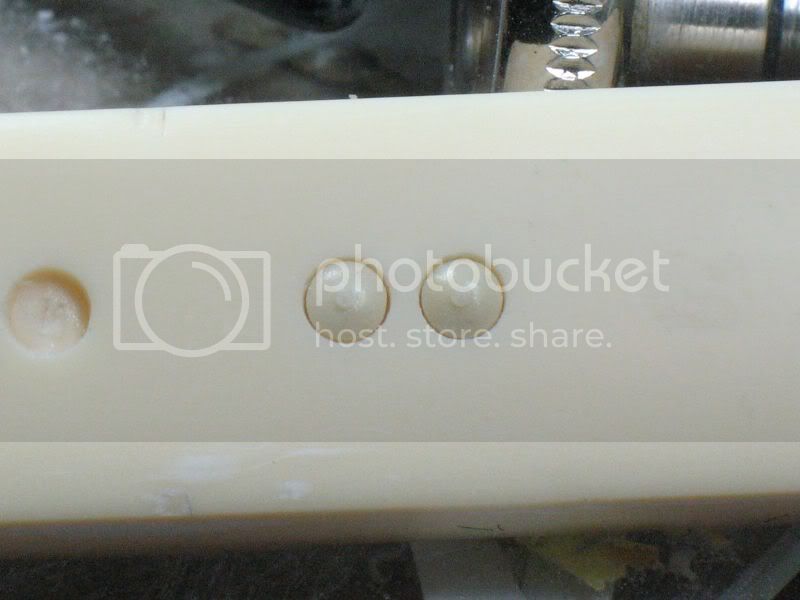
One float with two "caps":
Regards.
JackFlash
Colorado, United States
Joined: January 25, 2004
KitMaker: 11,669 posts
AeroScale: 11,011 posts
Joined: January 25, 2004
KitMaker: 11,669 posts
AeroScale: 11,011 posts
Posted: Friday, September 07, 2012 - 12:54 PM UTC
A manufacturer takes time to help a modeler! Marvelous!
OEFFAG_153
Västra Götaland, Sweden
Joined: February 19, 2010
KitMaker: 1,473 posts
AeroScale: 1,450 posts
Joined: February 19, 2010
KitMaker: 1,473 posts
AeroScale: 1,450 posts
Posted: Saturday, September 08, 2012 - 01:39 AM UTC
Beautiful casts Louis – this is one faschinating project!
Best Regards
Mikael
Best Regards
Mikael
Louis
Bas-Rhin, France
Joined: May 21, 2006
KitMaker: 472 posts
AeroScale: 471 posts
Joined: May 21, 2006
KitMaker: 472 posts
AeroScale: 471 posts
Posted: Friday, November 02, 2012 - 12:54 AM UTC
Thank you very much for your nice words.
Hello,
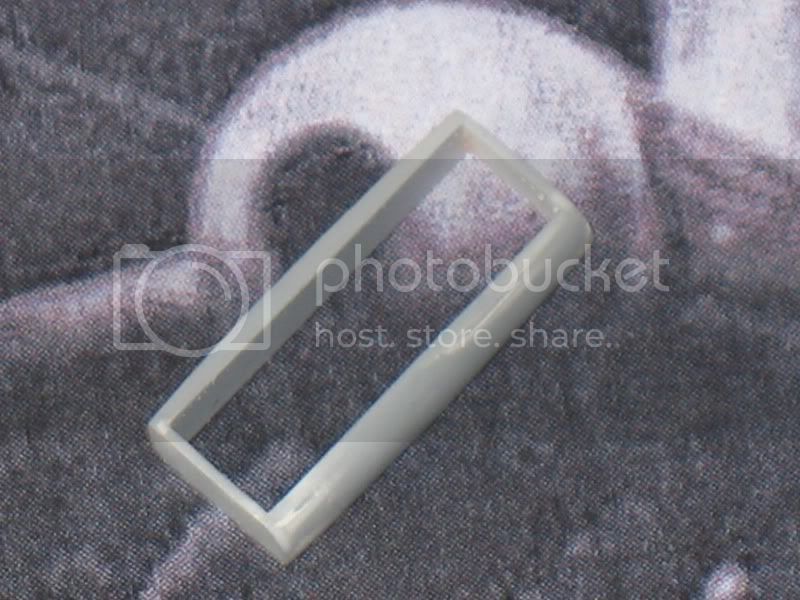
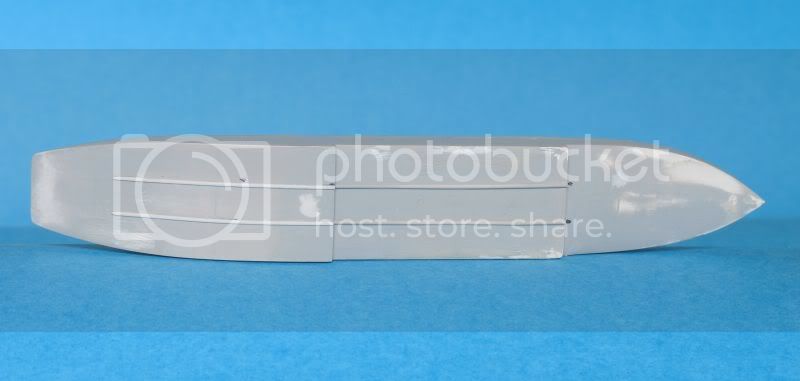
Both anti-skid zones are made plastic stretched stuck on a piece of adhesive tamiya and sanded in dish(flat) to flatten a face. It is rather easy and fast to make:
The "drift" are in plastic card 0.25mm stuck on the side of the float in a hollow accentuated with scalpel.
They will be painted in blue grey. 1x (XF 82) + 2 x white. what is alike in FS 83 a lot....
The radiator is too small in my opinion and badly placed. It is embeded in the wing [ u ] and not [/u] in front of the wing as on the Kit. We see him(it) very well on certain photos.
So we cut:
It is fixed between the second nervures right and left (by leaving of the center).
I enlarged my radiator, it spends 16 in 17.8mm. Its shape changes so a lot: sharp in front, "sharp" in the summit.
The bottom of the radiator is not flat but has the shape of a flat triangle in the truncated summit (you see?). The shape of the radiator depend on the plane and of period.
Card(Map) blows up 0.5mm
Baguettes rounded off to give the shape of the summit.
PART supplied a beautiful series of shutter horizontal very fine but I saw it on no photo....I don't use it.
A PE wire netting remains very big. I make a new on with a tea bag.
The motor hood adapts itself rather badly (I find).
It must be put after the engine. What obliges us to make the work of filling sanding then paint with the engine in position. Very difficult for me.
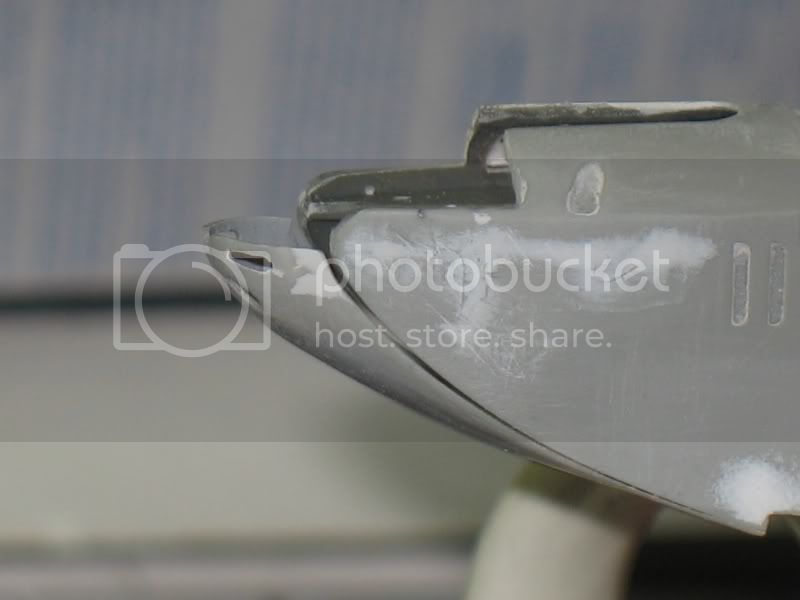
I cut the hood in two in the horizontal plan. The low part is stuck little by little by leaving of bottom.
When everything will be ended (retouch are not simple) I shall put the engine, the top of the hood and the details which disappeared during the cut.
Regards.
Hello,
Both anti-skid zones are made plastic stretched stuck on a piece of adhesive tamiya and sanded in dish(flat) to flatten a face. It is rather easy and fast to make:
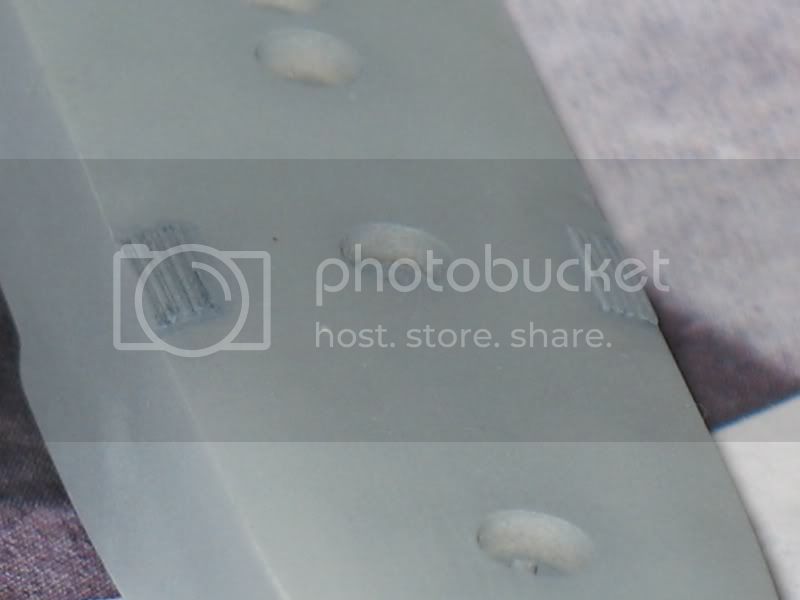
The "drift" are in plastic card 0.25mm stuck on the side of the float in a hollow accentuated with scalpel.
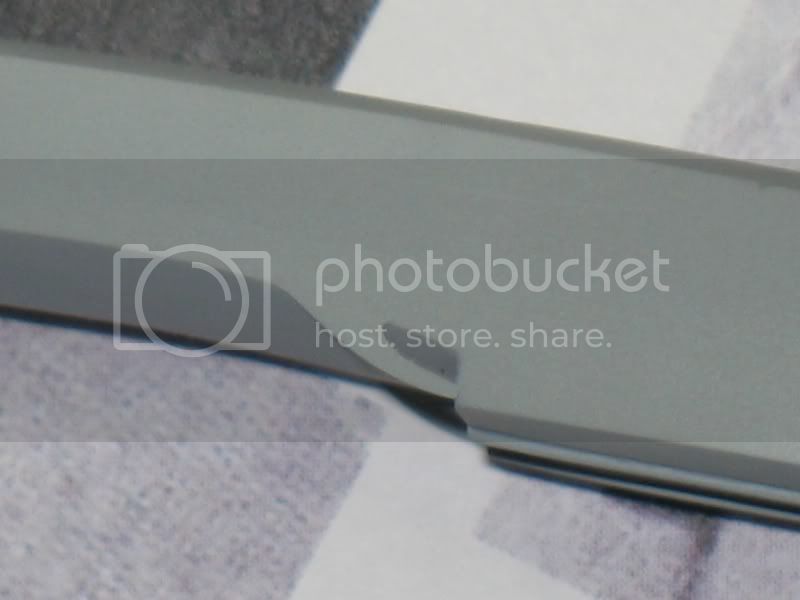
They will be painted in blue grey. 1x (XF 82) + 2 x white. what is alike in FS 83 a lot....
The radiator is too small in my opinion and badly placed. It is embeded in the wing [ u ] and not [/u] in front of the wing as on the Kit. We see him(it) very well on certain photos.
So we cut:
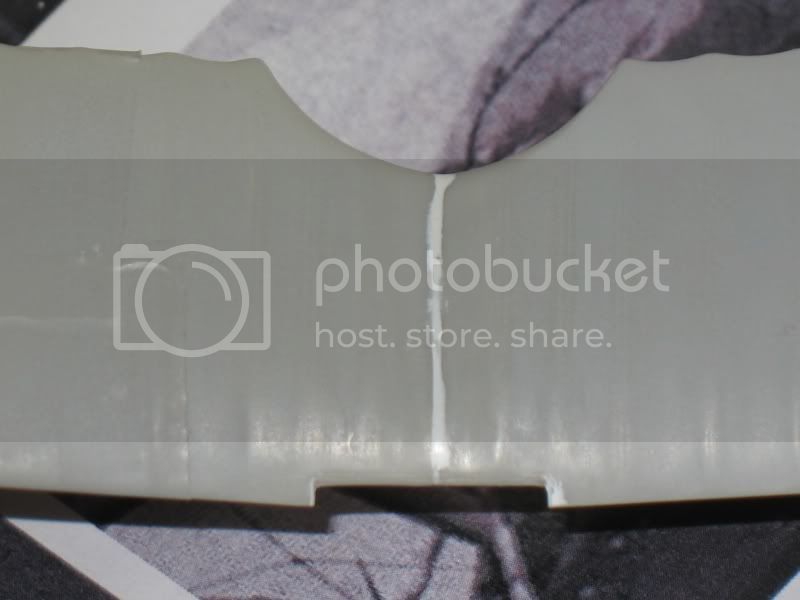
It is fixed between the second nervures right and left (by leaving of the center).
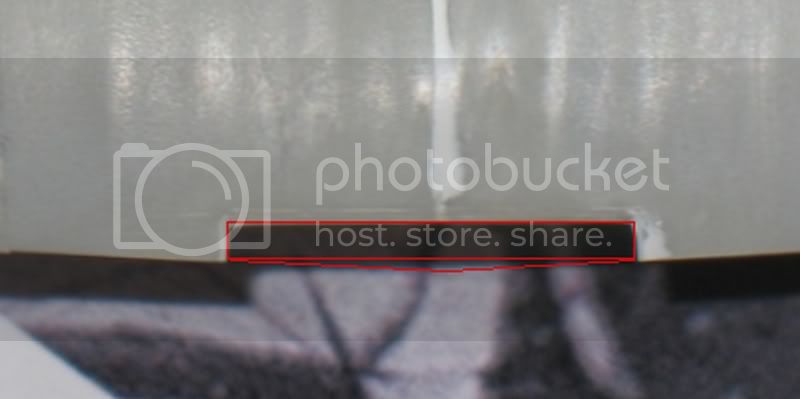
I enlarged my radiator, it spends 16 in 17.8mm. Its shape changes so a lot: sharp in front, "sharp" in the summit.
The bottom of the radiator is not flat but has the shape of a flat triangle in the truncated summit (you see?). The shape of the radiator depend on the plane and of period.
Card(Map) blows up 0.5mm
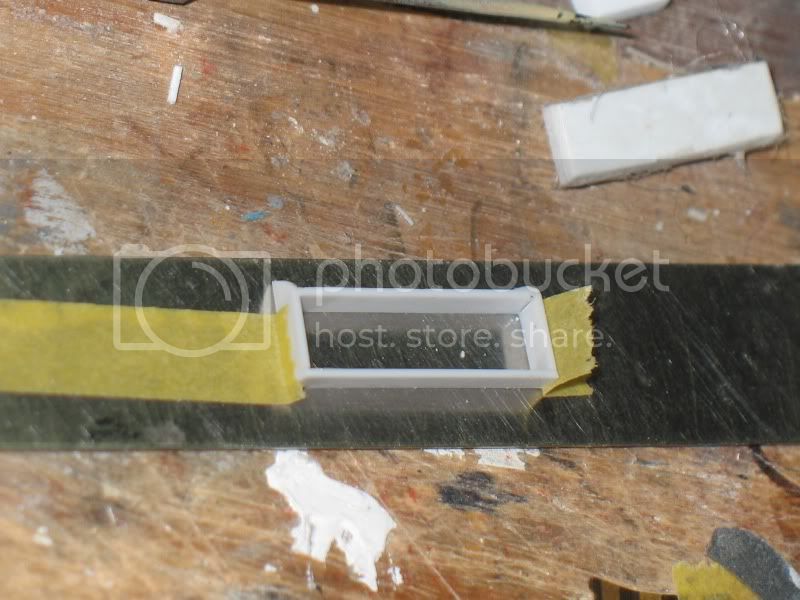
Baguettes rounded off to give the shape of the summit.
PART supplied a beautiful series of shutter horizontal very fine but I saw it on no photo....I don't use it.
A PE wire netting remains very big. I make a new on with a tea bag.
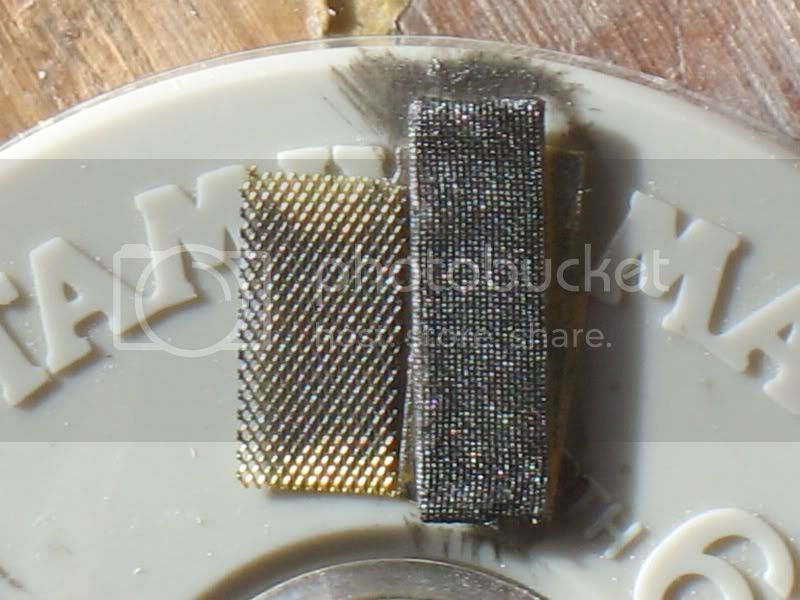
The motor hood adapts itself rather badly (I find).
It must be put after the engine. What obliges us to make the work of filling sanding then paint with the engine in position. Very difficult for me.
I cut the hood in two in the horizontal plan. The low part is stuck little by little by leaving of bottom.
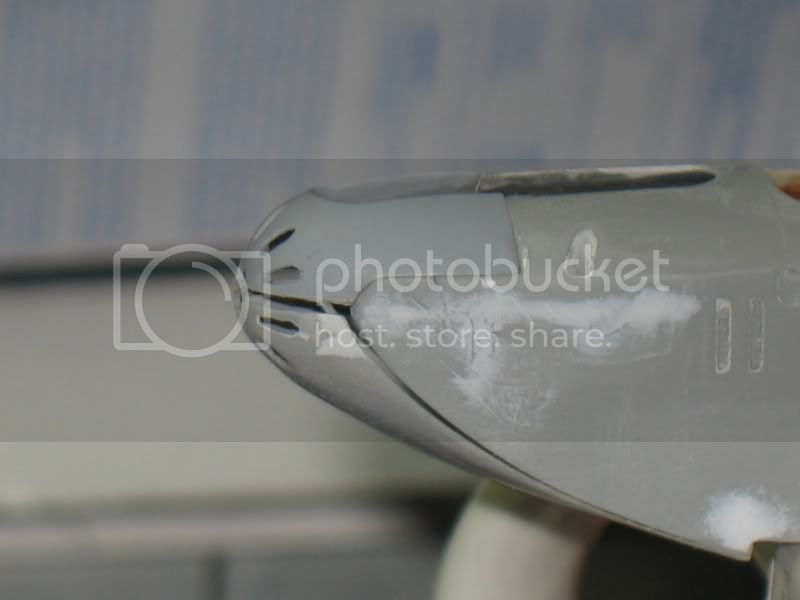
When everything will be ended (retouch are not simple) I shall put the engine, the top of the hood and the details which disappeared during the cut.
Regards.
Louis
Bas-Rhin, France
Joined: May 21, 2006
KitMaker: 472 posts
AeroScale: 471 posts
Joined: May 21, 2006
KitMaker: 472 posts
AeroScale: 471 posts
Posted: Friday, November 02, 2012 - 01:49 AM UTC
Question of paint.
I need help to paint the plane:
- blue grey all the plane
- blue grey for the front part of the fuselage and the floats, the rest in clear-doped linen.
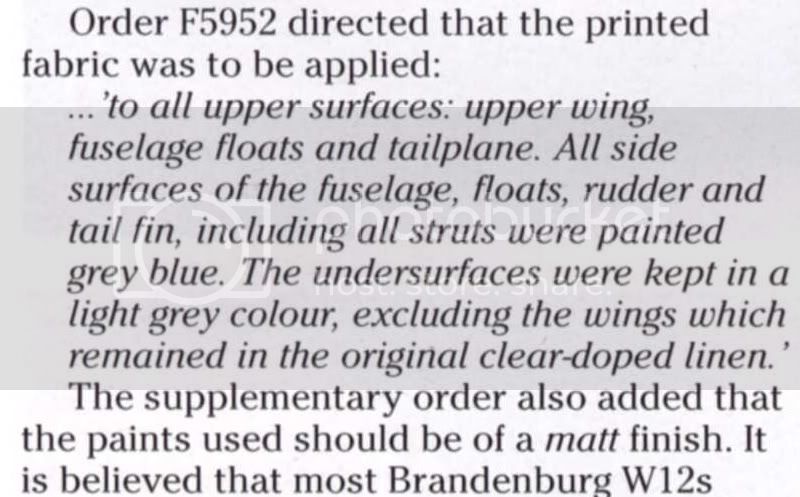
- Blue grey for the top of wings, fuselage and floats. The undrside of wings is clear-doped linen. In the windsock N°61 p27 we find a copy of the order:
It would explain the gloss aspect for underside of wings which we observe on almost all the photos... The rest of the aircraft is matt.
Do you think that one of three possibilities is improbable?
If you can tell me more. Pease help me.
Regards
CaptnTommy
Connecticut, United States
Joined: October 26, 2009
KitMaker: 424 posts
AeroScale: 389 posts
Joined: October 26, 2009
KitMaker: 424 posts
AeroScale: 389 posts
Posted: Friday, November 02, 2012 - 07:17 AM UTC
oN THE LEFT AND RIGHT HAND FLOATS:
1. It looks to me that the two different float arrangements are because the floats were built by two different manufacturers.
2. the best bet is to get a picture and build a model of that aircraft.
3. as I recall from several articles and datafiles, the float did not last long on any of these airplanes. Floats were a problem through out the wooden float era.
Louis
Bas-Rhin, France
Joined: May 21, 2006
KitMaker: 472 posts
AeroScale: 471 posts
Joined: May 21, 2006
KitMaker: 472 posts
AeroScale: 471 posts
Posted: Wednesday, November 28, 2012 - 09:52 AM UTC
hello,
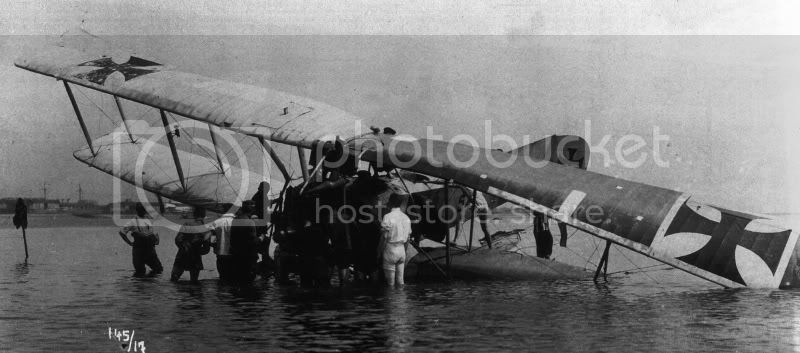
Can anyone tell me if the wing was repaired with half an airplane wing dark?
You could assemble two half wings together? isn't it ?
I thinkit's right but I prefer your opinion.
Or is it a variant of camouflage???
Regards.
Louis.
Can anyone tell me if the wing was repaired with half an airplane wing dark?
You could assemble two half wings together? isn't it ?
I thinkit's right but I prefer your opinion.
Or is it a variant of camouflage???
Regards.
Louis.
Louis
Bas-Rhin, France
Joined: May 21, 2006
KitMaker: 472 posts
AeroScale: 471 posts
Joined: May 21, 2006
KitMaker: 472 posts
AeroScale: 471 posts
Posted: Thursday, November 29, 2012 - 07:01 AM UTC
Hello,
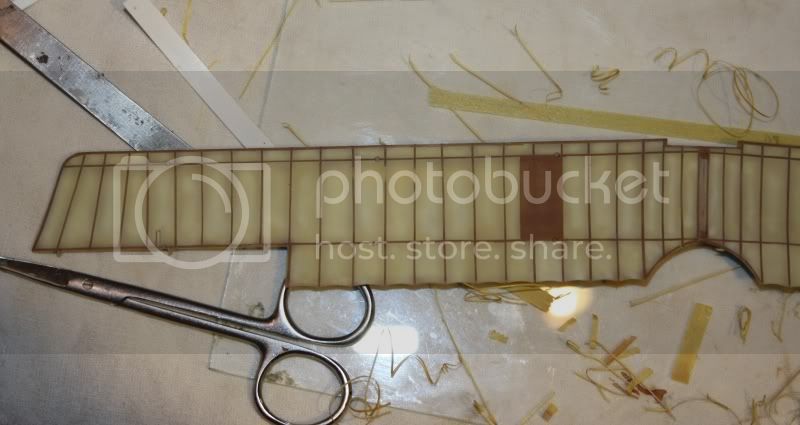
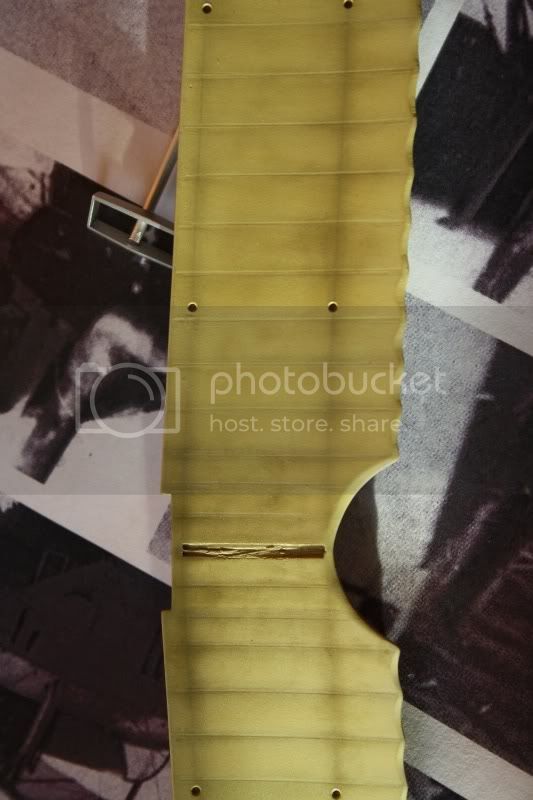
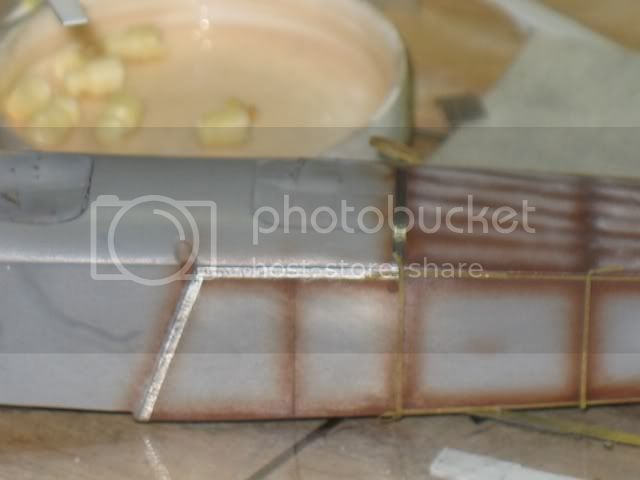
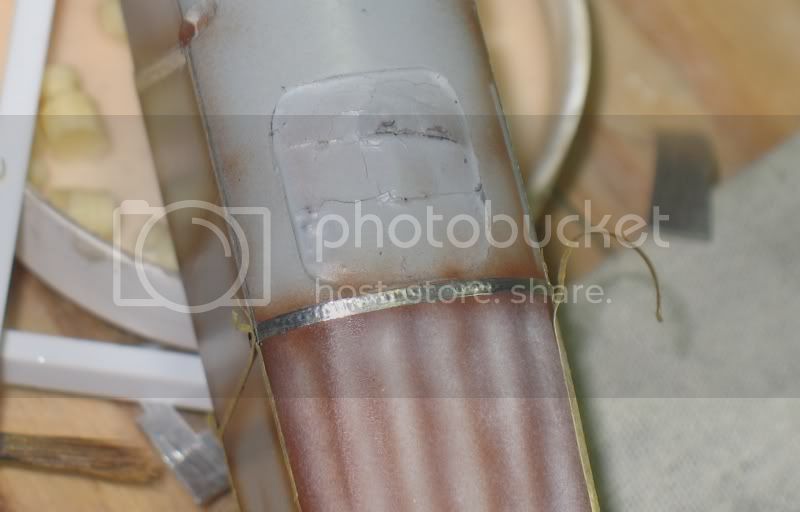
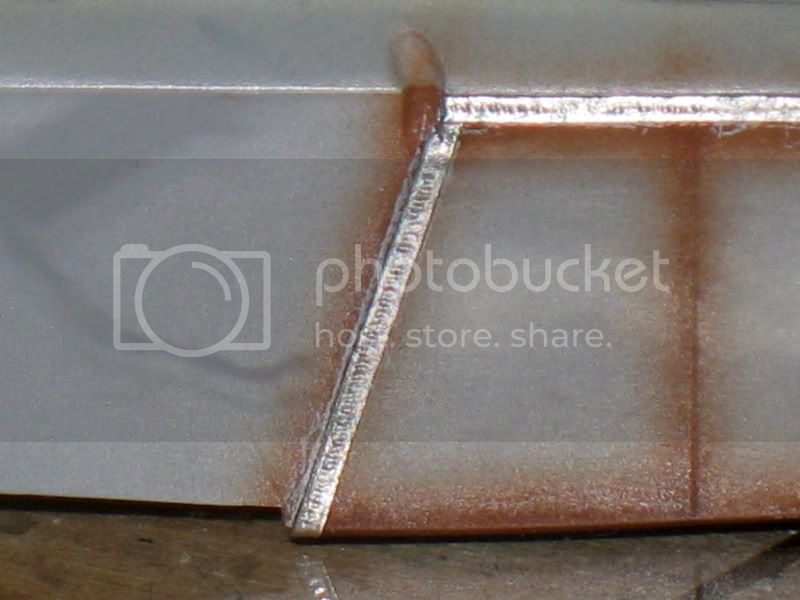
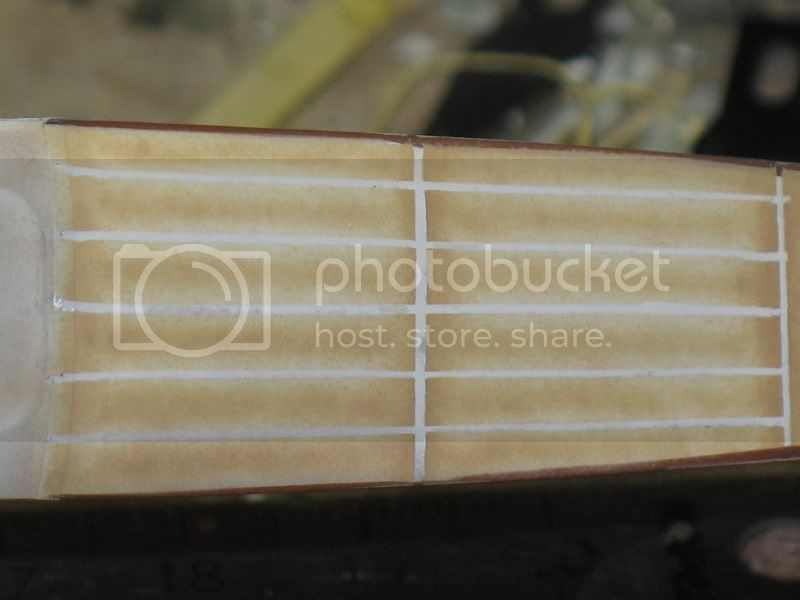
A lot of scotch tape after:
The tape should be placed carefully on the engraved ribs. Its difficult to see them and they reappears after paint. I did not pay attention and two or three are offset from one another.
The angle at the bottom of the cover has disappeared while sanding. I glued a plastic sheet (0.1mm) to make it reappear.
Regards
Louis
Louis
Bas-Rhin, France
Joined: May 21, 2006
KitMaker: 472 posts
AeroScale: 471 posts
Joined: May 21, 2006
KitMaker: 472 posts
AeroScale: 471 posts
Posted: Tuesday, December 04, 2012 - 08:22 AM UTC
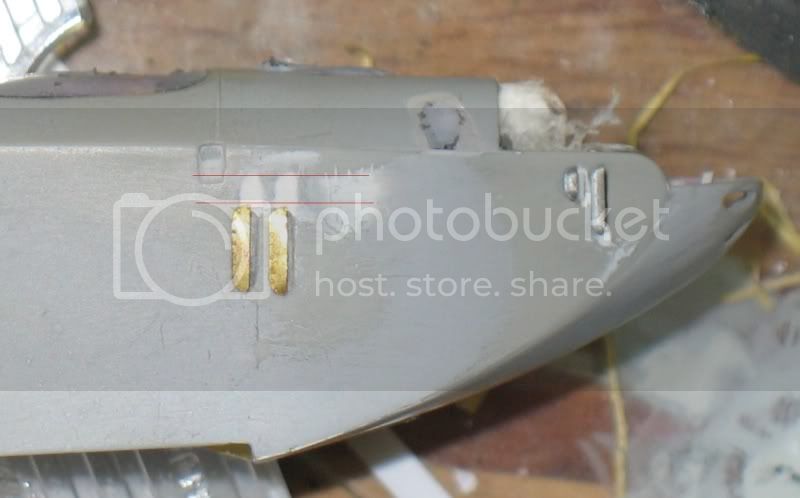
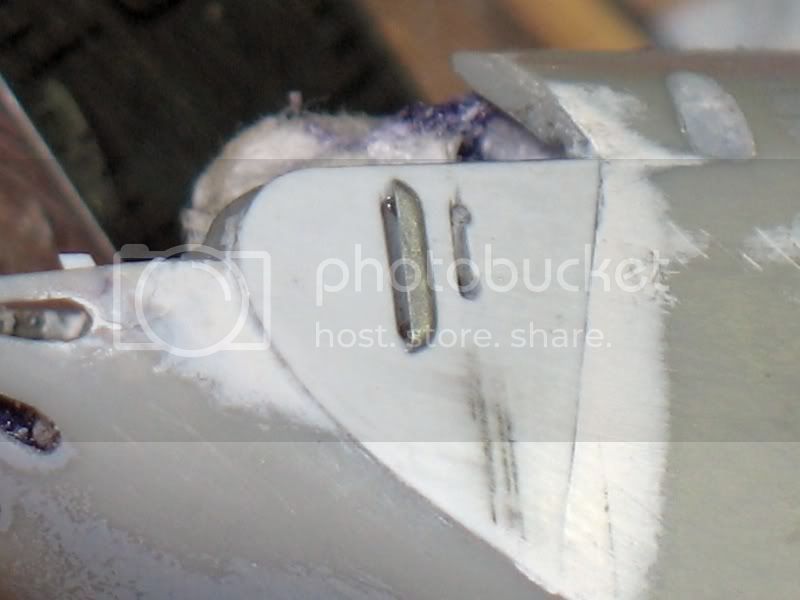
I moved the slots down and those drilled in front of the hood.
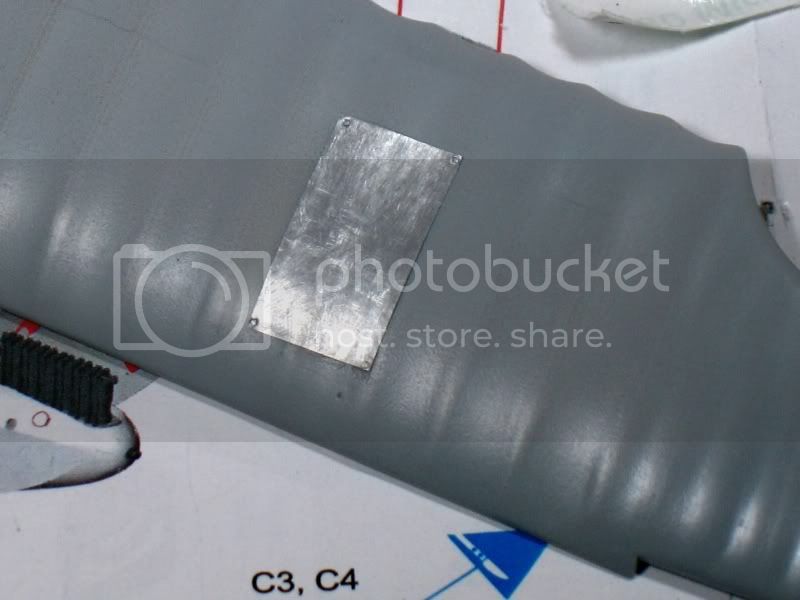
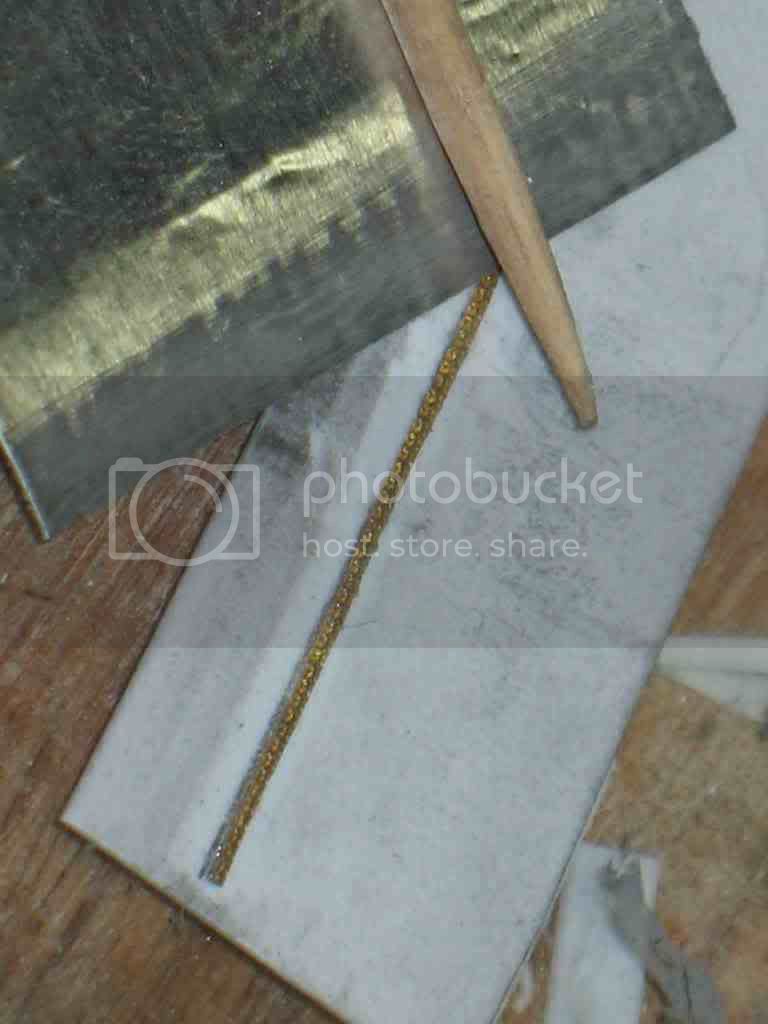
Covers the slots are made with a piece of metal from a tube of mastic like here:
https://aeroscale.kitmaker.net/forums/166133&page=1
Lace between the two sides is covered with a seal (?).
I got the impression of lace (from PART) on a piece of aluminum tape.
The fuselage is clear doped linen painted as usual:
Can anyone tell me if the wing was repaired with half an airplane wing dark?
Or the dark wing is the first wing and the cdl is a the "new" wing
You could assemble two half wings together? isn't it ?
I thinkit's right but I prefer your opinion.
Or is it a variant of camouflage???
Some wings have dark edges under the wing. This could correspond a dark wing above (upper and "lower" wings) , below wings and fuselage with CDL ....P9
photo 5 p2
11p5
Regards.
Louis
Covers the slots are made with a piece of metal from a tube of mastic like here:
https://aeroscale.kitmaker.net/forums/166133&page=1
Lace between the two sides is covered with a seal (?).
I got the impression of lace (from PART) on a piece of aluminum tape.
The fuselage is clear doped linen painted as usual:
Can anyone tell me if the wing was repaired with half an airplane wing dark?
Or the dark wing is the first wing and the cdl is a the "new" wing
You could assemble two half wings together? isn't it ?
I thinkit's right but I prefer your opinion.
Or is it a variant of camouflage???
Some wings have dark edges under the wing. This could correspond a dark wing above (upper and "lower" wings) , below wings and fuselage with CDL ....P9
photo 5 p2
11p5
Regards.
Louis
Repainted
Östergötland, Sweden
Joined: April 04, 2006
KitMaker: 1,058 posts
AeroScale: 1,004 posts
Joined: April 04, 2006
KitMaker: 1,058 posts
AeroScale: 1,004 posts
Posted: Tuesday, December 04, 2012 - 11:50 PM UTC
Hi Louis
U really take this one over the top,awesome work, my kit ison the shelf once again but u push things around with greatness.I like it alot
LarsaQ
U really take this one over the top,awesome work, my kit ison the shelf once again but u push things around with greatness.I like it alot
LarsaQ
JackFlash
Colorado, United States
Joined: January 25, 2004
KitMaker: 11,669 posts
AeroScale: 11,011 posts
Joined: January 25, 2004
KitMaker: 11,669 posts
AeroScale: 11,011 posts
Posted: Wednesday, December 05, 2012 - 04:37 AM UTC
The CDL wing is the original. The "dark" wing is the repair / replacement. Even the dark wing appears to have CDL leading edge, small patches & an area between the rib repair.