Hasegawa 1/48 F-22 Raptor
Florida, United States
Joined: January 14, 2009
KitMaker: 2,798 posts
AeroScale: 2,443 posts
Posted: Sunday, August 29, 2010 - 06:53 AM UTC
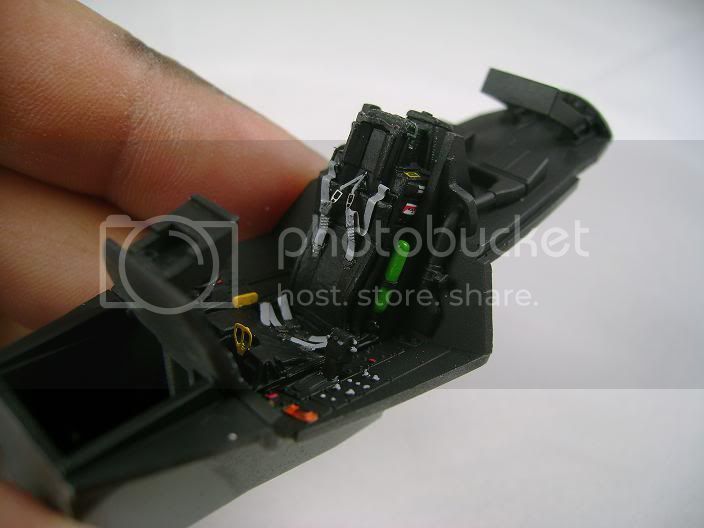
Alright it's been sitting there staring at me so its time to build it

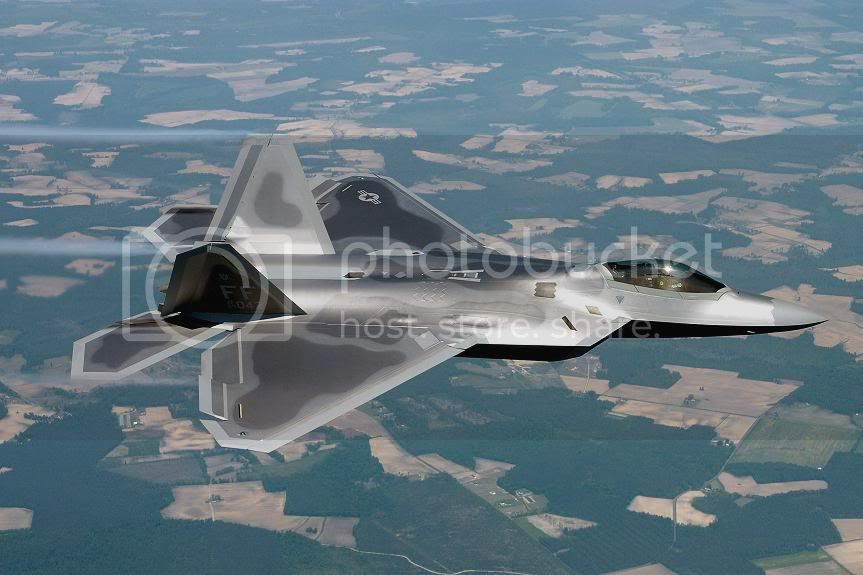
Man thats sexy

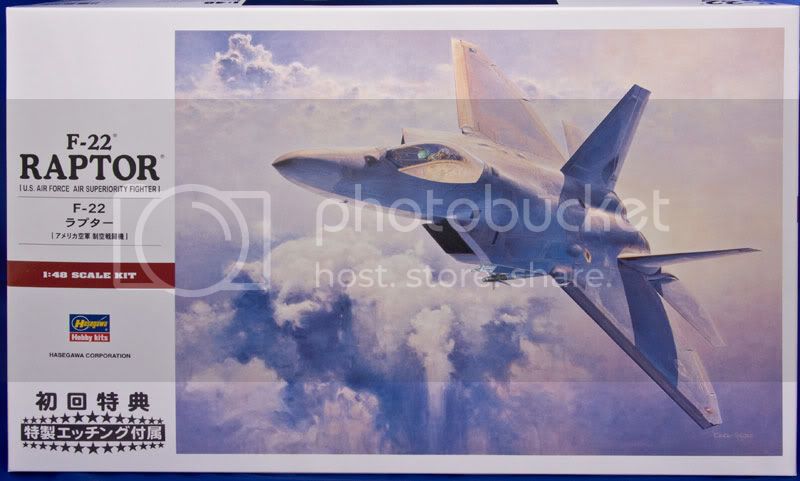
After doing the review found
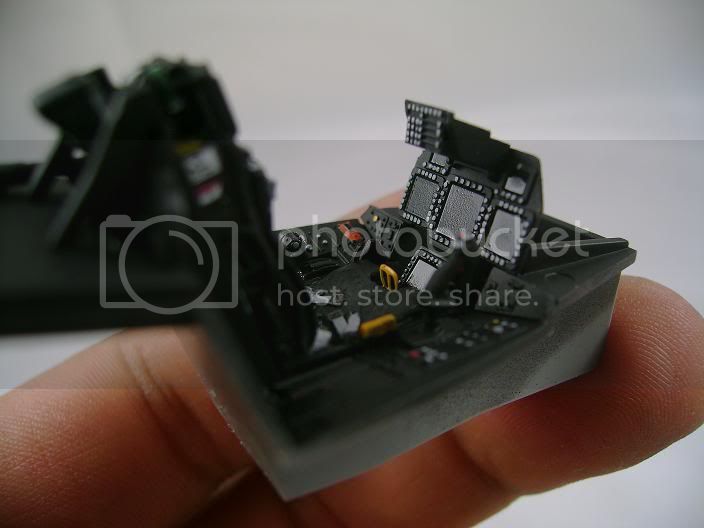
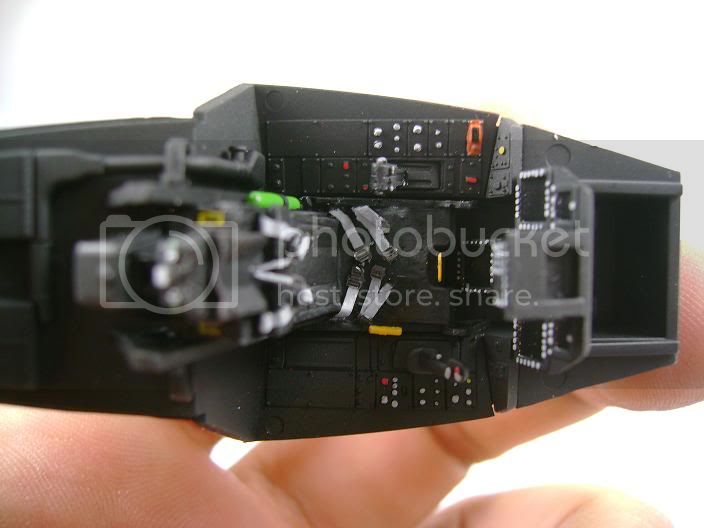
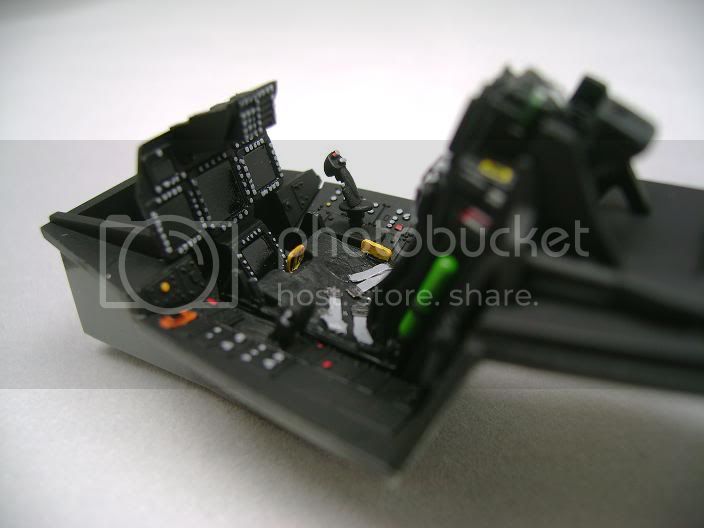
Here I will be building this mostly OOB just adding a Aires Aces II ejection seat,for the paint I'm going to try Hawkeye Hobbies Raptor Sheen found
Here "From time to time, the tree of liberty must be watered with the blood of
tyrants and patriots."
- Thomas Jefferson
IPMS#47611
New York, United States
Joined: January 29, 2004
KitMaker: 3,836 posts
AeroScale: 1,036 posts
Posted: Sunday, August 29, 2010 - 09:56 AM UTC
Great review and interesting subject. I was never a fan of the F-22 but will follow this...who know's I may have a change of heart.
Happy Modeling,
Joe
It feels like bible camp…Only I’m not crying pretending I’m somewhere else.
Happy Modeling
Joe
North Carolina, United States
Joined: November 28, 2005
KitMaker: 2,216 posts
AeroScale: 1,080 posts
Posted: Sunday, August 29, 2010 - 01:41 PM UTC
I'm gonna quit my job and just sit here eating popcorn and watching you and Joe build jets. It'll be interesting to see how the new paint turns out.
Hermon

"Those who would give up Essential Liberty
to purchase a little Temporary Safety,
deserve neither Liberty nor Safety."
Benjamin Franklin
Florida, United States
Joined: January 14, 2009
KitMaker: 2,798 posts
AeroScale: 2,443 posts
Posted: Sunday, August 29, 2010 - 03:04 PM UTC
Then how are you going to feed your habit I mean hobby,kids,wife and squirrel

"From time to time, the tree of liberty must be watered with the blood of
tyrants and patriots."
- Thomas Jefferson
IPMS#47611
North Carolina, United States
Joined: June 06, 2006
KitMaker: 4,691 posts
AeroScale: 238 posts
Posted: Monday, August 30, 2010 - 05:32 AM UTC
Will follow with great interest
New Hampshire, United States
Joined: November 09, 2008
KitMaker: 615 posts
AeroScale: 459 posts
Posted: Monday, August 30, 2010 - 12:22 PM UTC
man I can't wait to see how the new paint works out! Hawkeye has a monopoly on that colour right now and I want to see if it's as good as all the other SnJ paints

gonna be keeping a close eye on this one

P-61 Black Widows, the Group Build
Veni, Vidi, Velcro; I came, I saw, I stuck around
Florida, United States
Joined: January 14, 2009
KitMaker: 2,798 posts
AeroScale: 2,443 posts
Posted: Wednesday, September 01, 2010 - 07:36 AM UTC
"From time to time, the tree of liberty must be watered with the blood of
tyrants and patriots."
- Thomas Jefferson
IPMS#47611

#068
Zuid-Holland, Netherlands
Joined: April 09, 2003
KitMaker: 1,144 posts
AeroScale: 123 posts
Posted: Wednesday, September 01, 2010 - 09:19 AM UTC
Looks really good...
Just a little jealous - you seem to be cranking out a model in the time it takes me to just clean up the sprues and cut some of the parts of it for assembly.
Cheers,
Harm

Alabama, United States
Joined: December 05, 2007
KitMaker: 204 posts
AeroScale: 202 posts
Posted: Wednesday, September 01, 2010 - 12:21 PM UTC
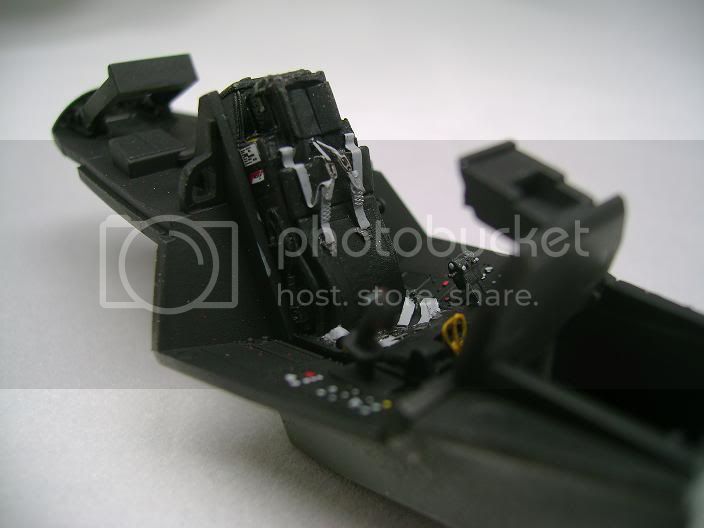
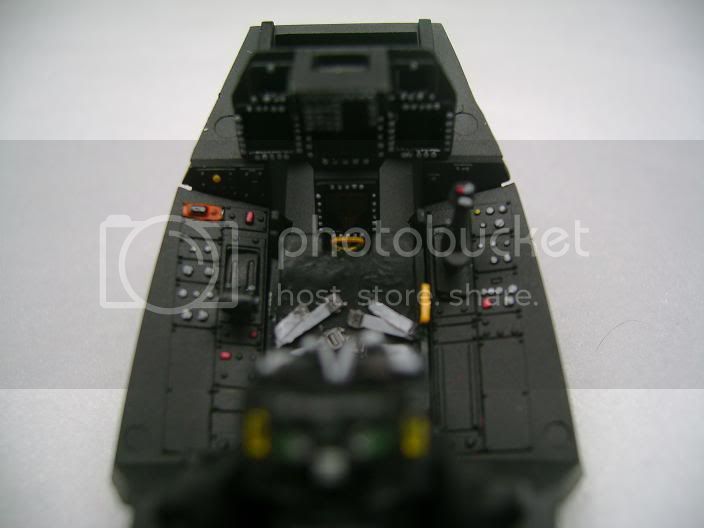
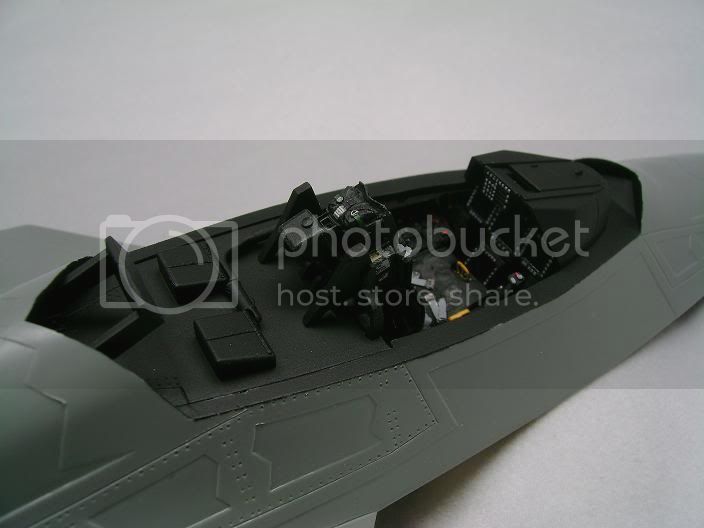
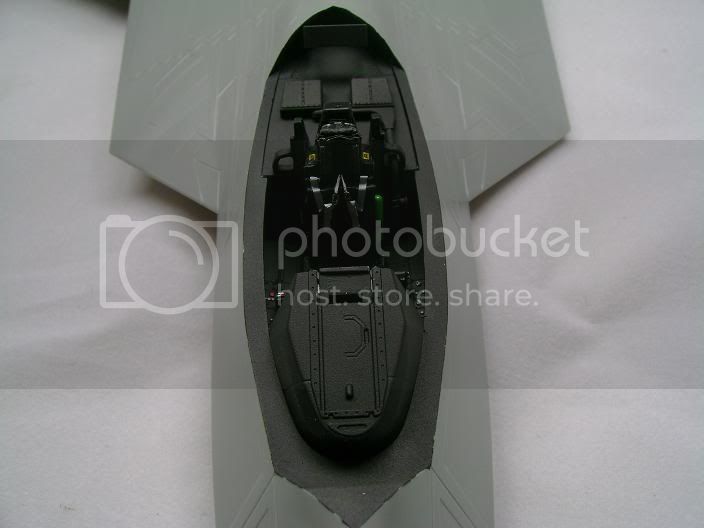
Oh yes, much more accurately laid out than the Academy kit.
Nice work.
Mike V
Florida, United States
Joined: January 14, 2009
KitMaker: 2,798 posts
AeroScale: 2,443 posts
Posted: Wednesday, September 01, 2010 - 12:51 PM UTC
Thanks Guys

"From time to time, the tree of liberty must be watered with the blood of
tyrants and patriots."
- Thomas Jefferson
IPMS#47611
Alberta, Canada
Joined: March 08, 2009
KitMaker: 394 posts
AeroScale: 360 posts
Posted: Wednesday, September 01, 2010 - 02:22 PM UTC
I don't think your the soul-guy, I think your SantaClaus and all the little elves are helping you. There's no other explanation how you can build them so fast.
Current Projects: 1/144 R5D-3 (MiniCraft)
1/48 Ford Flivver (Williams Bro.)
1/72 UC-64A Norseman (MatchBox)
MAAC No.51187
IPMS CANADA No. 3369
Florida, United States
Joined: January 14, 2009
KitMaker: 2,798 posts
AeroScale: 2,443 posts
Posted: Wednesday, September 01, 2010 - 04:44 PM UTC
Yes and all my elves are evil

"From time to time, the tree of liberty must be watered with the blood of
tyrants and patriots."
- Thomas Jefferson
IPMS#47611
North Carolina, United States
Joined: November 28, 2005
KitMaker: 2,216 posts
AeroScale: 1,080 posts
Posted: Thursday, September 02, 2010 - 03:39 PM UTC
That does indeed look better than my Academy cockpit.........and very nicely painted up too.
Hermon

"Those who would give up Essential Liberty
to purchase a little Temporary Safety,
deserve neither Liberty nor Safety."
Benjamin Franklin
Florida, United States
Joined: January 14, 2009
KitMaker: 2,798 posts
AeroScale: 2,443 posts
Posted: Friday, September 03, 2010 - 04:02 PM UTC
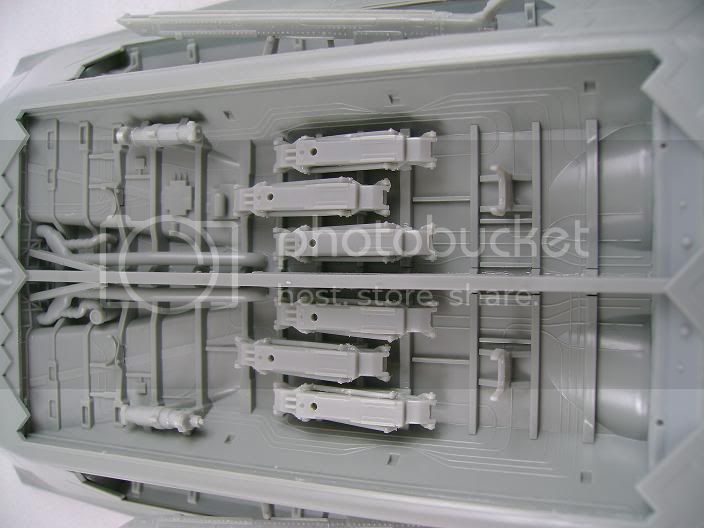
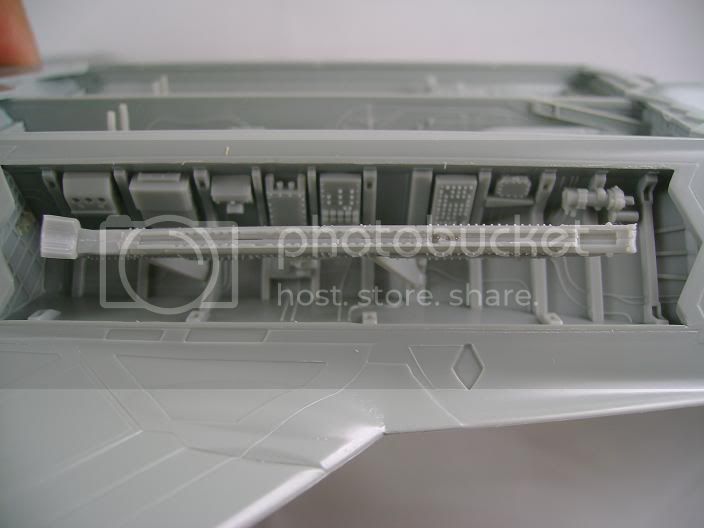
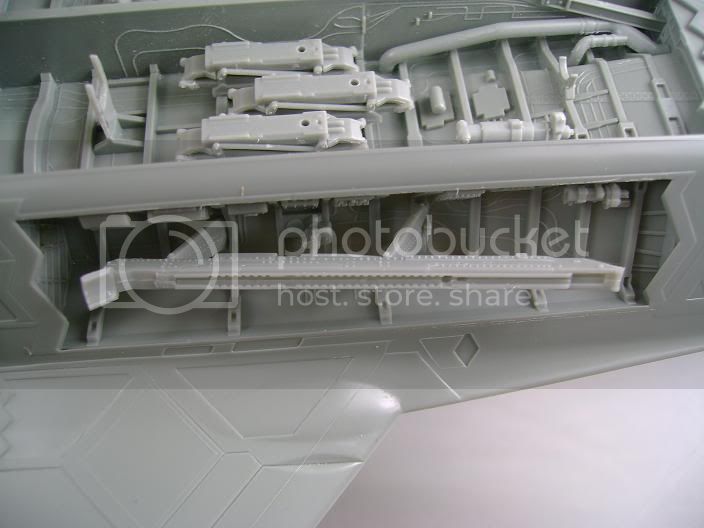
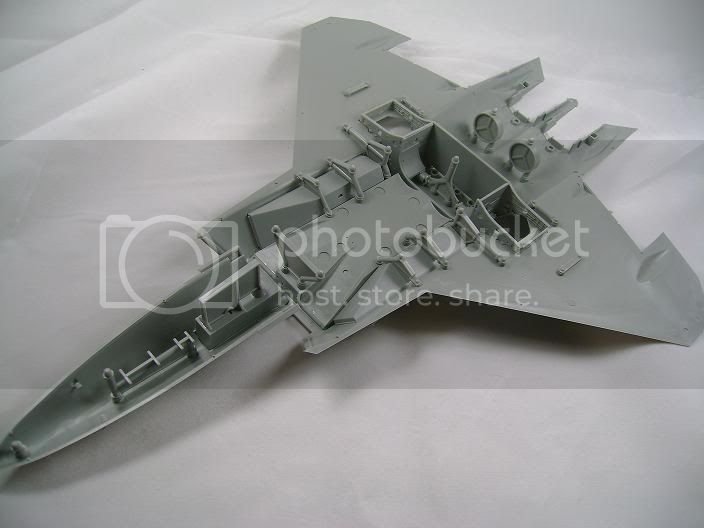
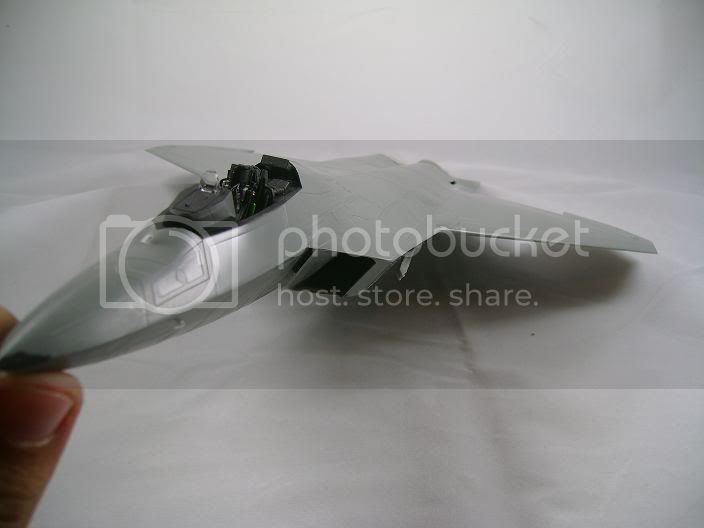
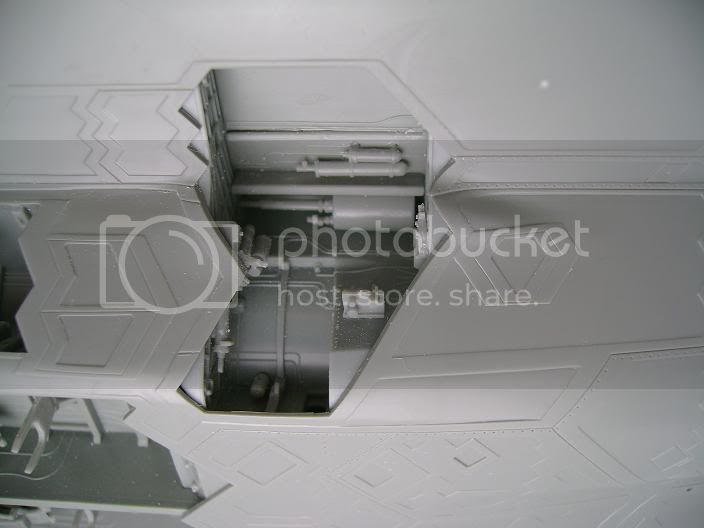
So I'm doing assembly right now of the lower fuselage and fighting the urge to stuff it full of detail.it's alright but I'm probably going to add a few hydraulic lines just to make it look a bit more busy.post pics soon

"From time to time, the tree of liberty must be watered with the blood of
tyrants and patriots."
- Thomas Jefferson
IPMS#47611
Florida, United States
Joined: January 14, 2009
KitMaker: 2,798 posts
AeroScale: 2,443 posts
Posted: Saturday, September 04, 2010 - 11:01 AM UTC
"From time to time, the tree of liberty must be watered with the blood of
tyrants and patriots."
- Thomas Jefferson
IPMS#47611
North Carolina, United States
Joined: June 06, 2006
KitMaker: 4,691 posts
AeroScale: 238 posts
Posted: Saturday, September 04, 2010 - 11:09 AM UTC
that's really some detailed stuff,looks great.
Florida, United States
Joined: January 14, 2009
KitMaker: 2,798 posts
AeroScale: 2,443 posts
Posted: Monday, September 06, 2010 - 09:15 AM UTC
"From time to time, the tree of liberty must be watered with the blood of
tyrants and patriots."
- Thomas Jefferson
IPMS#47611
Florida, United States
Joined: January 14, 2009
KitMaker: 2,798 posts
AeroScale: 2,443 posts
Posted: Thursday, September 09, 2010 - 02:41 PM UTC
Building continues and preparing for paint.....
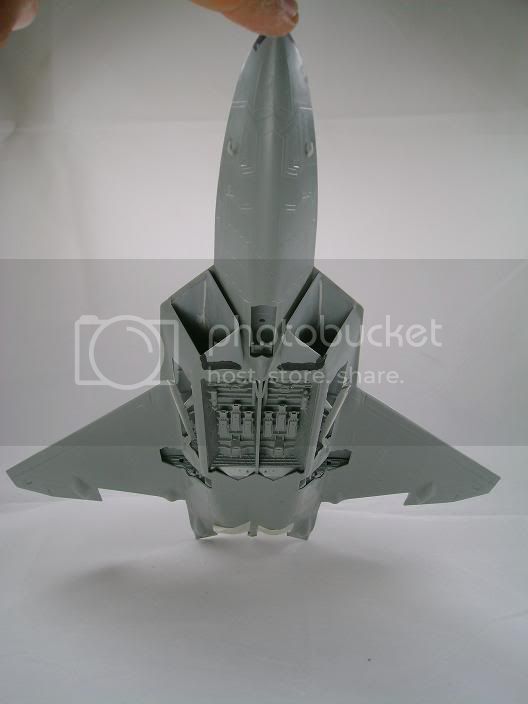
Shot of the rear wheel bay theres good detail here also and Hasegawa gave lots of data on the decals to put in its stores and on its landing gear and in the bays.
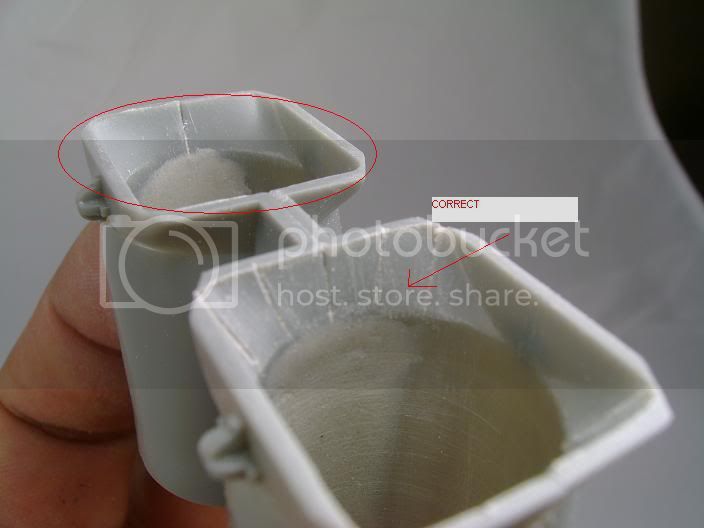
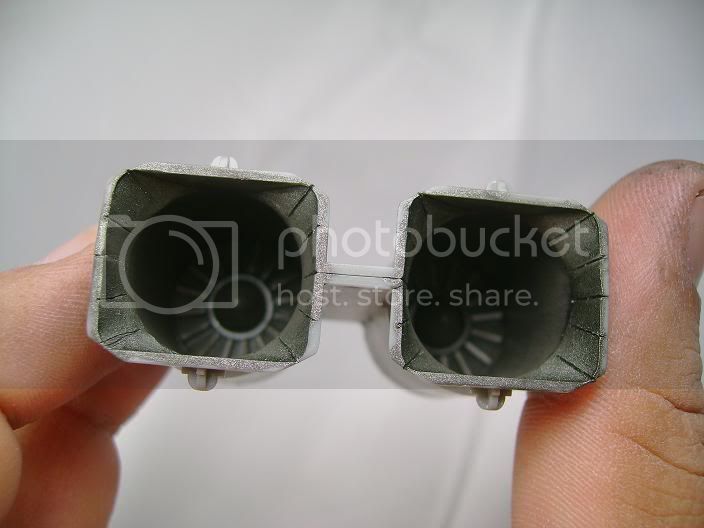
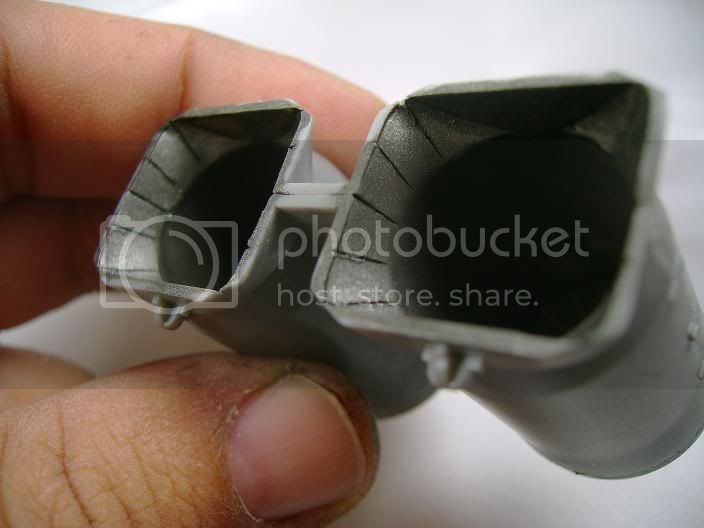
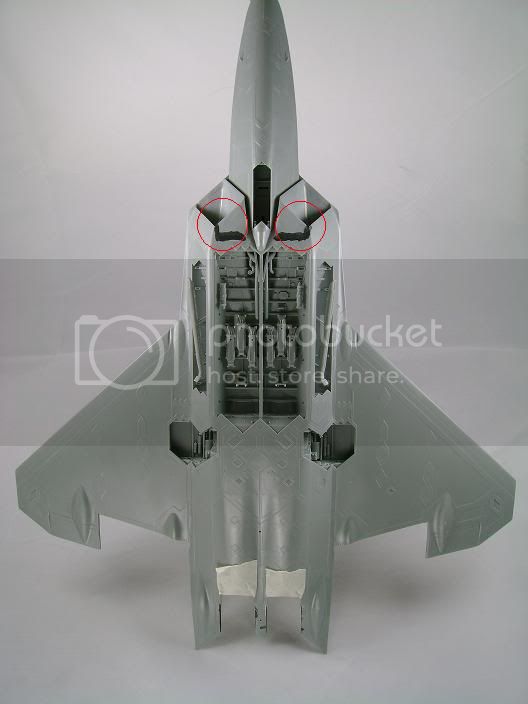
The red circles surround the bottom of the intakes where they meet up with the fuselage these are suppose to be smooth all the way back to the detail...so I filled these lines in with super glue and sanded.The inside of the intakes got the same treatment.
Questions welcome so far this kit builds great right out of the box I really dont see a need for AM stuff on this.
"From time to time, the tree of liberty must be watered with the blood of
tyrants and patriots."
- Thomas Jefferson
IPMS#47611
England - East Midlands, United Kingdom
Joined: February 07, 2004
KitMaker: 911 posts
AeroScale: 415 posts
Posted: Friday, September 10, 2010 - 06:05 AM UTC
Wow, I thought the Academy kit had detailed bays, but Hasegawa puts it to shame

"Nelson be damned.......Lets get the hell out of here!"
Florida, United States
Joined: January 14, 2009
KitMaker: 2,798 posts
AeroScale: 2,443 posts
Posted: Sunday, September 12, 2010 - 12:38 PM UTC
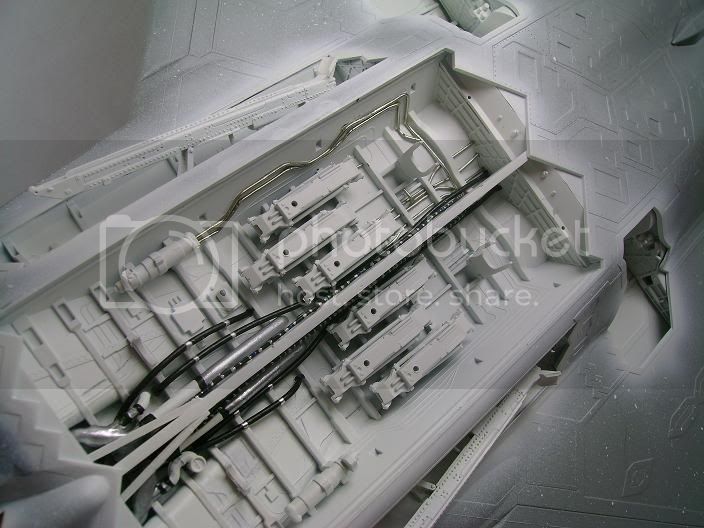
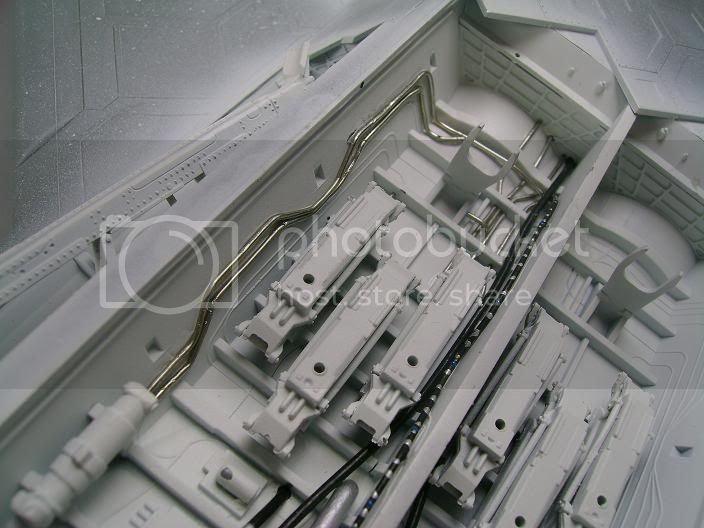
I know I said I was on the fence about detailing the bays but I fell off and went nuts just couldn't resist.The electric and Hydraulic lines are way to light and after many trial and error sessions Ive given up conventional and with my new found Friend SOLDER I started running all the lines.post pic's soon

"From time to time, the tree of liberty must be watered with the blood of
tyrants and patriots."
- Thomas Jefferson
IPMS#47611
Florida, United States
Joined: January 14, 2009
KitMaker: 2,798 posts
AeroScale: 2,443 posts
Posted: Monday, September 13, 2010 - 02:29 PM UTC
"From time to time, the tree of liberty must be watered with the blood of
tyrants and patriots."
- Thomas Jefferson
IPMS#47611
North Carolina, United States
Joined: November 28, 2005
KitMaker: 2,216 posts
AeroScale: 1,080 posts
Posted: Monday, September 13, 2010 - 03:23 PM UTC
I didn't know the Raptor had hydrolic lines and such. Being a zillion dollars a piece I just figured everything worked by magic.

Looking good man. The added detail is sweeet. I think when I get around to building my Academy kit I'll go with closed weapons bays. BTW.........since you're the modern aircraft campaign guru, I smell a "stealth" campaign coming up.

Hermon

"Those who would give up Essential Liberty
to purchase a little Temporary Safety,
deserve neither Liberty nor Safety."
Benjamin Franklin
Alabama, United States
Joined: December 05, 2007
KitMaker: 204 posts
AeroScale: 202 posts
Posted: Monday, September 13, 2010 - 04:22 PM UTC
Well, with 4000 PSI HYD system, it better have hydro lines

There are Hydrop lines in the main weps bays, though the visable lines would be for the PDUs that drive the doors. Also note these are relatively thin (3/8" - 1/2") and would be best represted by fine wire. The size they are appearing in the build are over scaled.
There are more wire harnesses and ECS ducts in the main Weps bays, than Hydro lines.
Mike V
Florida, United States
Joined: January 14, 2009
KitMaker: 2,798 posts
AeroScale: 2,443 posts
Posted: Monday, September 13, 2010 - 04:33 PM UTC
Agreed on the size for the hydro lines but bending guitar wire is a pain in the $&@ so solder it is.I plan on using the fine wire up front.there so many hoses and wires in the back of the bays this filled a little better an I may rethink the idea now that someone said something.
@hermon I tried nobody was interested

"From time to time, the tree of liberty must be watered with the blood of
tyrants and patriots."
- Thomas Jefferson
IPMS#47611
North Carolina, United States
Joined: June 06, 2006
KitMaker: 4,691 posts
AeroScale: 238 posts
Posted: Tuesday, September 14, 2010 - 01:32 PM UTC
Looks great Justin,This will all be very helpful when I get around to building mine.


