Working in my own stupid way I never follow instructions so here goes.
Brief details and findings on different areas I've worked on
Flying surfaces.. apart from the large moulding stubs *understandable it needed little clean up (just like all other flying surfaces.) On the upper wing I cut a groove around the radiator to wing join on the lower surface, theres little to show any join on the otherwise beautifully moulded surface. I would have liked to see a seperate part here like the DVa has. I also opened up with a sharp blade the shroud that covers the roller mechanism for the radiator screen *which will be added later* .
On the upper side I opened up the area around the rad, this often was quite a gap by pics and WNWs own reference.
Little else needed doing to flying sufaces other than very minor cleanup.
Cockpit assembly
I would advise care to get part F8 the right way round its easy to get it wrong.
As I'm building her buttoned up theres no need to detail the are ahead of this part though much of the build is structural...the fuel tank is nicely done..pity it so out of sight.


Very much ongoing, little to say apart fom beautifully engineered and thought out.
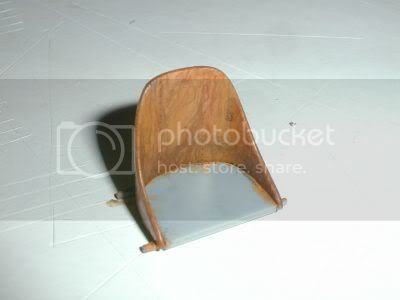
The seat is a little 2 part gem, has nail detail even on the back and a choice of cushioned or uncushioned pad. I chose uncushioned for a change and it was late war and parachutes were more widely used.
Wheels are nice, detailed with valve, rim and spokes inside and tyres have logo's on them too.

Unfortunately the shots of the rest are too fuzzy to use..will try to grab some tomorrow if the weather holds.

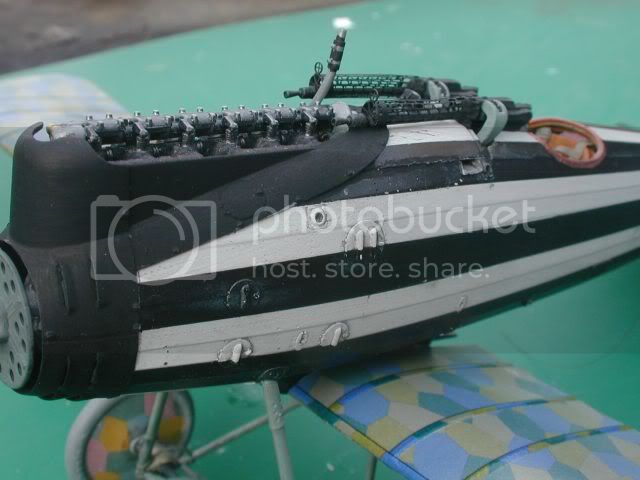
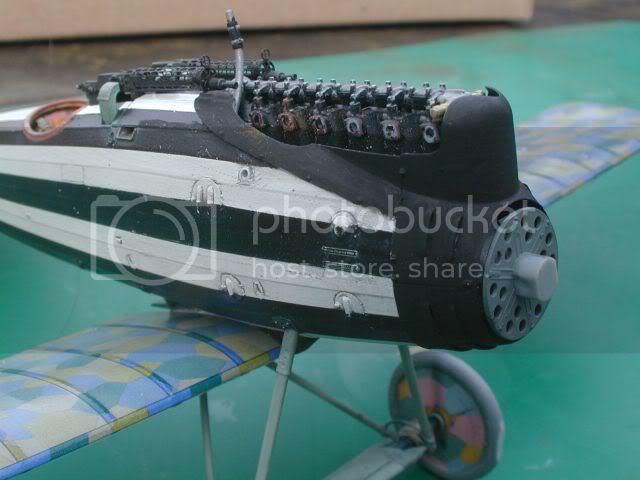
Bits n bobs, Cowl is nicely done, though the fasteners may need detailing better (moulding limitations) at least WNW shows them where others might just omit and unless you are AMS afflicted they are nicely done.
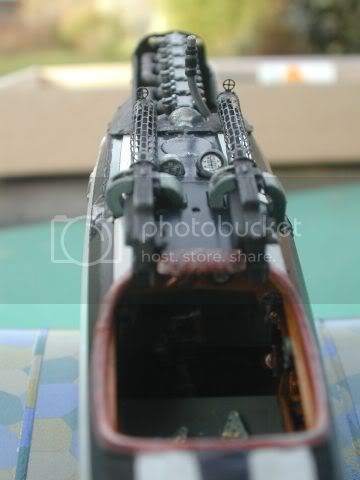
Ammo Magazine is nicely done though I woul have liked the option not to show the open door and exposed rounds, the addition ot the seam edges upon the feed chutes is a lovely touch. Nice one WNW.
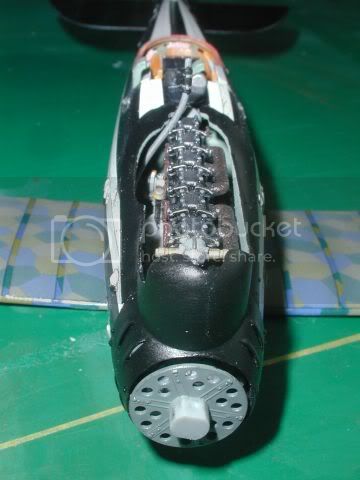
I would advise care on alignment though when building the Engine bay/ mounts. I fitted the engine out of my DVa to ensure they sat correct whilst setting. Jackflash had alerted me to someone else having issues later in their build which may be attributed to this point.
Exhaust...nicely done and in 2 parts to show the exhaust open...theres even fine weld detail shown on the joints. I added the lip and thinned it further.

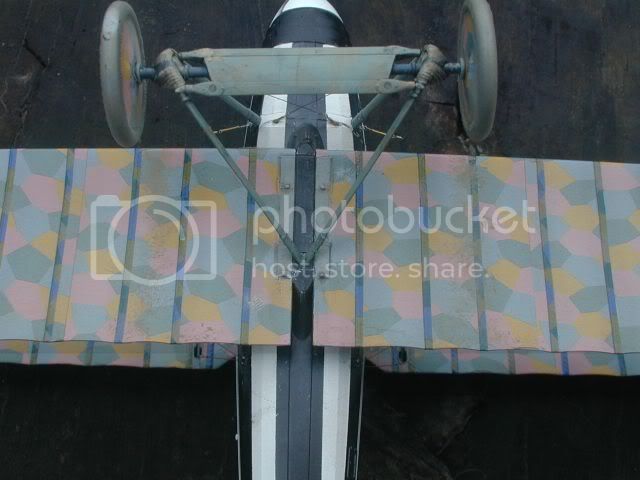
Lozenge


I had an issue or two here...an these shots are very WIP.
I'll highlight the issues later, times short now unfortunately.
but just to say..I have oversprayed the loz to get a faded look...see the pic on profile D to see why...whether this works out we shall see.
Gun jackets

WNWs are so fine and to scale they are very femer, I wrecked one in a moments innattention I would love to see WNW include a spare jacket in later releases as now I have to choose whether to use the Karaya..as illustrated or pillage m DVa spares.

Now attention to detail is ace with this kit..see the tiny stencils..nice
Must dash now but will give more details of Lozenge issues and any other pointers, feel free to ask anything of course.
TTFN
Kb
Editted my bad spolling mishtooks.


