_GOTOBOTTOM
Early Aviation
Discuss World War I and the early years of aviation thru 1934.
KotS GB 2011 DH 9a Mgunns
Mgunns
_VISITCOMMUNITY
Arizona, United States
Joined: December 12, 2008
KitMaker: 1,423 posts
AeroScale: 1,319 posts
Posted: Wednesday, February 02, 2011 - 08:58 AM UTC
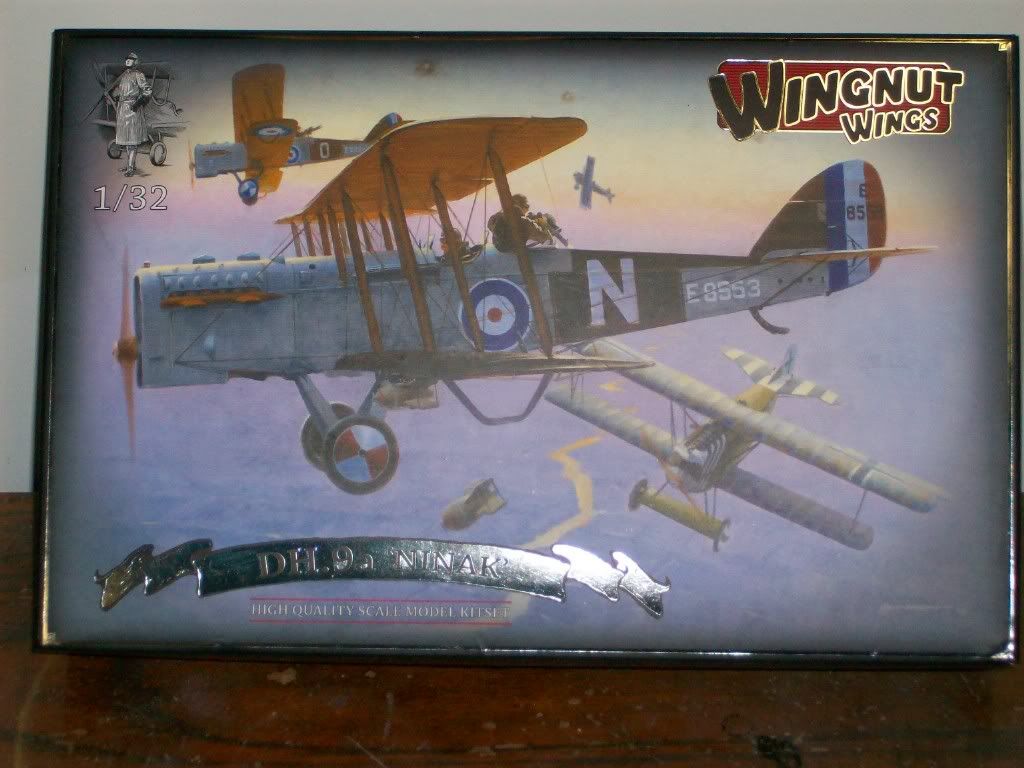
Okay I am going to start my KotS GB with the now "WIP" NINAK. I started this the day after Christmas, my wife got it for me as a present. I hadn't thought about a blog, but now the GB in full swing, I will post pictures etc.


More photo's to come. I got a new camera so it should be a bit dicey and fun to see how they turn out.

Best to all

Mark
CaptainA
_VISITCOMMUNITY
Indiana, United States
Joined: May 14, 2007
KitMaker: 3,117 posts
AeroScale: 2,270 posts
Posted: Wednesday, February 02, 2011 - 11:28 AM UTC
I am guessing you are going to do the USMC version. I know I am. It is a beautiful kit, and I am going to let you figure it out before I start it.
guitarlute101
_VISITCOMMUNITY
West Virginia, United States
Joined: December 18, 2006
KitMaker: 1,121 posts
AeroScale: 1,063 posts
Posted: Wednesday, February 02, 2011 - 12:18 PM UTC


Fantastic Mark! Can't wait to see it.

Mark
Mgunns
_VISITCOMMUNITY
Arizona, United States
Joined: December 12, 2008
KitMaker: 1,423 posts
AeroScale: 1,319 posts
Posted: Wednesday, February 02, 2011 - 01:08 PM UTC
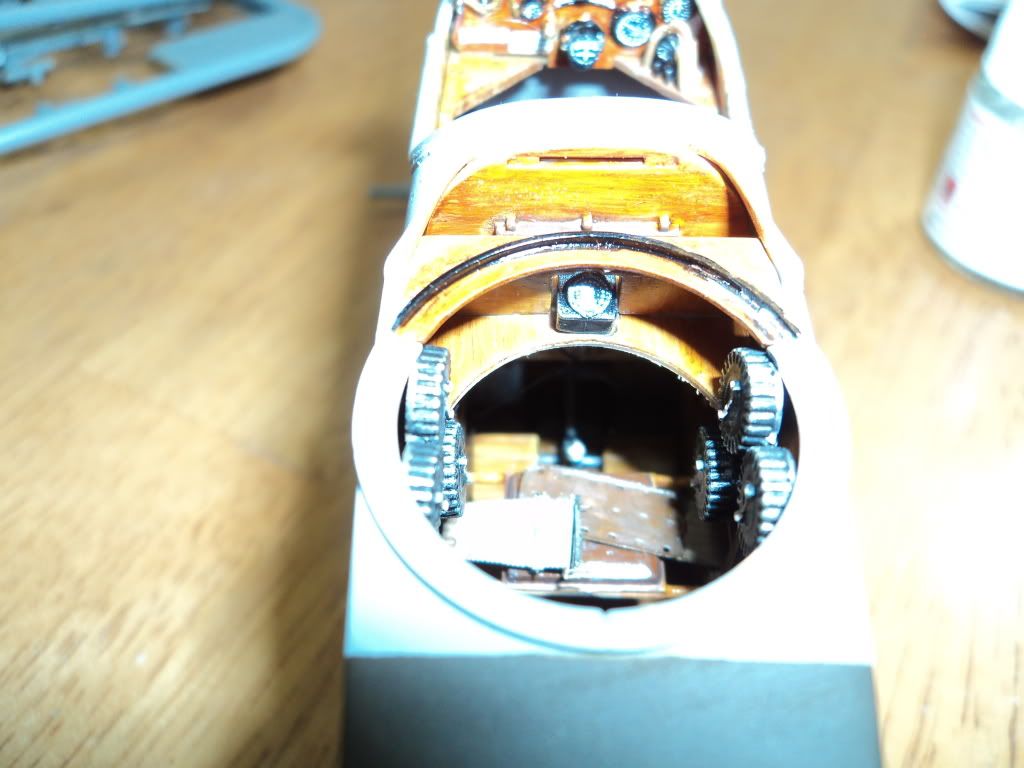
Okay People: Here are some pictures of where I am at on the build. I think the kit is a little too robust for me to have started after a 7 month hiatis, but I am happy with the way it is turning out. New camera so i am only putting two images here to see how they look.


Mgunns
_VISITCOMMUNITY
Arizona, United States
Joined: December 12, 2008
KitMaker: 1,423 posts
AeroScale: 1,319 posts
Posted: Wednesday, February 02, 2011 - 01:15 PM UTC


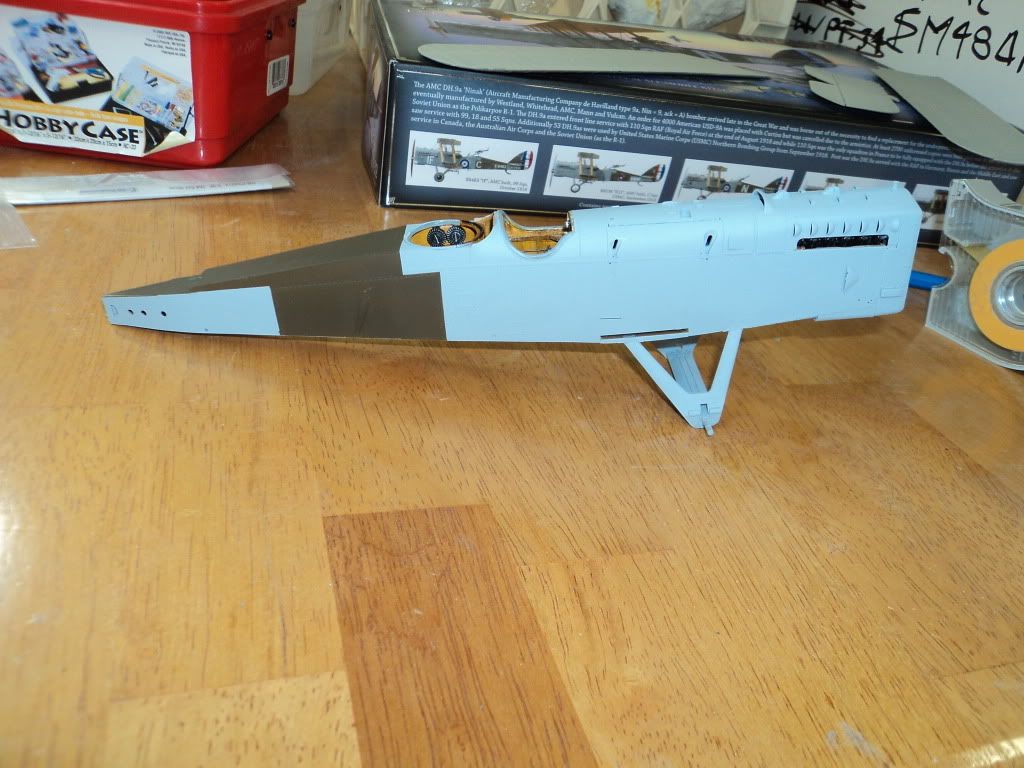
Not bad, so here is a side view:


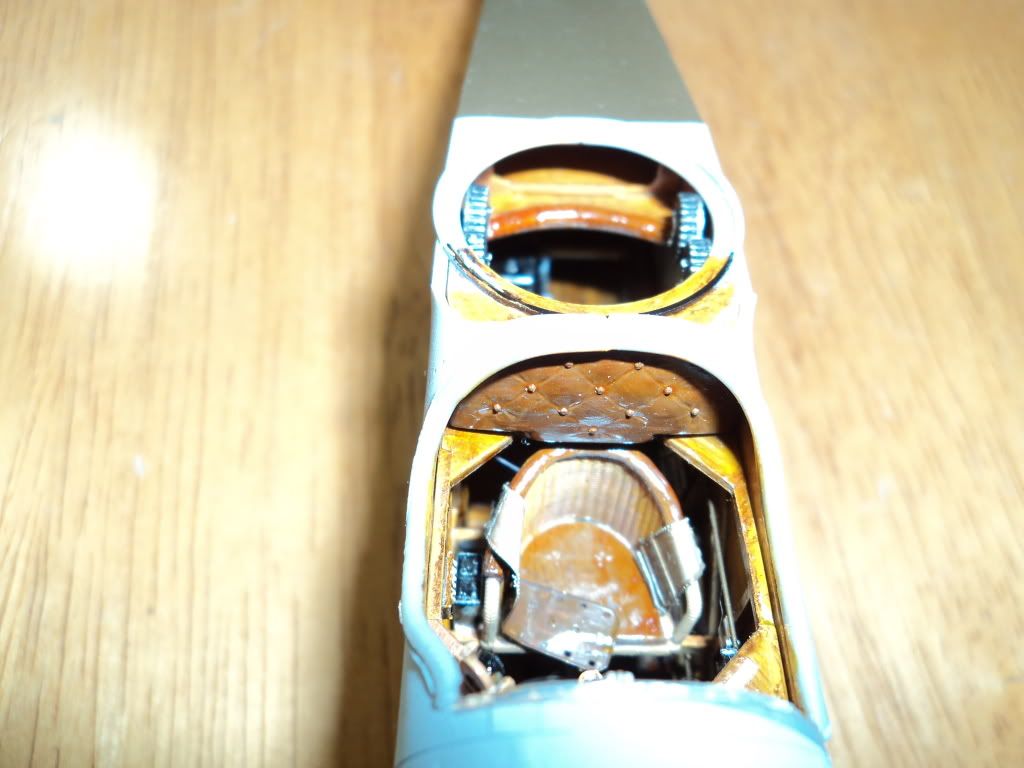
The observers position:

You can see the camera in there and the rigging of the framework

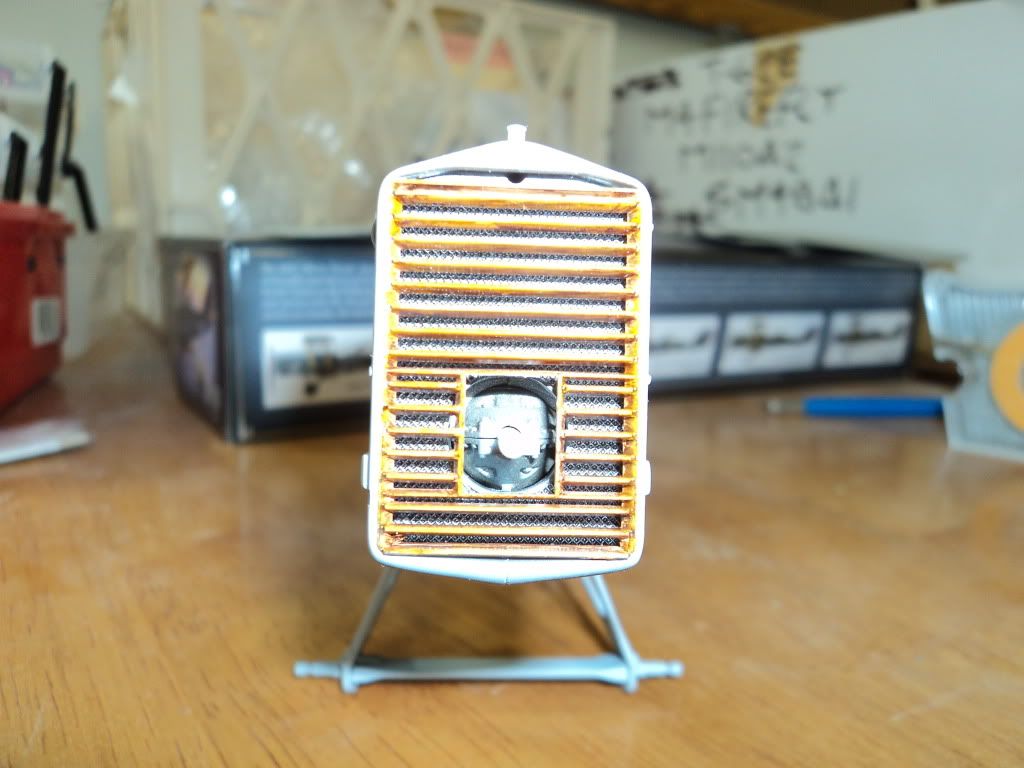
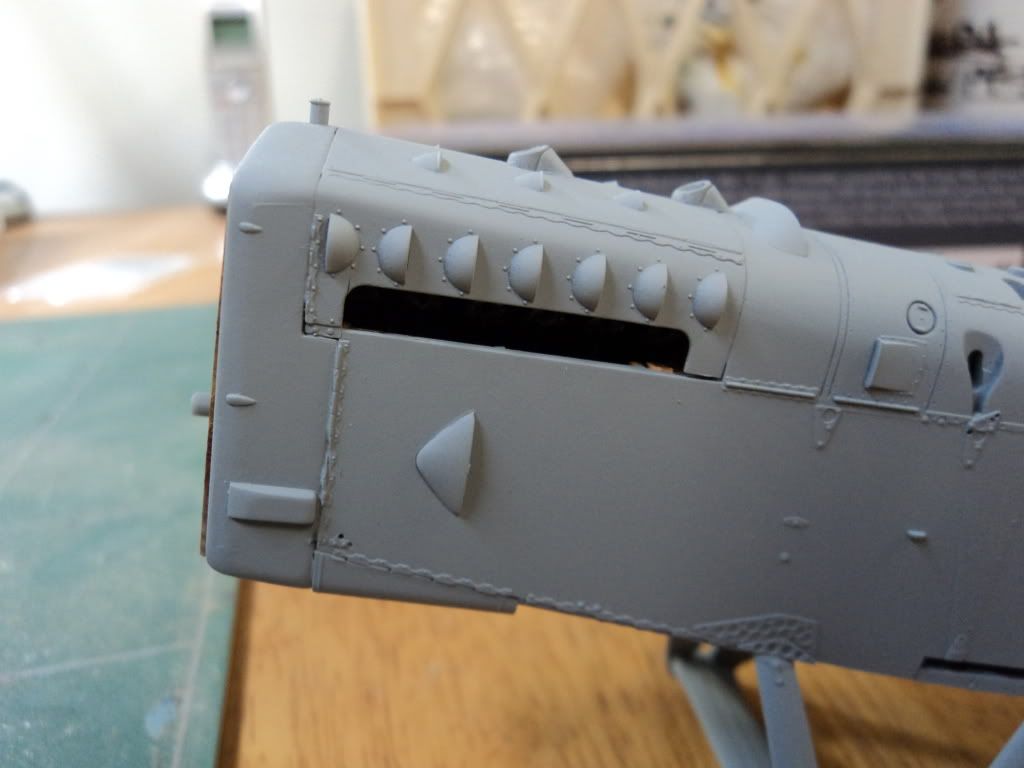
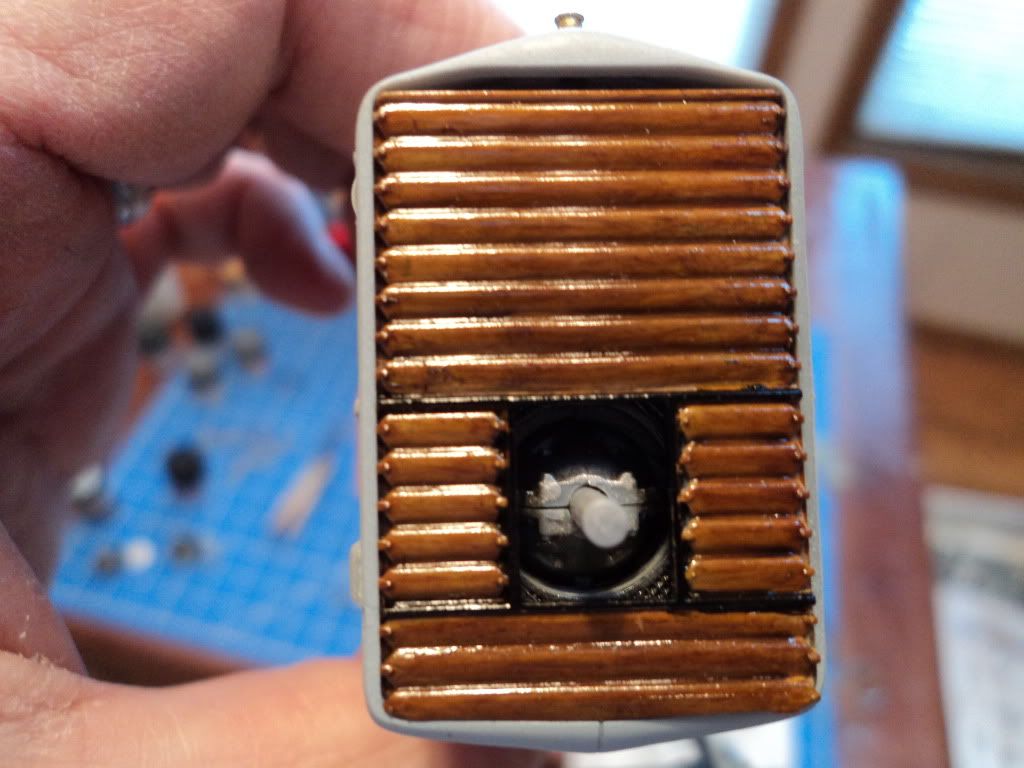
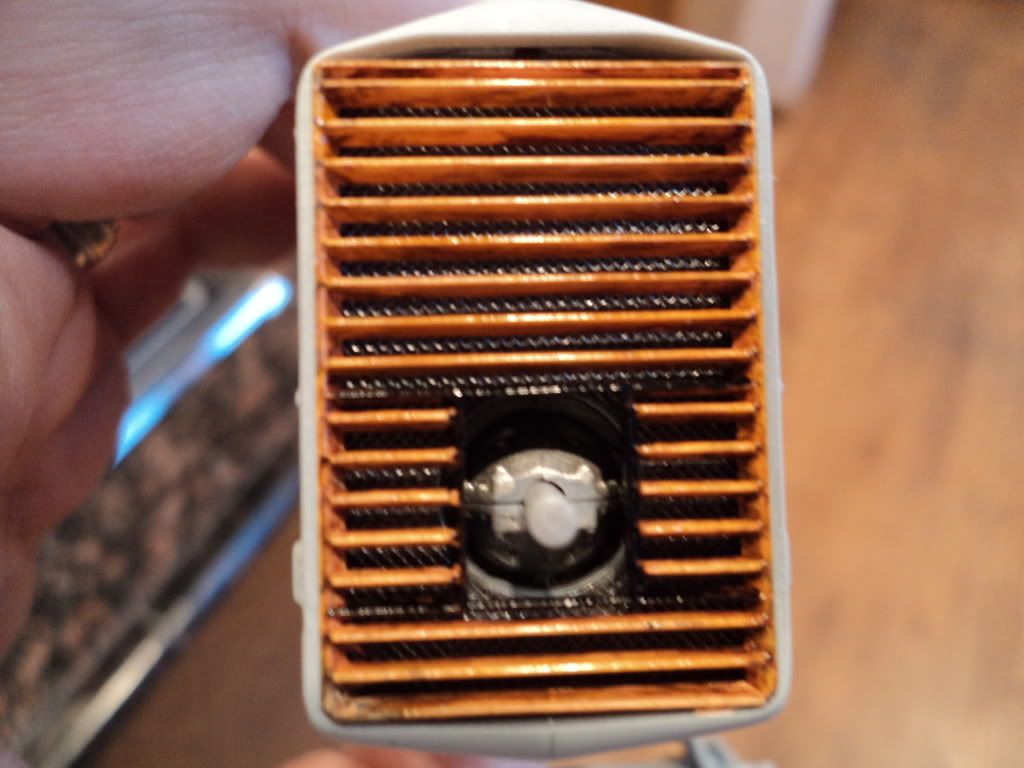
The radiator shutters, I still have to paint the framework where the propeller goes black.

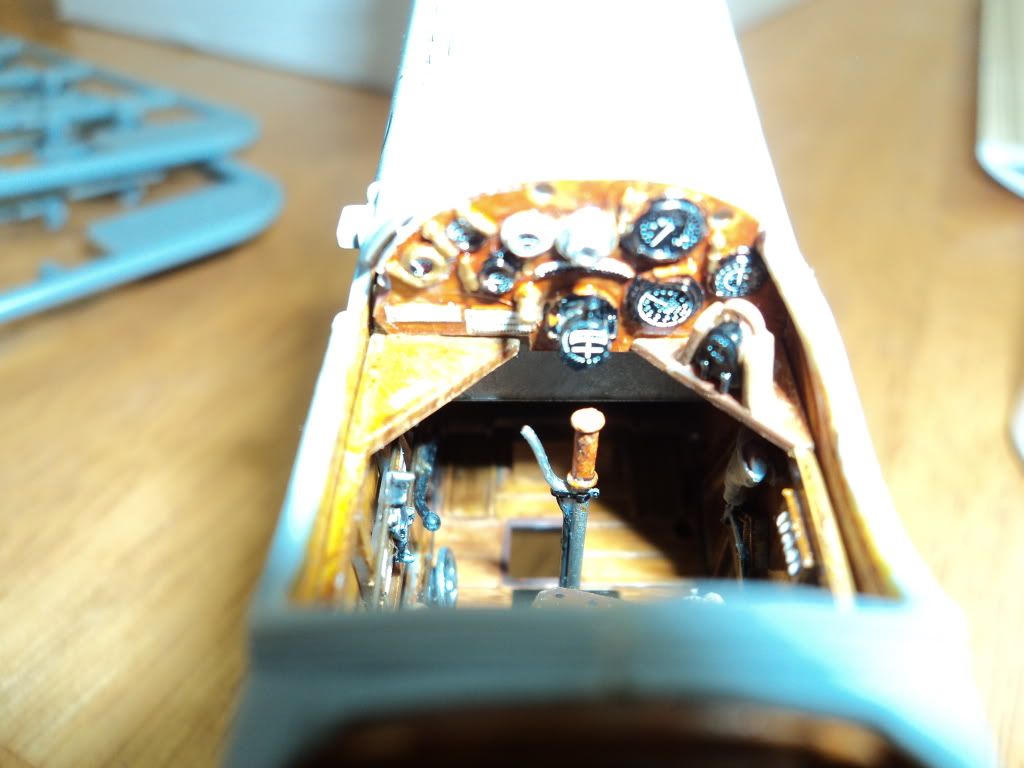
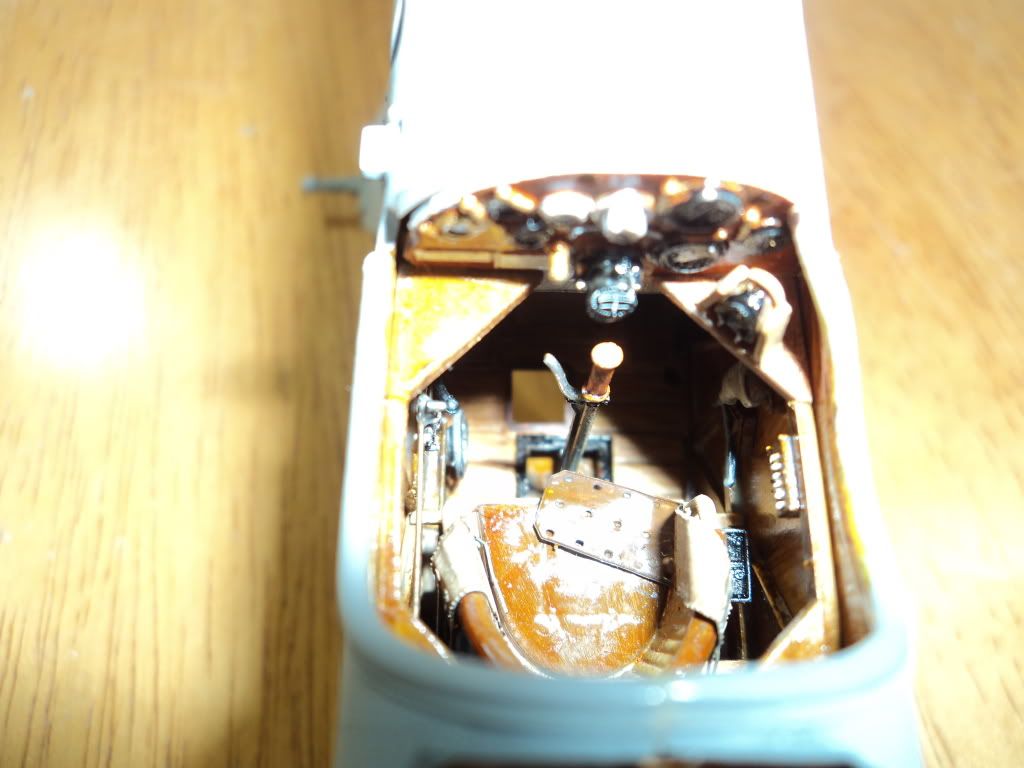
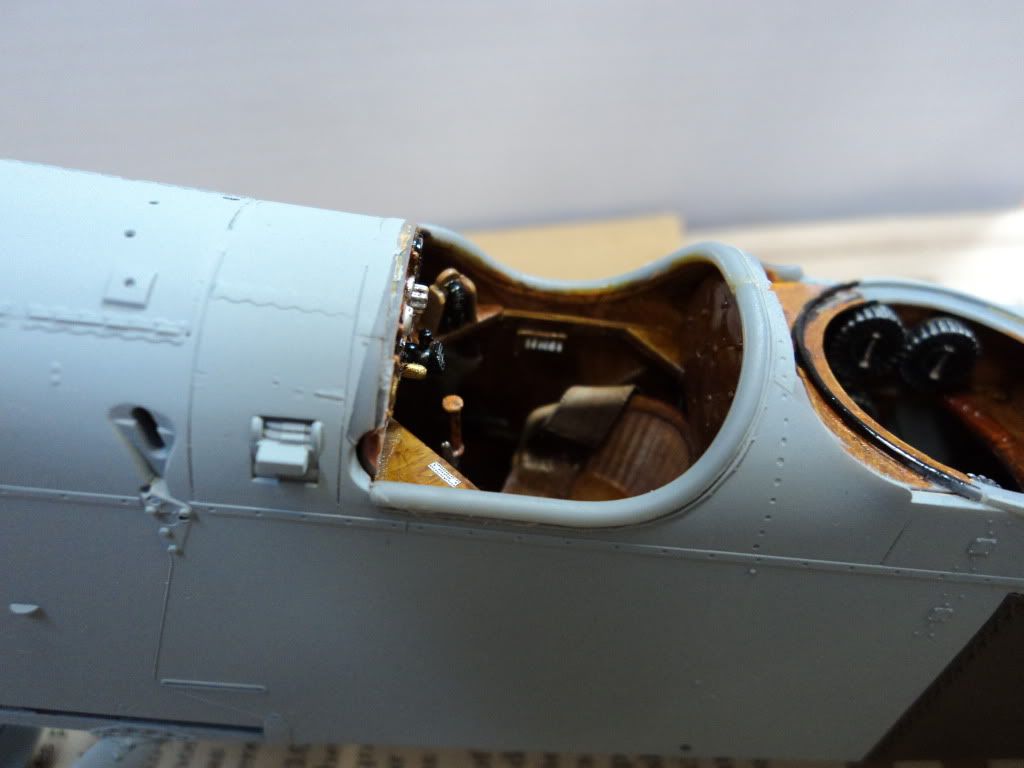
And the office looking forward


It has been difficult to work on this bringing to my wifes house and back to my house and back and forth over the past month. That is about it for now, more as I make progress. Thanks for looking.

Carl: Yes, I am doing the USMC one, and be careful how you put the radiator in the framework, test fit it with the bottom piece so there is no overlap. It is possible to put it in wrong, to low, which I did. Fortunately I was able to correct it without too much collateral damage.
CaptainA
_VISITCOMMUNITY
Indiana, United States
Joined: May 14, 2007
KitMaker: 3,117 posts
AeroScale: 2,270 posts
Posted: Wednesday, February 02, 2011 - 02:03 PM UTC
I like. You made that wicker seat look pretty convincing.
Mgunns
_VISITCOMMUNITY
Arizona, United States
Joined: December 12, 2008
KitMaker: 1,423 posts
AeroScale: 1,319 posts
Posted: Wednesday, February 02, 2011 - 02:28 PM UTC
Okay more stuff:

Thanks Carl, I tried some washes this time with that wicker seat. It is really a little gem.
Here is the part I was referring to. It is critical that the modeler test fit the radiator and the underside cowling piece before cementing in place. It is almost right and for me it is good enough after some surgery and repairs.

Here is another view of the cockpit area without the flash.

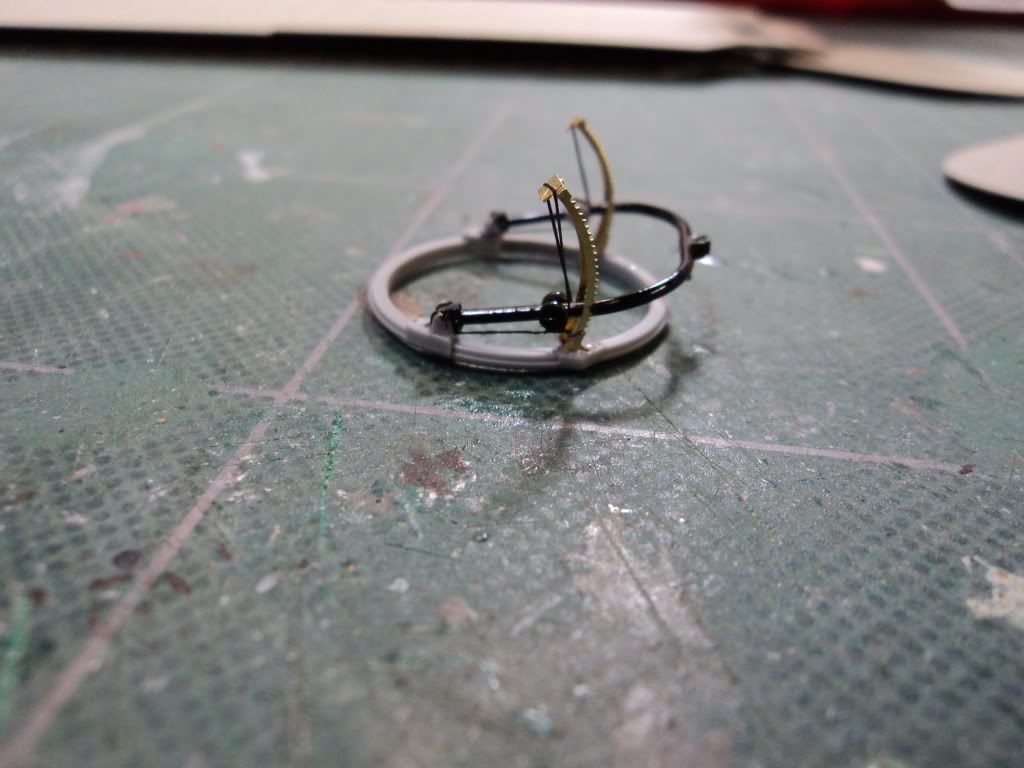
The scarf ring. I had a little trouble with one of the PE parts, but it turned out satisfactorily. I used EZ line for the rigging.

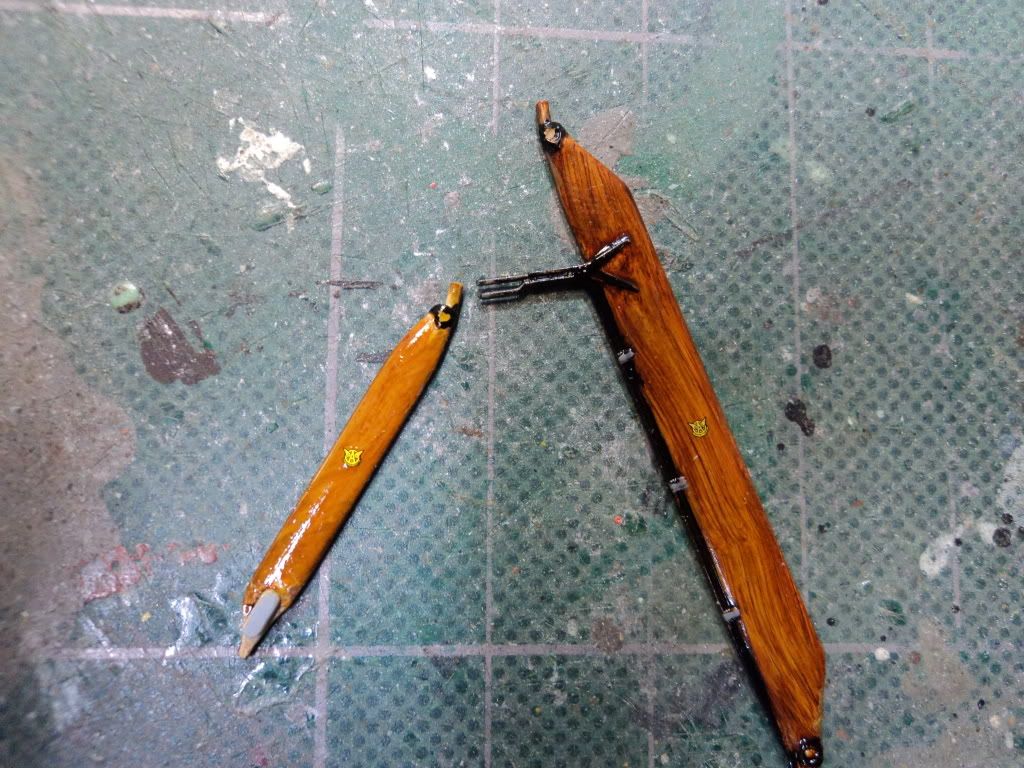
And an example of the struts. I used the colors as called out in the instructions, and then used a burnt sienna wash, covered with Tamiya Clear yellow and orange. Well, it looked to orange and I remembered Terri recommending using Tamiya Smoke to tone it down, so I did that here and I am happy with it.
Mgunns
_VISITCOMMUNITY
Arizona, United States
Joined: December 12, 2008
KitMaker: 1,423 posts
AeroScale: 1,319 posts
Posted: Wednesday, February 02, 2011 - 02:32 PM UTC
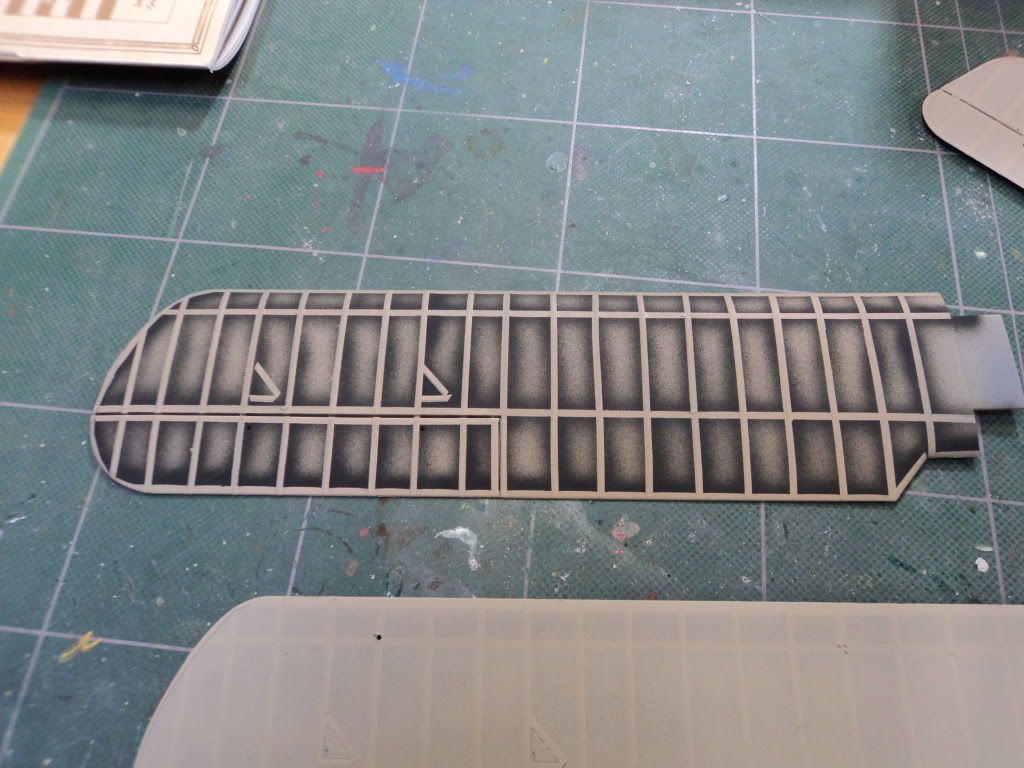
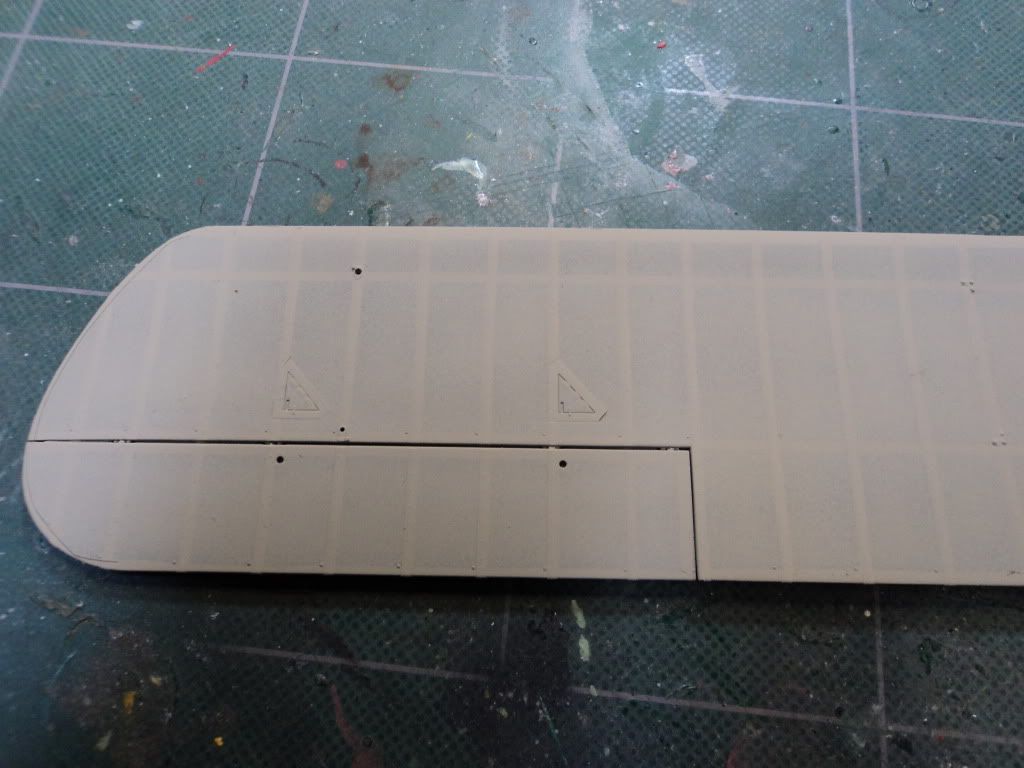
Okay and last but not least, the pre shading before and after.


And that is for tonight folks, I am going to do some more masking and painting.

Thanks for checking it out.

Best
Mark
guitarlute101
_VISITCOMMUNITY
West Virginia, United States
Joined: December 18, 2006
KitMaker: 1,121 posts
AeroScale: 1,063 posts
Posted: Wednesday, February 02, 2011 - 04:06 PM UTC
Great work Mark!
Kornbeef
_VISITCOMMUNITY
England - South East, United Kingdom
Joined: November 06, 2005
KitMaker: 1,667 posts
AeroScale: 1,551 posts
Posted: Wednesday, February 02, 2011 - 08:20 PM UTC
Lovely work Mark, is it me or are you flying through this build?..

I'm not a fan of this subject but it does look mighty impressive, I love that gunring.

K
edoardo
_VISITCOMMUNITY
Milano, Italy
Joined: November 30, 2007
KitMaker: 642 posts
AeroScale: 382 posts
Posted: Wednesday, February 02, 2011 - 09:10 PM UTC
Wow Mark!
you are doing great!
The woodgrain on the sturds and the preshading of the wings are really super!
May I add that your skills are greatly improving... very well done!

Ciao
Edo
CaptainA
_VISITCOMMUNITY
Indiana, United States
Joined: May 14, 2007
KitMaker: 3,117 posts
AeroScale: 2,270 posts
Posted: Thursday, February 03, 2011 - 12:34 AM UTC
Struts look good. On the clear yellow/orange. I use a mix with a little more yellow than orange. More yellow makes it look like new varnish. More orange makes it look warmer. The smoke tones it down a bit. I think you got it right.

The preshading really came out good. I think you have gotten what we are all striving for there. But you can't just post a picture and move on. Please explain what you did, and colors used.

Great progress. Snow days?
Mgunns
_VISITCOMMUNITY
Arizona, United States
Joined: December 12, 2008
KitMaker: 1,423 posts
AeroScale: 1,319 posts
Posted: Thursday, February 03, 2011 - 02:01 AM UTC

Quoted Text

But you can't just post a picture and move on. Please explain what you did, and colors used. Great progress. Snow days?


Hi Karl: You are correct. I was really impressed with Keith's preshading on his SE5 and read and re-read what he did. So, I had a remnant of Tamiya Deck tan in the rattle can, so I sprayed the wings that color, just to get rid of it.
I then taped off the ribs, (tedious to write the least) but the end result is worth it, I think. I then airbrushed Tamiya NATO Black, sort of a dark grey color. Took the tape off, and then went over it with Tamiya Deck Tan I think it is XF-55 as recommended in the instructions for CDL. I think it turned out pretty good.
No snow days but cold days. So far this winter we have had maybe 2 days above freezing, and then it snowed. Most snow on record here in the great upper midwest. Much flooding come spring will add 40 miles to daily commute. I can' wait.

EDO: Thanks for scoping it out and the compliment. My skills are a bit rusty, after the summer, fall, winter break, but coming back, as someone wrote, I think it was Dave Johnson from WNW, it is a lesson in a patience. We learn patience by being patient. I have a tendency to rush things, so I have to take pause.

Thanks Keith: It is in sort of a "Moby Dick" looking phase right now with the big grill and cowling; but I am thinking when it is finished it will look neat, especially with the USMC markings!

Thanks Mark, looking forward to seeing more of yours.

Best

Mark
OEFFAG_153
_VISITCOMMUNITY
Västra Götaland, Sweden
Joined: February 19, 2010
KitMaker: 1,473 posts
AeroScale: 1,450 posts
Posted: Thursday, February 03, 2011 - 07:46 AM UTC
Hi Mark,

Excellent to finally see your NINAK build in progress – and looking very impressive too – this will be a center piece in your diplsaycase for sure.
Looking forward to more as it develops

Warm Regards on a cold winters night (though most snow has gone leaving lots of icy patches to make you slip and break some bones)

Mikael
Mgunns
_VISITCOMMUNITY
Arizona, United States
Joined: December 12, 2008
KitMaker: 1,423 posts
AeroScale: 1,319 posts
Posted: Thursday, February 03, 2011 - 08:34 AM UTC
Hi Mikael:

It is good to be building something and posting it here. Thanks for checking it out. More to follow.

Best

Mark
thegirl
_VISITCOMMUNITY
Alberta, Canada
Joined: January 19, 2008
KitMaker: 6,743 posts
AeroScale: 6,151 posts
Posted: Thursday, February 03, 2011 - 01:48 PM UTC
Hole lee cow batman , you are moving right along with your build ! Per-shading looks great ! And the struts are very well done . Also looks like you a getting a handle on the new camera

Keep going the way you are and you will be the first one done ! I still don't know what I will be building ......
Mgunns
_VISITCOMMUNITY
Arizona, United States
Joined: December 12, 2008
KitMaker: 1,423 posts
AeroScale: 1,319 posts
Posted: Thursday, February 03, 2011 - 02:19 PM UTC
Holy Pre shading Bat Girl!

Hi Terri, thanks for checking it out and your comments. You should try the new WNW 1/32nd Pfalz. Lots of builds of it going on here and on the drome. I know you could 'terr' it up!
Don't know if I will be first done, I am having more plubming done in the basement and the model area is now in chaos again! Holy water softener!

Beset

Mark
Mgunns
_VISITCOMMUNITY
Arizona, United States
Joined: December 12, 2008
KitMaker: 1,423 posts
AeroScale: 1,319 posts
Posted: Saturday, February 05, 2011 - 04:39 PM UTC
Howdy Folks:

Okay, today I did a lot of the behind the scenes work in preparation for final assembly.
Here is kind of an overall view of what I accomplished today. I got the scarf ring with guns completed. What an exercise in coordination! Let me tell ya!
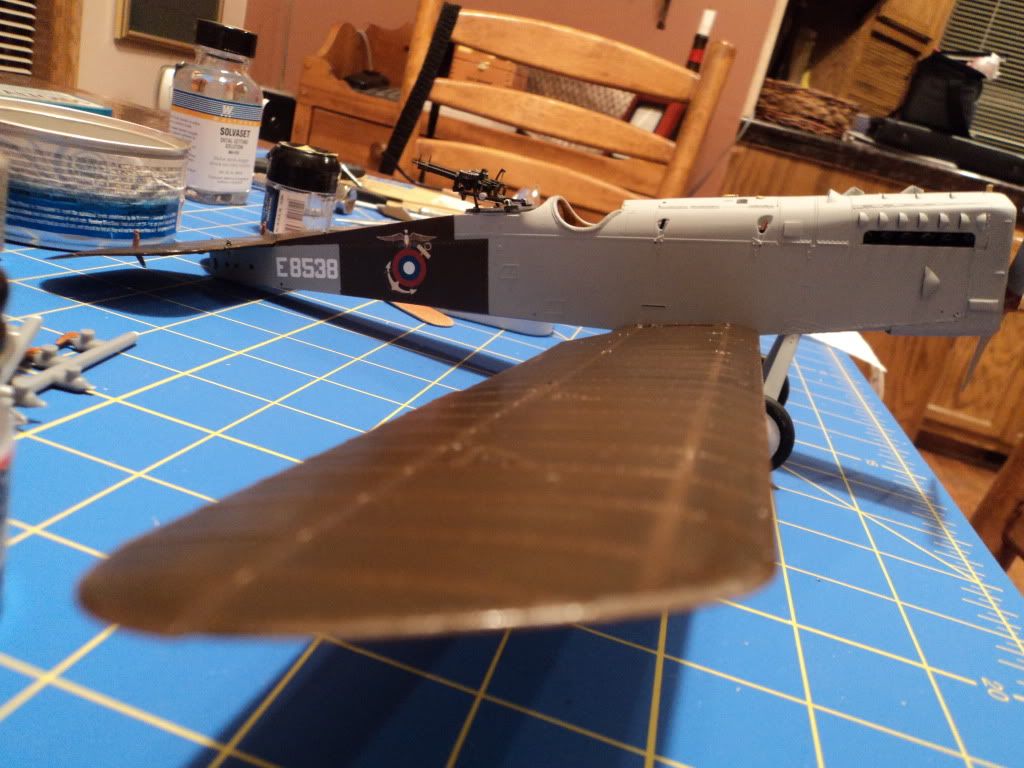
I got the decals on the fuselage aft, and you can see the results of the upper surface preshading.


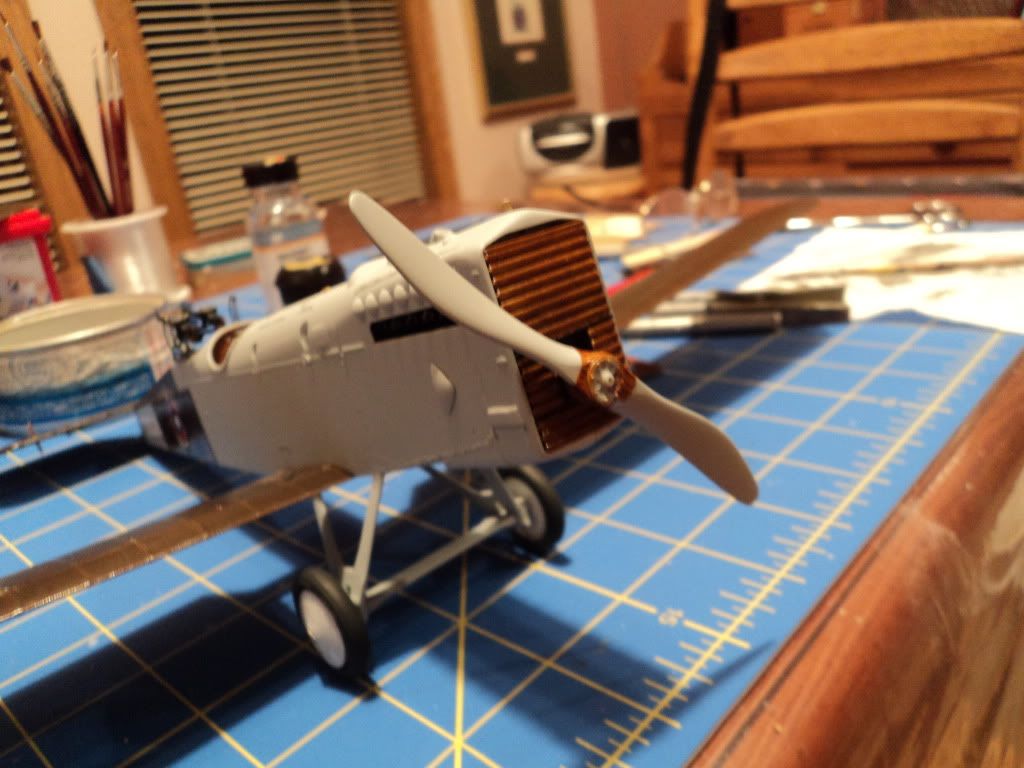
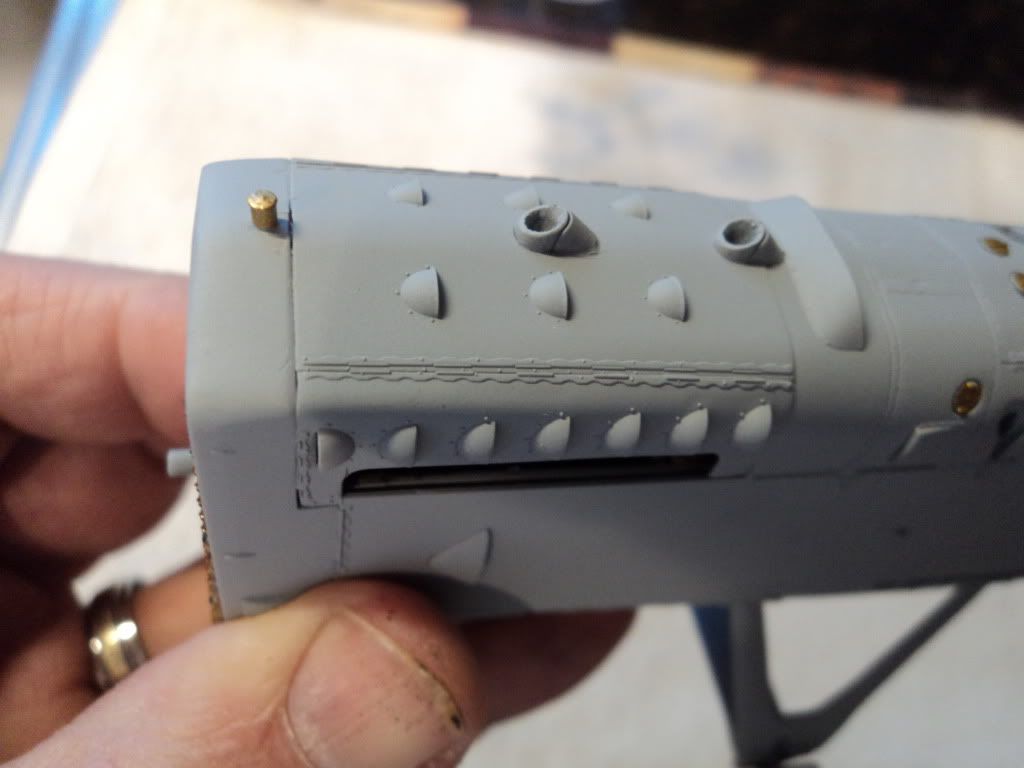
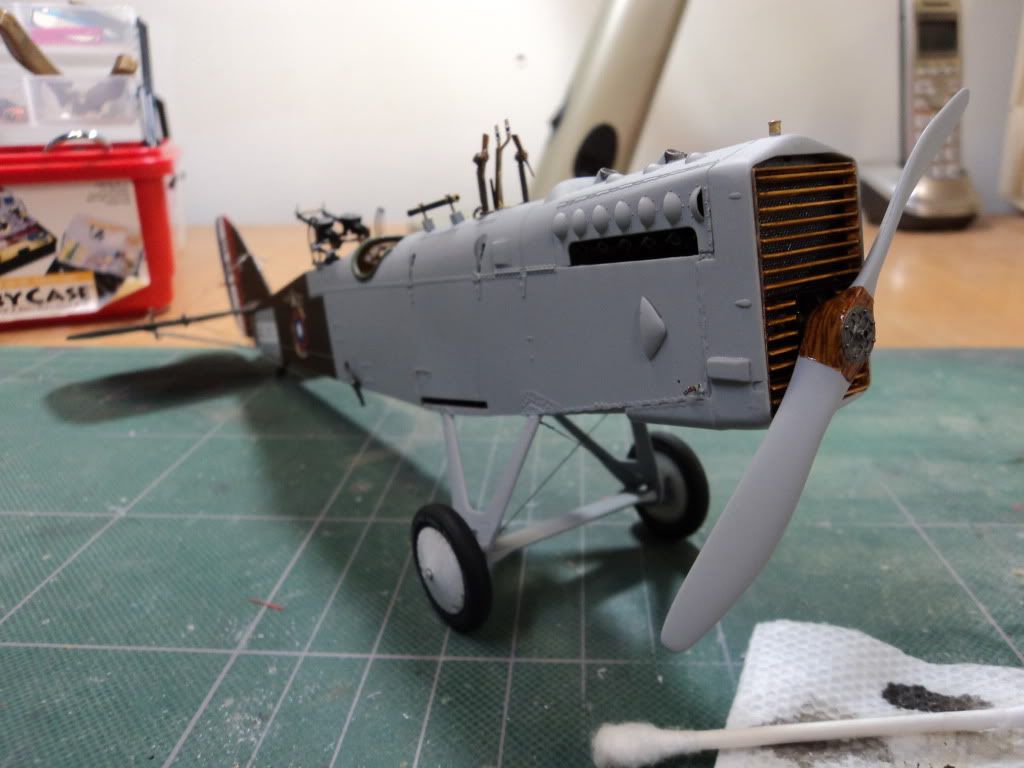
Here I have the closed louvres in place, not sure if I want to use them or the open, I used decal wood grain on the prop. I am at my wifes and forgot the turpenoid at the house so I tried this. I think it turned out alright.


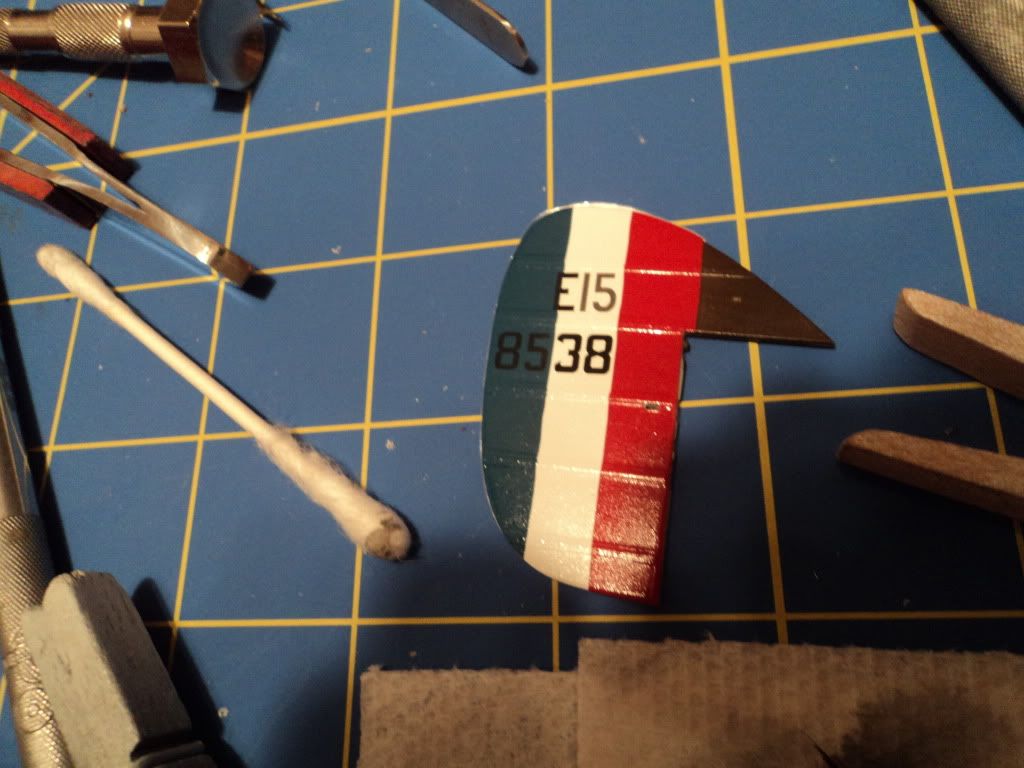
Here is the tail with the decal on it. I was going to paint the stripes, but then upon further examination of the decal sheet, realized that the numbers were on the decal stripes, so......I used the decal. They went down good, but I did use Solvaset, with no ill effect.


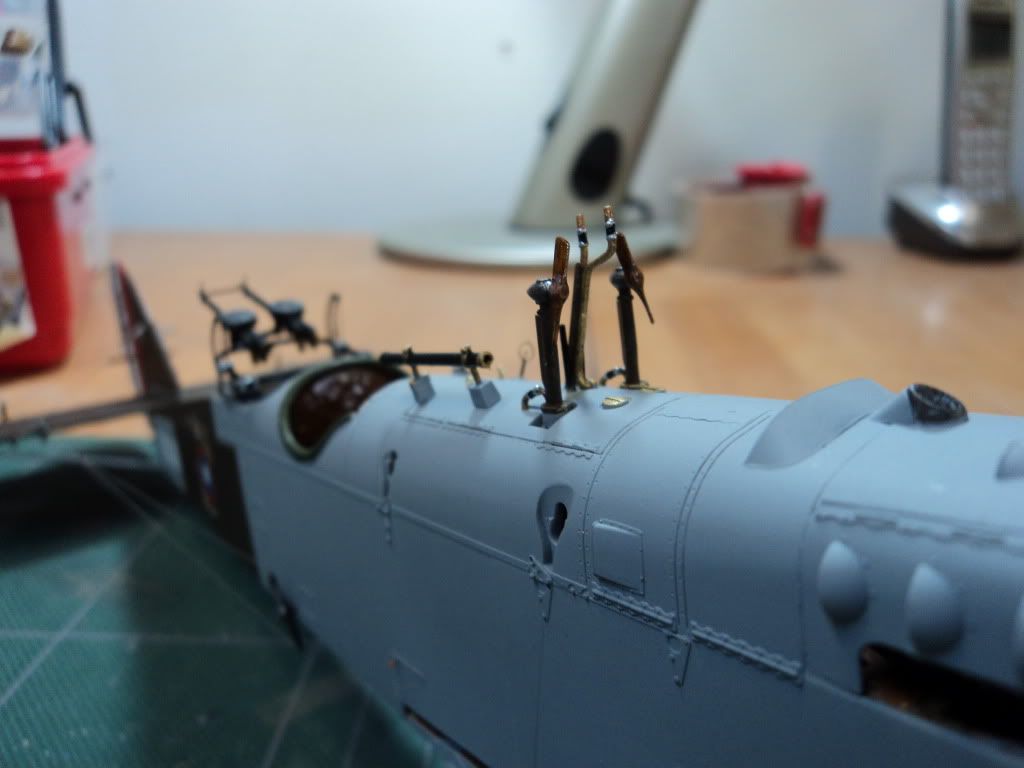
Here are the carb stacks. I trimmed them down and just cemented them to the cowling as I wasn't going to display the motor. I think they are too long otherwise, in comparing to photos in the instruction manual they barely stick above the cowling.


Closed

or open


That's about it for tonight folks. I will be working on it tomorrow, and hope to have more and better pics.

Thanks for looking

Beset Mark
thegirl
_VISITCOMMUNITY
Alberta, Canada
Joined: January 19, 2008
KitMaker: 6,743 posts
AeroScale: 6,151 posts
Posted: Saturday, February 05, 2011 - 11:37 PM UTC
Go Mark Go !

You are making excellent head way on your build sir ! Keep going the way that you are and you will be done in time . The pre-shading turned out really well , your skills are improving and it shows in your work Looking forward to the rigging
Mgunns
_VISITCOMMUNITY
Arizona, United States
Joined: December 12, 2008
KitMaker: 1,423 posts
AeroScale: 1,319 posts
Posted: Sunday, February 06, 2011 - 06:57 AM UTC
Hi Terri:

Thanks for the compliments, I am going to be placing the turnbuckles I got from Bob's Buckles today and finish some of the preliminary work, i.e., decal the wings, the control horns and rig the landing gear. Not sure how to go about the rigging at this stage. I read over at the Aerodrome about turnbuckles and emplacement. I will probably go with a method that I am comfortable with that gives favorable results.
The Aero Historian meeting is on the 19th, and I would like to have it there for that meeting for the show and tell portion of same.

Best

Mark
Mgunns
_VISITCOMMUNITY
Arizona, United States
Joined: December 12, 2008
KitMaker: 1,423 posts
AeroScale: 1,319 posts
Posted: Sunday, February 06, 2011 - 01:02 PM UTC
[quote]Lovely work Mark, is it me or are you flying through this build?..[quote]

Hi Keith:

I think I have hit a wall now. I spent another day, today, working on the small stuff, got the landing gear rigged, and the wings decaled. More later.

Thanks

Mark
Mgunns
_VISITCOMMUNITY
Arizona, United States
Joined: December 12, 2008
KitMaker: 1,423 posts
AeroScale: 1,319 posts
Posted: Sunday, February 06, 2011 - 01:04 PM UTC

Quoted Text

Wow Mark!
you are doing great!
The woodgrain on the sturds and the preshading of the wings are really super!
May I add that your skills are greatly improving... very well done! Ciao
Edo


Thanks Edo:

As I mentioned previously, this is a robust kit, and after about a 7 month hiatis, I should have chosen a less complex kit to get back into the modeling world. I appreciate your compliments Edo. Each one is a learning exprience, and we progress with each build. I am looking forward to more from your DV.

Best

Mark
thegirl
_VISITCOMMUNITY
Alberta, Canada
Joined: January 19, 2008
KitMaker: 6,743 posts
AeroScale: 6,151 posts
Posted: Sunday, February 06, 2011 - 02:32 PM UTC

Quoted Text

Hi Terri:

Thanks for the compliments, I am going to be placing the turnbuckles I got from Bob's Buckles today and finish some of the preliminary work, i.e., decal the wings, the control horns and rig the landing gear. Not sure how to go about the rigging at this stage. I read over at the Aerodrome about turnbuckles and emplacement. I will probably go with a method that I am comfortable with that gives favorable results.
The Aero Historian meeting is on the 19th, and I would like to have it there for that meeting for the show and tell portion of same.

Best

Mark


Hi Mark

Yes Mark , I have been following that thread as well . It has been up before on the topic of turnbuckles . I do agree with Dan Stan-Abott . Look at the pic's in your ref's on Bristish aircraft they didn't use turn buckles . I also agree with Mr . Buckles on his point that we do it because will like the effect of how it looks . I like doing it for the easy of it . And if a line ever breaks , it's also easy to make the repair . And I have had to do this , sucks but better then having to re -drill the hole under the top wing .

Just go with the method which is comfortable for you Mark . Just build and have fun ! Your doing a wonderful job so far
Mgunns
_VISITCOMMUNITY
Arizona, United States
Joined: December 12, 2008
KitMaker: 1,423 posts
AeroScale: 1,319 posts
Posted: Monday, February 07, 2011 - 01:18 AM UTC

Quoted Text

I also agree with Mr . Buckles on his point that we do it because will like the effect of how it looks . I like doing it for the easy of it .


Hi Terri:

I agree with you and after much pause, self debating and reflection decided that I will sacrifice authenticity and turnbuckle for ease of assembly and my own sanity.
The project continues to make progress with more photo's forthcoming. Keep those cards and letters coming folks.

Thanks

Mark
Mgunns
_VISITCOMMUNITY
Arizona, United States
Joined: December 12, 2008
KitMaker: 1,423 posts
AeroScale: 1,319 posts
Posted: Wednesday, February 09, 2011 - 08:41 AM UTC
Okay folks, here we go again with another round of pictures:

The prop and the radiator shutters are just in place for the photo op.


I think these are some sort of fuel pump generators and the center tank fuel lines in place.


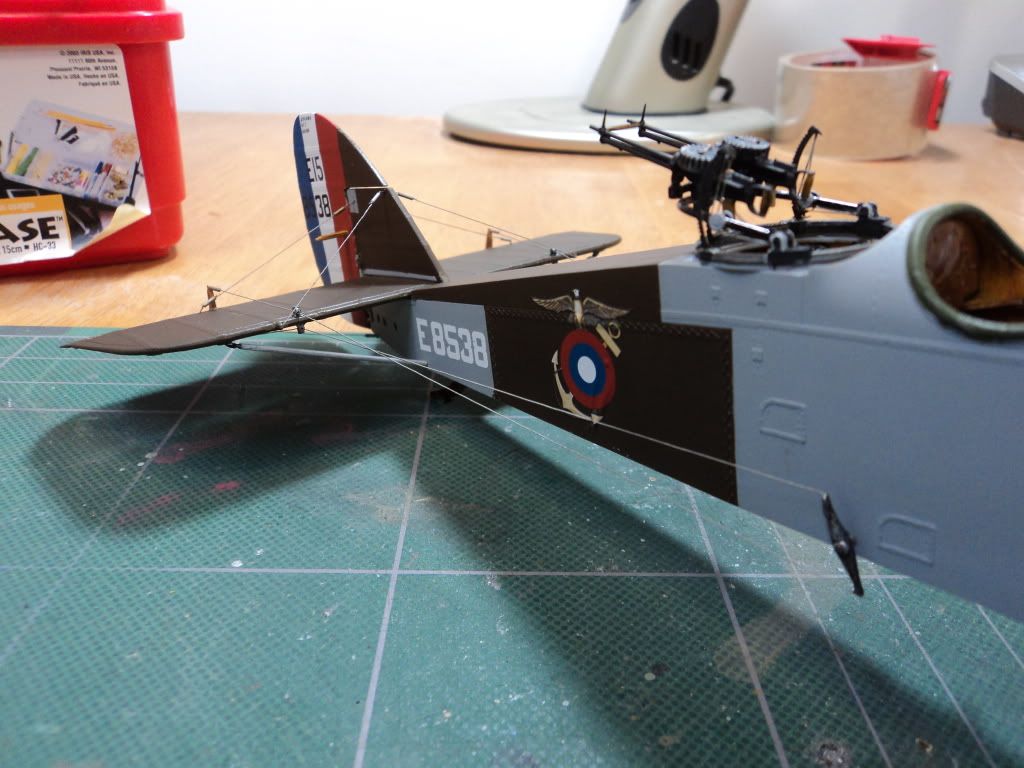
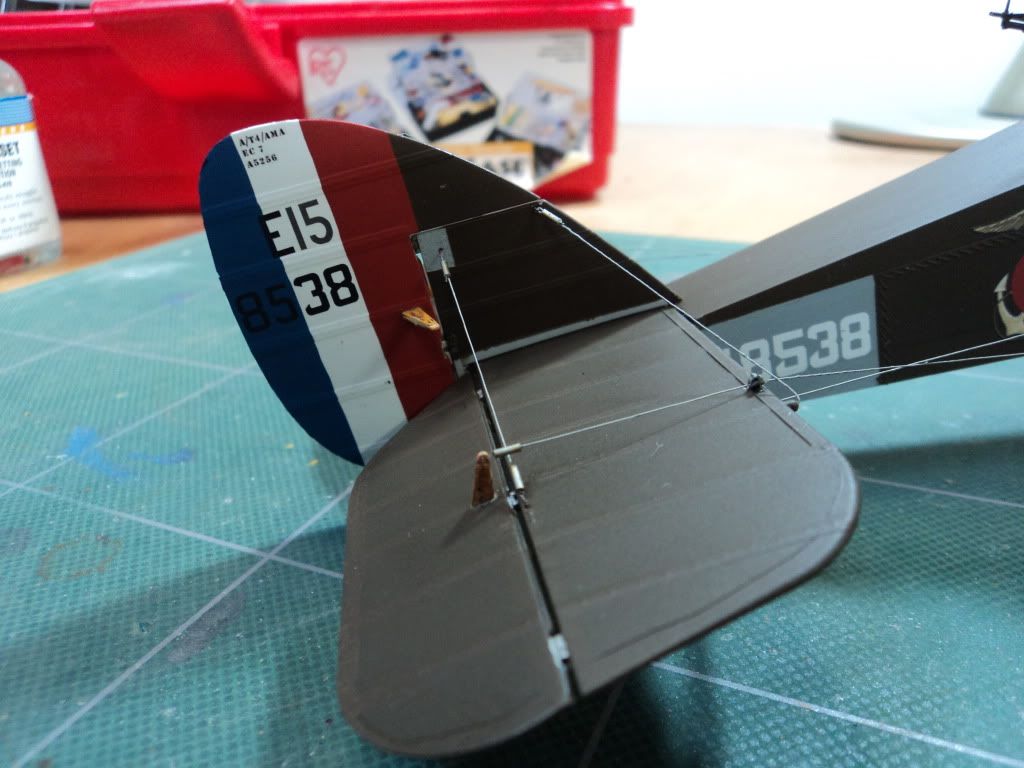
The scarf ring is just sitting in place until finished. It looks mean and lethal. I also commenced with some rigging. I should have maybe held off on the elevator control rigging until further along, but I got carried away.


More rigging. I used Bob's Buckles for the attachment loops, and brass tube for the 'turnbuckle"; a little out of scale, but my eyes have a hard time seeing scale stuff, so it works for me.


More coming
 _GOTOTOP