

I agree with your thoughts on the brown, a little intense, perhaps a little over brushing with the lighter colour will add both depth and detail to it. though the flat floor panel sits deep so the darker colour will seem fine and actually give an impression of shadow I think. But the wood structure is quite pale really.
Yes the second prop looks better, you could try sealing it then adding the bands of lighter wood laminations with something easily removed like gouaches or watercolours or thinned acrylics just to try?
Anyway, very nice work so far.
K
Early Aviation
Discuss World War I and the early years of aviation thru 1934.
Discuss World War I and the early years of aviation thru 1934.
Hosted by Jim Starkweather
KotS GB 2011 Albatros D.V MGunns

Kornbeef

Joined: November 06, 2005
KitMaker: 1,667 posts
AeroScale: 1,551 posts

Posted: Friday, March 25, 2011 - 08:16 PM UTC

guitarlute101

Joined: December 18, 2006
KitMaker: 1,121 posts
AeroScale: 1,063 posts
Posted: Saturday, March 26, 2011 - 01:28 AM UTC
Great work, Mark. Keep posting those pictures.
Mark

Mgunns
Joined: December 12, 2008
KitMaker: 1,423 posts
AeroScale: 1,319 posts

Posted: Monday, March 28, 2011 - 02:30 AM UTC
 Thanks Terri, Keith and Mark:
The pictures are darker than what the color actually is. Terri you are correct, I finished the number one prop and sealed them with Tamiya Clear Yellow. I am going to paint the laminate with the fine pencils I used before. I will should be able to post some more pics this week. Thanks for the input and ideas. It is always a learning experience and any skills learned quickly perish with inactivity.
Best
Mark
thegirl

Joined: January 19, 2008
KitMaker: 6,743 posts
AeroScale: 6,151 posts
Posted: Monday, March 28, 2011 - 03:02 PM UTC
Quoted Text
The pictures are darker than what the color actually is. Terri you are correct, I finished the number one prop and sealed them with Tamiya Clear Yellow. I am going to paint the laminate with the fine pencils I used before. I will should be able to post some more pics this week. Thanks for the input and ideas. It is always a learning experience and any skills learned quickly perish with inactivity.
Best
Mark
How very yure Mark , if we don't use the skills we have to improve then we don't move forward in progress . I make a fare bit of mistakes durning a build , learning how to fix them or even trying something new to improve on that all aids in the end making us better modellers and to help out other folks as well making us better folks as an individual .
Your doing fine on this build Mark and so far it has been a real joy watching you build on your skills , it refects in your work ............so now where are those pic's !


edoardo

Joined: November 30, 2007
KitMaker: 642 posts
AeroScale: 382 posts
Posted: Monday, March 28, 2011 - 06:11 PM UTC
hi mark!
i really like your wood grain!
also the first prop i like very much...
in fact i first thought you were not going to laminate it.
very well done indeed!
ciao
edo
i really like your wood grain!
also the first prop i like very much...
in fact i first thought you were not going to laminate it.
very well done indeed!
ciao
edo
Mgunns
Joined: December 12, 2008
KitMaker: 1,423 posts
AeroScale: 1,319 posts
Posted: Tuesday, March 29, 2011 - 01:09 AM UTC
Thanks Edo and Terri:EDO : The first prop is half finished. I wanted to show a before and after with the "wood" grain I am trying. Next is laminating it. I like the way #1 Turned out and will use that. The Markings I am using is for Lehman of Jasta 5 so I am "assuming" it was a later Mercedes 180hp motor and the original prop was replaced. I find using Tamiya Flat Flesh gives the wood a warmer finish.
Terri: It's a slow build, with the move, working, putting moving stuff away and trying to make room, however, I hope to get some more accomplished tonight and more pics forthcoming. I notice with modeling as with anything, if I don't get right into another kit, the skills I learned begin to perish, but do return.
I appreciate all the tips and encouragement I have received on this forum, you are all great.
Best
Mark
Mgunns
Joined: December 12, 2008
KitMaker: 1,423 posts
AeroScale: 1,319 posts
Posted: Monday, April 04, 2011 - 04:09 PM UTC
Greetings all:Not much progress, as mentioned this is really a slow build, but I have made some progress. The af tcockpit area. I have not glued the fuselage halves yet, but in snipping off the rudder bar, it split in two. Debating whether or not to scratch one, or just go with it as it is. Not sure. I tried cutting the Fabric lap belts, but they seemed too fiddly for me, so I used the WNW kit ones. I annealed them, and painted them Tamiya XF65 and the attachment points Testors Model Master Steel. I am pleased with how they turned out.
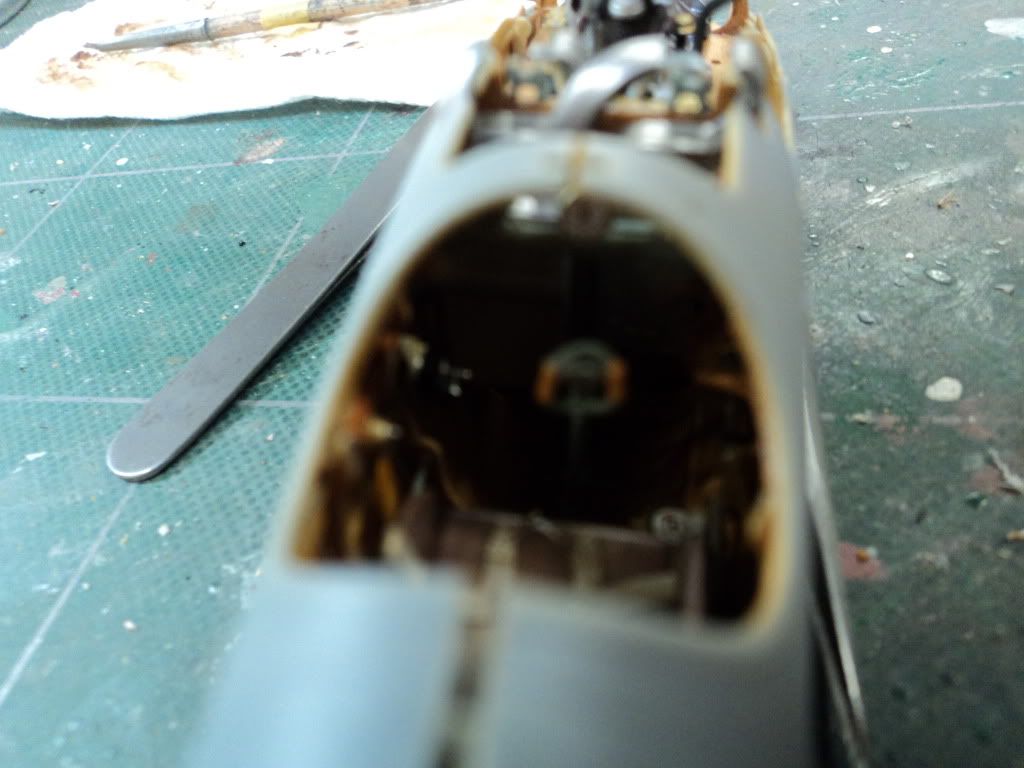
Here is the port cockpit area. All the grey green parts I painted a mix that I made up. The wood is Tamiya Flat Flesh, with some white grain, Winton Sienna and Raw Umber, with some squares over painted with Tamiya clear Yellow. As it is not very visible, I experimented a bit.

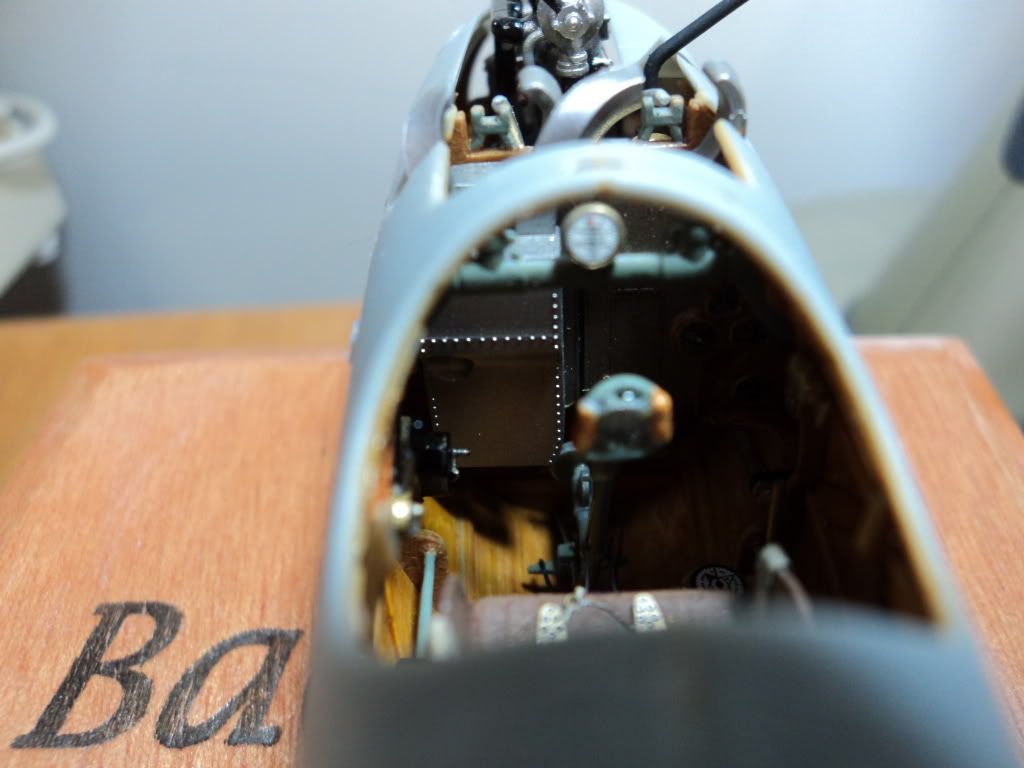
The engine is just sitting on the mount until it sets up and then I will put in the oil bag, and move on. So far the fit has been excellent with not problems encountered. I painted the engine cylinders Tamiya Gun metal and then gave it a wash of Tamiya smoke. I still need to dull cote the whole lot. Everything went together well on the engine and popped right in where it supposed to go.

I am working slowly, just because of time restraints around the house.
Mor progress photo's as progress occurs.
Until that time, keep those cards and letters coming.
Best
Mark
Kornbeef
Joined: November 06, 2005
KitMaker: 1,667 posts
AeroScale: 1,551 posts
Posted: Monday, April 04, 2011 - 08:11 PM UTC
It's starting to come together well Mark. Everything seems to sit together and look right.
Dont feel bad or heavy handed.. both my DVa kits rudder bars snapped like yours, I simply did the clean up added the stirrups *if you are* while broken then cemented them together and left them to dry. I drilled out the control horn for the cable and cleaned up the support before assembling them to it. If it snapped clean, near the middle the column will help hide any joint if any show.
Keith
Mgunns
Joined: December 12, 2008
KitMaker: 1,423 posts
AeroScale: 1,319 posts
Posted: Tuesday, April 05, 2011 - 01:49 AM UTC
Thanks Keith:
I think the floor monster ate the rudder bar. I think I have a PE one somewhere as well. I will find something to put in there. Otherwise it is going together well, I just haven't had time to really sit down and spend a few hours on it. DRAT! Still have some control rigging I need to do before buttoning it up as well.
Take care
Mark

OEFFAG_153

Joined: February 19, 2010
KitMaker: 1,473 posts
AeroScale: 1,450 posts

Posted: Tuesday, April 05, 2011 - 09:10 AM UTC
Very nice progress indeed Mark sorry about the rudder bar the WNW small bits are very finely molded, and I've done some damage to them myself, cutting them off the tree...
Looking forward to the updates as they come like you, things keep distracting me I would love an entire weekend, really getting stuck in...
Best Regards
Mikael
Mgunns
Joined: December 12, 2008
KitMaker: 1,423 posts
AeroScale: 1,319 posts
Posted: Wednesday, April 06, 2011 - 04:42 AM UTC
Hi Mikael:Thanks for checking out the build. Yes, slow mode with everything else. More to follow.
Best
Mark
thegirl
Joined: January 19, 2008
KitMaker: 6,743 posts
AeroScale: 6,151 posts
Posted: Wednesday, April 06, 2011 - 01:33 PM UTC
Looking might fine Mark ! Your making good progress with this build . 
I really like how the engine turned out , well done !
I really like how the engine turned out , well done !
Mgunns
Joined: December 12, 2008
KitMaker: 1,423 posts
AeroScale: 1,319 posts
Posted: Thursday, April 07, 2011 - 01:55 AM UTC
Thanks Terri:If the engine was more exposed, vis the LVG, I would do more, but I think it is fine the way it is. Slowly coming along.
Best
Mark
Mgunns
Joined: December 12, 2008
KitMaker: 1,423 posts
AeroScale: 1,319 posts
Posted: Thursday, April 14, 2011 - 03:00 PM UTC
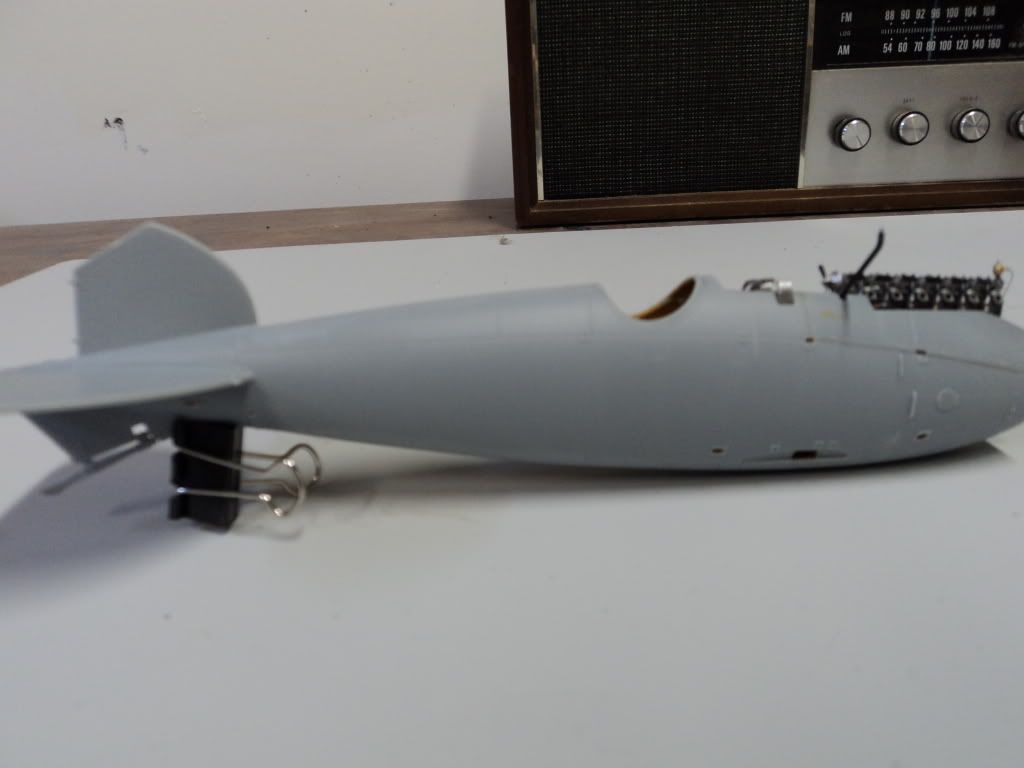
Okay Folks:Another segment on the Albatros. I have the fuselage buttoned up. The cowling panels are on. One thing of note here, anyone doing this kit ensure the engine stringers are aligned perfectly as the forward cabane strut mount locks into the grove on one of the engine mount stringers.
Here is the Starboard fuselage.
I used the HGW Elevator control cable guides here:

Here is the stick. It is hard to see in the cockpit, but all the pieces are in place, and fit well.
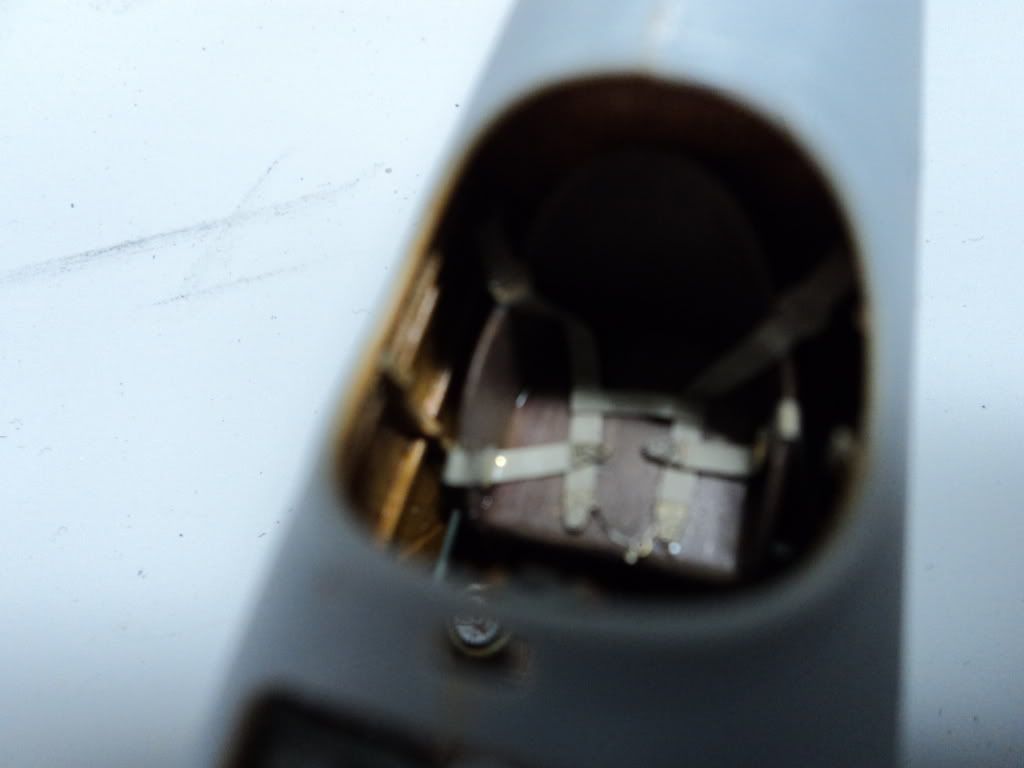
Here are the WNW PE seatbelts fixed to the seat. I did aneal them to get the bends. I tried the HGW paper ones, but couldn't seem to cut a straight line, so used the kit ones, I think they turned out alright.
This is a slow one. I hope to get some paint and decals on it over the weekend. I don't have the colors to mix a mauve so Saturday will be stopping by the hobby shop to pick up some paint.
Thanks for stopping by.
Best
Mark
Kornbeef
Joined: November 06, 2005
KitMaker: 1,667 posts
AeroScale: 1,551 posts
Posted: Thursday, April 14, 2011 - 07:50 PM UTC
She's coming along really nice.
Did you have any fit issues with the cowlings or were you clever and fixed them before joining the halves? I know mine dryfitted like a dream but when it came to fit them after buttoning everything up they were a minor daymare. Most likely due to minor alignment/paint in the locating grooves etc.
Looking forward to the next progress report.
Keith.
Mgunns
Joined: December 12, 2008
KitMaker: 1,423 posts
AeroScale: 1,319 posts
Posted: Friday, April 15, 2011 - 01:21 AM UTC
Hi Keith:Yes, dry fitting they fit nicely, when I finally cemented them in place, they stand proud a bit. It looks worse in the photo than in person, but yes, they didn't fit as tight as they did when dry fitting. I am going to leave them as is. For some reason this isn't as fun as the NINAK, maybe because I can't just sit at the bench and spend any significant time, so progress is slow and basically uninspired; but I will persevere and continue on to see this to completion. I hate to put them back in the box and forget them. The next phase is painting.
Thanks for stopping by.
Best
Mark

wing_nut
Joined: June 02, 2006
KitMaker: 1,212 posts
AeroScale: 468 posts
Posted: Friday, April 15, 2011 - 01:22 AM UTC
No problem with working slow when you produce that kind of results. The engine looks great.
Mgunns
Joined: December 12, 2008
KitMaker: 1,423 posts
AeroScale: 1,319 posts
Posted: Friday, April 15, 2011 - 02:04 AM UTC
Hi Wing-nut:Thanks for the kind words. It is amazing what just a little extra effort will produce. The wires, some careful painting picking out details. I don't have AMS so just a few things make it really stand out.
Best
Mark

Bigrip74
Joined: February 22, 2008
KitMaker: 5,026 posts
AeroScale: 2,811 posts

Posted: Friday, April 15, 2011 - 03:09 AM UTC
Mark, I noticed the fuel tank has a gold tint to it how did you produce the effect? Nice work BTW.
Bob
Bob
Mgunns
Joined: December 12, 2008
KitMaker: 1,423 posts
AeroScale: 1,319 posts
Posted: Friday, April 15, 2011 - 05:30 AM UTC
Hi Bob:Thanks for stopping by: I painted it Testors Model Master brass. I could have weathered it but as it is not going to be opened up, just let it as it is.
Best
Mark
thegirl
Joined: January 19, 2008
KitMaker: 6,743 posts
AeroScale: 6,151 posts
Posted: Saturday, April 16, 2011 - 02:03 AM UTC
Coming along very well Mark ! 
mtnflyer
Joined: March 08, 2009
KitMaker: 394 posts
AeroScale: 360 posts
Posted: Tuesday, April 19, 2011 - 03:17 PM UTC
I like your engine, Mark, and have saved the photos for reference on my next attempt. I'm trying to wean myself off of the preschool modeling effect, and like to reference the workmanship of craftsman. Guy
OEFFAG_153
Joined: February 19, 2010
KitMaker: 1,473 posts
AeroScale: 1,450 posts
Posted: Tuesday, April 19, 2011 - 07:59 PM UTC
Hi Mark
Very nice progress with those details, this is really shaping up very nicely
Mikael
Very nice progress with those details, this is really shaping up very nicely
Mikael
Mgunns
Joined: December 12, 2008
KitMaker: 1,423 posts
AeroScale: 1,319 posts
Posted: Wednesday, April 20, 2011 - 01:11 AM UTC
Thanks Terri, Guy and Mikael:I hope to get some painting done this evening. I am not sure on the Mauve. I have Humbrol Purple and will try to mix a little tan with it to get Mauve to paint the wings, or....I just may stop at the Hobby shop on the way home and pick up the proper paint and mix it up per WNW instructions.
Like Terri, my life is a bit hectic now and modeling is a catch as catch can project right now.
Stay tuned for updates as they occur.
Best
Mark
Mgunns
Joined: December 12, 2008
KitMaker: 1,423 posts
AeroScale: 1,319 posts
Posted: Tuesday, May 17, 2011 - 01:05 AM UTC
Greetings all:Like Keith, I am in the modeling doldrums, I will attribute it to the horrible weather we have had here in the Great Upper Midwest. It still seems like winter in the middle of May. I am going to set myself down and do some work on it this week, as I would like to get it finished before we do get summer. I have heard summer is supposed to be here in July for about a week.
I have enjoyed the modeling threads and the work being done by my fellow modelers.
Best
Mark
 |

WEB HOSTING BY


Copyright ©2021 AeroScale and Kitmaker Network, a subsidiary of Silver Star Enterprises
All Rights Reserved. Please read our Conditions of Use and Privacy Policy.
All Rights Reserved. Please read our Conditions of Use and Privacy Policy.