Justin, Harm,
big thank you for the comments and suggestions!
I must admit I felt a bit dumb when I got the answer about black and then grey on the canopy outside: after all it is transparent!!!
I must admit that moving from 35th scale to 72nd things have shrunk down a lot and it was a tad difficult to adjust to the new size of things.
Also, this is my first Hasegawa Turkey and, although this may raise a few eyebrows, I found it a tad over-engineered, especially in some parts: I mean, you have at least 6 PE parts that in the end nobody will see unless they are in 1/72 plus little tiny things that eventually get hidden in the "pancake"...
Anyhow, to make things up, I then decided to buy a Fujimi kit also! I do not know if it will fit into the campaign but I am interested in seeing how they compare.
Furthermore, seams and joints are really a pain. I am trying to use a few of the methods suggested here in the forum, but so far I am still struggling with them.
Last (?) question: many years ago I learnt the lesson the hard way, that is never use CA to glue transparent parts. Also the same seems to apply to some of the "standard" styrene glues. Now, given the fact that I also need to glue the PE parts to the canopy, what would you recommend?
Please accept my apologies if these questions are in the campaign thread.
Air Campaigns
Want to start or join a group build? This is where to start.
Hosted by Frederick Boucher, Michael Satin
OFFICIAL: The Cats Out of the Bag Campaign
_Viper_
Roma, Italy
Joined: April 15, 2010
KitMaker: 163 posts
AeroScale: 19 posts
Joined: April 15, 2010
KitMaker: 163 posts
AeroScale: 19 posts
Posted: Tuesday, May 17, 2011 - 08:03 PM UTC
Posted: Wednesday, May 18, 2011 - 12:12 AM UTC
Quoted Text
Last (?) question: many years ago I learnt the lesson the hard way, that is never use CA to glue transparent parts. Also the same seems to apply to some of the "standard" styrene glues. Now, given the fact that I also need to glue the PE parts to the canopy, what would you recommend?
Hey Viper, a couple of solutions for you:
1. Testors Clear Parts Cement - dries clear, fill small gaps and won't cloud the clear parts, and will fix the PE as well. Downside is that it's quite slow-setting.
2. Dip the clear parts in Future a couple of times and let them cure for a couple of days, makes them virtually bullet-proof and then you can use CA glue on them with no clouding.
I'm sure the other guys will chime in with a few more ideas as well.
Great work on your build so far as well mate.
Cheers, D
vertigo
Dublin, Ireland
Joined: November 11, 2004
KitMaker: 388 posts
AeroScale: 225 posts
Joined: November 11, 2004
KitMaker: 388 posts
AeroScale: 225 posts
Posted: Wednesday, May 18, 2011 - 01:00 AM UTC
There's also Revell Contacta Clear. I haven't used it yet but it was designed for clear parts, should work.
Keeperofsouls2099
Florida, United States
Joined: January 14, 2009
KitMaker: 2,798 posts
AeroScale: 2,443 posts
Joined: January 14, 2009
KitMaker: 2,798 posts
AeroScale: 2,443 posts
Posted: Wednesday, May 18, 2011 - 12:55 PM UTC
My recommendation is have someone smuggle you some Klear!
Sprue brothers sells it found.......
http://store.spruebrothers.com/categories.aspx?Keyword=future
Sprue brothers sells it found.......
http://store.spruebrothers.com/categories.aspx?Keyword=future
_Viper_
Roma, Italy
Joined: April 15, 2010
KitMaker: 163 posts
AeroScale: 19 posts
Joined: April 15, 2010
KitMaker: 163 posts
AeroScale: 19 posts
Posted: Wednesday, May 18, 2011 - 08:07 PM UTC
Well guys,
a BIG thank you for the help and encouragment!
This is realy a GREAT community!
Here is what I plan on doing:
- secure both Revell contacta clear and testors stuff to "safely" bond the clear parts.
- no future while I try to set up my little black market smuggling with friends in the US and/or UK (would like to see their faces when I'll ask them about it!)
Little progress (no pics, because it ain't pretty to look at):
- finished masking the main canopy last night. It seemingly turned out ok. Only after paint I will able to tell
Hopefully I will finish the front canopy tonight, then all weekend gets blown as I have to travel to visit family.
Thanks again, I'll keep you posted.
a BIG thank you for the help and encouragment!
This is realy a GREAT community!
Here is what I plan on doing:
- secure both Revell contacta clear and testors stuff to "safely" bond the clear parts.
- no future while I try to set up my little black market smuggling with friends in the US and/or UK (would like to see their faces when I'll ask them about it!)
Little progress (no pics, because it ain't pretty to look at):
- finished masking the main canopy last night. It seemingly turned out ok. Only after paint I will able to tell
Hopefully I will finish the front canopy tonight, then all weekend gets blown as I have to travel to visit family.
Thanks again, I'll keep you posted.
eoinryan
Cork, Ireland
Joined: April 30, 2010
KitMaker: 232 posts
AeroScale: 66 posts
Joined: April 30, 2010
KitMaker: 232 posts
AeroScale: 66 posts
Posted: Thursday, May 19, 2011 - 12:16 PM UTC
Hey Nicola,
I may be able to solve your 'where the hell do I get Johnson's Klear in Europe?' dilema.
I had the same difficulties approximately a year ago and apparently Customs and Excise people don't like transatlantic importation of chemicals (not even gd thinners).
In Europe Klear is marketed as 'New Improved Formula Klear is now... Pledge Multi-Surface Wax'. It works the same and everything. I'd stick a photo up on the net but you'll have to wait a couple days because I accidentally let my camera battery run flat. With a photo it will be easier to locate.
Just use it in very thin layers and let it cure for a good while before applying the next. I leardned the hard way that if you apply it too thick, it causes streaks.
Photo to folow in a few days.
Later,
Eoin
Posted: Sunday, May 29, 2011 - 09:36 AM UTC
OK I'm calling my entry finished
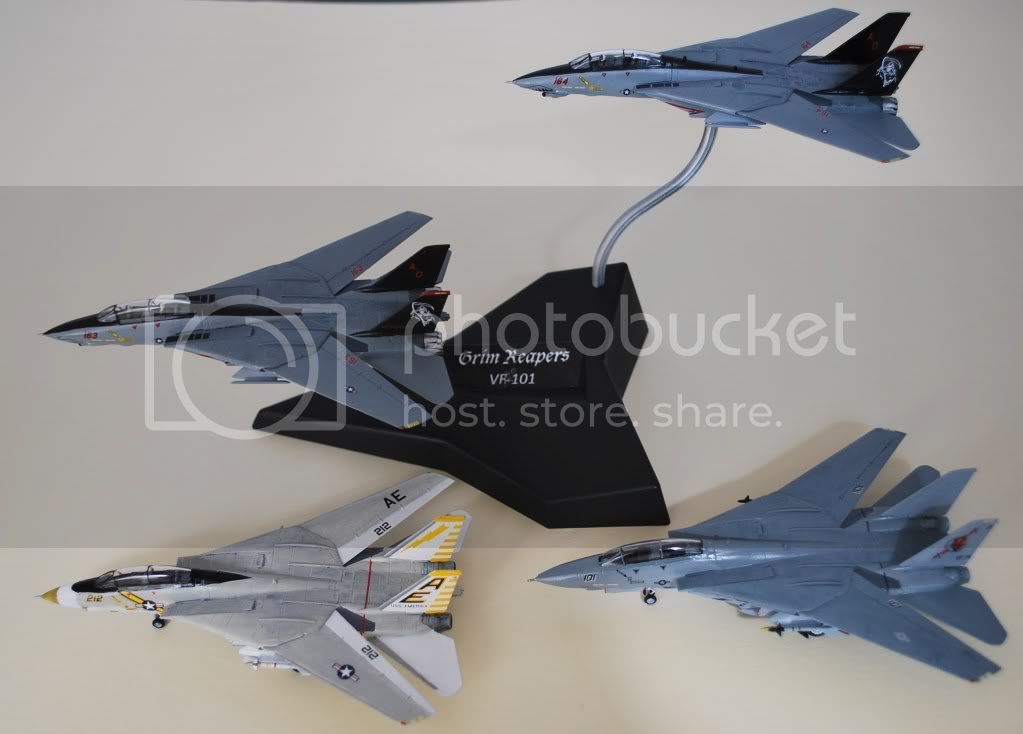
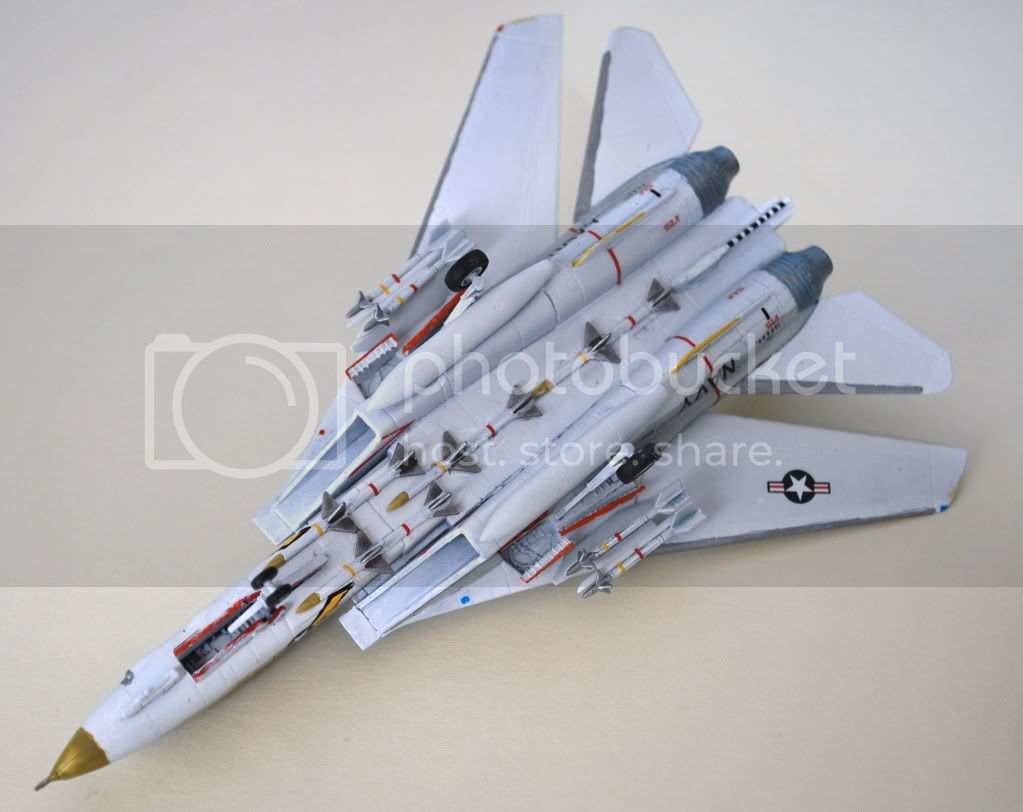
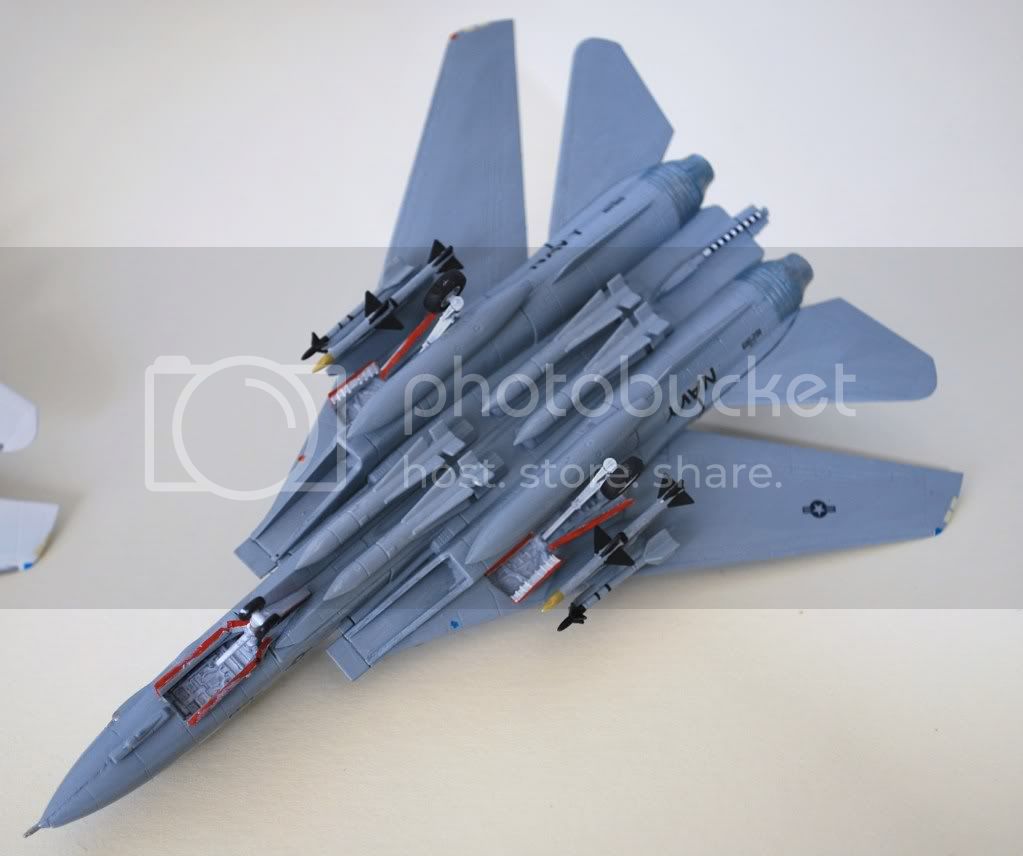
Four F-14's two A's and two D's, the first photo has been uploaded to the gallery.
And just look what all this has gone and got me doing
But this will not be for the campaign as I'm out of pilots so will need to order more.
Four F-14's two A's and two D's, the first photo has been uploaded to the gallery.
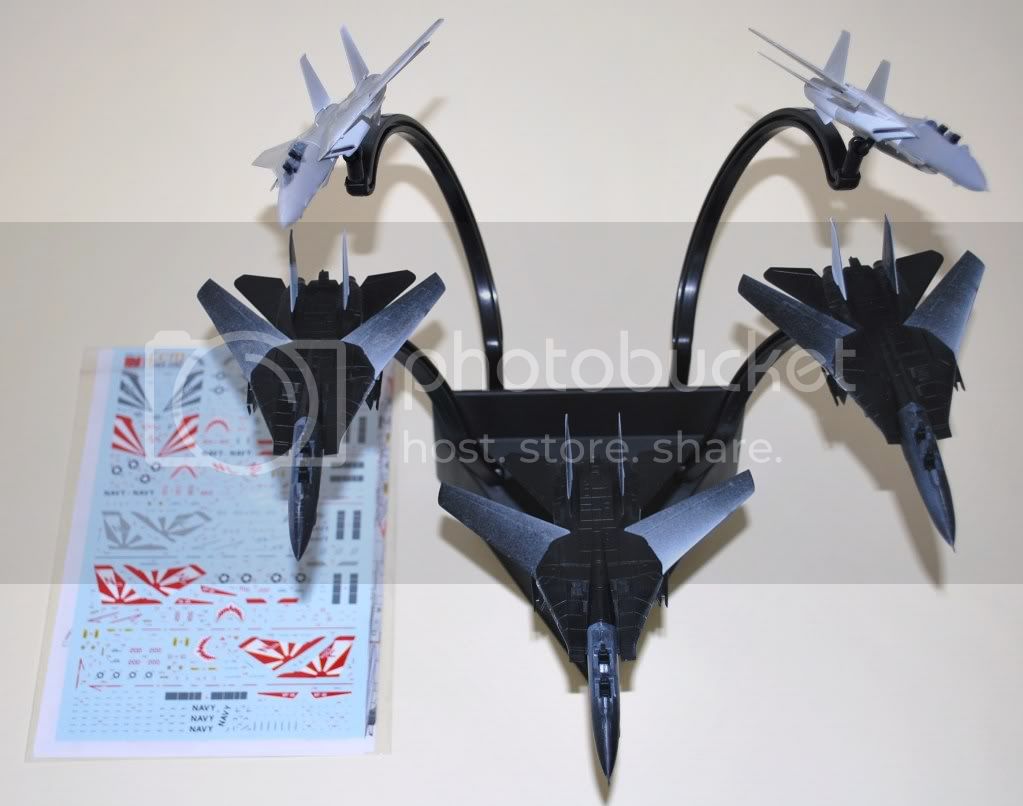
And just look what all this has gone and got me doing
But this will not be for the campaign as I'm out of pilots so will need to order more.
Keeperofsouls2099
Florida, United States
Joined: January 14, 2009
KitMaker: 2,798 posts
AeroScale: 2,443 posts
Joined: January 14, 2009
KitMaker: 2,798 posts
AeroScale: 2,443 posts
Posted: Sunday, May 29, 2011 - 06:14 PM UTC
Great looking birds nice finish
Posted: Sunday, May 29, 2011 - 09:35 PM UTC
Looks great, Luciano! Looking forward to follow the next build.
Where do you get the flying stands?
Posted: Monday, May 30, 2011 - 07:26 AM UTC
Quoted Text
Looks great, Luciano! Looking forward to follow the next build.
Where do you get the flying stands?
Thanks Jesper, the flying stands I ordered direct from Airfix, they have them on their web shop and cost about £5 (from memory) for the five aircraft stand. Now just need to find a nice VF-111 badge to go in the centre of the stand.
Once this ones done I have the same plans for a VF-33 decal sheet and VF-84/103 sheets.
Dermo245
Dublin, Ireland
Joined: April 07, 2010
KitMaker: 42 posts
AeroScale: 29 posts
Joined: April 07, 2010
KitMaker: 42 posts
AeroScale: 29 posts
Posted: Wednesday, June 01, 2011 - 02:06 AM UTC
Viper nice progress so far!
Luciano 4 builds already - awesome!
Just a very small update from me. After surgery on the wings of my 'Cat, I went at the speedbrake on the upper tail (this build will be an "in-action" pose!)
Before
After a couple of hours of very patient scribing (and some cursing).....
Still some cleanup to go but happy with the results.
Until the next time Tomcatters, enjoy your modelling
Keeperofsouls2099
Florida, United States
Joined: January 14, 2009
KitMaker: 2,798 posts
AeroScale: 2,443 posts
Joined: January 14, 2009
KitMaker: 2,798 posts
AeroScale: 2,443 posts
Posted: Monday, June 06, 2011 - 01:24 PM UTC
Hows the cats coming
Keeperofsouls2099
Florida, United States
Joined: January 14, 2009
KitMaker: 2,798 posts
AeroScale: 2,443 posts
Joined: January 14, 2009
KitMaker: 2,798 posts
AeroScale: 2,443 posts
Posted: Monday, June 06, 2011 - 04:44 PM UTC
progress from me all be it slow just not enough time any more
Keeperofsouls2099
Florida, United States
Joined: January 14, 2009
KitMaker: 2,798 posts
AeroScale: 2,443 posts
Joined: January 14, 2009
KitMaker: 2,798 posts
AeroScale: 2,443 posts
Posted: Friday, June 10, 2011 - 01:40 PM UTC
Bump
SellSword
Indiana, United States
Joined: February 15, 2010
KitMaker: 167 posts
AeroScale: 141 posts
Joined: February 15, 2010
KitMaker: 167 posts
AeroScale: 141 posts
Posted: Tuesday, June 14, 2011 - 06:09 AM UTC
Well Justin, my 1/144 scale bird went together fairly quick, but my 1/48 is giving me some hell and I'm having trouble staying motivated... I finally got all the gaps filled and sanded, but now the challenge is rescribing everything! I haven't had to really restore much detail on any of my kits til now so it's kind of a daunting task! I messed up on a line last week and put the whole thing in a box and out of sight until my blood pressure comes down a bit I just need a bit to get my confidence back and I need to find some reference material for the lines on each side of the cockpit.
magnusf
Stockholm, Sweden
Joined: May 02, 2006
KitMaker: 1,953 posts
AeroScale: 1,902 posts
Joined: May 02, 2006
KitMaker: 1,953 posts
AeroScale: 1,902 posts
Posted: Tuesday, June 14, 2011 - 10:05 AM UTC
Friends!
I haven't been too active lately but I'm lurking around and reading your posts at least. Those six finished 144-birds make up a magnificent collection!
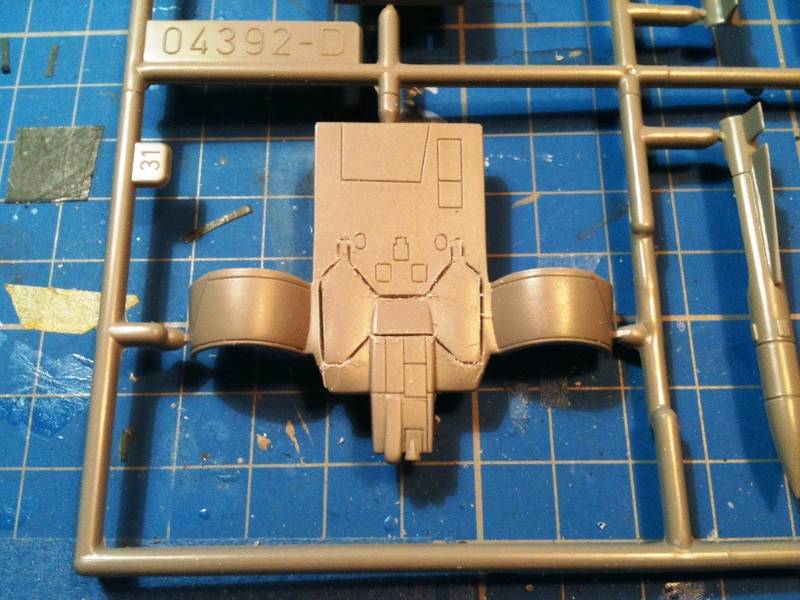
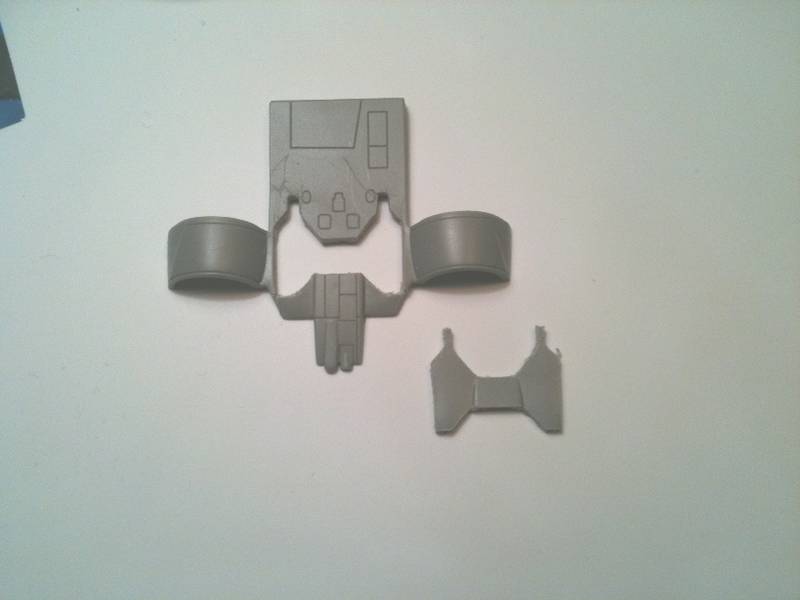
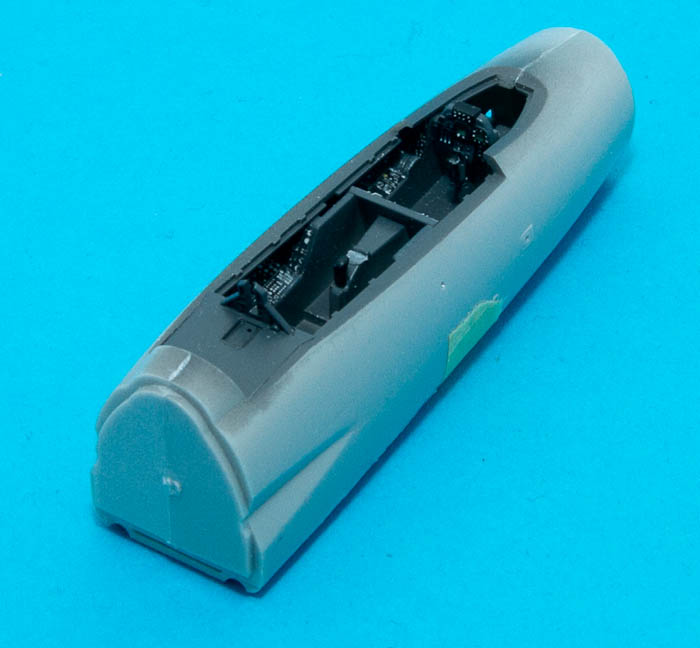
Just to show that at least something has been achieved, here is a buttoned-up front fuselage:
Magnus
I haven't been too active lately but I'm lurking around and reading your posts at least. Those six finished 144-birds make up a magnificent collection!
Just to show that at least something has been achieved, here is a buttoned-up front fuselage:
Magnus
Keeperofsouls2099
Florida, United States
Joined: January 14, 2009
KitMaker: 2,798 posts
AeroScale: 2,443 posts
Joined: January 14, 2009
KitMaker: 2,798 posts
AeroScale: 2,443 posts
Posted: Tuesday, June 14, 2011 - 12:08 PM UTC
I'm in the same boat as you Magnus im afraid but I'm trying when I can
SellSword
Indiana, United States
Joined: February 15, 2010
KitMaker: 167 posts
AeroScale: 141 posts
Joined: February 15, 2010
KitMaker: 167 posts
AeroScale: 141 posts
Posted: Saturday, June 18, 2011 - 08:54 AM UTC
DAMMIT!!! DAMMIT!!! DAMMIT!!!
I cannot for the life of me get this kit together! I took it back out of the box today and spent the last several hours trying to get it right and it's just not working. I don't know how I'm ever going to make a presentable model out of this pig of a kit!!! I had to pry bend and clamp it just to get it together and then pray it would hold. Now I've filled and sanded and surfaced like a sleepless fiend and it still looks like a turd!!!! GRRRR!
I may have to throw in the towel on this one Justin!
Keeperofsouls2099
Florida, United States
Joined: January 14, 2009
KitMaker: 2,798 posts
AeroScale: 2,443 posts
Joined: January 14, 2009
KitMaker: 2,798 posts
AeroScale: 2,443 posts
Posted: Saturday, June 18, 2011 - 10:52 AM UTC
well look at this way i spent 50$ a pc.on my turds and im going through it twice so im sure you can pull it together with one ray I had and intake shatter FUN LET ME TELL YOU
SellSword
Indiana, United States
Joined: February 15, 2010
KitMaker: 167 posts
AeroScale: 141 posts
Joined: February 15, 2010
KitMaker: 167 posts
AeroScale: 141 posts
Posted: Saturday, June 18, 2011 - 11:06 AM UTC
Sorry to hear that! I may have to get myself another kit... if that's alright. The only way to save this one is a total sand down and rescribe, and that may be beyond my novice skills.
Keeperofsouls2099
Florida, United States
Joined: January 14, 2009
KitMaker: 2,798 posts
AeroScale: 2,443 posts
Joined: January 14, 2009
KitMaker: 2,798 posts
AeroScale: 2,443 posts
Posted: Saturday, June 18, 2011 - 01:05 PM UTC
im just giving you crap its cool man i have no idea how im going to finish the campaigns im in ive back out almost all except my own
SellSword
Indiana, United States
Joined: February 15, 2010
KitMaker: 167 posts
AeroScale: 141 posts
Joined: February 15, 2010
KitMaker: 167 posts
AeroScale: 141 posts
Posted: Saturday, June 18, 2011 - 01:48 PM UTC
Yeah, I know... I didn't take it too serious, but I'm pretty sure I'm gonna crack open another kit... prolly steal the weapons outta this one. I mean, there's still plenty of time!
SellSword
Indiana, United States
Joined: February 15, 2010
KitMaker: 167 posts
AeroScale: 141 posts
Joined: February 15, 2010
KitMaker: 167 posts
AeroScale: 141 posts
Posted: Monday, June 20, 2011 - 12:00 PM UTC
Okay, so the budget's kinda tight and I couldn't plunk down a big chunk of cash on another kit, but I did find a 1/72 for under 20 bucks. I'll post my progress as soon as it gets delivered!
Keeperofsouls2099
Florida, United States
Joined: January 14, 2009
KitMaker: 2,798 posts
AeroScale: 2,443 posts
Joined: January 14, 2009
KitMaker: 2,798 posts
AeroScale: 2,443 posts
Posted: Tuesday, June 28, 2011 - 04:35 AM UTC
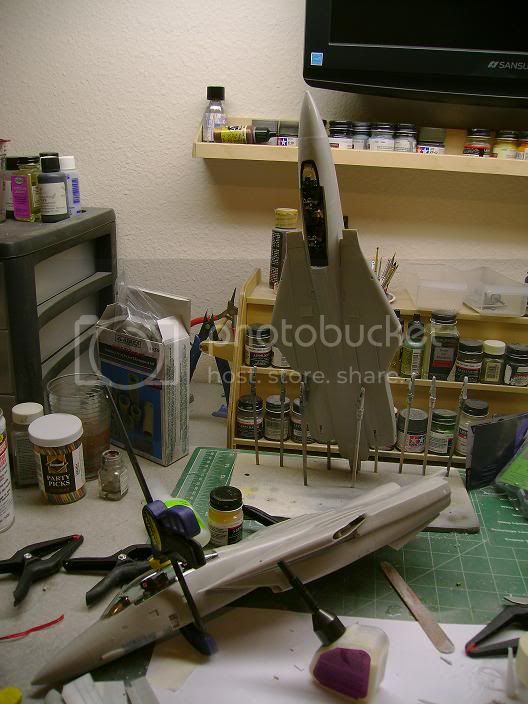
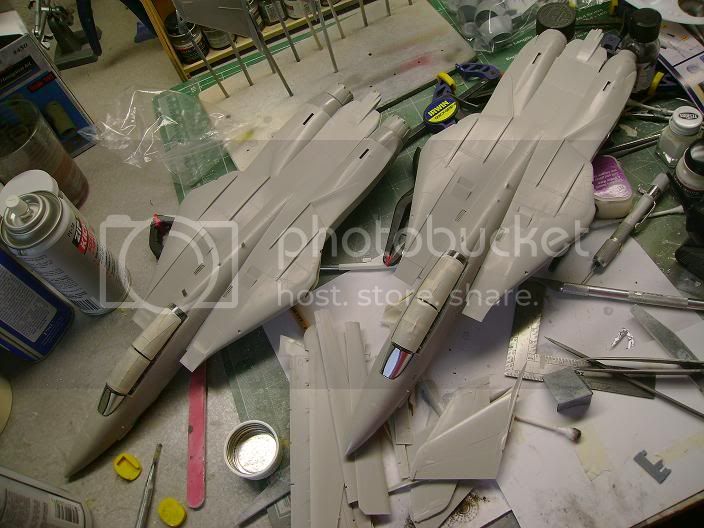
well just to show that I am working on my birds when I can Im almost to painting....
build on....
build on....
SellSword
Indiana, United States
Joined: February 15, 2010
KitMaker: 167 posts
AeroScale: 141 posts
Joined: February 15, 2010
KitMaker: 167 posts
AeroScale: 141 posts
Posted: Tuesday, June 28, 2011 - 09:56 AM UTC
Very nice Justin! I've started on my new build too, painting up the cockpit now.
Can someone explain the process of doing wings on this plane? I've noticed that most of you build the wing seperately. Do you then glue them or leave them loose?