Finally got back to this project, unexpected company and a couple of minor real life interuptions are now fortunately well behind.
As planned the next stage was the cockpit and it is finally done. The kit construction and delicate tube frame did not lend itself to my initial approach/plan, to build the cockpit as a "module "and then drop it into the fuselage. Rather the cockpit components were built onto the fuselage sides (predominently the right side) and once completed the fuselage halves will be joined.
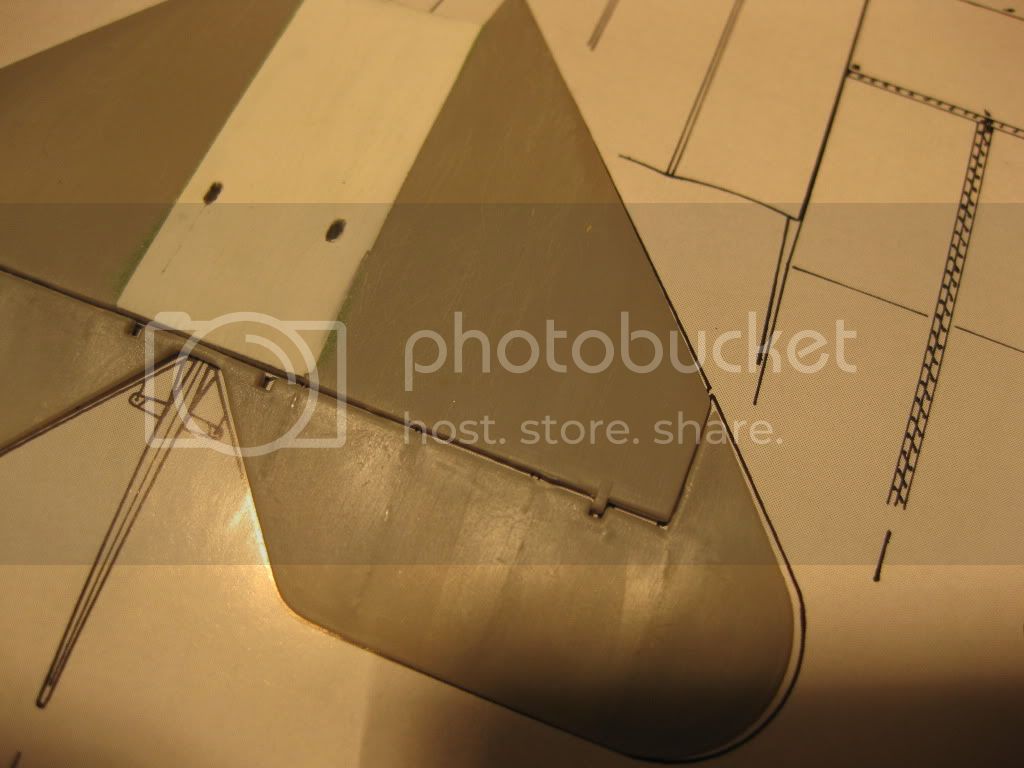
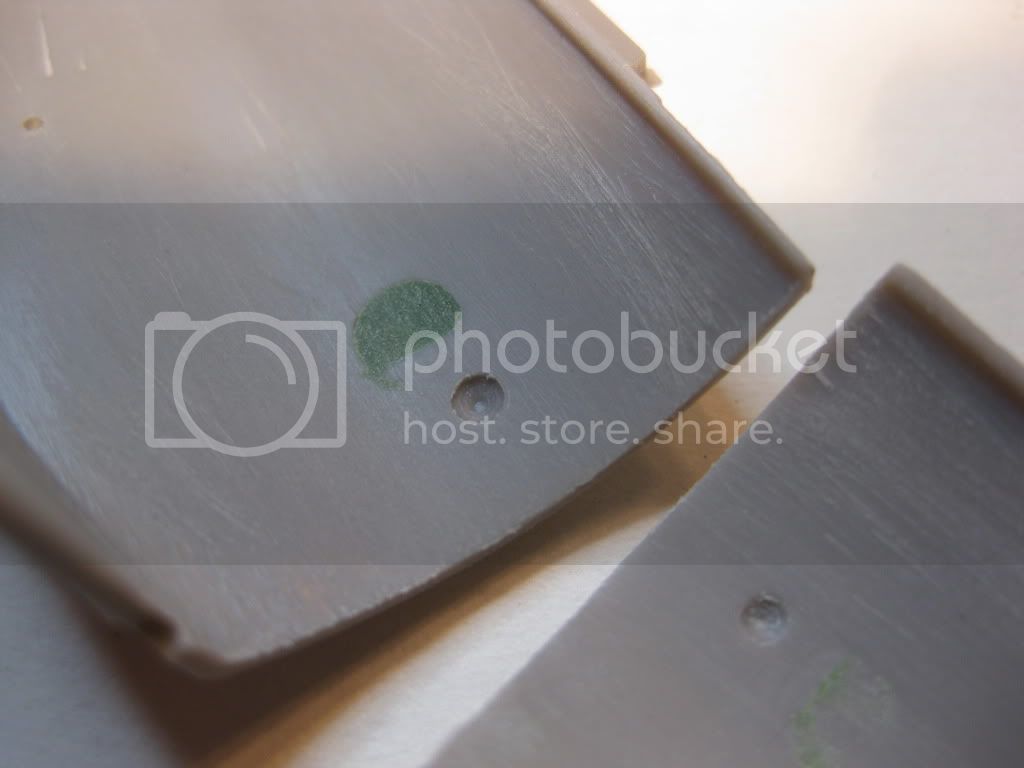
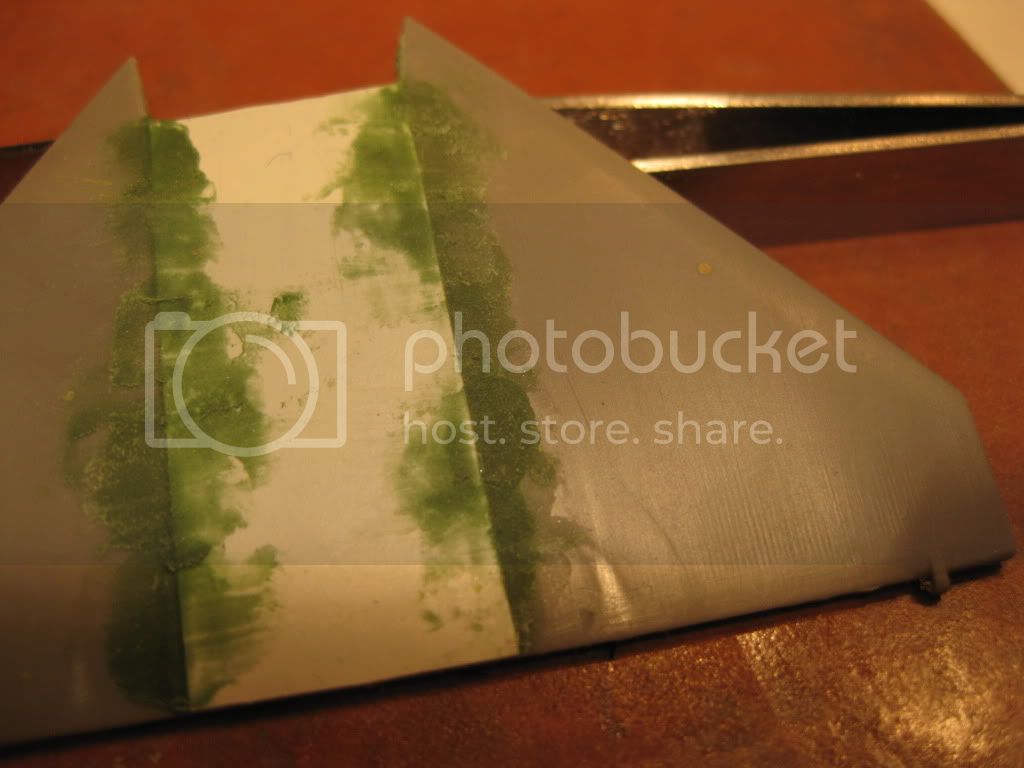
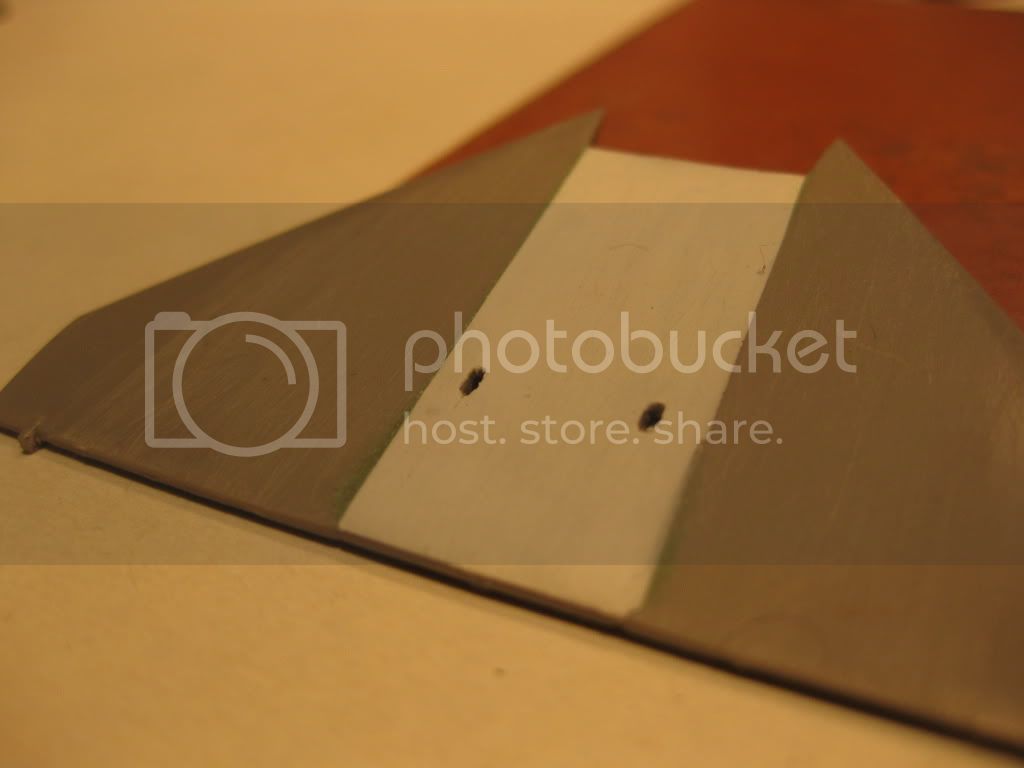
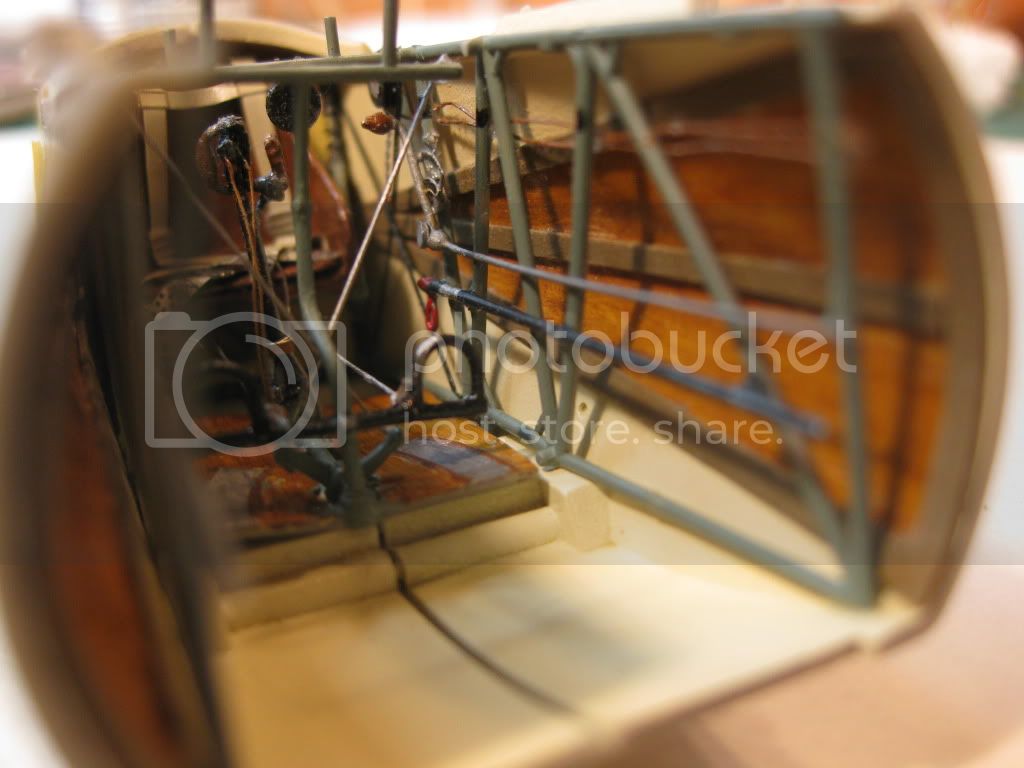
The delicate tube frame proved a challenge, lots of repairs required beginning at removal from the sprues and even more during detailled construction. All tube frame components were painted "grey-green" and the Eduard Photo Etch Set was used extensively. With the exception of the forward fuselage plywood fairing frames the Photo Etch Set proved excellent.
The following photos will provide a reasonable version of the builds progress to date. I apologise for the generally poor photos; the weather has precluded any natural light photos and I reasoned that, these being "in progress" shots, there would be little point in preparing a "pristine" setting!
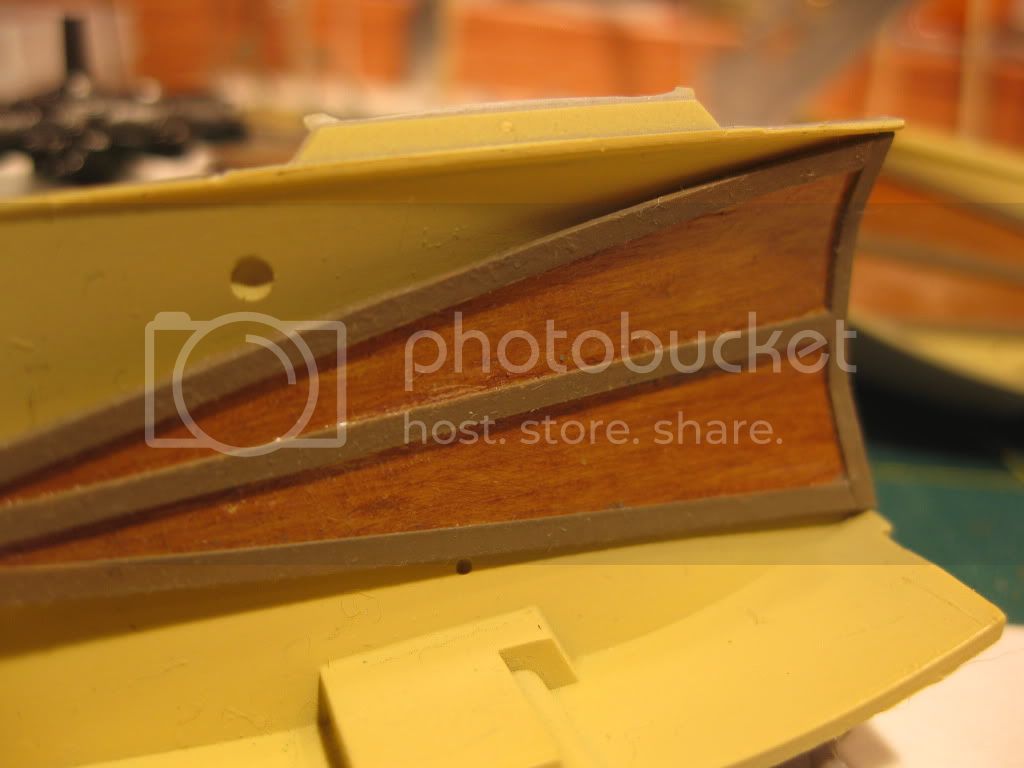
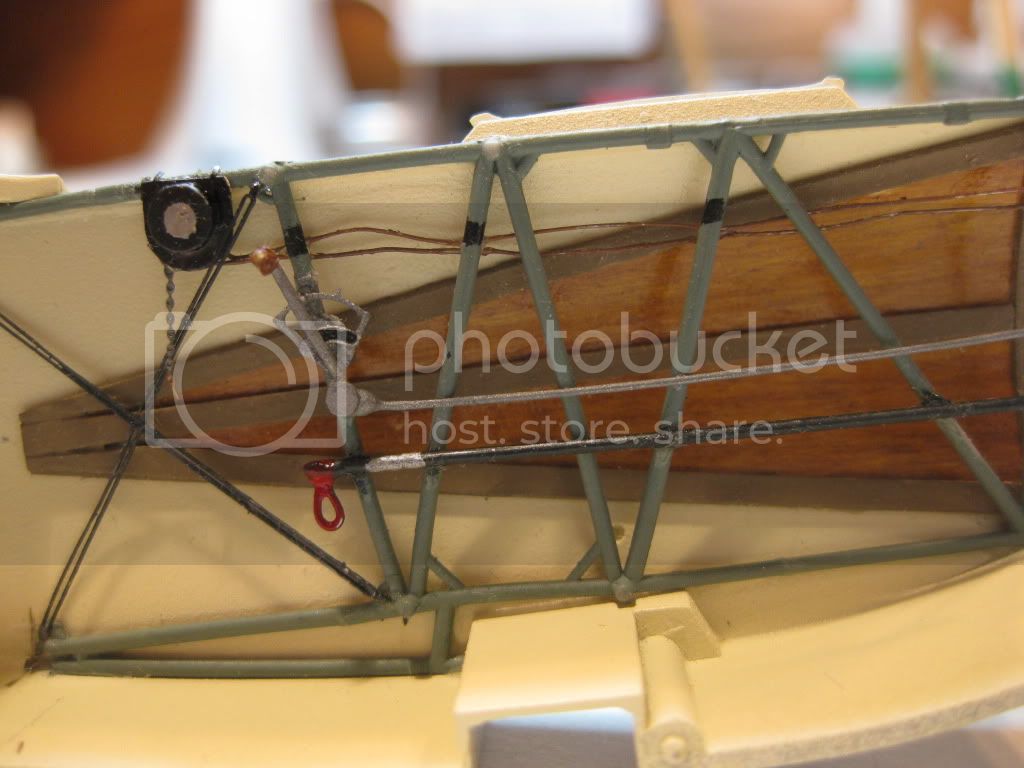
The following detail the left fus. side. Prior to detailling the interior was re-coated with a much lightened shade of the previous Humbrol Linen. Throttle and aux. fuel control were "scratched", throttle quadrant and magneto are combinations of the Eduard PE Set and scratch built components. Happy to say I got to use the Waldron Punch Set again and also the Etch Mate throughout.
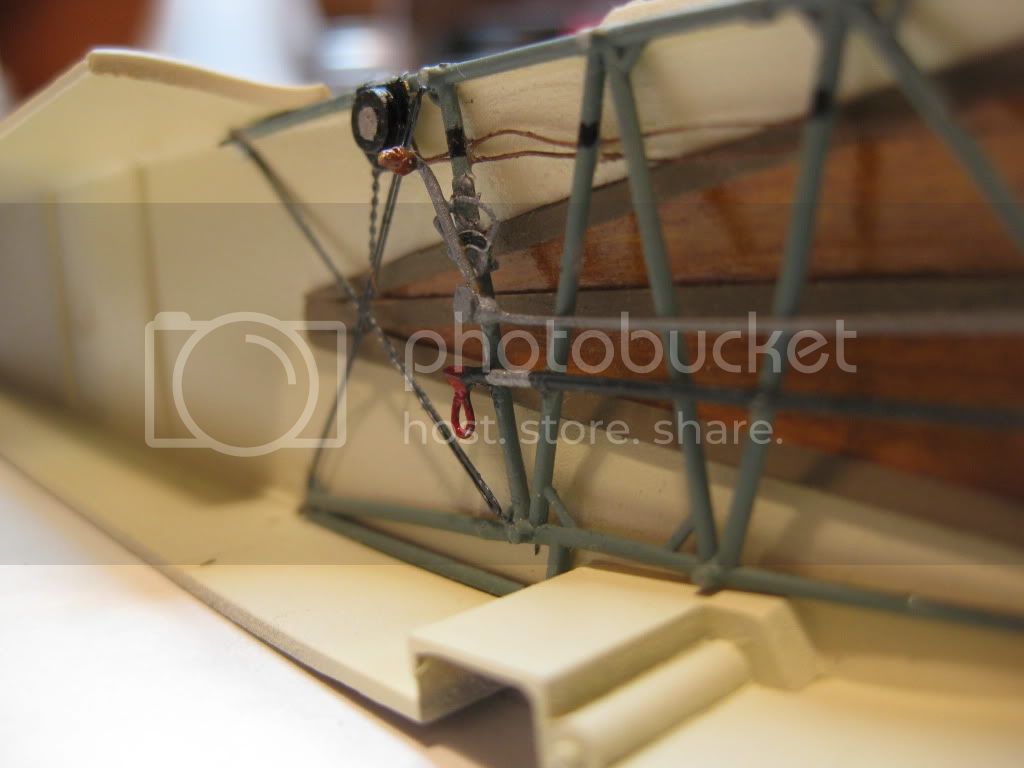
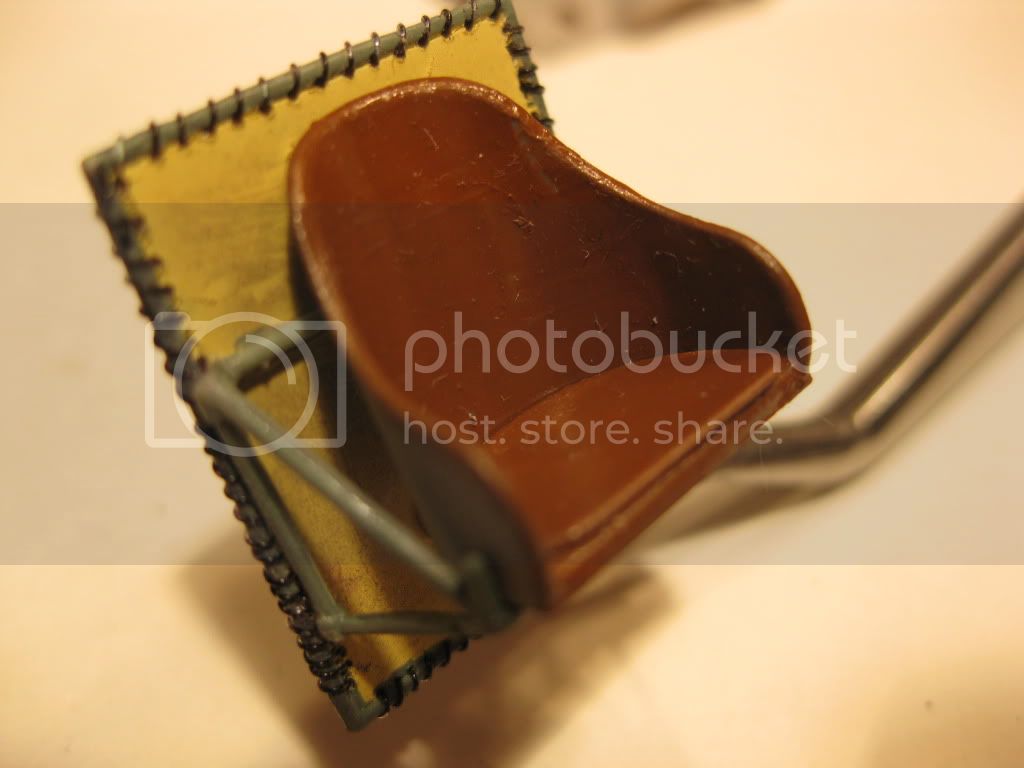
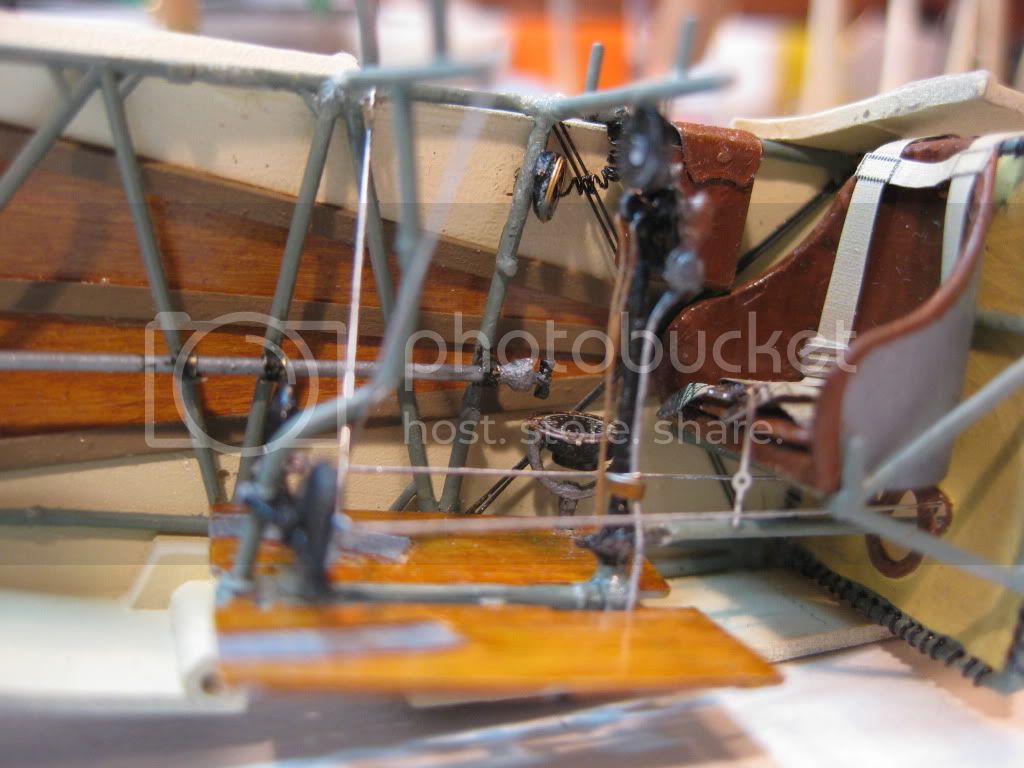
The floor and seat were contructed as a "module" and attached to the right fuselage side. A few Aeroclub Instrument Bezels got used, all flight control details scratched in, and the fuel manual pump was scratch built to replace the incoreect version supplied. I should add at this point that I chose (IMHO) "the best of all options on instrument placement and cockpit layout. I was shocked at the wide choice of options presented in all the very credible references available. In the end I opted for a combination of the Windsock Data, Kalts build mentioned earlier, and a large measure of the Memorial Flight Data. This applies to the wiring and aux. throttle control on the joystick as well. I noted at least 3 separate approaches to these details in various (Credible?!) references.
The starboard side, in all her glory......................


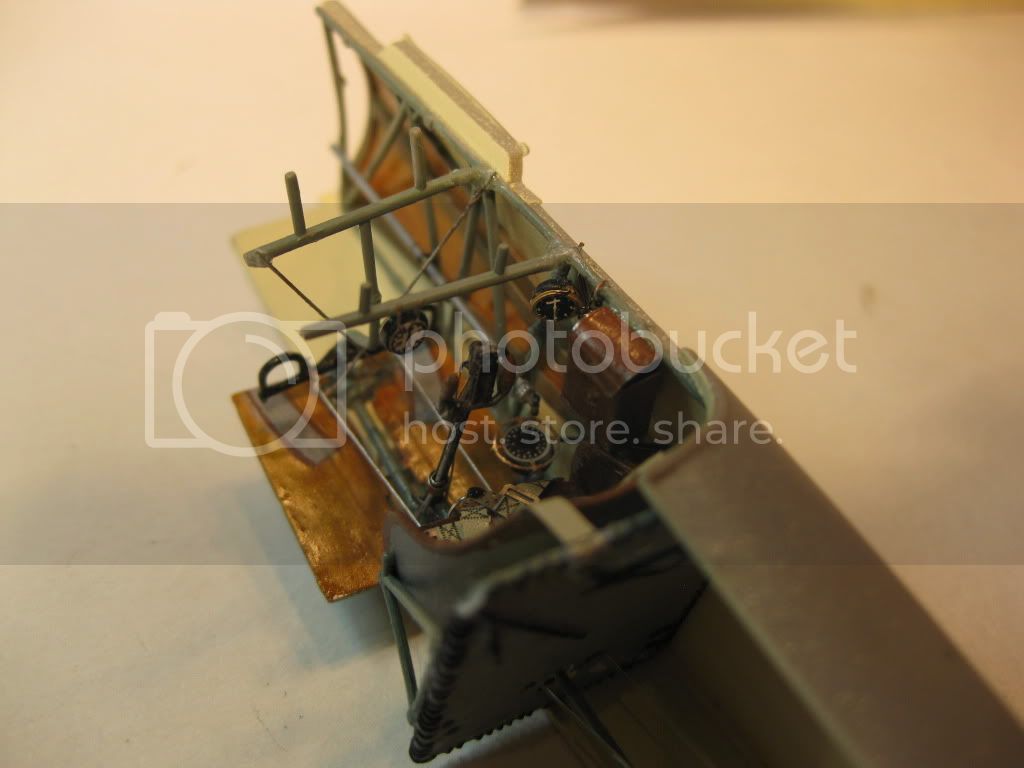
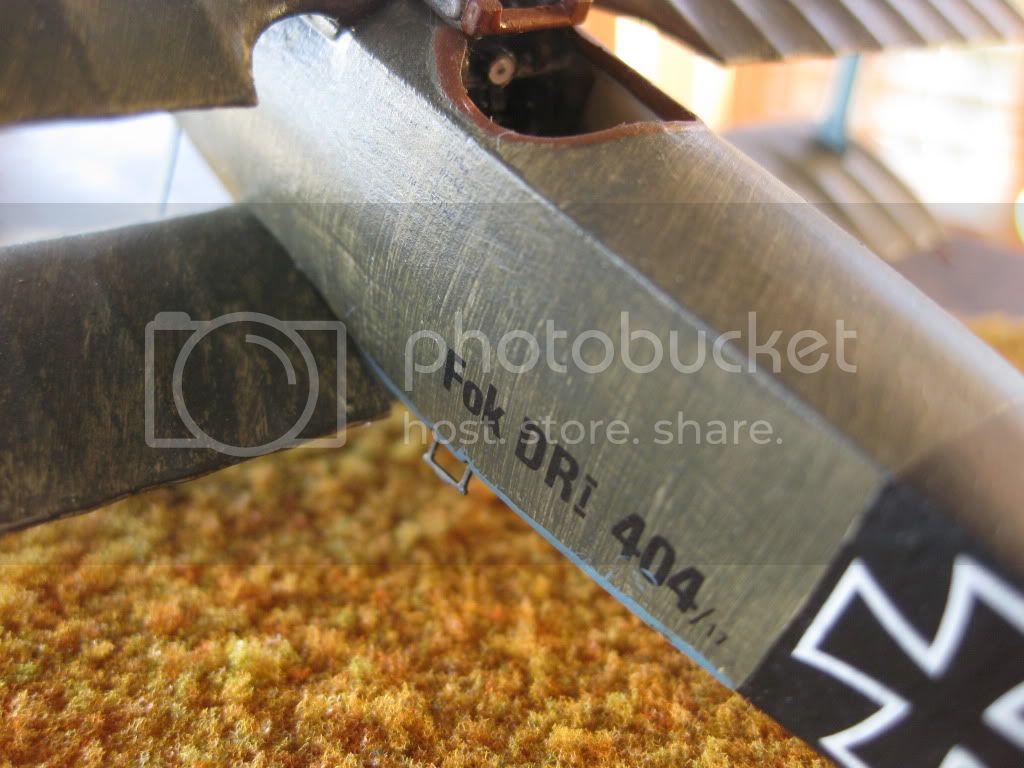
Finally a quick shot of the Mated (taped only) fuselage halves. The upper frame members will be bent into alignment with the joints on the opposite half when permanently joined.
So far all is going reasonably well however very slowly. This kit still impresses me however requires much extra effort to get to the standard of the WNW Products. You can't beat, however, the subject; it is after all a 1/32 DR.1 and I really like that part!
More to follow, hopefully a little faster then the last interval. As always Thanks for looking and all comments most welcome.
Cheers,
Lance