

As a matter of fact that is exactly where I found the solution.


Joel that A-6 is a piece of art. Looking forward to seeing it done.
Kevin good of Eduard to replace the fuselage for you. Seems most of the kit makers do go out of their way to help.


Thanks Joel!
Yes, PE seat bealts are privided in the kit.
I will try to take as many pictures as possible to show how it goes together.


Jonathan,
Thanks for those more then kind words.
The two tone paint scheme really looks quite nice. Took a look at that picture from the link. Now there's a rather unusual private company paint schemes that would turn heads. Are you giving it any consideration?
Joel

 It's a little ironic, eh - it's hard to think of a less interior place to the continental United States than Micronesia, but such are the results of world events.

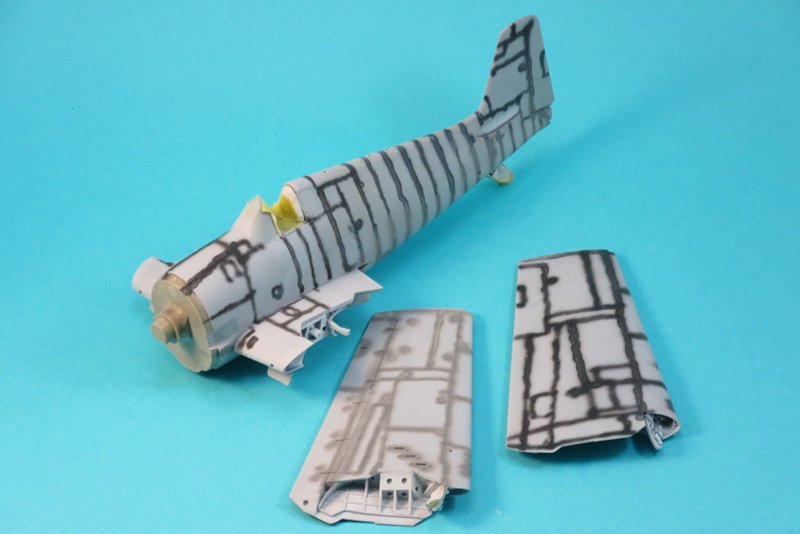
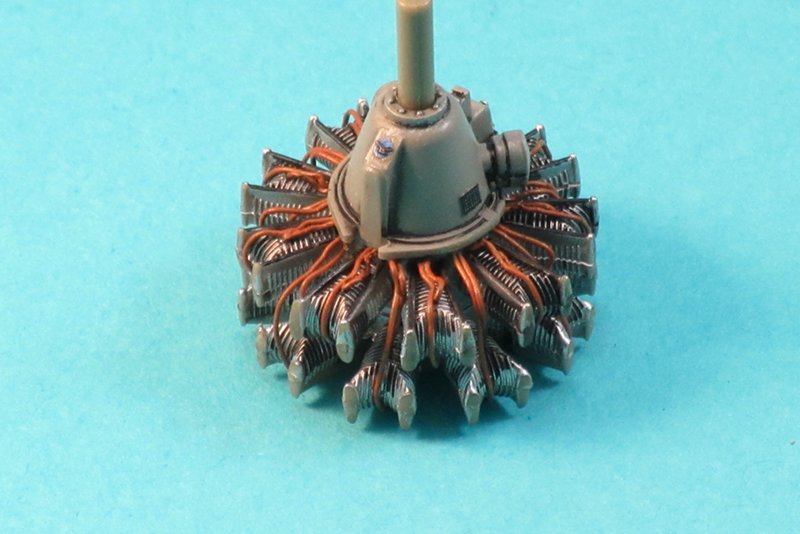
The radial is attached and the cowling is on, but I find myself with a small problem. The lighter covers for the wing and formation lights. The clear covers Eudard supplied look great, but for my large fingers and eyes to try to attach will be a major under taking. I first need to fix up a catch system so the floor monster does not get these small pieces then onto a little rescribing another bath and then maybe if I am a good boy I get to put a coat of paint on some time this coming weekend.
Bob


 |


