With the cockpit now complete minus the Hud Shroud, Hud, Aces 11 ejection seat, and the control stick, I turned my attention to the lower fuselage assembly. For some strange reason GWH calls this sub assemby the upper fuselage assembly. Go figure.
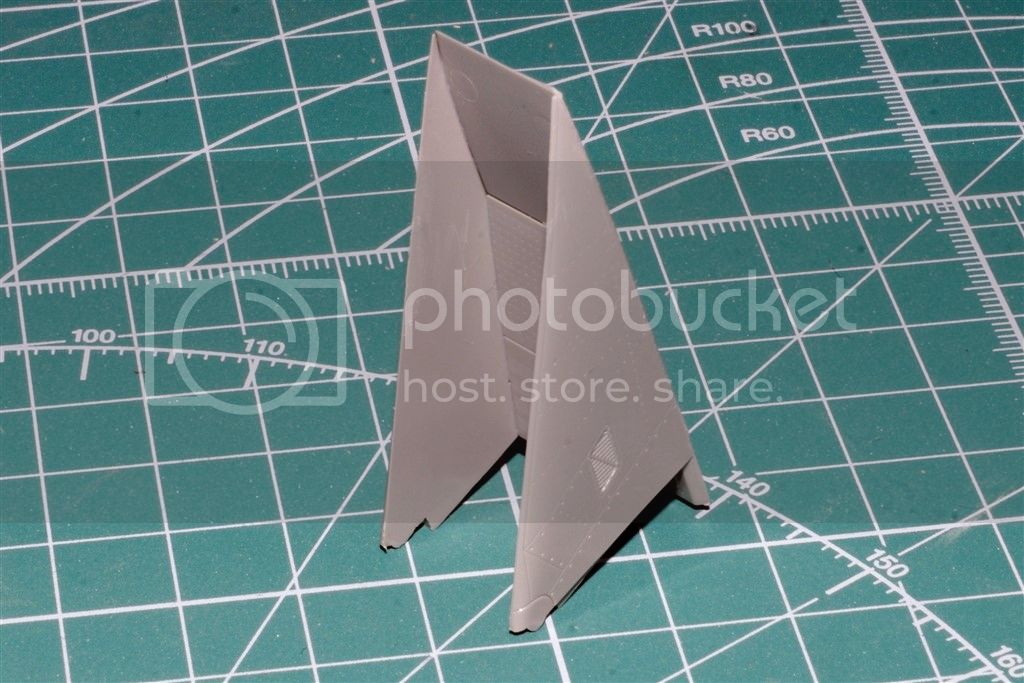
There are just 3 main parts to the assembly, the lower fuselage, and both lower halves of the wings.
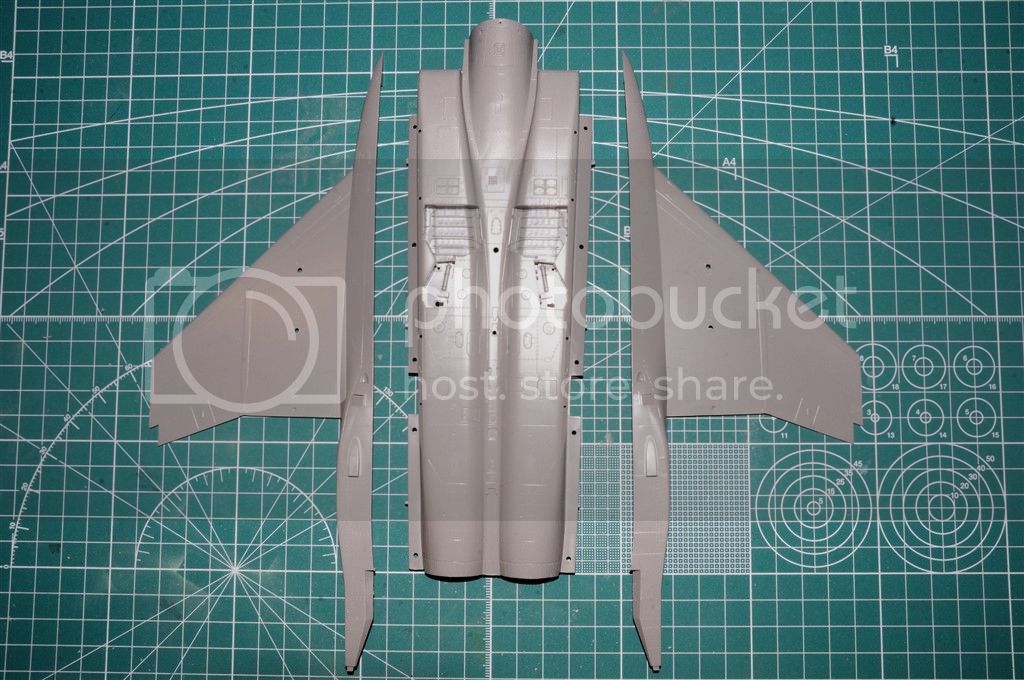
Each wing assembly attaches to the fuselage by 3 locating pins. The fit is absolutely perfect. It's that good.
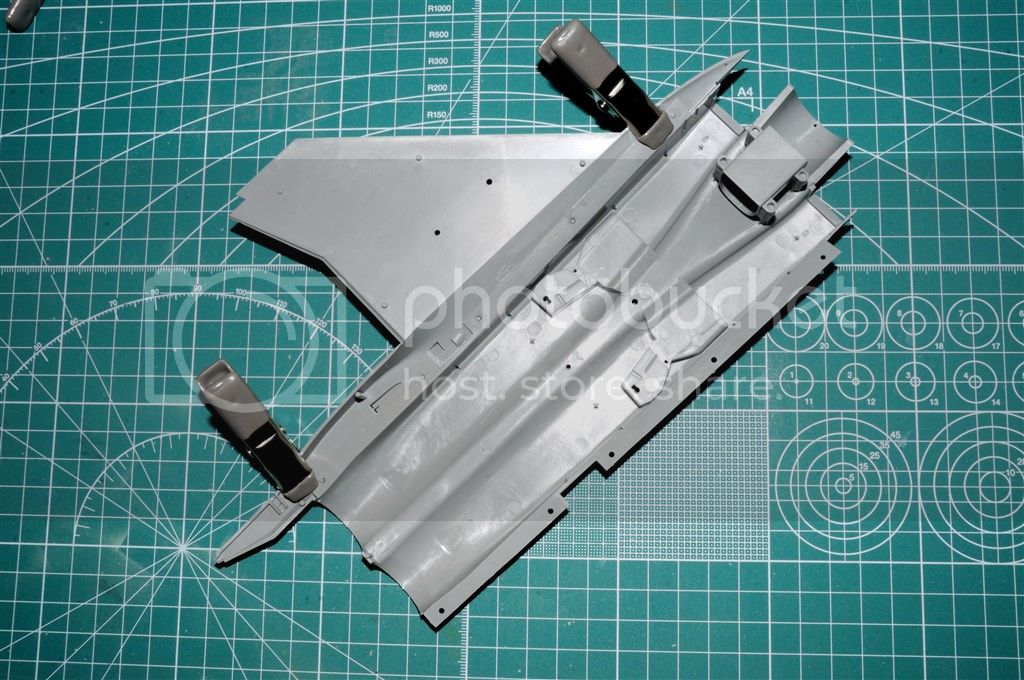
The joint line is in fact a real seam, but on one side the forward part had a recessed line a little wider then I wanted, which results in a small gap. Since I didn't want to use any glue on the outside surfaces, I worked some Extra thin from the inside of the joint to seal the gap. To decrease the recessed panel line I'll apply a bead of Vallejo White Acrylic putty during the final stages before priming. Apply, set up for 30 seconds, then wipe the excess off with a damp Qtip.
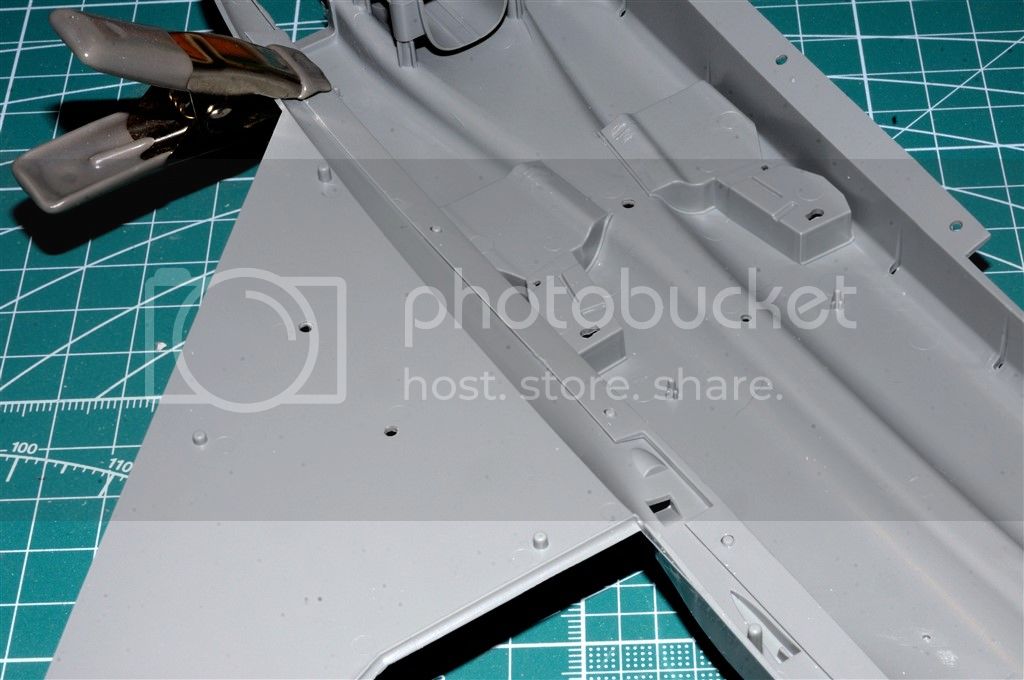
The front cockpit sub assemly is firmly secured to the main fuselage not only by a large matting surface, but there is a box type receptical to hold it in the exact position.
I test fitted the two sections, which is a perfect flush fit, and it's rock solid. The result does leave a deep joint line that needs to be addressed, that I'll also use Vallejo White Acrylic putty on, so it's really another non-issue.
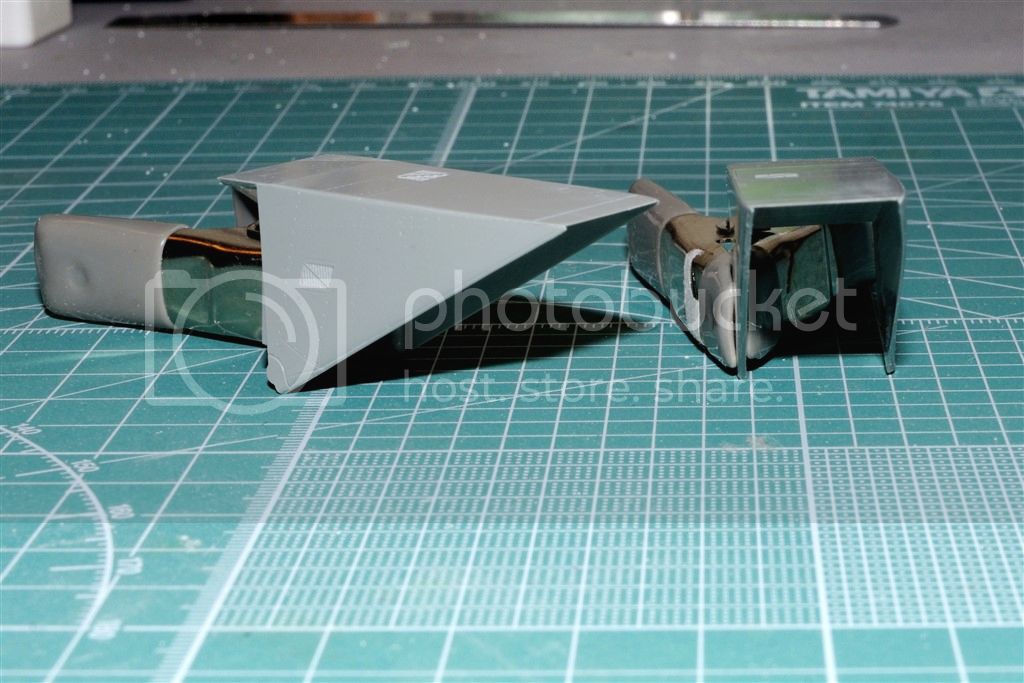
Now comes those dreaded intake trumpets. All injected molded ones are two piece units resulting with two seams. The fit is once again perfect, and even with careful gluing from the outside, you end up with seams. In the past I've just left it as is, since one has to really look directly
into the trumpets to see them. I decided before the build to use a technique that Janne, a modeling friend from Sweden has used with great results; White Gloss Latex paint.
I carefully taped the engine end of the trumpets closed with Blue painters tape:
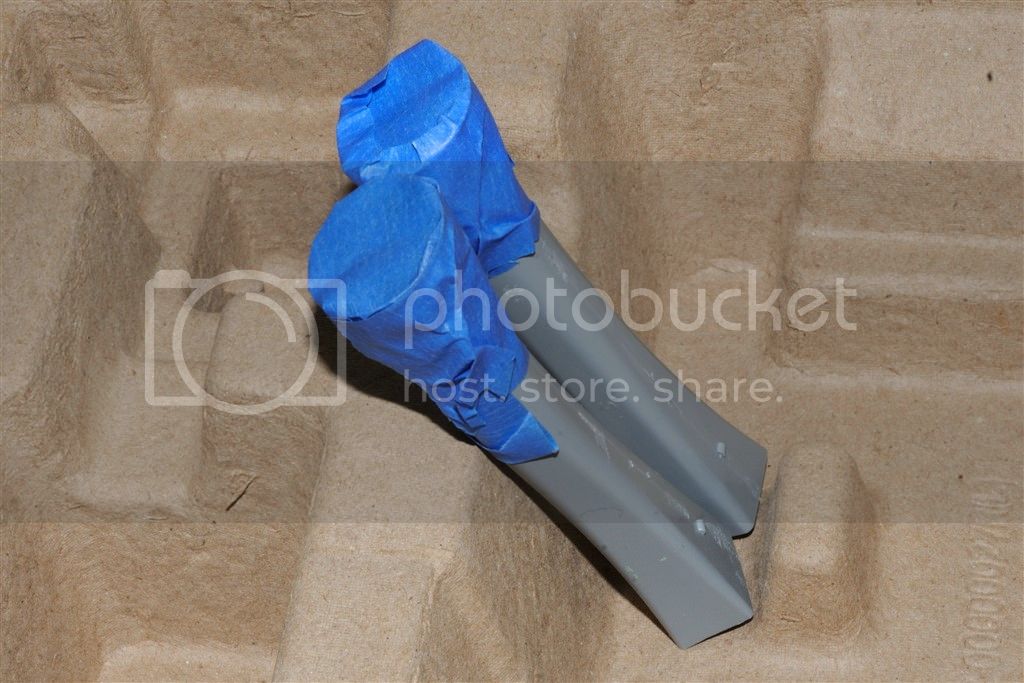
Using Satin White Latex paint, as I have gallons of the stuff for home painting projects, I carefully filled each trumpet to the top, then let the paint cure for 5 min. Pouring the paint out takes a lot longer then filling them up. I slowly rotated the trumpets so that the paint continued to evenly coat the 4 inside walls. One coat really looked good to me, even though Janne suggested 2 or 3 coats. So I let them dry for a few hours, then removed the tape. I was really suprised at how much paint flowed out and over my fingers!. Cleanup is just was with just warm water.
I test fitted one mocked up engine, and I needed to remove the latex paint from the joint. Took about 2 min each with my Dremel and a sanding drum. Then I test fitted both intake trumpets on the lower fuselage. They really looked good.
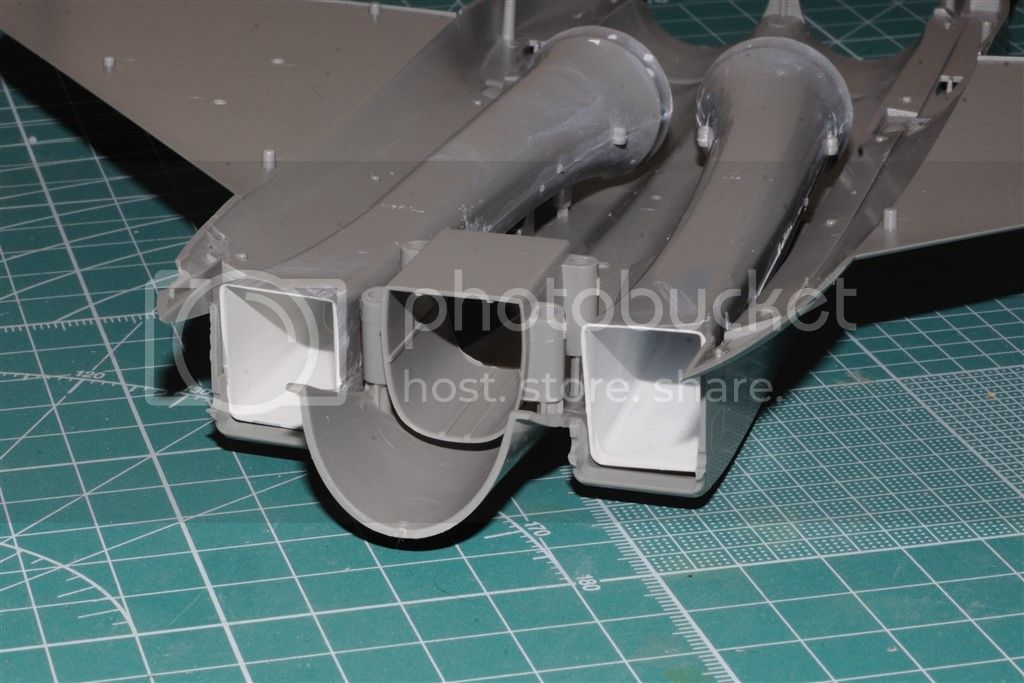
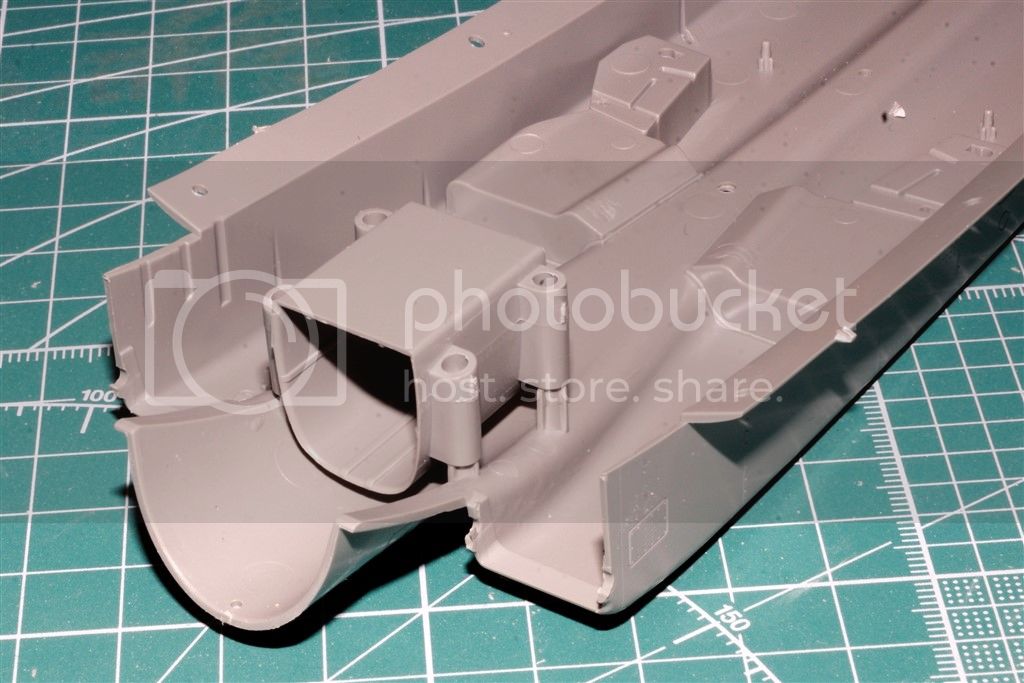
The next step was the construction of the air intake ramps. The kit gives you the option of two different positions: Horizontal for on the ground, or a down position for supersonic flight. I opted for the Horizontal position.
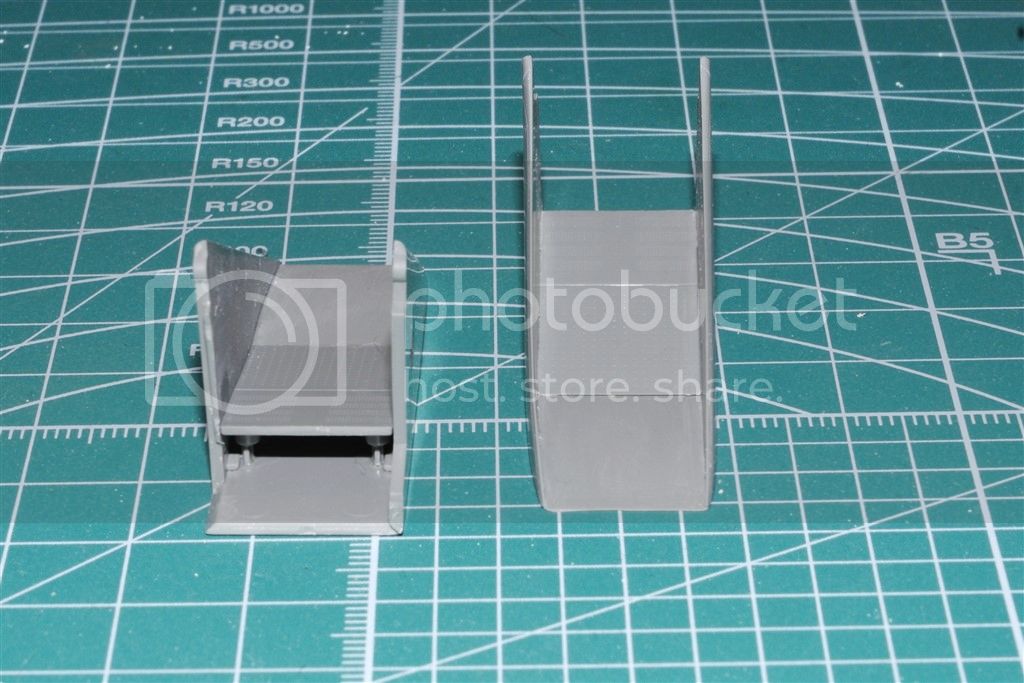
Each air intake is comprised of 4 main pieces, that fit like a glove.
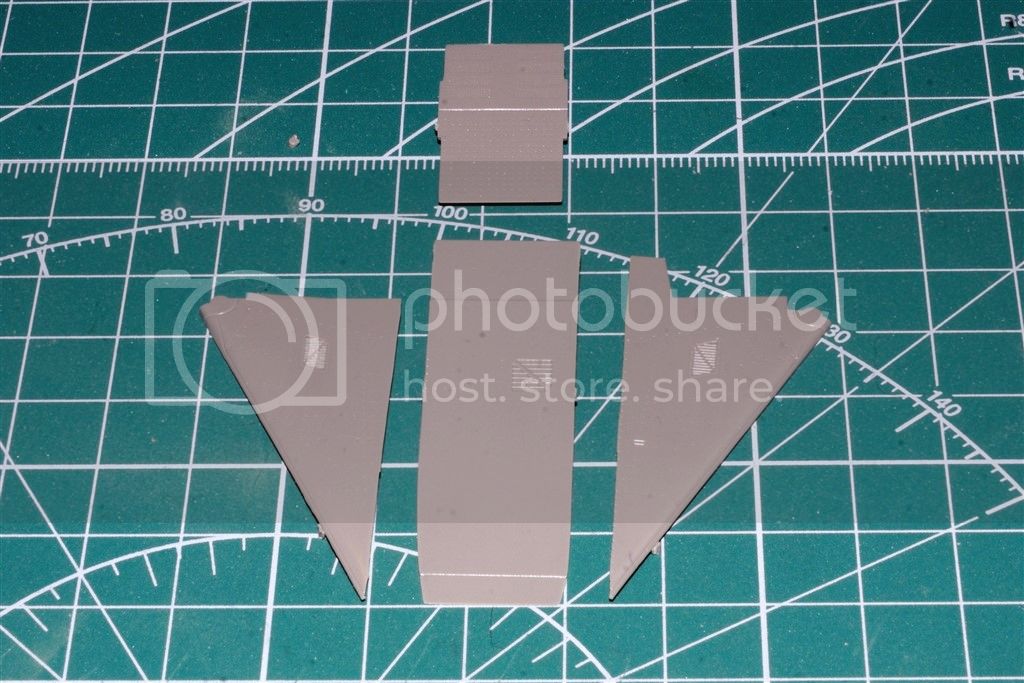
With careful gluing, there is absolutely no gaps. The resulting joint lines are at 90%, the intake fronts edges are literally razor sharp. Some very careful sanding with #320, #600, 4,000, & 6,000 produces a finished air intake that looks like it was a one piece molding.
Finally, I test fitted one air in take to see the full effect:
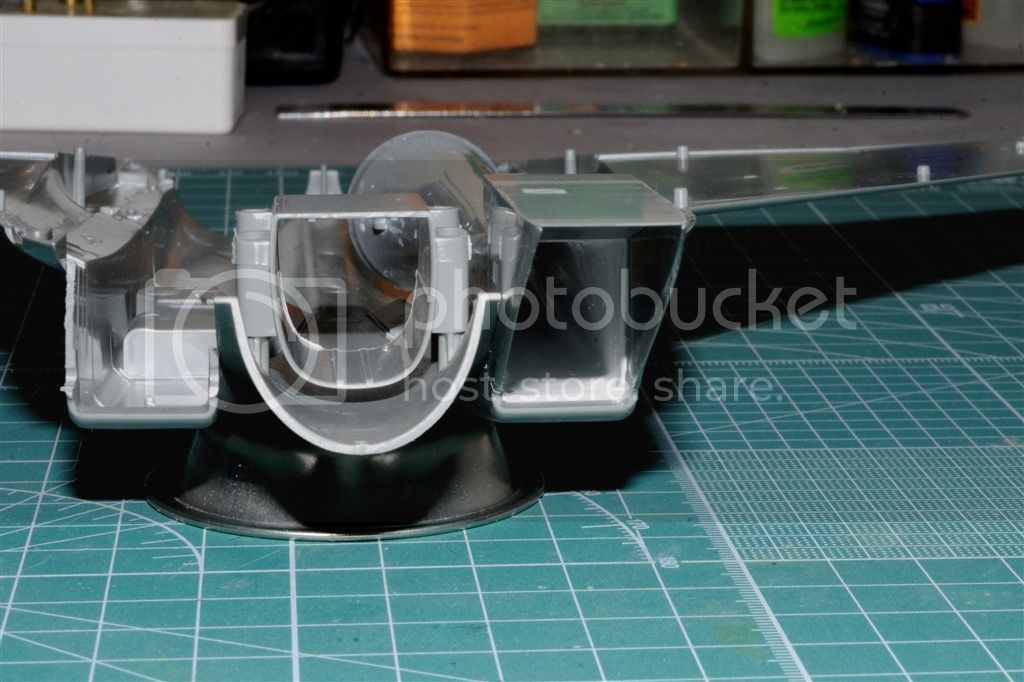
Again, thanks to Janne for supplying me with the correct color FS number, and how far into the trumpets to paint the gray paint. The air intakes will be painted fS36375 Light Gray as well as the scale 1st few feet of the trumpets.
Well, that's how far I've gotten on my build. Thanks to all for stopping by and reading through this rather long post.
Joel