Rick's CH-53E Super Stallion 1/48 scale
Alabama, United States
Joined: December 16, 2014
KitMaker: 121 posts
AeroScale: 85 posts
Posted: Wednesday, August 19, 2015 - 06:09 PM UTC
Still working on the sodas , also threw in some water bottle cases
enjoy
Rick
sorry for poor picture photo

Alabama, United States
Joined: December 16, 2014
KitMaker: 121 posts
AeroScale: 85 posts
Posted: Thursday, August 20, 2015 - 06:15 PM UTC
I finished and install my paint rack . I hate to say , too small . :oops:
It looks good ..
Enjoy
Rick

Alabama, United States
Joined: December 16, 2014
KitMaker: 121 posts
AeroScale: 85 posts
Posted: Thursday, August 20, 2015 - 06:15 PM UTC
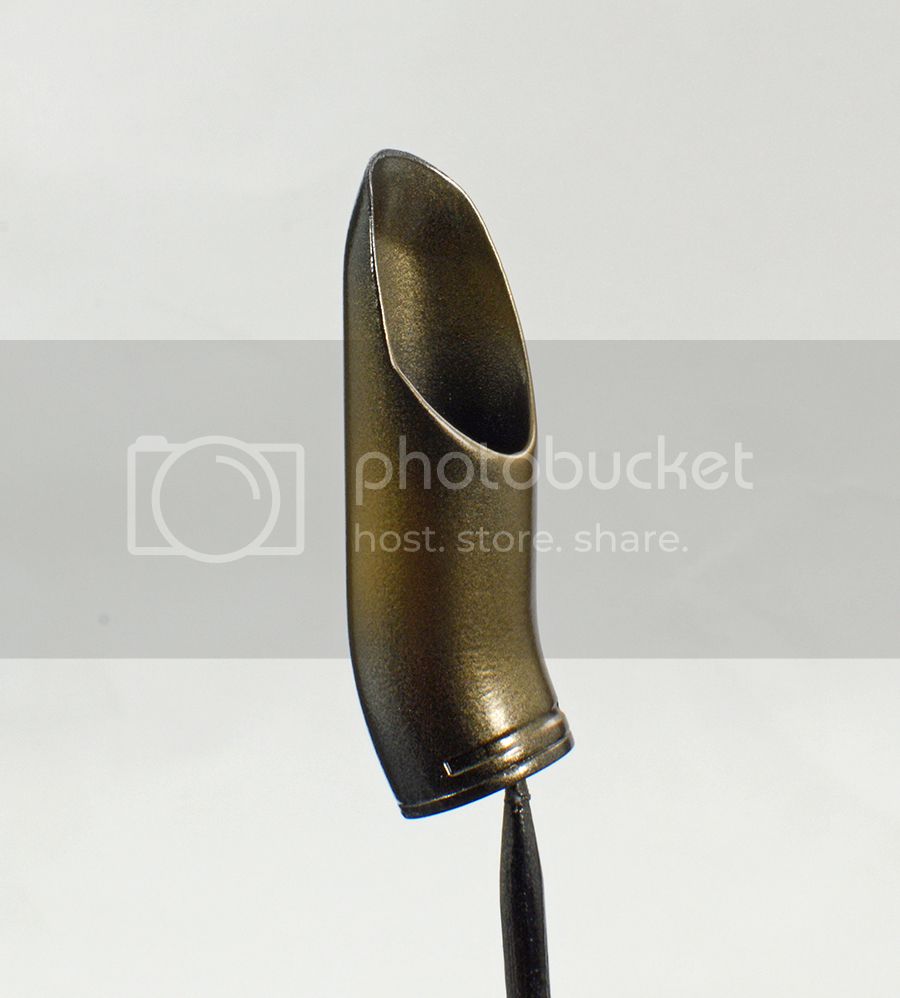
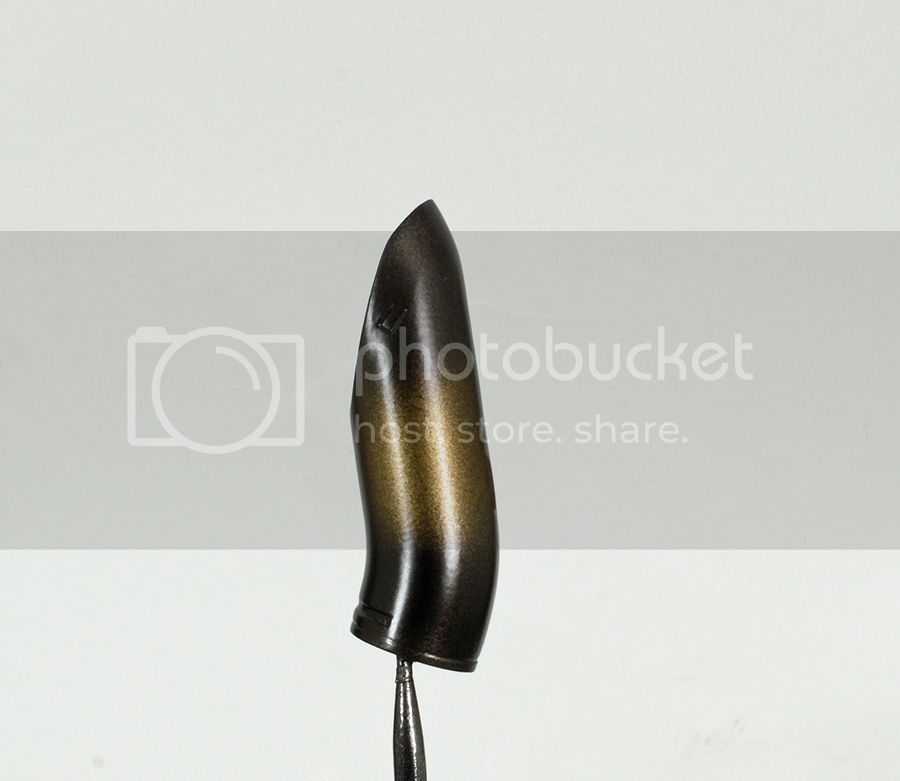
I started my exhaust painting process ..
Sorry no photo on first color
1st . Gloss black .
2nd color ALclad Chrome .
I will apply pale gold , then Jet exhaust .
This is my first time using Alclad colors .
i have test this process on a scrape card ..
Enjoy
Rick

Alabama, United States
Joined: December 16, 2014
KitMaker: 121 posts
AeroScale: 85 posts
Posted: Thursday, August 20, 2015 - 07:46 PM UTC
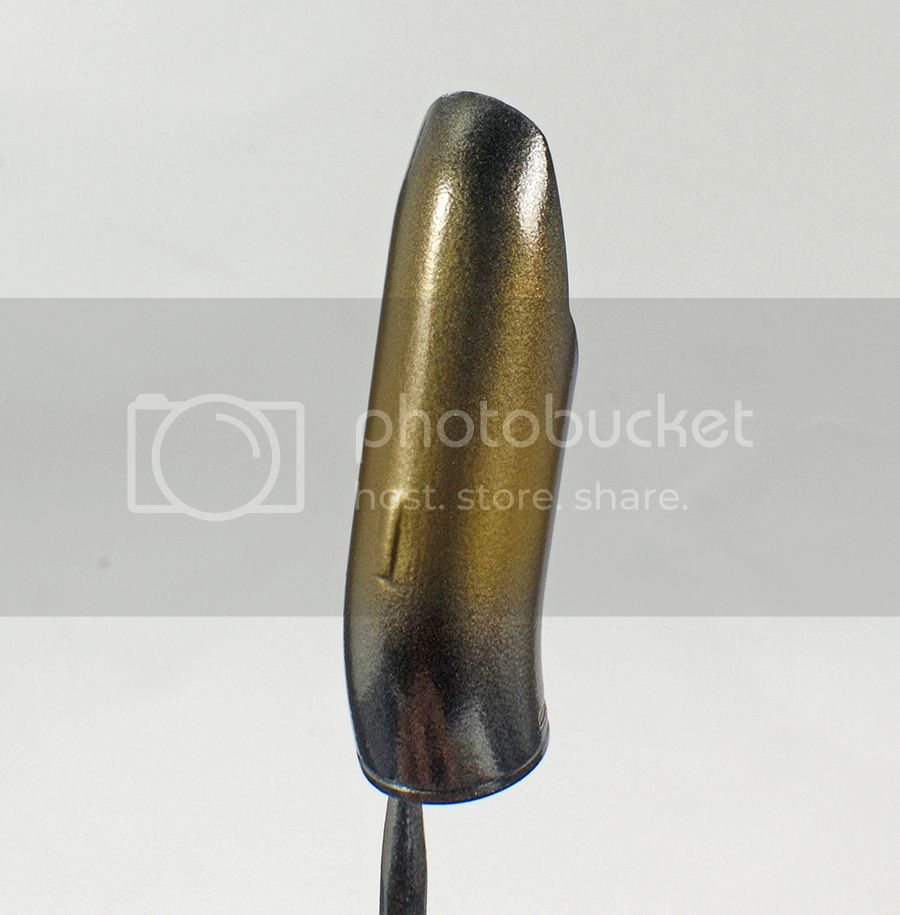
I have the pale gold applied ..
Then last step Jet Exhaust
Enjoy
Rick


Alabama, United States
Joined: December 16, 2014
KitMaker: 121 posts
AeroScale: 85 posts
Posted: Friday, August 21, 2015 - 12:38 AM UTC
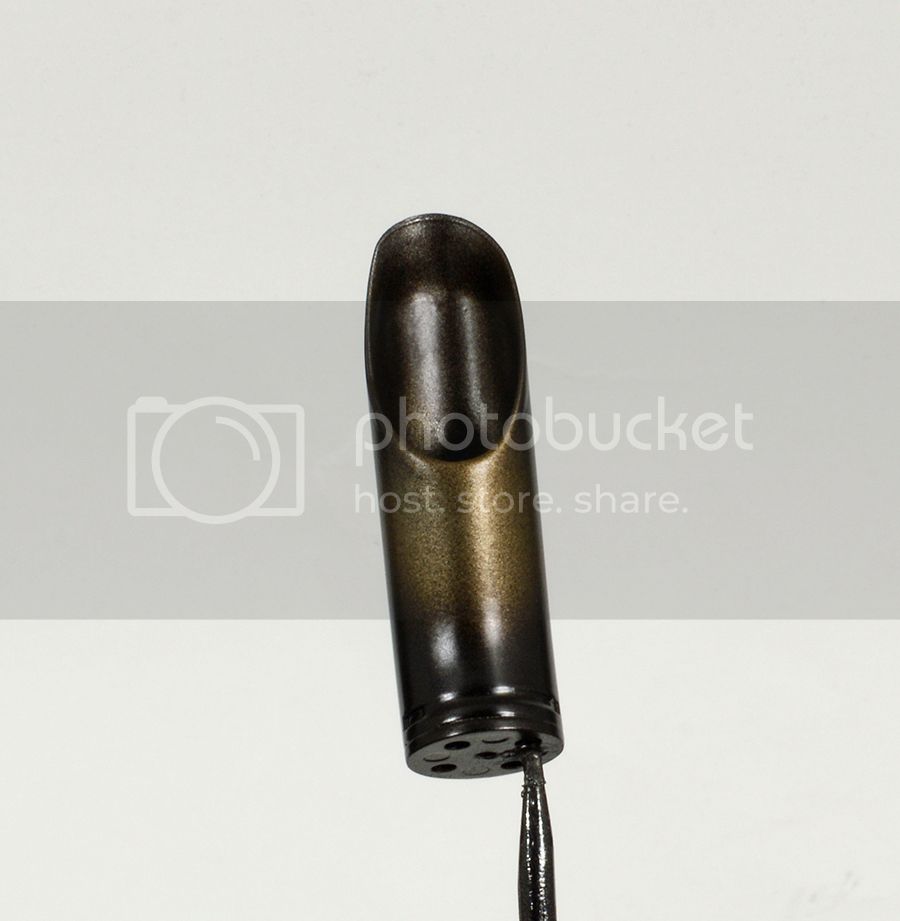
I have the Jet Exhaust applied
Came out just what I wanted . Thanks to Nigel . He explained to what I need to do here..
Enjoy
Rick
Alabama, United States
Joined: December 16, 2014
KitMaker: 121 posts
AeroScale: 85 posts
Posted: Monday, August 24, 2015 - 08:39 PM UTC
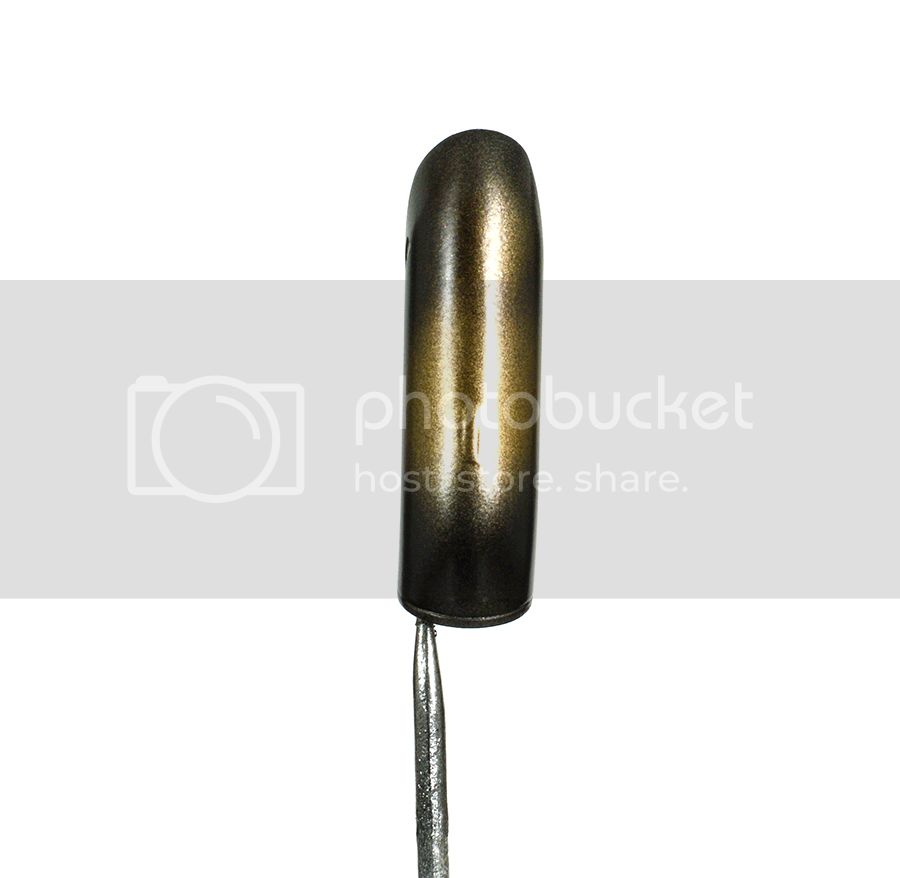
I mocked up my exhaust too see what it look like .. Not bad ..
If you look one way it looks more gold , different way more jet exhaust or more black . Sure has a candy paint look ..
I got couple things to do . Then glue this one exhaust into place . Then glue the fuselage together
Enjoy
Rick


#041
Kobenhavn, Denmark
Joined: July 20, 2006
KitMaker: 10,069 posts
AeroScale: 3,788 posts
Posted: Wednesday, August 26, 2015 - 04:44 PM UTC
Nice paint rack - even if it is too small.
Great work on the Stallion. The details are really nice and the interior weathering looks great.
Looking forward to see more.

Campaign'oholic - 252+ campaigns completed
Alabama, United States
Joined: December 16, 2014
KitMaker: 121 posts
AeroScale: 85 posts
Posted: Friday, August 28, 2015 - 07:34 PM UTC
Quoted Text
Nice paint rack - even if it is too small.
Great work on the Stallion. The details are really nice and the interior weathering looks great.
Looking forward to see more.
Thank you
I'm slowing working on gluing the two fuselage together
Enjoy
Rick

Alabama, United States
Joined: December 16, 2014
KitMaker: 121 posts
AeroScale: 85 posts
Posted: Saturday, August 29, 2015 - 06:28 PM UTC
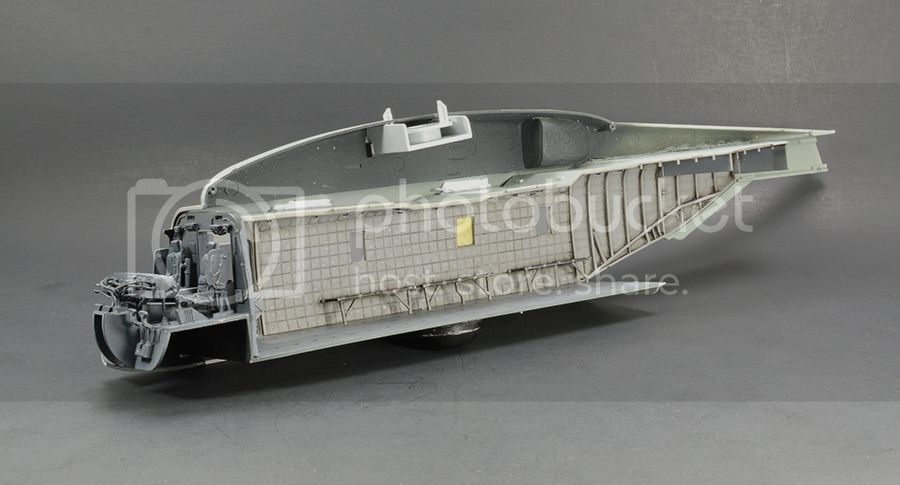
My build , there is a interior build first .
Then the wall , ceiling and floor gets glued to exterior fuselage .
Ok
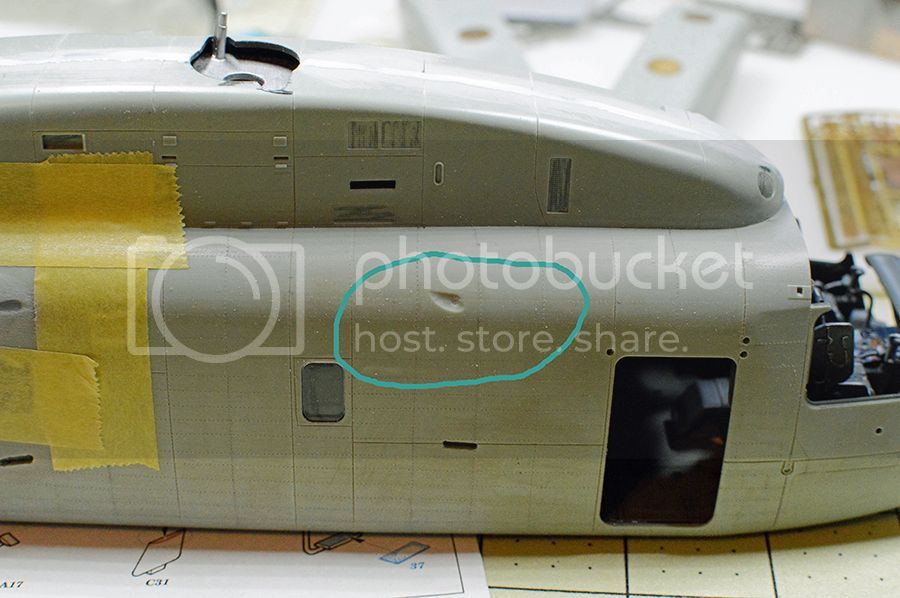
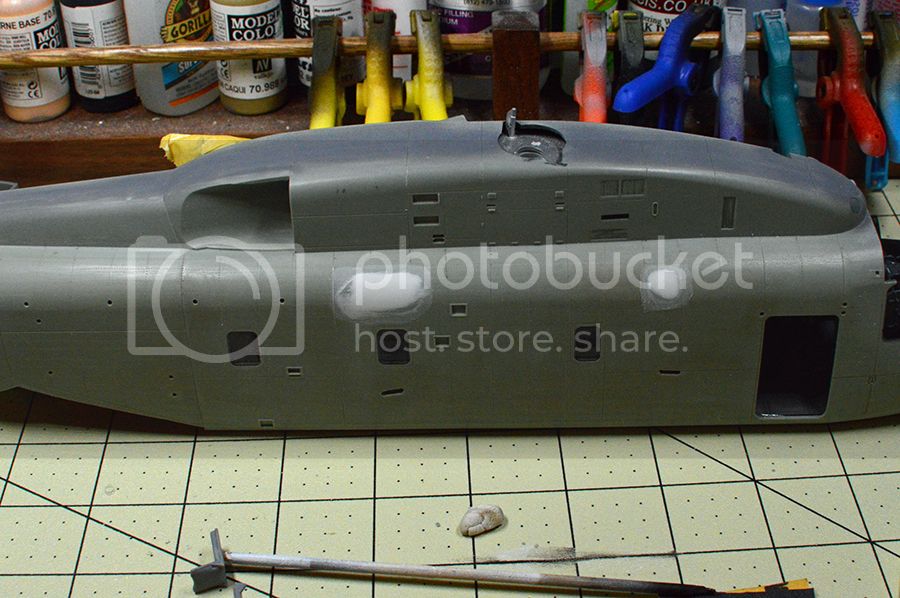
I glued this all up yesterday . This morning I found two small problem area .
i think , my glue ( Tamiya Glue ) migrate to two areas . Those areas, the glue settled . Then caused this little but a set back problem
The areas are very soft very soft ..
photo below
What do I do . I e mail Nigel a freind for advice .His advice , is to let it sit tell the glue cures out . Not to touch or do any repairs .
A big thank you again NIgel my friend
This is why I wished there was a model group here for low skill people like me . .I'm getting there .
Enjoy
Rick

Alabama, United States
Joined: December 16, 2014
KitMaker: 121 posts
AeroScale: 85 posts
Posted: Monday, August 31, 2015 - 02:10 AM UTC
Day 2 . The bad areas still soft ..
i am working on the tanks . I added some photo etch . It help the look a lot .
Enjoy
Rick
Top view

Bottom view
before

After
Alabama, United States
Joined: December 16, 2014
KitMaker: 121 posts
AeroScale: 85 posts
Posted: Thursday, September 03, 2015 - 04:26 AM UTC
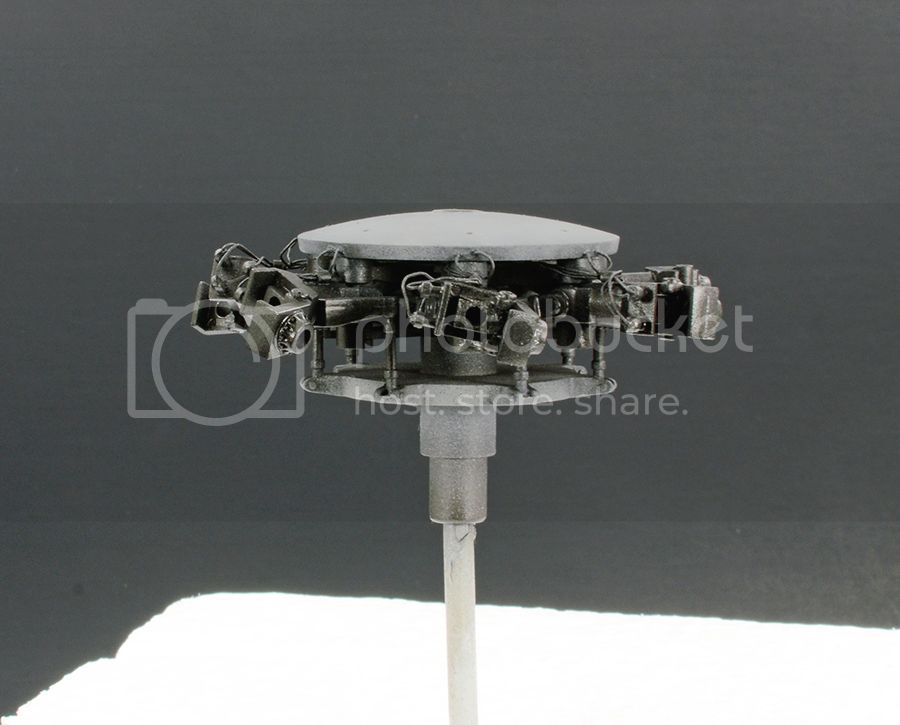
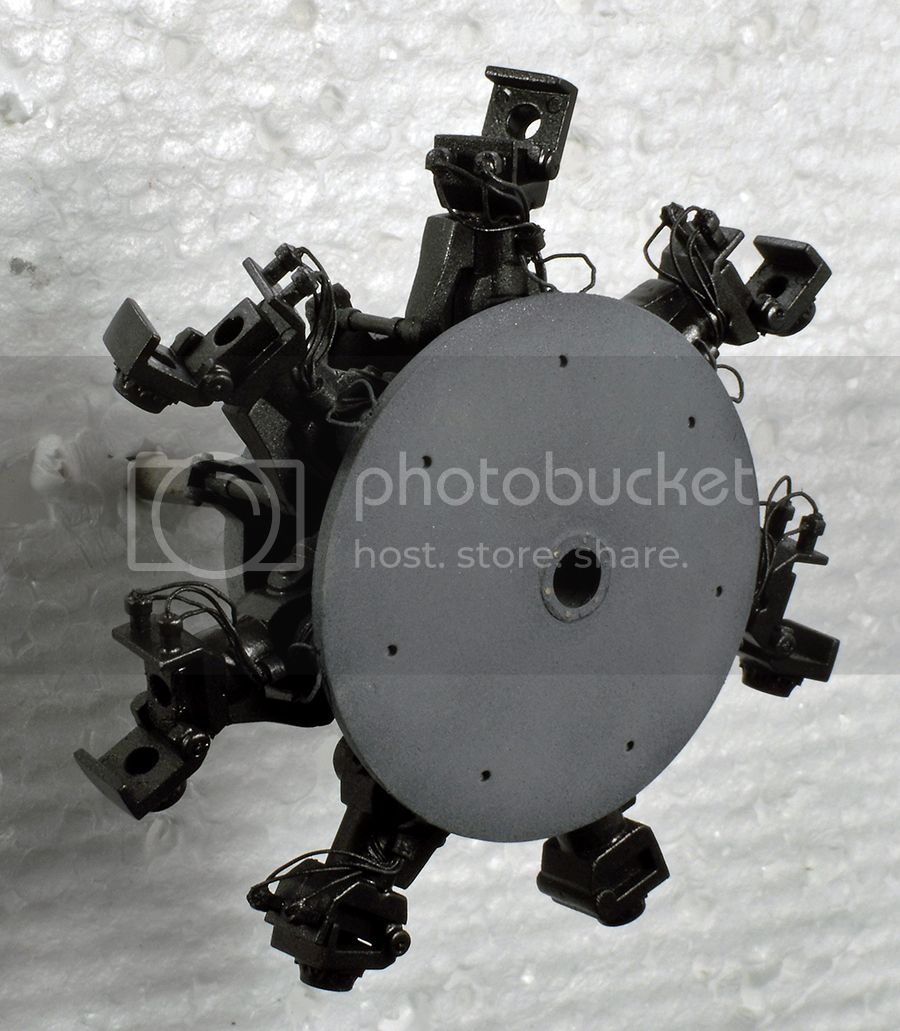
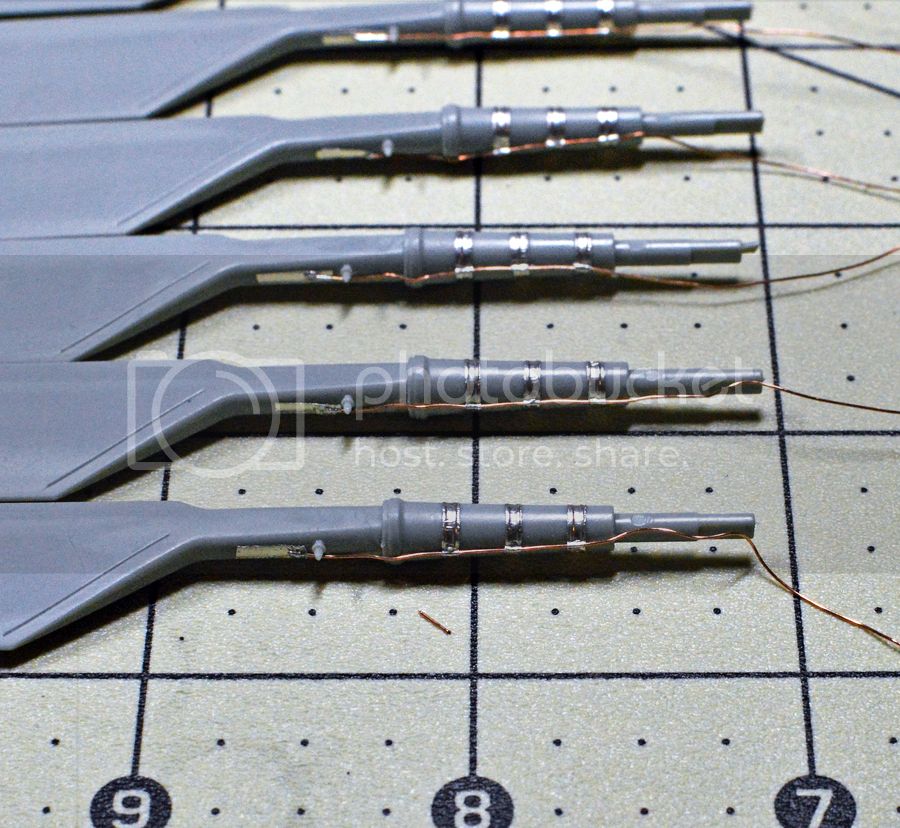
i been working on the main rotor paint job .
First i painted the rotor sky grey . The hinges started with gloss black , then dried . I air brushed over the black with Alclad Steel ..
Then lightly over cast the rotor with Alclad steel . The over sprayed that with heavily thin sky grey ..
Does not look so bad
Enjoy
Rick

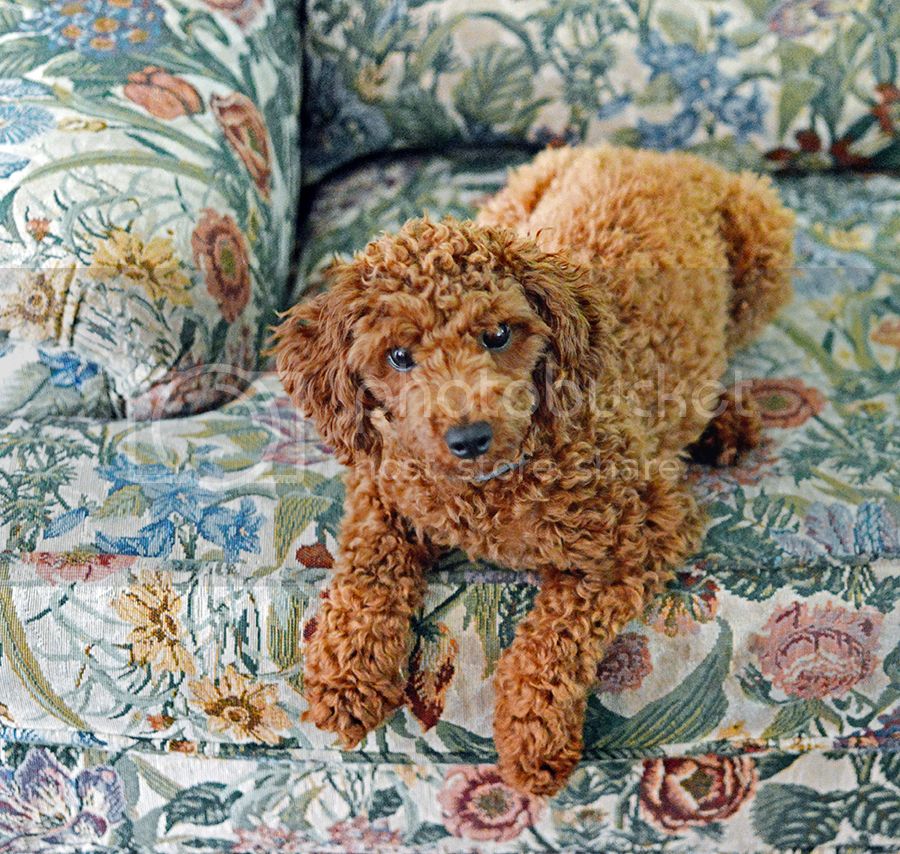
Also my baby boy ,I got one good photo of him
Slovakia
Joined: October 15, 2010
KitMaker: 825 posts
AeroScale: 476 posts
Posted: Thursday, September 03, 2015 - 11:41 AM UTC
Very nice work. You certainly dont ommit anything on the Stallion. I will be watching Your progress closely.
Alabama, United States
Joined: December 16, 2014
KitMaker: 121 posts
AeroScale: 85 posts
Posted: Sunday, September 06, 2015 - 04:54 AM UTC
thank you all
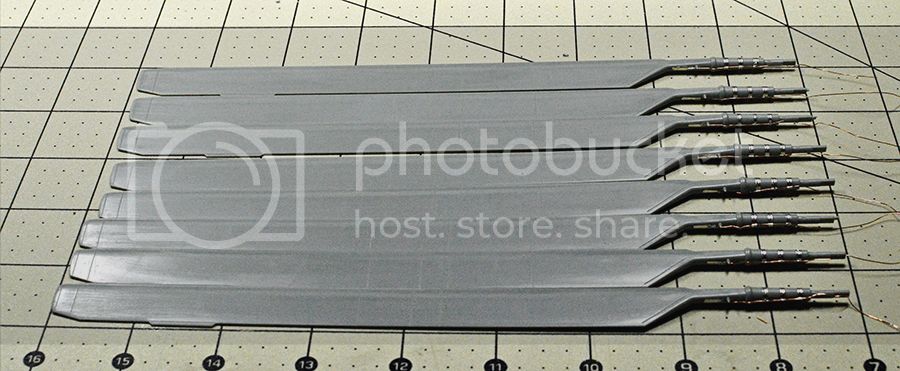
Today has been very busy day( baking bread ) .. I did get the wiring connected to main rotor blades . I will get these primer tonight
Enjoy
Rick

Germany
Joined: September 07, 2005
KitMaker: 5,609 posts
AeroScale: 5,231 posts
Posted: Sunday, September 06, 2015 - 12:34 PM UTC
Hi Rick,
sorry I did not post earlöier, I am visiting this thread regularily and I am amazed by the detail you put int6o your model!
As for the glue-sinkholes: maybe it is better to put a small hole in the soft area so the solvents can vent off. Then I would give the thing at least 4 weeks to harden thoroughly.. but that's just my 2 ct.
Keep up posting even if the responses are few.. it is a very intersting thread!
all the best
Steffen
DULCE ET DECORUM EST PRO HOBBY MORI
Alabama, United States
Joined: December 16, 2014
KitMaker: 121 posts
AeroScale: 85 posts
Posted: Sunday, September 13, 2015 - 01:24 AM UTC
Thank you
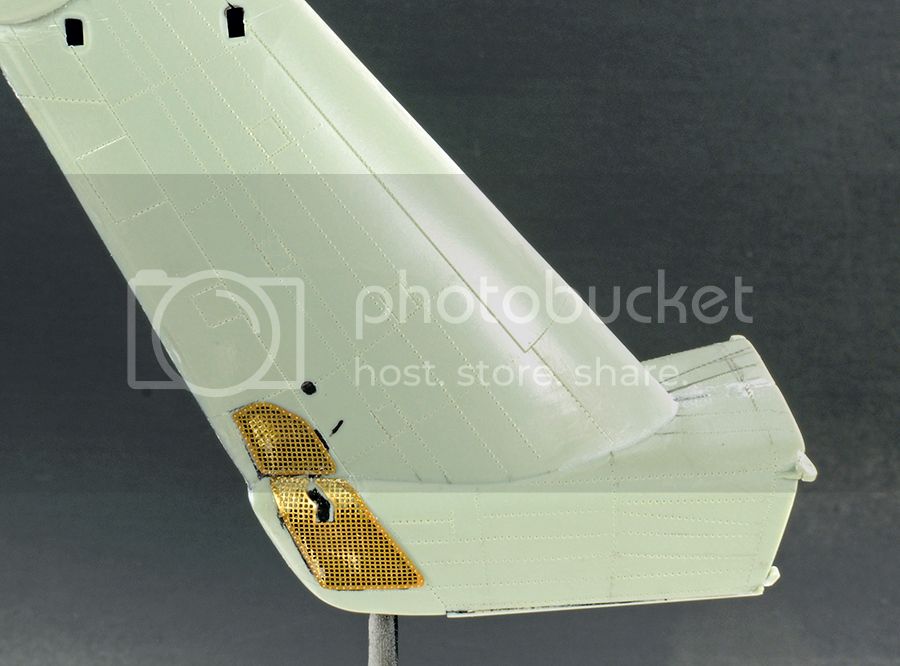
Some update on the tail end , rear rotor and blade
Also i have the rivets done ..
Enjoy
Rick
I sprayed the inside with black primer ..

Here I have the Photo Etch glued on


My rear blades . Painted Black with Alclad aluminum , then wet sanded to show some weathering ..


Alabama, United States
Joined: December 16, 2014
KitMaker: 121 posts
AeroScale: 85 posts
Posted: Saturday, October 10, 2015 - 05:24 PM UTC
I been working slowly on my cave in .Took forever for the plastic to harden up . May try to spray some primer on today .
Enjoy
Rick
Before
after
Alabama, United States
Joined: December 16, 2014
KitMaker: 121 posts
AeroScale: 85 posts
Posted: Saturday, November 28, 2015 - 08:00 PM UTC
I installed the fuel tanks , I believe that's what they are .
Also re-rivet the side were the glue sunk in the plastic
Enjoy
Rick
England - South West, United Kingdom
Joined: March 13, 2015
KitMaker: 418 posts
AeroScale: 114 posts
Posted: Saturday, November 28, 2015 - 10:35 PM UTC
That super stallion looks awesome. Very interesting scratch built part too. I'll be looking forward to seeing your build completed.
Alabama, United States
Joined: December 16, 2014
KitMaker: 121 posts
AeroScale: 85 posts
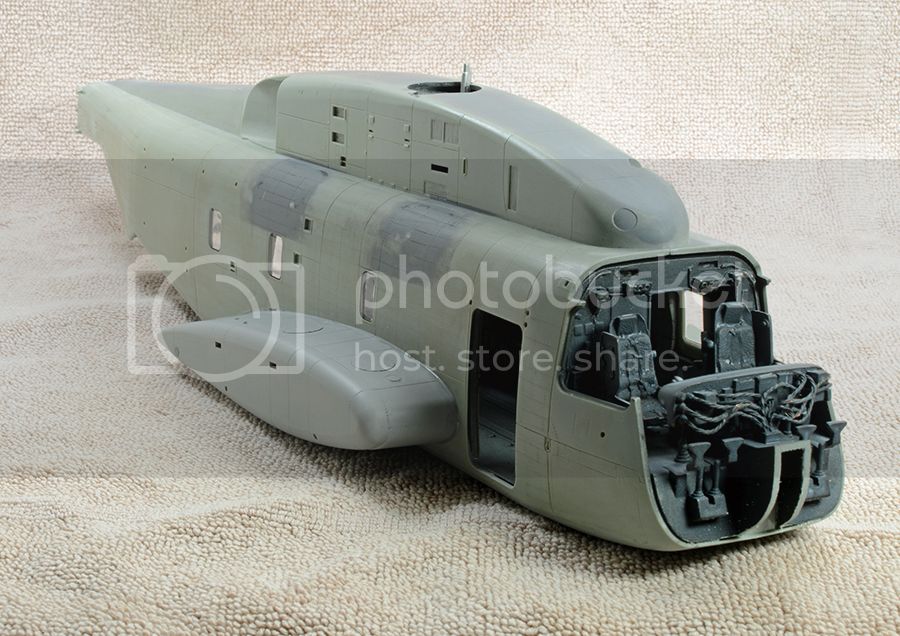
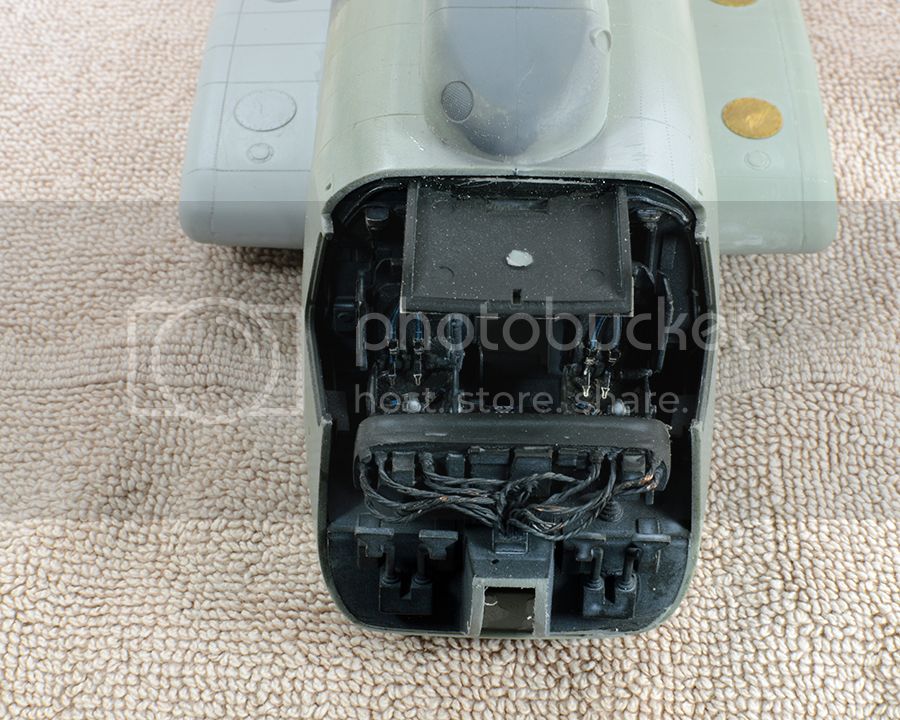
Posted: Saturday, December 05, 2015 - 12:27 AM UTC
Thank you
Installed bulkhead and front seat belts. i hope to have the front nose installed . I well see
Enjoy
Rick

Alabama, United States
Joined: December 16, 2014
KitMaker: 121 posts
AeroScale: 85 posts
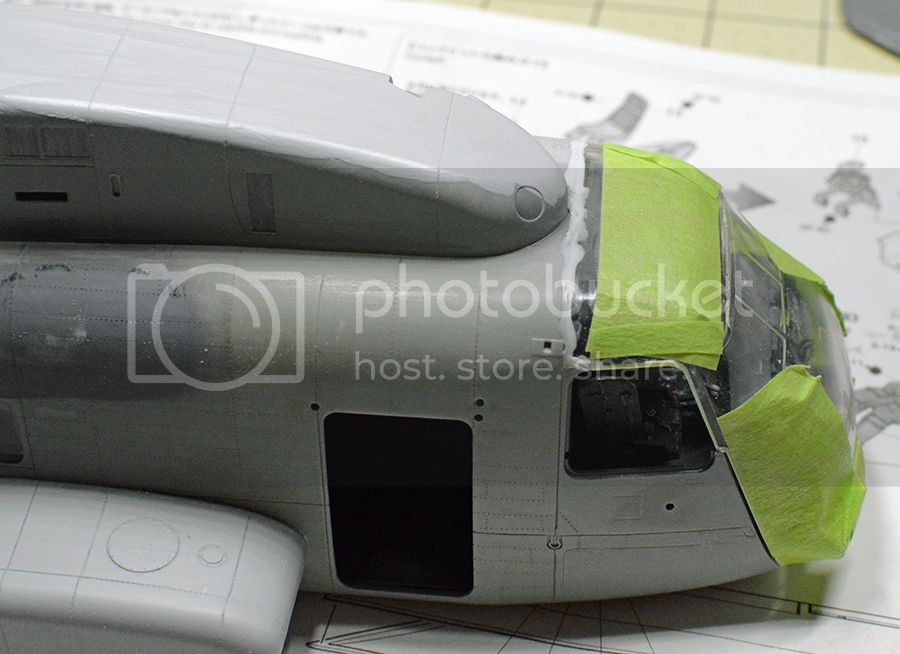
Posted: Monday, December 07, 2015 - 04:41 AM UTC
Thank you
I have the nose install . Now working on filling the seam . I'm using small Plastic scrape mixed with Tamiya ex thin glue . Love this set up .
Enjoy
Rick


Alabama, United States
Joined: December 16, 2014
KitMaker: 121 posts
AeroScale: 85 posts
Posted: Sunday, December 13, 2015 - 03:18 AM UTC
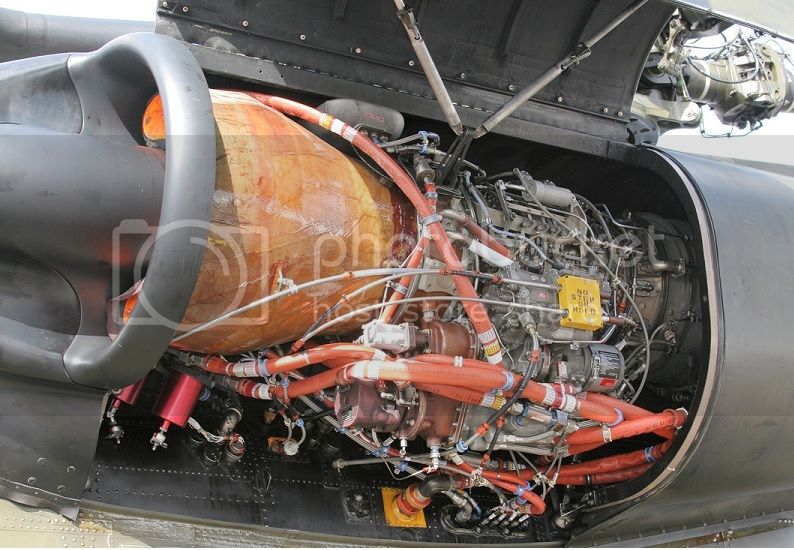
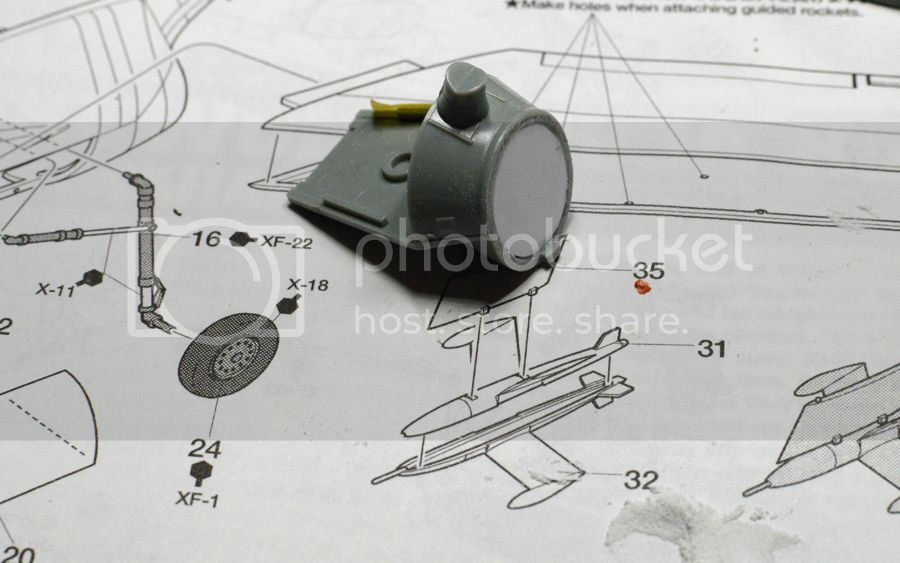
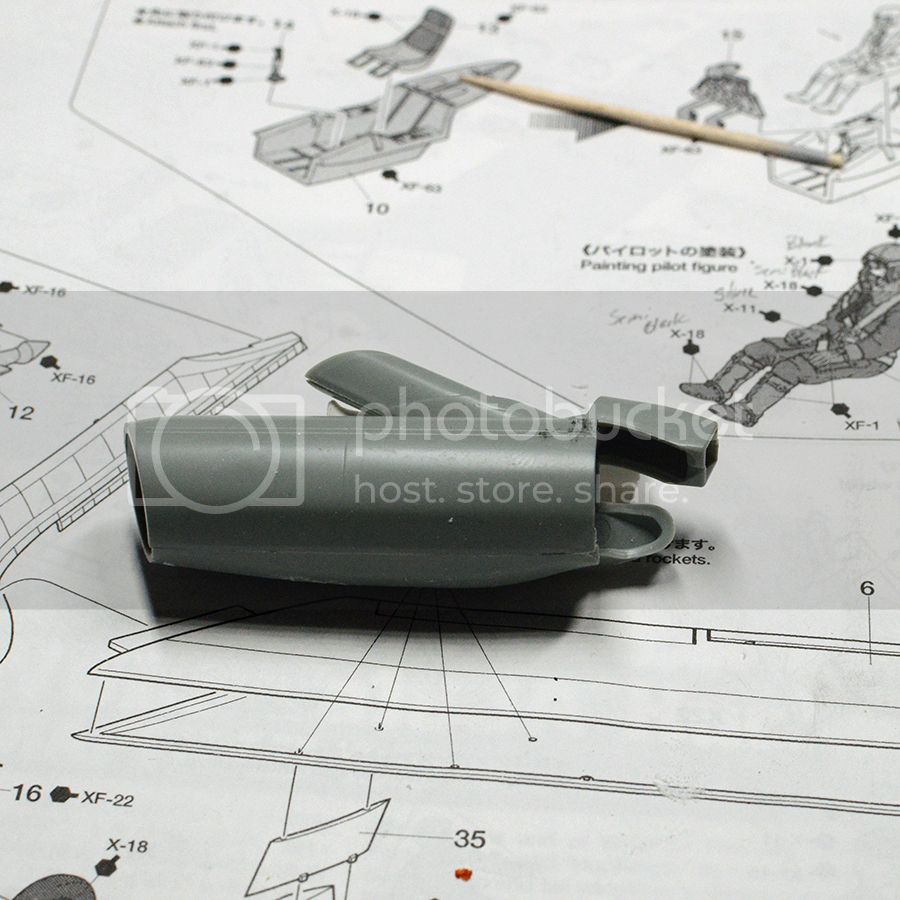
I'm off to a new scratch build part . I never done anything like this before . I see Nigel and Hendie do some amazing builds .
So Im going build a basic engine from 0 .. I know this wont be 100 percent correct . But I just want to get out of the box look .
I will start this later today . I have some other things to do .
Enjoy
Rick
below is the engine ..

Alabama, United States
Joined: December 16, 2014
KitMaker: 121 posts
AeroScale: 85 posts
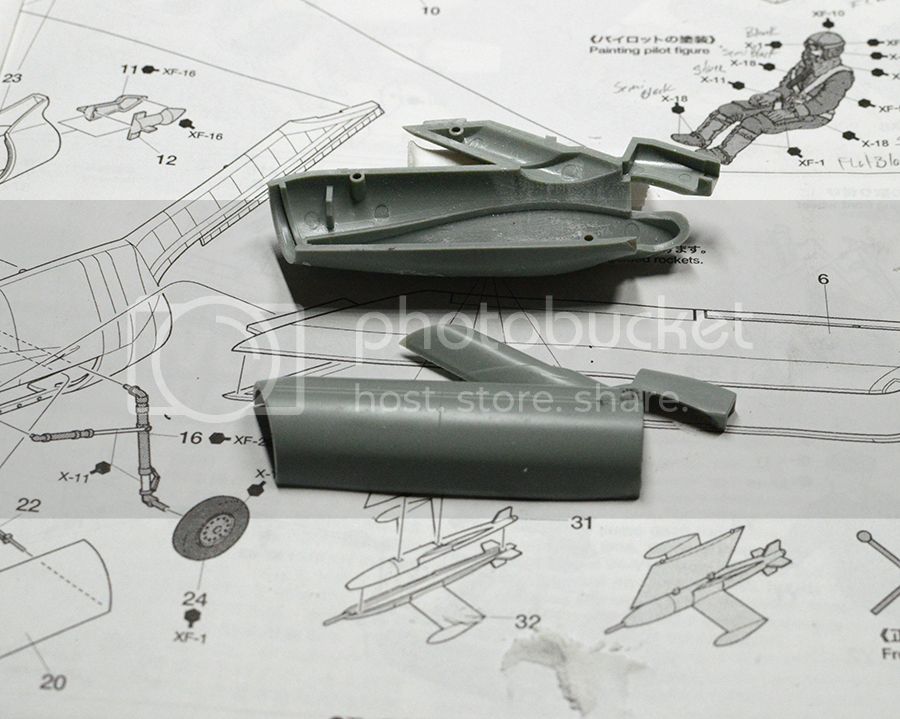
Posted: Sunday, December 13, 2015 - 03:24 AM UTC
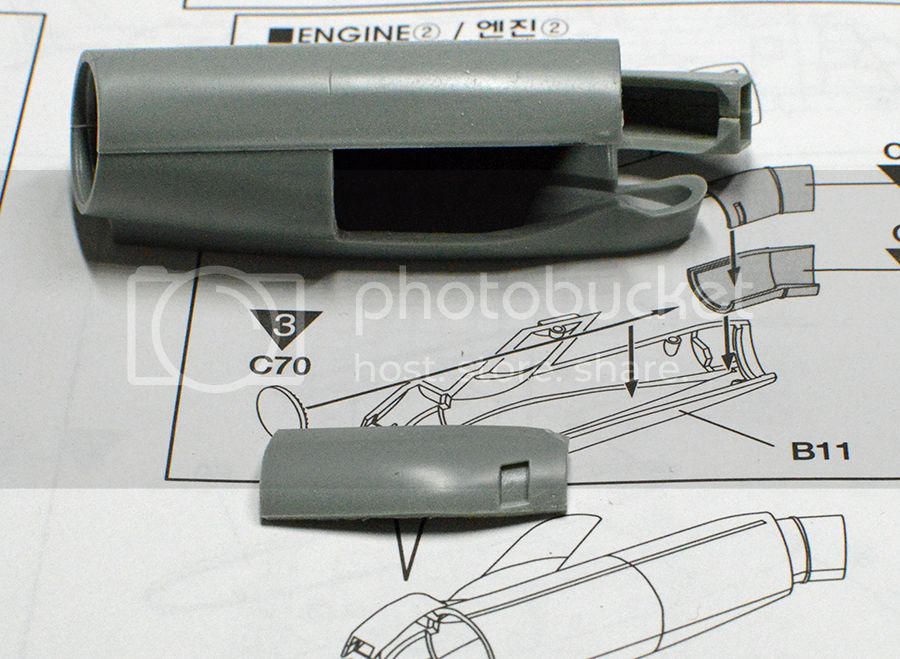
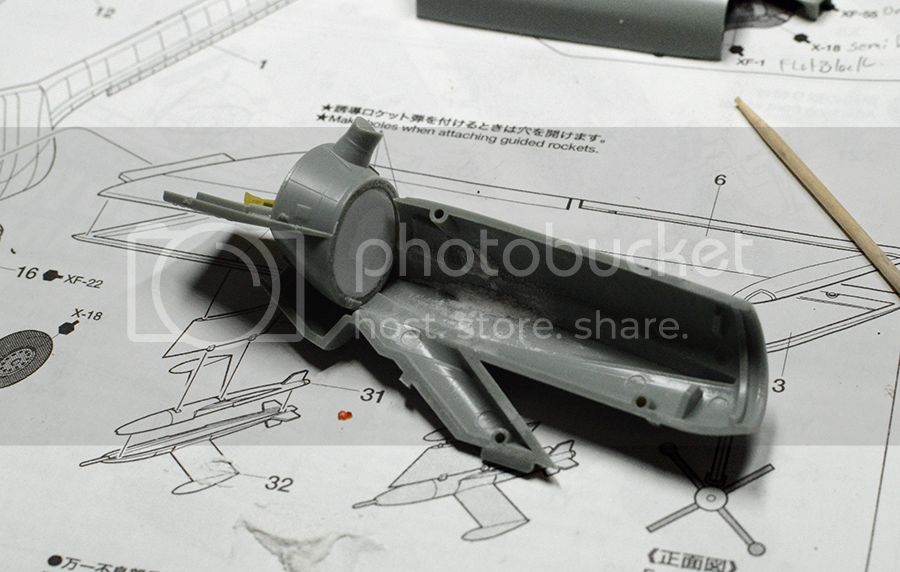
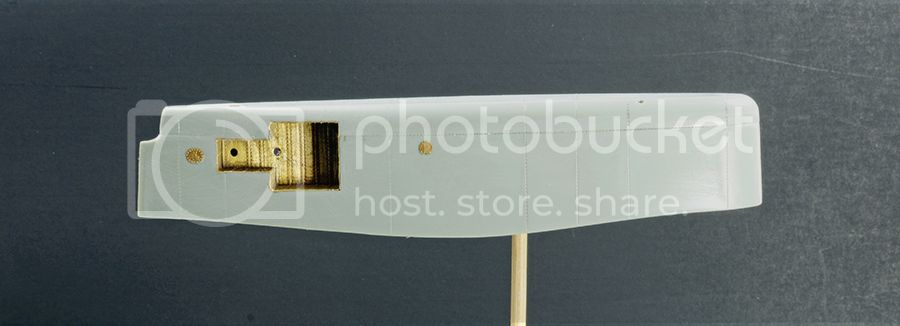
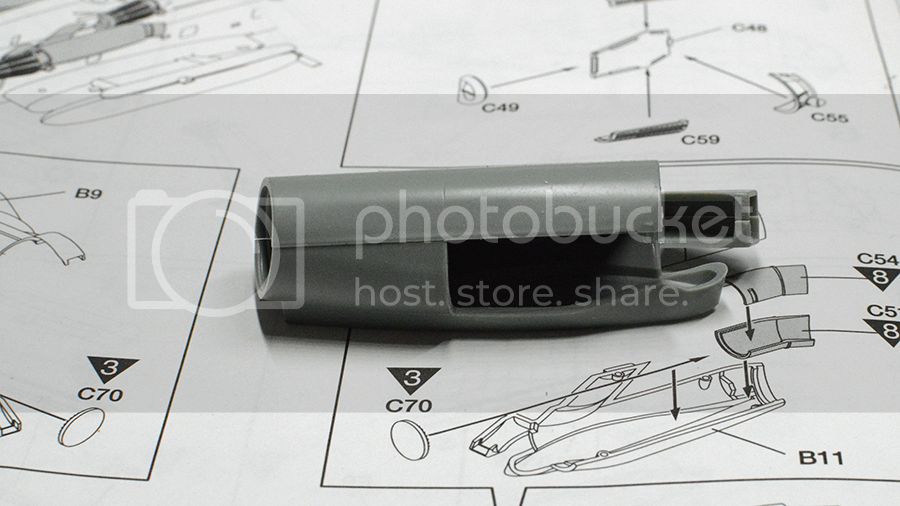
Here is the engine cover 2 parts . With no engine . I mock this part up . Cut the door out , then I had to glue the 2 cut parts together. This made the door .
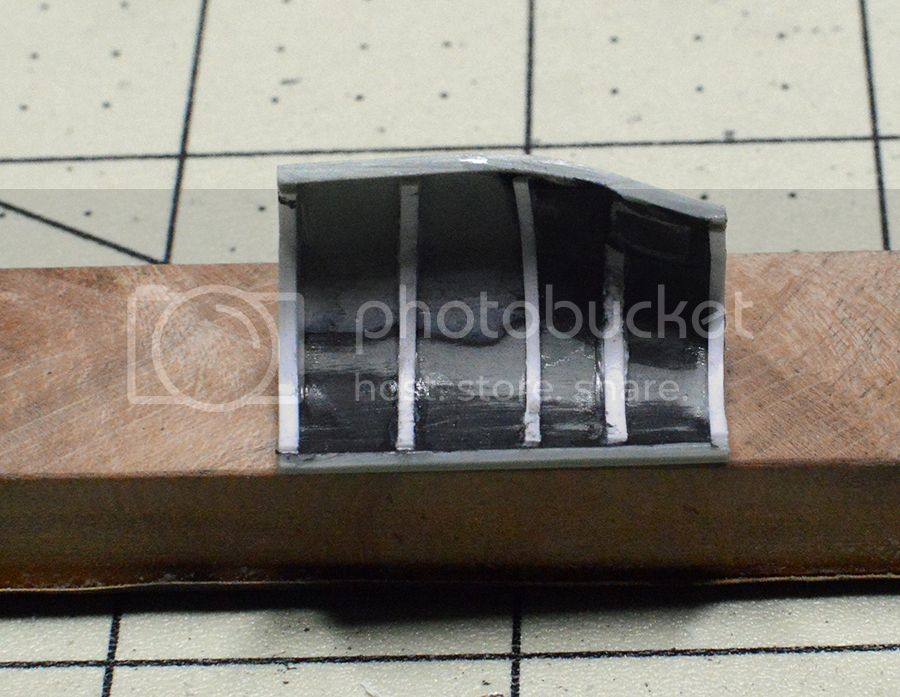
I added rib supports to the inside door panel
Enjoy
Rick
Alabama, United States
Joined: December 16, 2014
KitMaker: 121 posts
AeroScale: 85 posts
Posted: Sunday, December 13, 2015 - 03:24 AM UTC
Michigan, United States
Joined: March 24, 2009
KitMaker: 312 posts
AeroScale: 7 posts
Posted: Sunday, December 13, 2015 - 05:52 PM UTC
He told you right! Just be patient!! Looking good though!!
'United States Army Special Forces! When you care enough to send the very best'
Alabama, United States
Joined: December 16, 2014
KitMaker: 121 posts
AeroScale: 85 posts
Posted: Monday, December 14, 2015 - 04:17 AM UTC
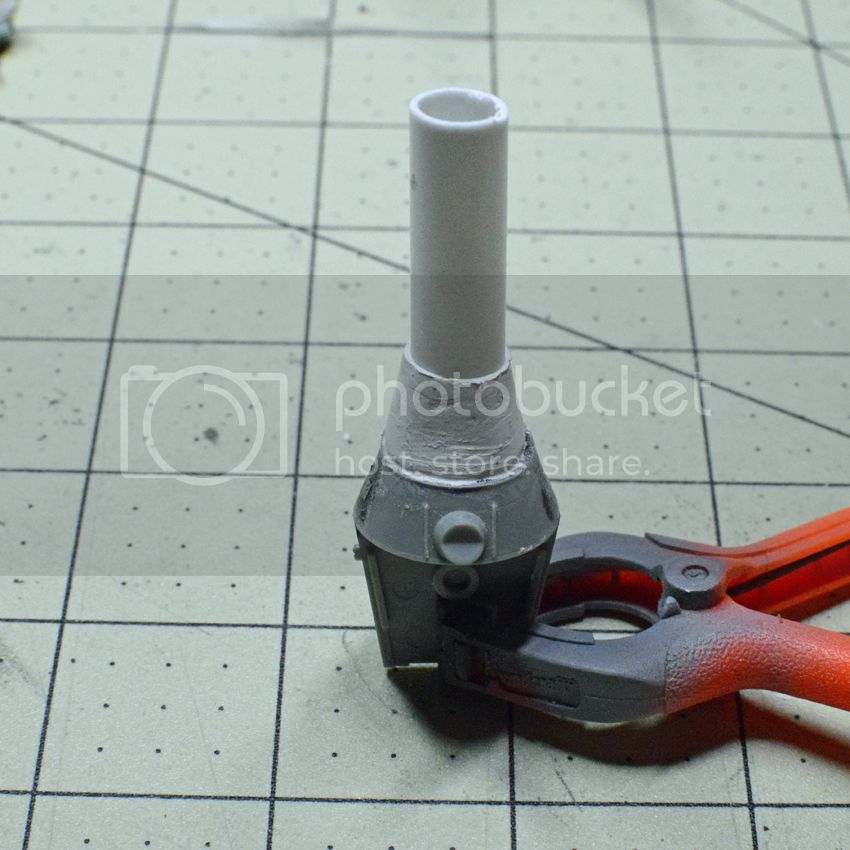
Thank you
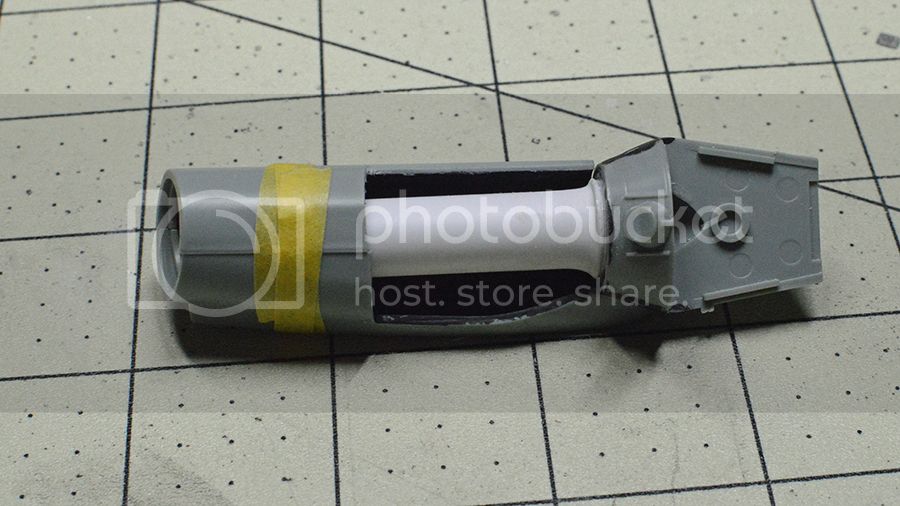
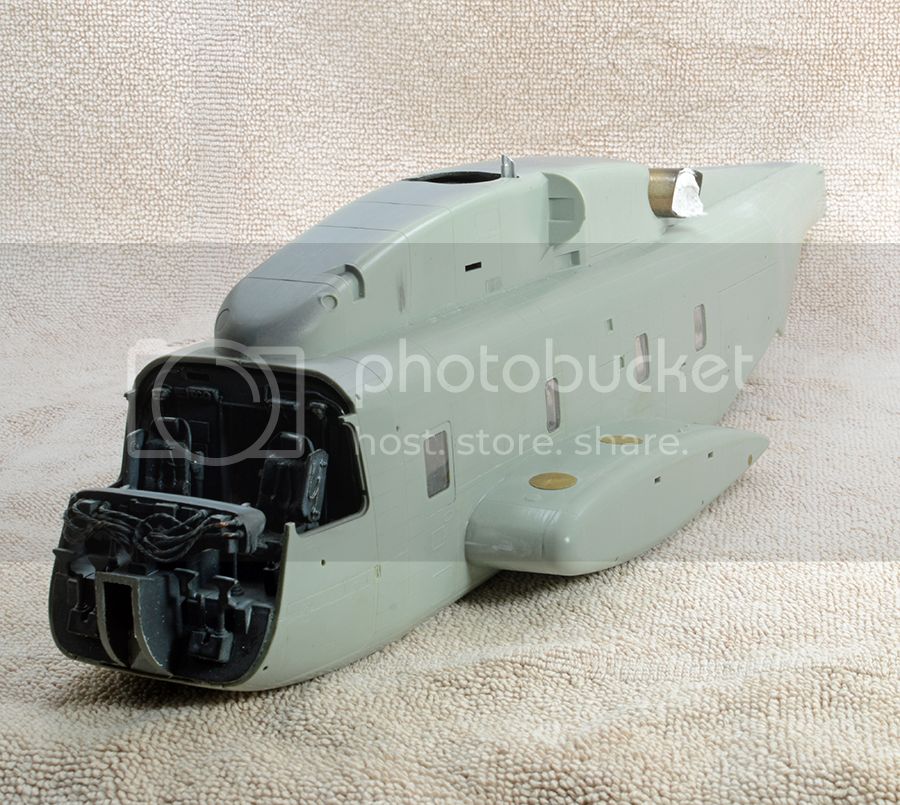
Ok I have applied some White Mulliput . i need to make this brass looking color dome . I guess this would be some kind on inlet air intake .
Maybe someone will let me know
Enjoy
Rick