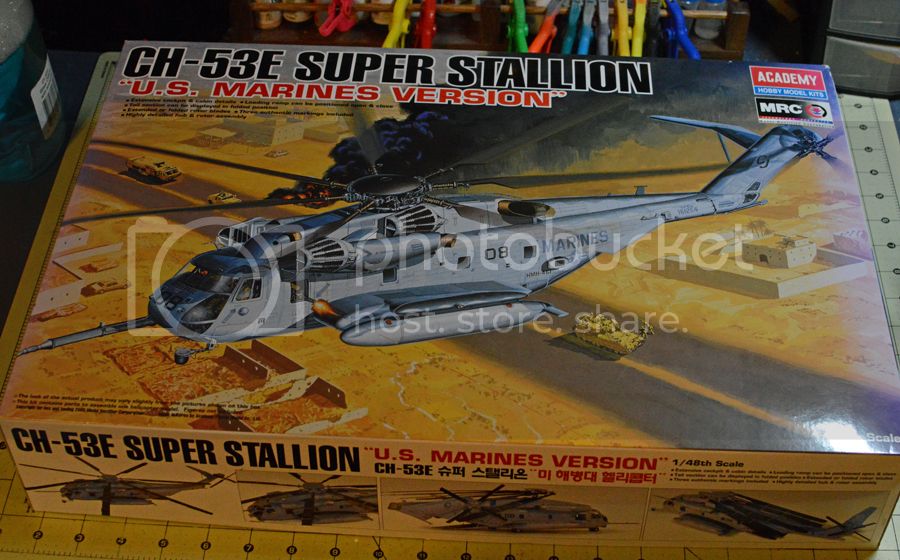
Rick's CH-53E Super Stallion 1/48 scale
Alabama, United States
Joined: December 16, 2014
KitMaker: 121 posts
AeroScale: 85 posts
Posted: Tuesday, July 07, 2015 - 04:53 AM UTC
This was my Christmas gift from the family 2014
I'm not going to lie about this model , For a 1/48 scales this is a monster beast. This will start in about week or two .
I been working on this for bit , not much finished .
I know Gino from different form . I am going post my build here . I will try to get it caught up
Enjoy
Rick
Big Ed's eduards photo etch set

Alabama, United States
Joined: December 16, 2014
KitMaker: 121 posts
AeroScale: 85 posts
Posted: Tuesday, July 07, 2015 - 04:56 AM UTC
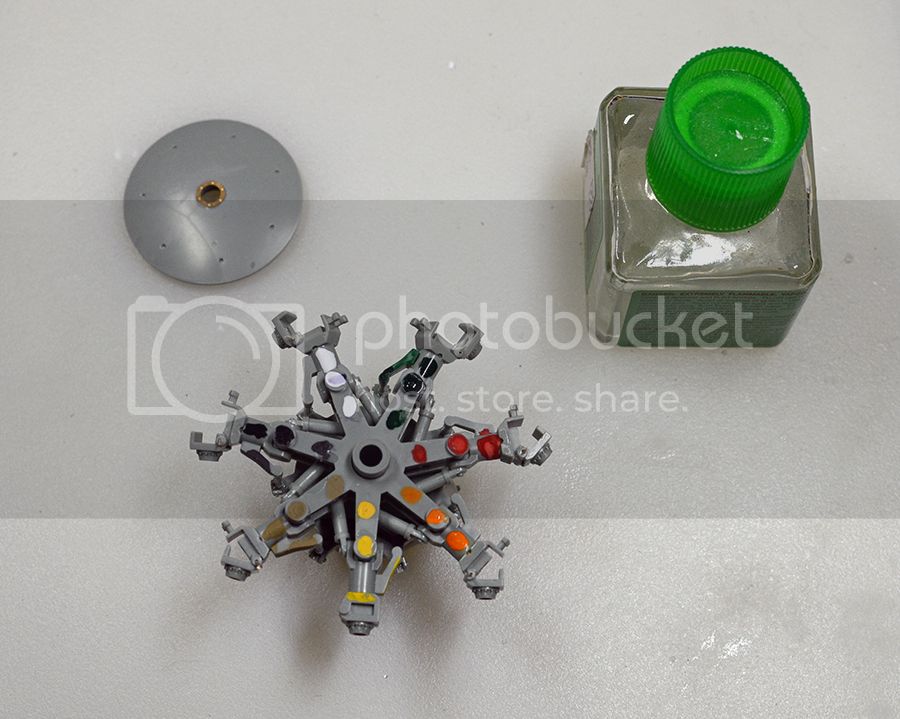
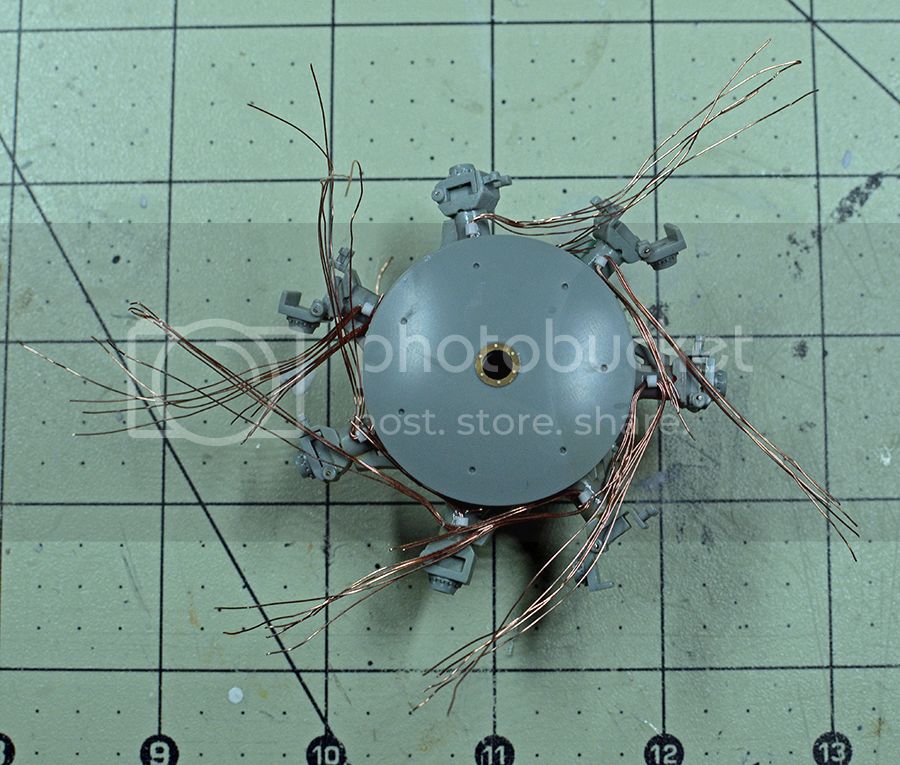
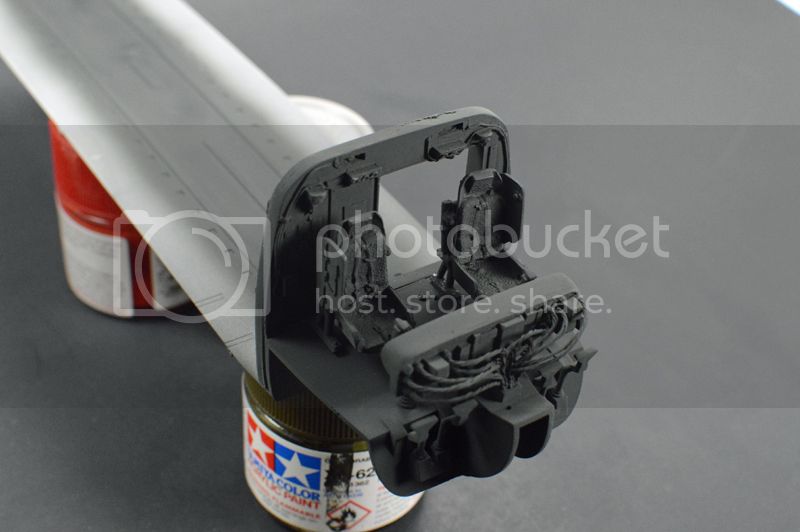
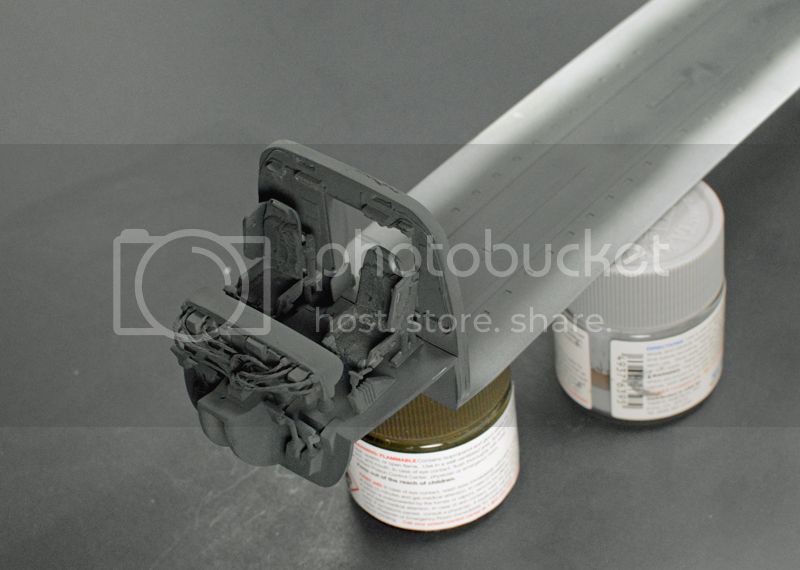
The rotor head is getting all plastic parts installed . The hinges work great . I can fold them in or out .. Now I need to start some basic piping ..
Enjoy
Rick
Alabama, United States
Joined: December 16, 2014
KitMaker: 121 posts
AeroScale: 85 posts
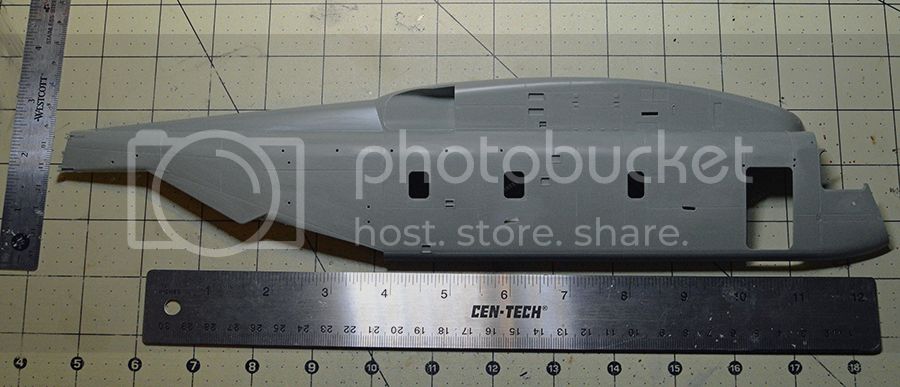
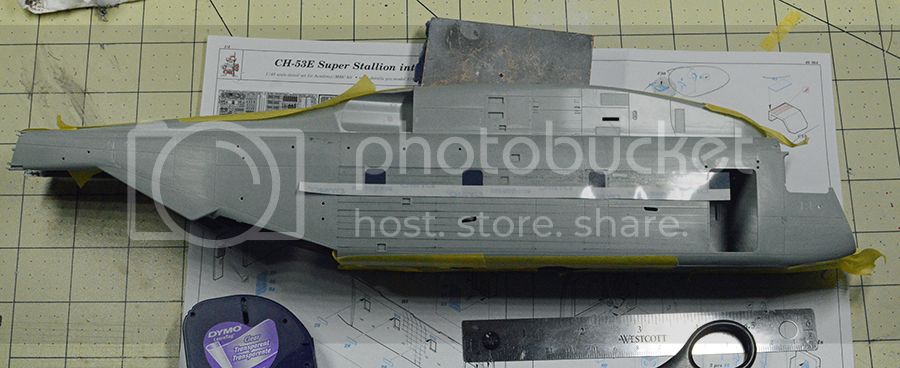
Posted: Tuesday, July 07, 2015 - 05:01 AM UTC
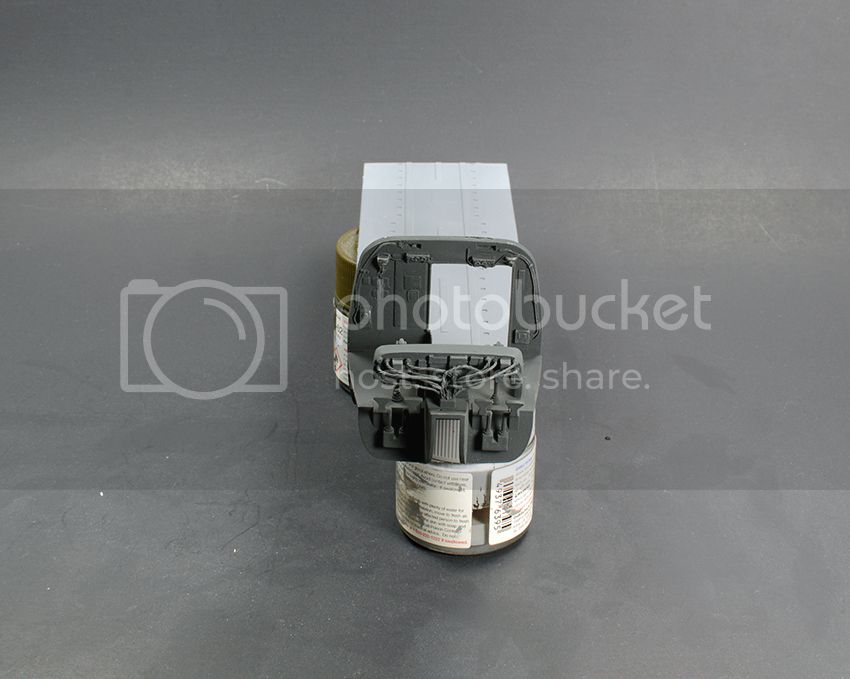
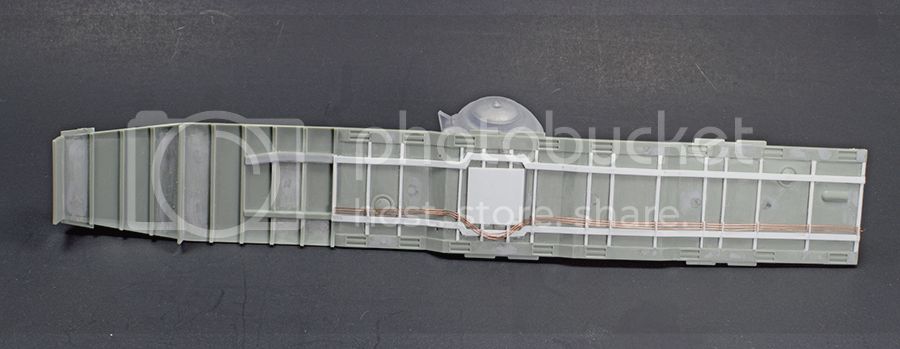
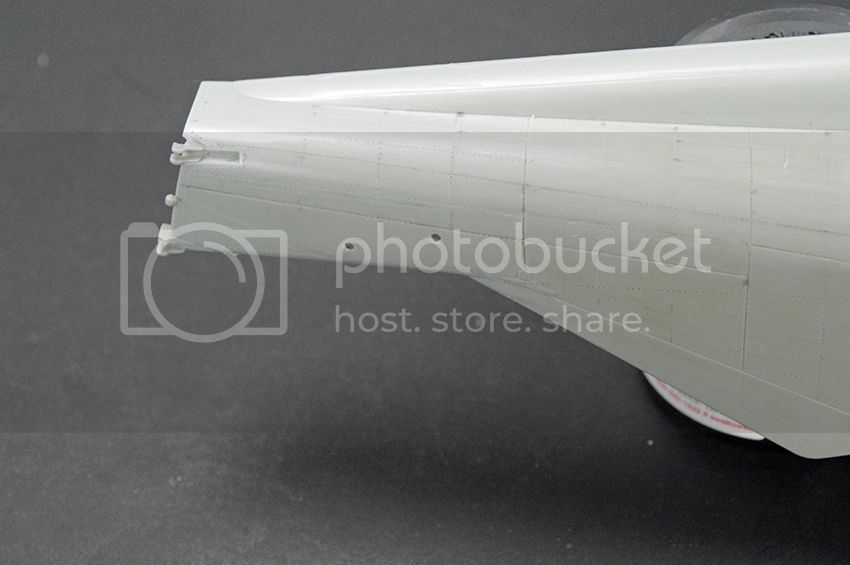
Body length
Rick
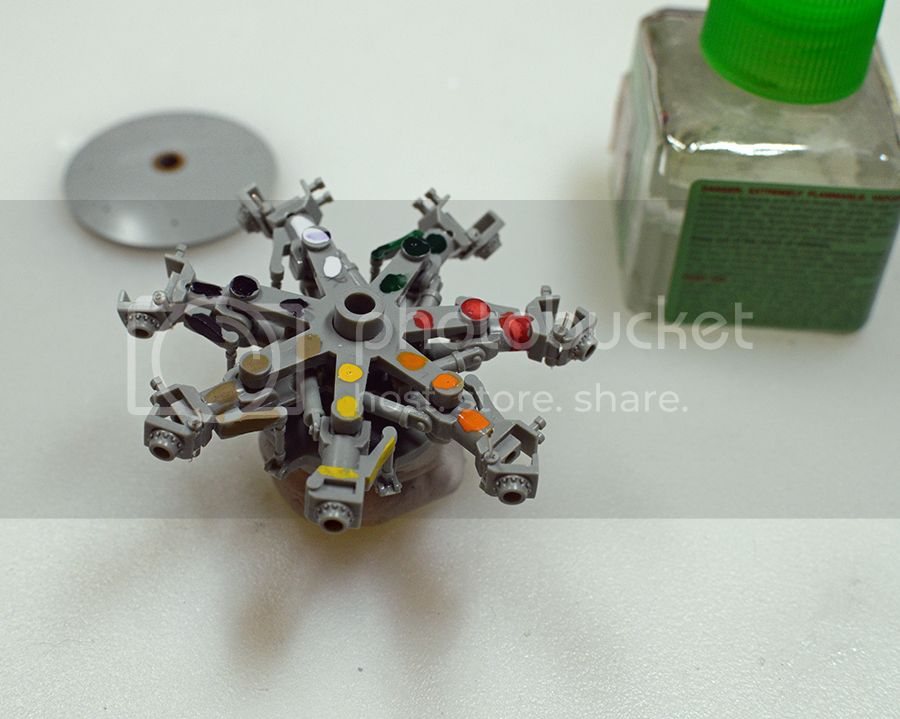
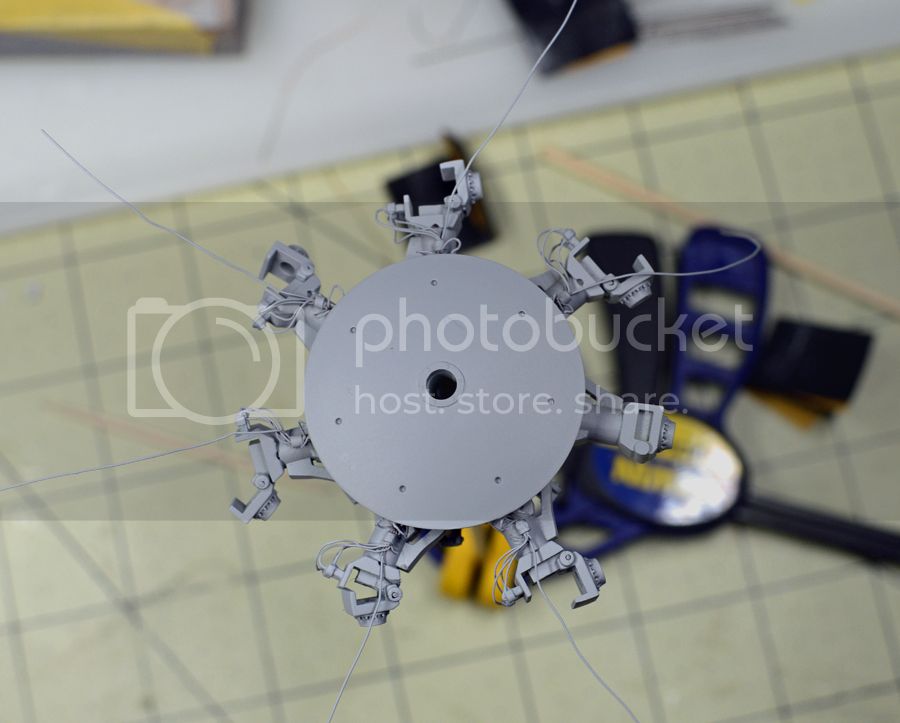
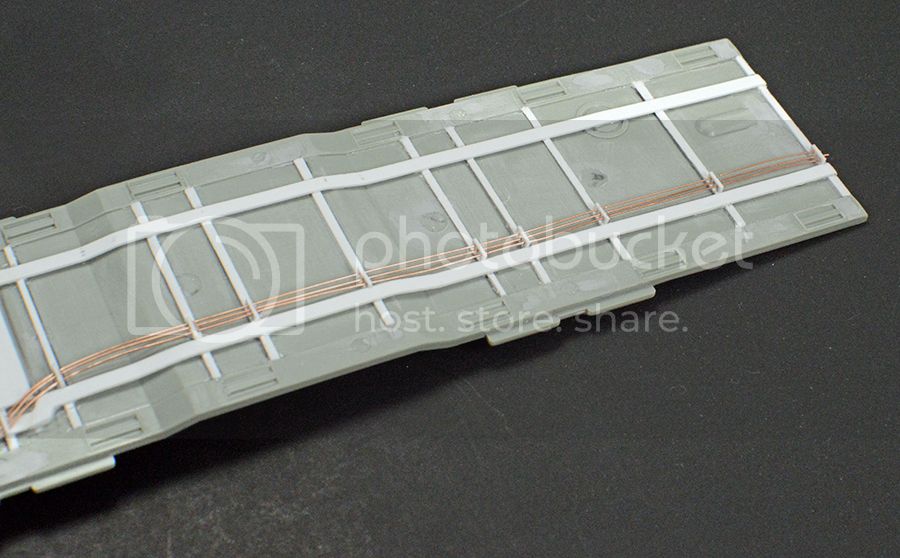
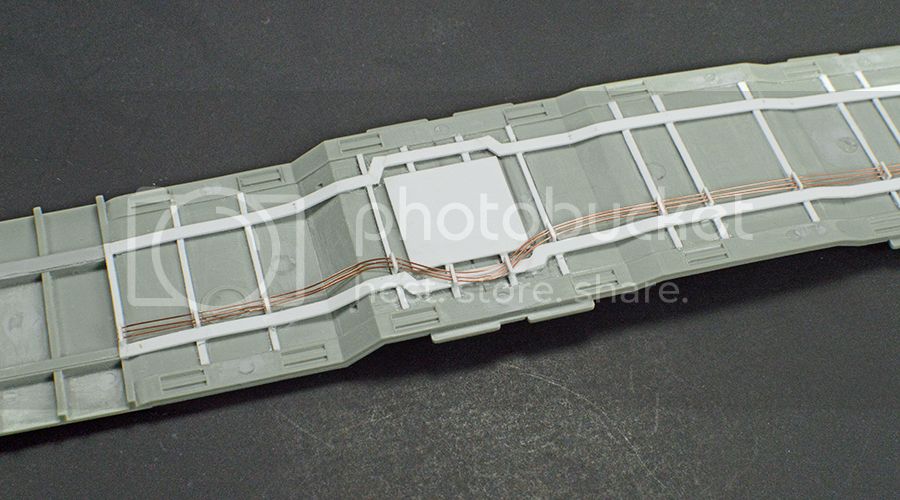
Working little on the rotor head piping .
.
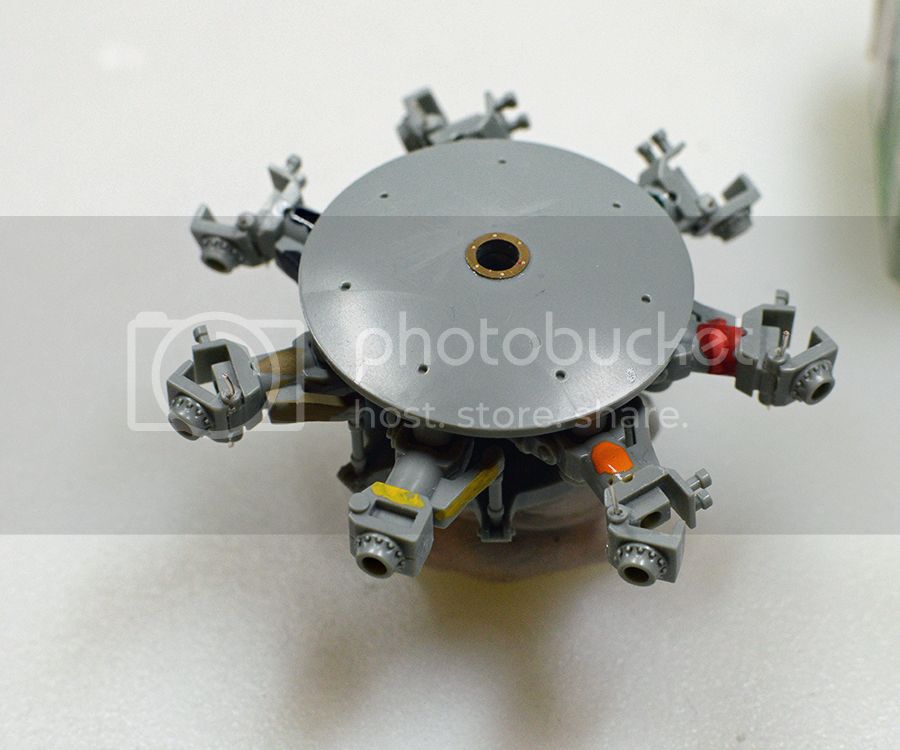
primered
Alabama, United States
Joined: December 16, 2014
KitMaker: 121 posts
AeroScale: 85 posts
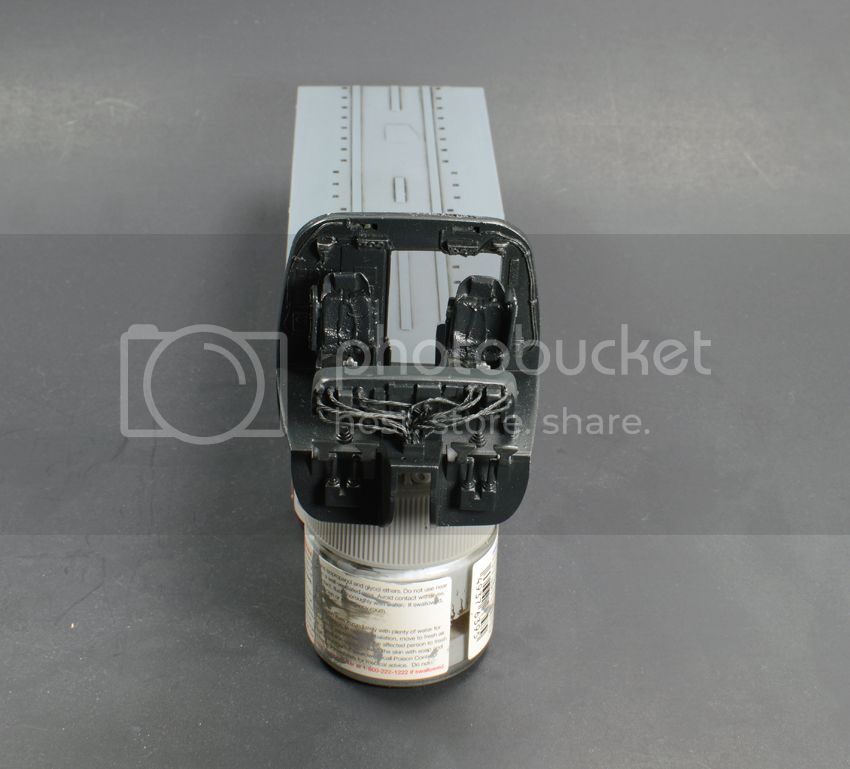
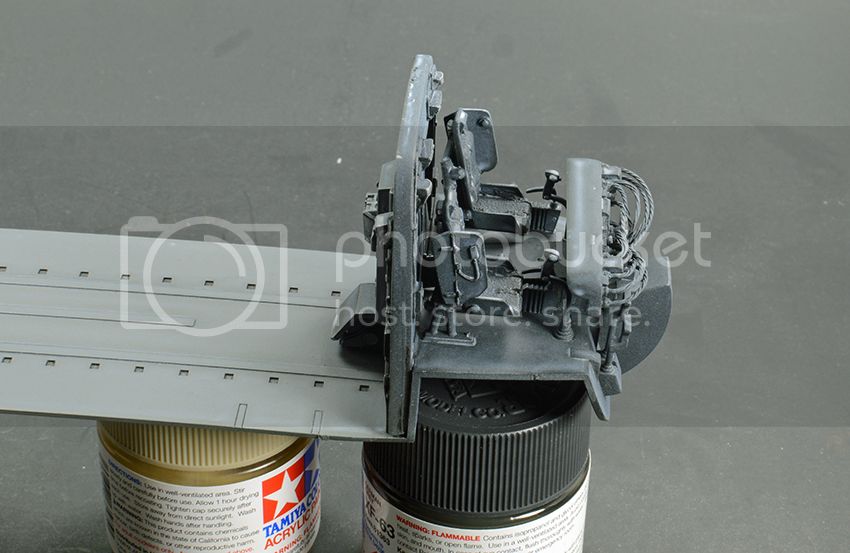
Posted: Tuesday, July 07, 2015 - 05:05 AM UTC
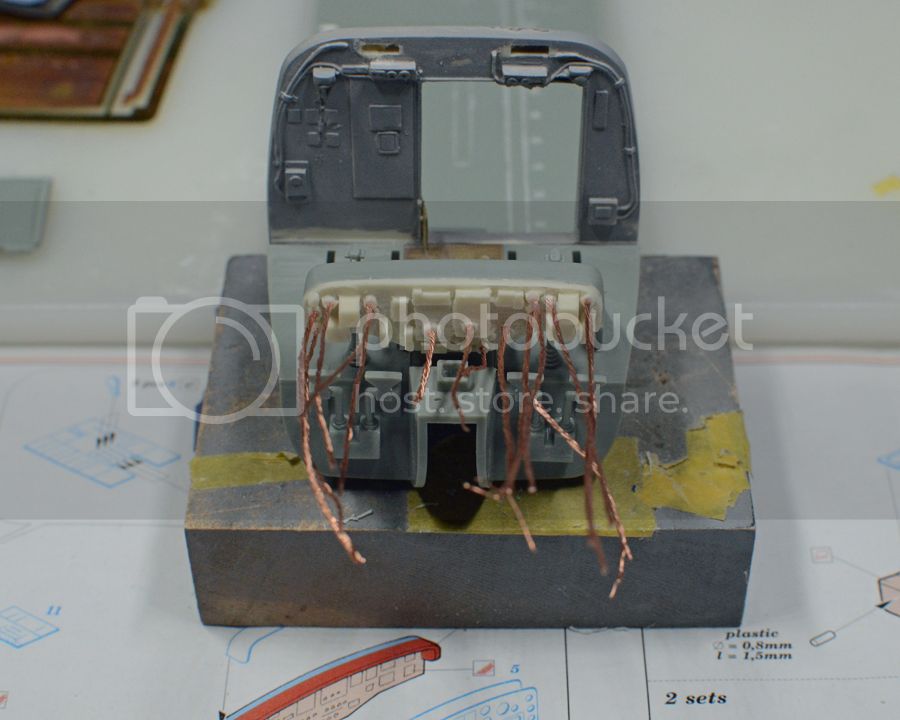
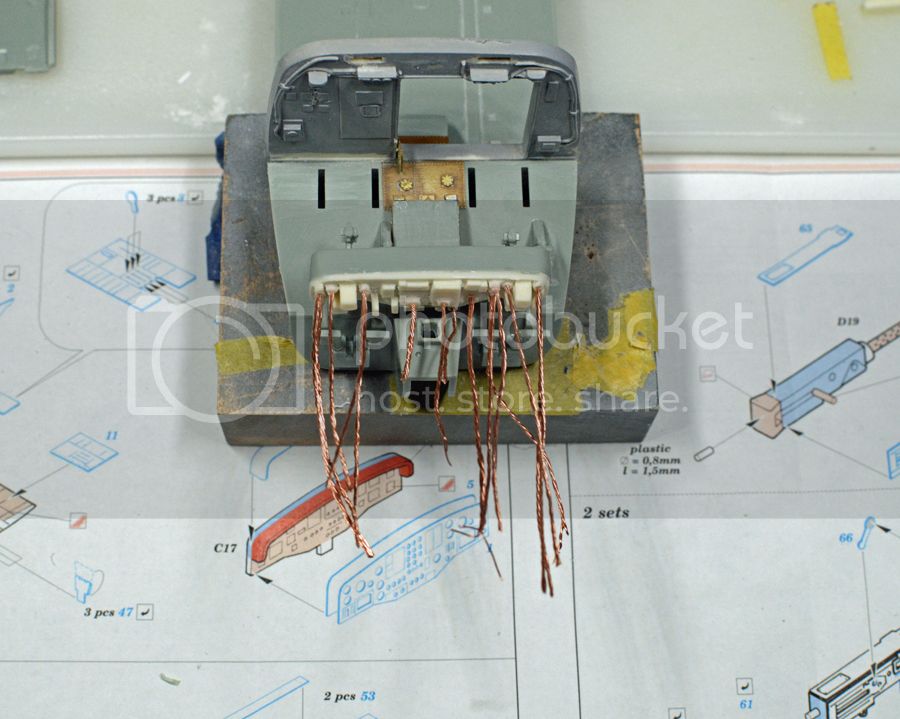
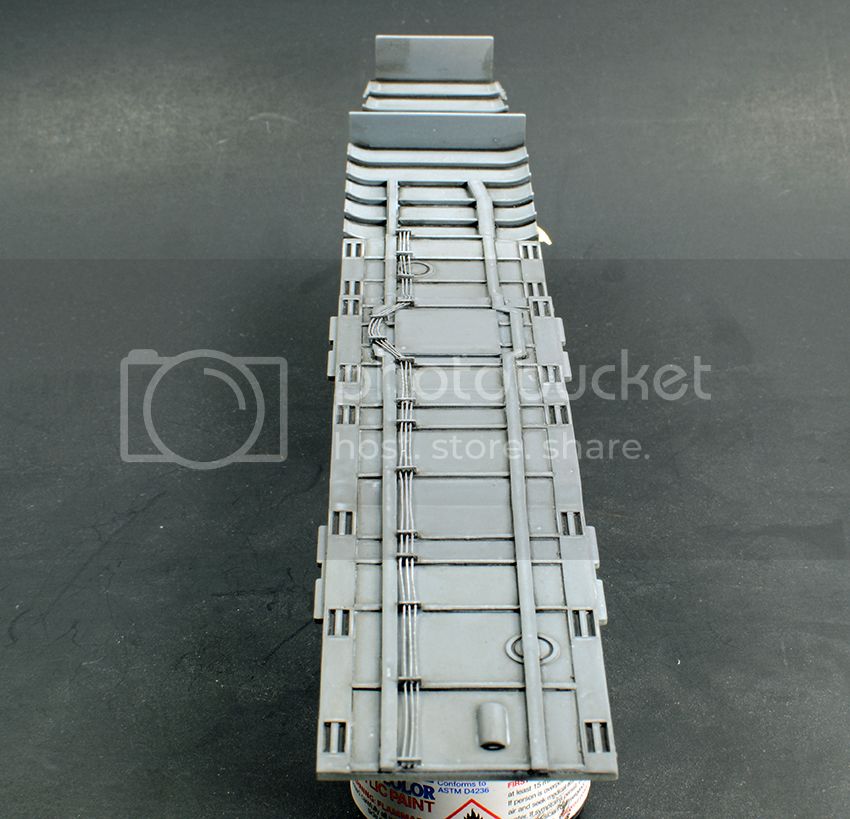
I started the IP wiring
Rick
Alabama, United States
Joined: December 16, 2014
KitMaker: 121 posts
AeroScale: 85 posts
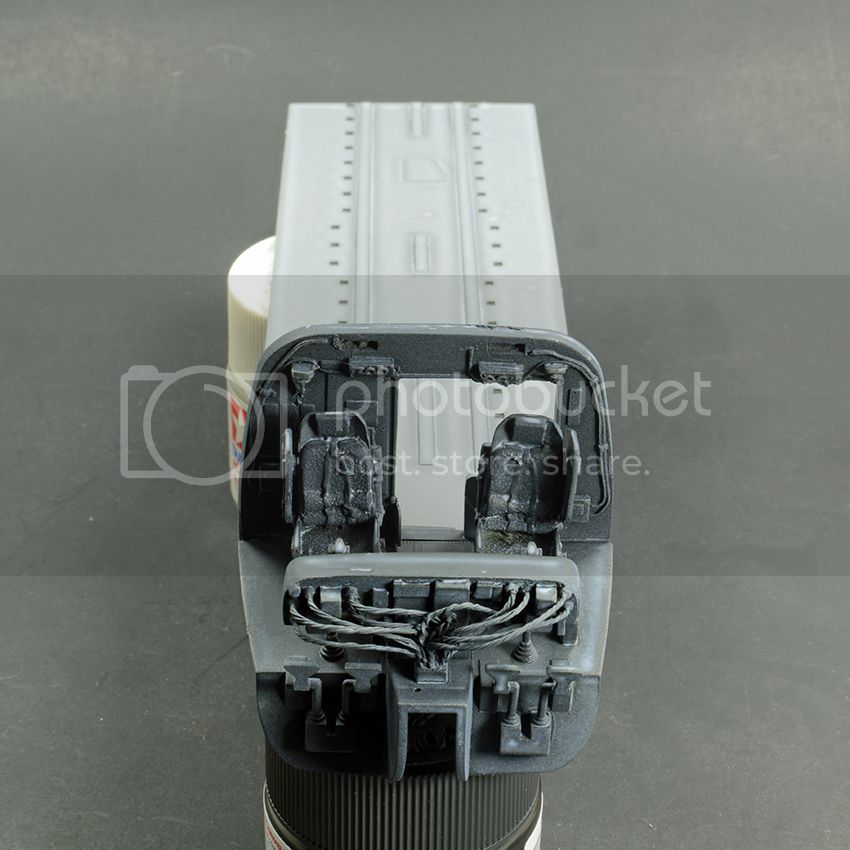
Posted: Tuesday, July 07, 2015 - 05:05 AM UTC
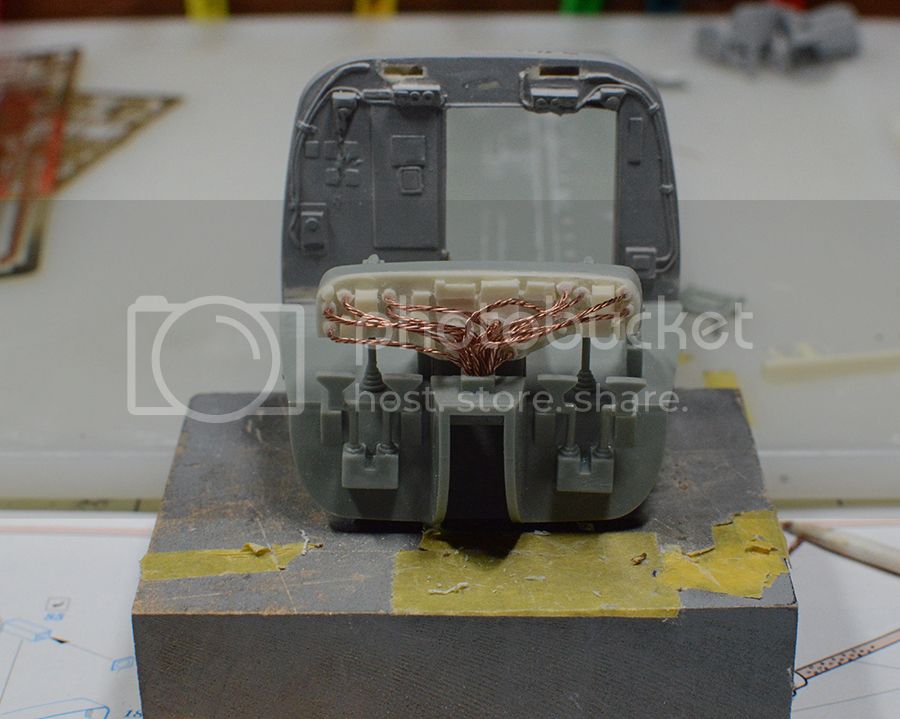
I route the IP wiring ..
Enjoy
Rick
Alabama, United States
Joined: December 16, 2014
KitMaker: 121 posts
AeroScale: 85 posts
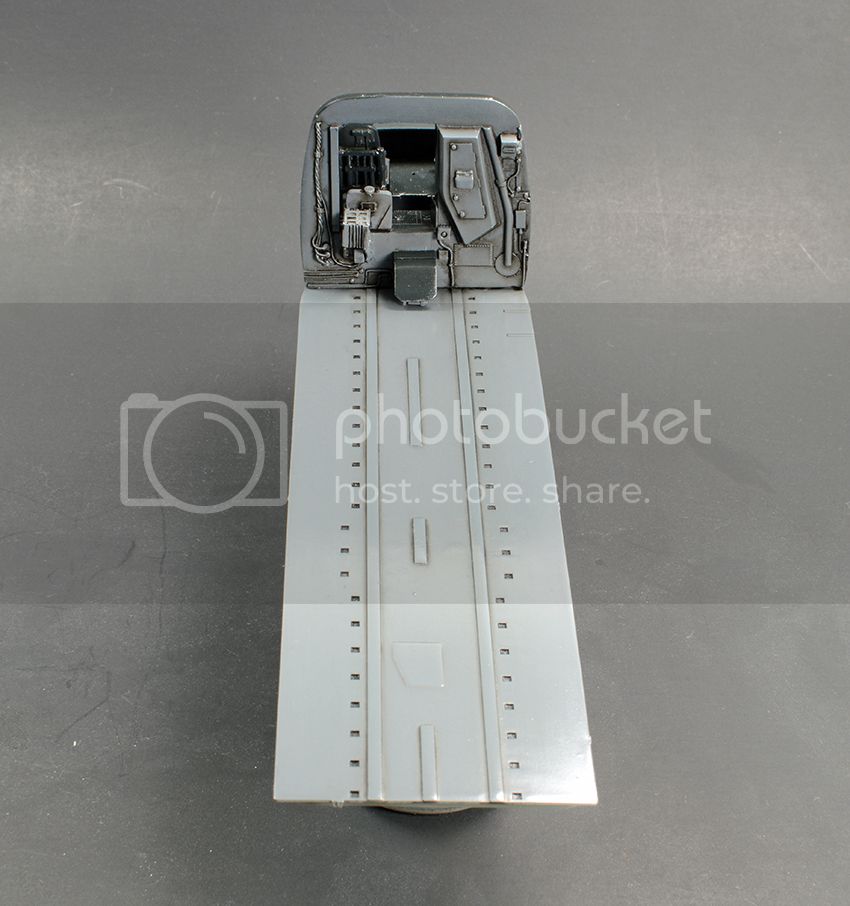
Posted: Tuesday, July 07, 2015 - 05:07 AM UTC
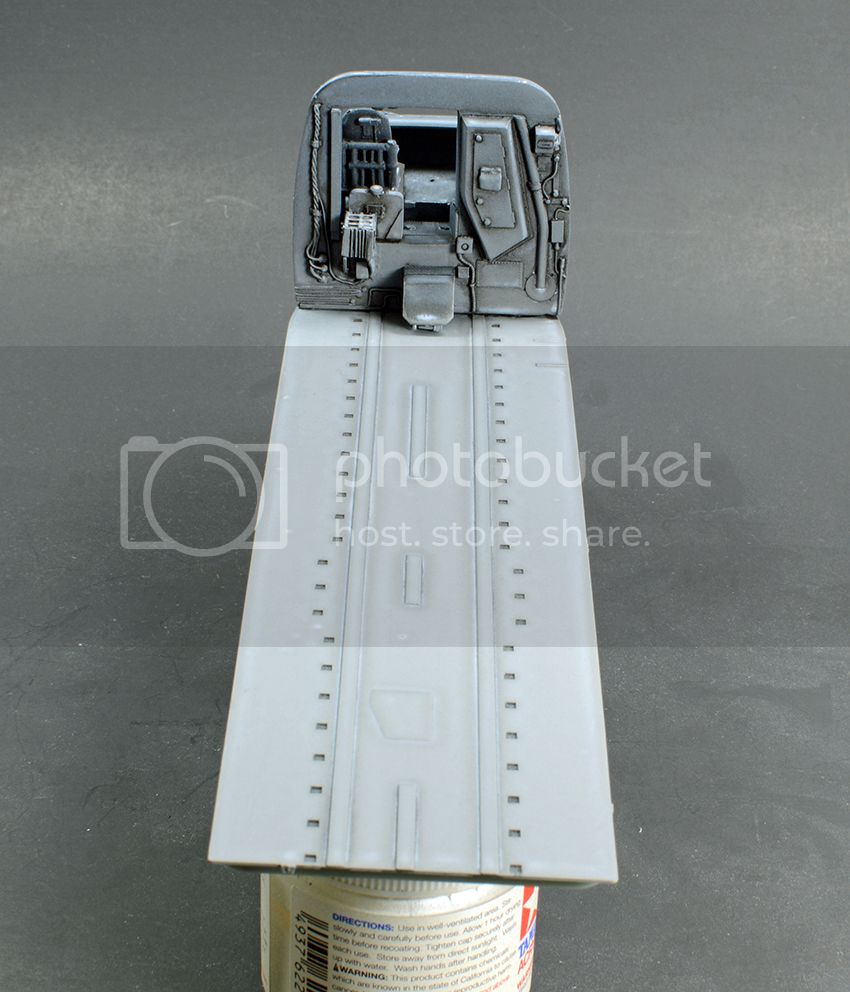
I have the interior painted black . Needs a lite dry brush with silver .
I need to install Photo etch IP dash .
Enjoy
Rick
Alabama, United States
Joined: December 16, 2014
KitMaker: 121 posts
AeroScale: 85 posts
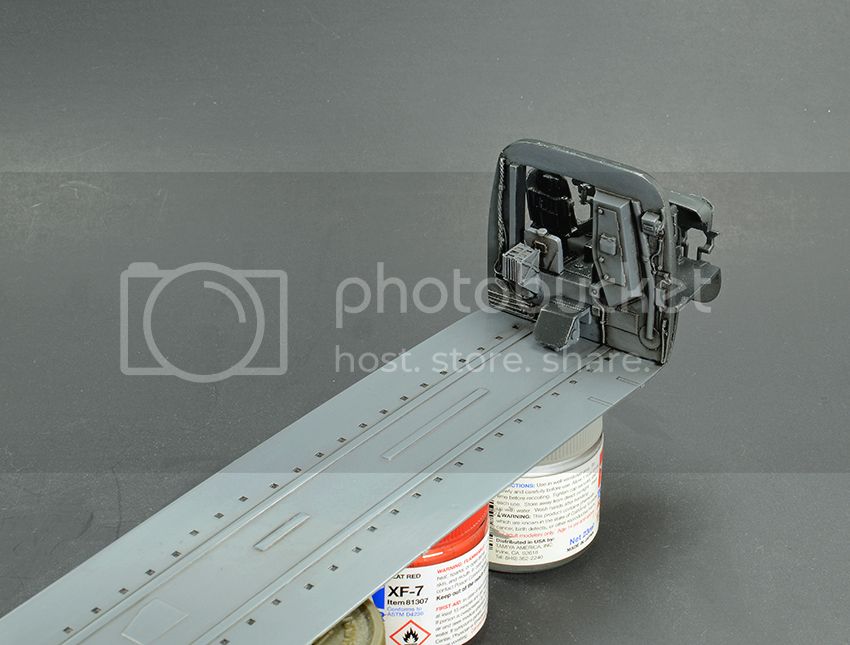
Posted: Tuesday, July 07, 2015 - 05:08 AM UTC
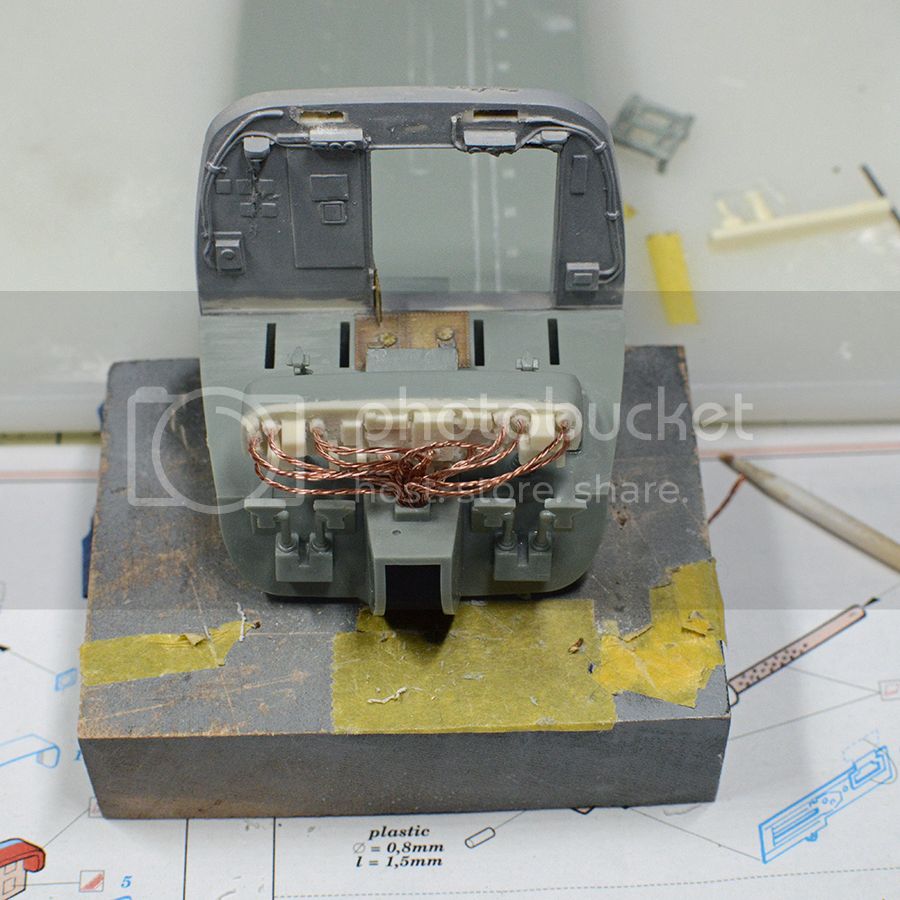
I did some dry brushing .
Try to lighten top of the IP for some fade look . Not sure how that came out , but I tried
I sprayed the rear cargo floor . Still needs weathering here . . I still have cargo crates to paint for this area .
Enjoy
Rick
Alabama, United States
Joined: December 16, 2014
KitMaker: 121 posts
AeroScale: 85 posts
Posted: Tuesday, July 07, 2015 - 05:09 AM UTC
I applied alclad aqua gloss several days ago . Yesterday I applied 502 MIG Oil weathering black and brown mix oil paste colors and thinned with MIG Productions Odorless Turpentine . i really like . I let that still for a day . .Tomorrow I will respray with Alclad or vallejo Matt clear ..
Enjoy
Rick

Alabama, United States
Joined: December 16, 2014
KitMaker: 121 posts
AeroScale: 85 posts
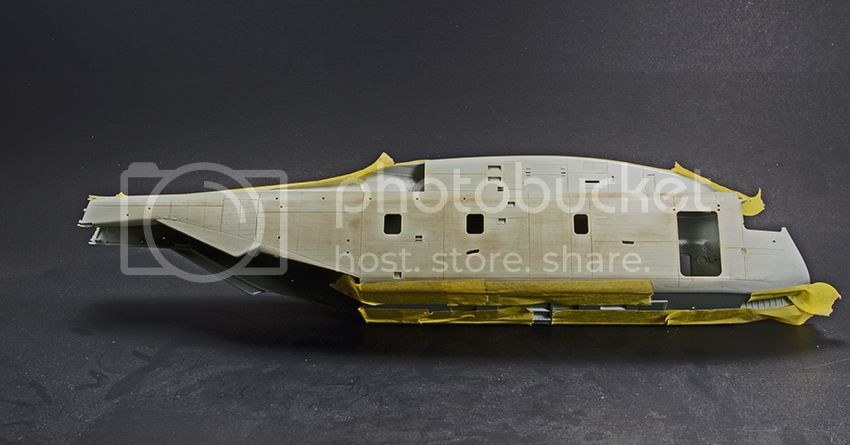
Posted: Tuesday, July 07, 2015 - 05:17 AM UTC
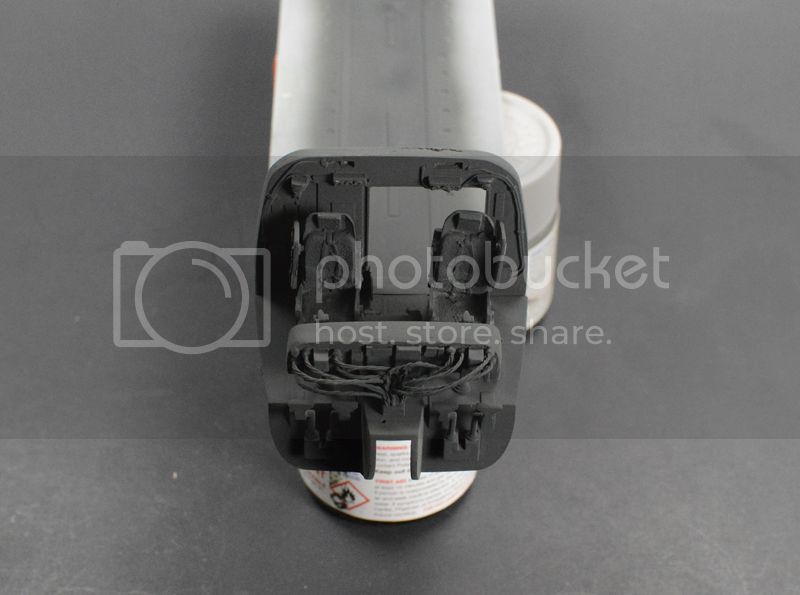
I'm finishing up the headliner .Not spending a lot on interior , due to may never be seen .
Almost ready to prime .
Enjoy
Rick

Alabama, United States
Joined: December 16, 2014
KitMaker: 121 posts
AeroScale: 85 posts
Posted: Tuesday, July 07, 2015 - 05:20 AM UTC
I applied alclad aqua gloss let that sit for several days .
I applied 502 MIG Oil weathering black and brown mix oil paste colors and thinned with MIG Productions Odorless Turpentine . i really like . I let that still for a bit
Enjoy
Rick
Alabama, United States
Joined: December 16, 2014
KitMaker: 121 posts
AeroScale: 85 posts
Posted: Tuesday, July 07, 2015 - 05:21 AM UTC
I have the floor Clear Matt coat and top or headliner ..
Still need to install photo etch seatbelts .
i also try to fade the front area
Enjoy
Rick
Top headliner
Rear cargo area
Alabama, United States
Joined: December 16, 2014
KitMaker: 121 posts
AeroScale: 85 posts
Posted: Tuesday, July 07, 2015 - 05:22 AM UTC
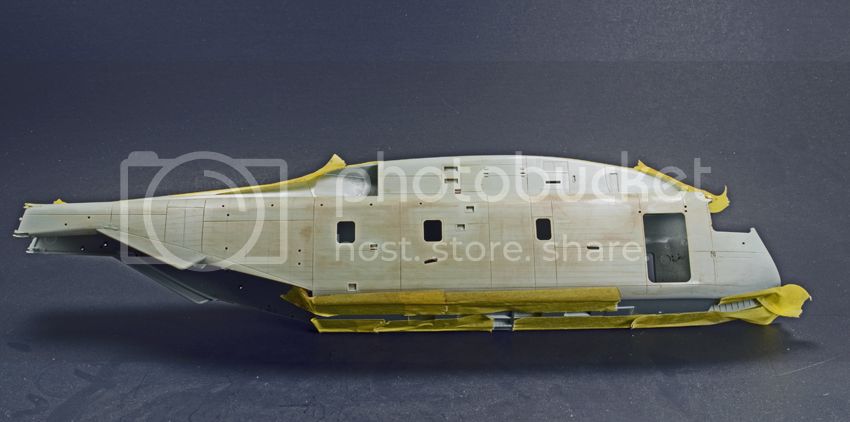
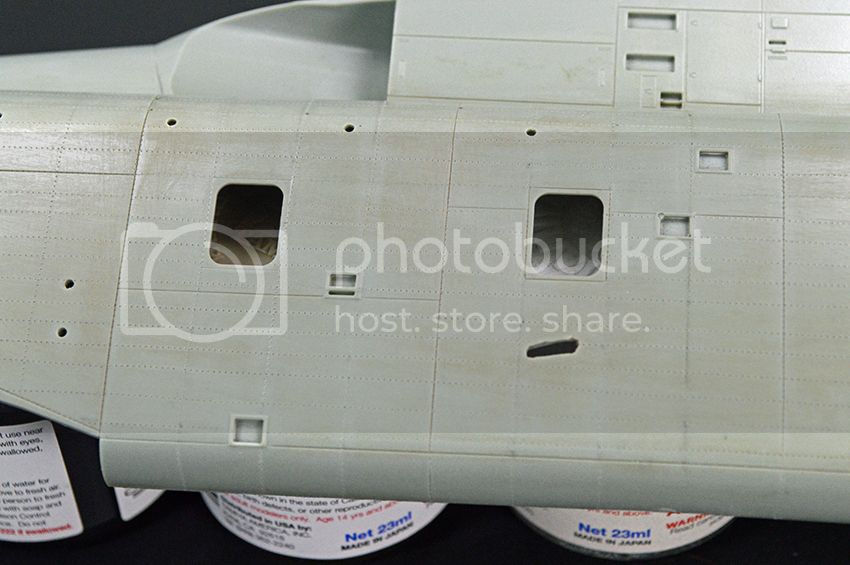
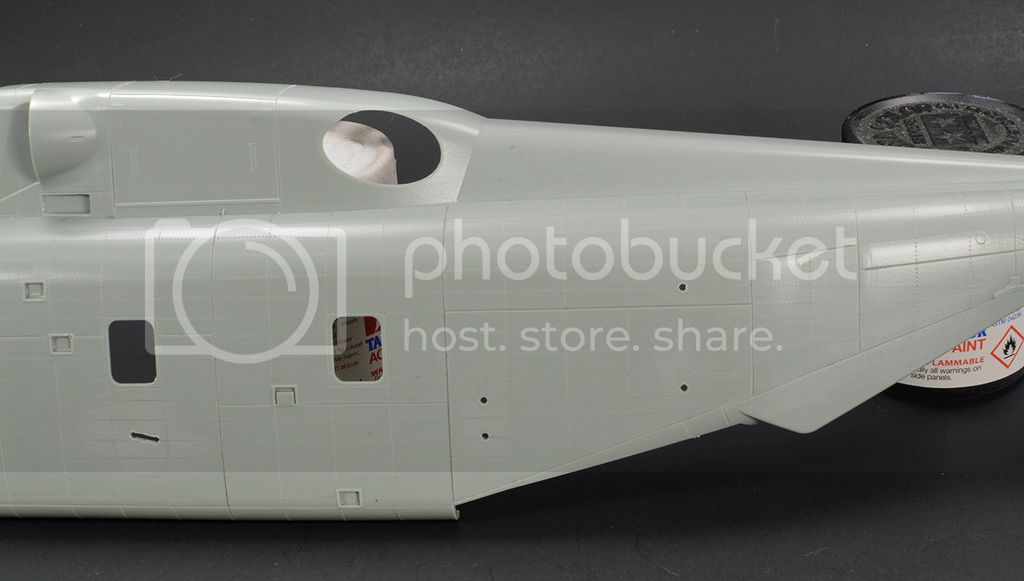
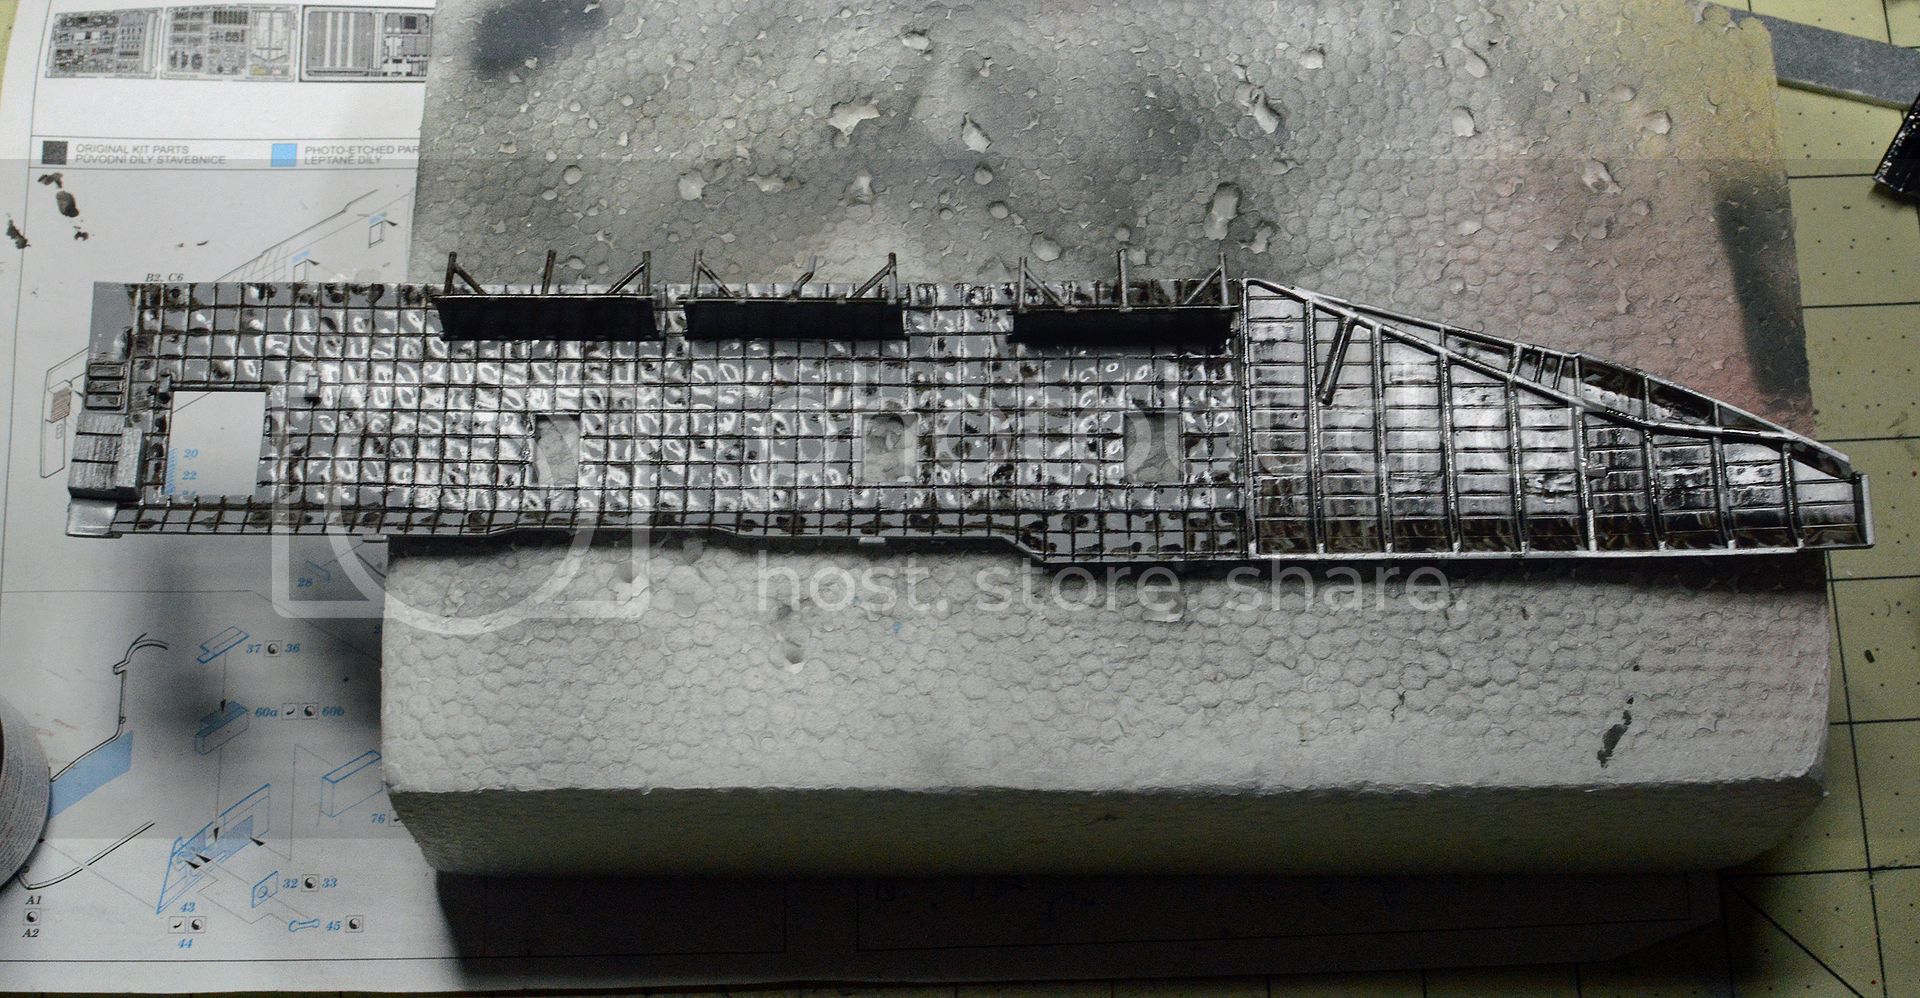
I started the outside body rivet process . This model has no rivets . This bird has a lot rivets . Only issue I see with this model . No problem
I'm not sure if my rivet tool is right size , but its for 1/48 scale . I was not going to order a new rivet tool .
I had to use chalk to high light the rivets , so excuse me for the miss . I have washed off the chalk
Enjoy
Rick
Alabama, United States
Joined: December 16, 2014
KitMaker: 121 posts
AeroScale: 85 posts
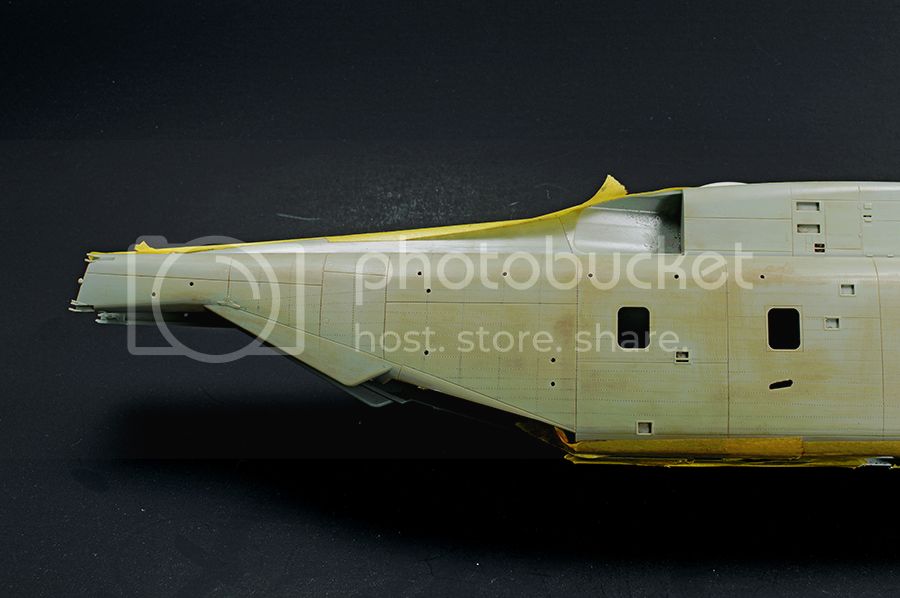
Posted: Tuesday, July 07, 2015 - 05:26 AM UTC
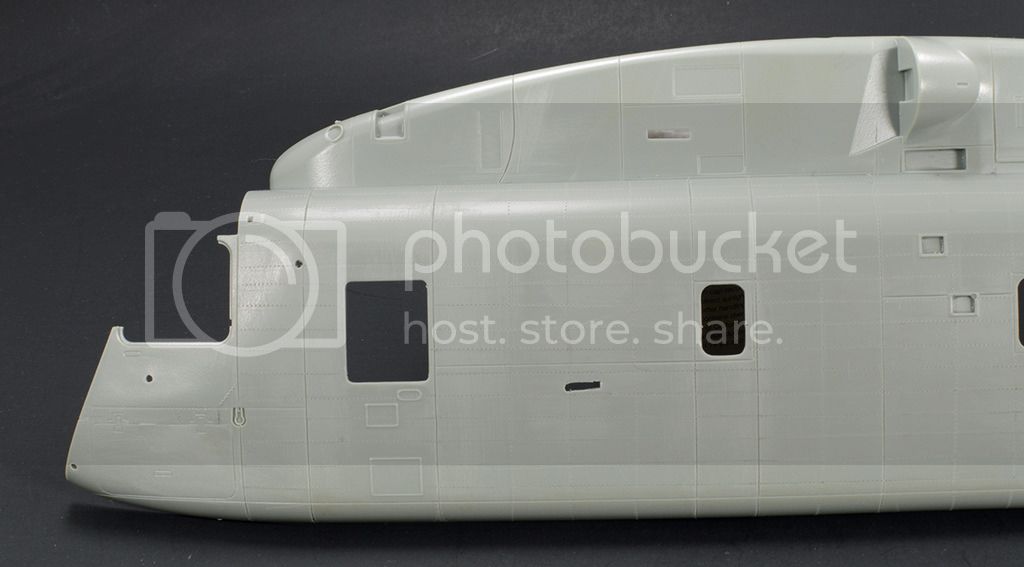
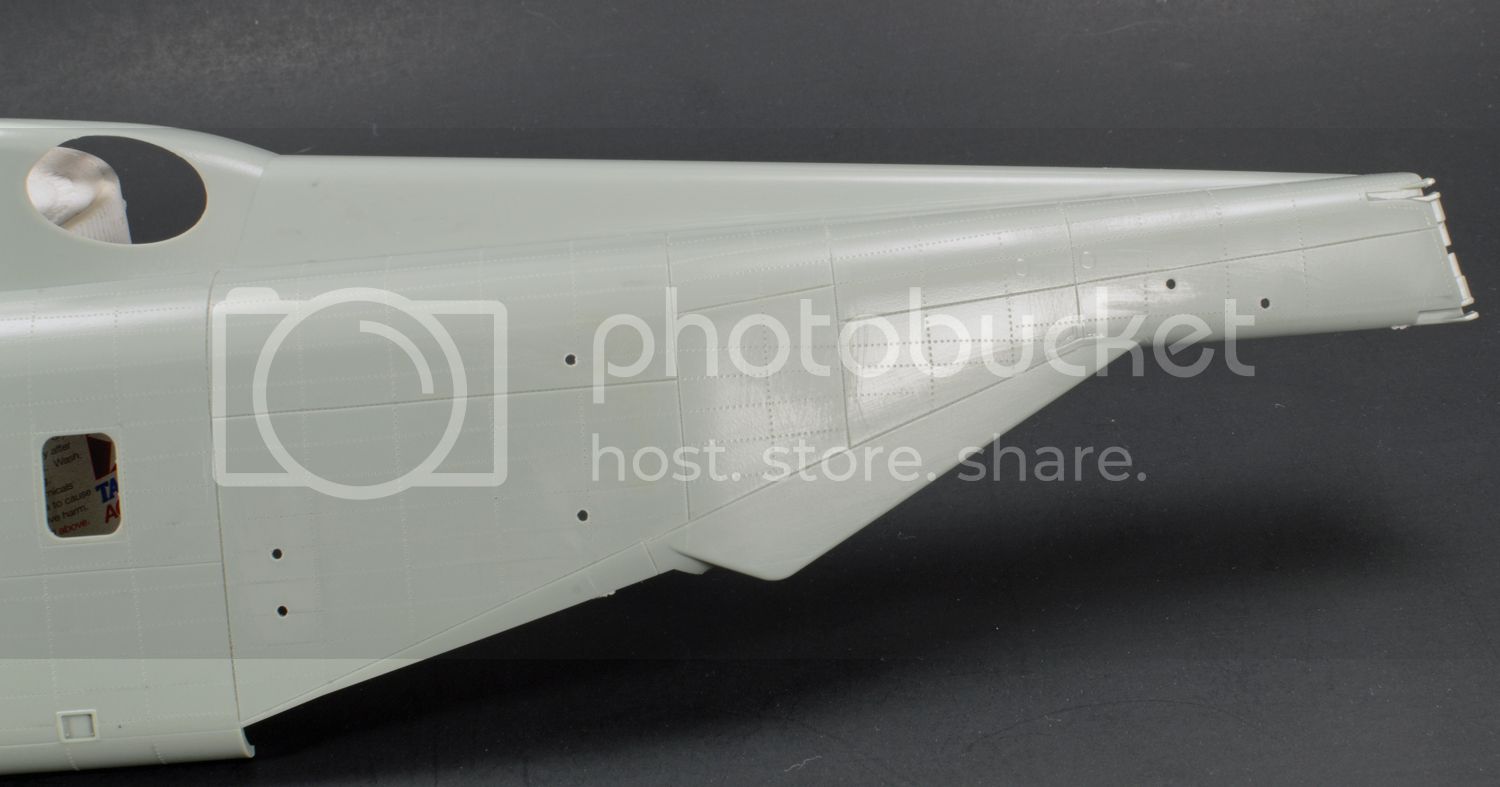
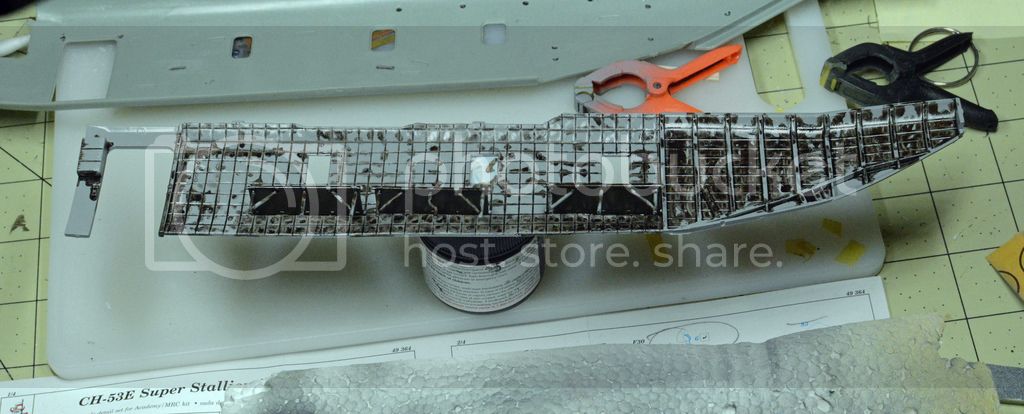
I finished only right side body of my rivet project . Still have bottom top and left side . This is a long process . Eyes do get tried .I cleaned the body up
So far it looking pretty good .
Enjoy
Rick
European Union
Joined: September 28, 2004
KitMaker: 2,186 posts
AeroScale: 1,587 posts
Posted: Tuesday, July 07, 2015 - 01:07 PM UTC
Hai,
You certainly go for detail.
I'll watch this with interest as I have such monster in my stash as well

The mission: Beat the stash.
Almost conquered: MIG-29, Blackhawk, Skyray, Skyraider, fouga
Main battle:Demon, Skyhawk, F-14, CH-53
Stash reserve:Blackhawk, CH-46, 47 en 53; SU-7, Eurofighter, mohawk, hellcat, F-16D, 6x Fouga Magister, Voodoo
England - East Anglia, United Kingdom
Joined: April 14, 2015
KitMaker: 188 posts
AeroScale: 2 posts
Posted: Tuesday, July 07, 2015 - 03:13 PM UTC
this is looking cracking

Texas, United States
Joined: May 27, 2009
KitMaker: 1,293 posts
AeroScale: 1,072 posts
Posted: Tuesday, July 07, 2015 - 07:12 PM UTC
Great job so far, I will be watching this build for sure.
Doug
England - South East, United Kingdom
Joined: September 15, 2004
KitMaker: 4,728 posts
AeroScale: 1,351 posts
Posted: Tuesday, July 07, 2015 - 10:20 PM UTC
Looking good so far Rick, I'm going to follow along and take notes as I have one of these beasts in the stash.
On the bench...
Italeri A129 Mangusta
British Bulldog Spitfire theme build
Alabama, United States
Joined: December 16, 2014
KitMaker: 121 posts
AeroScale: 85 posts
Posted: Thursday, July 09, 2015 - 01:10 AM UTC
Thank you all
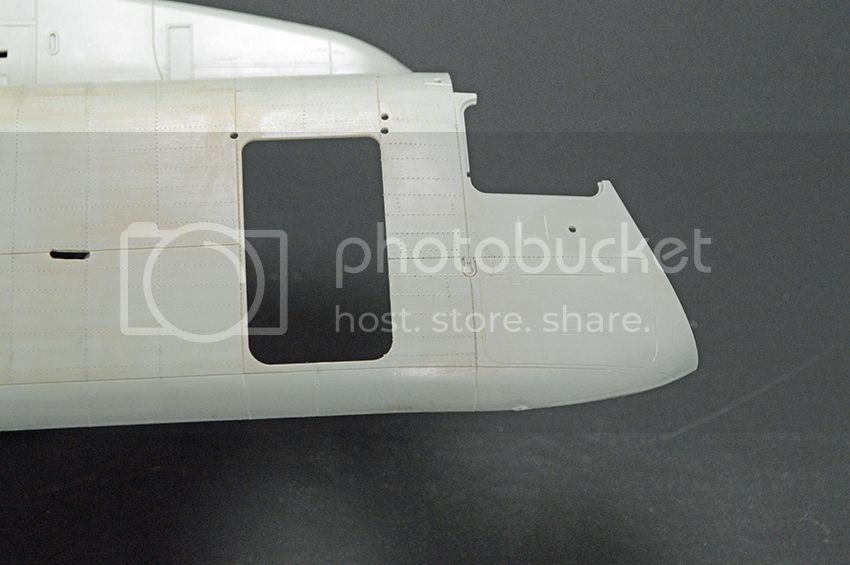
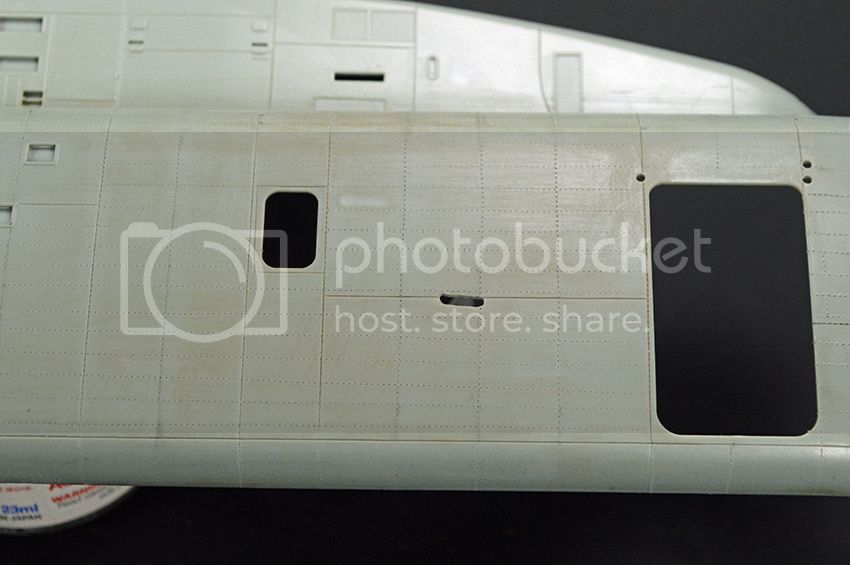
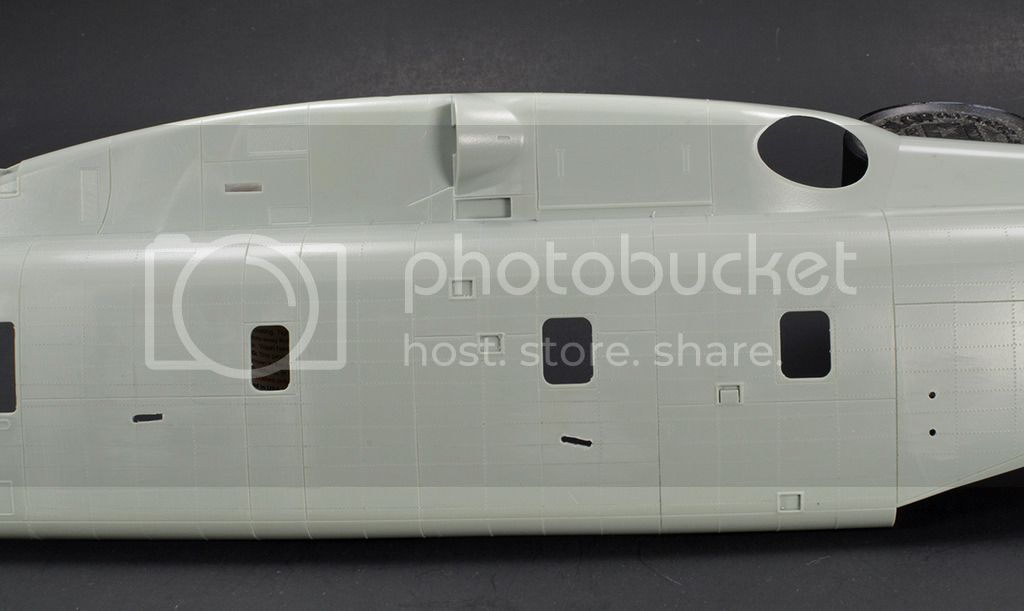
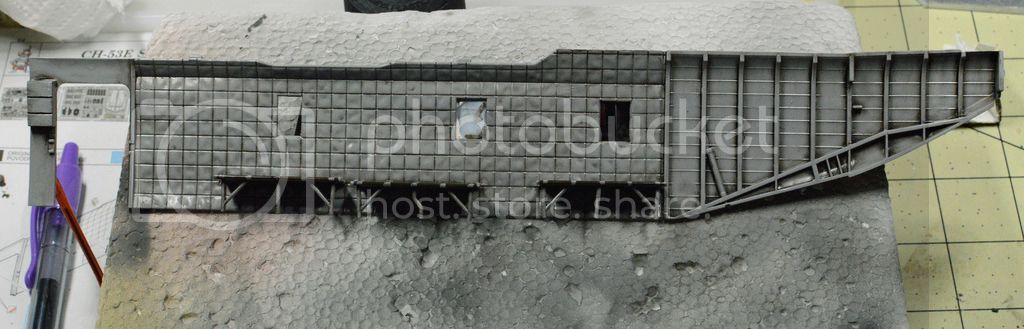
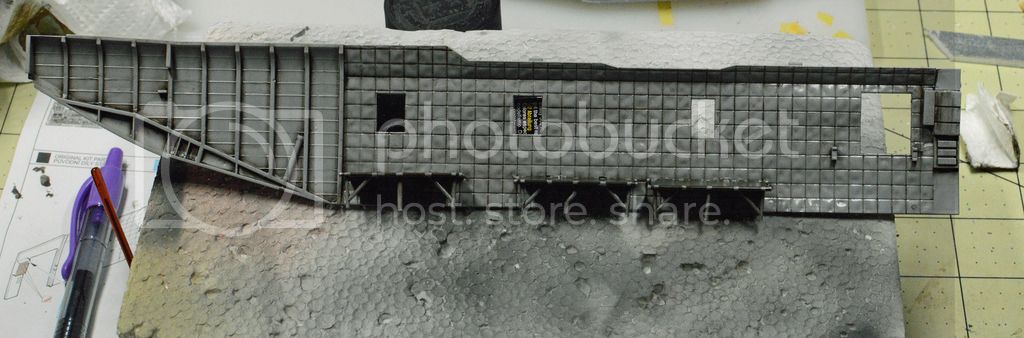
The left side finished the rivets .. I will need to finish the interior now ..
Enjoy
Rick
Alabama, United States
Joined: December 16, 2014
KitMaker: 121 posts
AeroScale: 85 posts
Posted: Saturday, July 11, 2015 - 08:56 PM UTC
I have the cargo area seats installed and gloss clear coat . I will let this set for couple days , then use Mig oils to weather it up a tab bit
Then i will install seat belts and some case of Cokes and Mt Dews .
Enjoy
Rick
Alabama, United States
Joined: December 16, 2014
KitMaker: 121 posts
AeroScale: 85 posts
Posted: Monday, July 13, 2015 - 04:25 AM UTC
I laid down some Mig oil this morning .
this evening I cleaned up little bit . I will let this set for day or two . Then spray some matt clear ..
Enjoy
Rick
this morning
This evening
Alabama, United States
Joined: December 16, 2014
KitMaker: 121 posts
AeroScale: 85 posts
Posted: Wednesday, July 15, 2015 - 04:28 PM UTC
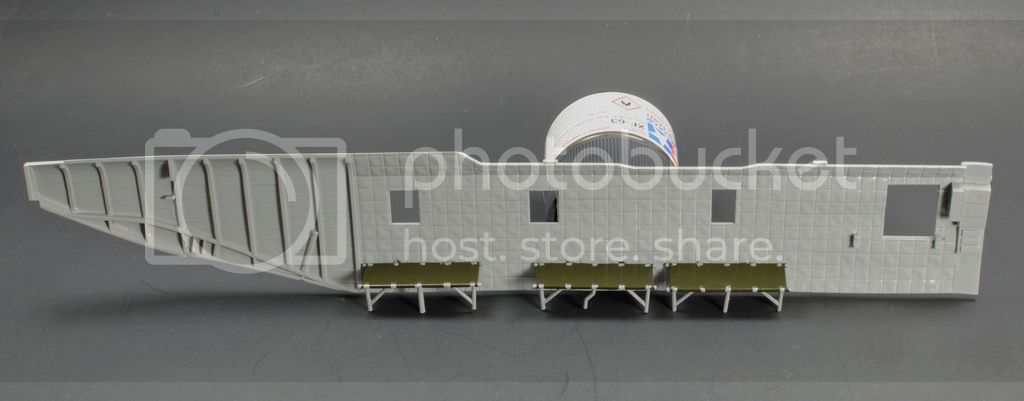
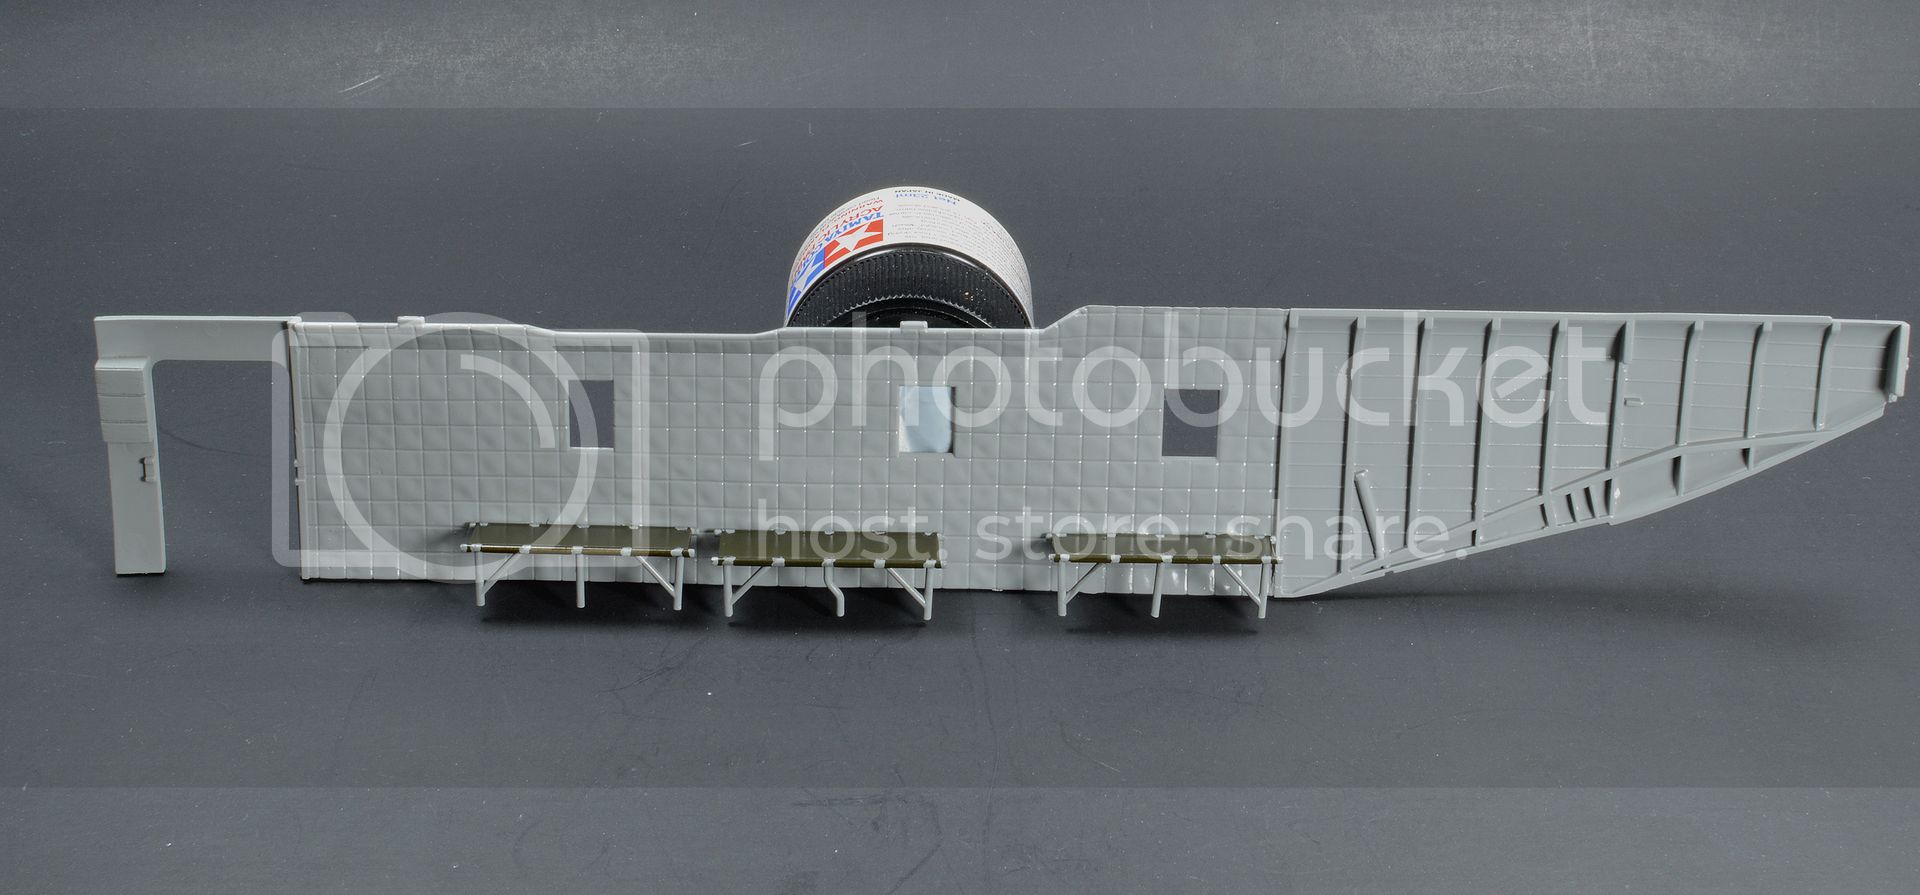
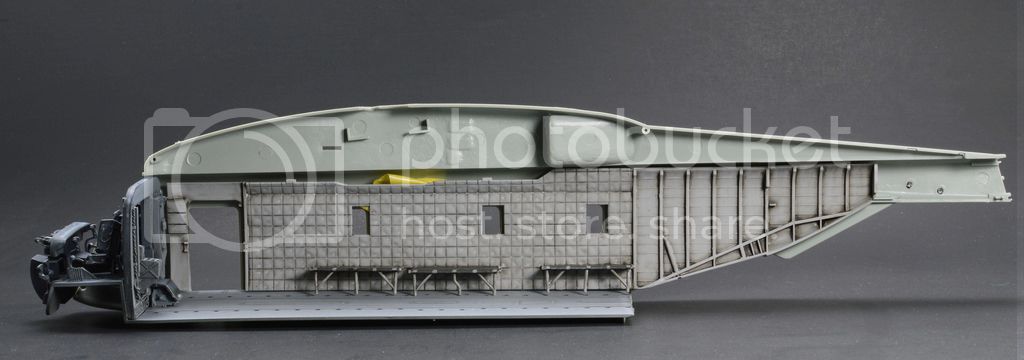
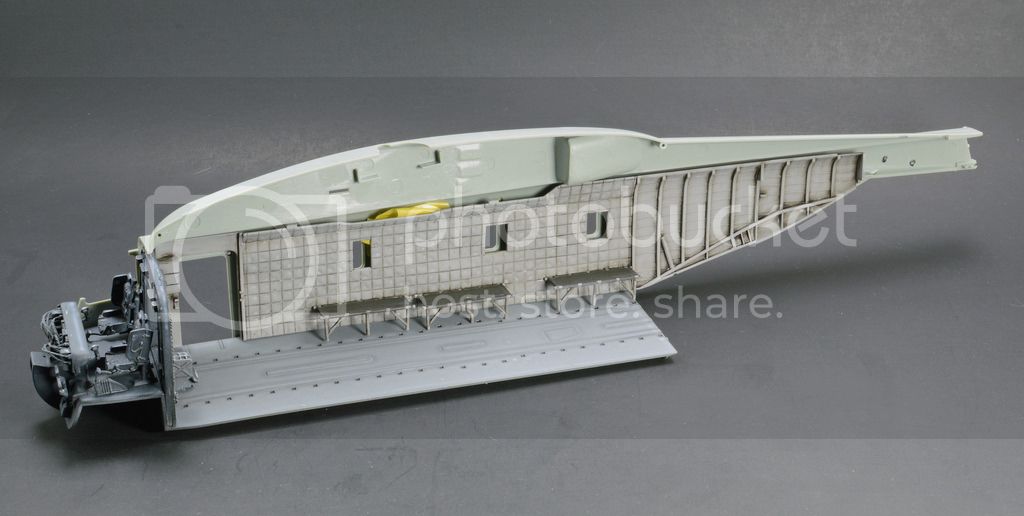
I have the cargo interior walls Mattt Clear coat finished . I mocked up the interior just to see what it look like .
I need to install seat belts, photo etch IP and couple decal labels
Enjoy
Rick
Alabama, United States
Joined: December 16, 2014
KitMaker: 121 posts
AeroScale: 85 posts
Posted: Friday, August 14, 2015 - 07:05 PM UTC
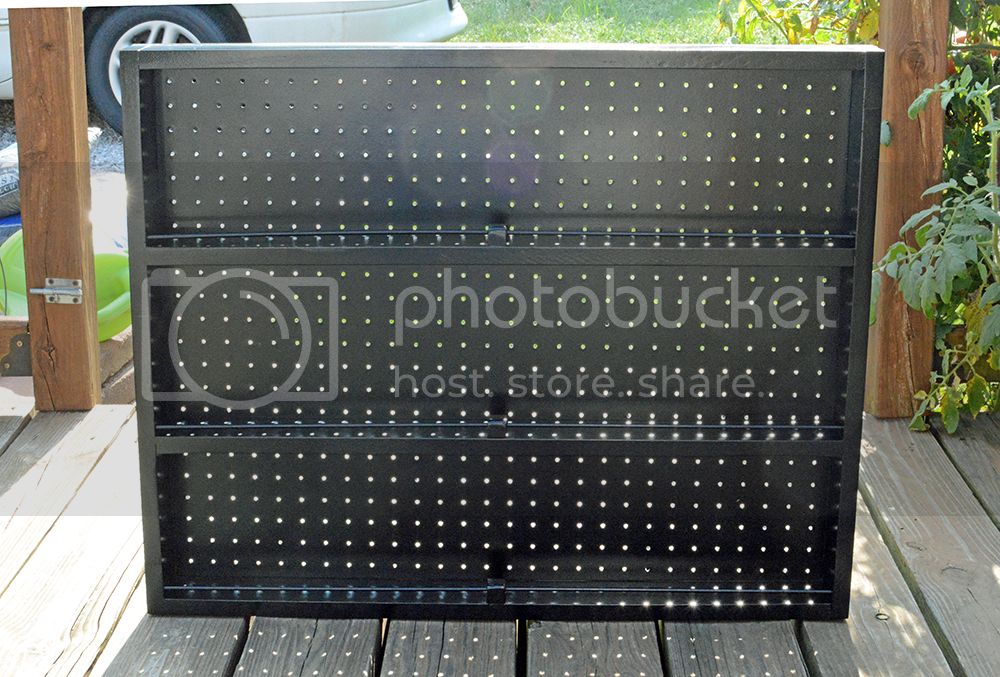
Work has been very busy . But that has slow down a bit .
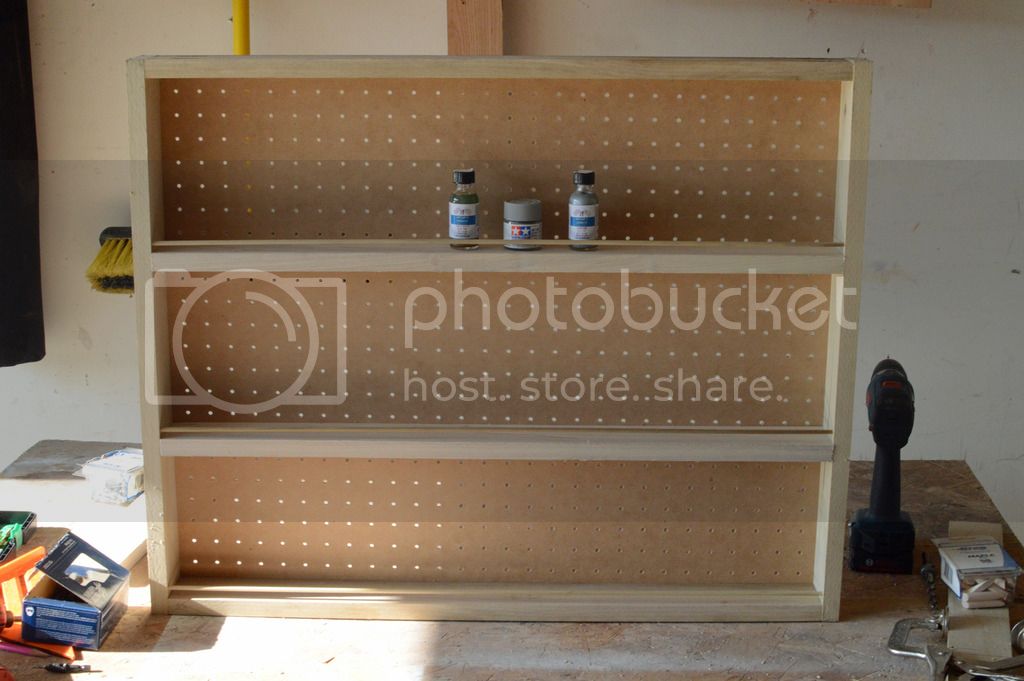
i been working on a paint rack
Here is my paint rack I'm building ..I could not find any paint racks. So I thought , lets build one .
This is a basic rack . I will primer , then paint with enamel black
You can see my two Alclad bottles . That be the pale gold and chrome ..
Rick
Alabama, United States
Joined: December 16, 2014
KitMaker: 121 posts
AeroScale: 85 posts
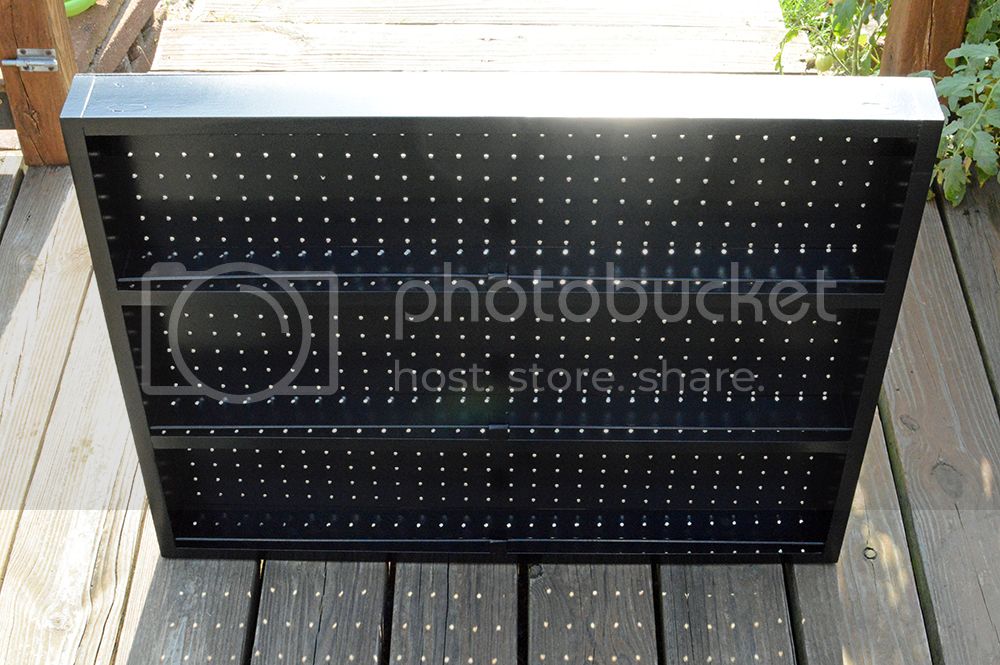
Posted: Friday, August 14, 2015 - 07:06 PM UTC
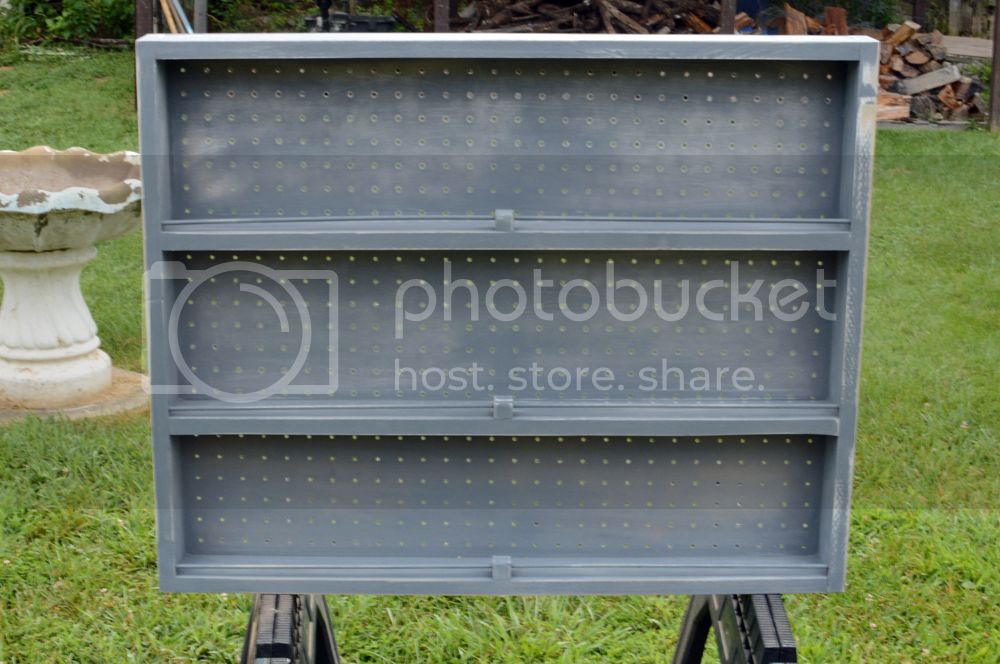
I finished my paint rack yesterday .. I'm going let paint cure for few days before installing this to the wall ..
I use oil base enamel paint , Sprayed this outside with HVLP gun ..
I used scrap wood , only the peg board was new
Rick
Alabama, United States
Joined: December 16, 2014
KitMaker: 121 posts
AeroScale: 85 posts
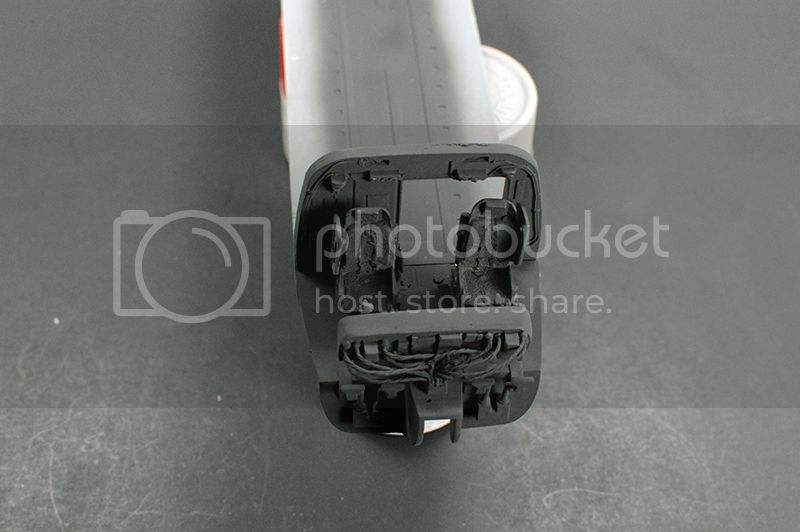
Posted: Tuesday, August 18, 2015 - 01:46 AM UTC
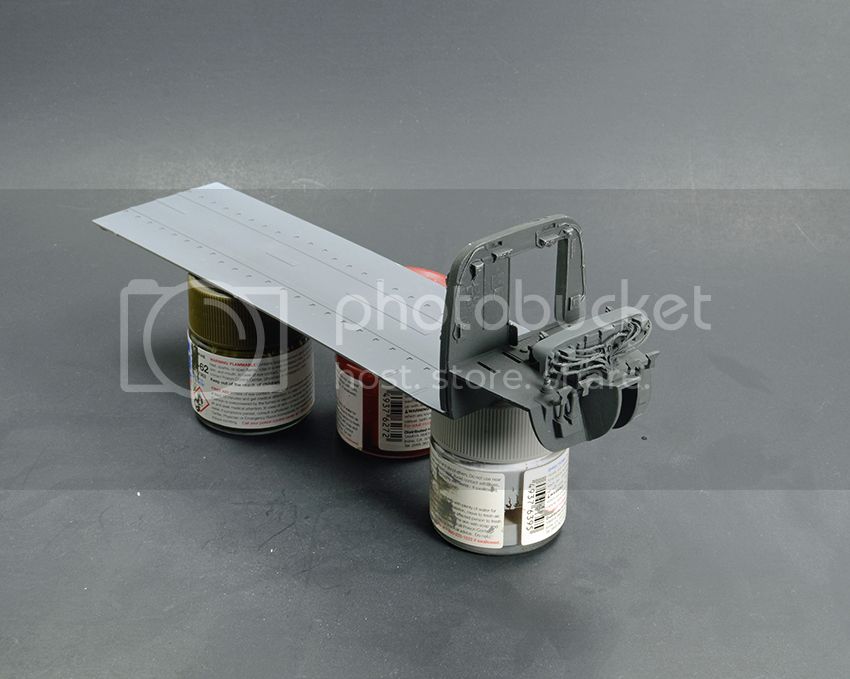
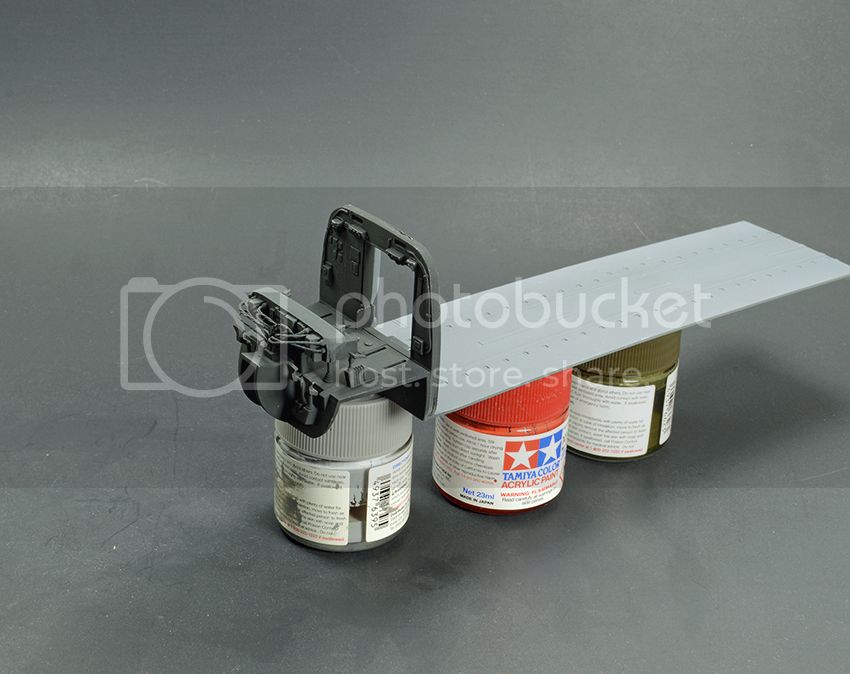
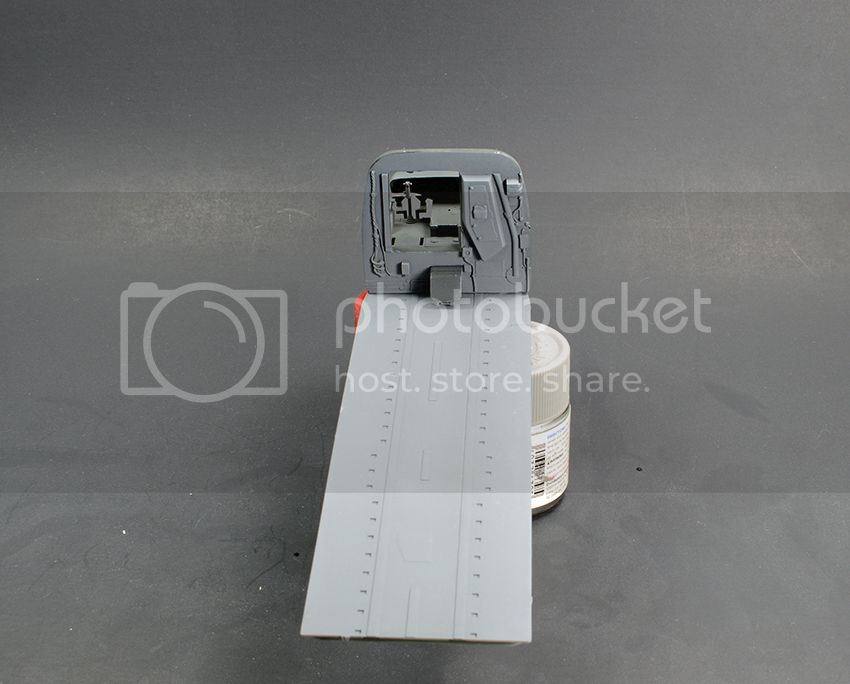
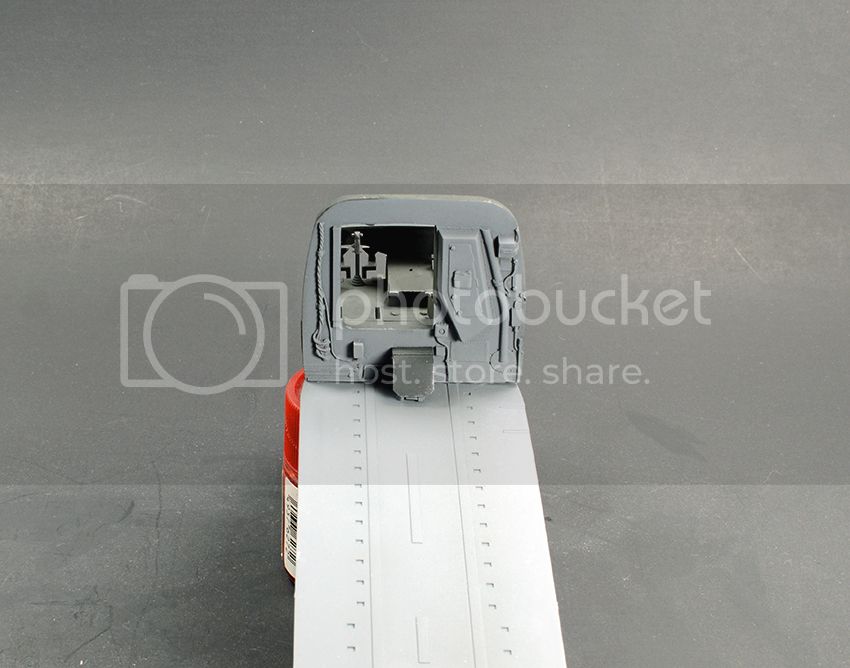
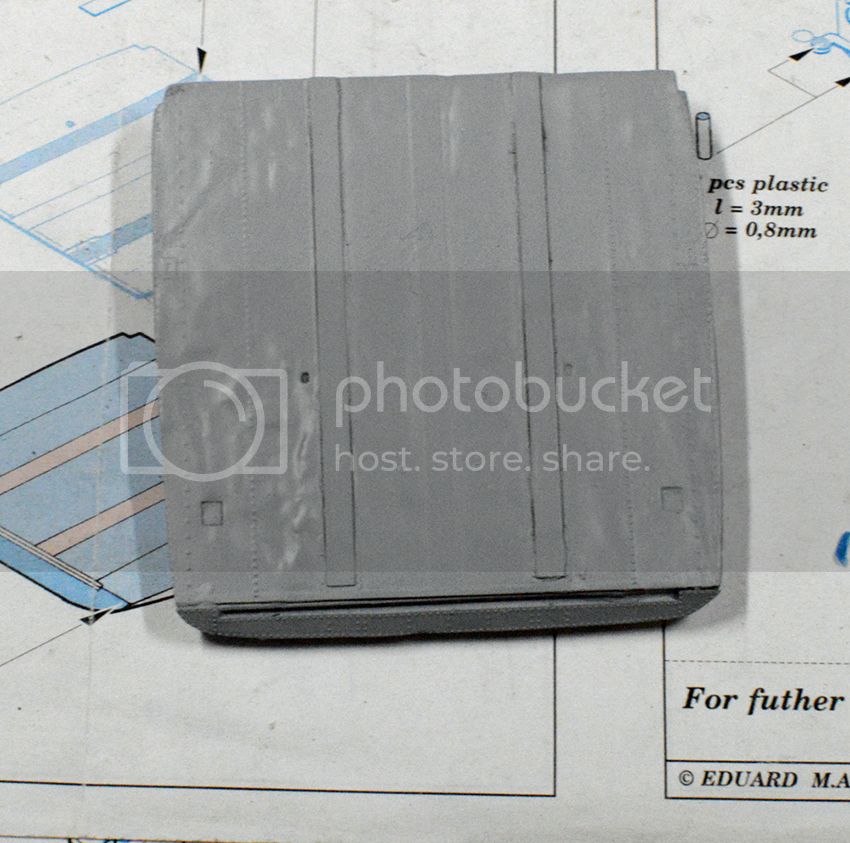
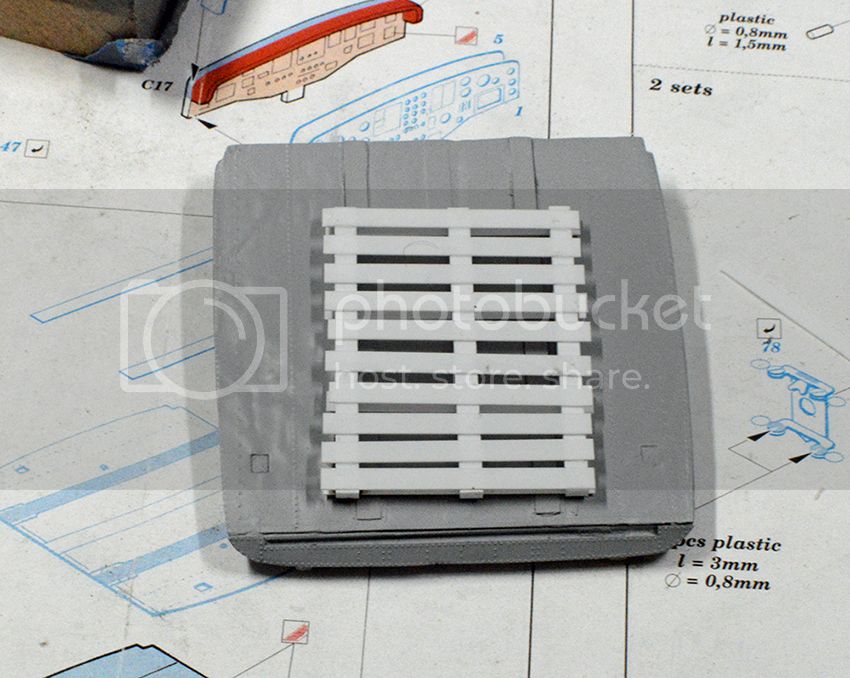
Below is my tailgate that I mess up . I glued photo etch upside down .I removed the photo etch , the part wrinkled . I did not have another replacement part . I glued it back down in the correct direction .
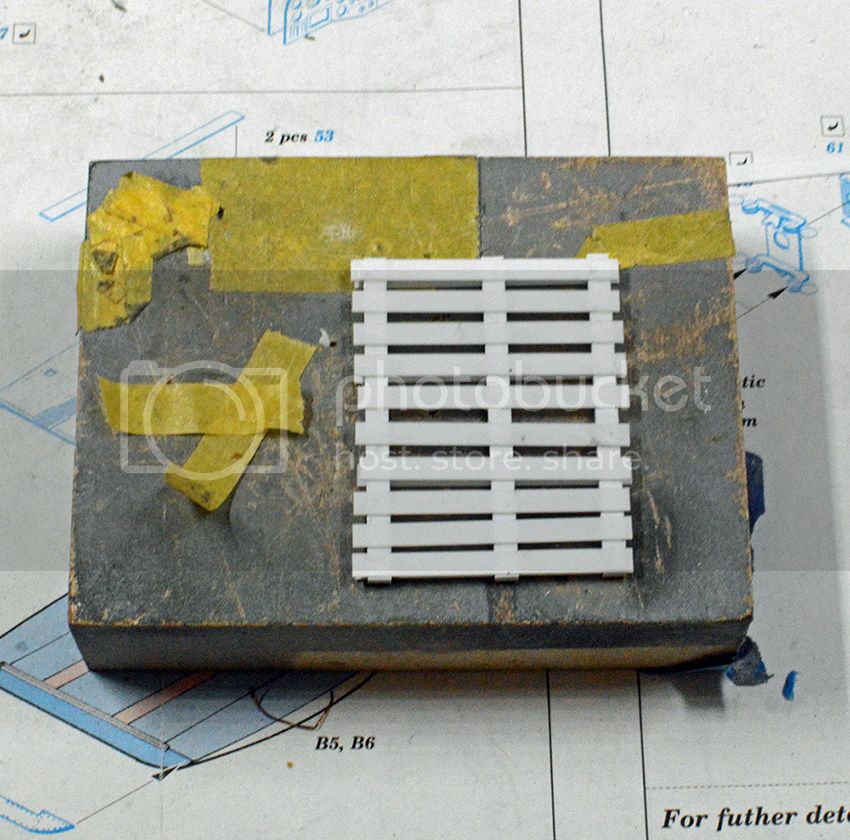
Now I went and built a skid that will hold cases of sodas and water bottles . This will sit on the gate .
Skid not finished yet .
Enjoy
Rick
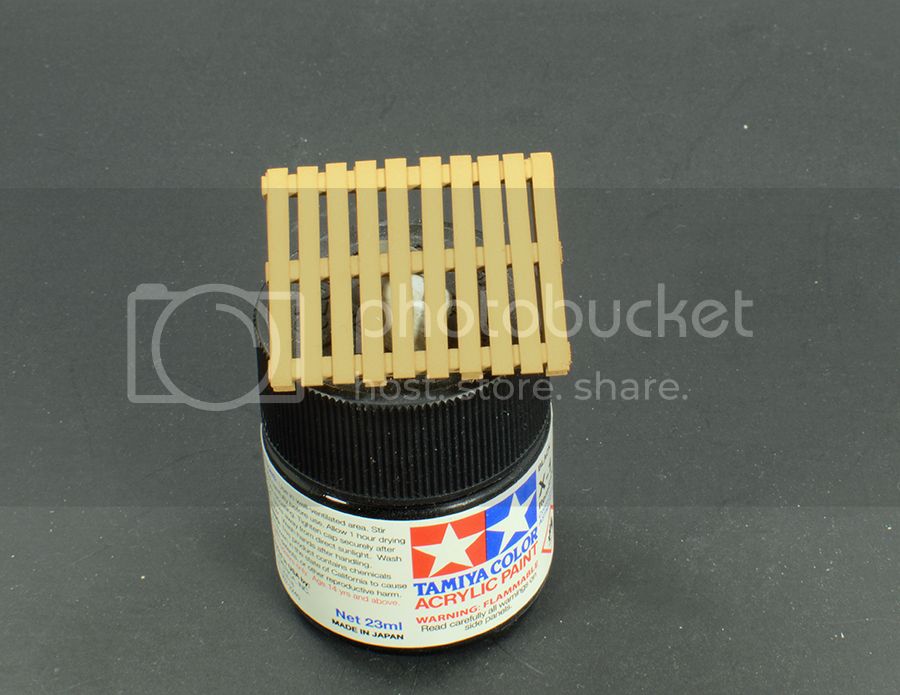
I started the first stage paint job on the skid . Then i will get the wood grain look next stage .
Enjoy
Ric k
Alabama, United States
Joined: December 16, 2014
KitMaker: 121 posts
AeroScale: 85 posts
Posted: Tuesday, August 18, 2015 - 11:05 PM UTC
Here is my skid in the wood look ..
I'm happy with it , now just need to make a lot more soda cases
Enjoy
Rick


