Air Campaigns
Want to start or join a group build? This is where to start.
OFFICIAL: Hot Out Of The Molds II Campaign
noddy927
_VISITCOMMUNITY
Scotland, United Kingdom
Joined: February 15, 2013
KitMaker: 1,273 posts
AeroScale: 200 posts
Posted: Sunday, May 22, 2016 - 12:56 PM UTC
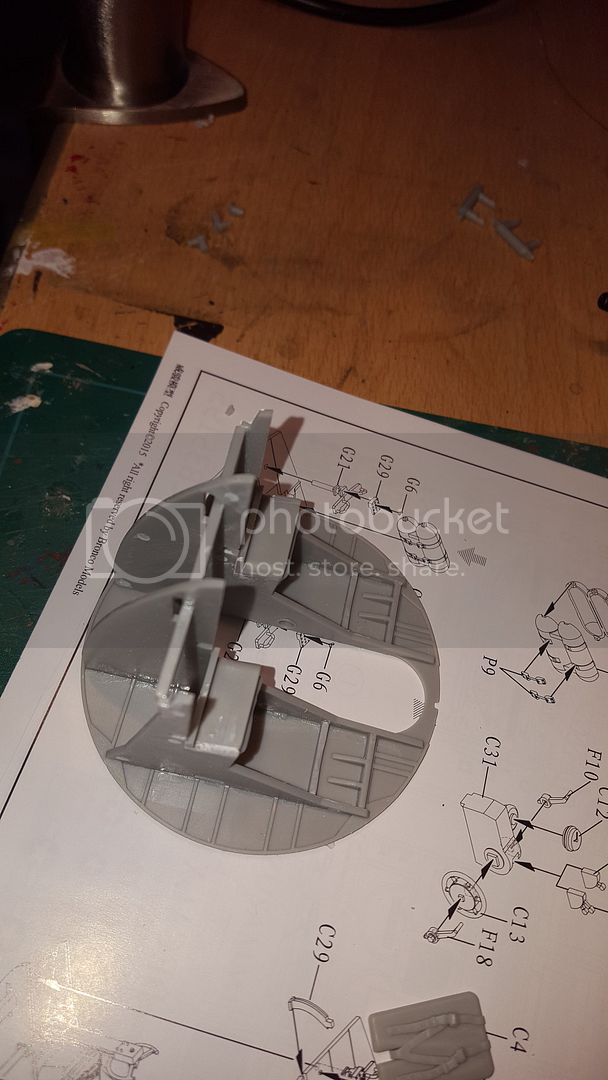
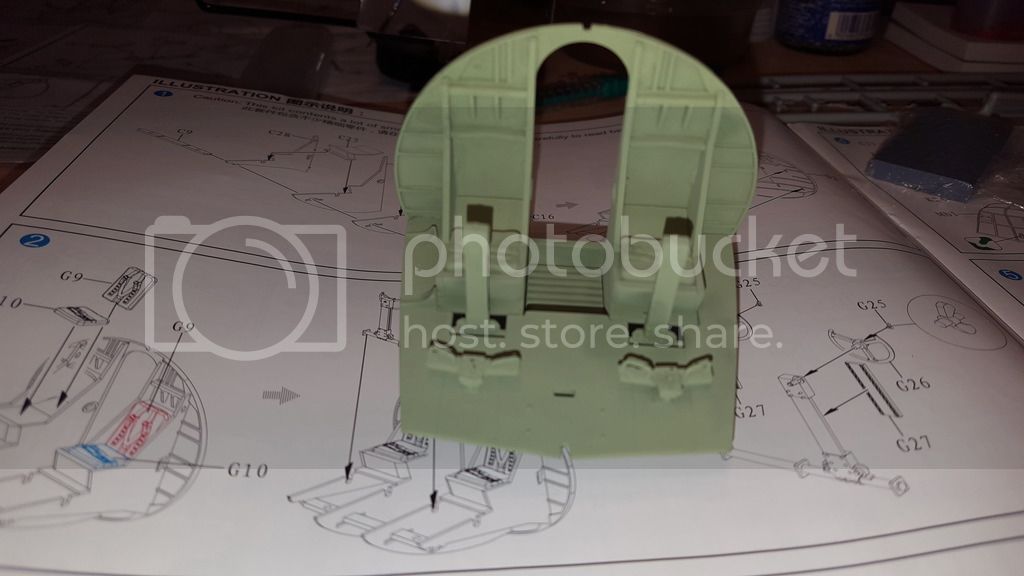
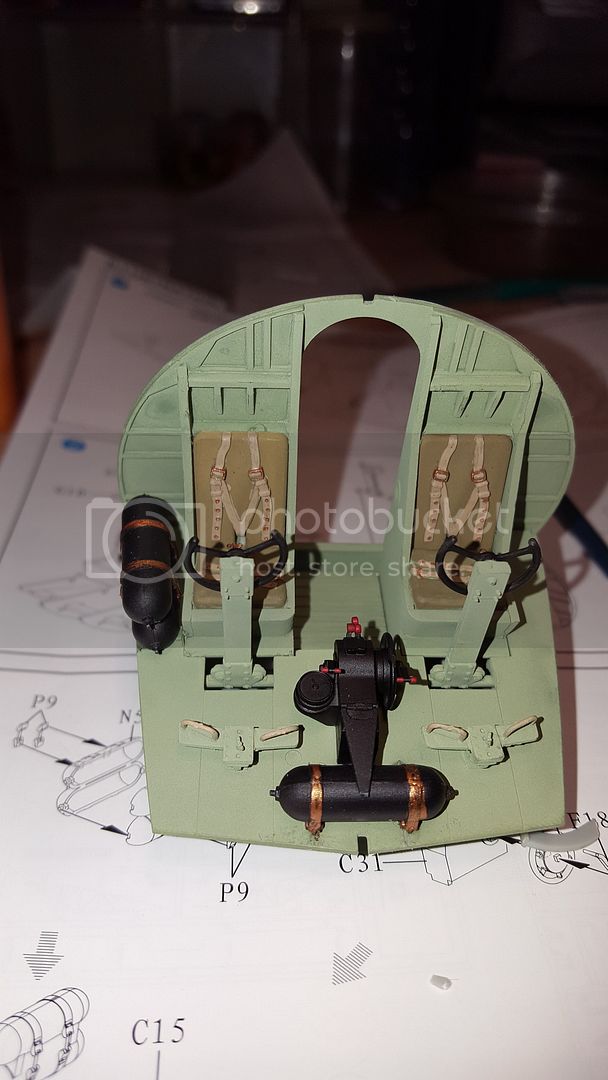
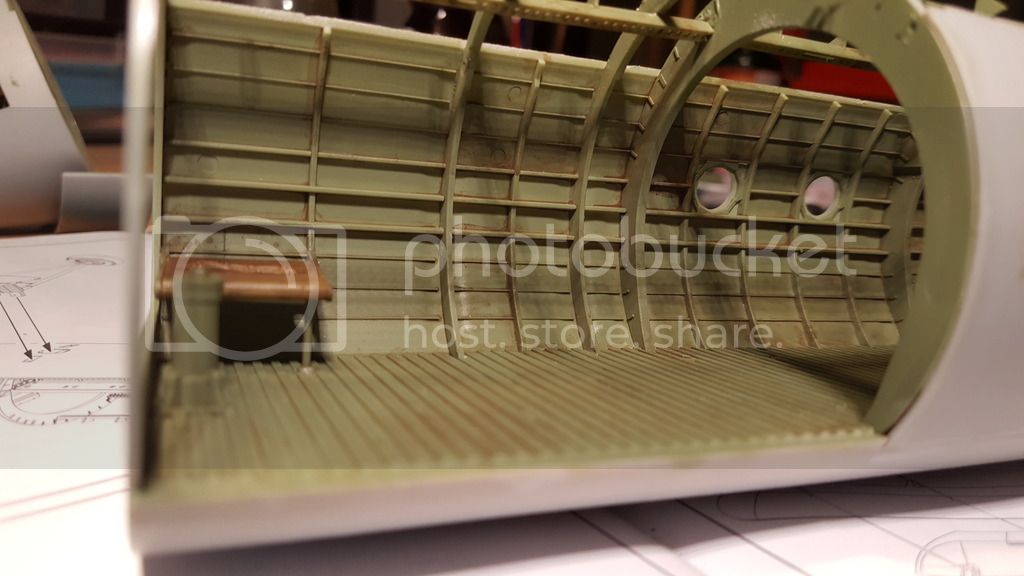
So I made a start on the Horsa Glider. The Pilots office is more or less complete, with paint on too. Needs weathered.


More to follow.

Pete
noddy927
_VISITCOMMUNITY
Scotland, United Kingdom
Joined: February 15, 2013
KitMaker: 1,273 posts
AeroScale: 200 posts
Posted: Sunday, May 22, 2016 - 10:26 PM UTC
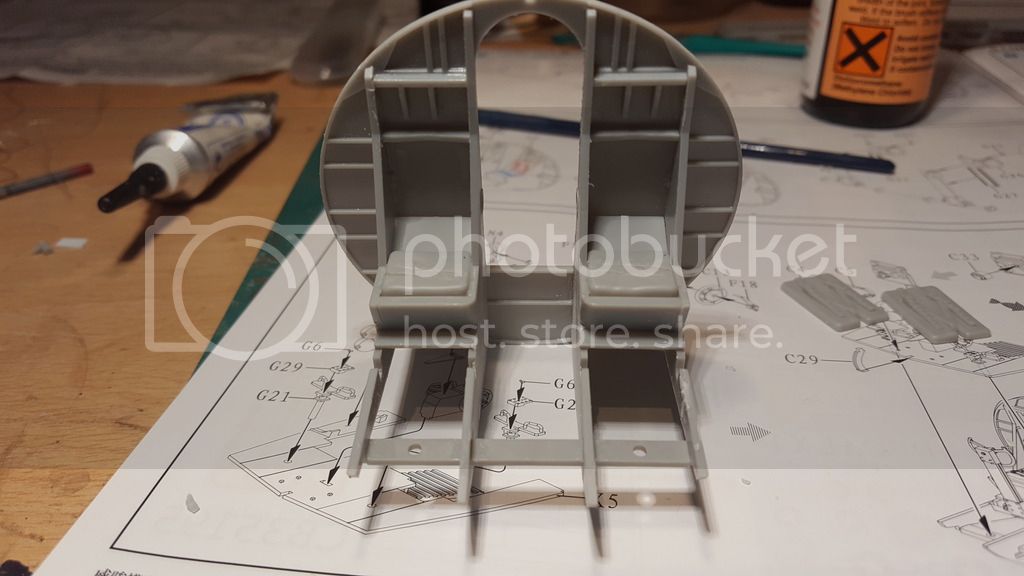
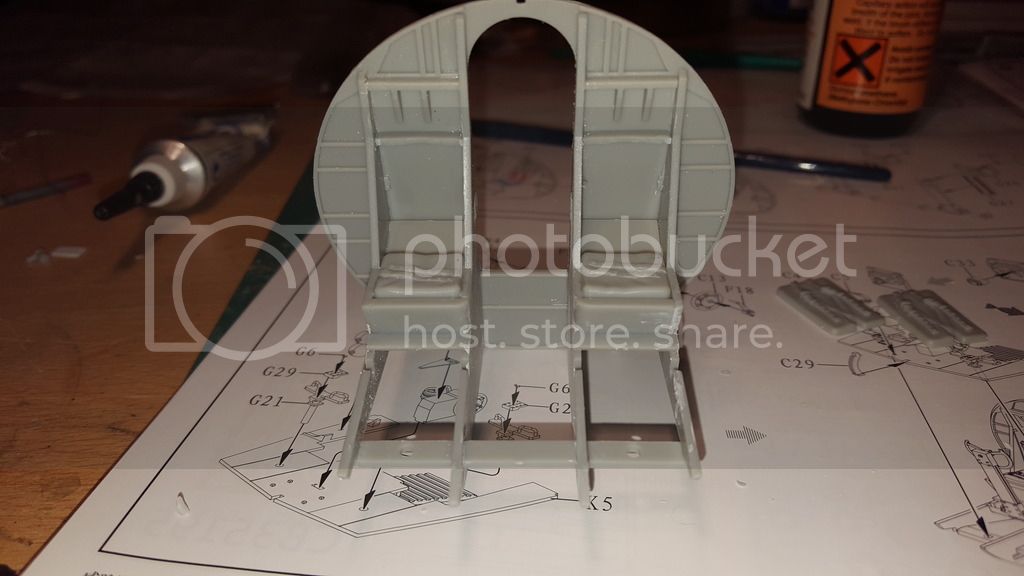
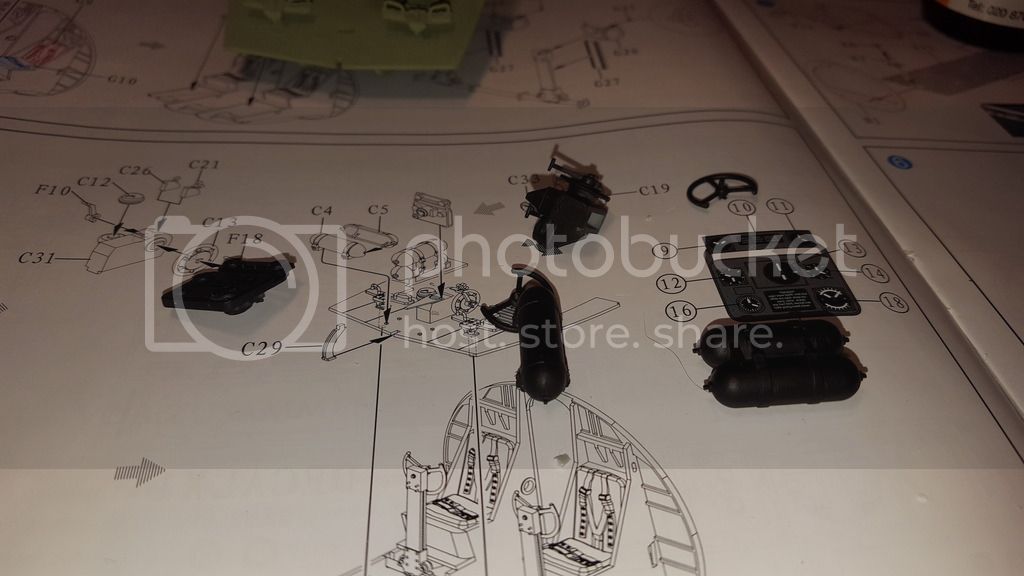
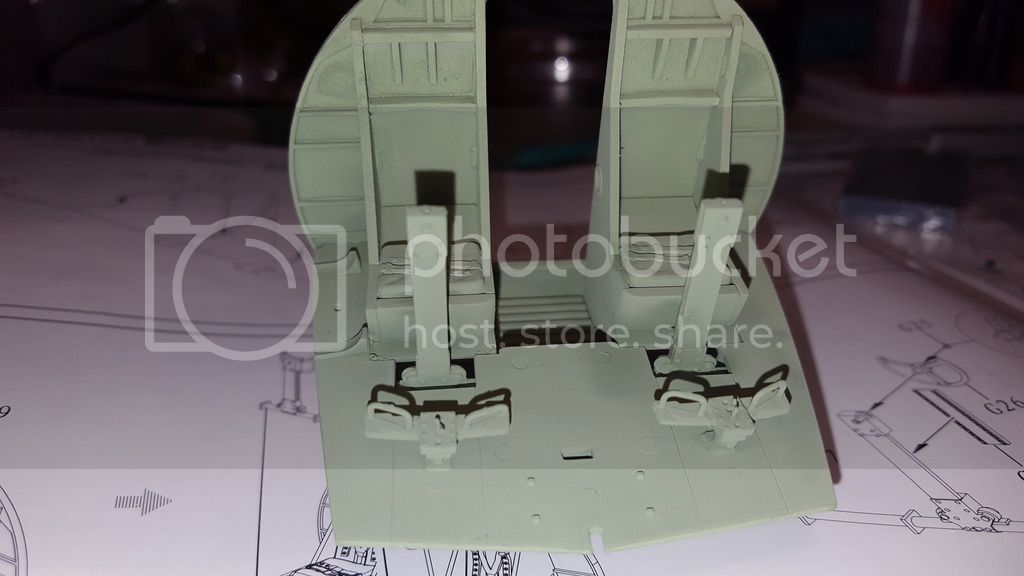
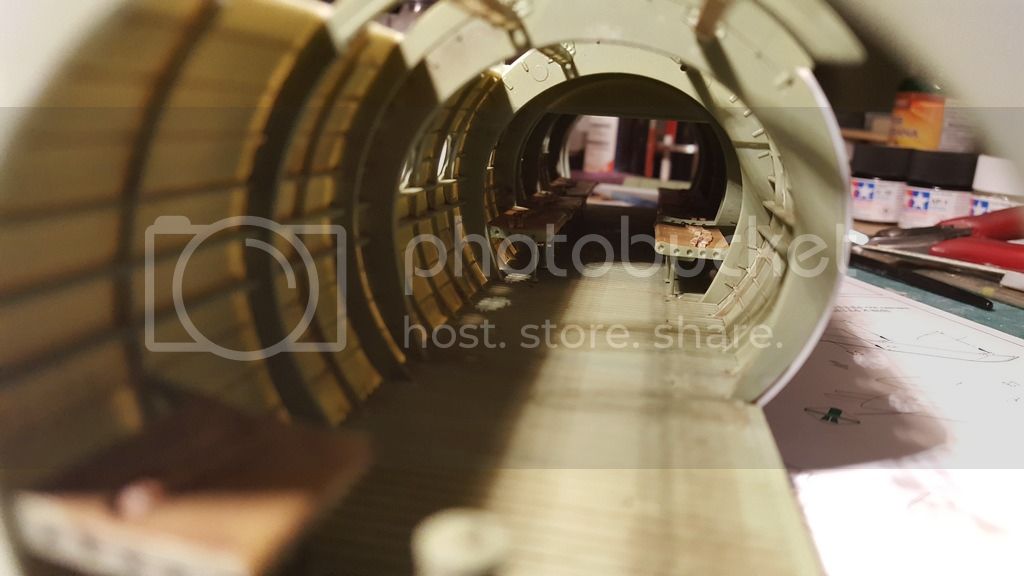
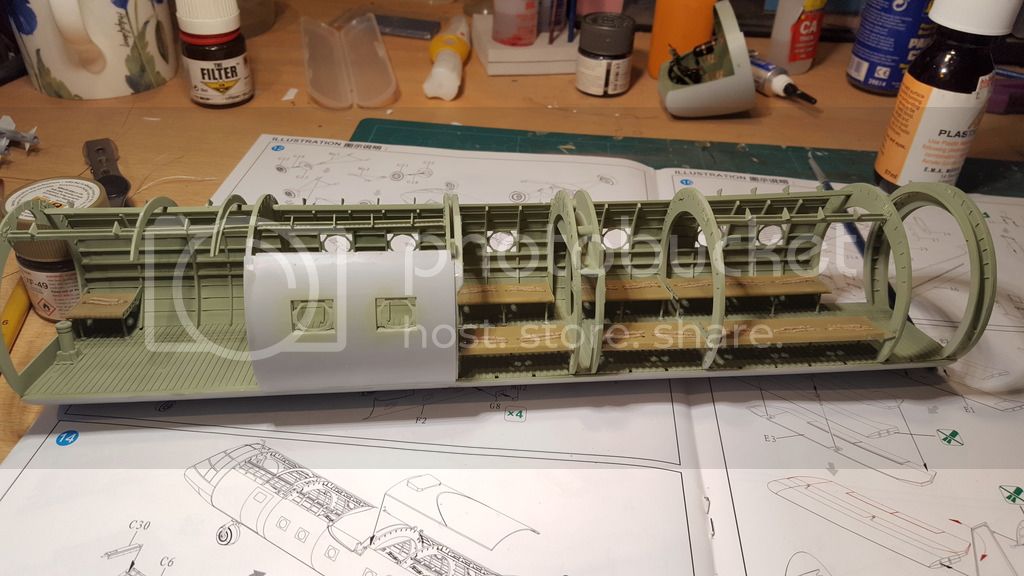
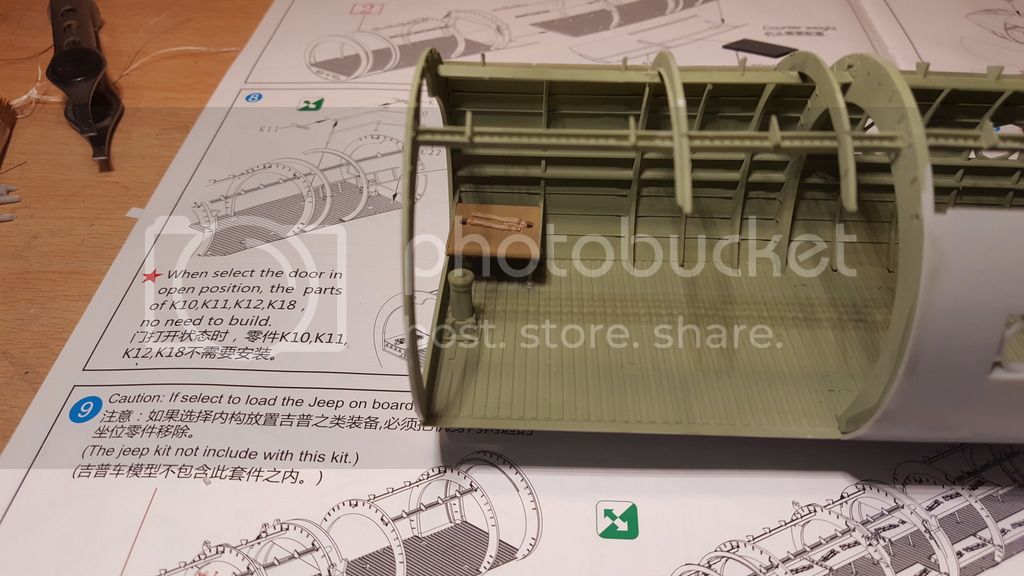
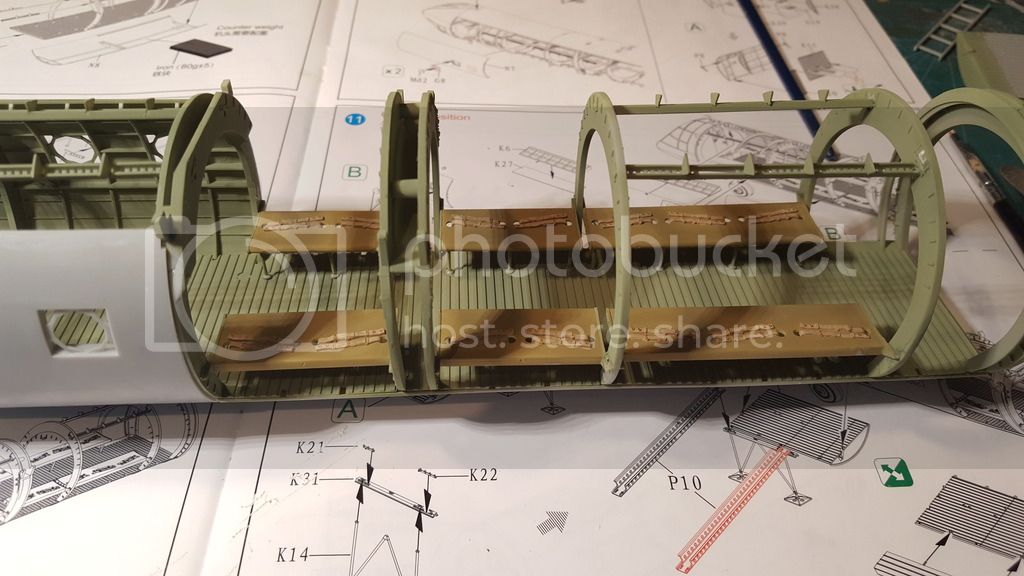
Some more work on the Horsa. The frame for the fusalage and I have weathered the cockpit.


Pete
SGTJKJ
#041
_VISITCOMMUNITY
Kobenhavn, Denmark
Joined: July 20, 2006
KitMaker: 10,069 posts
AeroScale: 3,788 posts
Posted: Monday, May 23, 2016 - 03:29 PM UTC
Looks very nice, Pete.

Looking forward to see more
noddy927
_VISITCOMMUNITY
Scotland, United Kingdom
Joined: February 15, 2013
KitMaker: 1,273 posts
AeroScale: 200 posts
Posted: Tuesday, May 24, 2016 - 03:52 PM UTC
Thanks Jesper
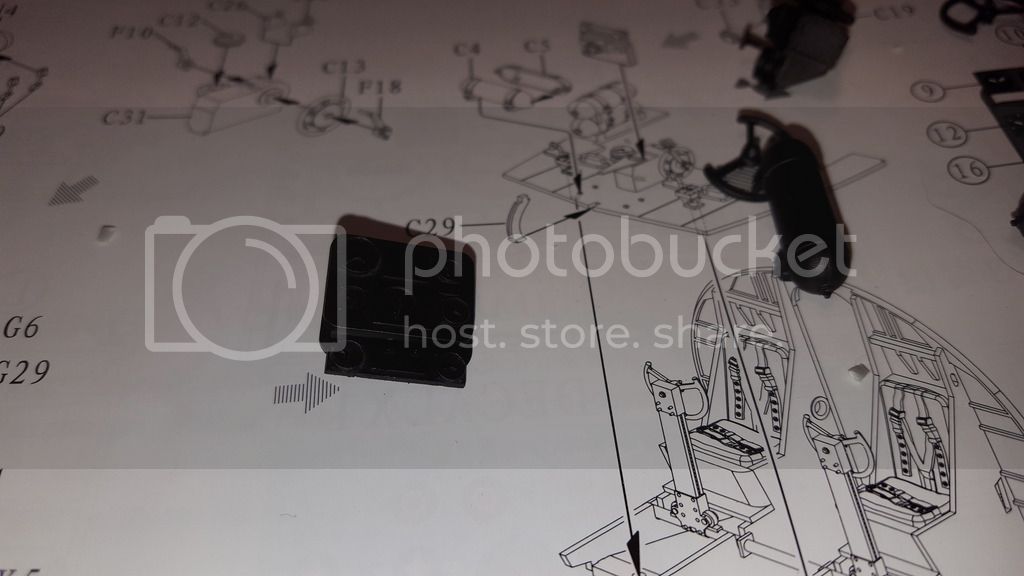
Here is a little more I did yesterday. And some remedial work to the struts as I positioned them wrong.


Its a massive kit and I dont have a clue where to put it once its done.

Pete
BlackWidow
_VISITCOMMUNITY
European Union
Joined: August 09, 2009
KitMaker: 1,732 posts
AeroScale: 1,336 posts
Posted: Wednesday, May 25, 2016 - 03:49 PM UTC
That will become a big bird, Peter. What are the dimensions of the finished kit? The cockpit looks great!
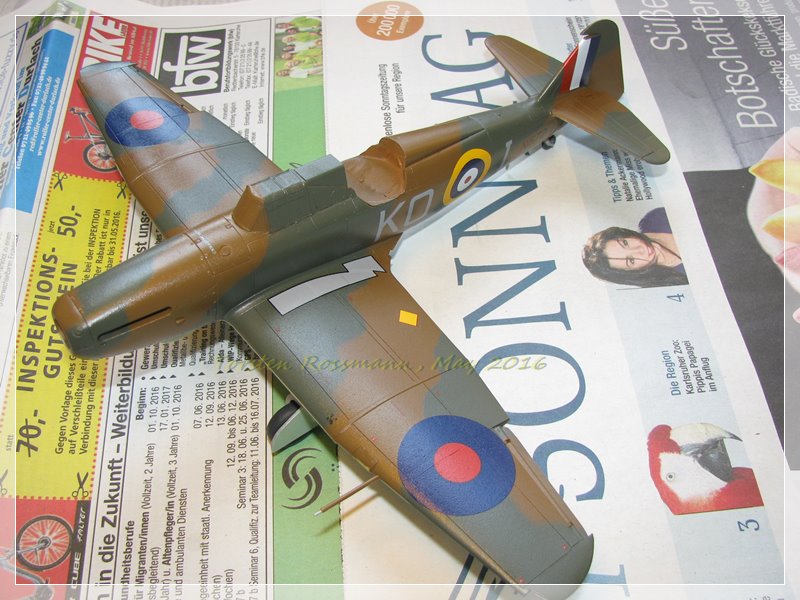
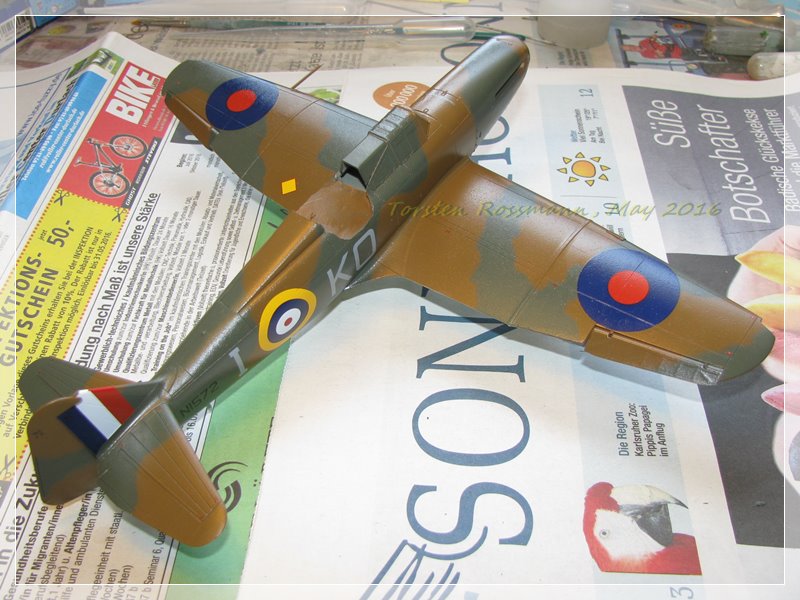
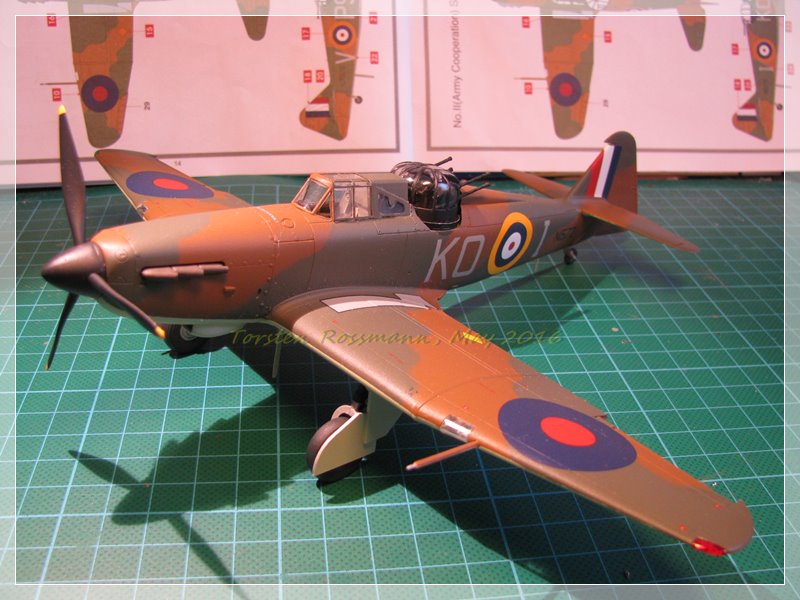
Another small update from me before everything's done. All decals are on and sealed with Bodenglänzer. Some were a bit too sticky to move in the right position. I had to use some buckets of water to make them do what I want them to do .... But now everything looks fine and is ready for the final step - Matt Varnish from Marabu. Should be done by this weekend ....


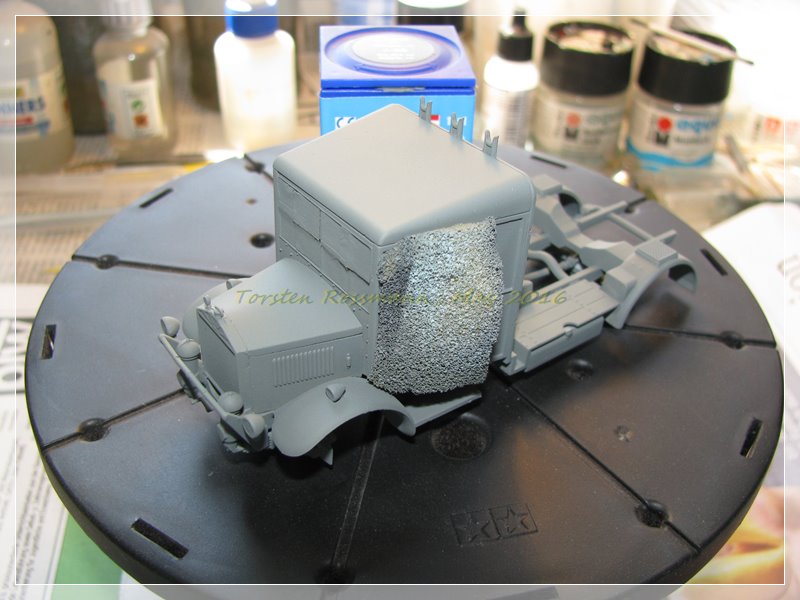
As you can see I also work on the suitable fuel truck for a little dio. We have our own expo on the 11./12. June and I hope to finish this kit also for that occationn. While Damian takes the Tamiya GMC for his Thunderbolt, I go for the Airfix Albion for my Defiant. It will be painted in Olive Grey (Revell 66) all over ....


Torsten
kahunaminor
_VISITCOMMUNITY
New South Wales, Australia
Joined: April 06, 2008
KitMaker: 151 posts
AeroScale: 141 posts
Posted: Friday, May 27, 2016 - 02:47 AM UTC
Nice effort guys!

Regards
BlackWidow
_VISITCOMMUNITY
European Union
Joined: August 09, 2009
KitMaker: 1,732 posts
AeroScale: 1,336 posts
Posted: Saturday, May 28, 2016 - 02:30 PM UTC
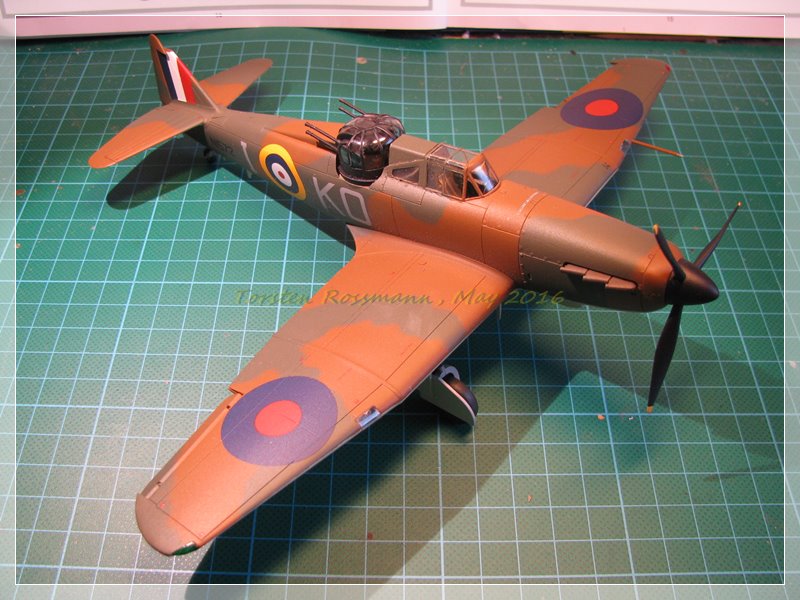
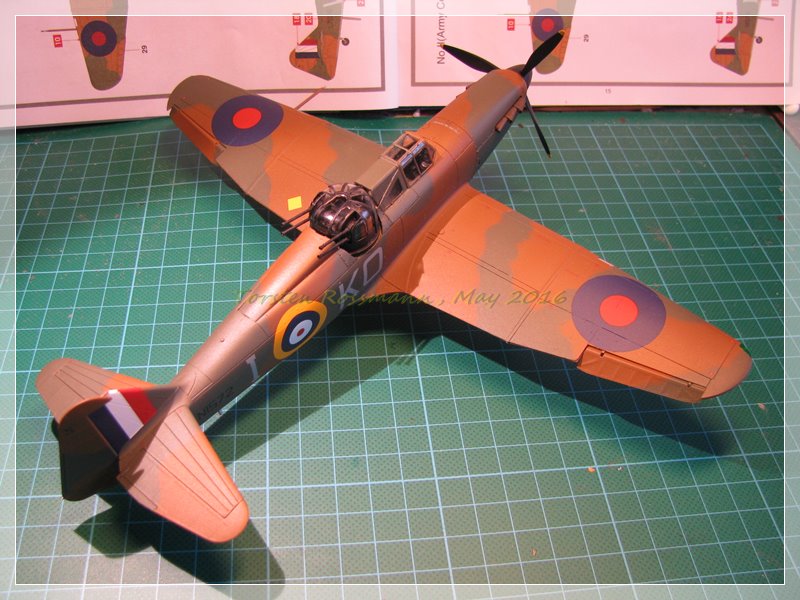
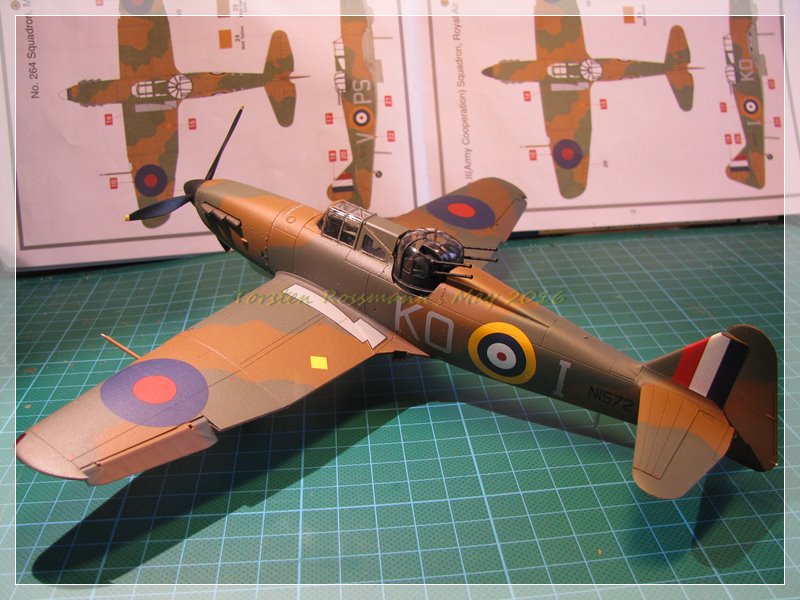
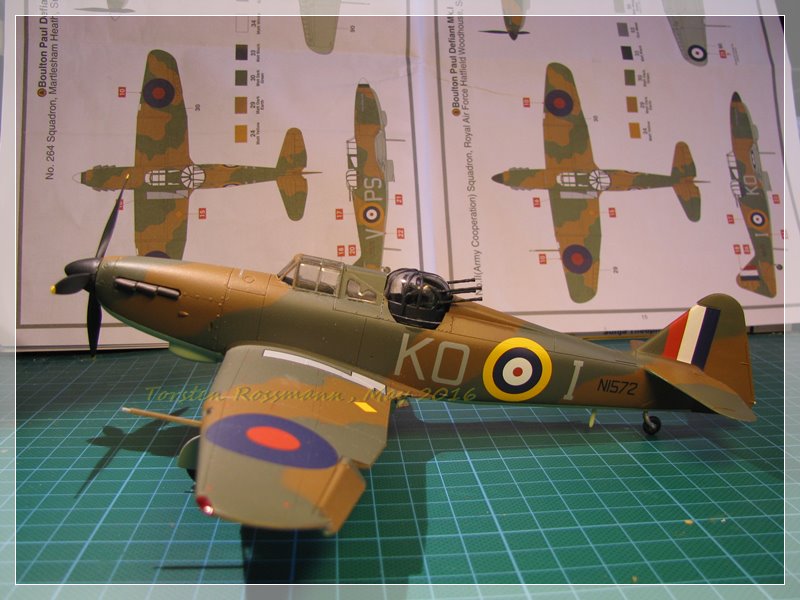
Okay guys, I call this baby ready for take off! Finished yesterday evening during a heavy rainfall outside. Just some minor corrections on the turret paint which came off during de-masking and it's ready to join my aviation museum. This is a nice kit which is fun to build. Everything fits well together. There's no need for filler, just some sanding at the usual places. Well done Airfix! Highly recommended! Hope to see the night fighter version soon ....
Boulton Paul Defiant Mk. I, No. 2 Sqn, September 1940


It will take some time before I can make better photos and add them to the gallery as we have our expo in 2 weeks and I have to do some preparations for that now ....

Happy modelling and good luck for all your builds!
Torsten
SGTJKJ
#041
_VISITCOMMUNITY
Kobenhavn, Denmark
Joined: July 20, 2006
KitMaker: 10,069 posts
AeroScale: 3,788 posts
Posted: Saturday, May 28, 2016 - 03:53 PM UTC
Torsten, Great build! Looks spot on. Make sure to share the diorama as well when it is finished.
BlackWidow
_VISITCOMMUNITY
European Union
Joined: August 09, 2009
KitMaker: 1,732 posts
AeroScale: 1,336 posts
Posted: Sunday, May 29, 2016 - 12:47 AM UTC
Thanks Jesper!
Well, the fuel tank is assembled, sanded, painted and glued to the chassis. The next 2 days I work only 1/2 day so in the afternoon it's bench time. I hope to finish the Albion by next weekend which makes it 1 week before our expo. Hope to paint also 2-3 figures for the little dio.

Torsten
noddy927
_VISITCOMMUNITY
Scotland, United Kingdom
Joined: February 15, 2013
KitMaker: 1,273 posts
AeroScale: 200 posts
Posted: Sunday, May 29, 2016 - 01:02 PM UTC
Torsten that Defiant really looks superb buddy. And yes pics of the dio please.
Still not measured the Horsa so I will let you know the dimentions asap. I should be doing some work on it today.

Pete
BlackWidow
_VISITCOMMUNITY
European Union
Joined: August 09, 2009
KitMaker: 1,732 posts
AeroScale: 1,336 posts
Posted: Sunday, May 29, 2016 - 08:32 PM UTC
Thanks Peter!
The Albion really made good progress today. The fuel pipelines, wheels and doors were all attached to the truck. This kit really looks cute. I'm quite sure I'll finish it this week. Furthermore I mixed some kind of RAF uniform blue for the figures (ICM and Airfix). I hope I'm not too far away from the real RAF Blue ....

Torsten

Oh, btw, photos of the little dio (don't expect too much!) can be seen later in my Assembly Line Thread over in the Word War 2 Forum ....
noddy927
_VISITCOMMUNITY
Scotland, United Kingdom
Joined: February 15, 2013
KitMaker: 1,273 posts
AeroScale: 200 posts
Posted: Monday, May 30, 2016 - 01:30 AM UTC
Hi Torsten

I have looked in the instructions and there is nothing by way of dimensions for the kit. However I know the real thing was 27 Metres wingspan and 20 Metres long, so that said it should be 77cm wingspan and 57cm long I think.
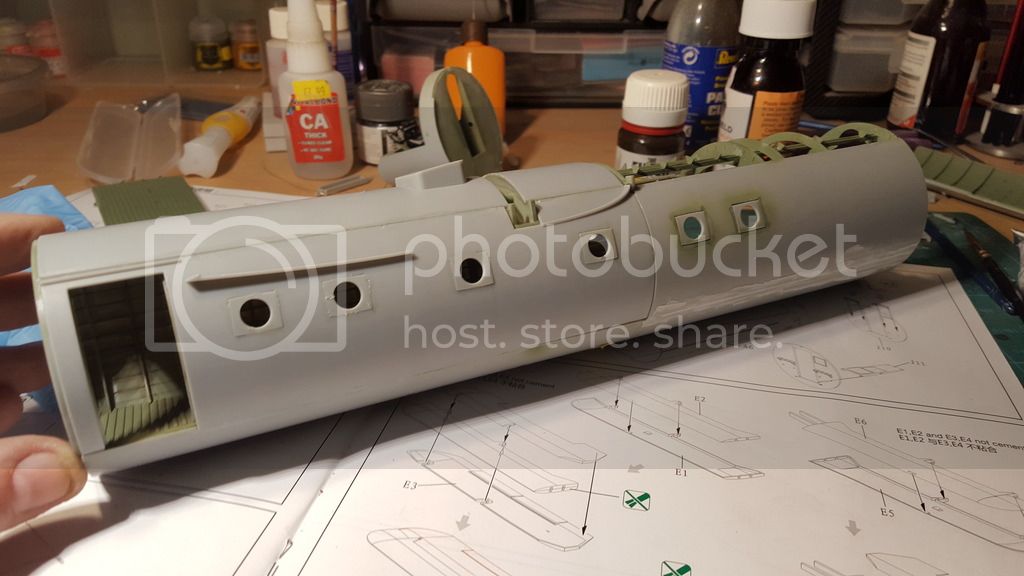
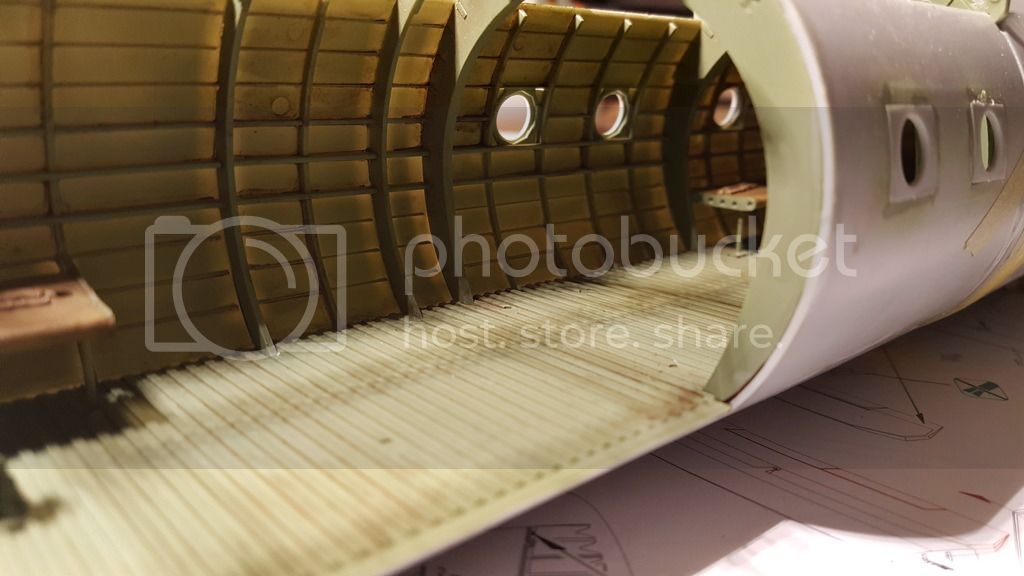
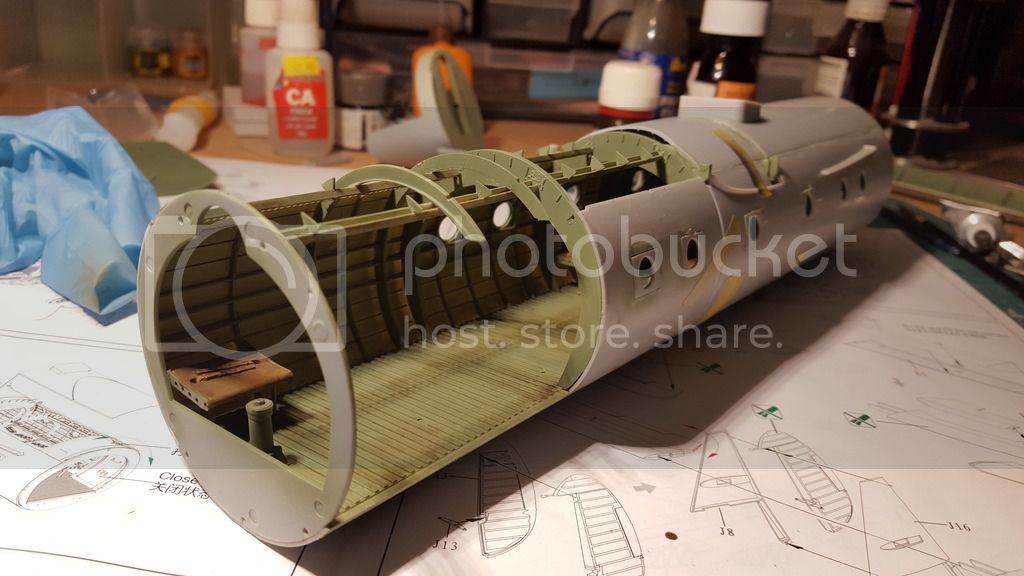
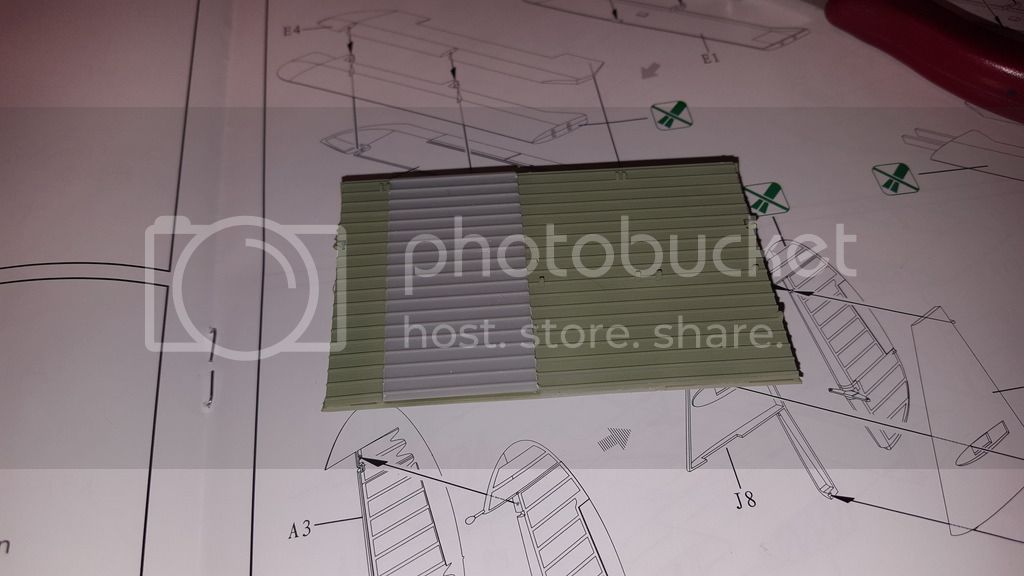
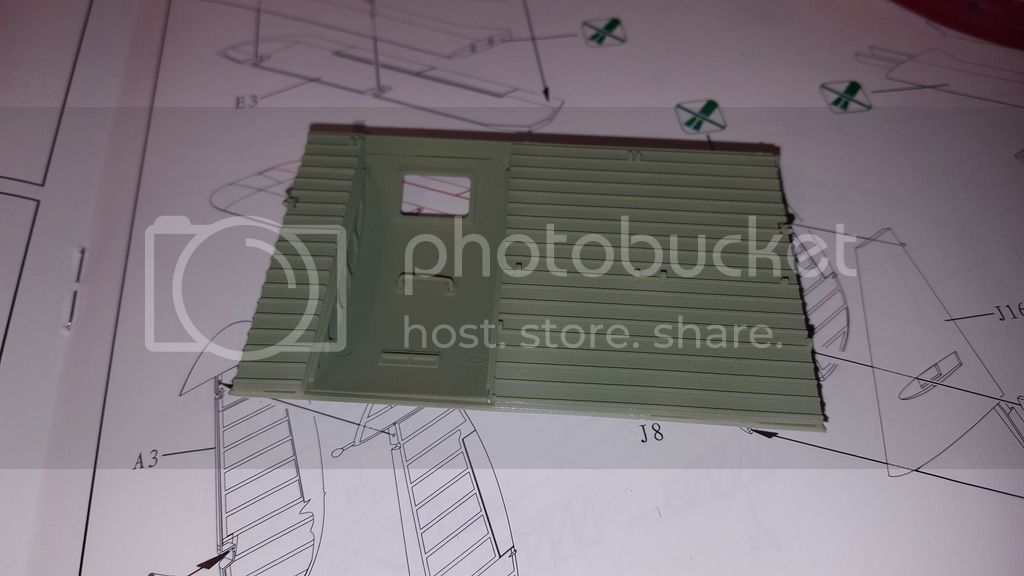
Here is some more work I did today.


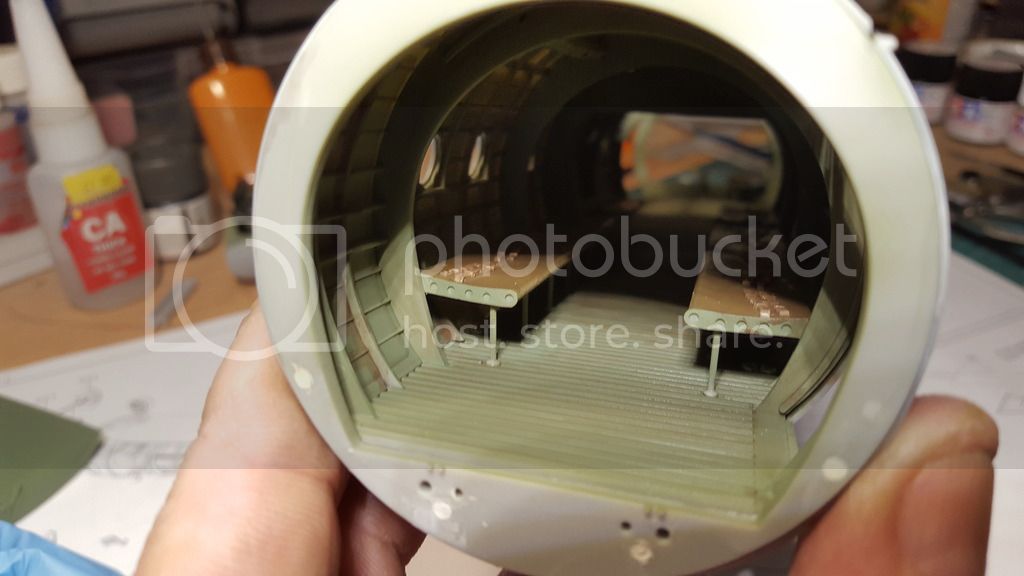
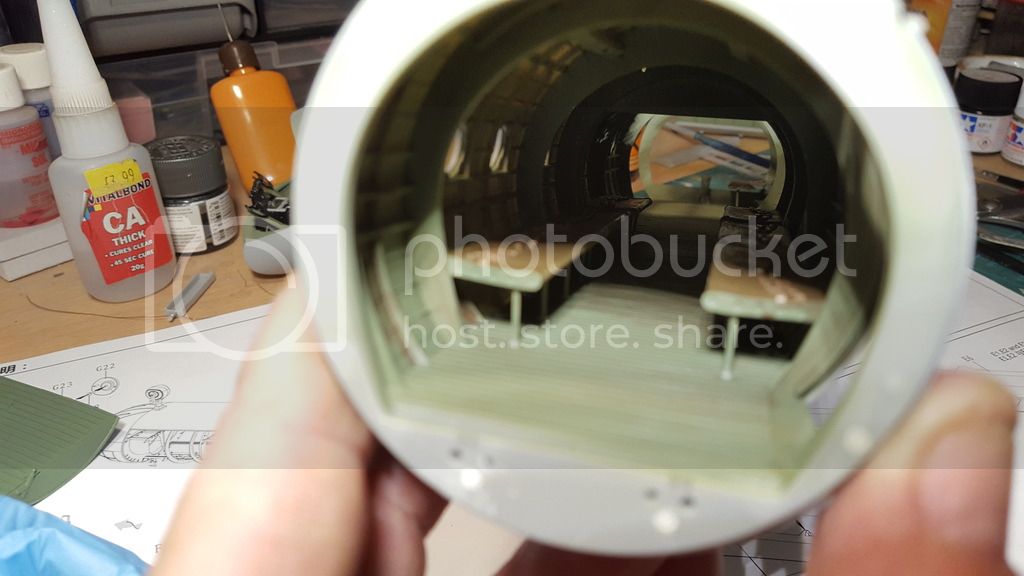
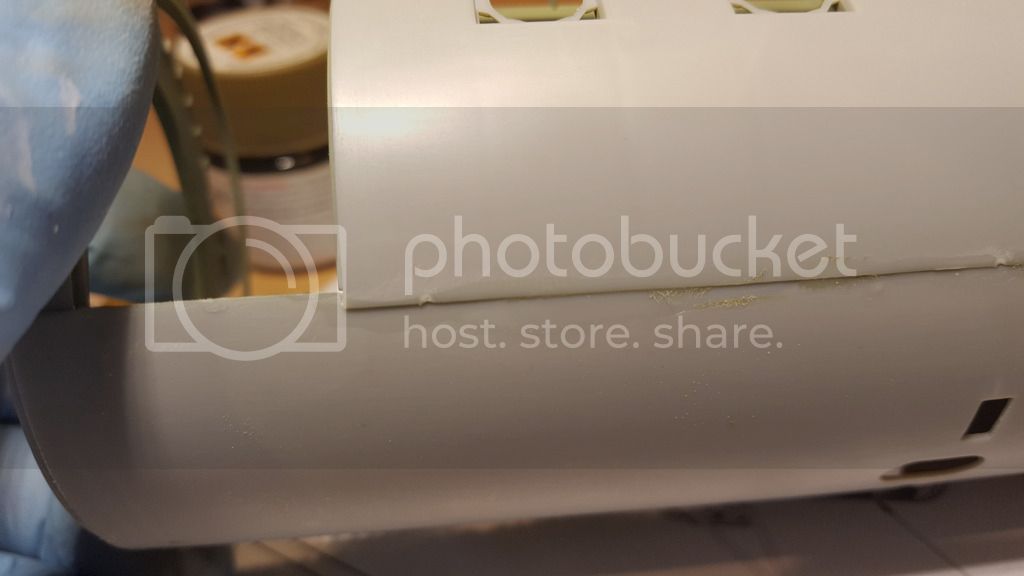
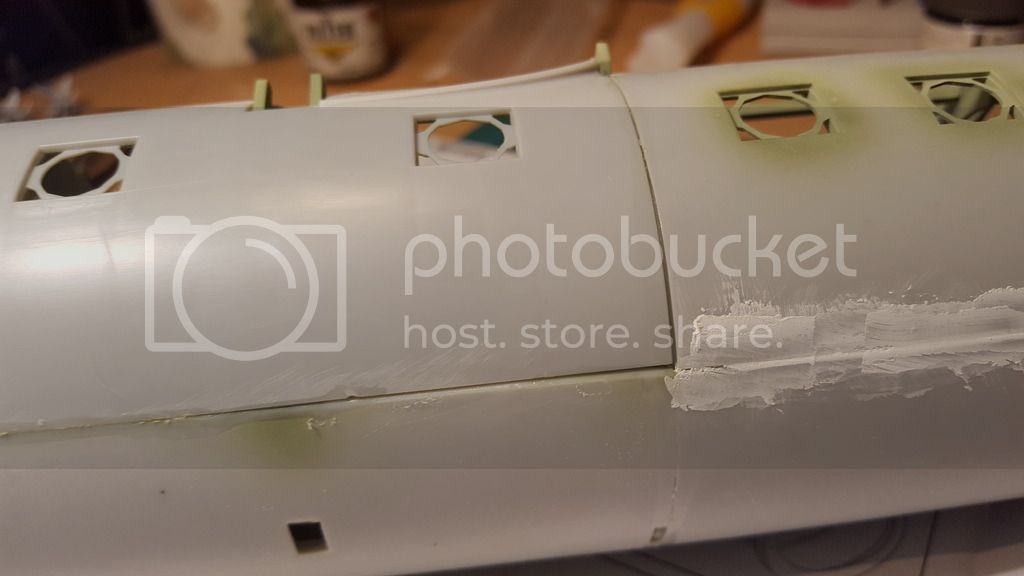
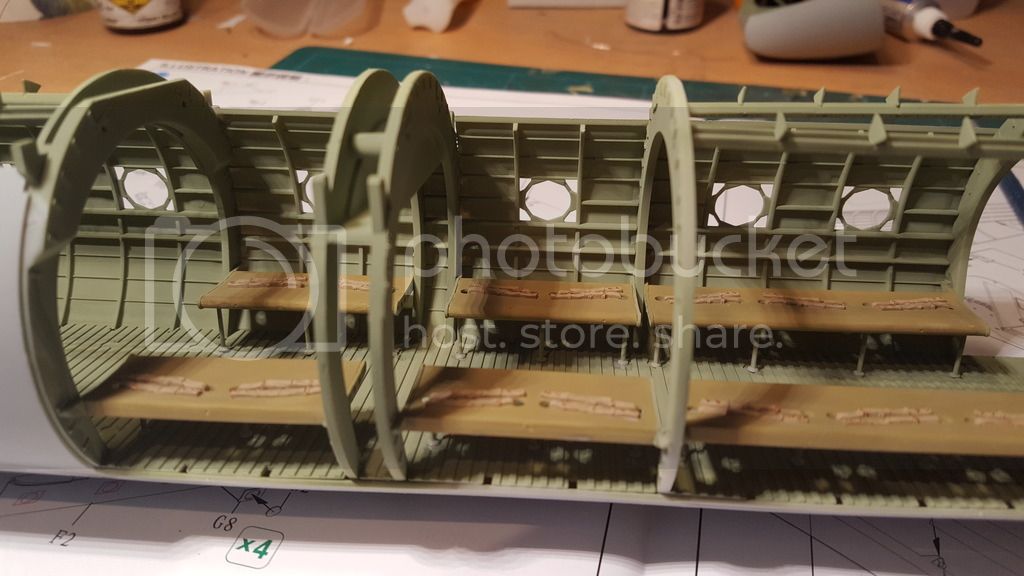
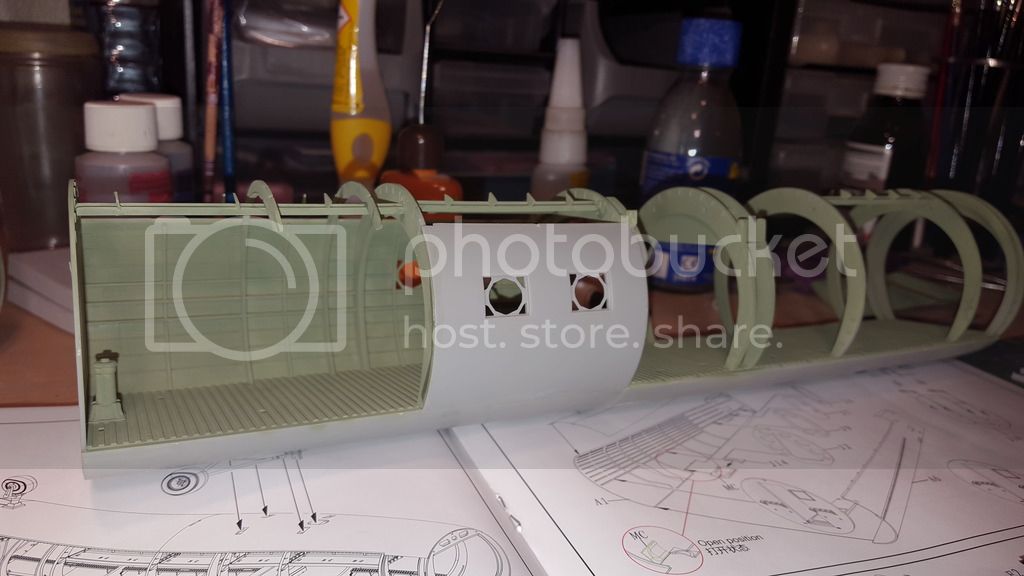
The outer fusilage is not a great fit as some areas are raised and others not. But once it has had a sand it will look ok, some filler will be needed too as you can see. I weathered inside before it gets too difficult to get in there with a brush.

Pete
rochaped
_VISITCOMMUNITY
Lisboa, Portugal
Joined: August 27, 2010
KitMaker: 679 posts
AeroScale: 669 posts
Posted: Sunday, June 05, 2016 - 01:52 AM UTC
Hi everyone,

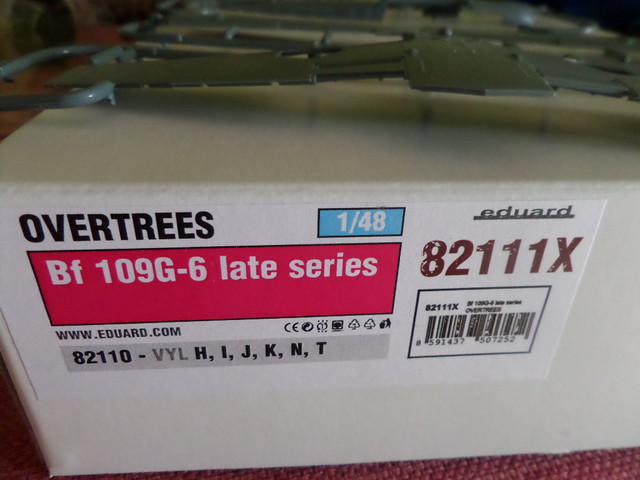
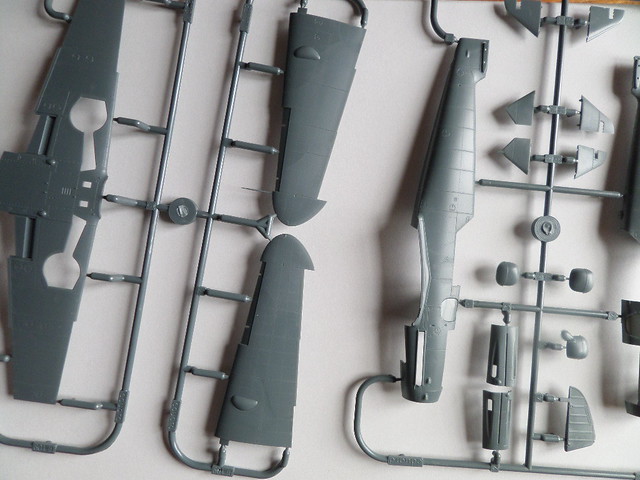
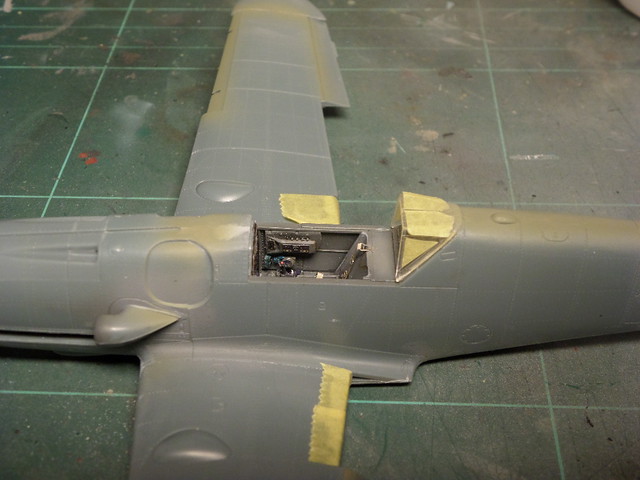
Got Eduard's over trees of their 2nd 1/48 Gustav incarnation, along with some fabric seatbelts, PE and resin exhaust a couple of weeks ago and started this weekend working on it.


Since I have the 2014 "Maldite" edition of their Gustav I could compare both kits, and although similar in their approach, the fuselage and wing dimensions were clearly revised, and to my eye look much more reasonable for this scale than their first release.

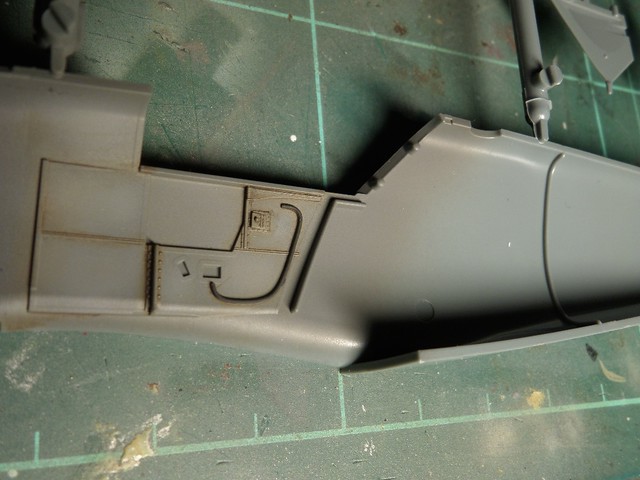
Still, Eduard made some minor improvements besides overall AC size, including an O2 pipe on the right side cockpit wall and revised air intake base on the left side nose.

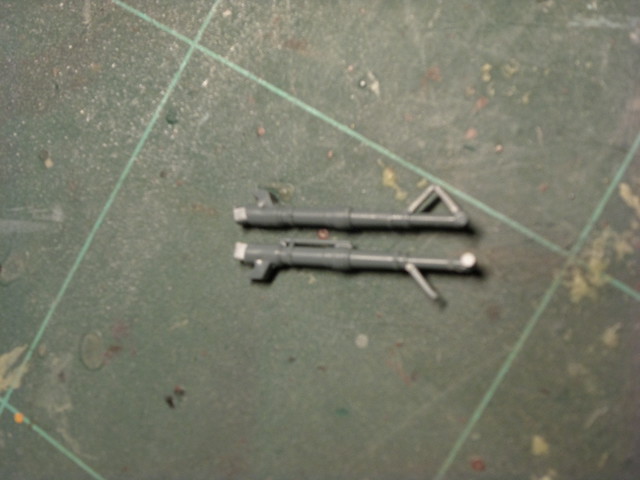
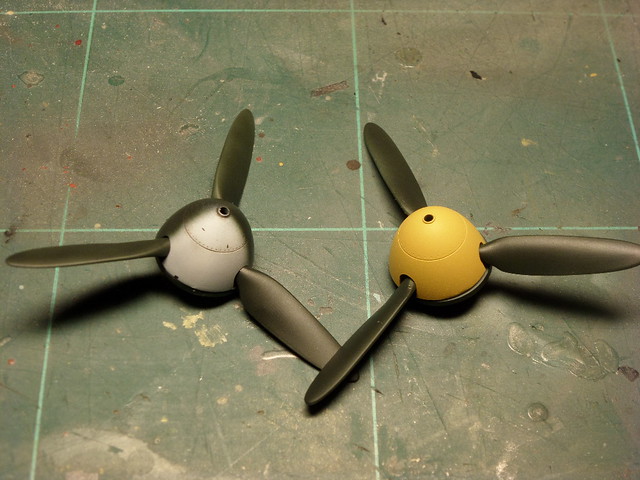
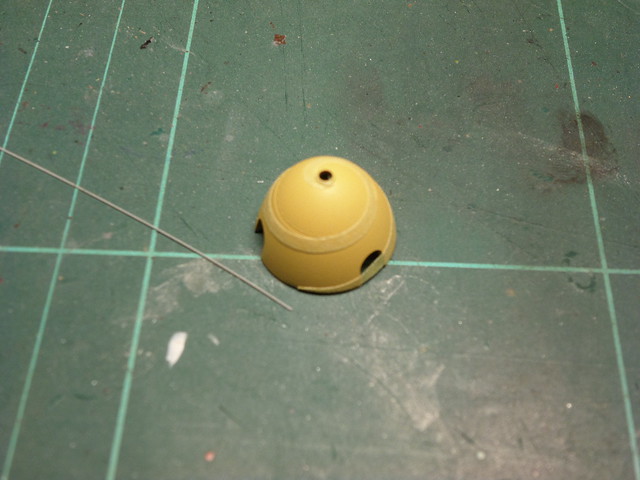
The UC legs are the same size minus the odd tubbing and the propellor and its nose are also the same widht. (Sorry for the lousy photo)


O2 hose addition...


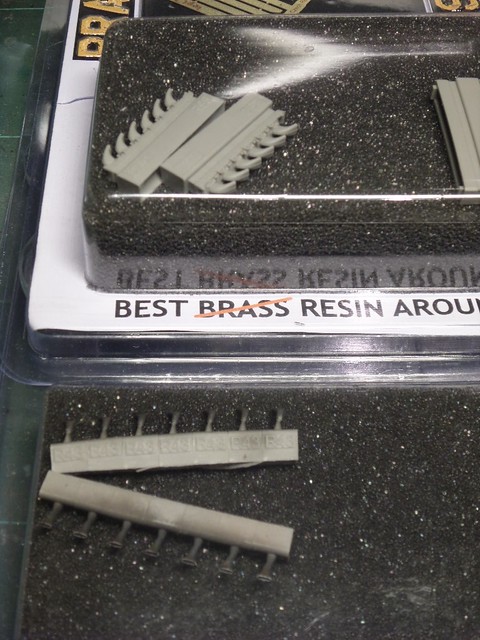
Brassin exhausts also changed their build approach. Old edition already painted below, new one still in the box above.


Thanks for watching!

Will keep regular updates,
Cheers
Pedro
SGTJKJ
#041
_VISITCOMMUNITY
Kobenhavn, Denmark
Joined: July 20, 2006
KitMaker: 10,069 posts
AeroScale: 3,788 posts
Posted: Sunday, June 05, 2016 - 04:40 PM UTC
Looks good, Pedro.

I bought the royal class kit in the first version. The scale difference is clearly noticeable when two kit are next to eachother, but looks good and that is the most important aspect to me.

I have made some progress on my kit and will soon post some update pictures.
rochaped
_VISITCOMMUNITY
Lisboa, Portugal
Joined: August 27, 2010
KitMaker: 679 posts
AeroScale: 669 posts
Posted: Sunday, June 05, 2016 - 07:34 PM UTC
Thanks Jesper!

It is not my intention to compare both of Eduards editions, but could not help to point some differences between them.

It is a very fond, fast project indeed.
Looking forward for your builds

Cheers
Pedro
SGTJKJ
#041
_VISITCOMMUNITY
Kobenhavn, Denmark
Joined: July 20, 2006
KitMaker: 10,069 posts
AeroScale: 3,788 posts
Posted: Monday, June 06, 2016 - 01:15 PM UTC
As promised a couple of pictures of the progress with my celestial prime. Still trying hard to get the wings right. Next is the celestial vortex.


Kilo_Uniform
_VISITCOMMUNITY
Gauteng, South Africa
Joined: July 03, 2015
KitMaker: 280 posts
AeroScale: 141 posts
Posted: Monday, June 06, 2016 - 08:26 PM UTC
Jesper,

WOW!! That looks awesome!

Regards,
Kobus
noddy927
_VISITCOMMUNITY
Scotland, United Kingdom
Joined: February 15, 2013
KitMaker: 1,273 posts
AeroScale: 200 posts
Posted: Monday, June 06, 2016 - 09:00 PM UTC
superb Jesper

Pete
SGTJKJ
#041
_VISITCOMMUNITY
Kobenhavn, Denmark
Joined: July 20, 2006
KitMaker: 10,069 posts
AeroScale: 3,788 posts
Posted: Tuesday, June 07, 2016 - 01:44 PM UTC
Thanks for the comments, guys! Appreciate it. I am still a long way from finish on this one, but I am taking my time.

More to follow
rochaped
_VISITCOMMUNITY
Lisboa, Portugal
Joined: August 27, 2010
KitMaker: 679 posts
AeroScale: 669 posts
Posted: Friday, July 01, 2016 - 10:29 PM UTC
some work done on the Gustav...


More will follow soon during this week,thanks to some bench time I'm hopping to get

cheers
Pedro
SGTJKJ
#041
_VISITCOMMUNITY
Kobenhavn, Denmark
Joined: July 20, 2006
KitMaker: 10,069 posts
AeroScale: 3,788 posts
Posted: Friday, July 08, 2016 - 09:18 PM UTC
Looks nice, Pedro. Glad to see the kit is going together well.
Hudson29
#460
_VISITCOMMUNITY
California, United States
Joined: September 16, 2014
KitMaker: 1,156 posts
AeroScale: 92 posts
Posted: Thursday, July 14, 2016 - 11:47 PM UTC
What a lot of great builds are going on here! That Horsa is huge and will need a lot of display space . . .

The Flapjack is a kit that is on my list to purchase, I'll be watching to see how it goes.

Usually I buy a kit and set it aside for years while I accumulate books, decals and AM items. This often means "paralysis by analysis" with little actual model making taking place. In the last several years I have tried to break this habit and I have moved a number of projects to actual completion. The builds might be imperfect, but I have something to show for the effort.

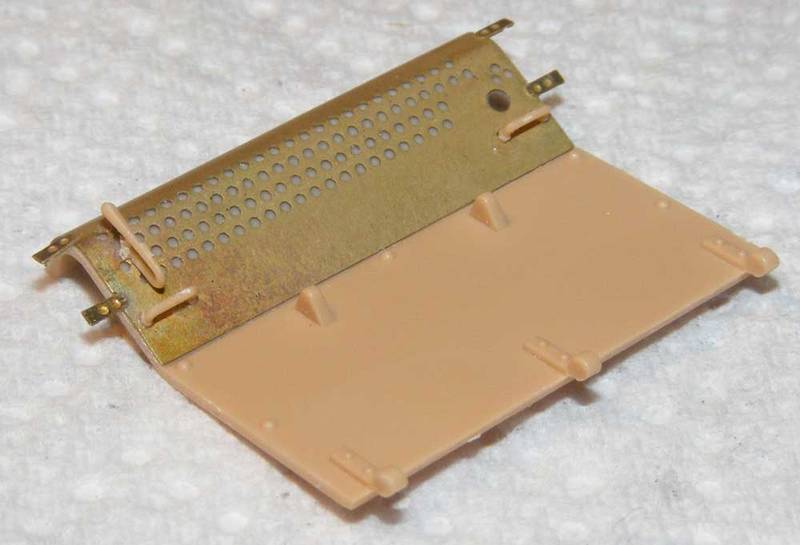
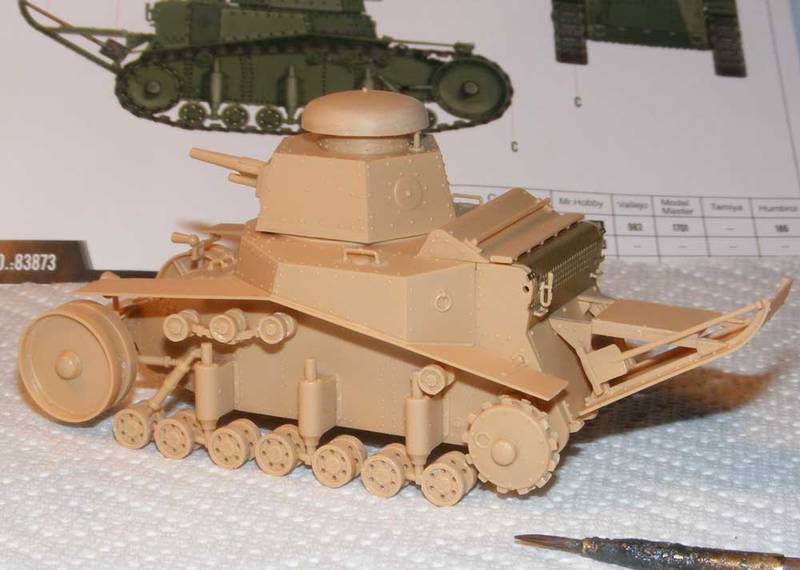
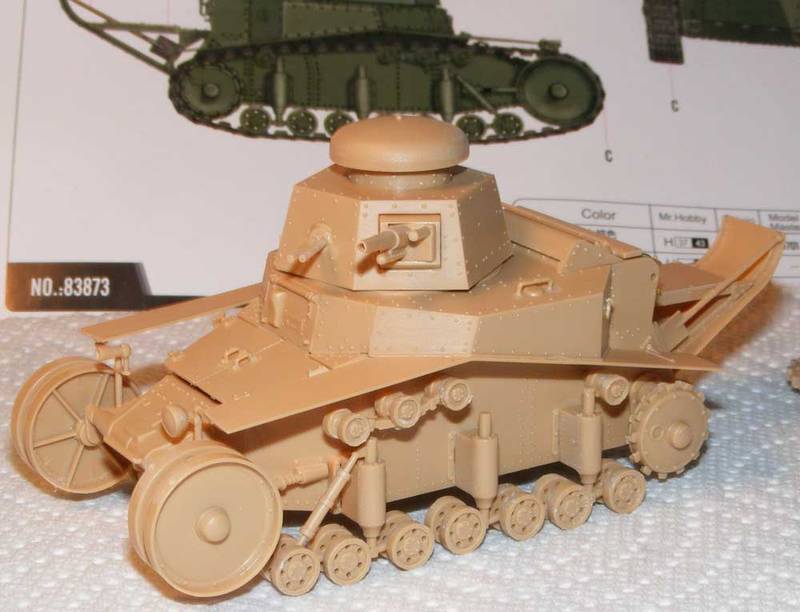
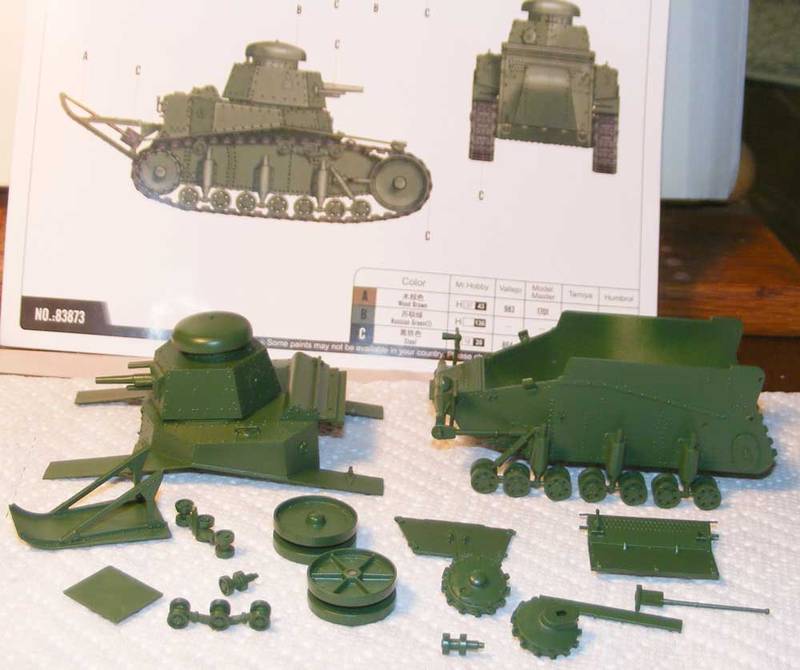
Less than two weeks ago I was at Military Hobbies in Orange SoCal to buy some paint and my eye chanced upon the brand new Hobby Boss Soviet T-18 tankette. The kit went home with me and after fondling the plastic some, got put on the shelf with piles of other kits. I had a dream that night that I was actually building this T-18 and the next day I got it out and started in. No research, no AM, nothing, just the kit & the supplies. I haven't done that since the 1960s when I brought home kits like the Aurora Zero in bright yellow plastic and built it the same day.

This little T-18 is a cute little thing and a quick build. Later study showed that I had glued the driver's hatch hinges on upside down. The big ones I removed and reglued, the small ones are still upside down. Yes, the instructions are a bit breezy . . .

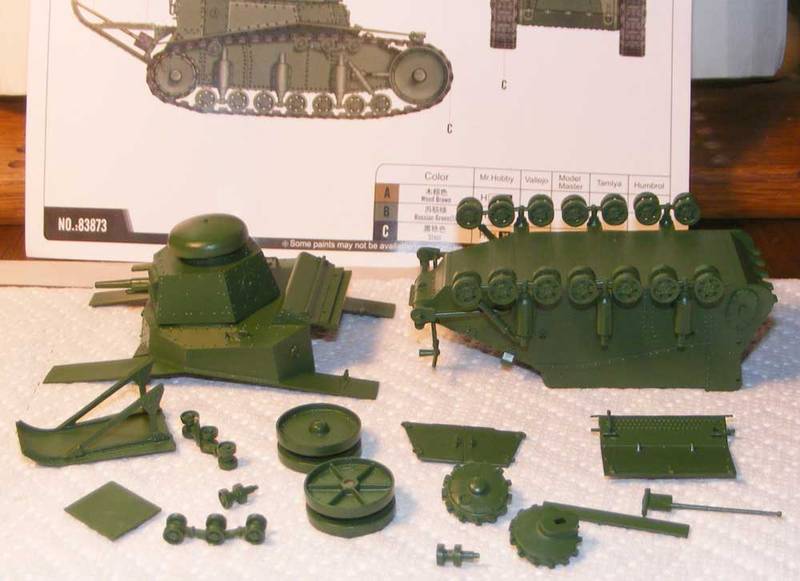
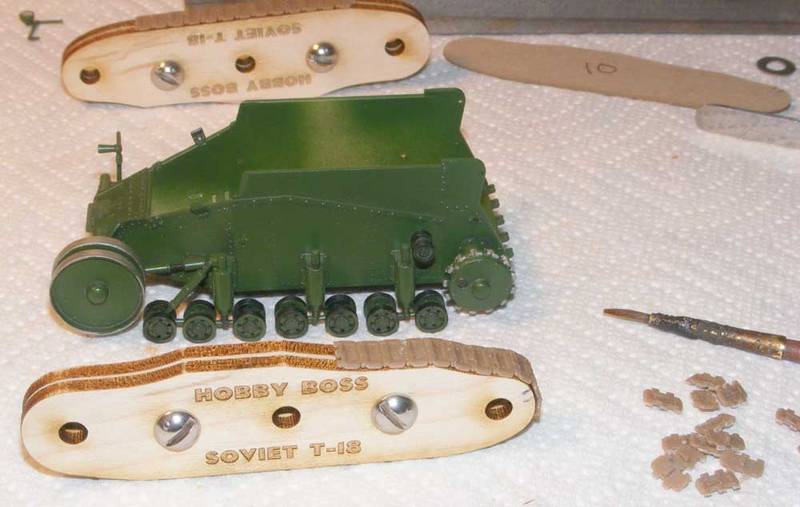
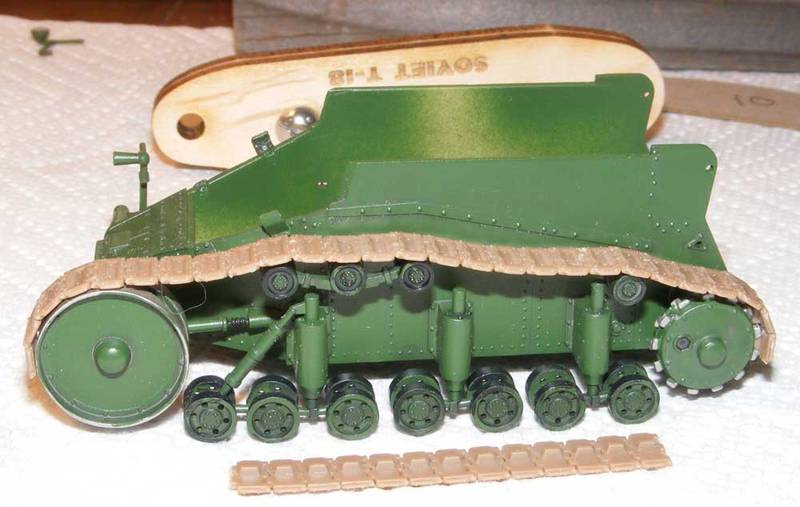
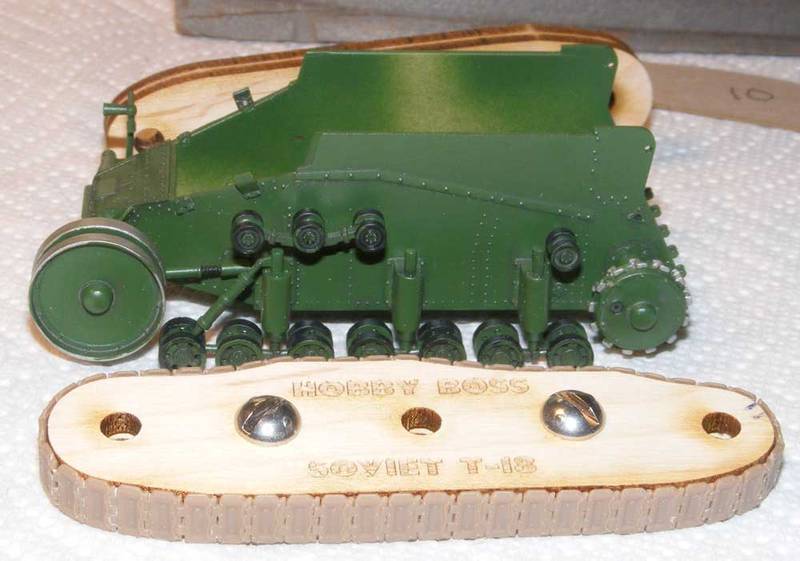
The T-18 is assembled into subs right now and the basic paint is on. The tracks are going to be an issue, I have not had any luck with individual link tracks and I like working tracks like the metal Fruils but none of those are available. I decided to make a HobbyTrax style tool to help put the kit tracks together.

A master was made from a photo of the model and cut out by a laser. The bucks themselves will be made out of a sheet of 1/8" maple that should arrive next week. More on that then.

Here are a few pics of the T-18 as it was two evenings ago:
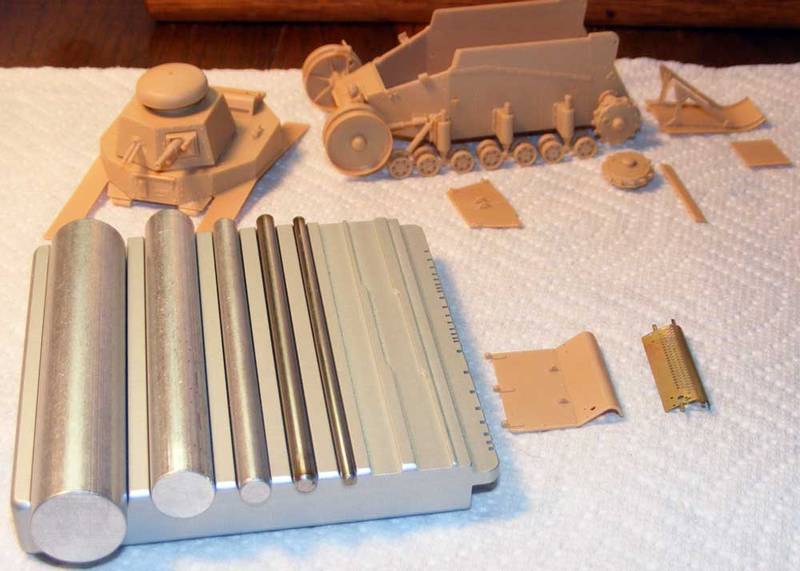


Here is the cardboard pattern defining the shape the tracks will take:

rochaped
_VISITCOMMUNITY
Lisboa, Portugal
Joined: August 27, 2010
KitMaker: 679 posts
AeroScale: 669 posts
Posted: Friday, July 15, 2016 - 05:28 AM UTC
Cool subject Paul, and the kit also seems to be a very cool, simple build but with enough detail to make a fine T18. Not usually my thing, but this tanquette is exotic enough to keep me interested for the outcome.
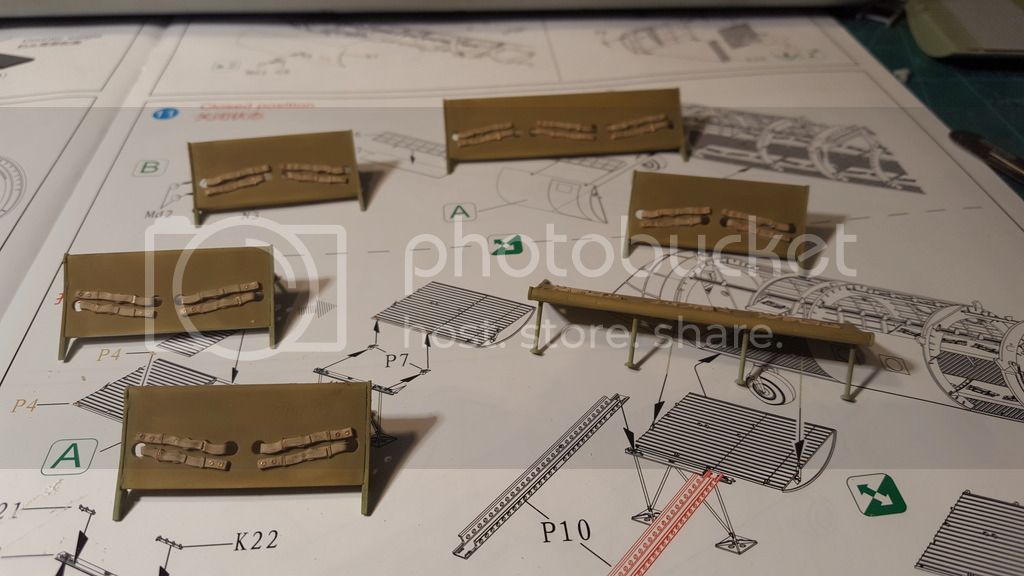
Cheers
Pedro
SGTJKJ
#041
_VISITCOMMUNITY
Kobenhavn, Denmark
Joined: July 20, 2006
KitMaker: 10,069 posts
AeroScale: 3,788 posts
Posted: Saturday, July 16, 2016 - 12:27 PM UTC
Looks nice, Paul. Fine progress so far.

Looking forward to see more.
Hudson29
#460
_VISITCOMMUNITY
California, United States
Joined: September 16, 2014
KitMaker: 1,156 posts
AeroScale: 92 posts
Posted: Monday, July 18, 2016 - 09:12 PM UTC
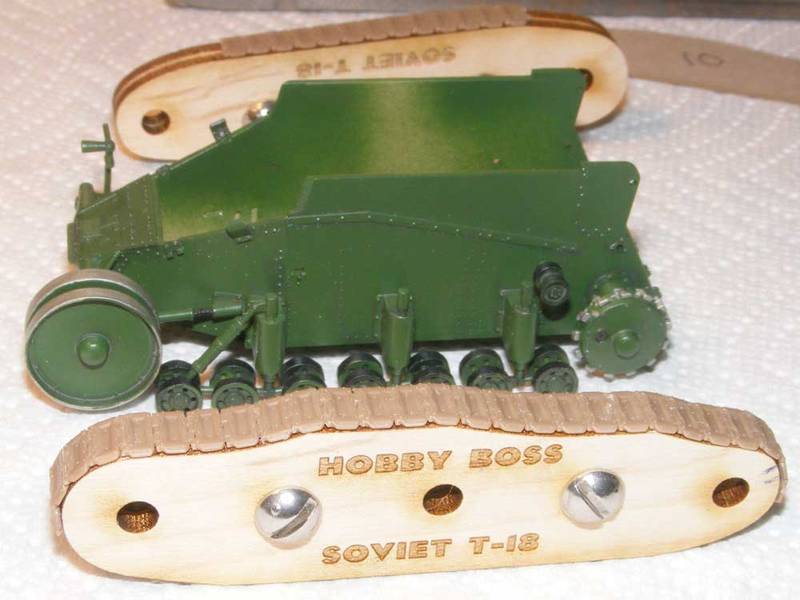
Thanks guys, this has been a quick and fun build. The 1/8" maple planks arrived and after a few additional tweaks, the laser cut out the buck halves. Because the sprockets on this tank are fixed and can not rotate, an index had to be added to hold the track teeth on the tool in the same position that they would assume on the model. This was made out of tiny bits of .040" sheet glued to one half of the tool.

With that, construction of the first track built pretty rapidly. One link was not glued to allow the track to come off the tool and go on the model. Here are a few pics: