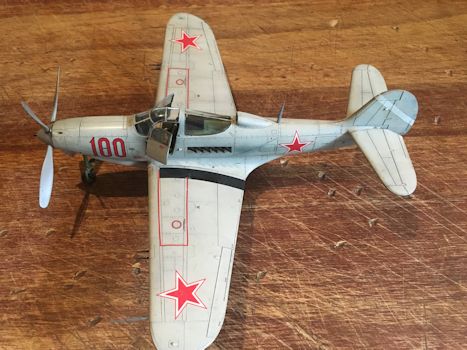
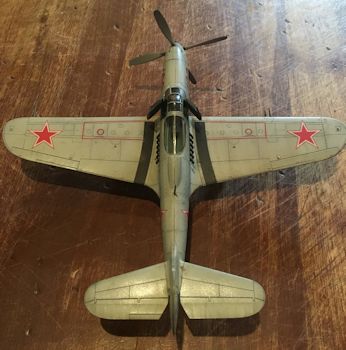
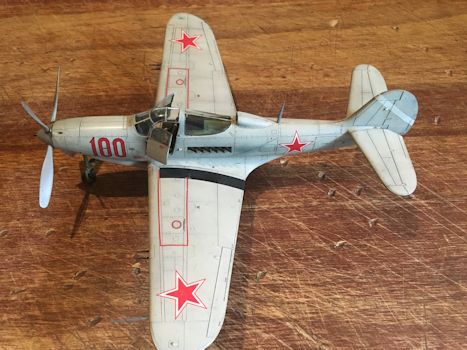
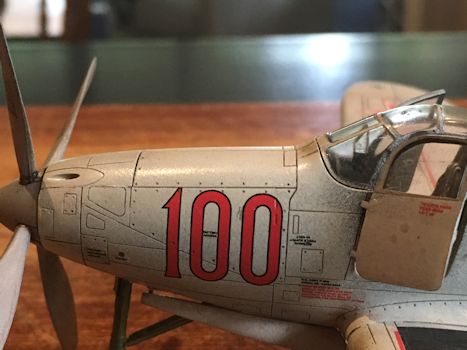
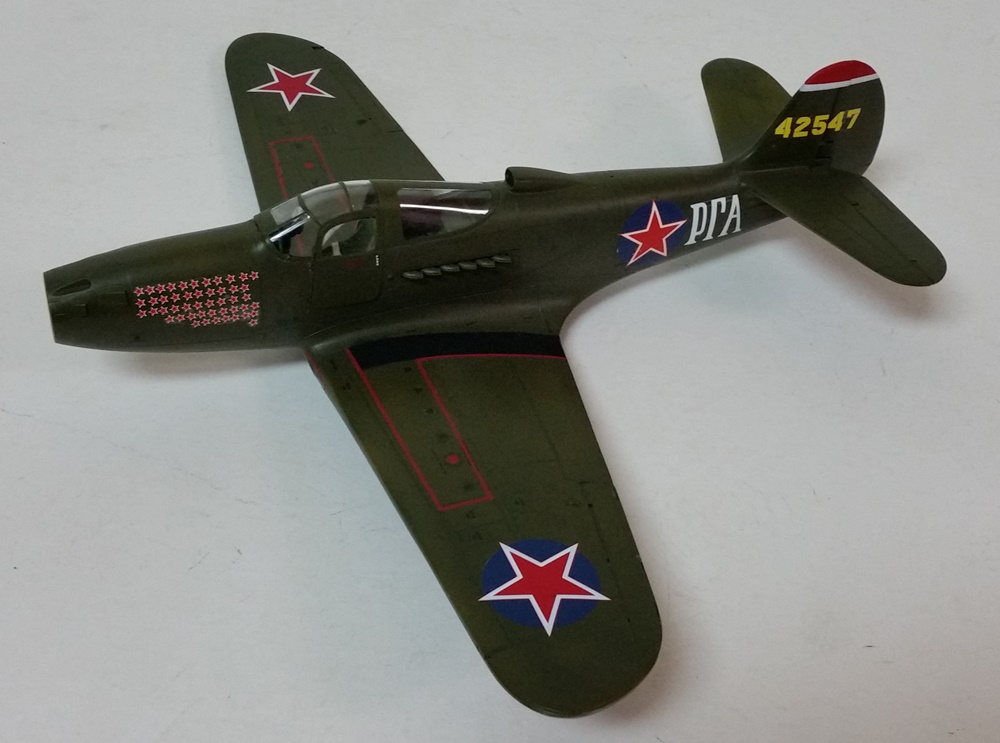
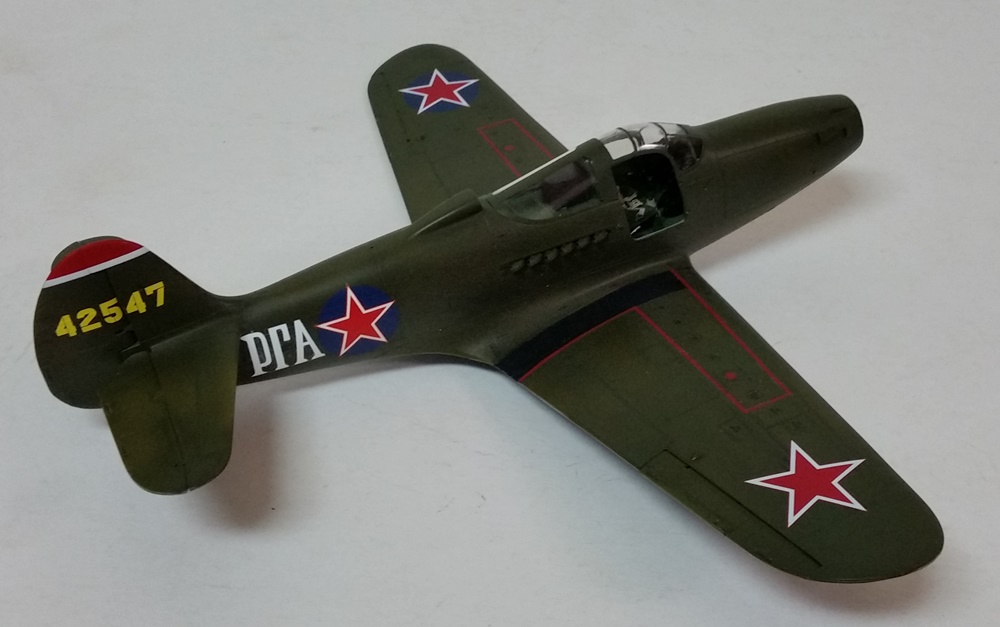
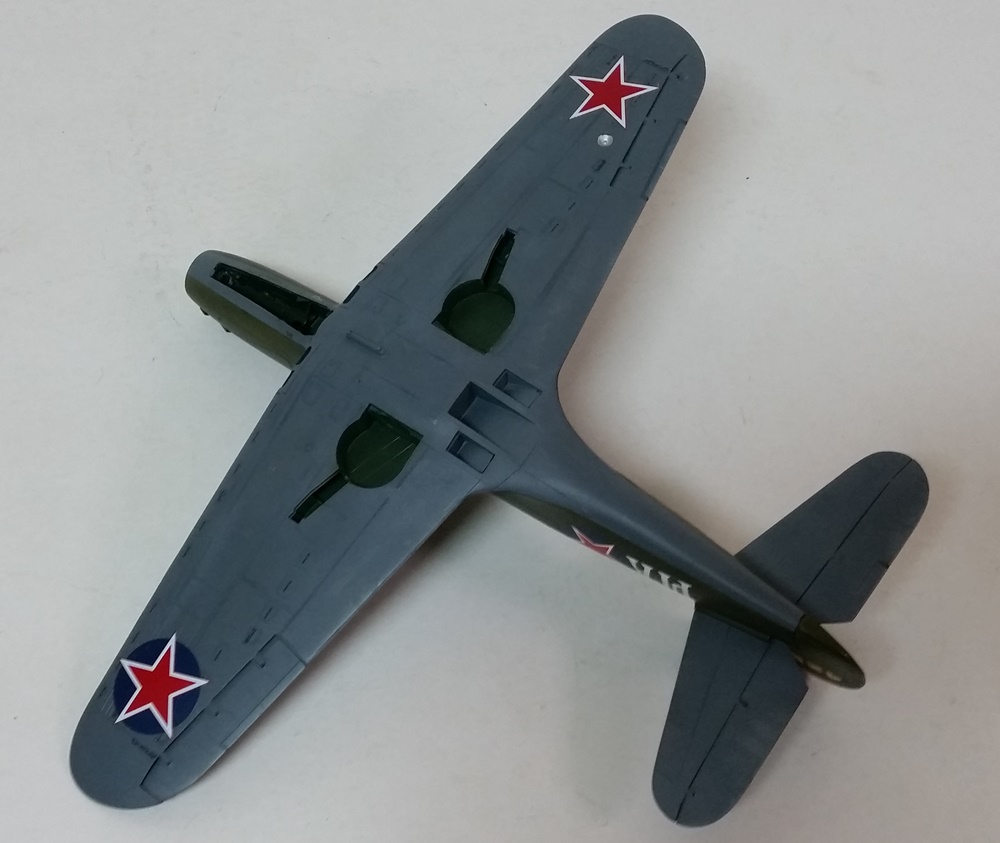
The clock is winding down and there is much to do yet but if the weather stays nice for a bit may get this painting all done soon. Im just about ready for paint on the underside and the landing gear. The eduard yak-3s undercarriage looks to be a fiddly bit of assembly as there are many pieces and no solid joins.

I was successful in my shortening of the gear leg oleos. To do this I first drilled a hole up from the bottom of the wheel yoke into the oleo.

Next I may an index line with a sharp pencil do they can be realigned correctly. Then using a brass rule along with my mini saw, whose combined width was about 1mm, exactly what I wanted to remove, I cut through the bottom of the oleo.

After a clean up with sanding sticks I cut some small brass dowels and pinned them back together using CA making sure the were properly aligned beforehand and voila' shortened gear legs!!!
I also got my resin wheels flattened nice and evenly, my oleo struts thinned and hollowed out (Id like to try these before resorting to the photo etched ones) and I used my drills and xacto to sharpen up my tail wheel a bit.
The etched gears doors lacked a bulge that was found on the plastic parts and the real thing. So I shaved these of the plastic bits and CA'd them to the doors and some more CA later to help fair them in. Followed by some careful sanding. These doors are super thin!! Possibly too thin but Im using them now, Im commited


