I did not join this campaign since at the time I was and still am so busy, but I ran across this video that I thought you guys would enjoy.
Marine Hornets in Action!
https://www.youtube.com/watch?v=jDTUcf4mgDU
Bob
Air Campaigns
Want to start or join a group build? This is where to start.
Want to start or join a group build? This is where to start.
Hosted by Frederick Boucher, Michael Satin
OFFICIAL: Terrible Teens Campaign

Bigrip74

Joined: February 22, 2008
KitMaker: 5,026 posts
AeroScale: 2,811 posts

Posted: Friday, September 08, 2017 - 02:38 AM UTC

PasiAhopelto

Joined: October 01, 2016
KitMaker: 514 posts
AeroScale: 239 posts

Posted: Friday, September 22, 2017 - 10:16 AM UTC
So far this has been pretty normal build:
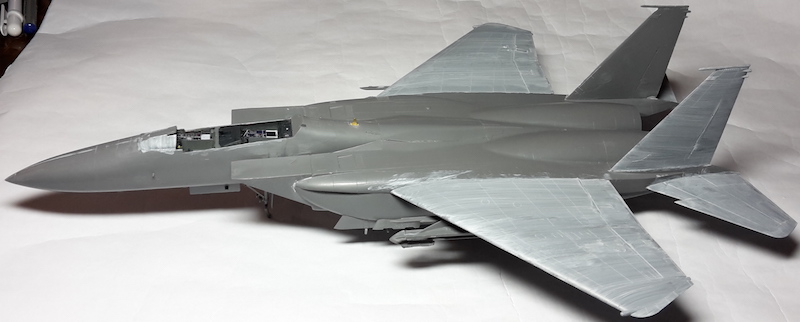
I'm bit disappointed with fit, there was quite a lot of sanding with airframe halves. But it's understandable, because the plastic parts are from 1990.
Anyway, I'll paint the model next and if that turns out fine, then I'll concentrate on resin parts (engine, ejection seats). The kit comes with good selection of underwing stores and I'm planning to use as many of those as possible.
Pave-Hawk

Joined: May 05, 2006
KitMaker: 900 posts
AeroScale: 200 posts

Posted: Friday, September 22, 2017 - 12:19 PM UTC
Painted up the Tomcat ejection seats.
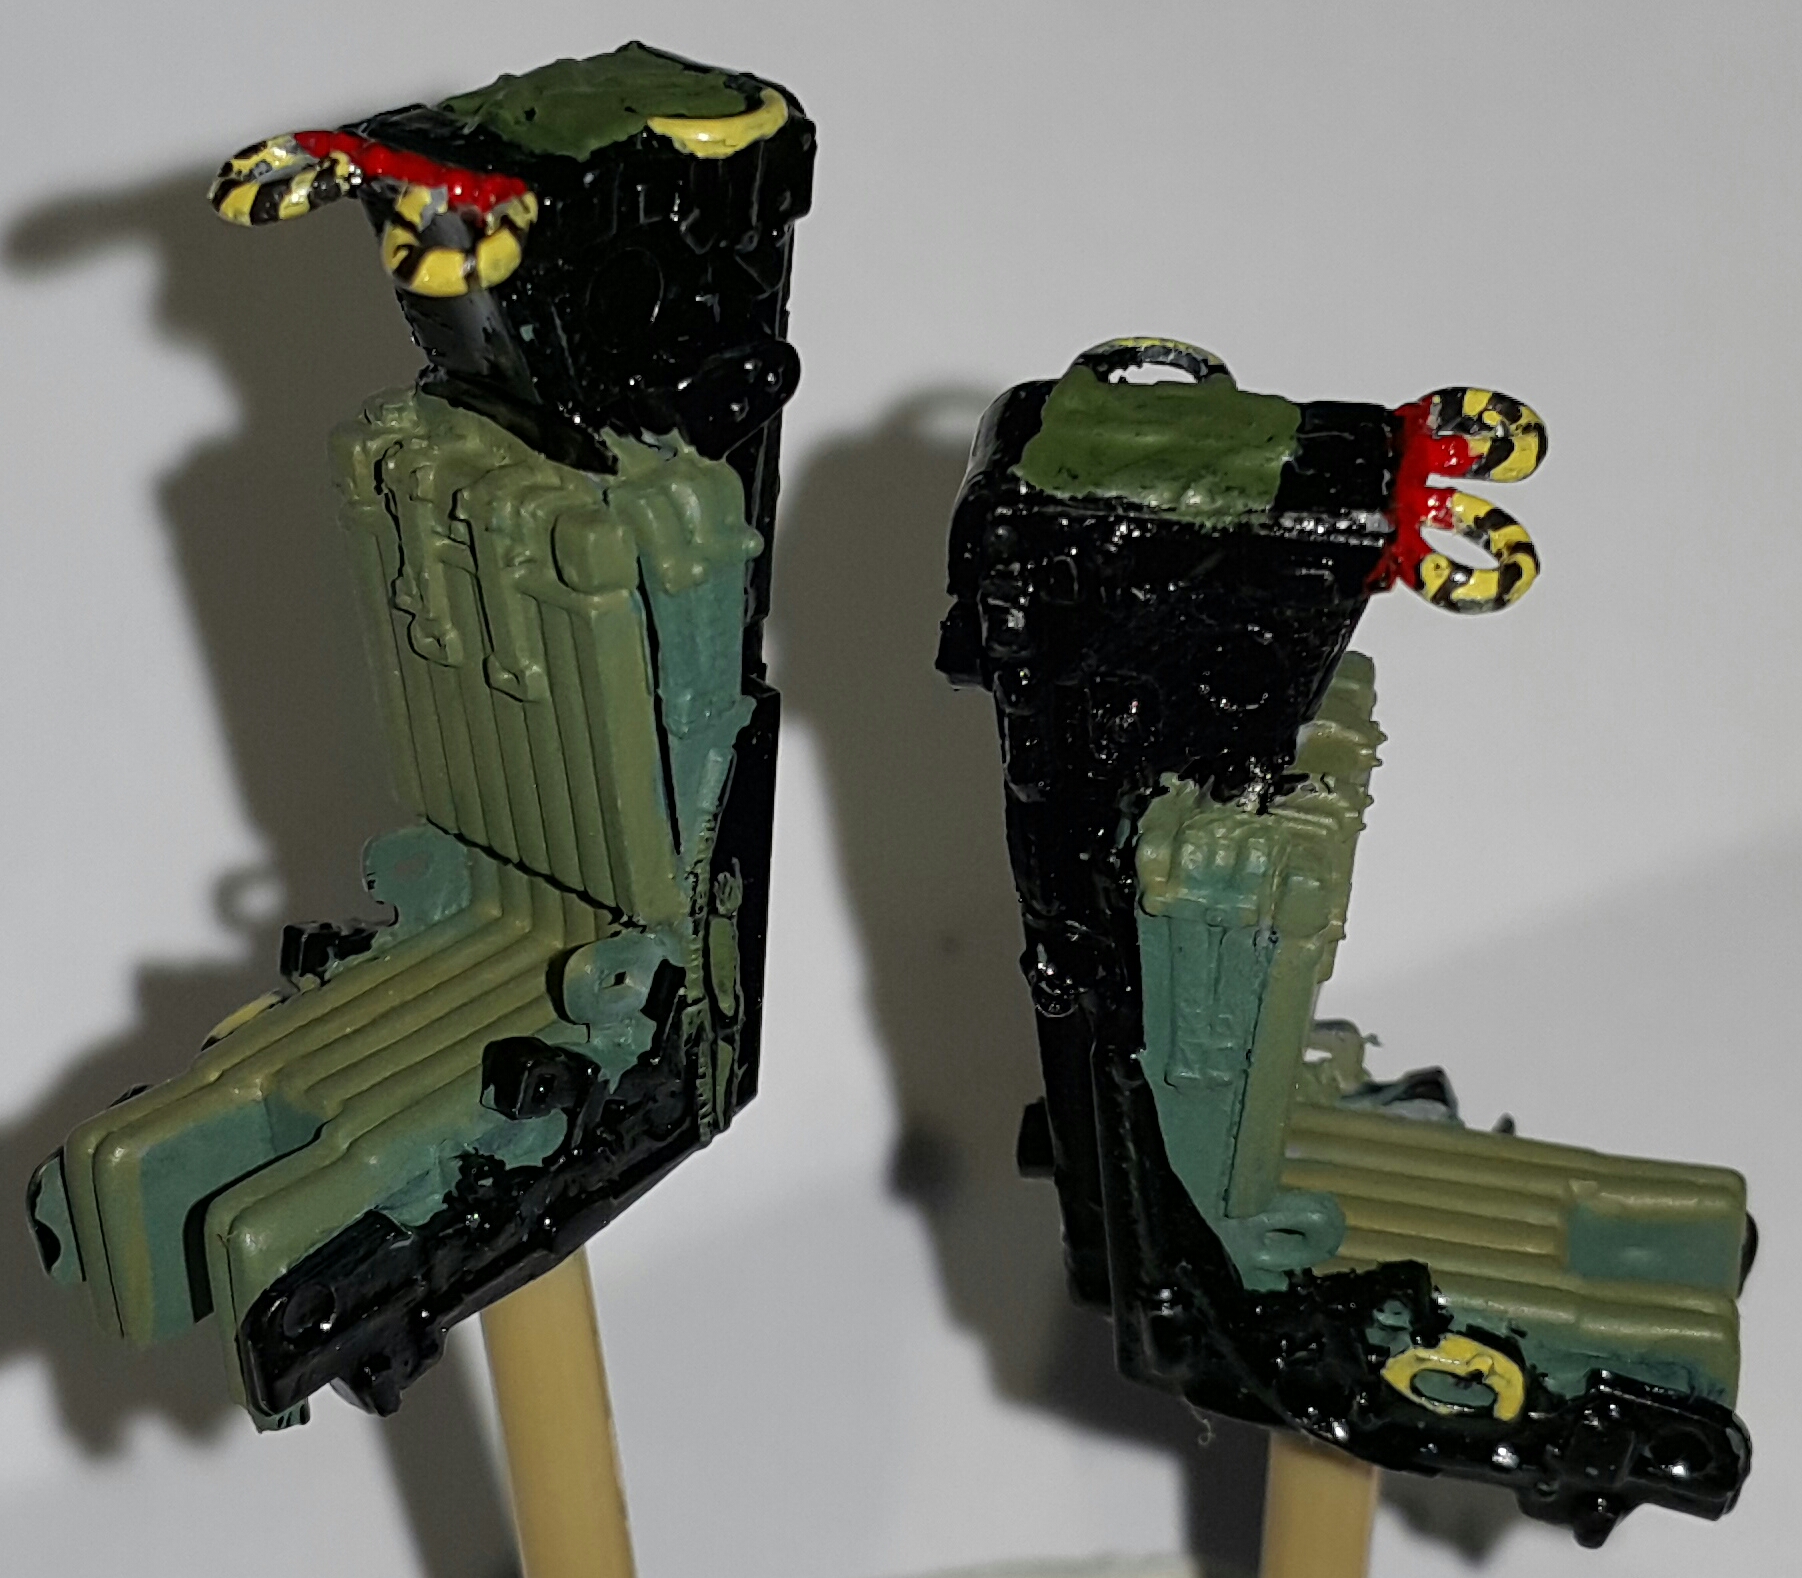
Hopefully they will distract from the low detail in the rest of the cockpit.
A shame the kit figure is garbage so might have to try and source some replacement figures.

Hopefully they will distract from the low detail in the rest of the cockpit.
A shame the kit figure is garbage so might have to try and source some replacement figures.
Pave-Hawk

Joined: May 05, 2006
KitMaker: 900 posts
AeroScale: 200 posts

Posted: Sunday, September 24, 2017 - 06:53 AM UTC
Fuselage is finally going together
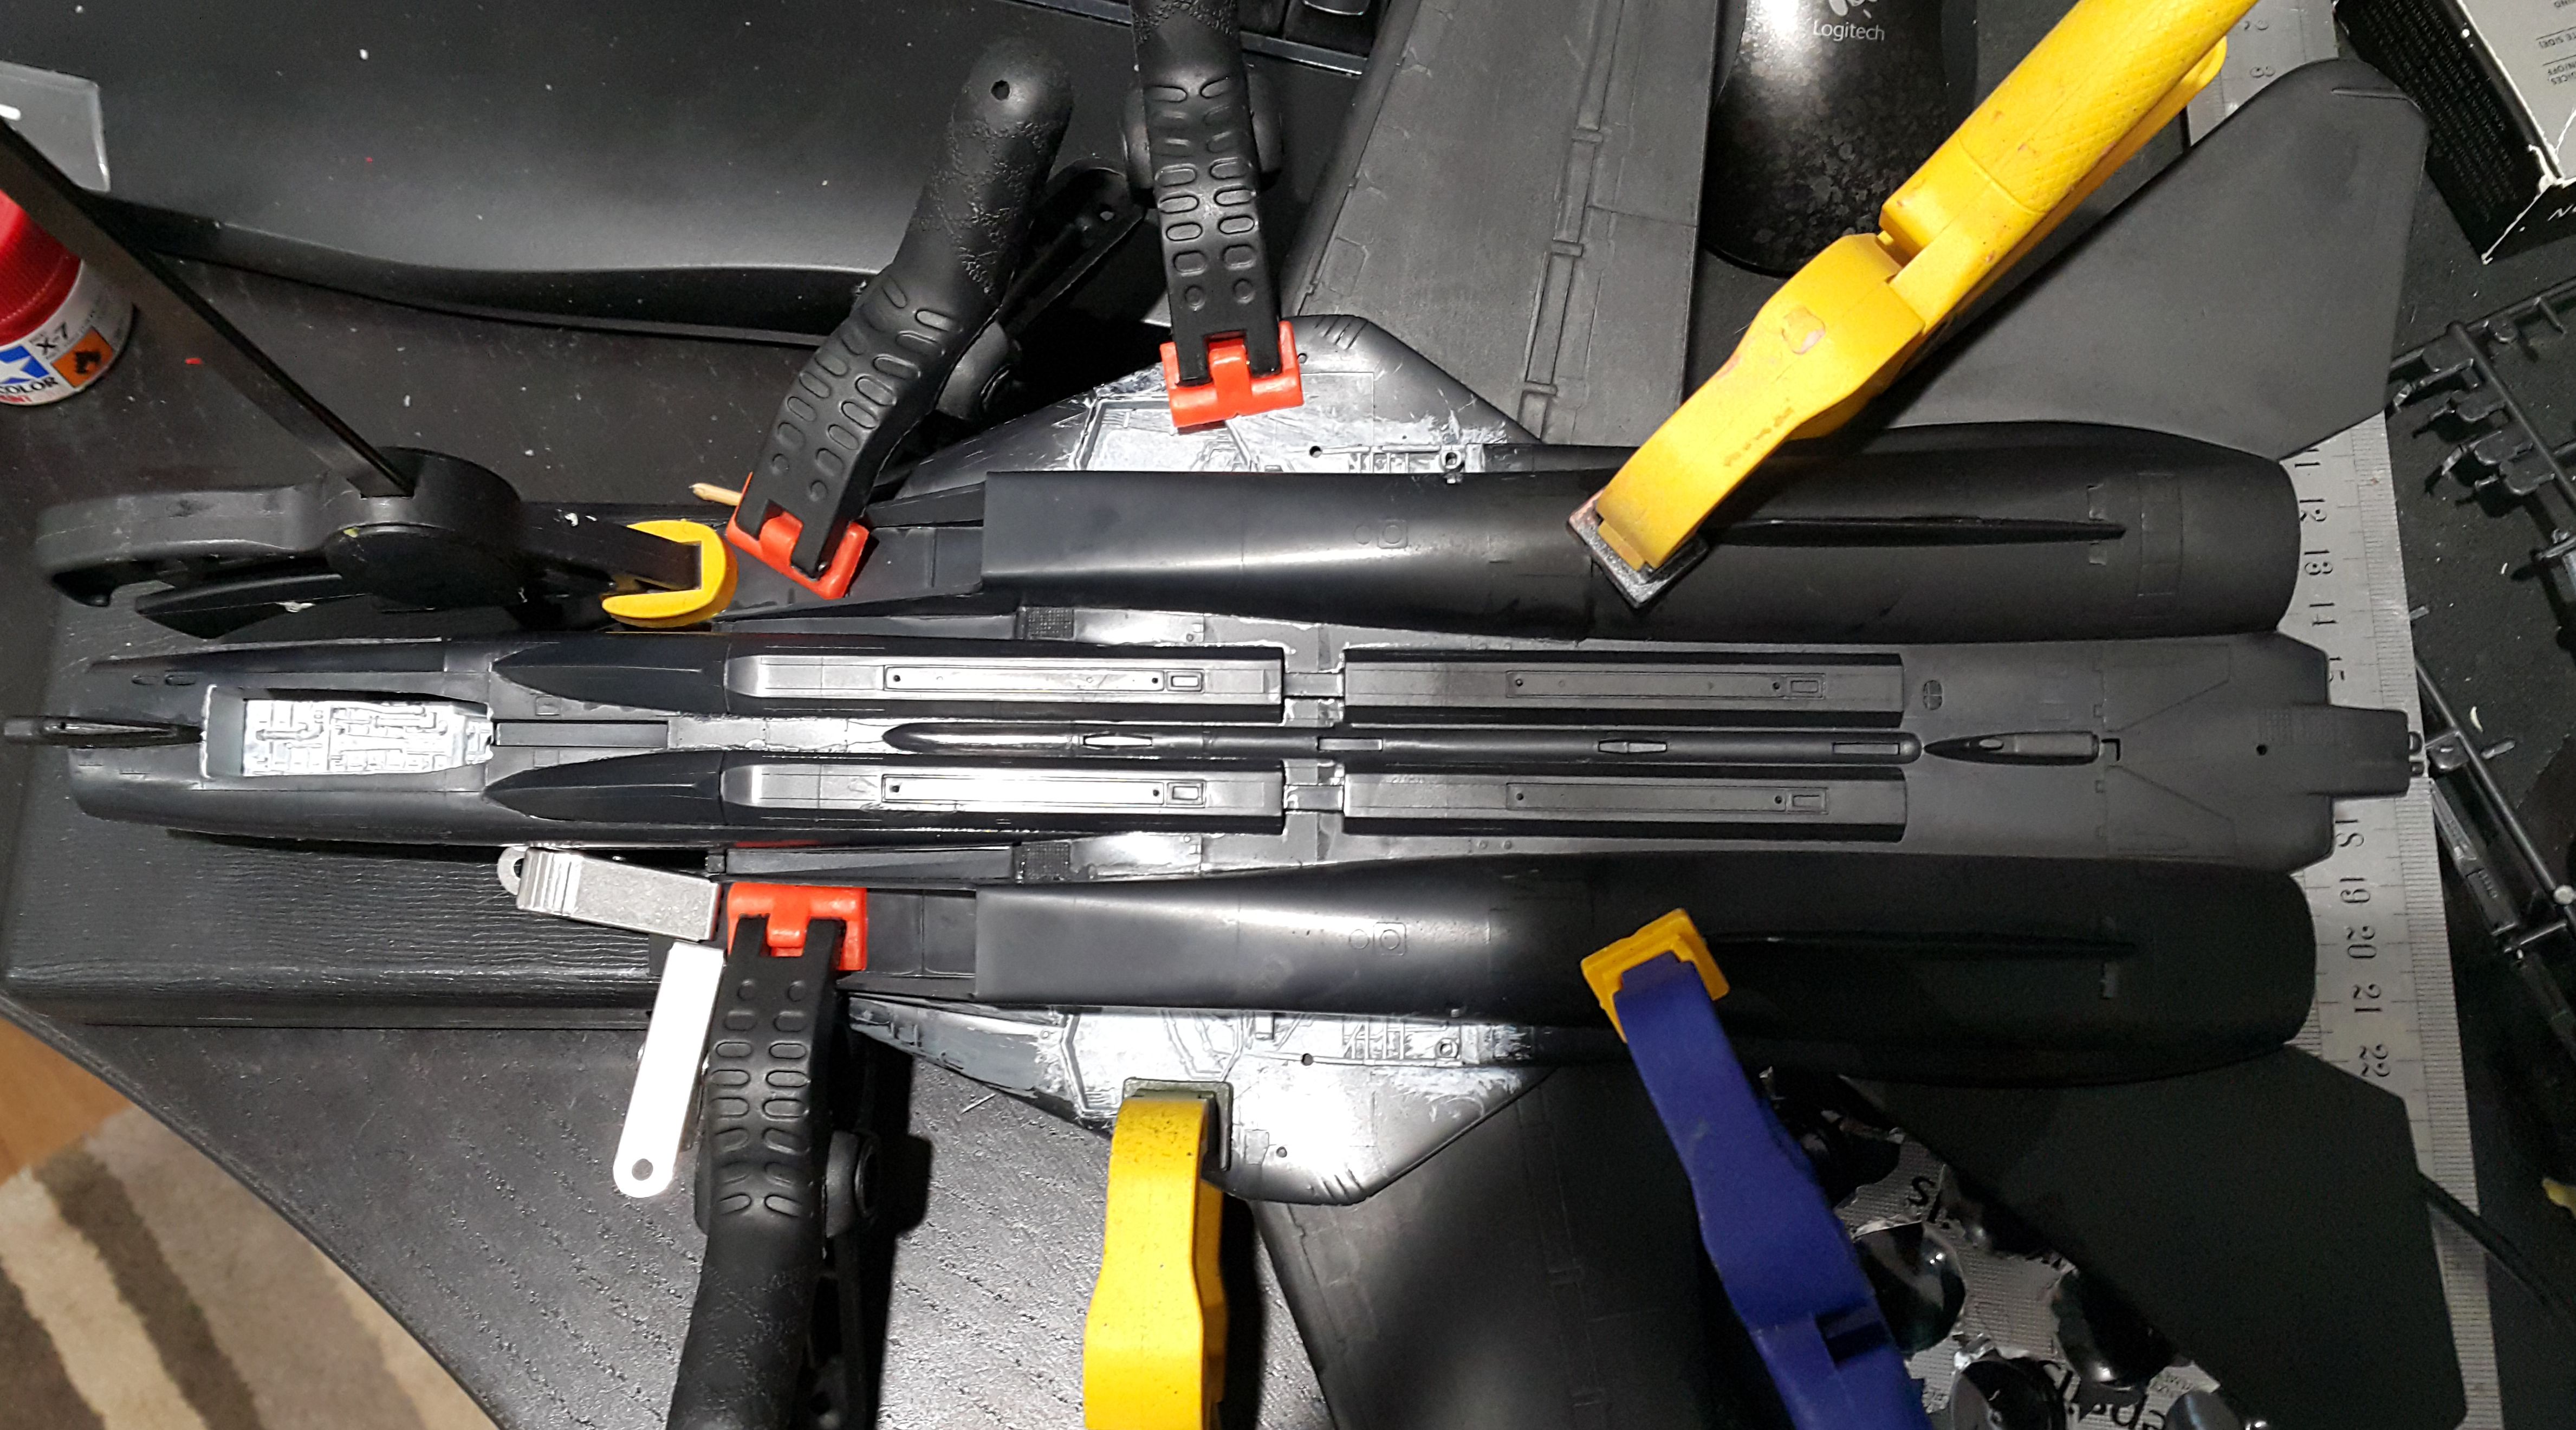
The overall fit on this kit is pretty ordinary, having to be vary careful to try and get everything lined up, but there is still going to be a lot of clean-up required on the seams.
The raised panel lines are going to take a beating I think.

The overall fit on this kit is pretty ordinary, having to be vary careful to try and get everything lined up, but there is still going to be a lot of clean-up required on the seams.
The raised panel lines are going to take a beating I think.
MichaelSatin


Joined: January 19, 2008
KitMaker: 3,909 posts
AeroScale: 2,904 posts

Posted: Sunday, September 24, 2017 - 04:42 PM UTC
Nice work going on here! Time for an update on the 1/32 Academy F-16I. As I may (or may not) have mentioned, this one is out of the box.
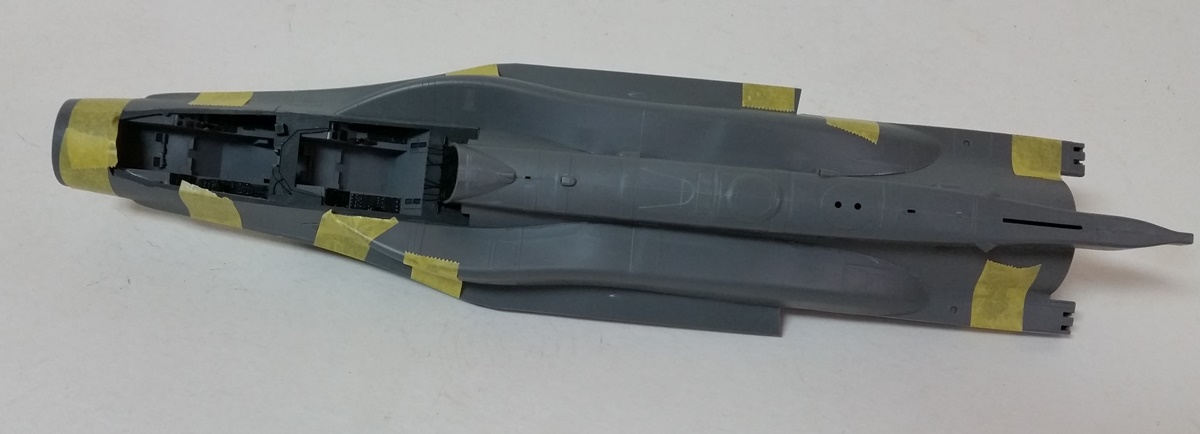
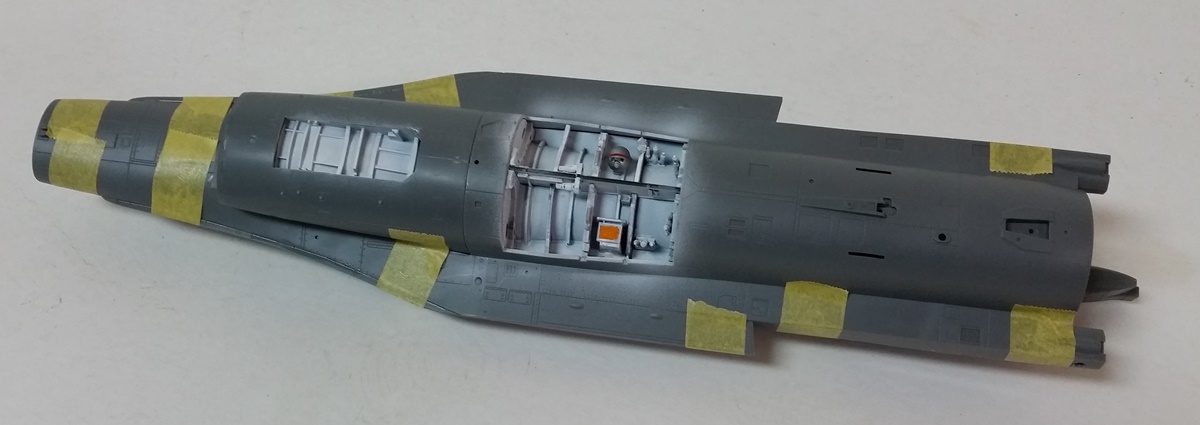
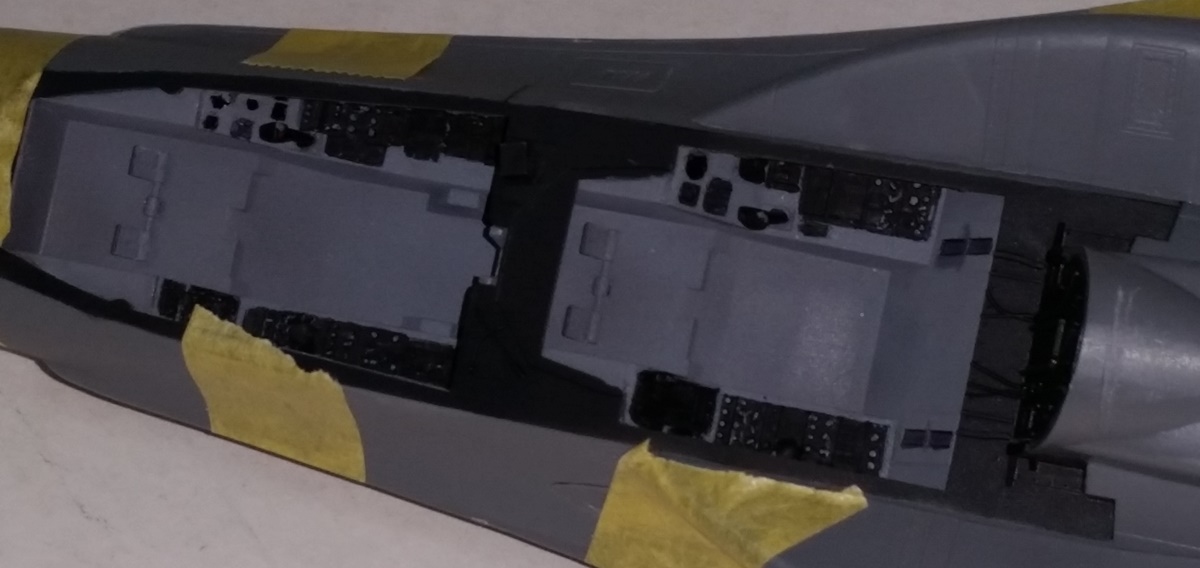
Not Tamiya, but not terrible either. The fit of the spine is tricky but I was actually surprised at how well the conformal fuel tanks fit, those are difficult shapes to get right.
Michael


Not Tamiya, but not terrible either. The fit of the spine is tricky but I was actually surprised at how well the conformal fuel tanks fit, those are difficult shapes to get right.
Michael

oraora

Joined: June 19, 2002
KitMaker: 216 posts
AeroScale: 128 posts

Posted: Monday, September 25, 2017 - 07:01 AM UTC
Hi, i ll be building an old kit, Fujimi 1/72nd F-14A in Iranian markings. Hopefully the decals are still usable.


KelticKnot

Joined: May 11, 2015
KitMaker: 768 posts
AeroScale: 656 posts

Posted: Monday, September 25, 2017 - 09:39 PM UTC
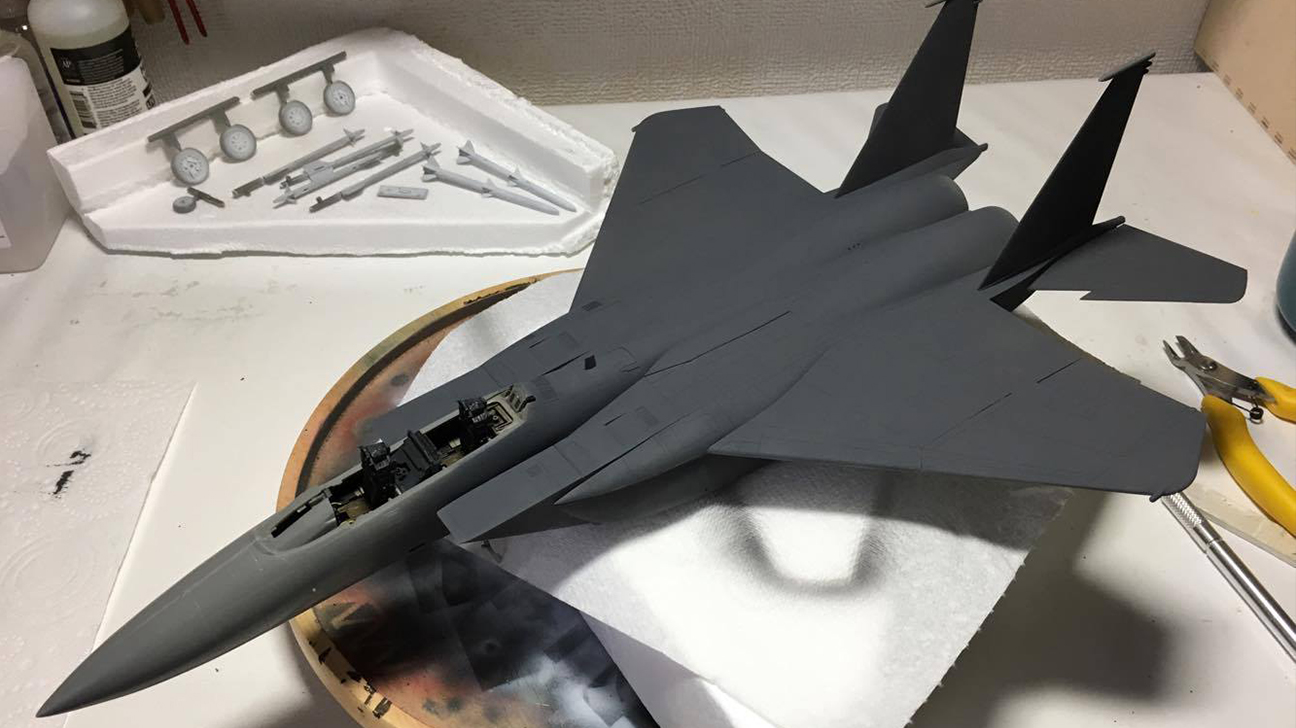
Back on track and getting some paint down.

Posted: Saturday, September 30, 2017 - 09:04 PM UTC
Quoted Text
Hi mates,
I'm in
Have to choose now between F-15E, F-16C(2) and F-18E which are in my stash
Sorry mates,
due to some other things to do and already enlisted for two other campaigns which I really want to finish, I must resign from this one.
Have much fun and good luck for finishing in time

MichaelSatin


Joined: January 19, 2008
KitMaker: 3,909 posts
AeroScale: 2,904 posts

Posted: Sunday, October 01, 2017 - 03:22 AM UTC
Quoted Text
Quoted TextHi mates,
I'm in
Have to choose now between F-15E, F-16C(2) and F-18E which are in my stash
Sorry mates,
due to some other things to do and already enlisted for two other campaigns which I really want to finish, I must resign from this one.
Have much fun and good luck for finishing in time
Sorry to see you go Peter, but I fully understand. Good luck with your other builds!
Michael

Tobar

Joined: October 17, 2002
KitMaker: 192 posts
AeroScale: 70 posts

Posted: Monday, October 02, 2017 - 09:46 AM UTC
Just a quick update on painting...
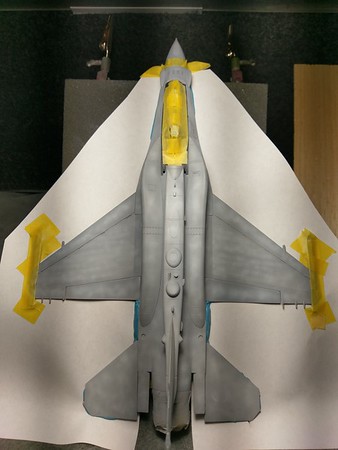
I've kind-of-been taking my time with this 'Paint Scheme' for some reason, Previously, I did a build where I sprayed a 'frost' after the paint scheme was sprayed.... with this one, I'm doing the opposite.... I primed kit with a medium gray primer and now I'm applying a thin mist of white on the center panel area's and a thin mist of black/brown on the 'shadow areas'..... I'm working on a mixture to thin the tri-color paint scheme well enough for all colors to look similar in age and weathering...
We'll see if it comes out right!
High Lights applied to the primer....
 .
.
...Now the shadows applied to matting areas of skin...
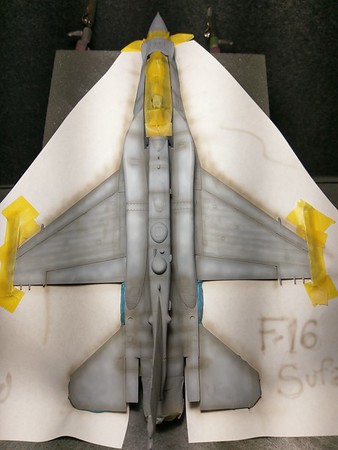
...trying to get that 'Used' look....

I've kind-of-been taking my time with this 'Paint Scheme' for some reason, Previously, I did a build where I sprayed a 'frost' after the paint scheme was sprayed.... with this one, I'm doing the opposite.... I primed kit with a medium gray primer and now I'm applying a thin mist of white on the center panel area's and a thin mist of black/brown on the 'shadow areas'..... I'm working on a mixture to thin the tri-color paint scheme well enough for all colors to look similar in age and weathering...
We'll see if it comes out right!
High Lights applied to the primer....
 .
....Now the shadows applied to matting areas of skin...

...trying to get that 'Used' look....

Pave-Hawk

Joined: May 05, 2006
KitMaker: 900 posts
AeroScale: 200 posts

Posted: Tuesday, October 03, 2017 - 11:38 AM UTC
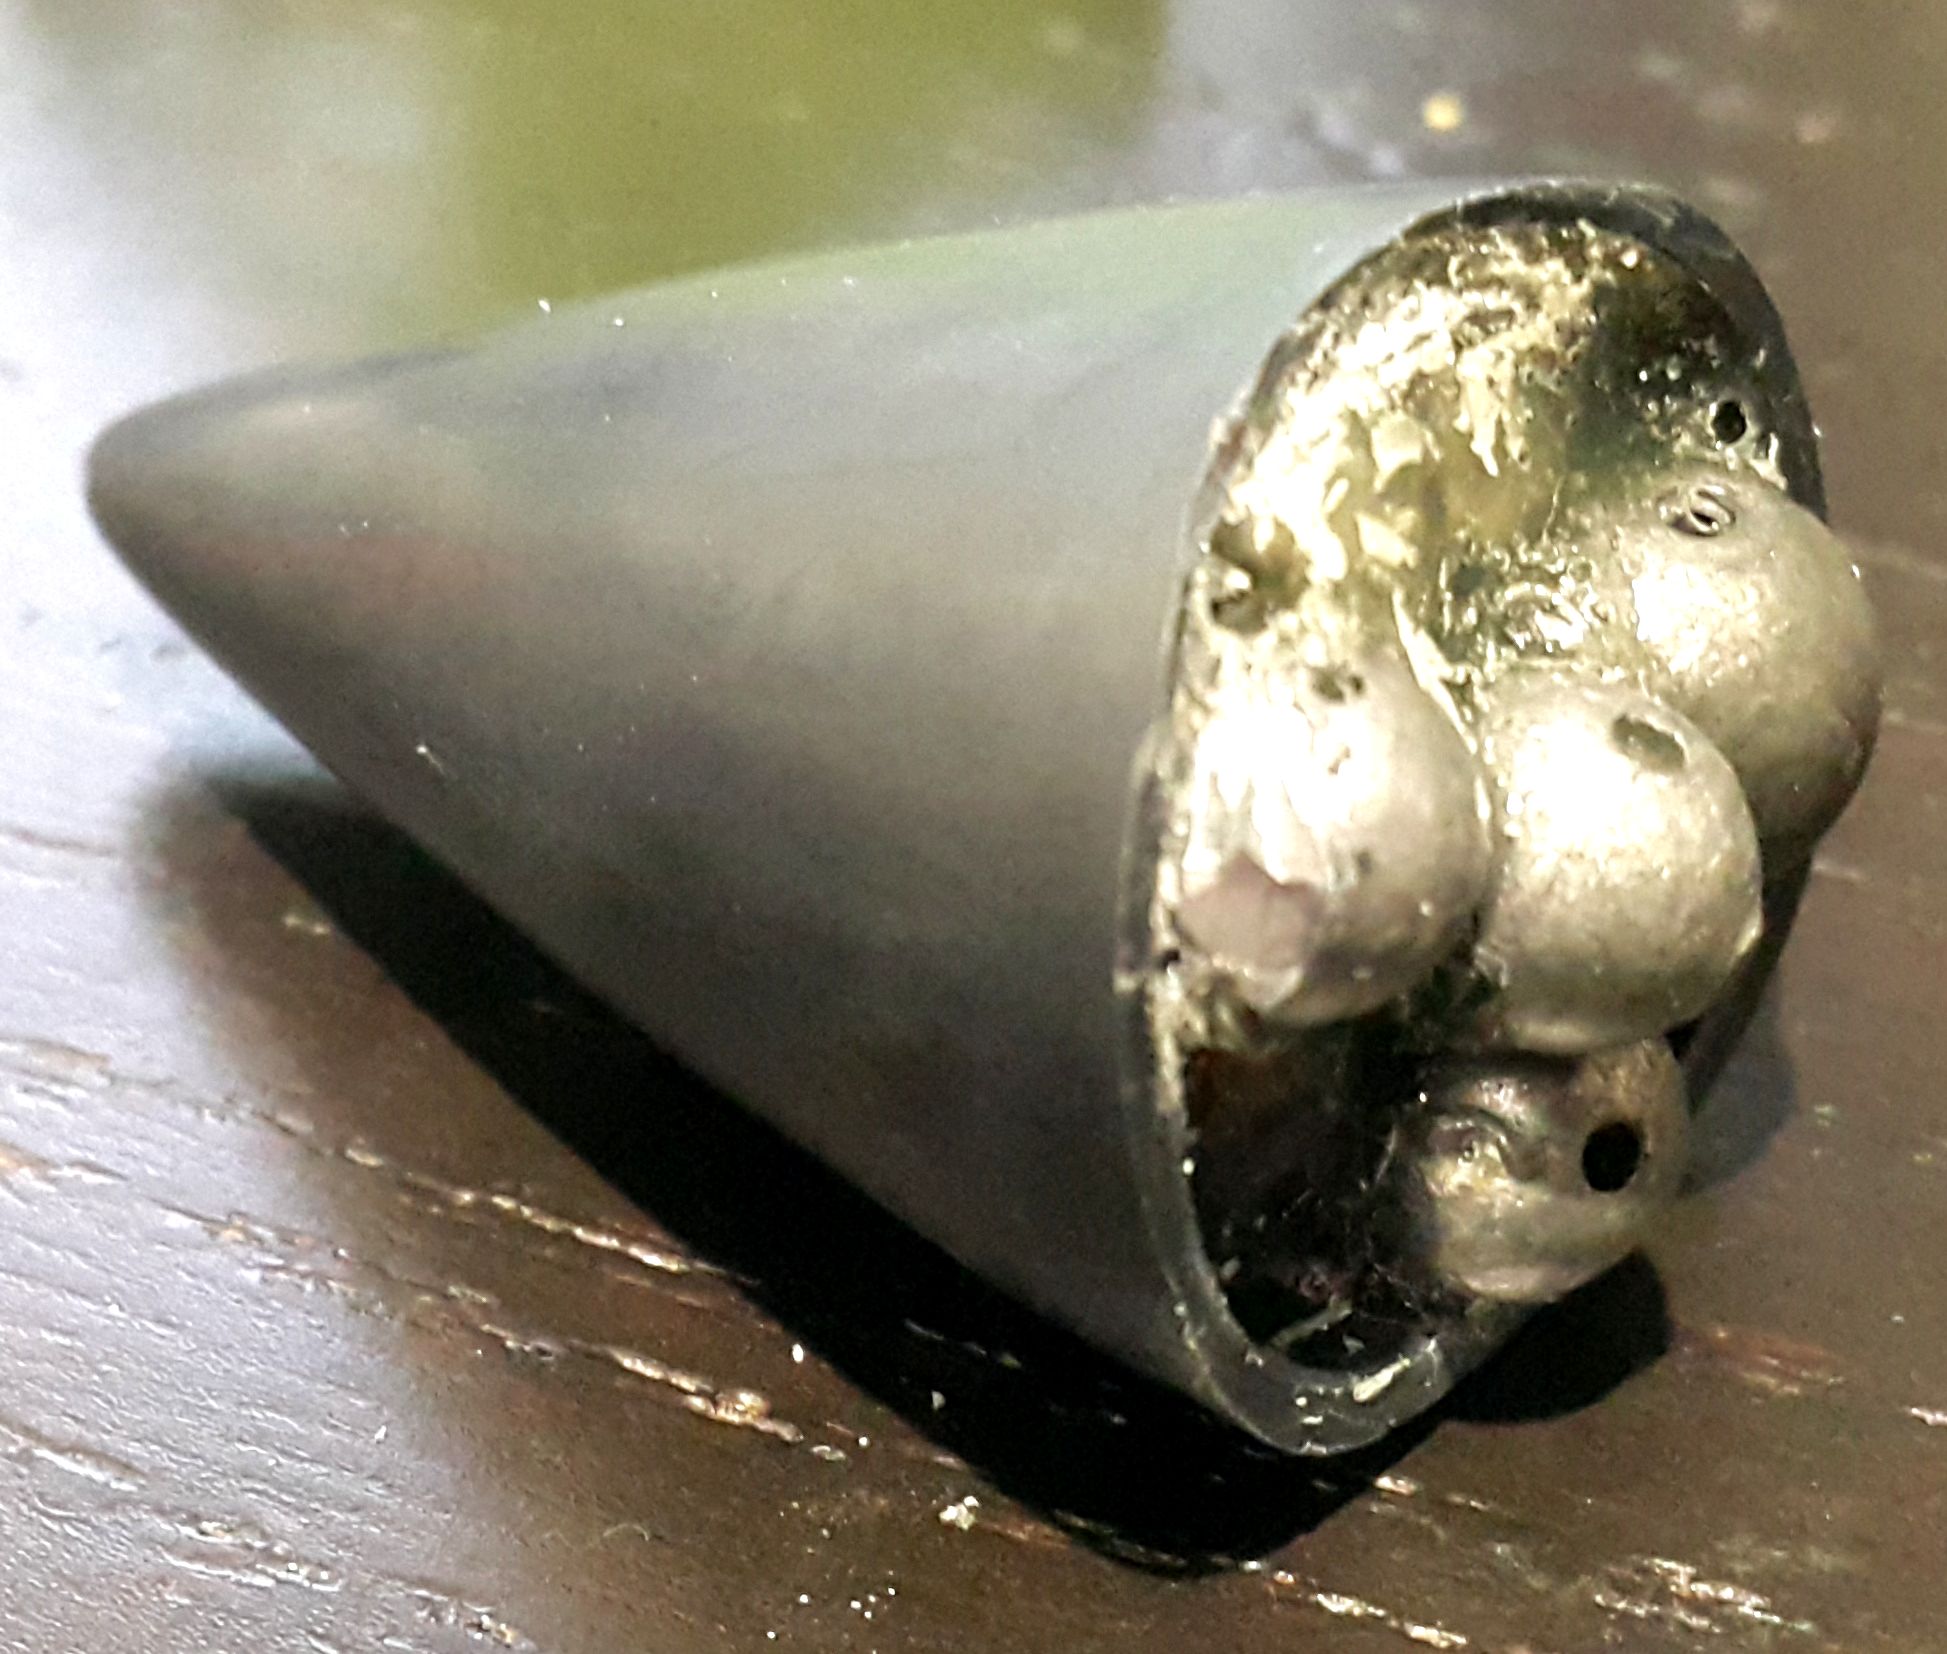
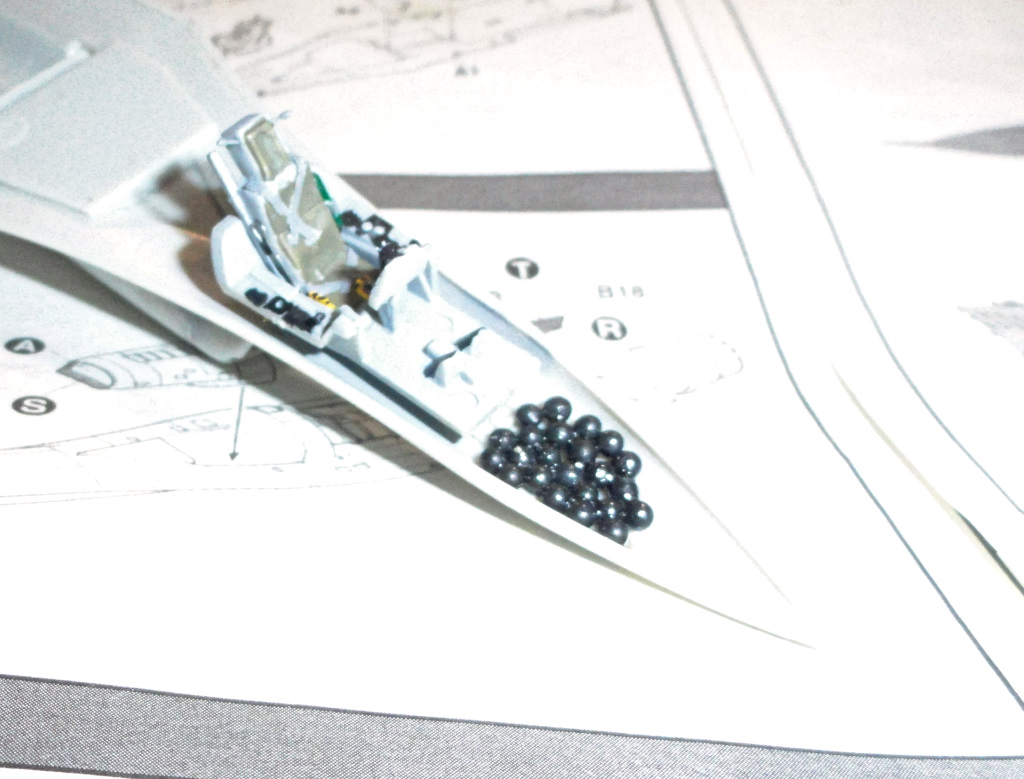
To make sure I don't end up with a tail dragger, I loaded the nose with lead weight and epoxy
After lots of filling gaps and sanding the plane finally gets it's first overall coat of primer
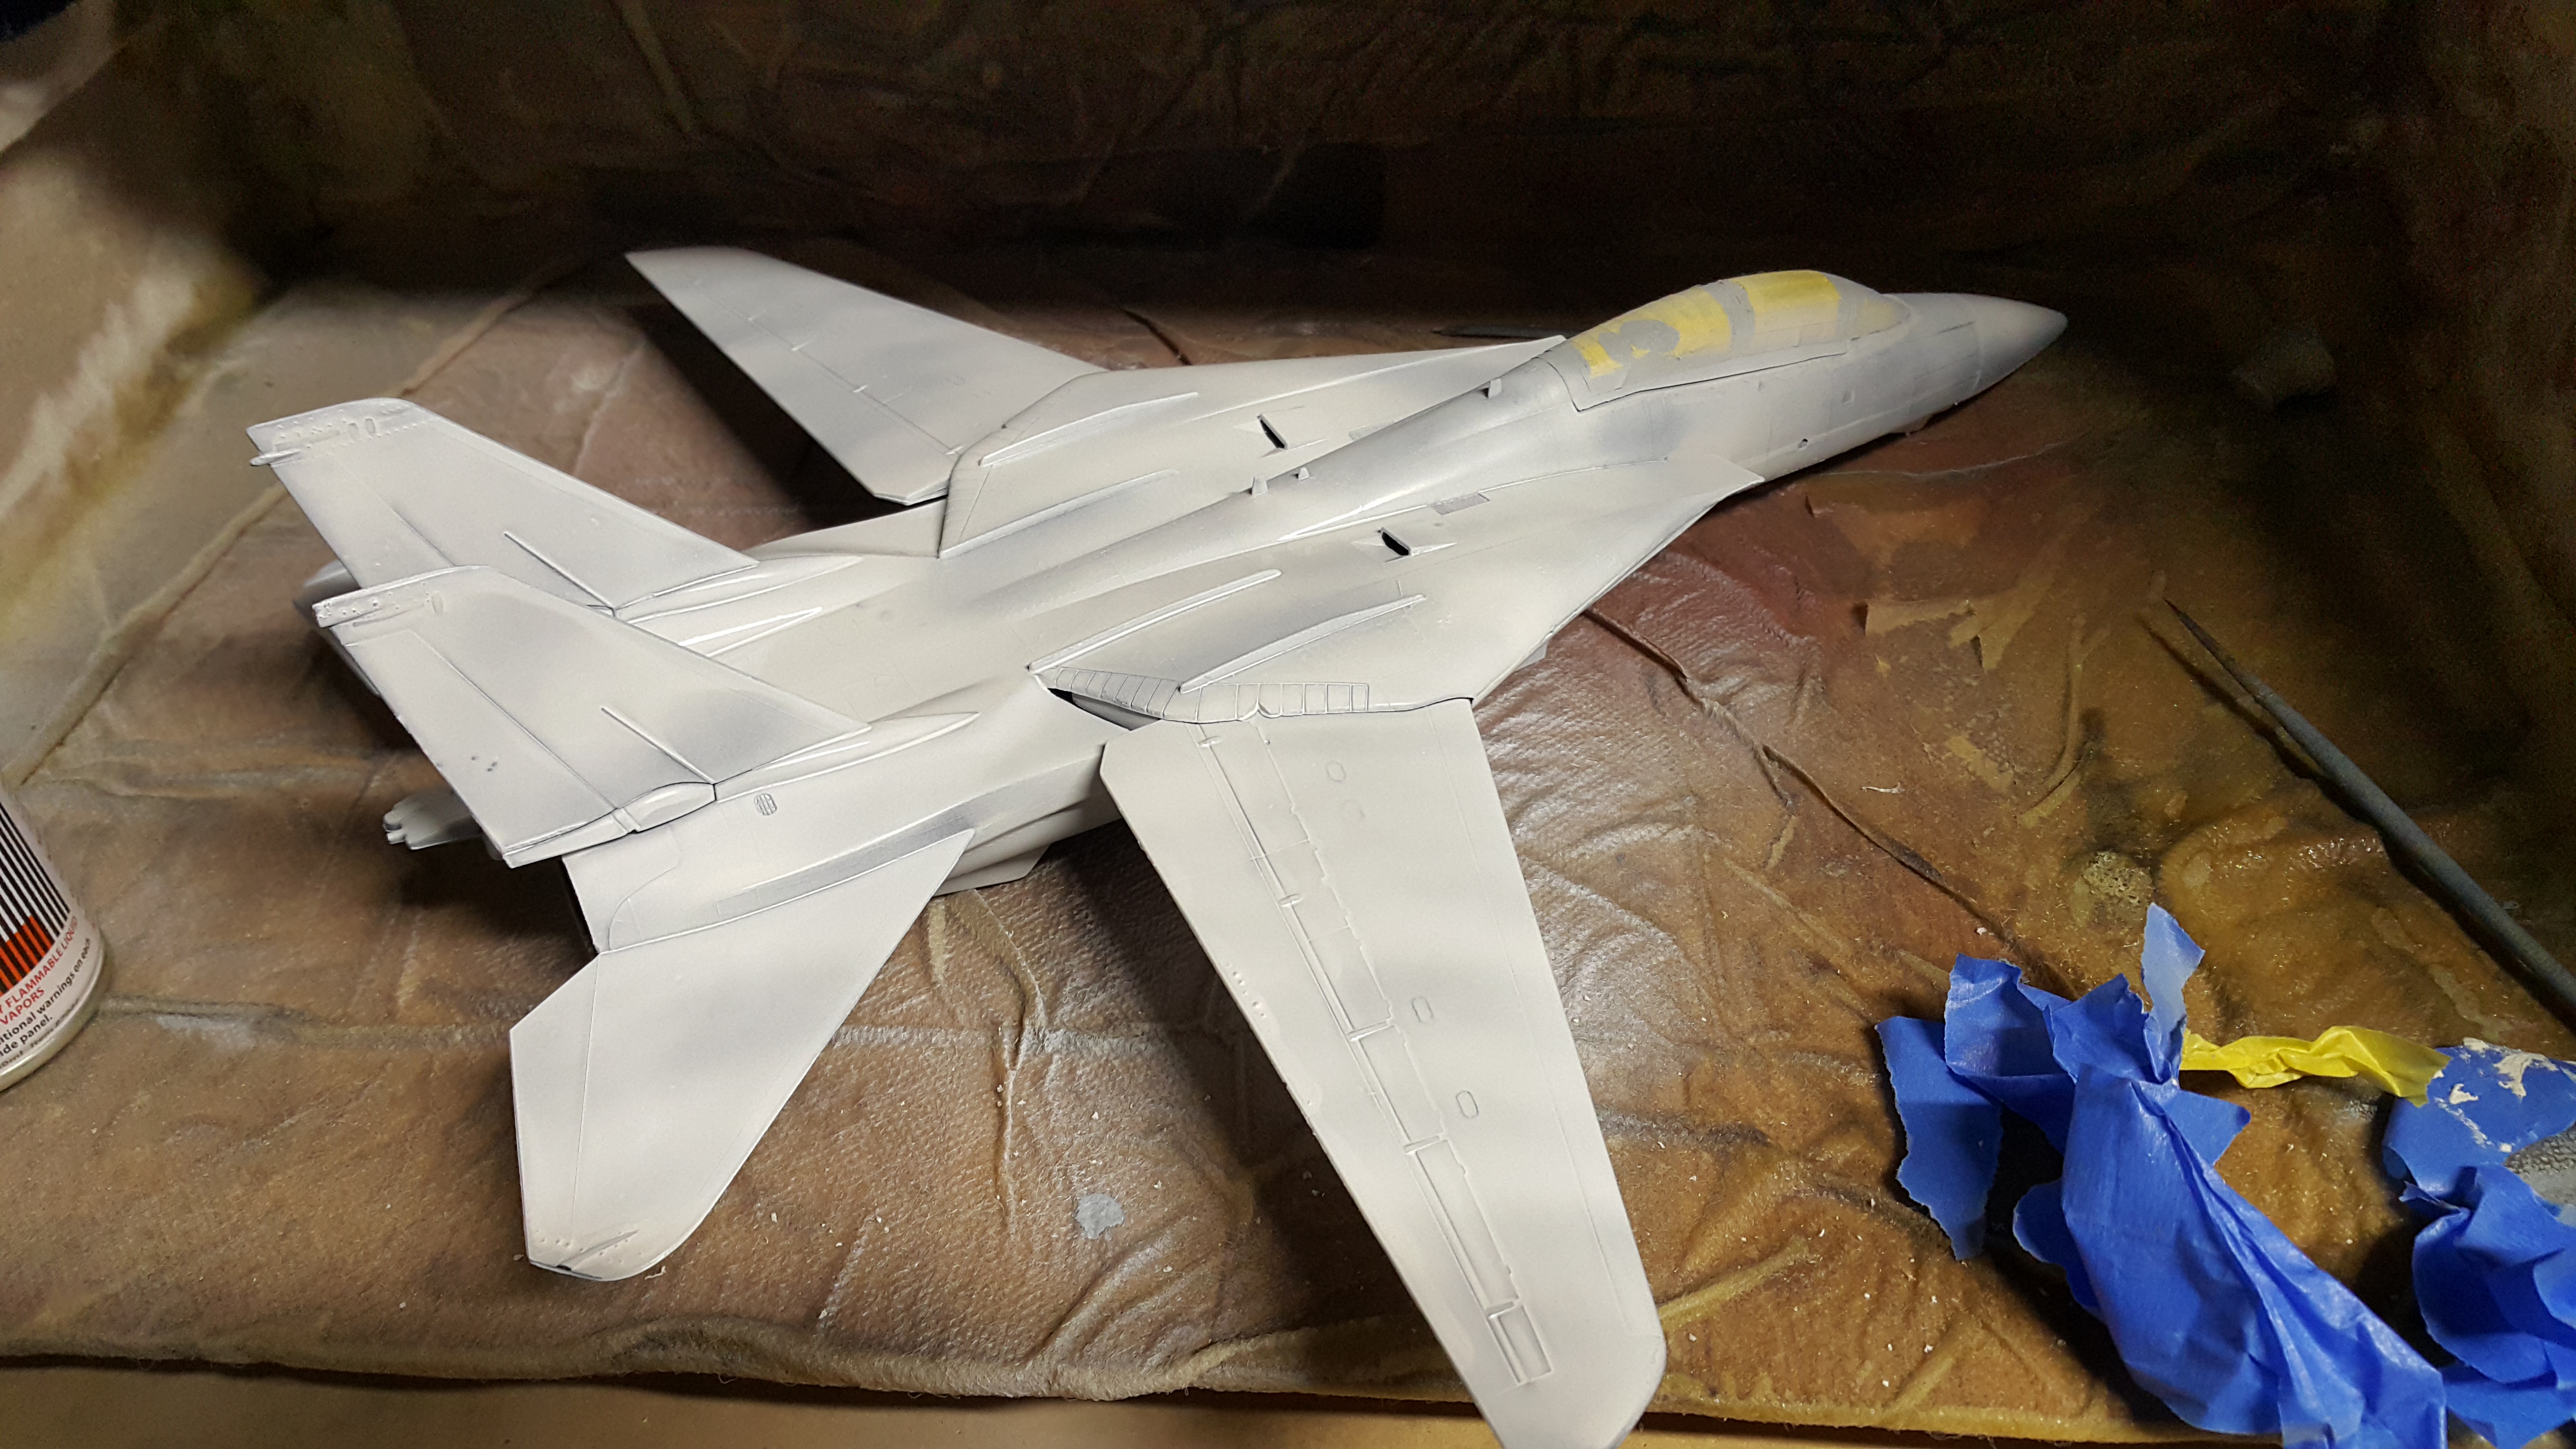

After lots of filling gaps and sanding the plane finally gets it's first overall coat of primer


LinusB

Joined: March 21, 2016
KitMaker: 247 posts
AeroScale: 105 posts

Posted: Monday, October 16, 2017 - 10:25 AM UTC
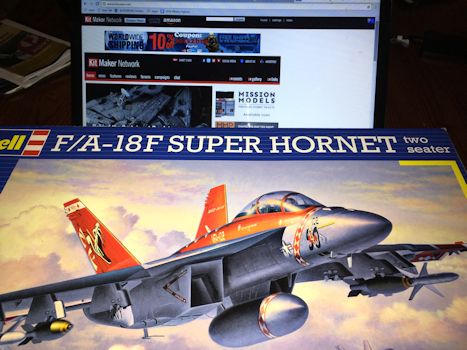
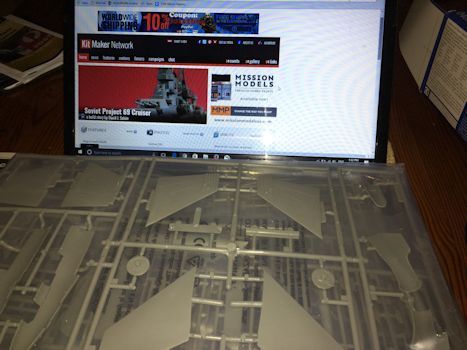
Opening up the box on my F/A-18F - Super Hornet


Pave-Hawk

Joined: May 05, 2006
KitMaker: 900 posts
AeroScale: 200 posts

Posted: Wednesday, October 18, 2017 - 07:25 AM UTC
Here's a picture of the cockpit at one point during painting.
Just about everything has gone wrong while painting my F-14.
Had to fiddle quite a bit with air pressure to get a nice gloss coat to go on. Was looking really good so after nearly a week I masked up with Tamiya tape to paint the wing leading edges and the anti glare in front of the cockpit. On removing the tape it had ruined the gloss finish, tried polishing it with polishing compound, which helped a bit, but will have to go over the whole thing with a clear gloss coat to fix it completely. So in the mean time because you can never use too much masking tape, I masked up the the exhausts for spraying
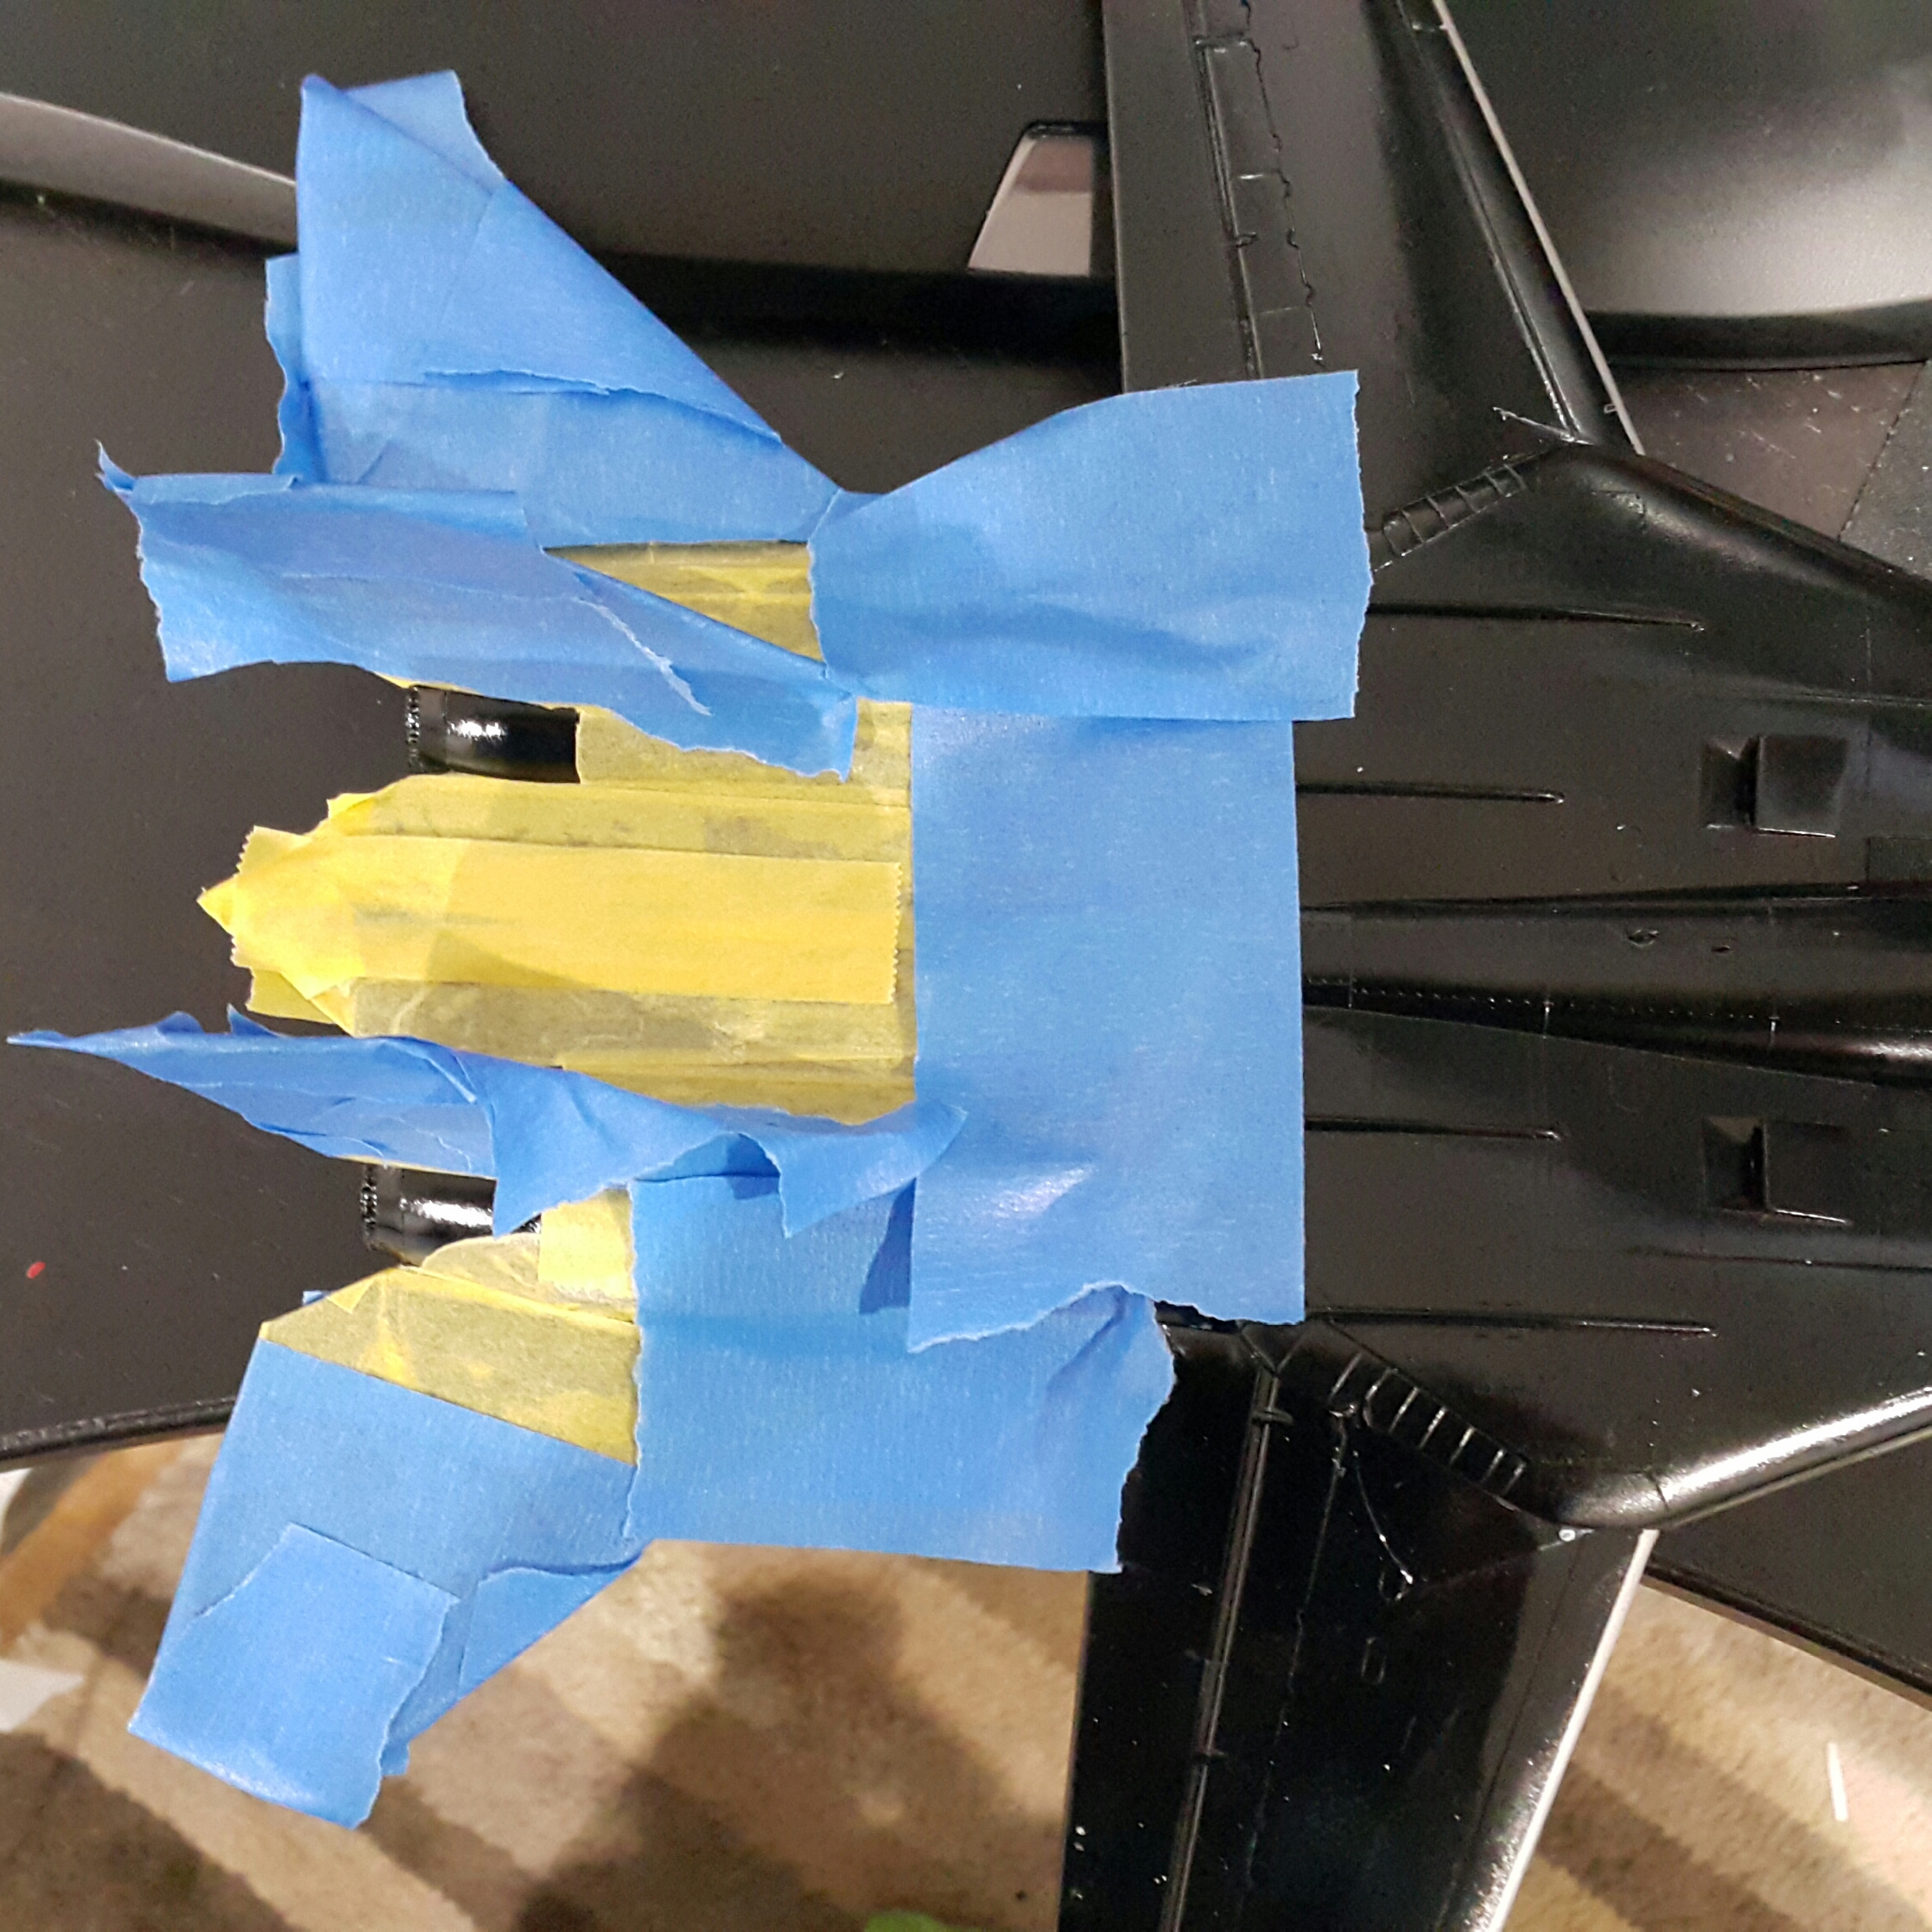
While spraying them I managed to splash some of the alclad lacquer on the underside of one of the wings, and it ate straight through the paint, so now I have to respray the wing after trying to sand it smooth so that there's no giant step where the paint hole is.
Just about everything has gone wrong while painting my F-14.
Had to fiddle quite a bit with air pressure to get a nice gloss coat to go on. Was looking really good so after nearly a week I masked up with Tamiya tape to paint the wing leading edges and the anti glare in front of the cockpit. On removing the tape it had ruined the gloss finish, tried polishing it with polishing compound, which helped a bit, but will have to go over the whole thing with a clear gloss coat to fix it completely. So in the mean time because you can never use too much masking tape, I masked up the the exhausts for spraying

While spraying them I managed to splash some of the alclad lacquer on the underside of one of the wings, and it ate straight through the paint, so now I have to respray the wing after trying to sand it smooth so that there's no giant step where the paint hole is.

Posted: Friday, October 20, 2017 - 12:13 PM UTC
Update on my progress. In the past, I built up the cockpit and bits of the MLG.
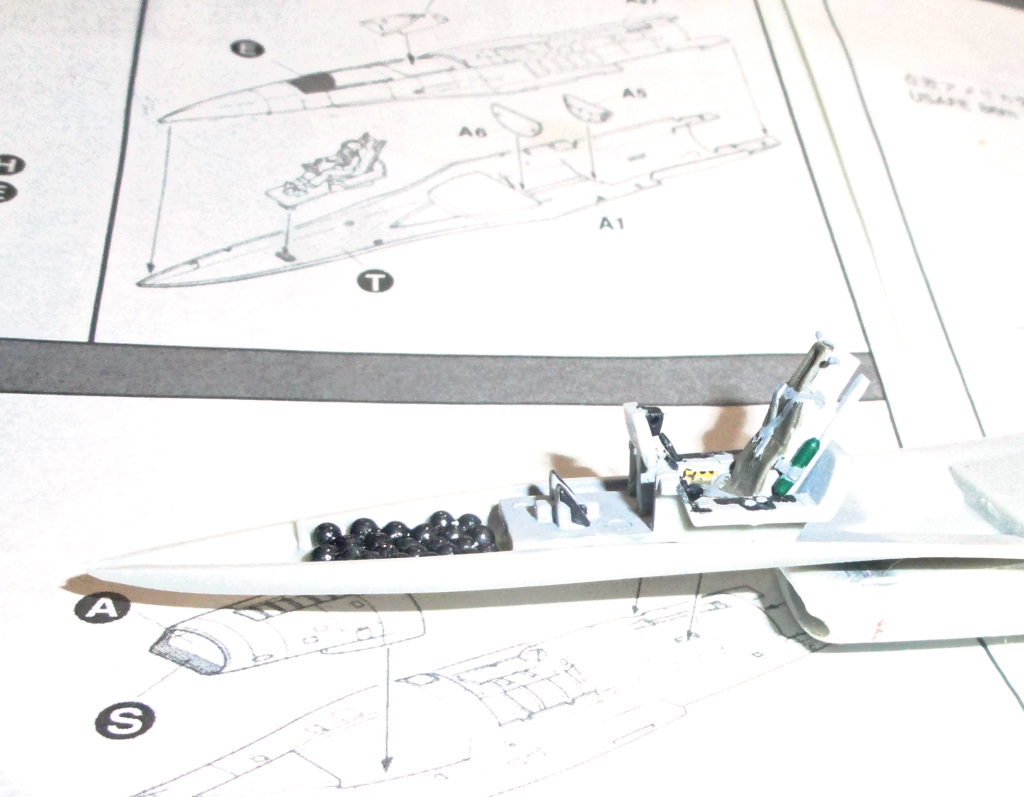
Here's the build log I started back in 2010?!?!?? Kitech F-16


Here's the build log I started back in 2010?!?!?? Kitech F-16


Tobar

Joined: October 17, 2002
KitMaker: 192 posts
AeroScale: 70 posts

Posted: Saturday, October 21, 2017 - 03:58 AM UTC
Teen's!!!
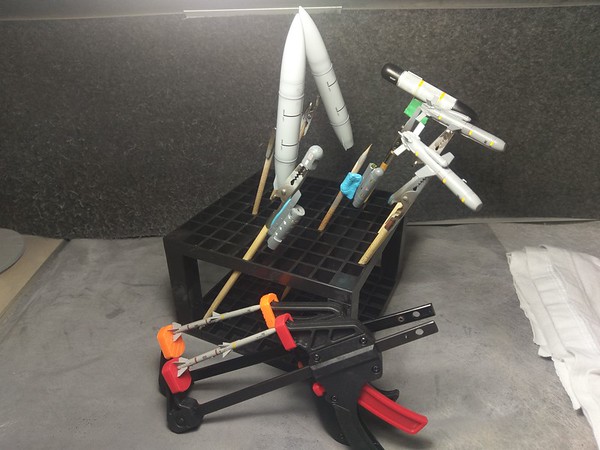
After all this time looking into the best finish for this build, (and working on trying new methods.), all I've been able to accomplish are my ordnance's on this F-16's hard-points. Here I have the Fuel tanks, 2 AMRAAM's, 2 AN/AAQ's, Data link and 2 Israeli Delilah Missile. All painted, decaled and clear coated. Will do weathering later.
THIS IS MY PLAN:
Because I had an issue in the past with "Blue-Tac" leaving behind some residue, I will be trying out MIG's 'Masking Putty'... it's claim is to NOT leave a residue...
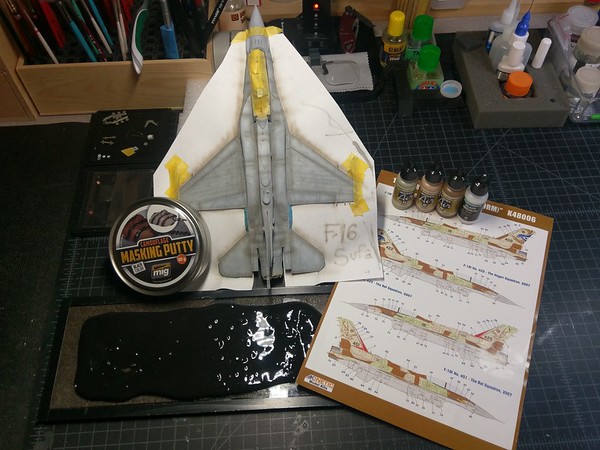
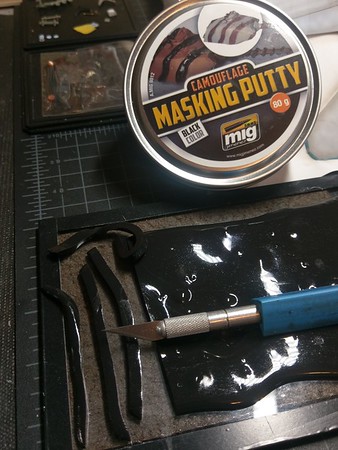
....I plan to 'trim' the 'Masking Putty' like 'Blue-Tac' and shape the putty according to the paint scheme on paint guide...
Paint:
I have Vallejo's IAF paint set and from my understanding, this GLAZE MEDIUM additive will thin paint enough to highlight the 'Pre-shading' on A.C.
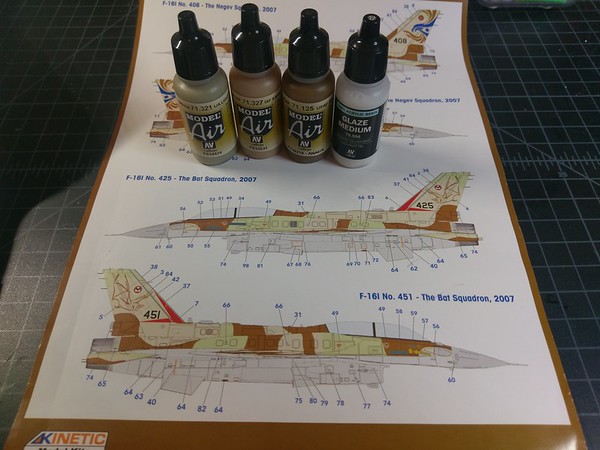
........until next time....
After all this time looking into the best finish for this build, (and working on trying new methods.), all I've been able to accomplish are my ordnance's on this F-16's hard-points. Here I have the Fuel tanks, 2 AMRAAM's, 2 AN/AAQ's, Data link and 2 Israeli Delilah Missile. All painted, decaled and clear coated. Will do weathering later.

THIS IS MY PLAN:
Because I had an issue in the past with "Blue-Tac" leaving behind some residue, I will be trying out MIG's 'Masking Putty'... it's claim is to NOT leave a residue...

....I plan to 'trim' the 'Masking Putty' like 'Blue-Tac' and shape the putty according to the paint scheme on paint guide...

Paint:
I have Vallejo's IAF paint set and from my understanding, this GLAZE MEDIUM additive will thin paint enough to highlight the 'Pre-shading' on A.C.

........until next time....

Posted: Monday, October 23, 2017 - 10:24 AM UTC
Well I got the fuselage buttoned up!
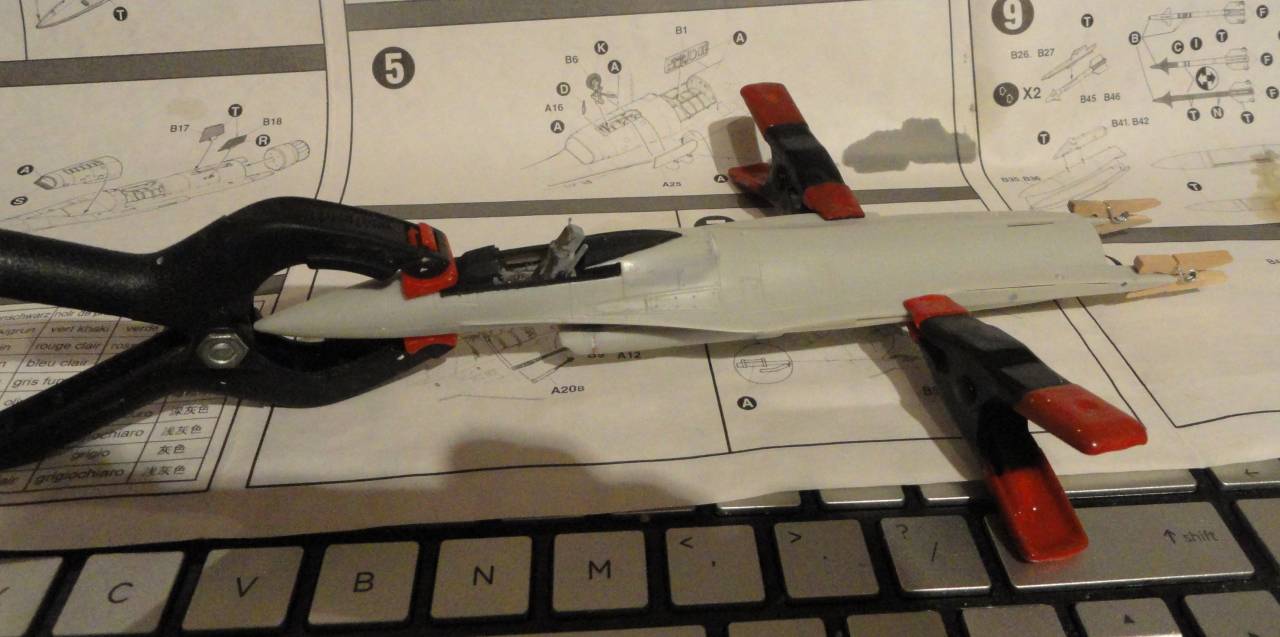
Now I've got gaps to fill, but it's looking like and F-16.


Now I've got gaps to fill, but it's looking like and F-16.


Nito74

Joined: March 04, 2008
KitMaker: 5,386 posts
AeroScale: 635 posts

Posted: Tuesday, October 24, 2017 - 07:19 PM UTC
I won't be able to finish my F-16 D from Kinetic.
Lack of mojo lately mostly, 3months away from the bench..
I might finish it for a Hangar Queen 2018 Campaign.
Good luck to everyone !!!

Lack of mojo lately mostly, 3months away from the bench..
I might finish it for a Hangar Queen 2018 Campaign.
Good luck to everyone !!!

Posted: Wednesday, October 25, 2017 - 09:07 PM UTC
Don't lose hope Nito!  I started my Kitech F-16C in January 2010, you can see how far I've progressed in only 7 1/2 years......
 I started my Kitech F-16C in January 2010, you can see how far I've progressed in only 7 1/2 years......

Kanguroo

Joined: May 07, 2006
KitMaker: 416 posts
AeroScale: 89 posts

Posted: Thursday, October 26, 2017 - 06:51 PM UTC
Quoted Text
Don't lose hope Nito!I started my Kitech F-16C in January 2010, you can see how far I've progressed in only 7 1/2 years......

 Oh, can't believe it.
SpaceXhydro

Joined: March 13, 2015
KitMaker: 418 posts
AeroScale: 114 posts

Posted: Saturday, October 28, 2017 - 02:49 AM UTC
greeting all! 
sorry you haven't heard of me on this campaign yet, nice projects you've all got.
i just want to show my projects that I've been working on last summer.
may i present...The Hasagawa F-15E Strike eagle! in 1/48 scale.


sorry about the silvering of these decals, but didn't realise the importance of decal thinners until now.


sorry you haven't heard of me on this campaign yet, nice projects you've all got.
i just want to show my projects that I've been working on last summer.
may i present...The Hasagawa F-15E Strike eagle! in 1/48 scale.


sorry about the silvering of these decals, but didn't realise the importance of decal thinners until now.


SpaceXhydro

Joined: March 13, 2015
KitMaker: 418 posts
AeroScale: 114 posts

Posted: Saturday, October 28, 2017 - 02:53 AM UTC

SpaceXhydro

Joined: March 13, 2015
KitMaker: 418 posts
AeroScale: 114 posts

Posted: Saturday, October 28, 2017 - 03:05 AM UTC
Posted: Wednesday, November 01, 2017 - 10:24 AM UTC
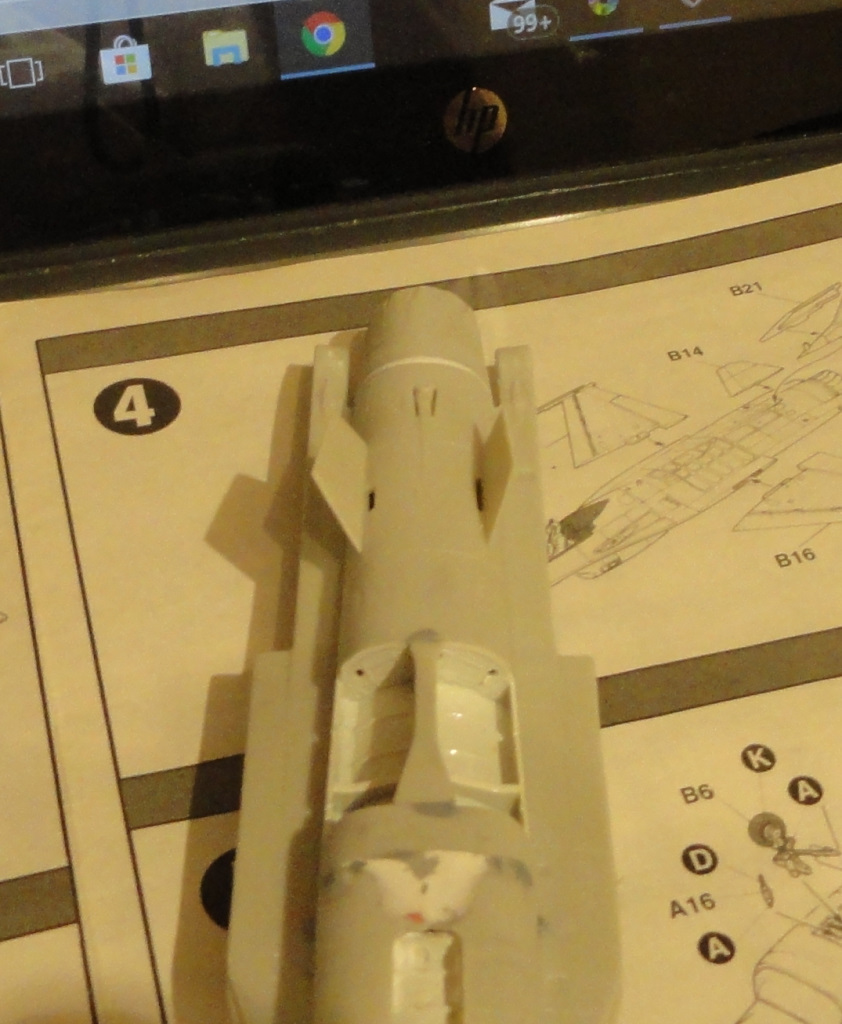
So if you find a new gap to fill is that considered progress?


RhinoSpit

Joined: September 22, 2016
KitMaker: 224 posts
AeroScale: 191 posts

Posted: Friday, November 03, 2017 - 04:27 PM UTC
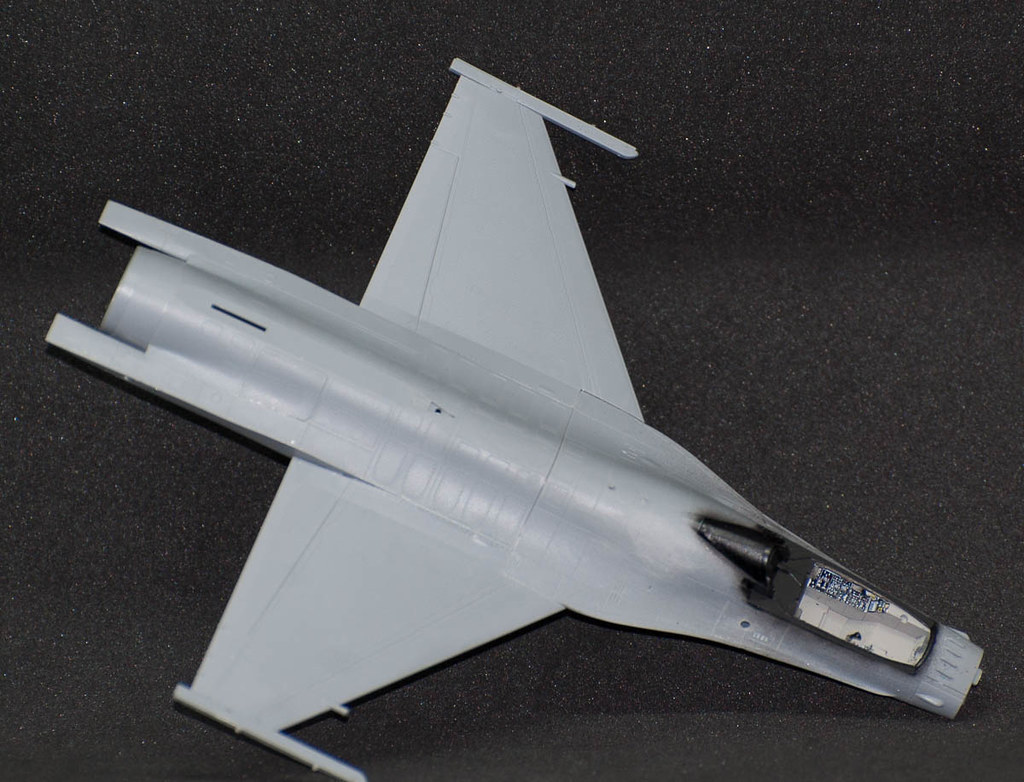
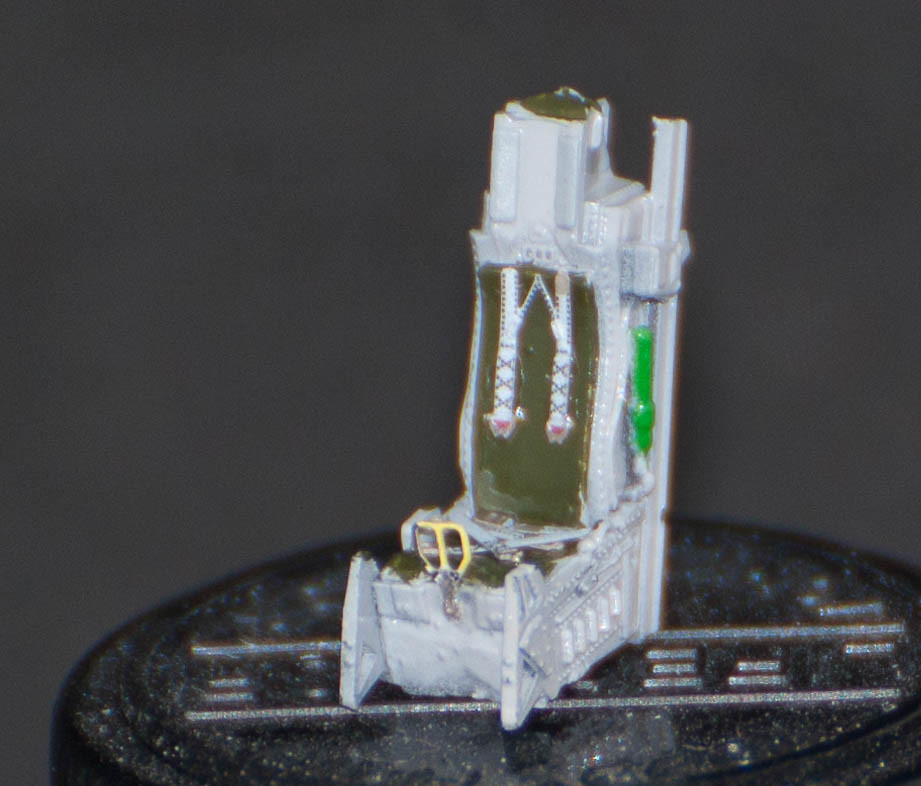
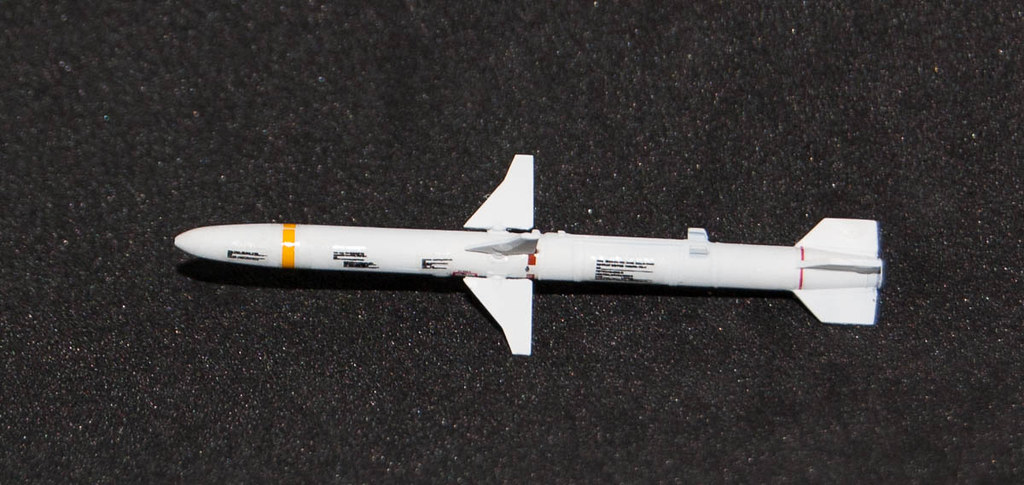
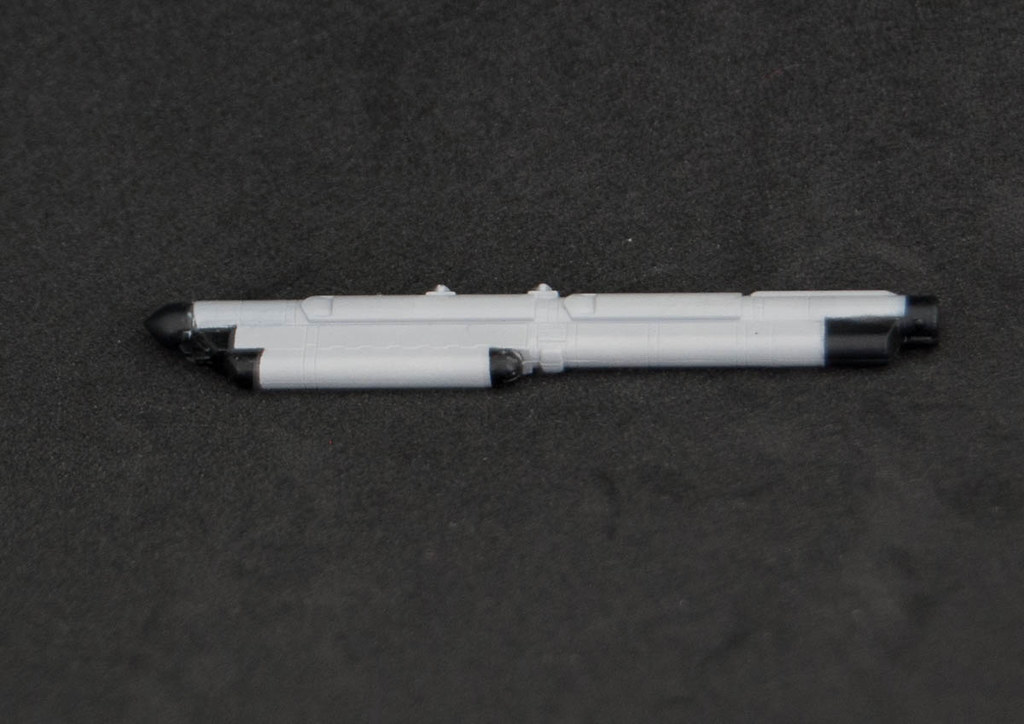
Some progress shots from my F-16CJ:
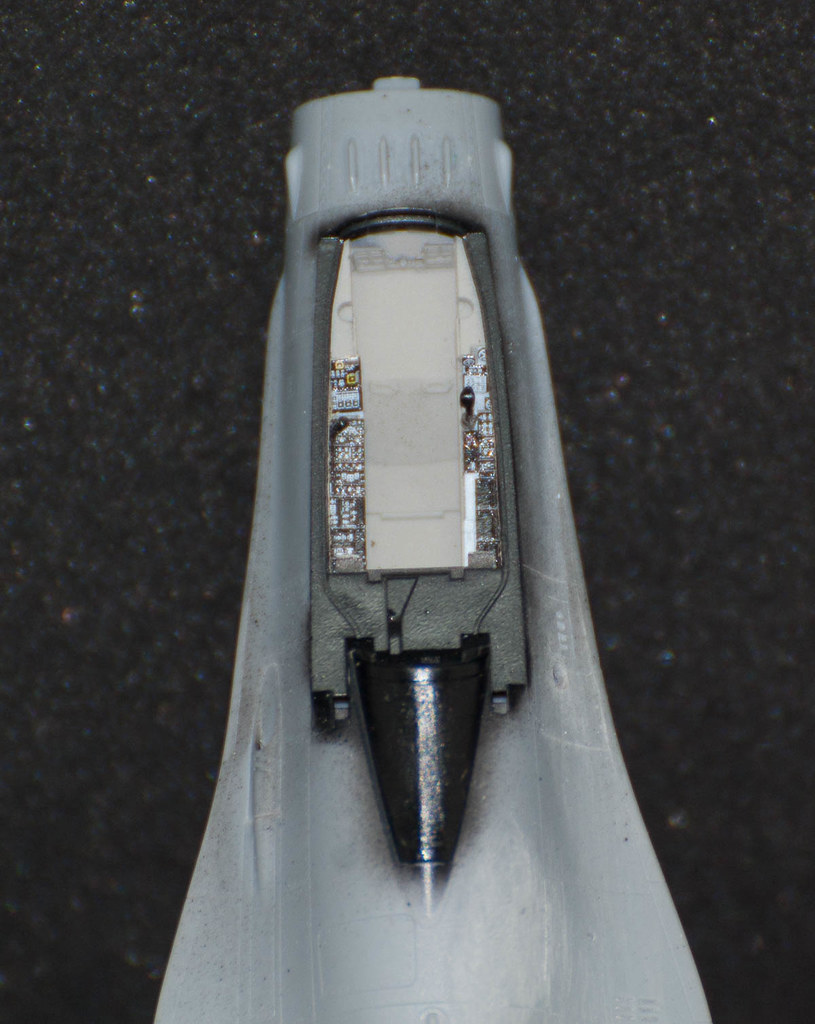
Ejectable seat (eduard ref.672047)
Loadout:
AGM-88 HARM (eduard ref.672054)
AN/ALQ-184:


Ejectable seat (eduard ref.672047)

Loadout:
AGM-88 HARM (eduard ref.672054)

AN/ALQ-184:

Posted: Friday, November 03, 2017 - 09:46 PM UTC
@ Rino, I hate you 
Your office looks great!
Here's what I've managed:
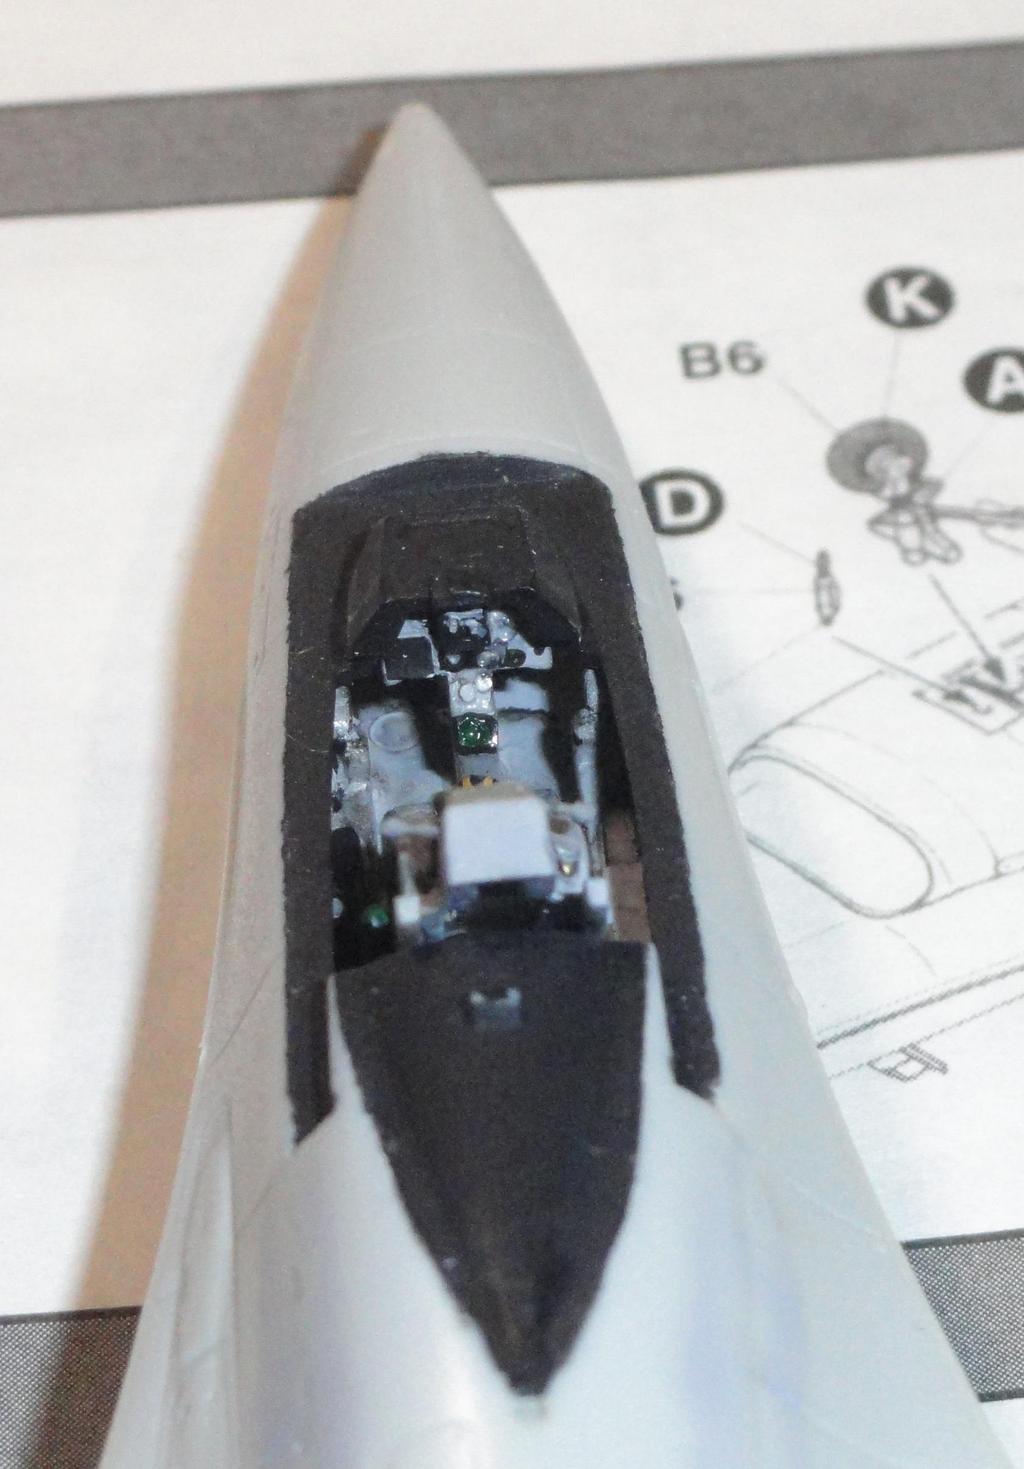
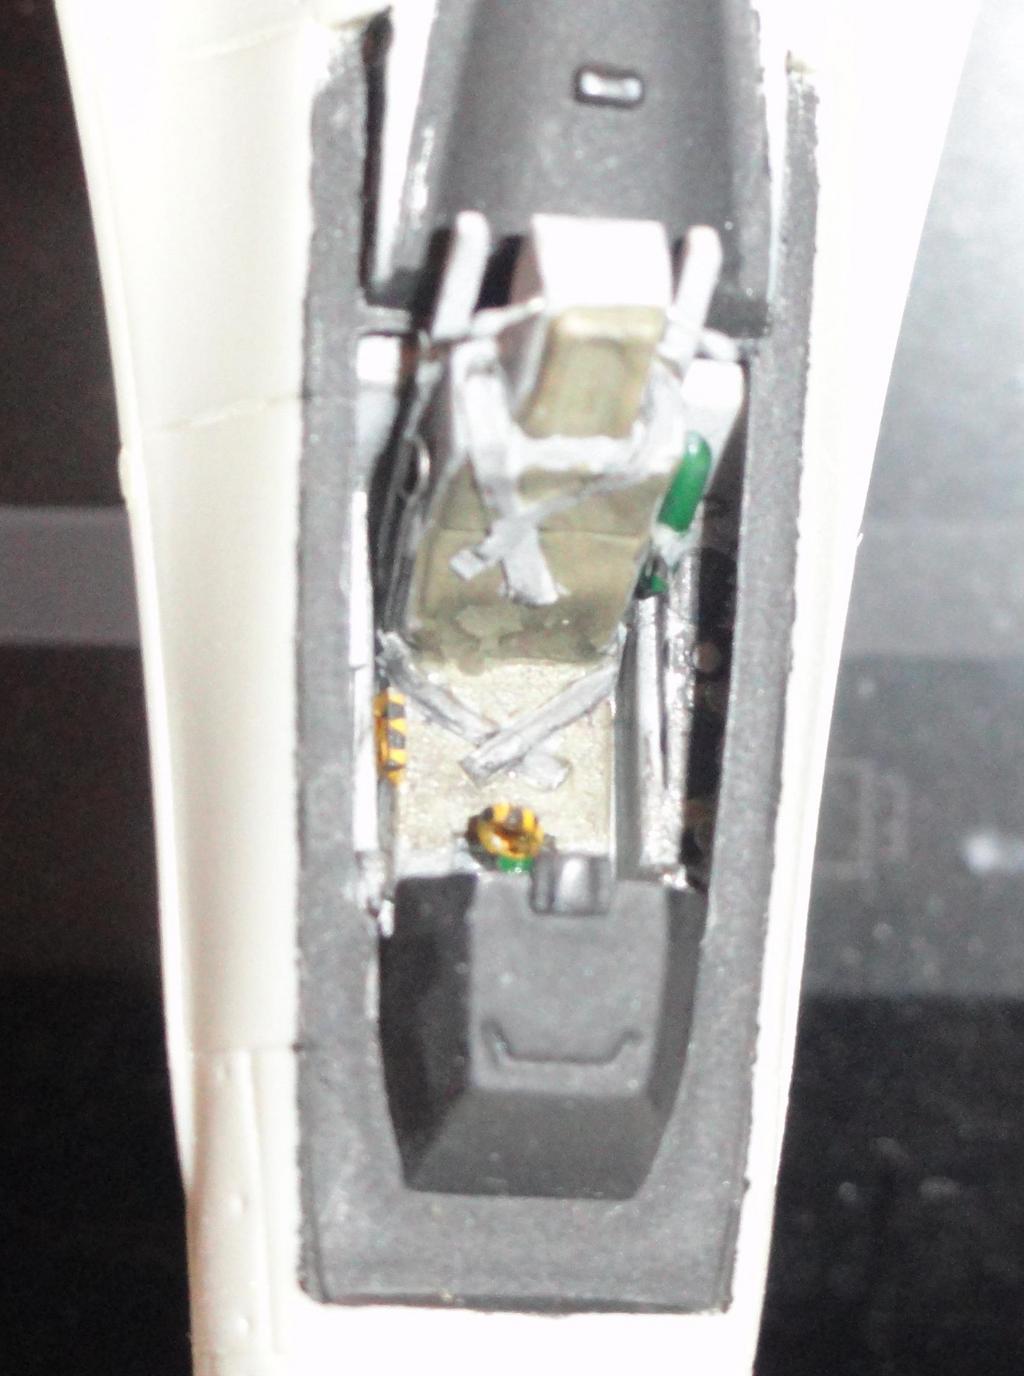
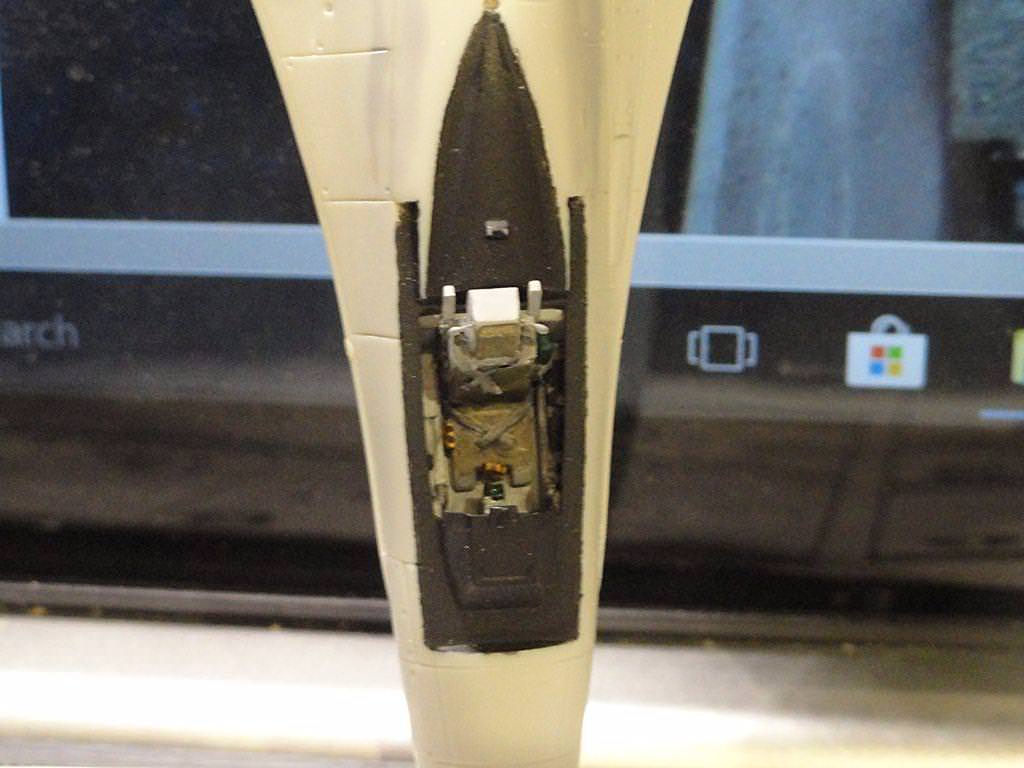
Tape seat belts, paint dabs, a replacement stick. I added the bang seat handles, O2 bottle, some stray plumbing and wind sensors.

Your office looks great!
Here's what I've managed:


Tape seat belts, paint dabs, a replacement stick. I added the bang seat handles, O2 bottle, some stray plumbing and wind sensors.

 |


