OFFICIAL: ANZAC Campaign 2017

#439
Washington, United States
Joined: November 05, 2005
KitMaker: 4,950 posts
AeroScale: 3,192 posts
Posted: Tuesday, December 05, 2017 - 09:51 PM UTC
Excellent work on the masking. I did the turret on my TBM by hand, and it did drive me crazy

.
Used a lot of old circle templates to get some of the curves right and still managed to miss a frame on the other side that I had to add by hand.


Hanger Queens in Waiting:
Monogram 1/72 F8F-1
Corsair the Sky Pirate - 1/72 Ace A-7D
Century Series - Airfix 1/72 F-105G
Anti Shipping - Academy 1/72 PBJ-1D
Academy 1/72 F-84E

#305
Christchurch, New Zealand
Joined: February 01, 2006
KitMaker: 1,673 posts
AeroScale: 1,517 posts
Posted: Tuesday, December 05, 2017 - 11:55 PM UTC
Torsten .... buddy! Awesome work with the Ventura it looks just stunning. Loving the turret and I agree with you trying to mask that would've been a job and a half!
Mark nice masking job! I hear you about the turret it's bad enough in 1/48 scary in 1/72nd!
Western Australia, Australia
Joined: May 05, 2006
KitMaker: 900 posts
AeroScale: 200 posts
Posted: Thursday, December 14, 2017 - 03:45 PM UTC
Finally going to make a start on my Boomerangs for this campaign.
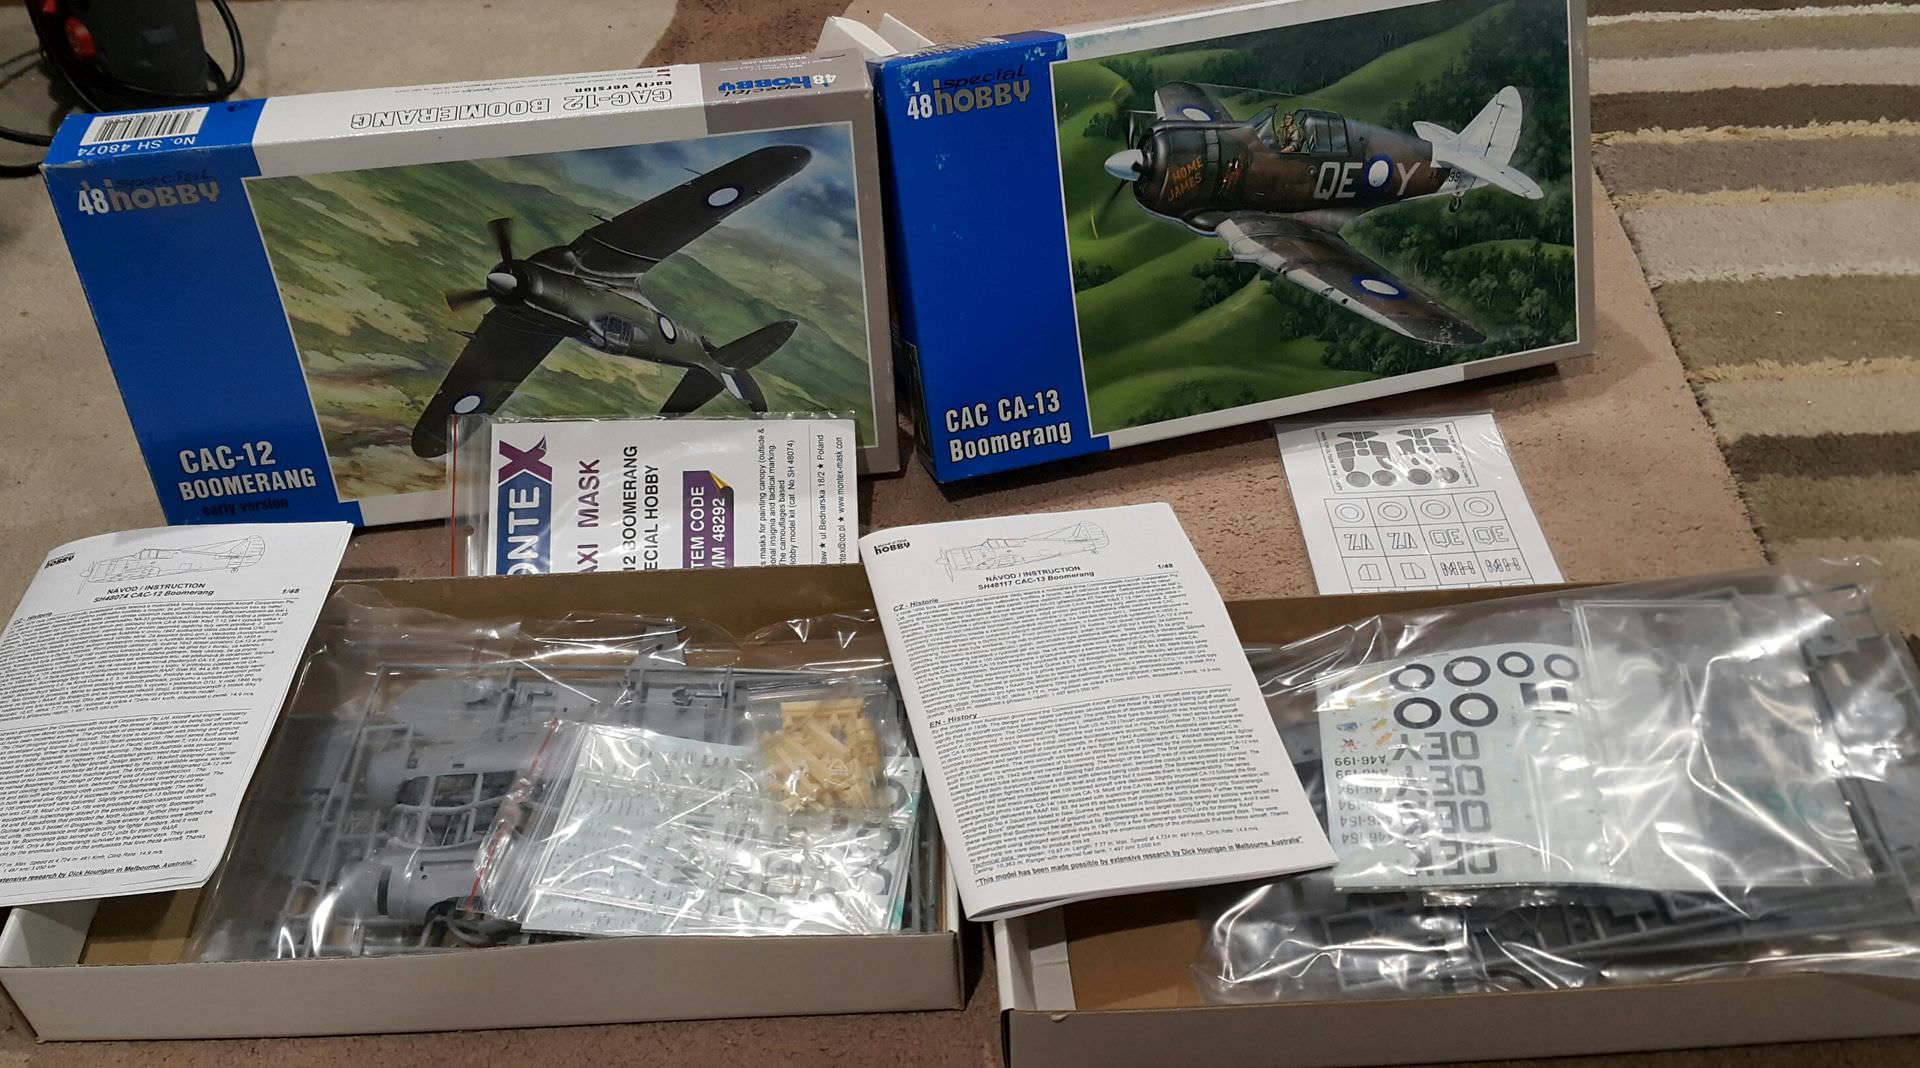
will also be doing a bit of a build log as I go
HERE.
Don't you feel more like you do now than you did when you came in?

#305
Christchurch, New Zealand
Joined: February 01, 2006
KitMaker: 1,673 posts
AeroScale: 1,517 posts
Posted: Friday, December 15, 2017 - 10:46 AM UTC
Awesome Iain! I like the pugnacious lines of the Boomerang and I'd really like to see how the Special Hobby kits build up. Look forward to seeing your progress.
European Union
Joined: August 09, 2009
KitMaker: 1,732 posts
AeroScale: 1,336 posts
Posted: Saturday, December 16, 2017 - 04:30 PM UTC
Thanks Mark and Chris!
Ian, good luck for your dual build!
I have added 2 photos to the campaign gallery (the first!) and some more at my
Assembly Line Thread. As you can see from Damian's post, this Ventura was most likely listed as SB-C in the RAAF inventory and not as SB-G, though on the inflight photo it looks very much like a "G". I wonder, where Hannants have got their informations from ....
Torsten

My campaigns for 2020:
MiGs - Done !
The Big Three - Done !
65 years Bundeswehr - Done !
40 years Leopard 2 - Done !
Land Lease - Done !

#335
Auckland, New Zealand
Joined: September 03, 2013
KitMaker: 1,808 posts
AeroScale: 195 posts
Posted: Sunday, December 17, 2017 - 01:56 PM UTC
Great finish on the Ventura Torsten! Obviously a favourite of yours.
And Mark, nice work masking that TBM, especially in that scale.
cheers
Michael
Campaign:
Strip, Track and Trail - Porsche 917/20 - On the bench
Phantoms at 60 - F-4J Marines
Below 1000 tons - M50 minesweeper - Sailed for duty

#335
Auckland, New Zealand
Joined: September 03, 2013
KitMaker: 1,808 posts
AeroScale: 195 posts
Posted: Sunday, December 17, 2017 - 02:06 PM UTC
I got the cockpit installed and the Spit closed up. The fit for the fuselage and wings was pretty good with only a little filler. The wing tips not so good though.
To convert the Mk11 to a Mk1 I filled a couple of areas on the nose.
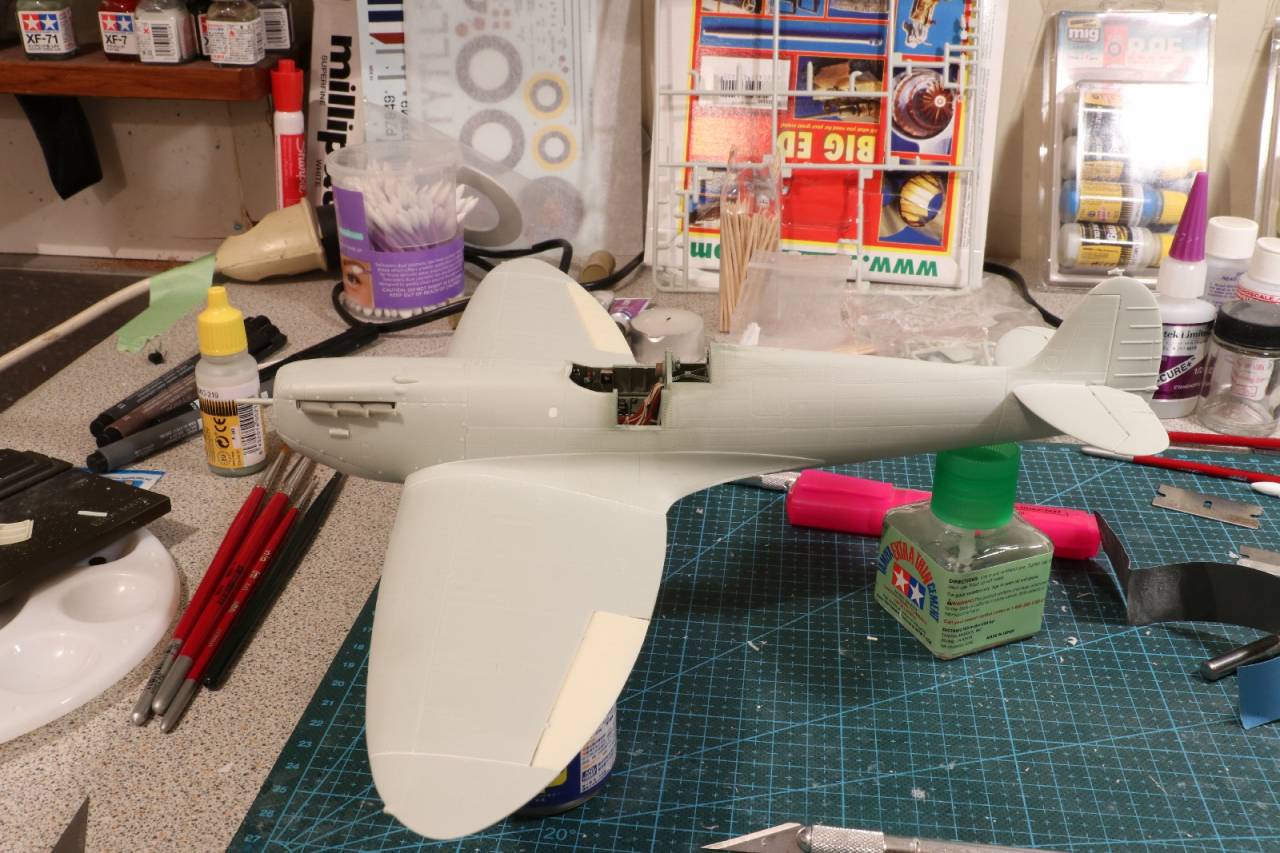
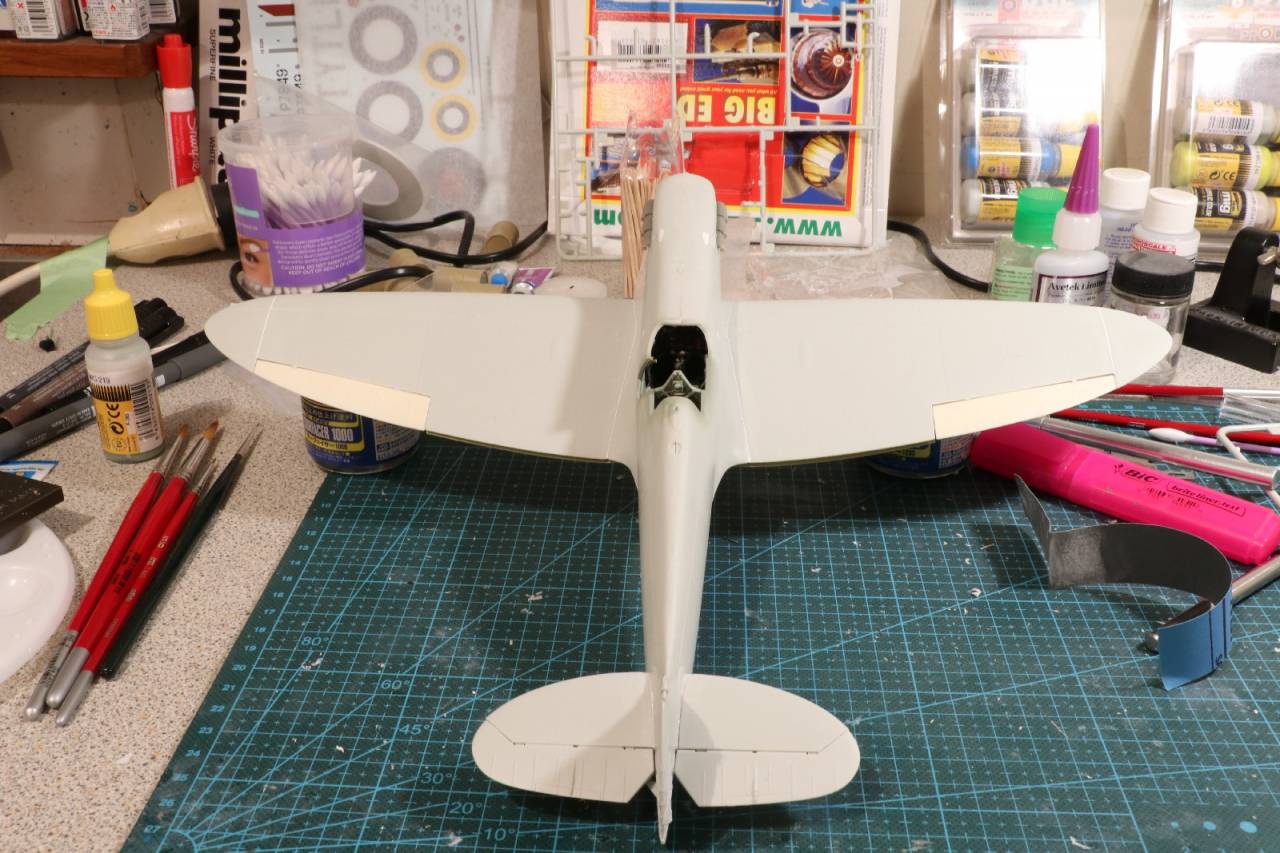
The resin fabric ailerons are from Barracuda as are the radiator and oil cooler. I used some of Eduard's etch for the wheel well for some detail with the kit being fairly bare.
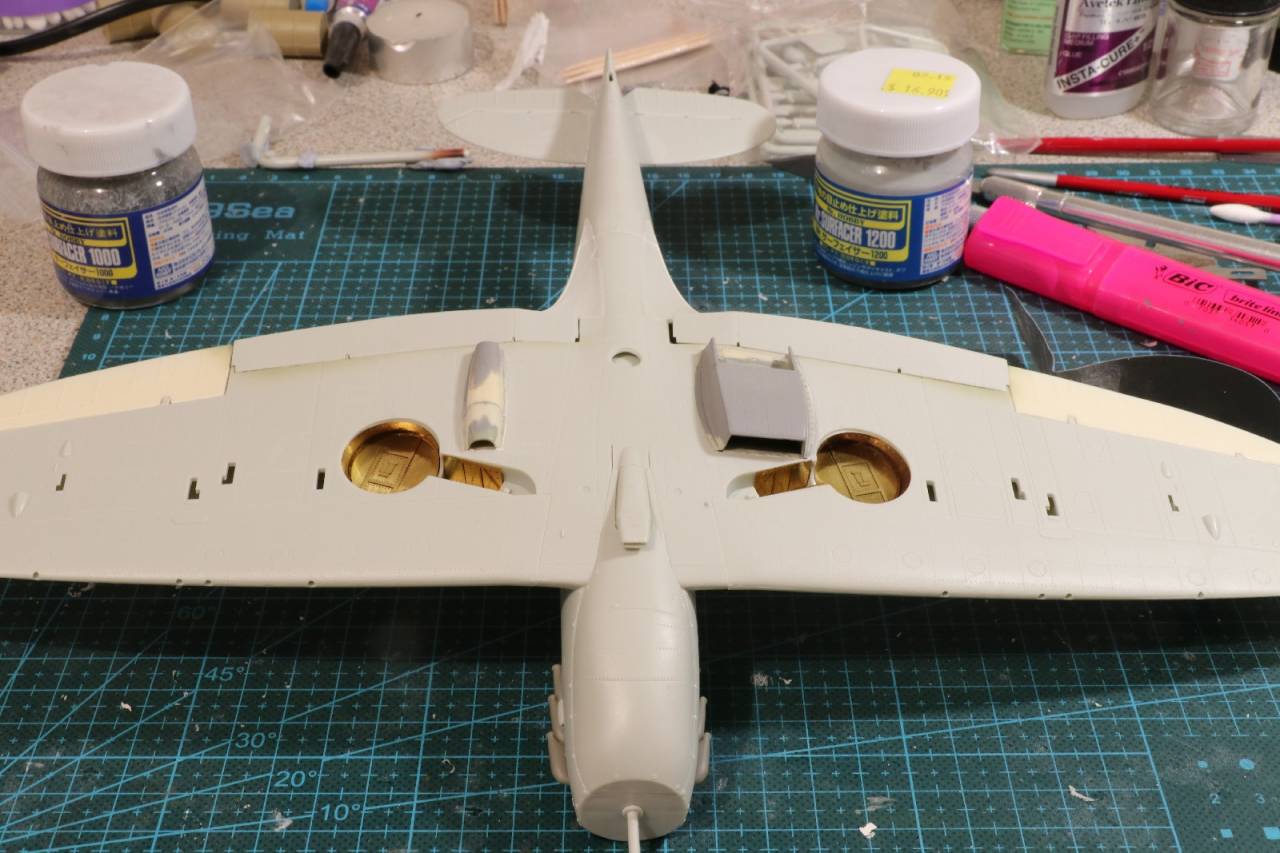
To be honest the resin parts, especially the radiator, took a fair amount of finessing to get them to fit.
The plane has been to the Tamiya primer shop to highlight any last flaws of which there a few.
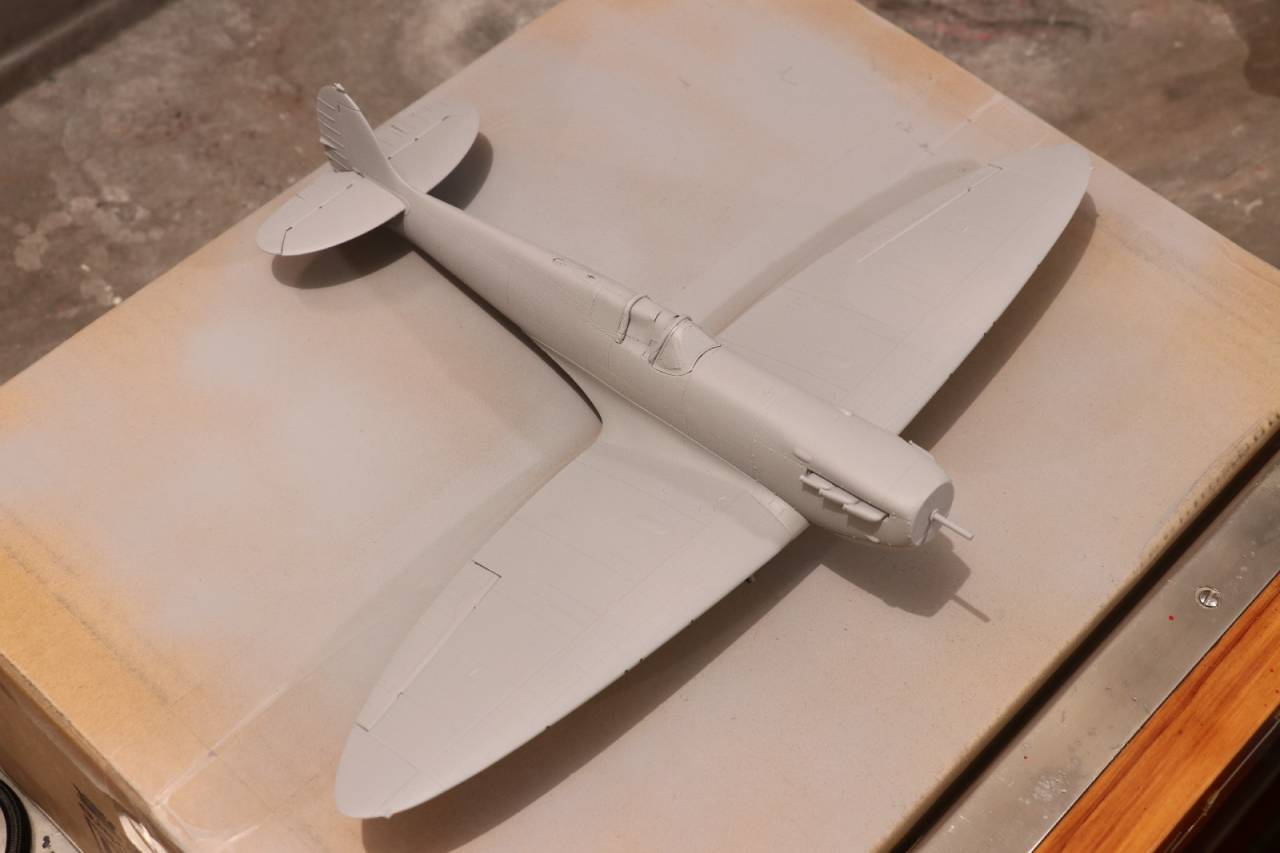
I will fill a few gaps and with any luck I will get some colour on before Xmas.
Finally, what colour should the wheel wells be? Interior green or the exterior colour? or like a Hurricane, bare metal?
cheers
Michael
Campaign:
Strip, Track and Trail - Porsche 917/20 - On the bench
Phantoms at 60 - F-4J Marines
Below 1000 tons - M50 minesweeper - Sailed for duty

#305
Christchurch, New Zealand
Joined: February 01, 2006
KitMaker: 1,673 posts
AeroScale: 1,517 posts
Posted: Friday, December 22, 2017 - 03:33 AM UTC
I've finally chosen my build for this campaign, it took a little bit of thought and I'm stepping outside my usual sphere of work. I'm going to build a 6 pounder portee of the 7th New Zealand Anti Tank Regiment 2ndNZEF western desert 1942. I've managed to find the marking info required at the
MLU forum. I'm looking forward to the build, this is the old Peerless Max kit re-released by Italeri. Lets see what I can come up with. Do I post the build log here or over on Armourama, admins please advise? And of course the usual before photo's of the kit before I decimate the sprues.
 IMG_1927
 by
Chris WIlson, on Flickr
 IMG_1926
 by
Chris WIlson, on Flickr
 IMG_1925
 by
Chris WIlson, on Flickr
 IMG_1924
 by
Chris WIlson, on Flickr

#335
Auckland, New Zealand
Joined: September 03, 2013
KitMaker: 1,808 posts
AeroScale: 195 posts
Posted: Friday, December 22, 2017 - 01:16 PM UTC
Hi Chris,
That's looks like an interesting choice. I would build it just for the truck. Q. Why did they load the 6pdr on the back instead of just towing it? It must have been a b****r to load

cheers
Michael
Campaign:
Strip, Track and Trail - Porsche 917/20 - On the bench
Phantoms at 60 - F-4J Marines
Below 1000 tons - M50 minesweeper - Sailed for duty

#305
Christchurch, New Zealand
Joined: February 01, 2006
KitMaker: 1,673 posts
AeroScale: 1,517 posts
Posted: Friday, December 22, 2017 - 05:28 PM UTC
Hi Michael I can think of a several of reasons, the gun is ready to fire no unlimbering and setting up, the crew are on the back of truck with the gun and ammo so it can quickly be brought to bear and lastly height at that height the gun can see a lot further than one on the ground. I've been reading the history of the Regiment and the 6 pounders were used to quickly silence several 88's that were decimating the 9th Armoured division they were attached too. The crew had side shields but from what I've read they were seldom used. The gun could of course be dismounted and dug in if necessary and I think but I'm not sure the Portee had a power winch to help loading the 6 pounder.

#335
Auckland, New Zealand
Joined: September 03, 2013
KitMaker: 1,808 posts
AeroScale: 195 posts
Posted: Monday, December 25, 2017 - 05:38 AM UTC
Thanks Chris, interesting approach but it must of had a limited field of fire. Early form of mobile artillery I guess.
The Spit has it basic colour set now. The last week spent painting and masking.
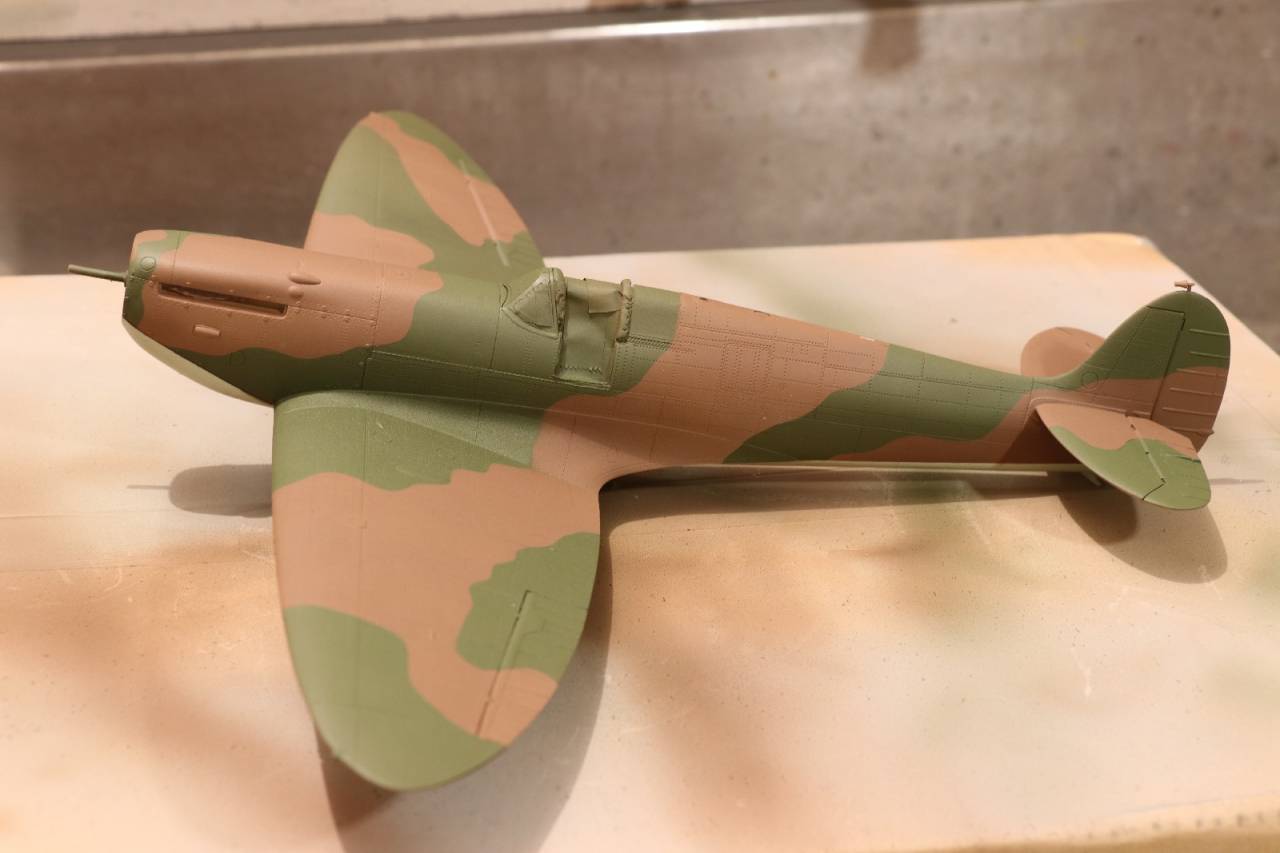
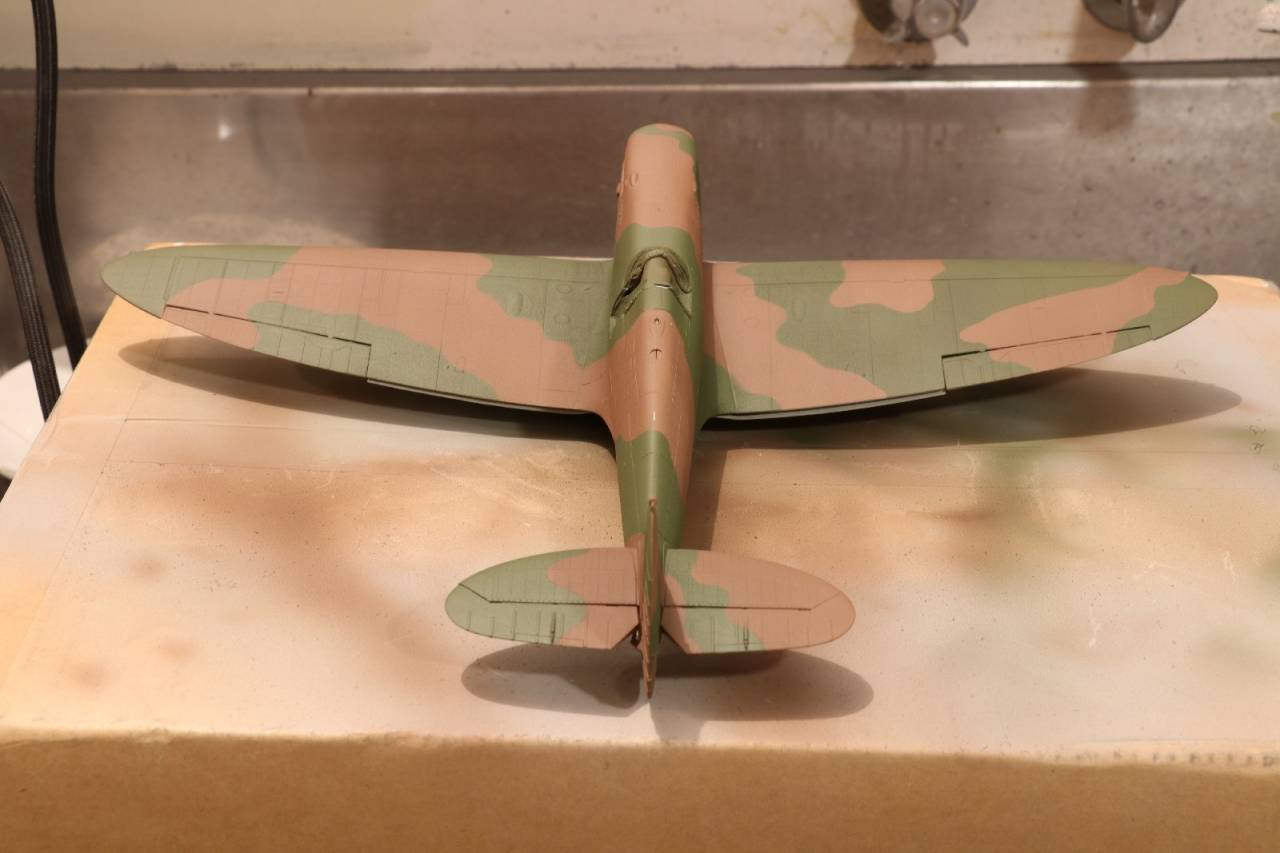
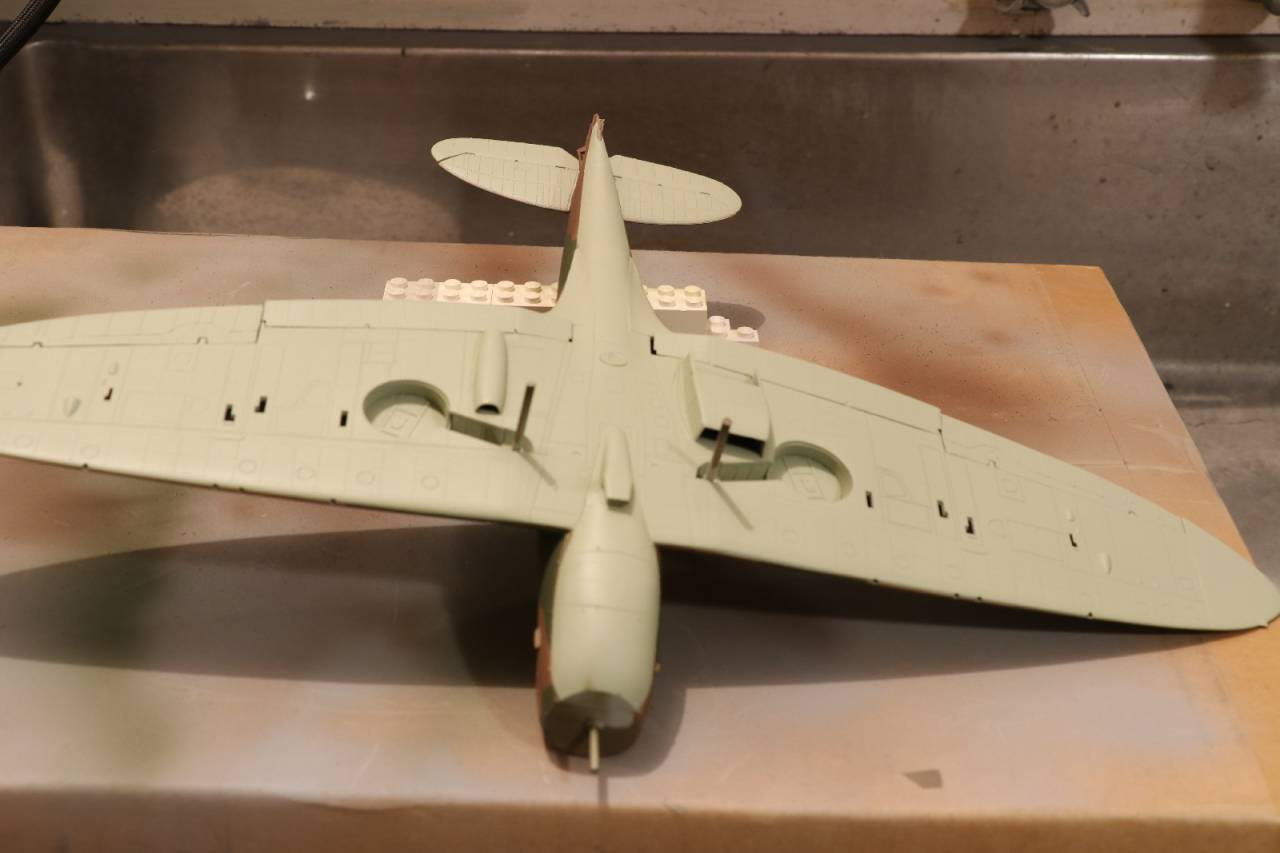
I will fix all the usual oversprays that comes with my masking attempts and them move onto the markings.
cheers
Michael
Campaign:
Strip, Track and Trail - Porsche 917/20 - On the bench
Phantoms at 60 - F-4J Marines
Below 1000 tons - M50 minesweeper - Sailed for duty

#439
Washington, United States
Joined: November 05, 2005
KitMaker: 4,950 posts
AeroScale: 3,192 posts
Posted: Monday, December 25, 2017 - 06:30 AM UTC
Well, now that my Hangar Queens are out of the way, I'm back on the P-40N. Got the canopy masked and installed. Fuel tank seams are filled. Need to get the engine and cowling next.THen I need to figure out how to airbrush in the cold.


Hanger Queens in Waiting:
Monogram 1/72 F8F-1
Corsair the Sky Pirate - 1/72 Ace A-7D
Century Series - Airfix 1/72 F-105G
Anti Shipping - Academy 1/72 PBJ-1D
Academy 1/72 F-84E
Uusimaa, Finland
Joined: October 01, 2016
KitMaker: 514 posts
AeroScale: 239 posts
Posted: Sunday, December 31, 2017 - 12:59 AM UTC
There's only a month remaining, so I must speed up Snipe build:

I really like the oversize WWI markings. Just fill all available space

The "2" was quite tricky to place. It's shaped like number two (without transparent film in between), which led to positioning being very difficult. For a moment I thought I'd ruin the decal, so would finish the build, but not in this Campaign. But it's there now (although not 100% properly aligned).
I think it's upper wing next, and then rigging. Should be doable.
Wellington, New Zealand
Joined: June 01, 2014
KitMaker: 189 posts
AeroScale: 179 posts
Posted: Tuesday, January 02, 2018 - 12:14 PM UTC
I've been busy on other things lately, but have been following along nevertheless, lots of good stuff going on.
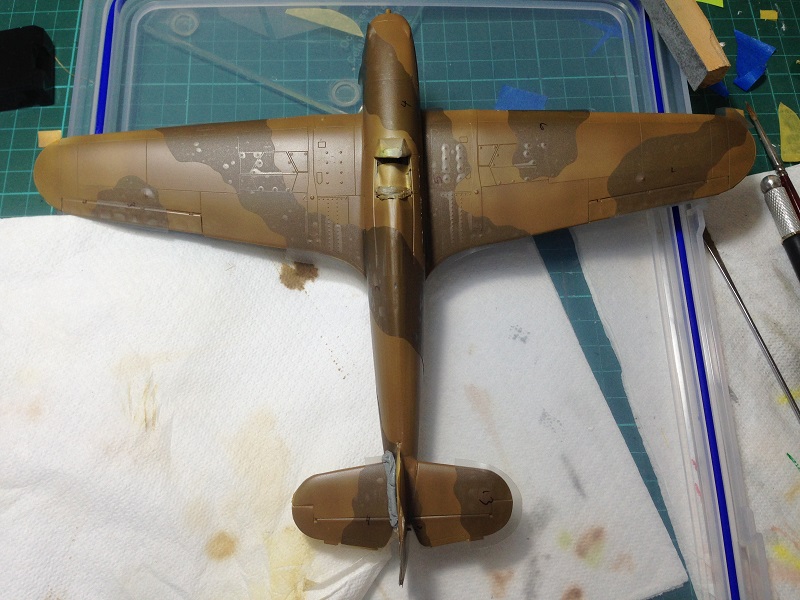
Now that I'm on holiday, I'm trying to steam through and catch up on my build before work starts up again. Both Sky, and Earth coats are down and the masks for the Dark Green are on for some coats tomorrow.
I decided to go with Pattern 'A' after a bit more research which suggested odd serials equaled pattern 'A' (opposite for spits) and I found some sketchy photos that supported the theory to some degree.
cheers.
Queensland, Australia
Joined: May 16, 2010
KitMaker: 232 posts
AeroScale: 8 posts
Posted: Wednesday, January 03, 2018 - 12:21 PM UTC
only just noticed this campaign. I've got 2 dioramas on the go but not finished for ANZACs, would they be eligible?
Ashore, it's wine, women and song, aboard it's rum, bum and baccy

#305
Christchurch, New Zealand
Joined: February 01, 2006
KitMaker: 1,673 posts
AeroScale: 1,517 posts
Posted: Thursday, January 04, 2018 - 12:01 AM UTC
Hi Colin rule 7 for the campaign states
7.Hangar queens are more than welcome we want to encourage
the completion of modelling projects. Entry is subject to
the campaign organizer's okay.
If you wish to participate I'm thrilled to have you on board! Please post some pics of your project or projects so we can see what and where you're up to.
Queensland, Australia
Joined: May 16, 2010
KitMaker: 232 posts
AeroScale: 8 posts
Posted: Thursday, January 04, 2018 - 01:01 PM UTC
Thanks Chris, i have a few works in progress as well for one of them
Ashore, it's wine, women and song, aboard it's rum, bum and baccy
Queensland, Australia
Joined: May 16, 2010
KitMaker: 232 posts
AeroScale: 8 posts
Posted: Saturday, January 06, 2018 - 03:52 PM UTC
ok, thanks for allowing me to join. First one is WWII based, with some ANZAC'S on the Kokoda Trail, inspiration from this tin of Anzac biscuits

i used a selection of Dragon and Masterbox WWII figures to get ....

and some aftermarket heads

I did some work on the back to fit equipment


i've placed then in a diorama setting, just waiting for the camera battery to re-charge.
then next one is a WWI setting with the Australian No1 Light Car Patrol in a ford model T in Palestine, photos once the camera battery is charged again
Ashore, it's wine, women and song, aboard it's rum, bum and baccy
Queensland, Australia
Joined: May 16, 2010
KitMaker: 232 posts
AeroScale: 8 posts
Posted: Saturday, January 06, 2018 - 05:19 PM UTC
so the WWI submission....

and the figures

the idea is two stood by the car with a 3rd taking a photograph
the Kokoda trail figures have been placed in a diorama, just need to finish painting them


Ashore, it's wine, women and song, aboard it's rum, bum and baccy

#439
Washington, United States
Joined: November 05, 2005
KitMaker: 4,950 posts
AeroScale: 3,192 posts
Posted: Sunday, January 07, 2018 - 11:12 AM UTC
back to the P-40N, finally. Got the cockpit framing with coat of the interior green on the canopy frame.

Next up primer!

Hanger Queens in Waiting:
Monogram 1/72 F8F-1
Corsair the Sky Pirate - 1/72 Ace A-7D
Century Series - Airfix 1/72 F-105G
Anti Shipping - Academy 1/72 PBJ-1D
Academy 1/72 F-84E
Bas-Rhin, France
Joined: September 22, 2016
KitMaker: 224 posts
AeroScale: 191 posts
Posted: Friday, January 12, 2018 - 03:11 AM UTC
Some advance on my CA-12:
 DSC_7204
 DSC_7203
 DSC_7208
Only bad word come out of my mouth...
No placement pin, strange plastic quality, ...
Western Australia, Australia
Joined: May 05, 2006
KitMaker: 900 posts
AeroScale: 200 posts
Posted: Friday, January 12, 2018 - 07:39 AM UTC
Realised I haven't posted any progress shots in this thread yet, so here we are:
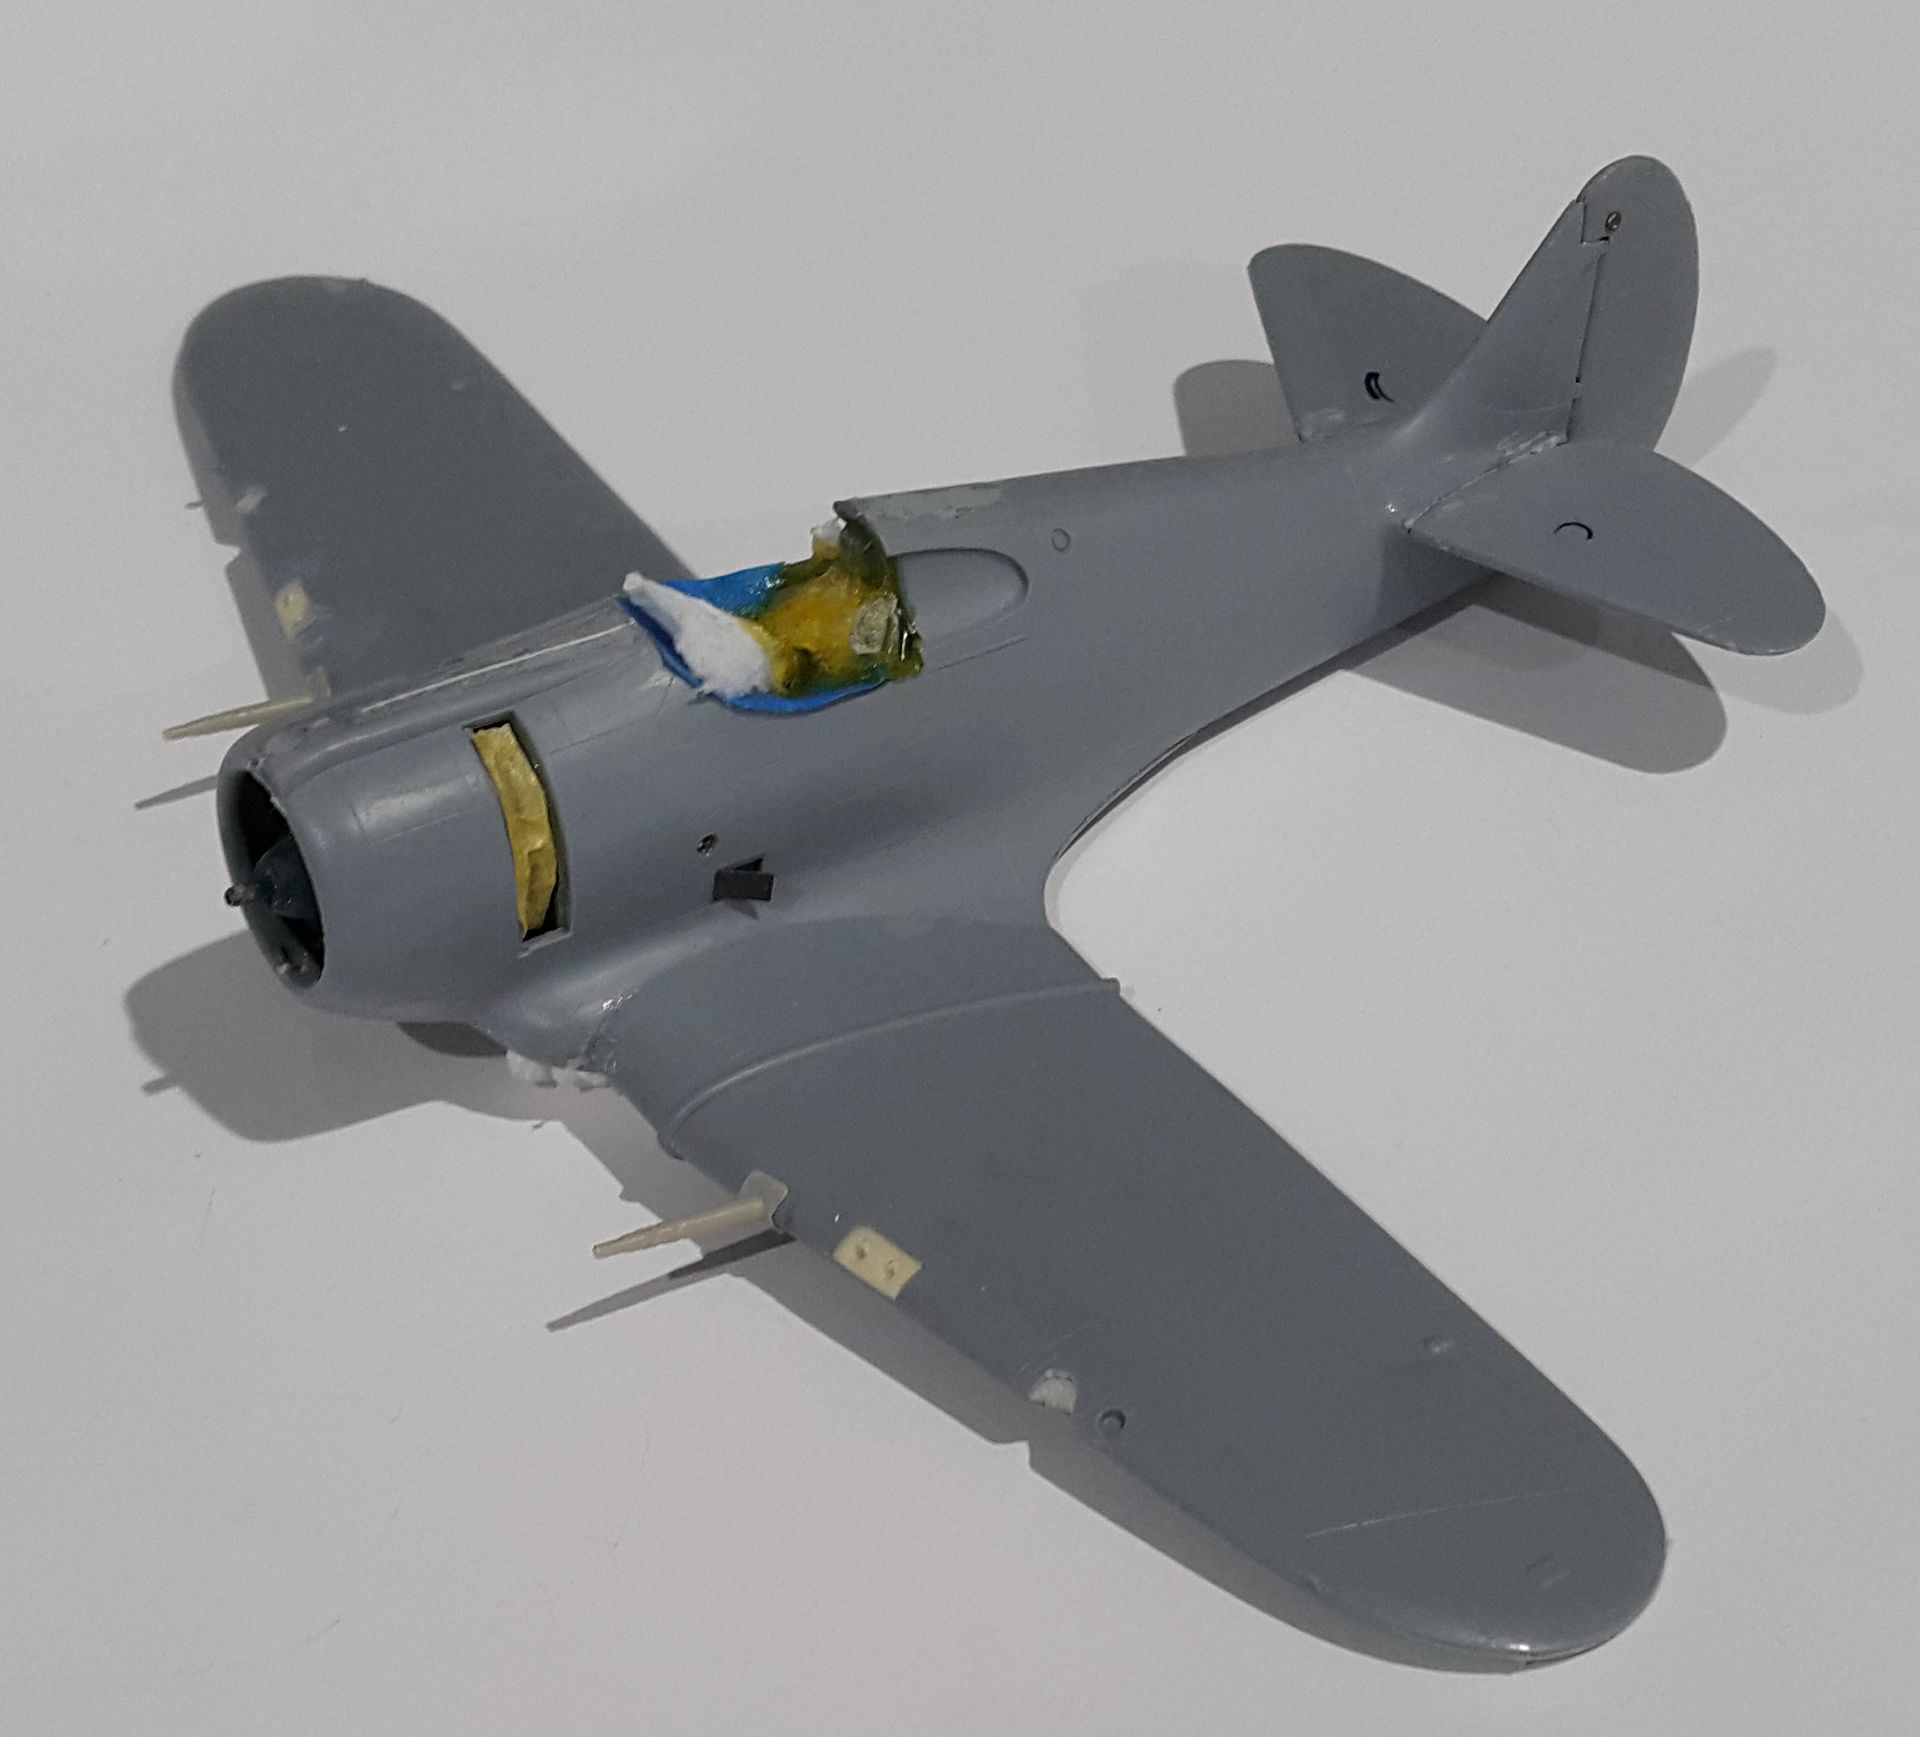
It's had a coat of primer since this shot.
Don't you feel more like you do now than you did when you came in?

#439
Washington, United States
Joined: November 05, 2005
KitMaker: 4,950 posts
AeroScale: 3,192 posts
Posted: Friday, January 12, 2018 - 11:27 AM UTC
A little further along. Primed and nearly ready for painting.


Hanger Queens in Waiting:
Monogram 1/72 F8F-1
Corsair the Sky Pirate - 1/72 Ace A-7D
Century Series - Airfix 1/72 F-105G
Anti Shipping - Academy 1/72 PBJ-1D
Academy 1/72 F-84E
Wellington, New Zealand
Joined: June 01, 2014
KitMaker: 189 posts
AeroScale: 179 posts
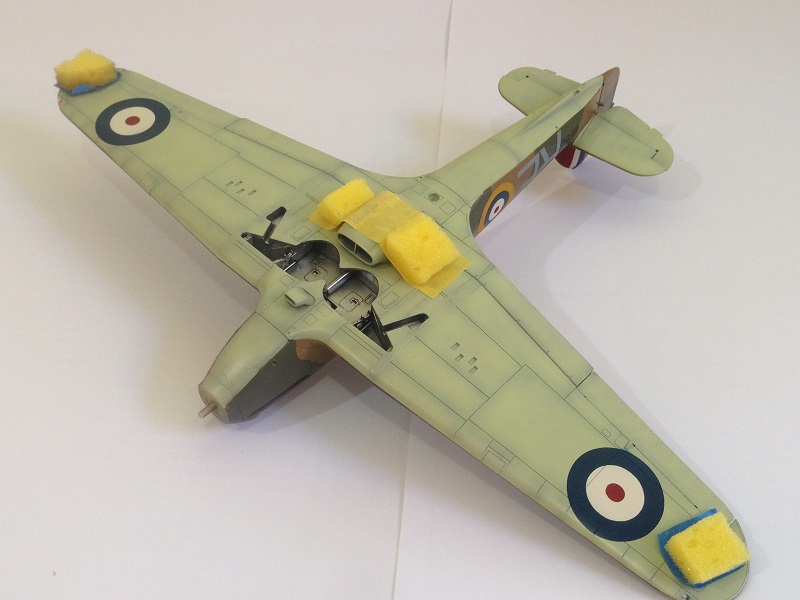
Posted: Sunday, January 14, 2018 - 08:55 AM UTC
It's a little bit comforting knowing I'm not the only one racing the clock on this one, but I think I'm on track (unwarranted confidence is the best confidence).
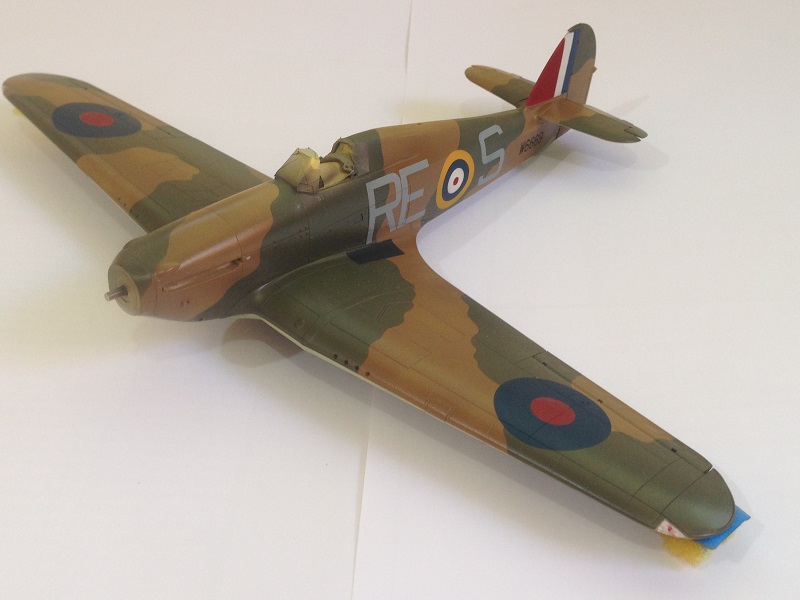
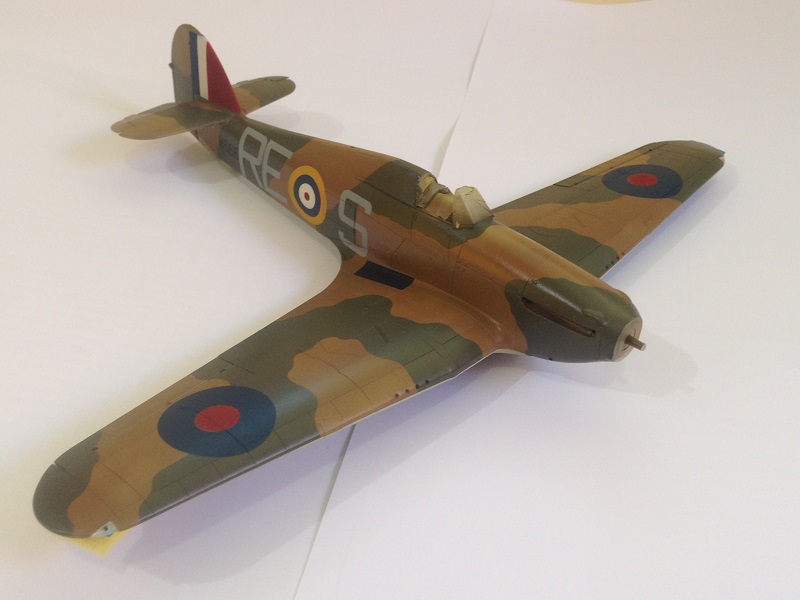
The markings are on (thanks Miracle Masks), so now a just a small bit of decaling, weathering, final assembly and I'll be done, piece of cake aye?
Anyway, enjoying seeing all the other builds coming along. All the best.

#305
Christchurch, New Zealand
Joined: February 01, 2006
KitMaker: 1,673 posts
AeroScale: 1,517 posts
Posted: Sunday, January 14, 2018 - 03:14 PM UTC
Damn fine paint work there Spud! Mals masks are just the shiz right?
 .
.

 .
.


 IMG_1927 by Chris WIlson, on Flickr
 IMG_1926 by Chris WIlson, on Flickr
 IMG_1925 by Chris WIlson, on Flickr
 IMG_1924 by Chris WIlson, on Flickr


 The "2" was quite tricky to place. It's shaped like number two (without transparent film in between), which led to positioning being very difficult. For a moment I thought I'd ruin the decal, so would finish the build, but not in this Campaign. But it's there now (although not 100% properly aligned).


