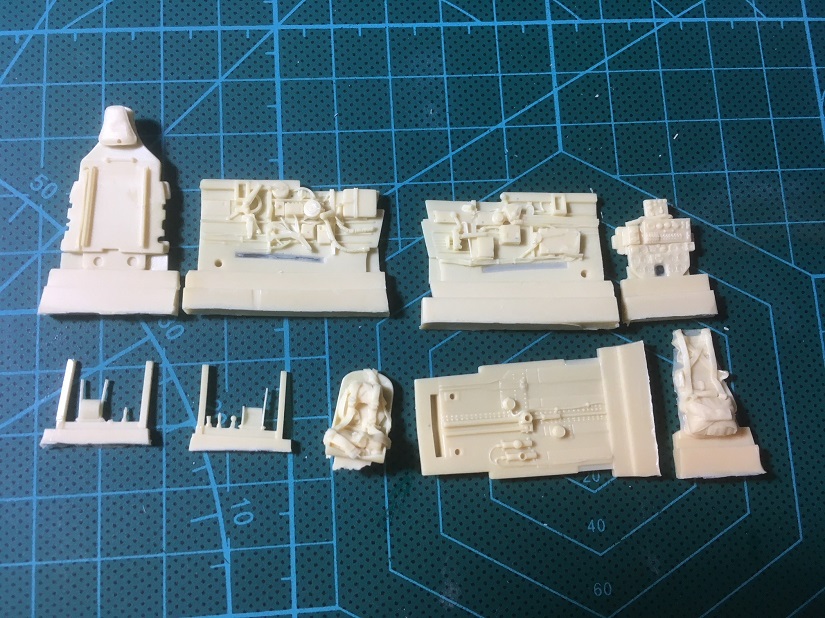
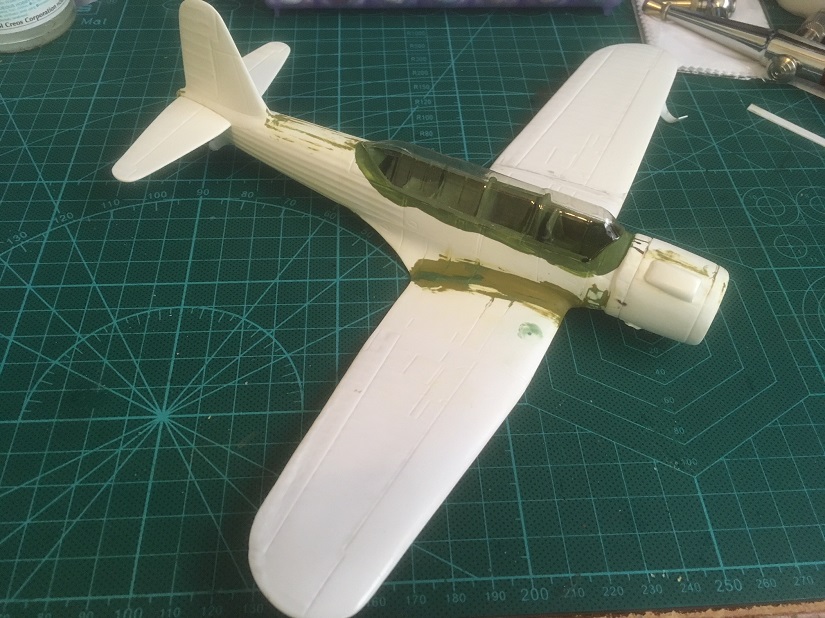
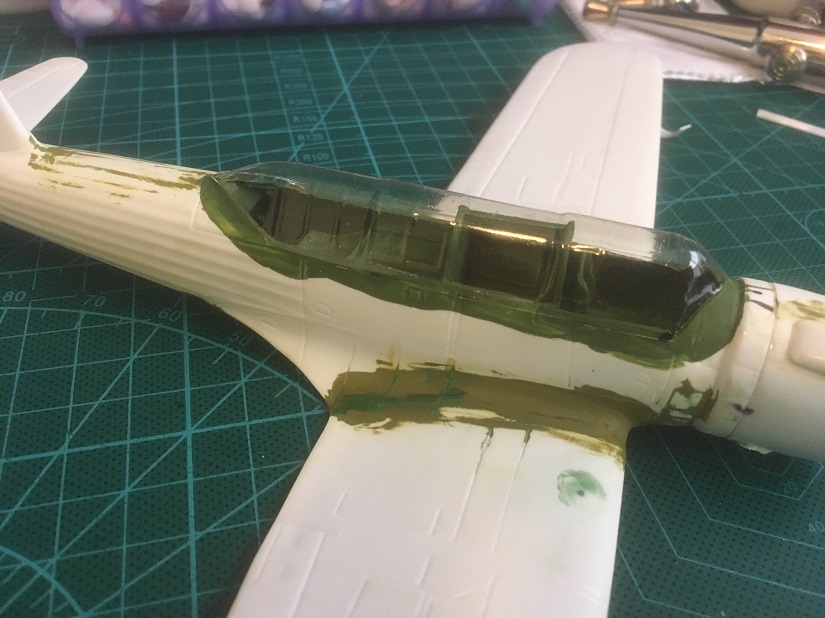
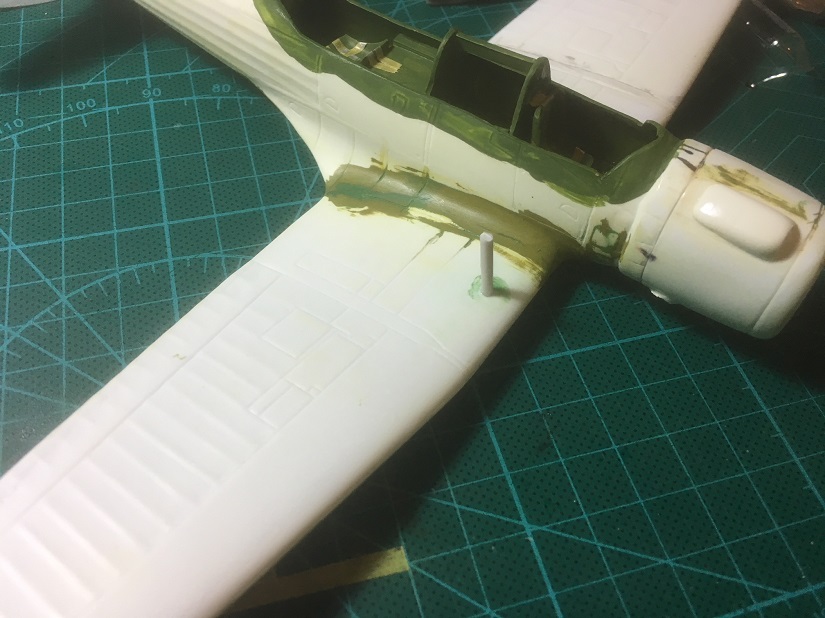
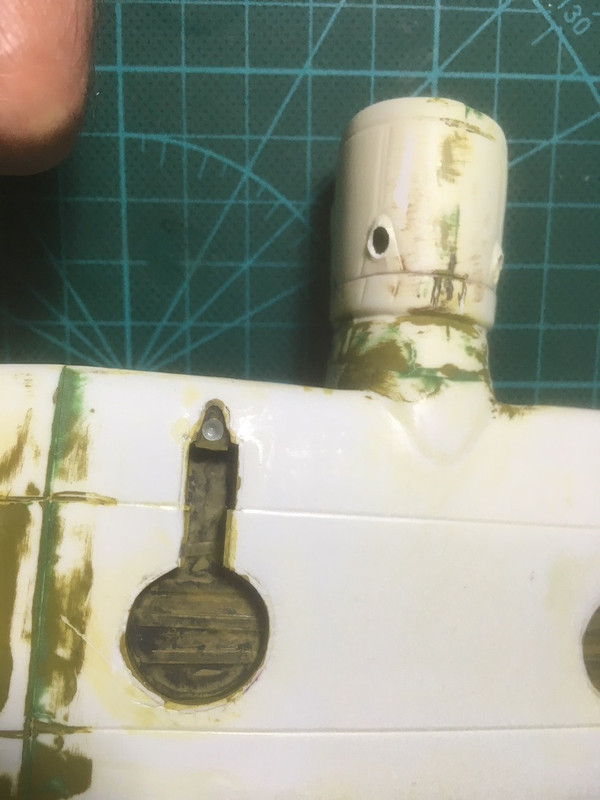
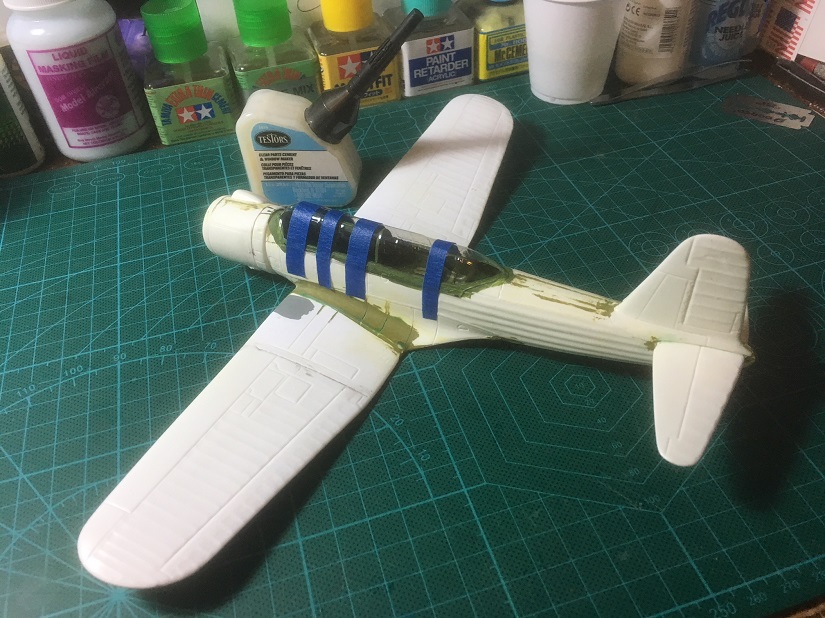
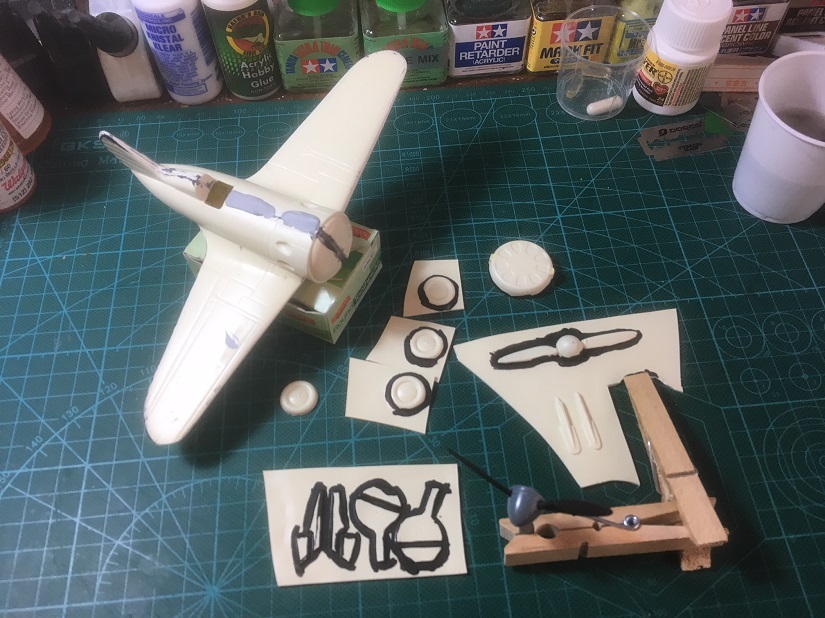
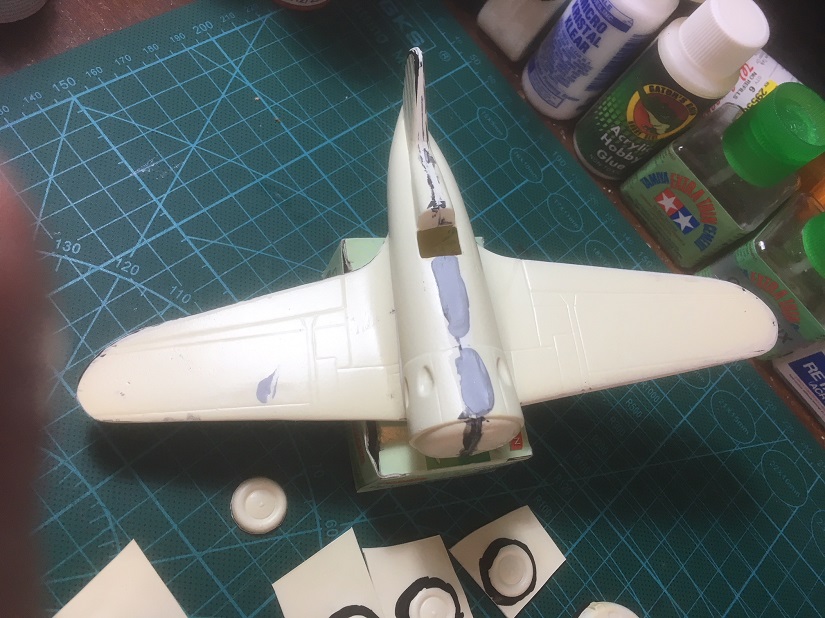
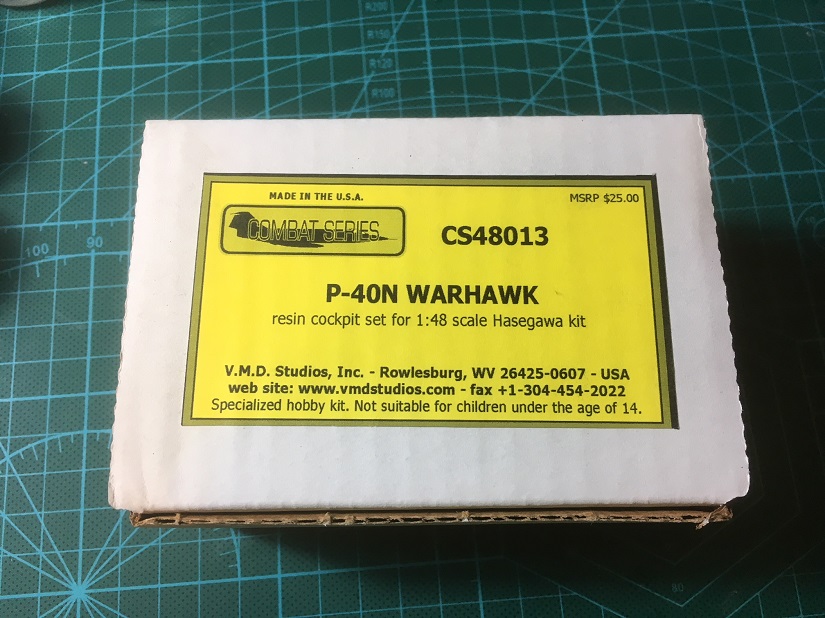
I now will be able to do the interior on the P-40N. My upgrade resin parts arrived.
Air Campaigns
Want to start or join a group build? This is where to start.
Hosted by Frederick Boucher, Michael Satin
OFFICIAL: The Lost Art Campaign
Bigrip74
Texas, United States
Joined: February 22, 2008
KitMaker: 5,026 posts
AeroScale: 2,811 posts
Joined: February 22, 2008
KitMaker: 5,026 posts
AeroScale: 2,811 posts
Posted: Friday, May 04, 2018 - 09:49 AM UTC
Posted: Friday, May 04, 2018 - 01:24 PM UTC
Wow! Awesome looking cockpit! That should make that old vacform kit just pop.
On an unrelated note I've got my pics up in the gallery! (Yay me!) Working with this resin kit was certainly outside my comfort zone and proved time and again that you can't rush building these kits.
Bigrip74
Texas, United States
Joined: February 22, 2008
KitMaker: 5,026 posts
AeroScale: 2,811 posts
Joined: February 22, 2008
KitMaker: 5,026 posts
AeroScale: 2,811 posts
Posted: Sunday, May 06, 2018 - 04:41 AM UTC
lmsharp57
Virginia, United States
Joined: August 24, 2014
KitMaker: 36 posts
AeroScale: 33 posts
Joined: August 24, 2014
KitMaker: 36 posts
AeroScale: 33 posts
Posted: Tuesday, May 29, 2018 - 05:52 AM UTC
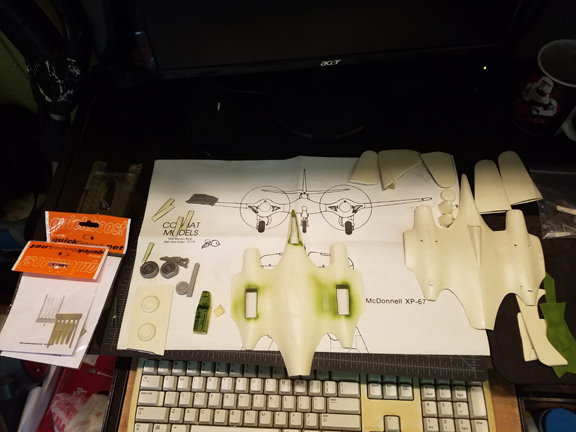
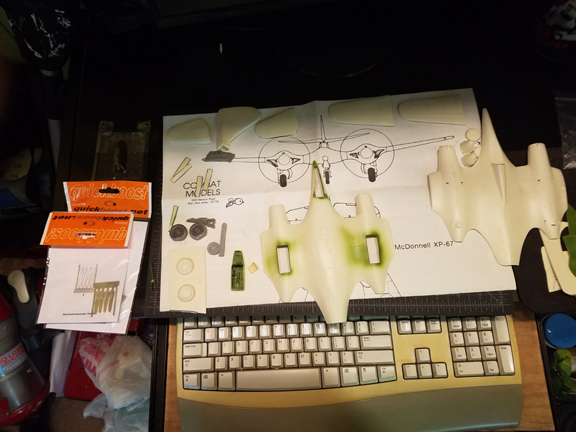
Ok Once more with feeling only better. Combat Models 1/48 XP-67 Moonbat. Basic plan with Bare minimum instructions and plastic sheets with basic aircraft plus a small bag of metal parts. Better than some I've built. I can work with this.Added Quick Boost P-51D Props and True Details A-26, F7F wheel sets and P_38 Interior. The former because I didn't care for the Vac Wheels(never can get them to look right) and the P-38 had the closest looking interior that needed the least modification.
I can already see I need to stock up on more Guinness.
Quoted Text
Anything less than right, Isn't right.
Maj. Reuben Fleet CEO Consolidated Aircraft Corp.
Bigrip74
Texas, United States
Joined: February 22, 2008
KitMaker: 5,026 posts
AeroScale: 2,811 posts
Joined: February 22, 2008
KitMaker: 5,026 posts
AeroScale: 2,811 posts
Posted: Wednesday, June 13, 2018 - 01:11 PM UTC
Bigrip74
Texas, United States
Joined: February 22, 2008
KitMaker: 5,026 posts
AeroScale: 2,811 posts
Joined: February 22, 2008
KitMaker: 5,026 posts
AeroScale: 2,811 posts
Posted: Saturday, June 16, 2018 - 04:31 AM UTC
Bigrip74
Texas, United States
Joined: February 22, 2008
KitMaker: 5,026 posts
AeroScale: 2,811 posts
Joined: February 22, 2008
KitMaker: 5,026 posts
AeroScale: 2,811 posts
Posted: Saturday, June 16, 2018 - 09:36 PM UTC
Bigrip74
Texas, United States
Joined: February 22, 2008
KitMaker: 5,026 posts
AeroScale: 2,811 posts
Joined: February 22, 2008
KitMaker: 5,026 posts
AeroScale: 2,811 posts
Posted: Thursday, June 21, 2018 - 02:44 AM UTC
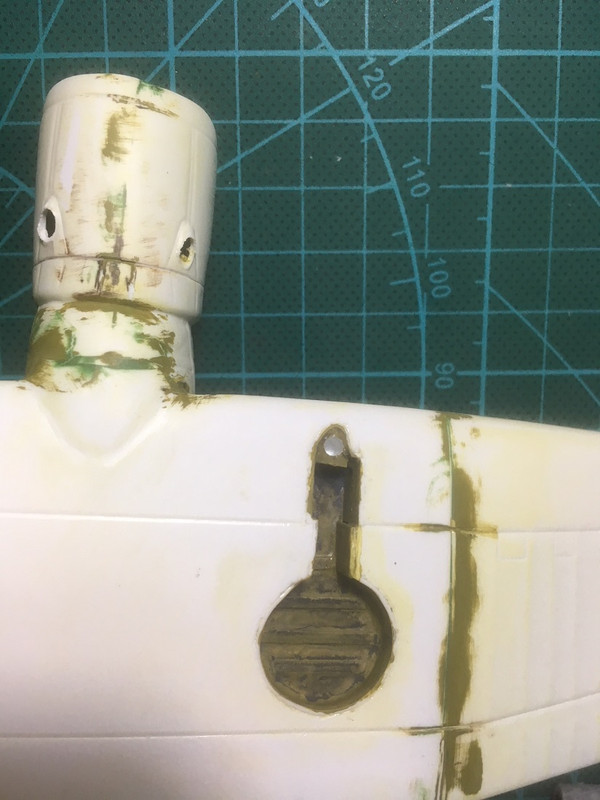
While not eligible for this campagin ive been working on the SB2U.
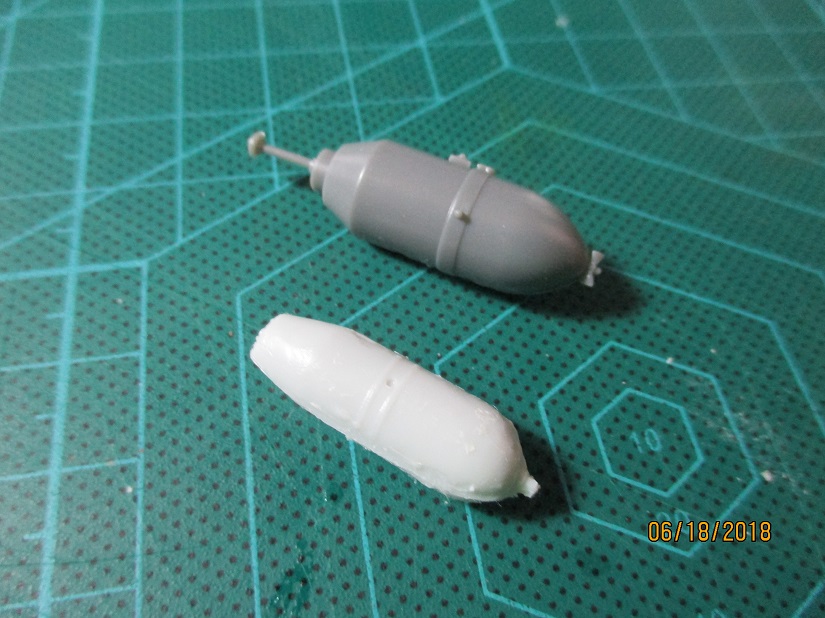
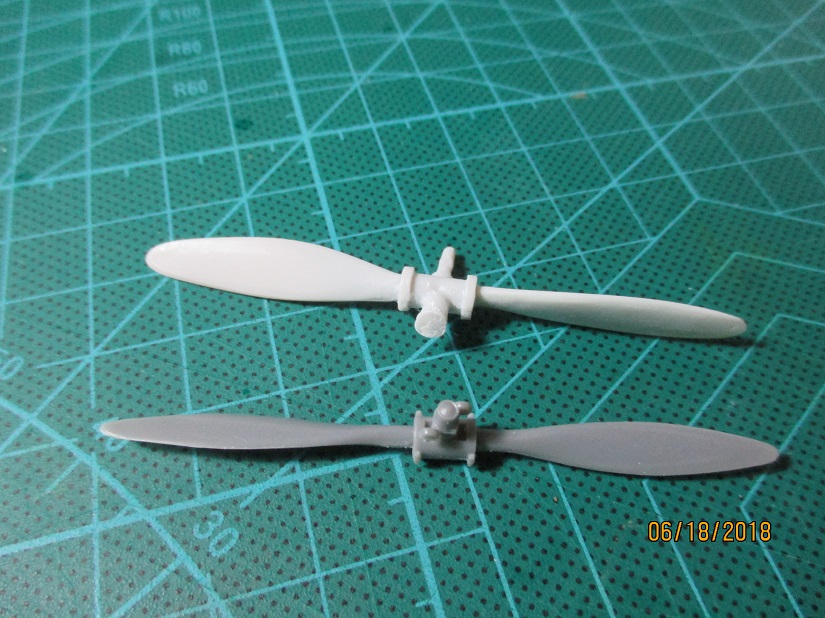
I had planned on using the prop from a HIPM kit, but will use one from an Accurate Miniatures kit instead. The photo shows the HIPM on top and the Accurate Miniatures on bottom. The difference can be seen.
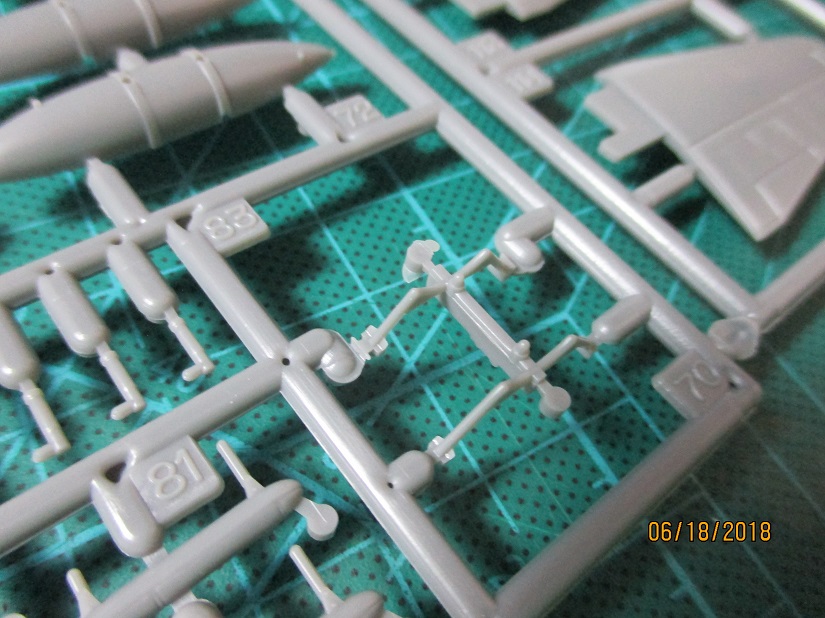
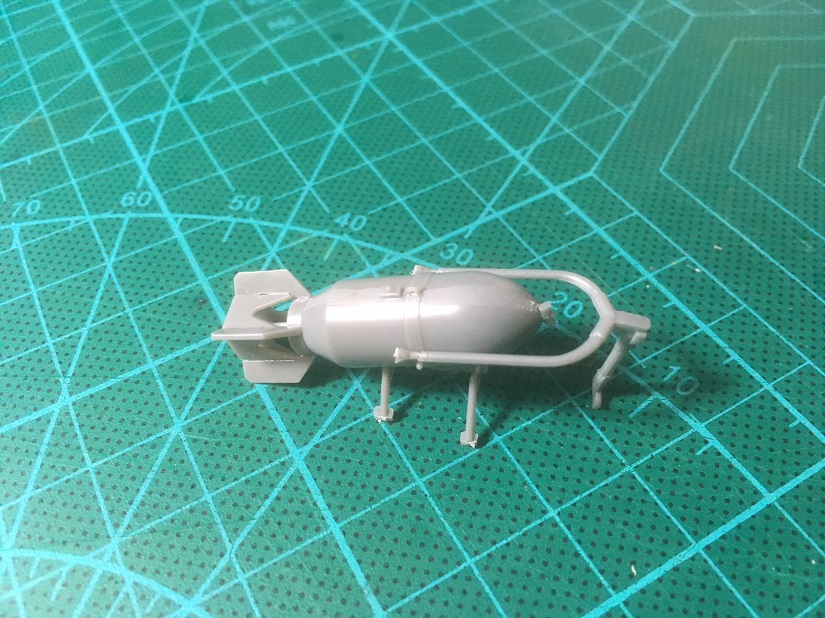
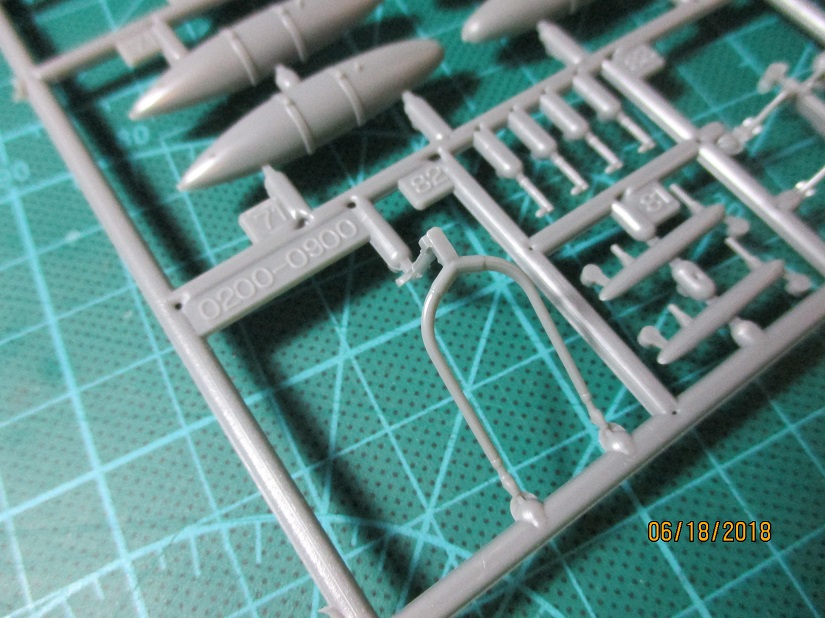
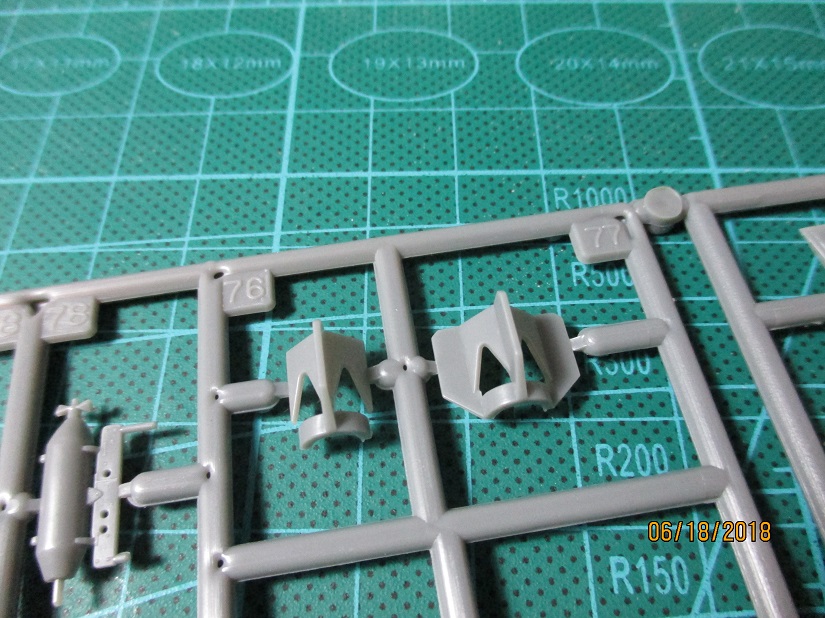
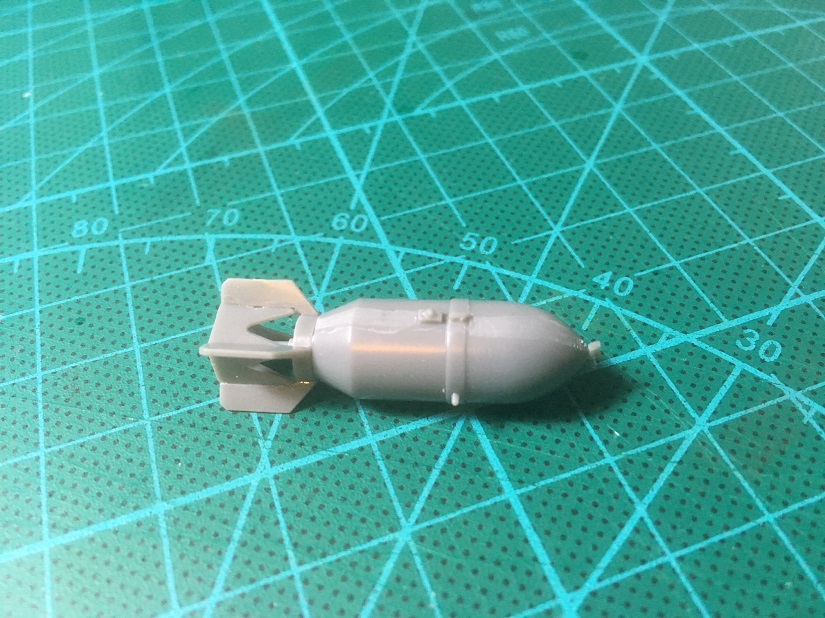
The following photos show the bomb and trapeze from an Accurate Miniatures kit that will be used.
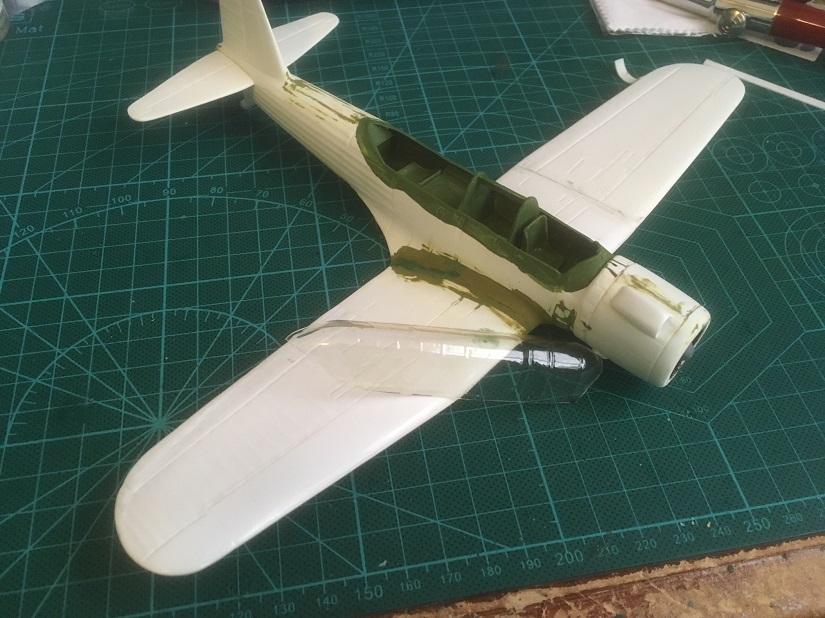
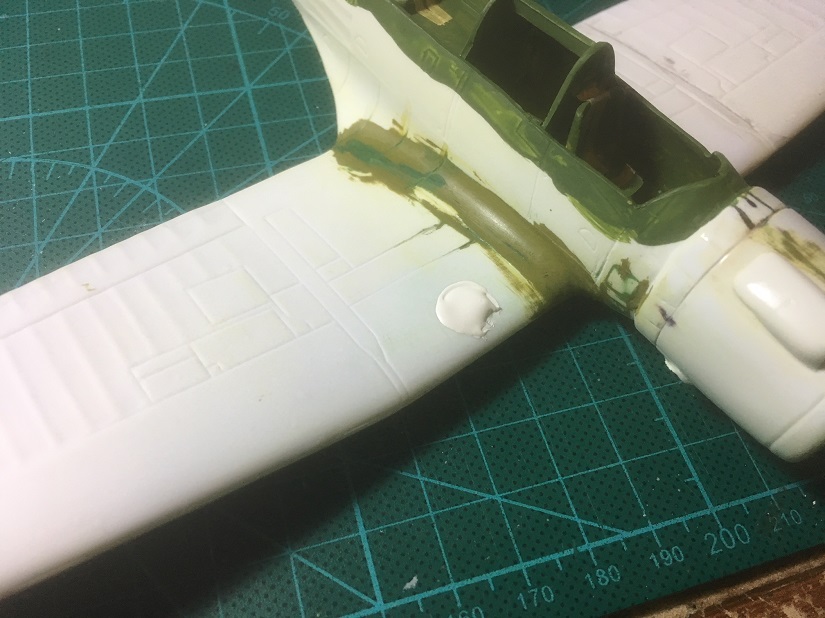
I finally carefully trimmed the vac canopy and attached it to the fuselage.
Posted: Thursday, June 21, 2018 - 11:34 PM UTC
youre doing fine work there Bob. especially on the wing root fairings, that a key element of vacuform work.
Im glad to see the SB2U coming along as well. its looking good with its greenhouse canopy on.
Emeritus
Uusimaa, Finland
Joined: March 30, 2004
KitMaker: 2,845 posts
AeroScale: 1,564 posts
Joined: March 30, 2004
KitMaker: 2,845 posts
AeroScale: 1,564 posts
Posted: Saturday, July 14, 2018 - 11:06 AM UTC
Well, I haven't gotten much (read: any) modeling since last autumn and took much too long this summer to get my modeling bench cleaned up for some more, but here we are. Let's get something underway!
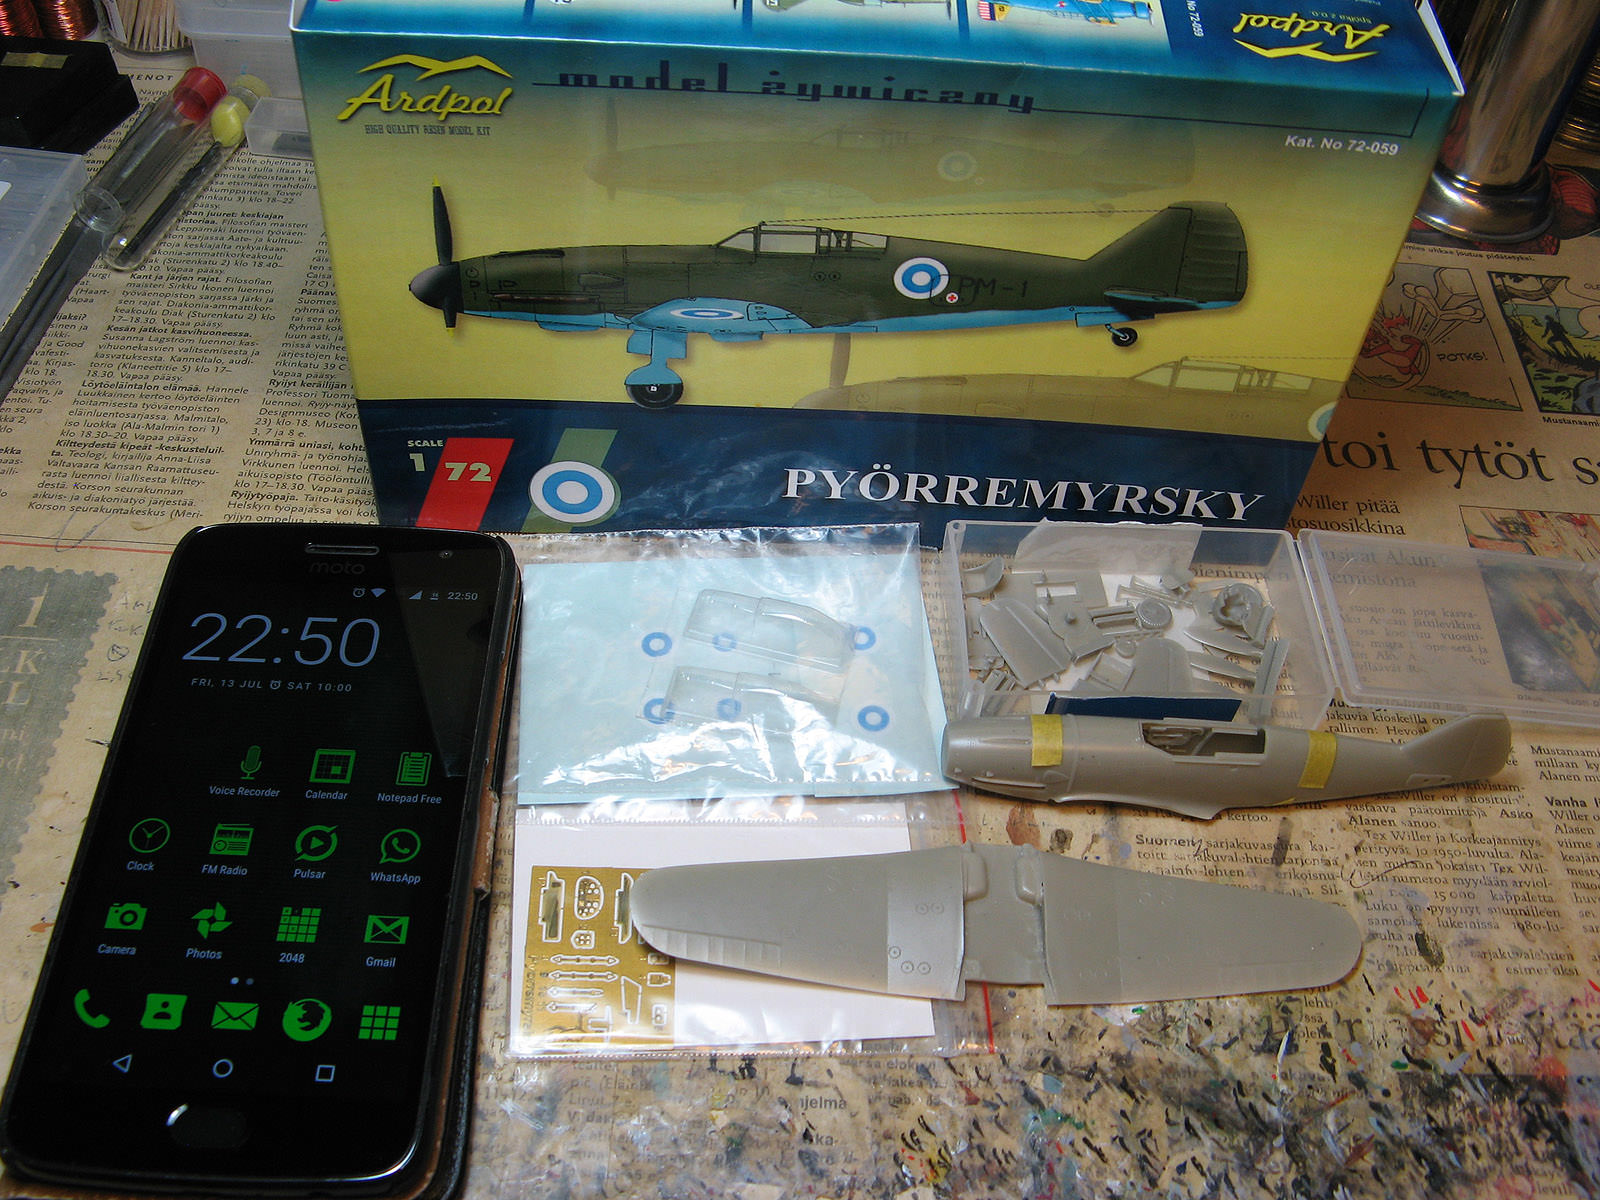
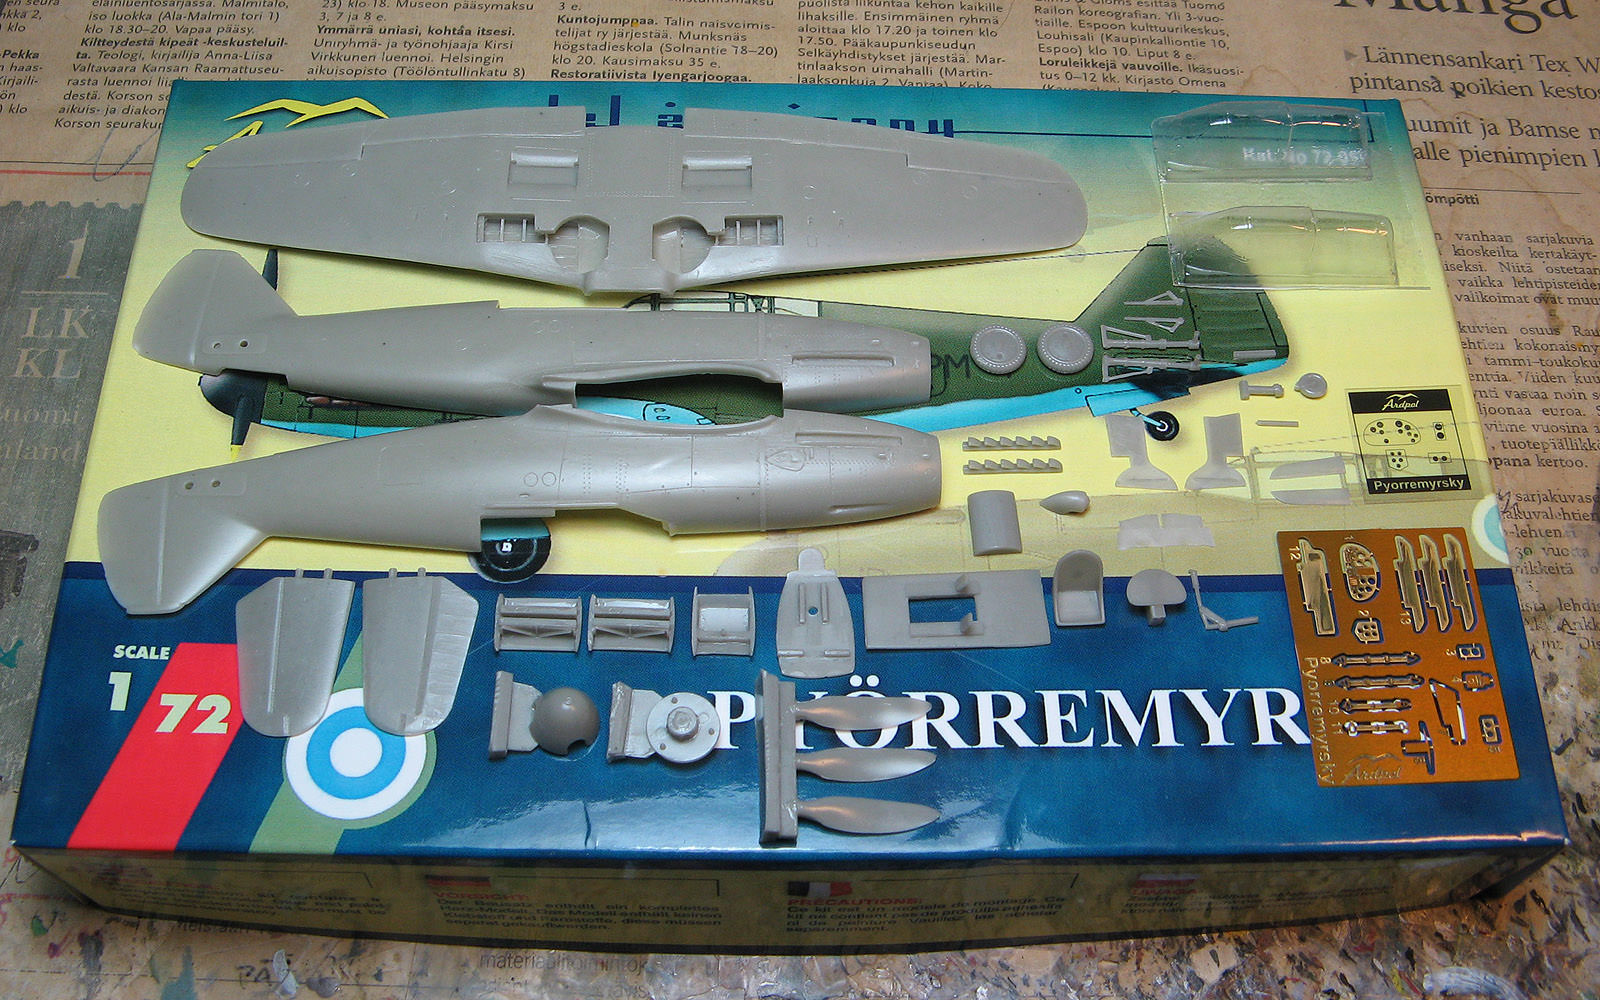
Funny, it's been over 20 years when I built my first, but I've yet to built an all-resin kit. And I've had several in my stash for ages! So let's go with Ardpol's 1:72 scale kit of VL Pyörremyrsky, which, according to my in-box review I bought way back in 2006.
Judging from the overall excellent casting quality and parts breakdown very much like ordinary injection molded kits, I have a feeling this will make a good introduction to the lost, dark arts.
Anyway, let's see how this thing goes together!
P.S. Click on images for full-size pictures. (middle-click to open to new tab for convenience, of course)
Bigrip74
Texas, United States
Joined: February 22, 2008
KitMaker: 5,026 posts
AeroScale: 2,811 posts
Joined: February 22, 2008
KitMaker: 5,026 posts
AeroScale: 2,811 posts
Posted: Monday, July 16, 2018 - 10:43 AM UTC
Eetu, nice subject. I will follow your progress.
Ive had too much going on for the last two weeks with the end including admitting my mother into the hospital.
Its time to get back to the building board. I applied some Tamiya putty to the I-16, the P-40 is waiting on me to figure out how to attach the landing gear well protrusions, the Yak 3 is ready for the canopy.
Emeritus
Uusimaa, Finland
Joined: March 30, 2004
KitMaker: 2,845 posts
AeroScale: 1,564 posts
Joined: March 30, 2004
KitMaker: 2,845 posts
AeroScale: 1,564 posts
Posted: Monday, July 23, 2018 - 11:29 PM UTC
Alright, finally some progress to show!
Got a bit distracted by a rather uncommon heat wave over here. ...and one 1:48 scale Bf 110 as well.
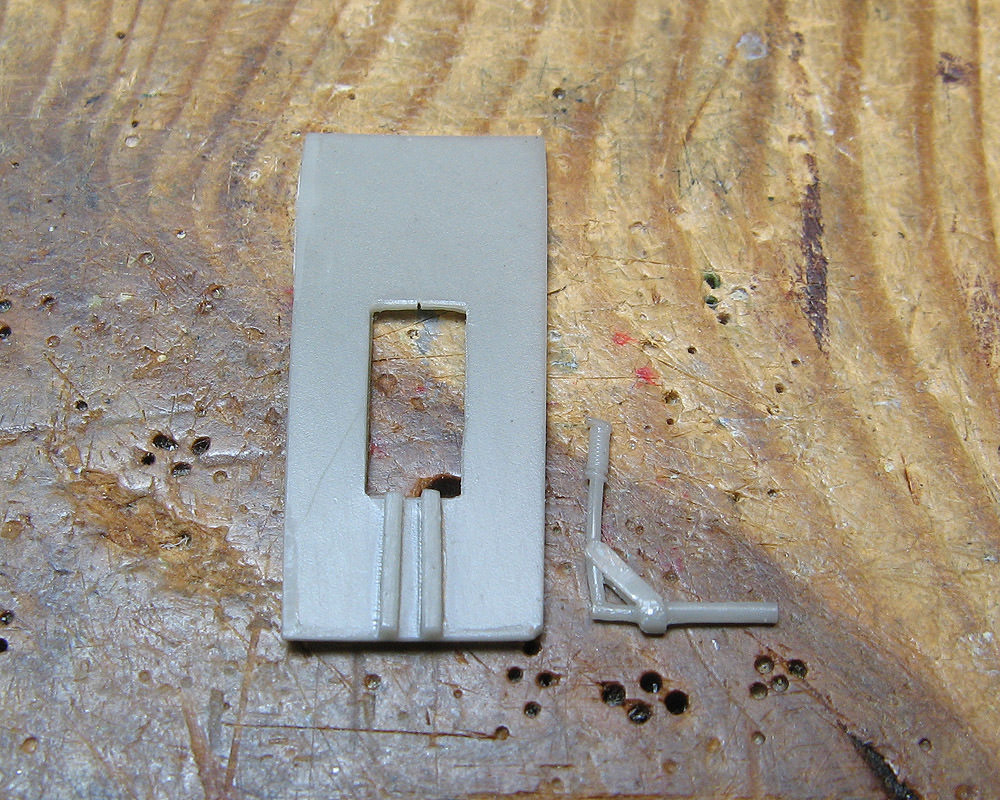
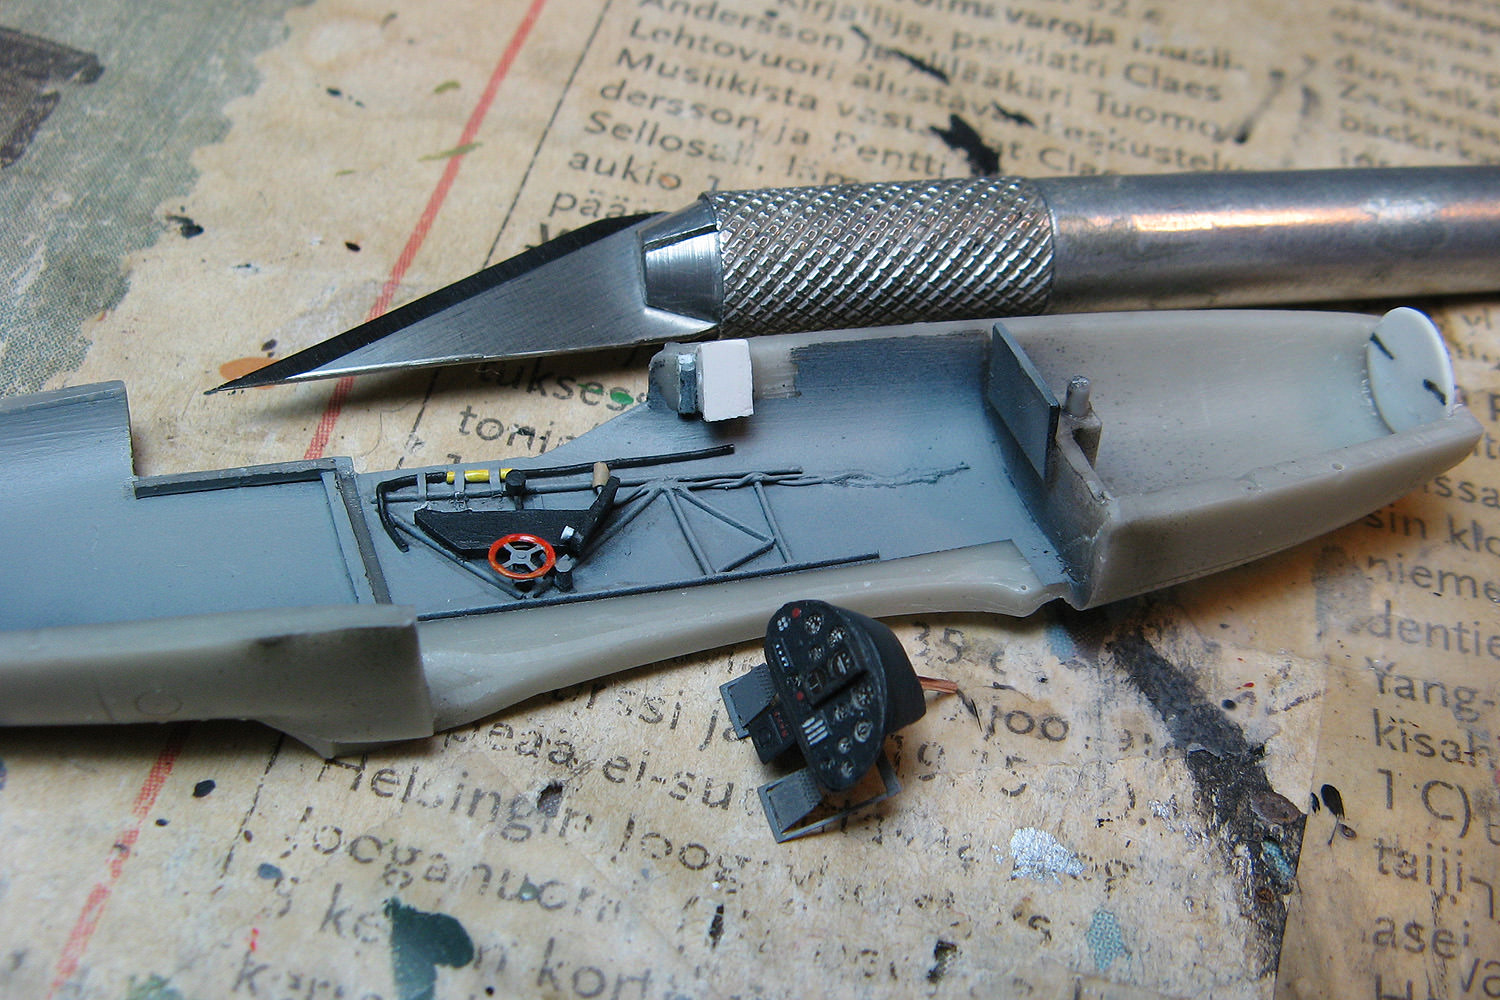
Cockpit components more or less ready for painting. Modifications done:
- Slot cut in cockpit rear bulkhead/armor plate for the shoulder belts.
- Removed the fictitious molded-in rudder pedals from the cockpit floor; to be replaced with some PE pedals from P-36 detail set.
- Piece of L-profile styrene rod glued to the lower instrument panel mount to ease attaching said panel.
I'll still have to see what to do about the control stick, it's mounting method and final position doesn't look quite correct straight from the box to me.
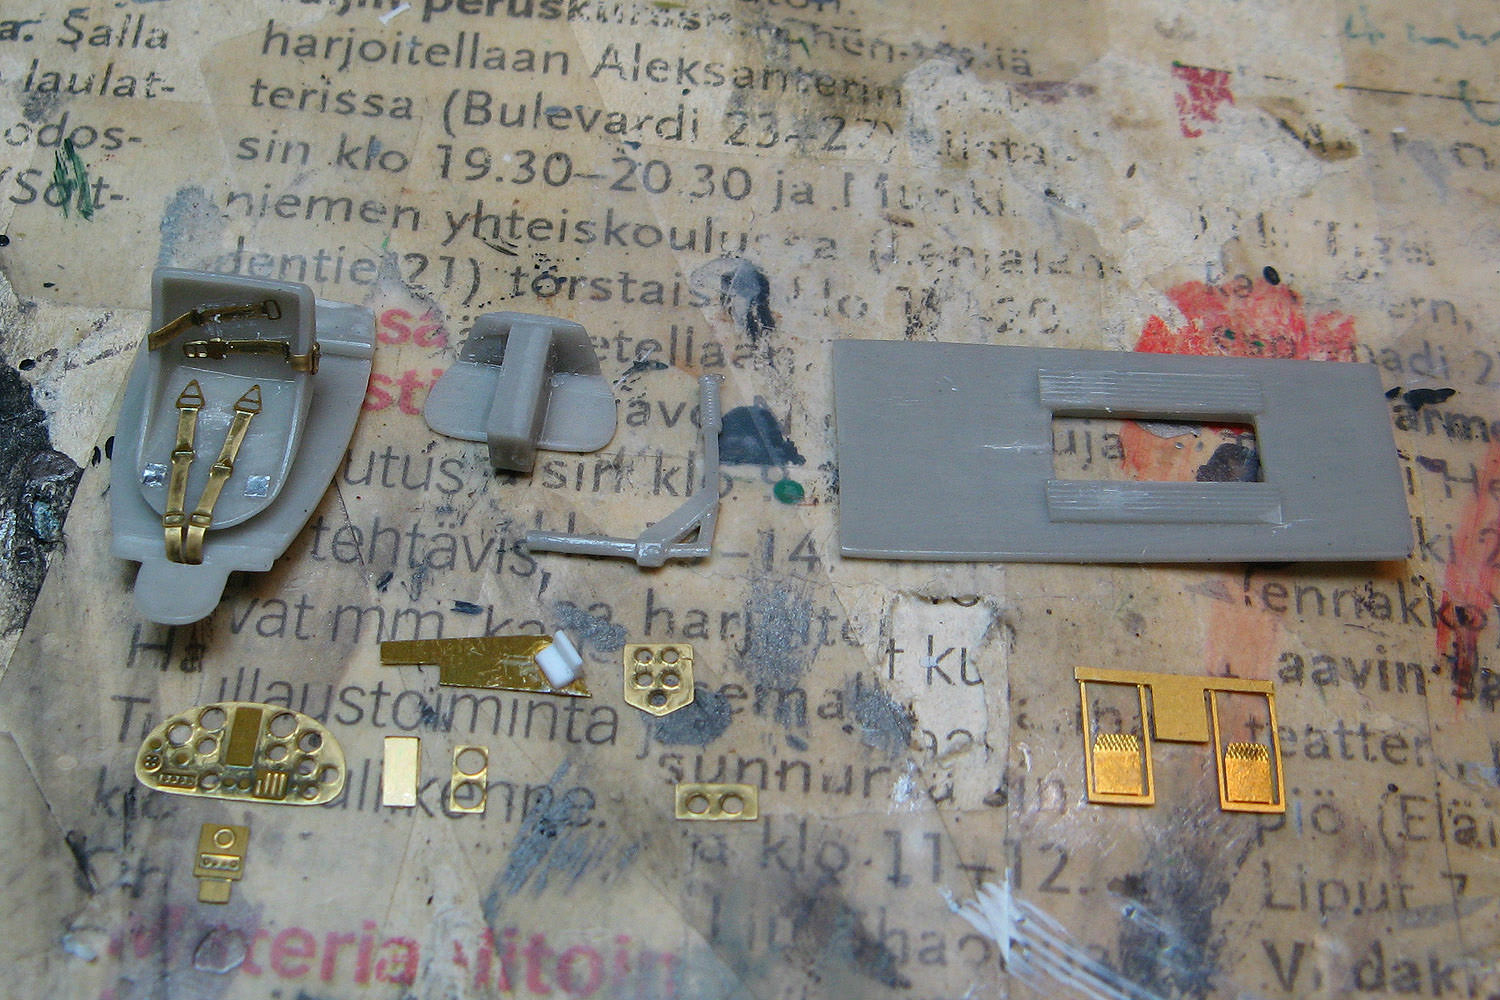
Some detailing done to the cockpit sidewalls:
- PE adjustment wheels taken from an AML Bf 109 kit.
- Added some details to the fuel lines running along the cockpit sidewalls.
- Scratchbuilt a cockpit light to the left side. I also made one for the right side, but it wouldn't have fit between the instrument panel and a small 2-gauge panel on the sidewall, so I decided to leave it off. (as making it fit would have required revamping all the sidewall details, which I'm not feeling like doing for such a rather small detail)
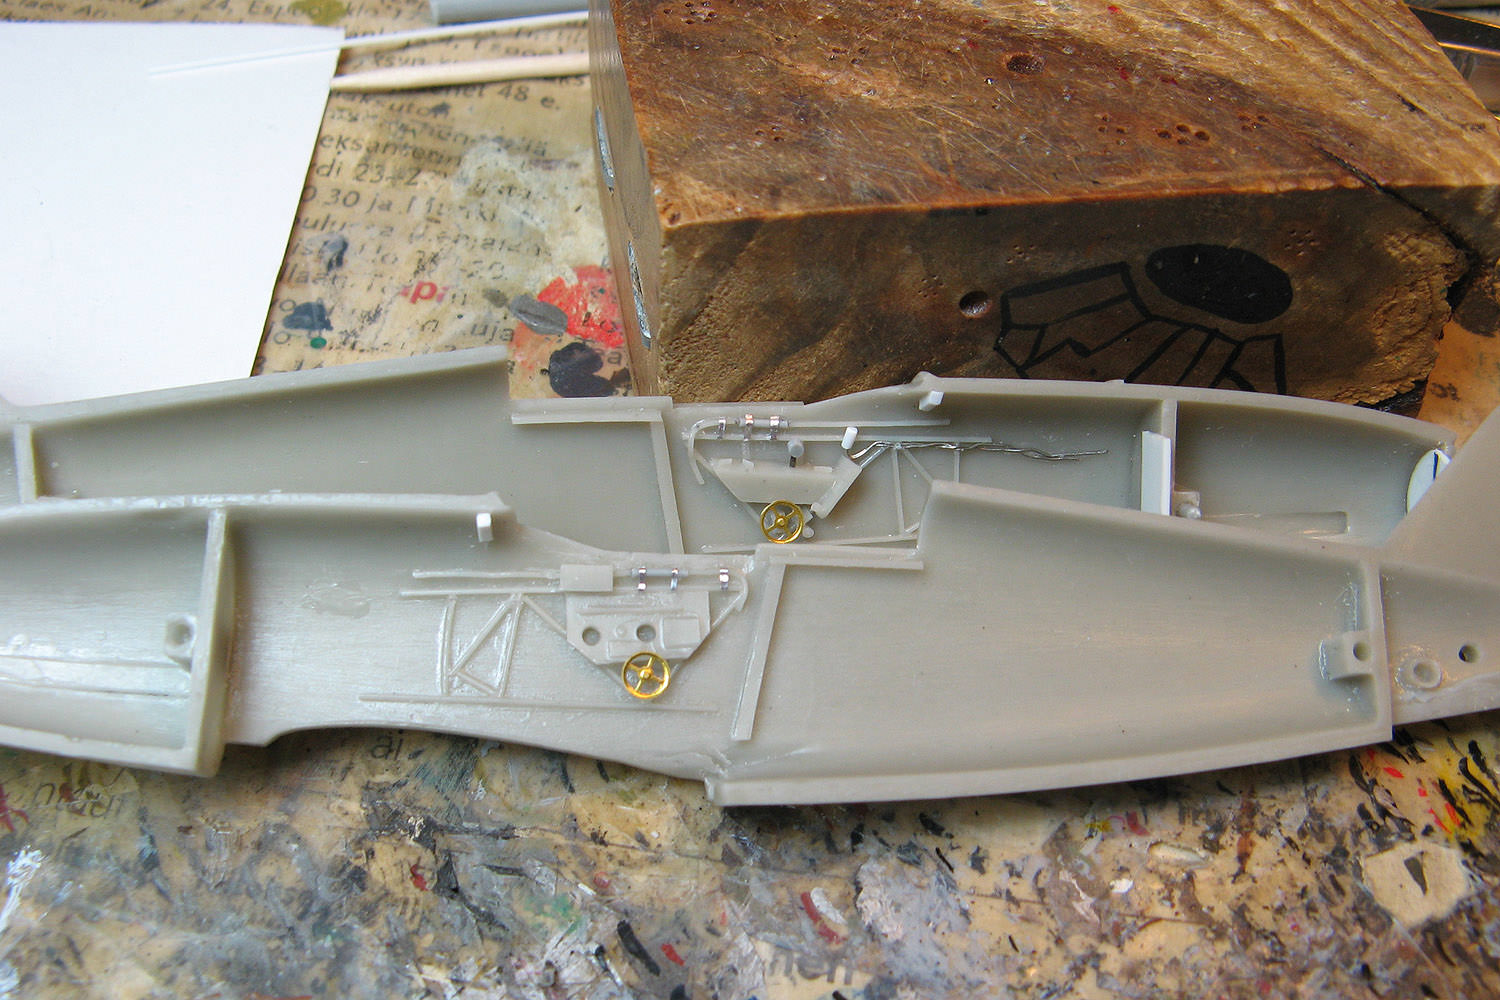
Once I get the control stick issue sorted out I can start priming the interior parts.
Emeritus
Uusimaa, Finland
Joined: March 30, 2004
KitMaker: 2,845 posts
AeroScale: 1,564 posts
Joined: March 30, 2004
KitMaker: 2,845 posts
AeroScale: 1,564 posts
Posted: Tuesday, July 24, 2018 - 01:28 PM UTC
Quick update: control stick modification done.
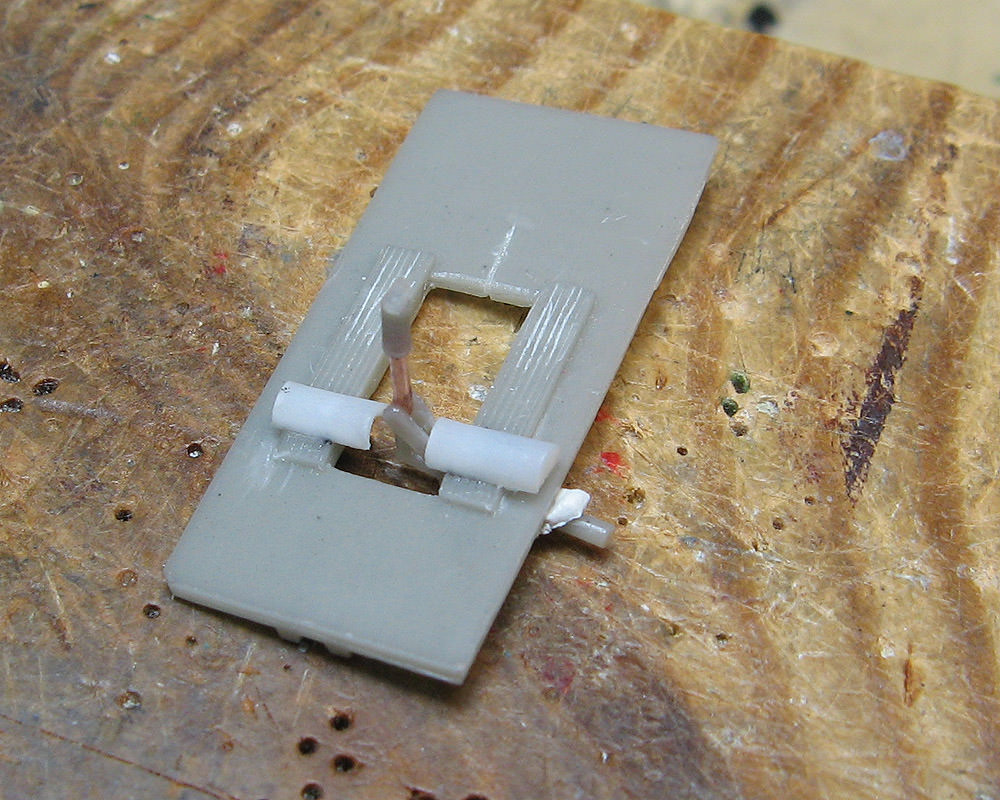
As it assembles straight from the box: the bracket-looking things and control stick grip pointing back.
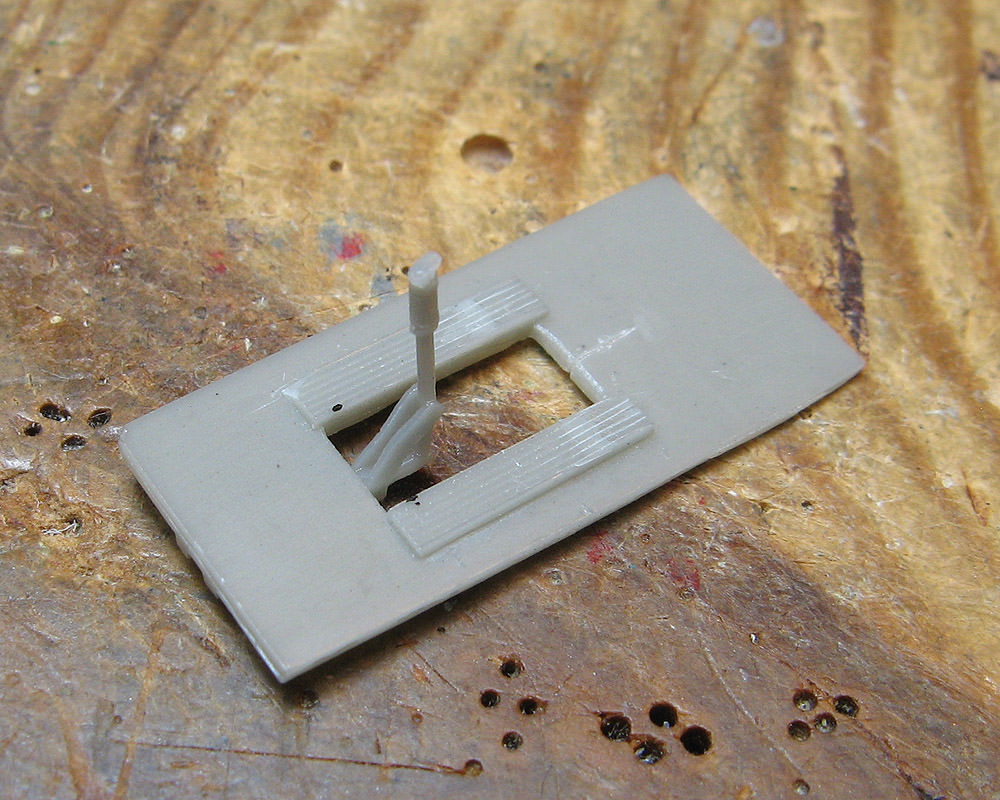
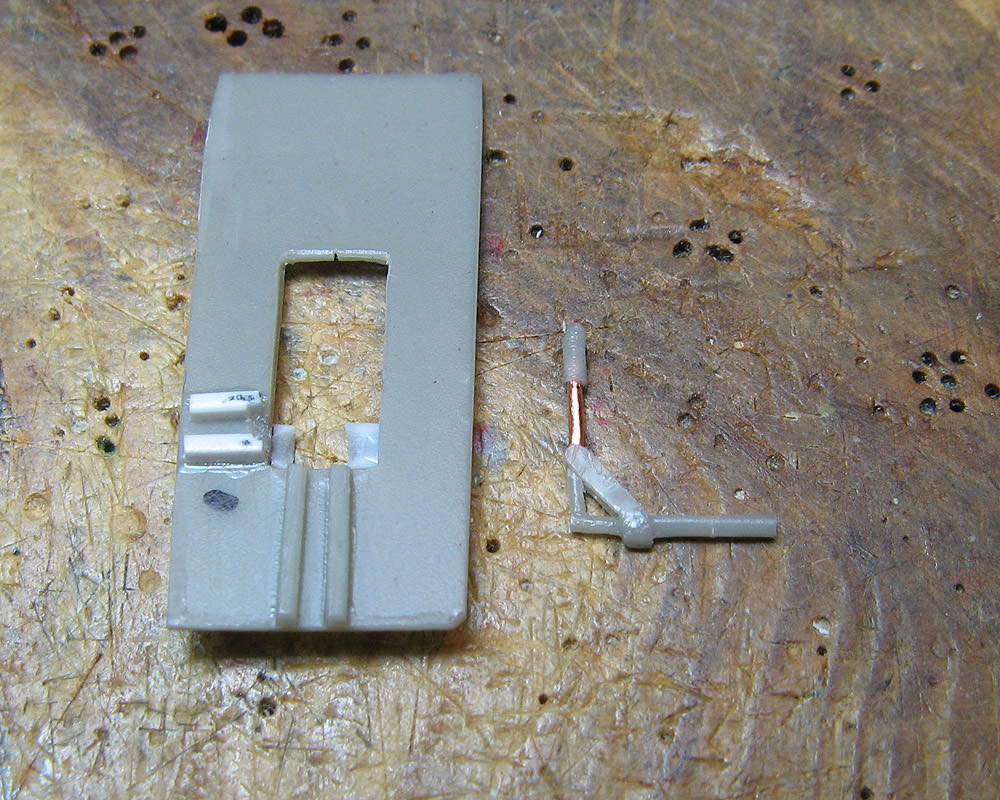
Where in reality it should look more like this, with the bracket on one side and semi-round parts that I presume to be covers over control rods placed at the rear end of the foot troughs.
Solution: turn to the control stick grip 90 degrees to the side (I broke the stick while handling it so I ended up replacing the shaft with copper wire), glue styrene strip to the bottom of the cockpit floor to act as control stick locators, and make control rod covers from styrene rod.
Now I think I'm ready to start putting on some primer on the cockpit parts.
Emeritus
Uusimaa, Finland
Joined: March 30, 2004
KitMaker: 2,845 posts
AeroScale: 1,564 posts
Joined: March 30, 2004
KitMaker: 2,845 posts
AeroScale: 1,564 posts
Posted: Wednesday, July 25, 2018 - 04:11 AM UTC
Posted: Friday, August 03, 2018 - 12:54 PM UTC
Does it have to be aircraft or armour. I was thinking of either a ww2 Chev CMP wrecker or a Dodge 3/4 ton ambulance.
Emeritus
Uusimaa, Finland
Joined: March 30, 2004
KitMaker: 2,845 posts
AeroScale: 1,564 posts
Joined: March 30, 2004
KitMaker: 2,845 posts
AeroScale: 1,564 posts
Posted: Sunday, August 05, 2018 - 05:20 AM UTC
Bigrip74
Texas, United States
Joined: February 22, 2008
KitMaker: 5,026 posts
AeroScale: 2,811 posts
Joined: February 22, 2008
KitMaker: 5,026 posts
AeroScale: 2,811 posts
Posted: Sunday, August 05, 2018 - 04:19 PM UTC
Eetu,the cockpit looks really good. Nice job on the photo also.
Bob
Bob
Emeritus
Uusimaa, Finland
Joined: March 30, 2004
KitMaker: 2,845 posts
AeroScale: 1,564 posts
Joined: March 30, 2004
KitMaker: 2,845 posts
AeroScale: 1,564 posts
Posted: Wednesday, August 08, 2018 - 04:43 AM UTC
Thanks! Glad to hear you're liking the progress so far.
Some more progess to show again. Very close to being ready to assemble the cockpit subassemblies and close up the fuselage. Change of plans for the instrument panel mounting. Instead of trying to glue it to the fuselage lip, I opted for making a mounting block from styrene and attaching the instrument panel to that with a copper wire pin.
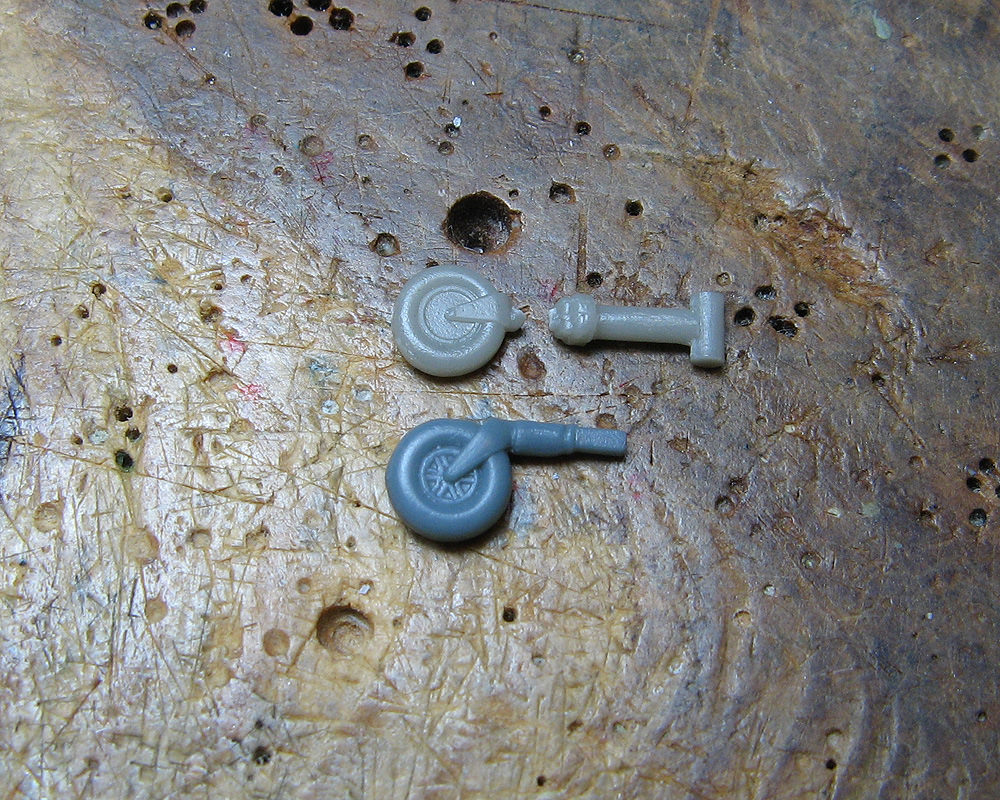
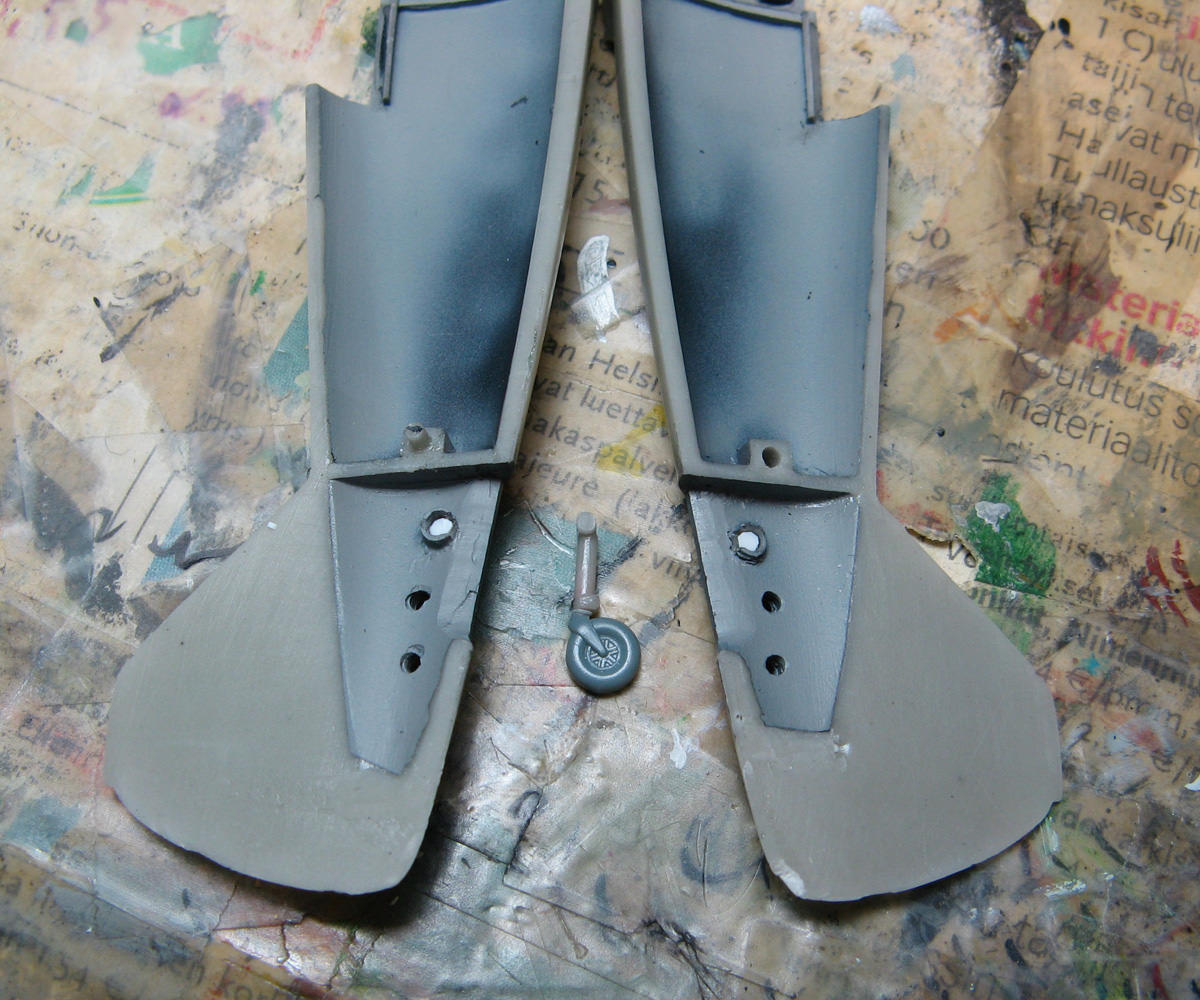
The tail wheel arrived broken off in the kit - perfect excuse to swap it out for a more accurate and better detailed one left over from an AZ Model Bf 109 kit.
I modified the tail wheel strut mounts in the fuselage halves by making cuts in them to allow the tail wheel to be glued in after the fuselage has been assembled. I also glued in pieces of styrene sheet on both sides to make the tail wheel strut fit snuggly without sideways movement.
Posted: Wednesday, August 08, 2018 - 08:03 AM UTC
Darrell as far as I'm aware it just needs to be vacform or resin the subject is up to you.
Eetu another fantastic build I'm eager to see how it looks when you've got it together, a particularly interesting subject.
Posted: Friday, August 10, 2018 - 03:33 PM UTC
Quoted Text
Darrell as far as I'm aware it just needs to be vacform or resin the subject is up to you.
Eetu another fantastic build I'm eager to see how it looks when you've got it together, a particularly interesting subject.
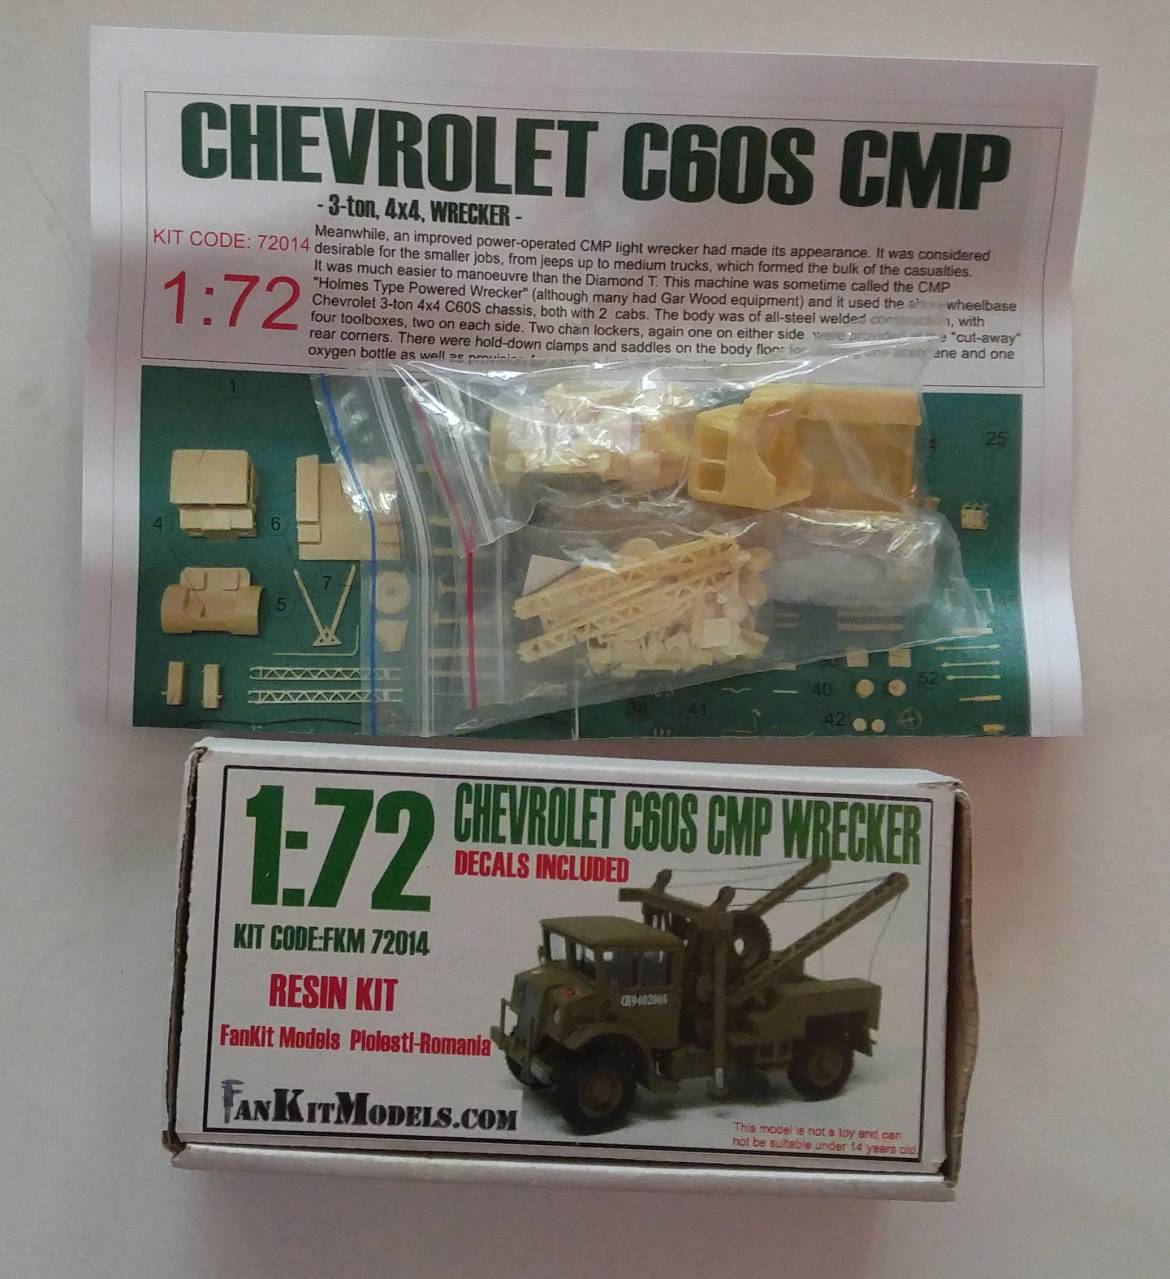
In that case I have chosen the FanKitModels 1/72 Chevrolet C60S CMP Wrecker.
Posted: Monday, August 13, 2018 - 09:07 AM UTC
Here is the opening shot of my kit.
I found the instructions are just assembly pictures and photos with the parts numbered. Just like plastic kits but not exploded views like some of the plastic kits. No problem as they are self explanatory. Just not used to instructions being on one small sheet.
Posted: Monday, August 13, 2018 - 02:25 PM UTC
Here is my entry to the campaign, planet Models 1/72 Henschel Hs P87.
Removed by original poster on 09/03/18 - 15:23:17 (GMT).
lmsharp57
Virginia, United States
Joined: August 24, 2014
KitMaker: 36 posts
AeroScale: 33 posts
Joined: August 24, 2014
KitMaker: 36 posts
AeroScale: 33 posts
Posted: Monday, September 03, 2018 - 03:27 AM UTC
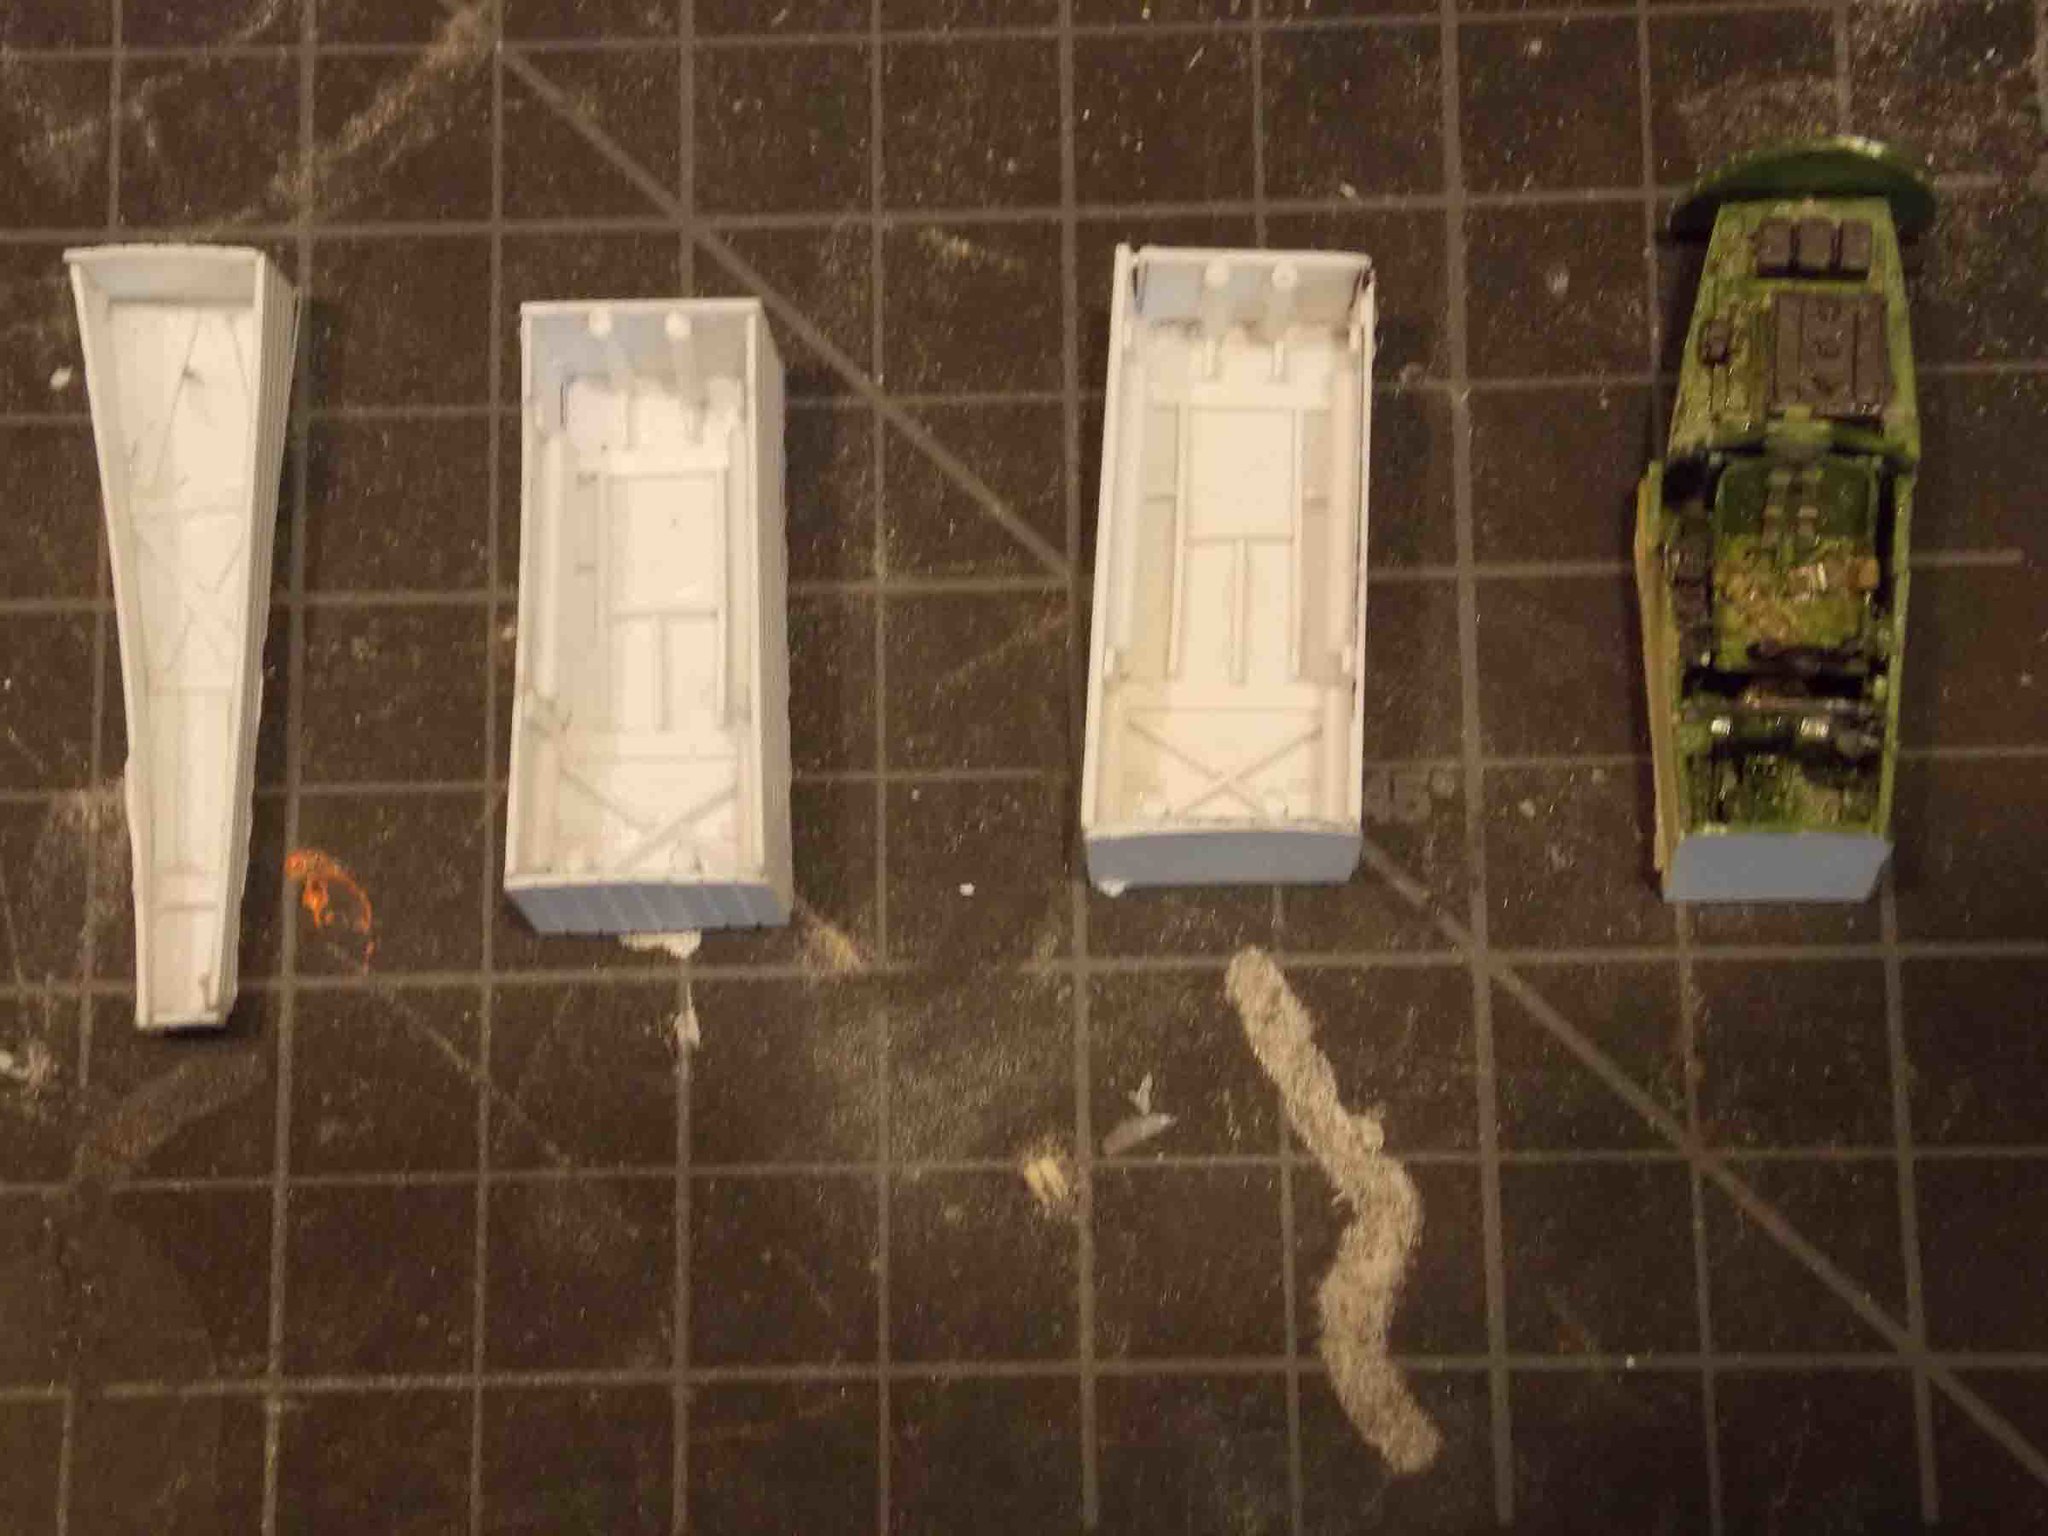
Its been a long summer.Now finally making progress on this litle gem from Hell The wheel wells I built from Plastic card and bits of rod. The cockpit is an after market P-38 tub thats been shortened slightly to fit due to the size of the nose well and the narrow confines of the nose.

lmsharp57
Virginia, United States
Joined: August 24, 2014
KitMaker: 36 posts
AeroScale: 33 posts
Joined: August 24, 2014
KitMaker: 36 posts
AeroScale: 33 posts
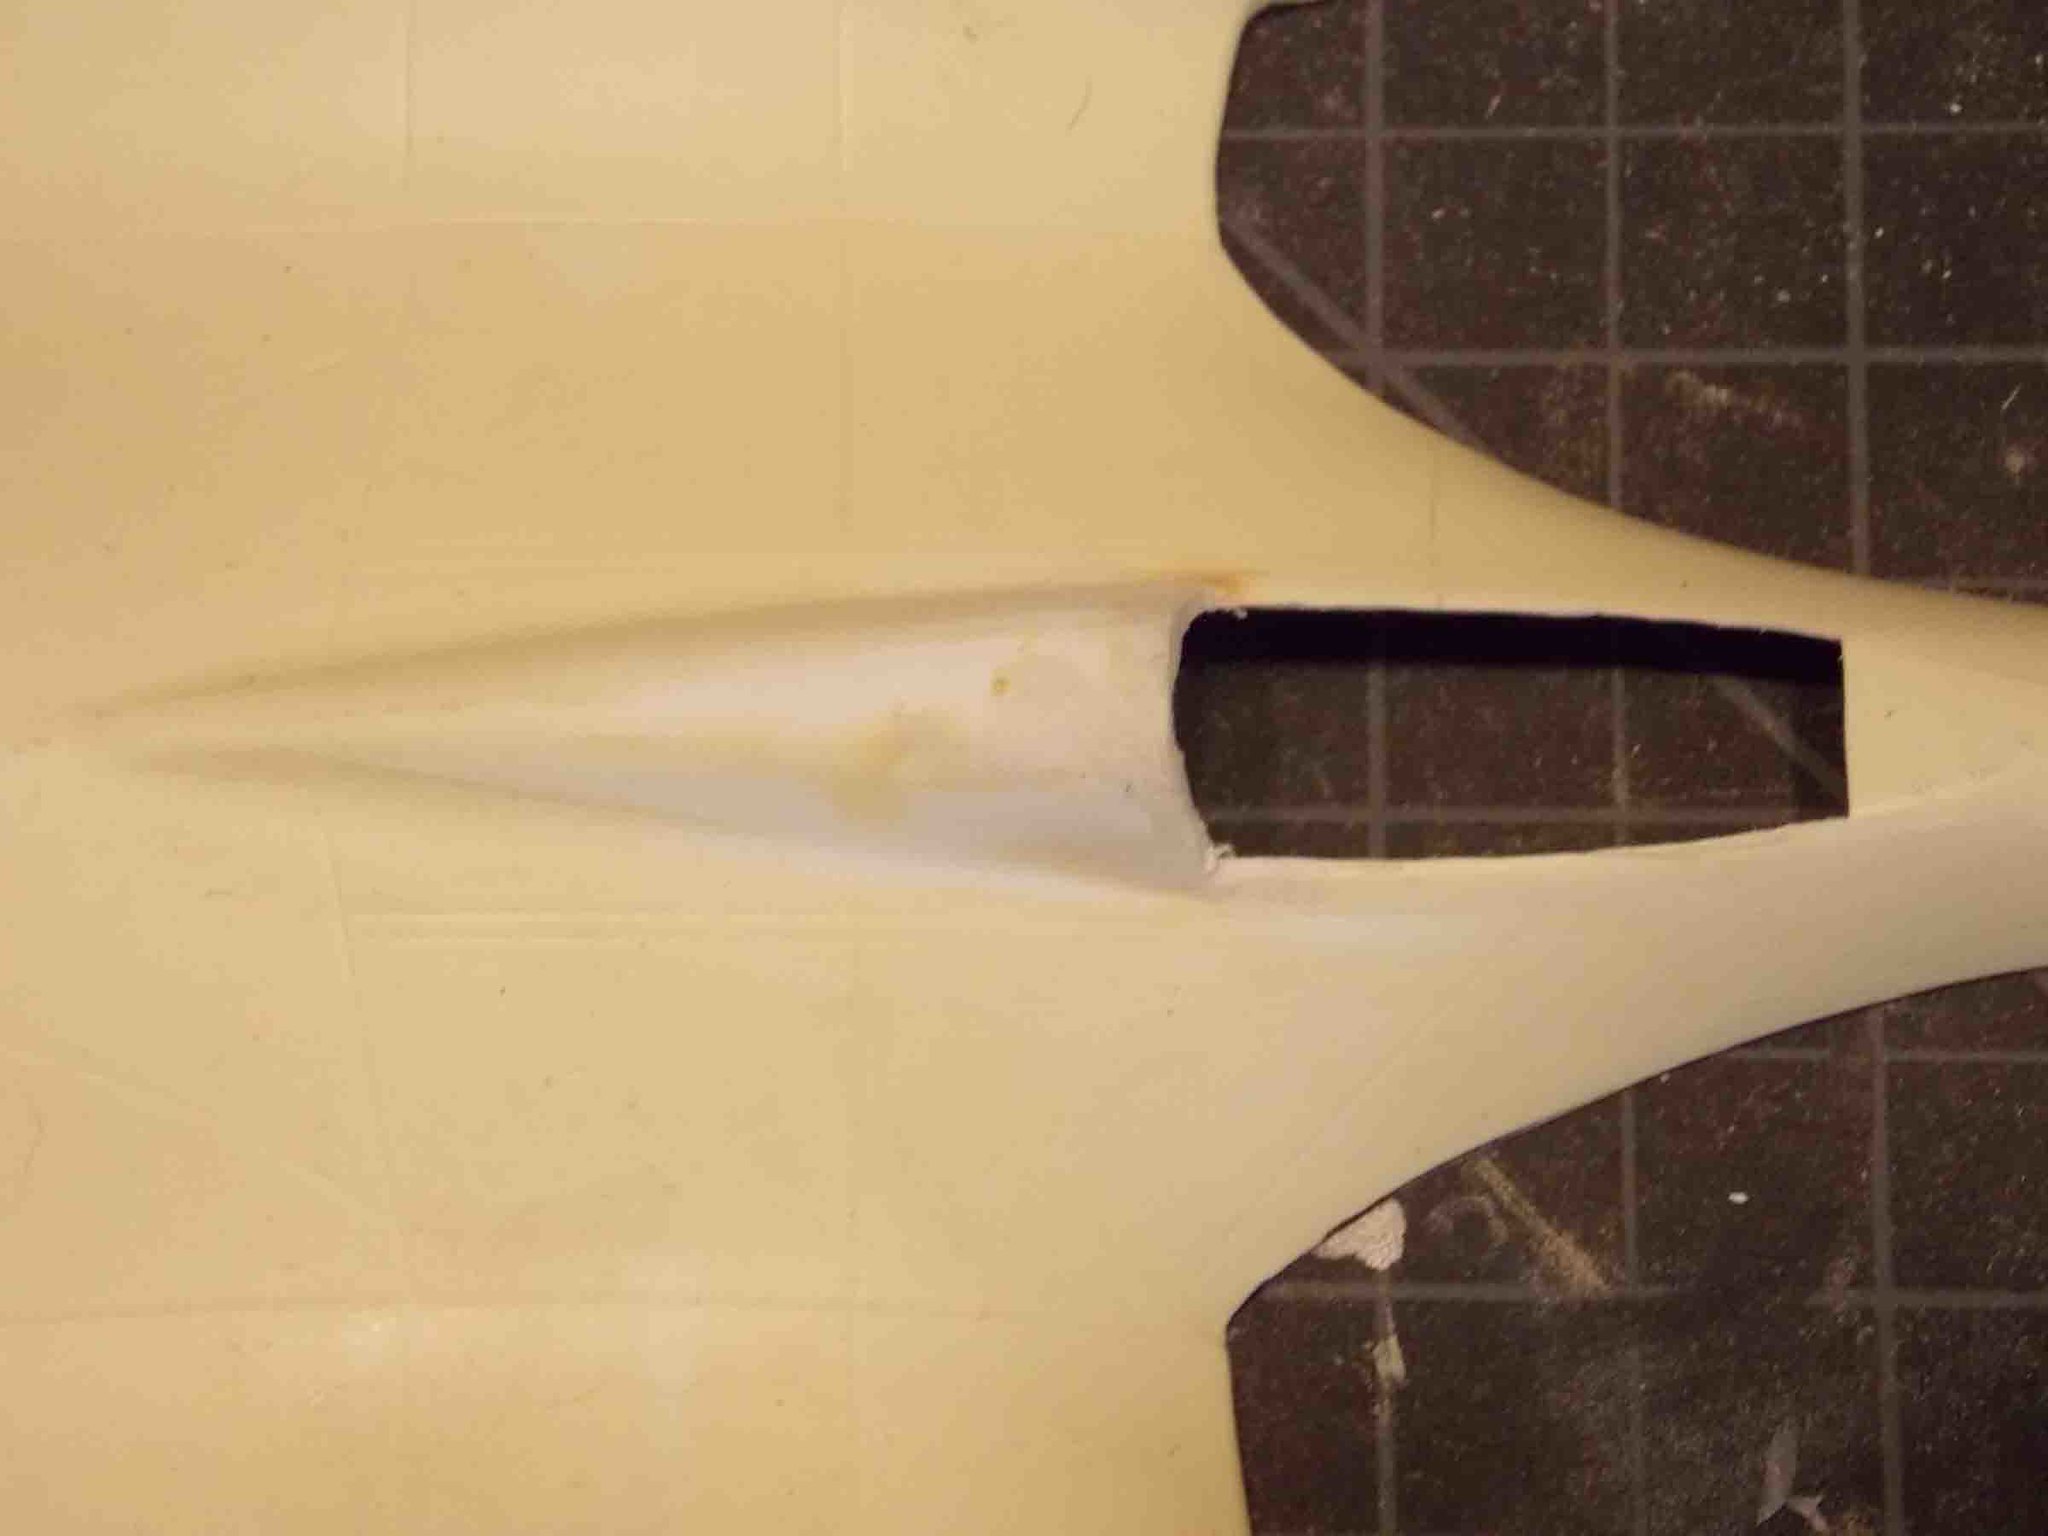
Posted: Monday, September 03, 2018 - 03:41 AM UTC
One thing about Vacuforms is that when cast not everything gets formed. Case in point the back end of the cockpit fairing partially was formed and I had to take a few pieces of strip plastic and some Milliput to reshape and smooth down the fairing.