Its been a while since Ive made an update, sometimes life throughs a curve and you get onto the DL for 6 weeks. Im back in saddle and have an update!
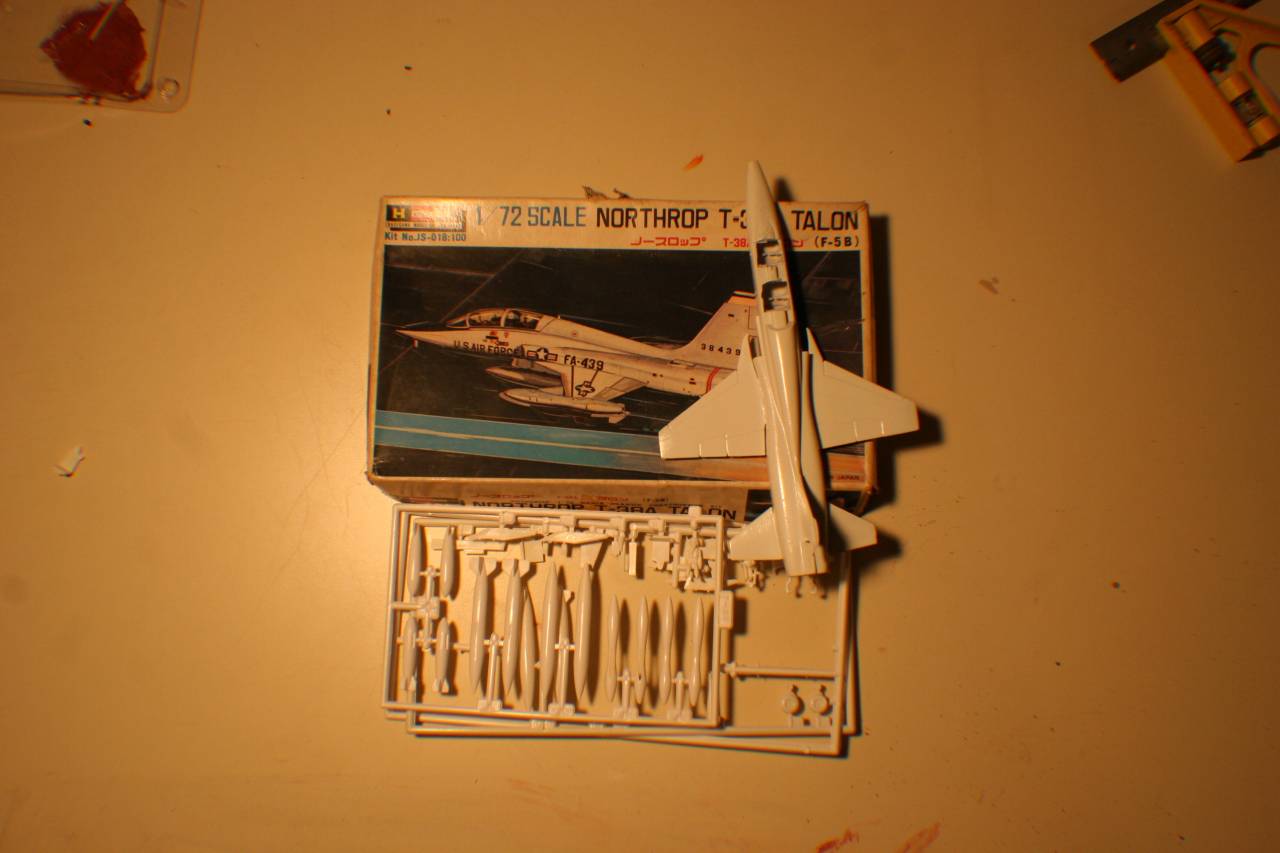
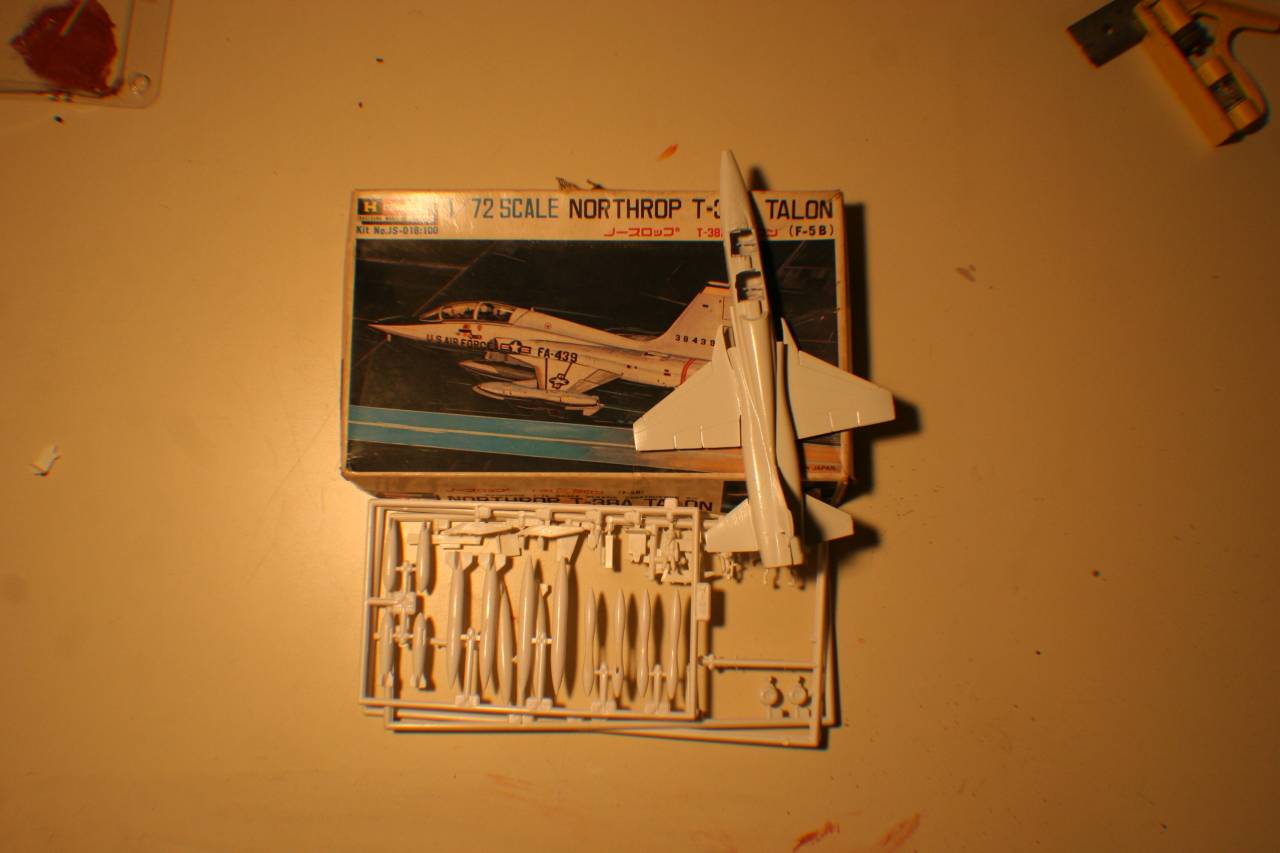
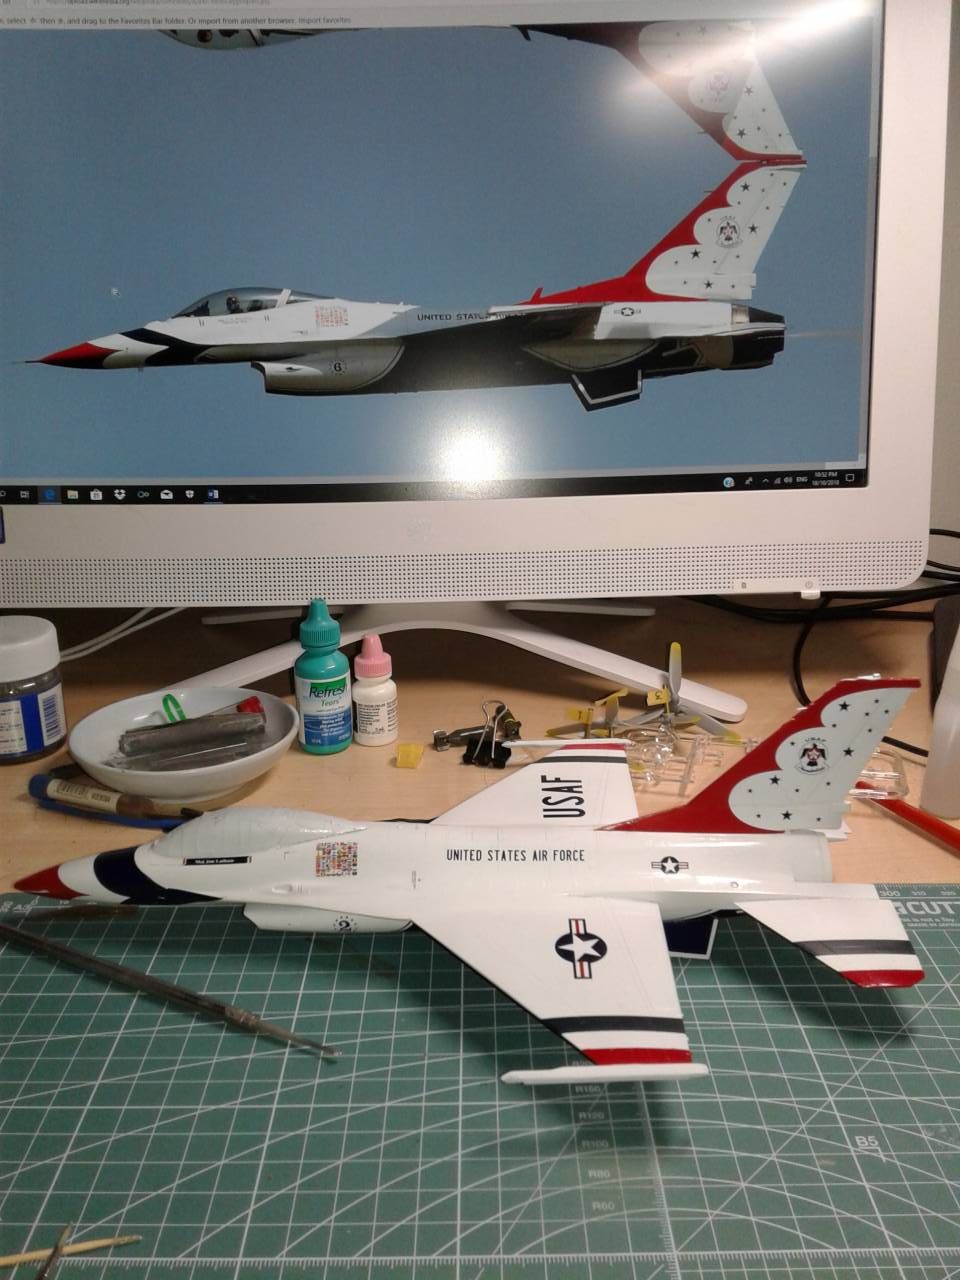
So, about four years ago I purchased this kit. Knowing that Id be relocating to Malaysia, I wanted to look into shipping times and have something to work on during my visits (twice a year for two weeks). The path I chose was Academy, as they are made in Korea, which is fairly close to here, and the inexpensive cost. This one shipped and arrived in about three weeks, costing just under 20 USD. Armed with new knowledge, I had a little project to keep my busy in the limited spare time. This also resulted in finding supplies, something that was scarce then, and now nearly impossible to get locally. Over the course of vacations, I made progress, but discovered that the Academy curse followed me!
For a newer tooled kit the fit is less than banner, while some of the issues were self-induced, the majority were from the manufacturer. Making me wonder if anyone at Academy even tried to build the kit prior to going to market. Despite the fit issues, I was able to work on my filling and sanding skills.
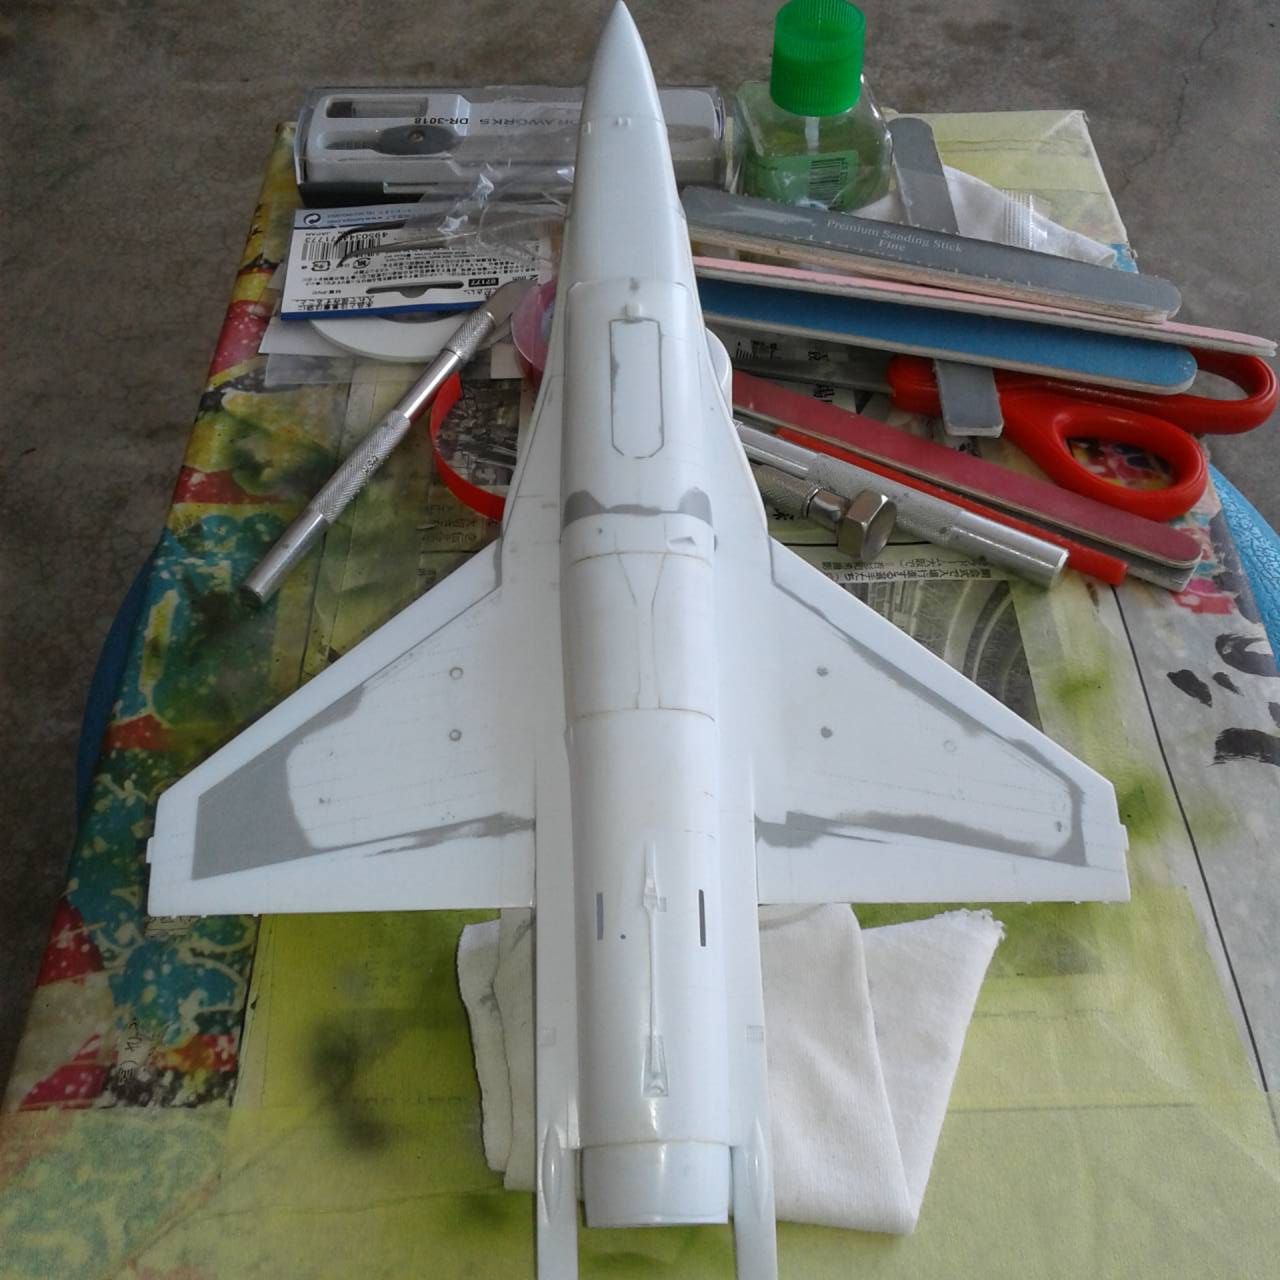
Following the move and armed with my tools, and a stronger arsenal of materials and supplies, this Queen had the wind at its back (not much of a wind but moving in the right direction). Tamiya, makes some wonderful products, and some real bombs. I picked up a tube of their UV hardening filler to use to fill some of the many gaps. This stuff, in my opinion isnt worth paint on the label. It tended to harden once out of the tube, and when I was able to get onto the gap didnt fill well at all. To further the frustration, it doesnt sand well either. In order to get rid of the seam, I first had to surgically remove the stuff using a number 11 blade, lots of patience and many unkind words to the inventor of said stuff. I got it off and was able to fill the gap using Mr. Surfacer 500.
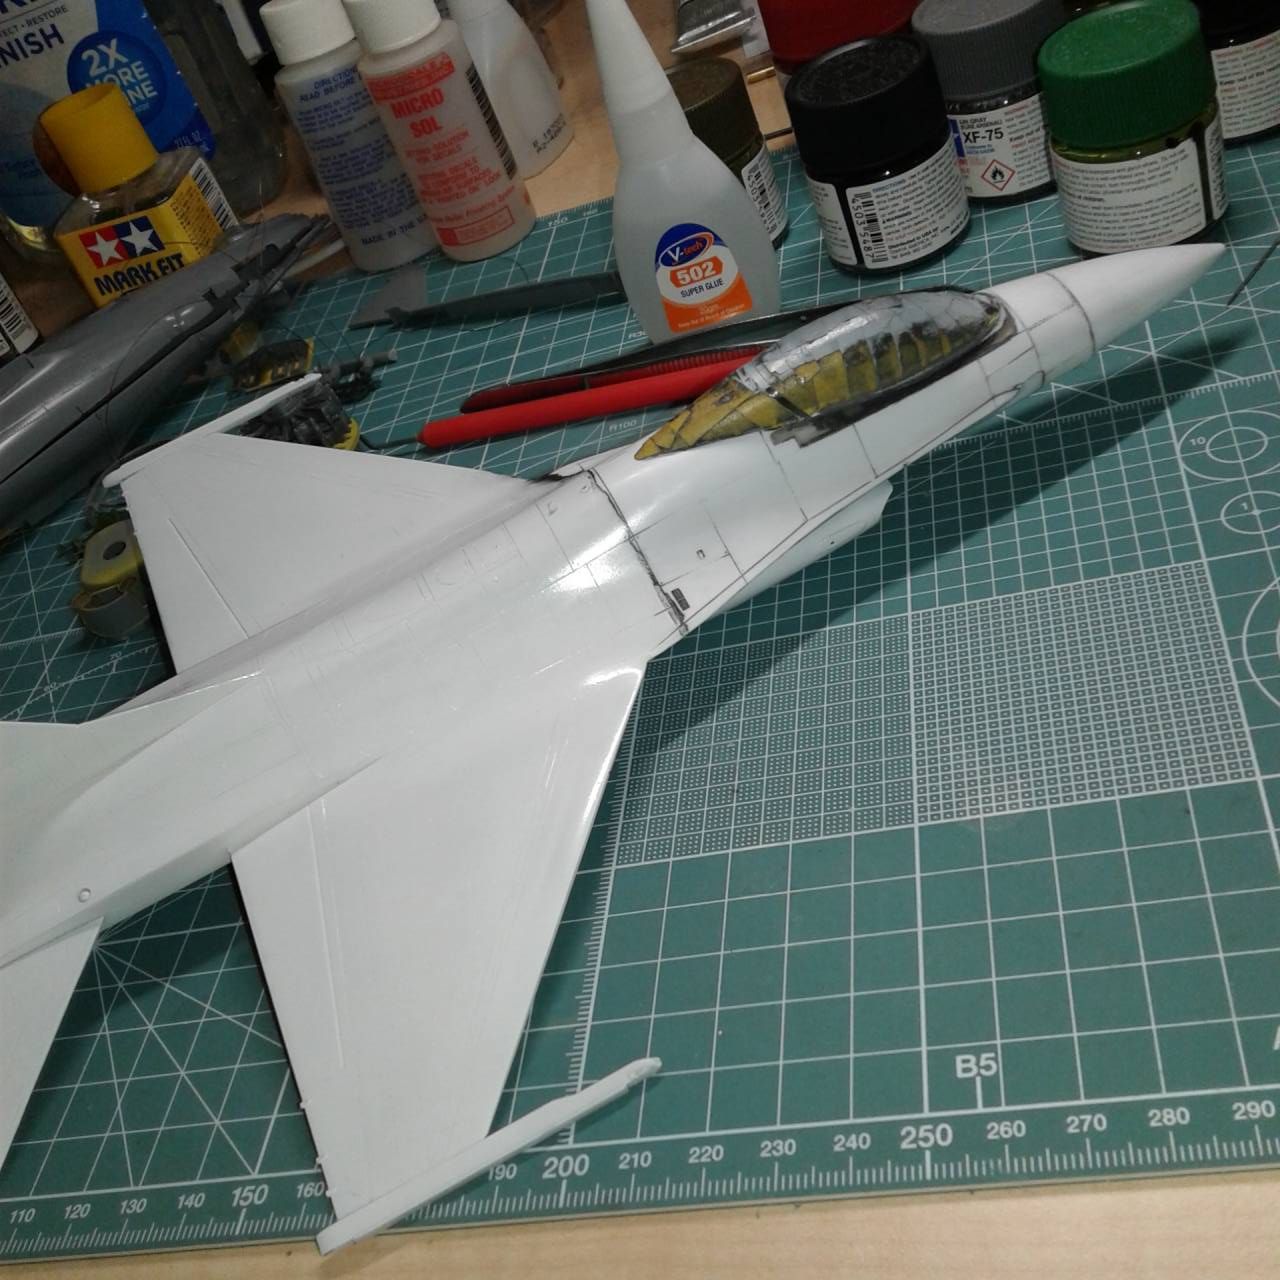
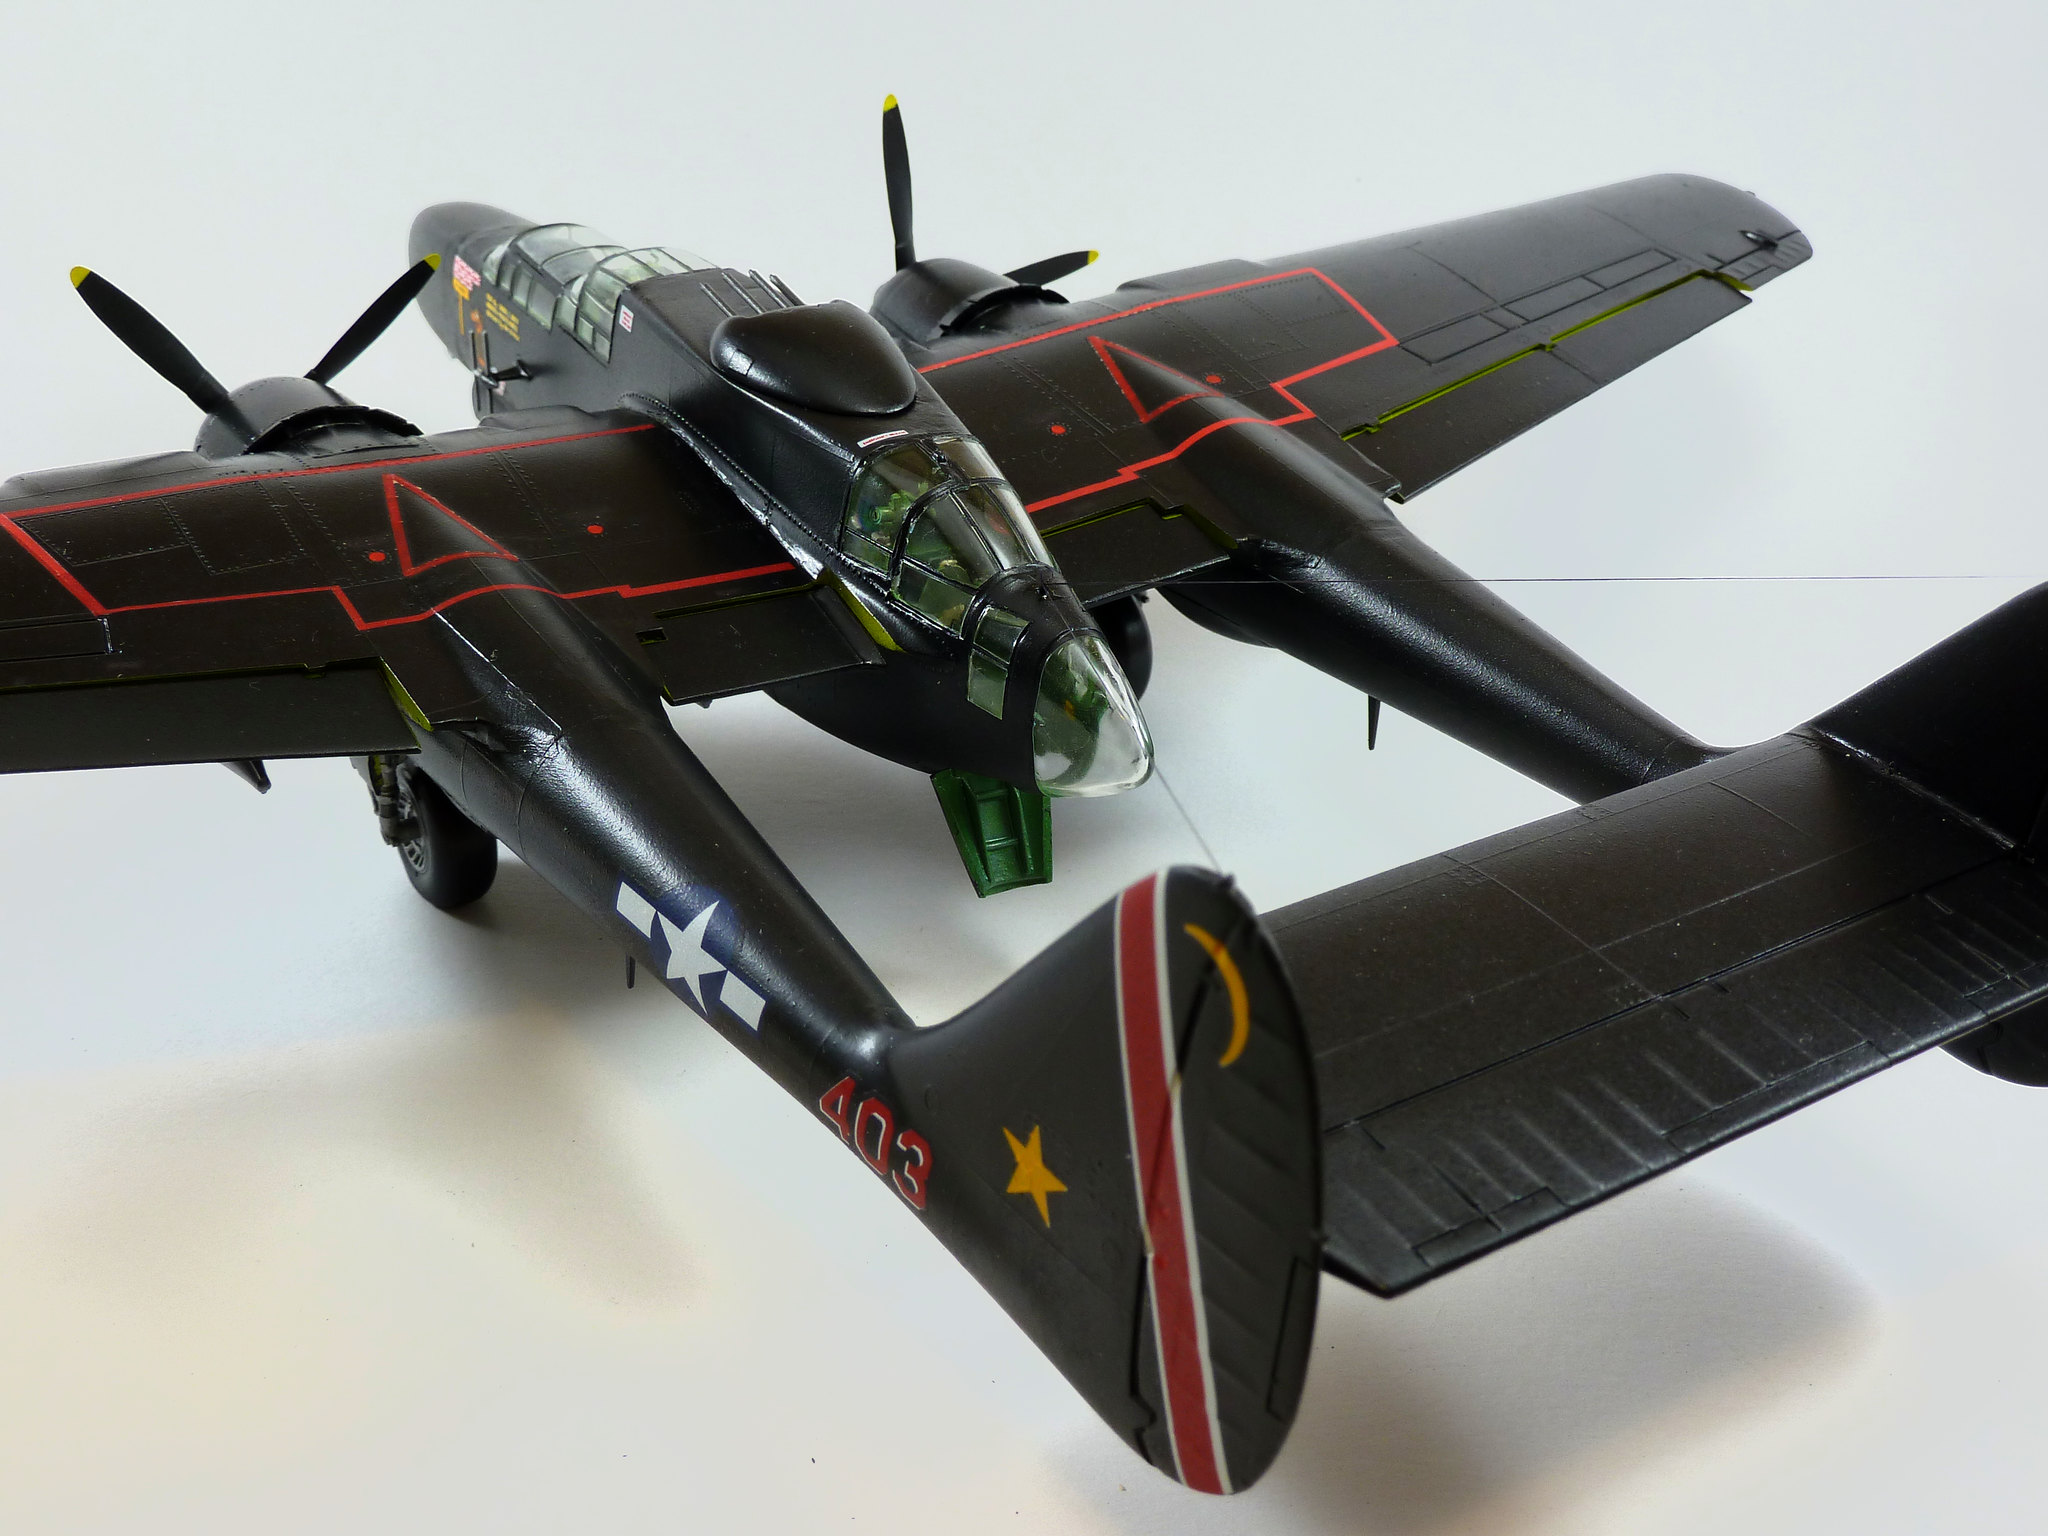
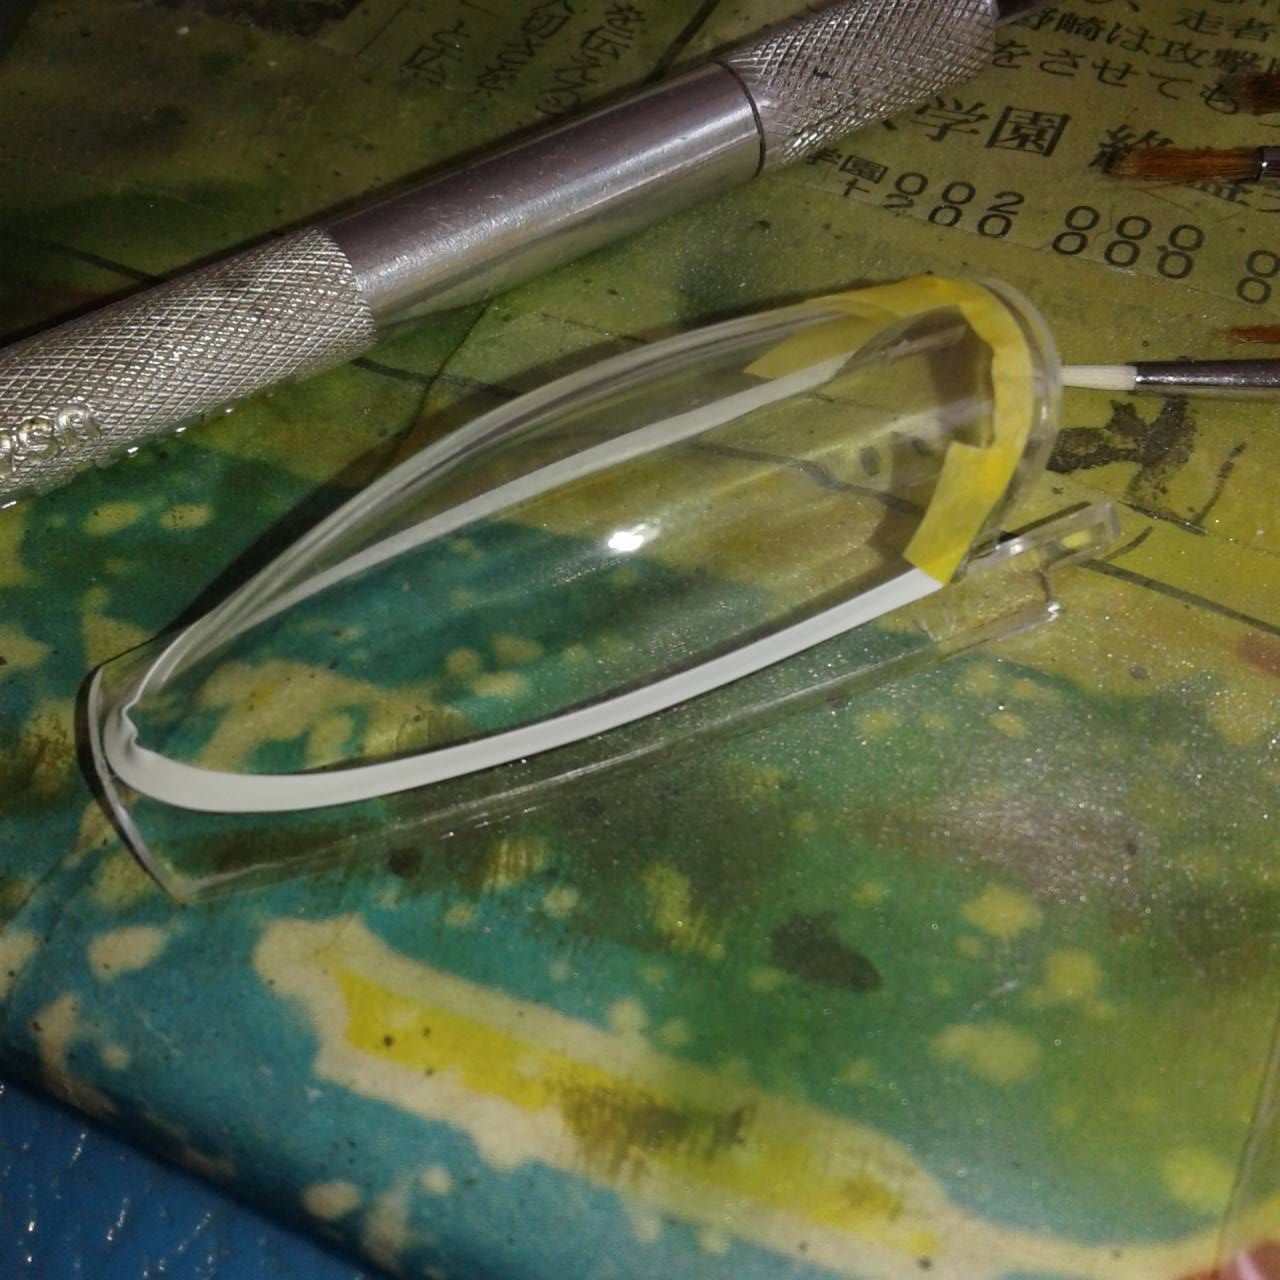
This was an expensive adventure on what not to use. I cannot recommend it to anyone for anything. On the other hand, I picked up some of their flexible tape, and really like the stuff! I used it to mask the front of the canopy and in the course of about a minute the front portion of the canopy was done and ready for final masking. This was a huge time saver. Total masking time on the canopy was around 10 minutes.
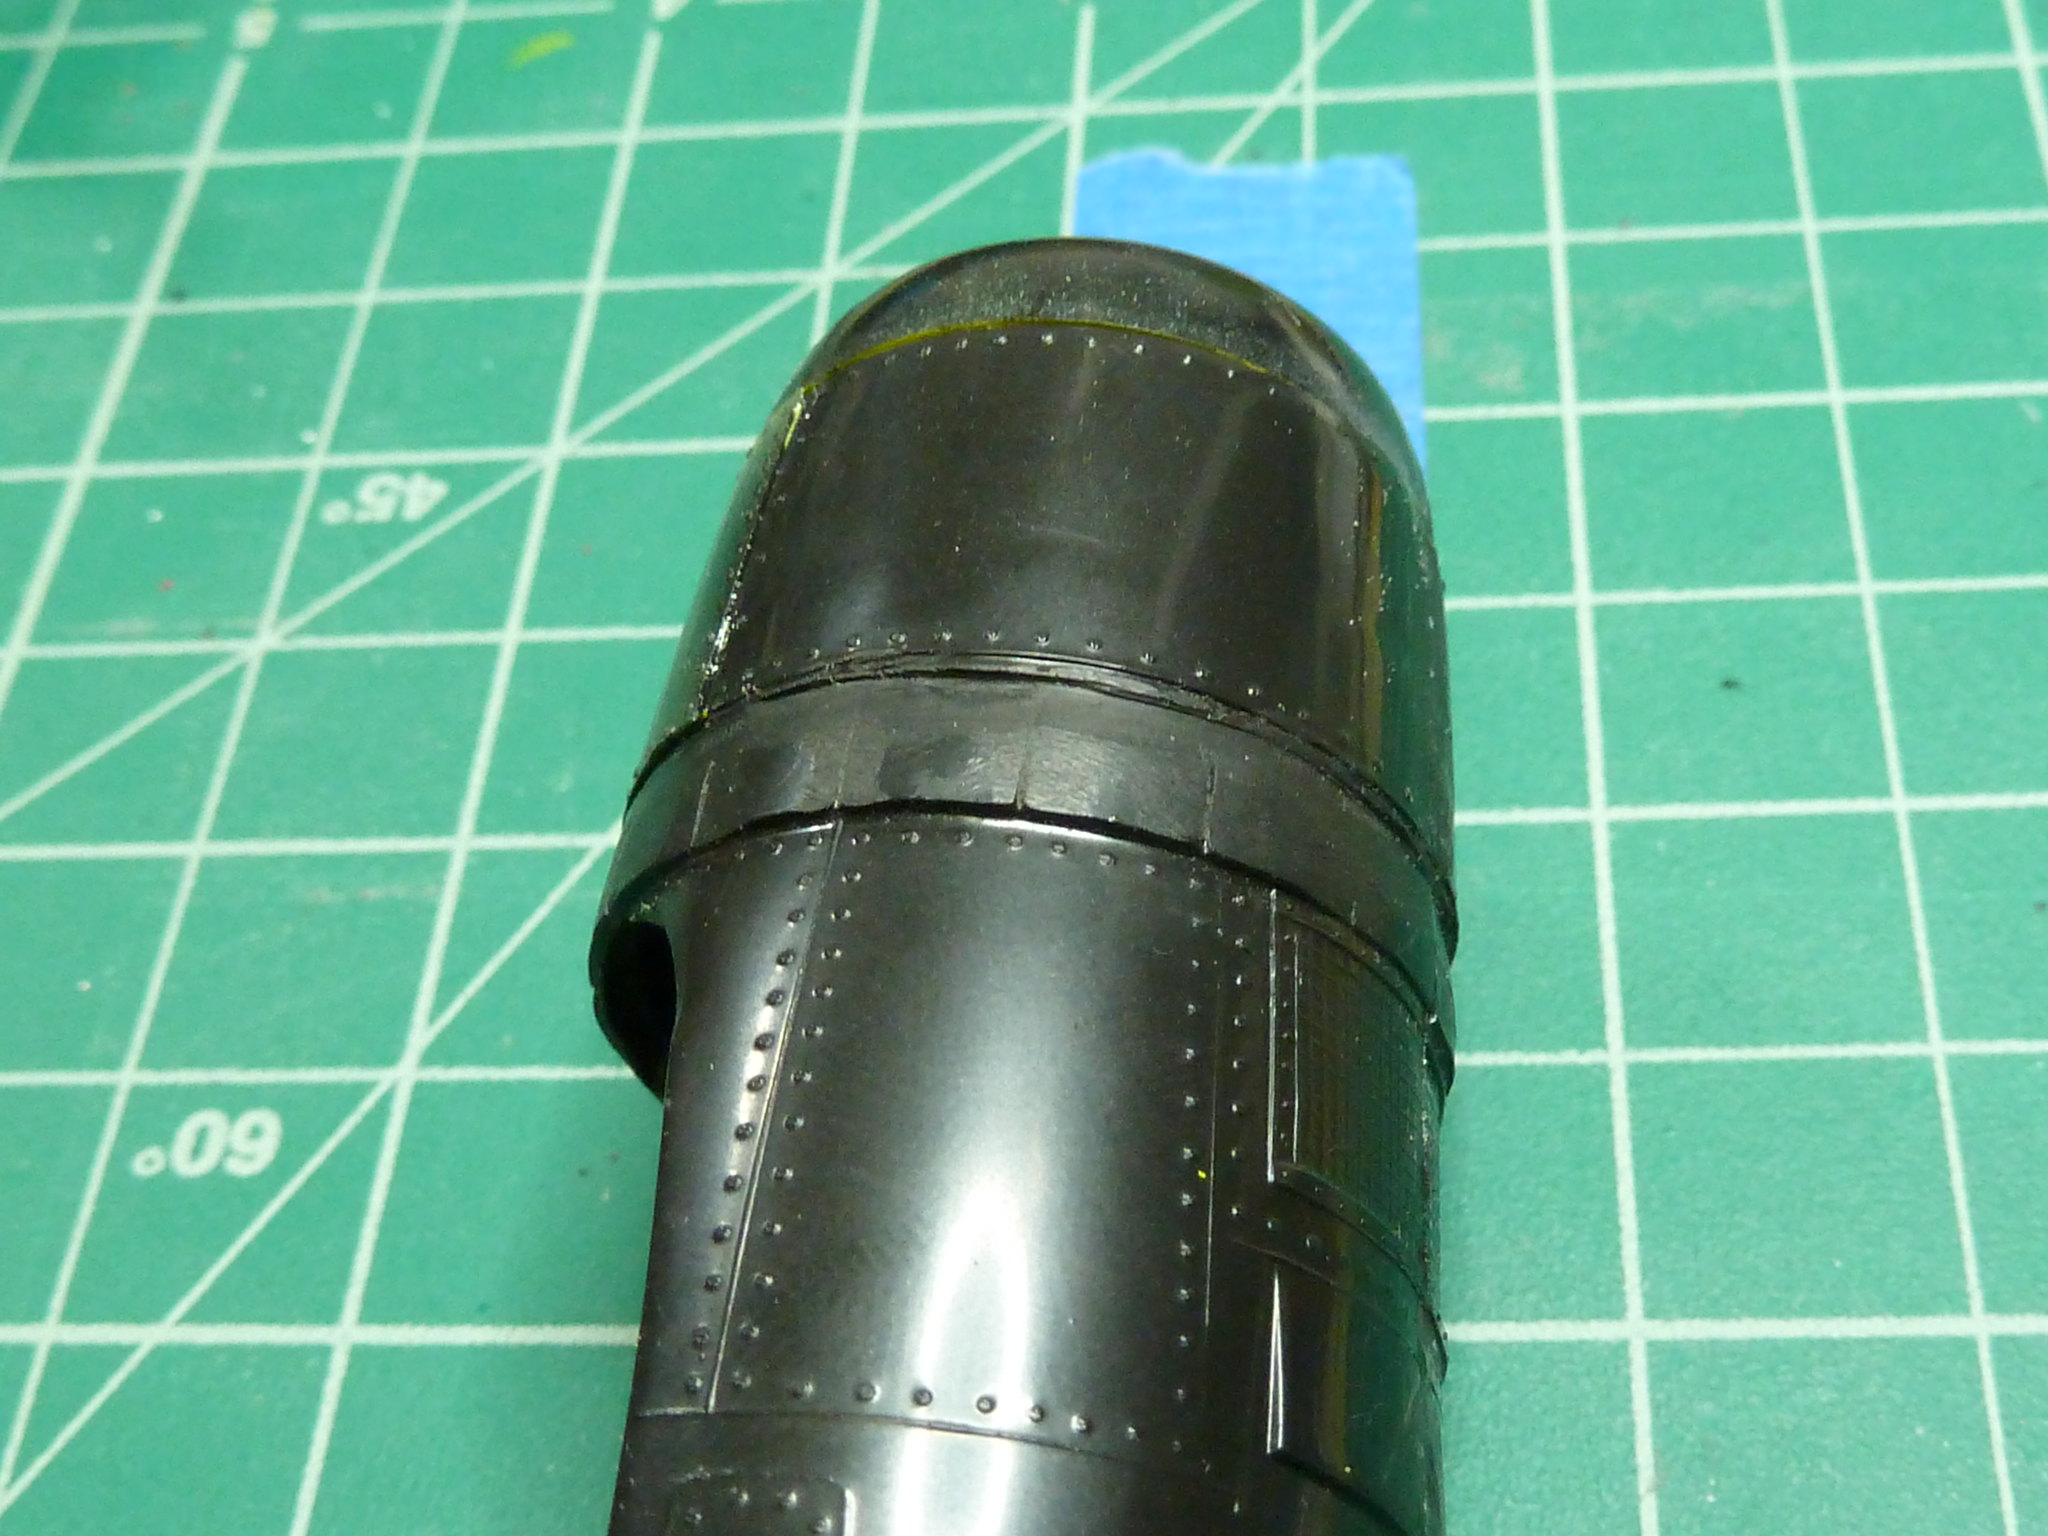
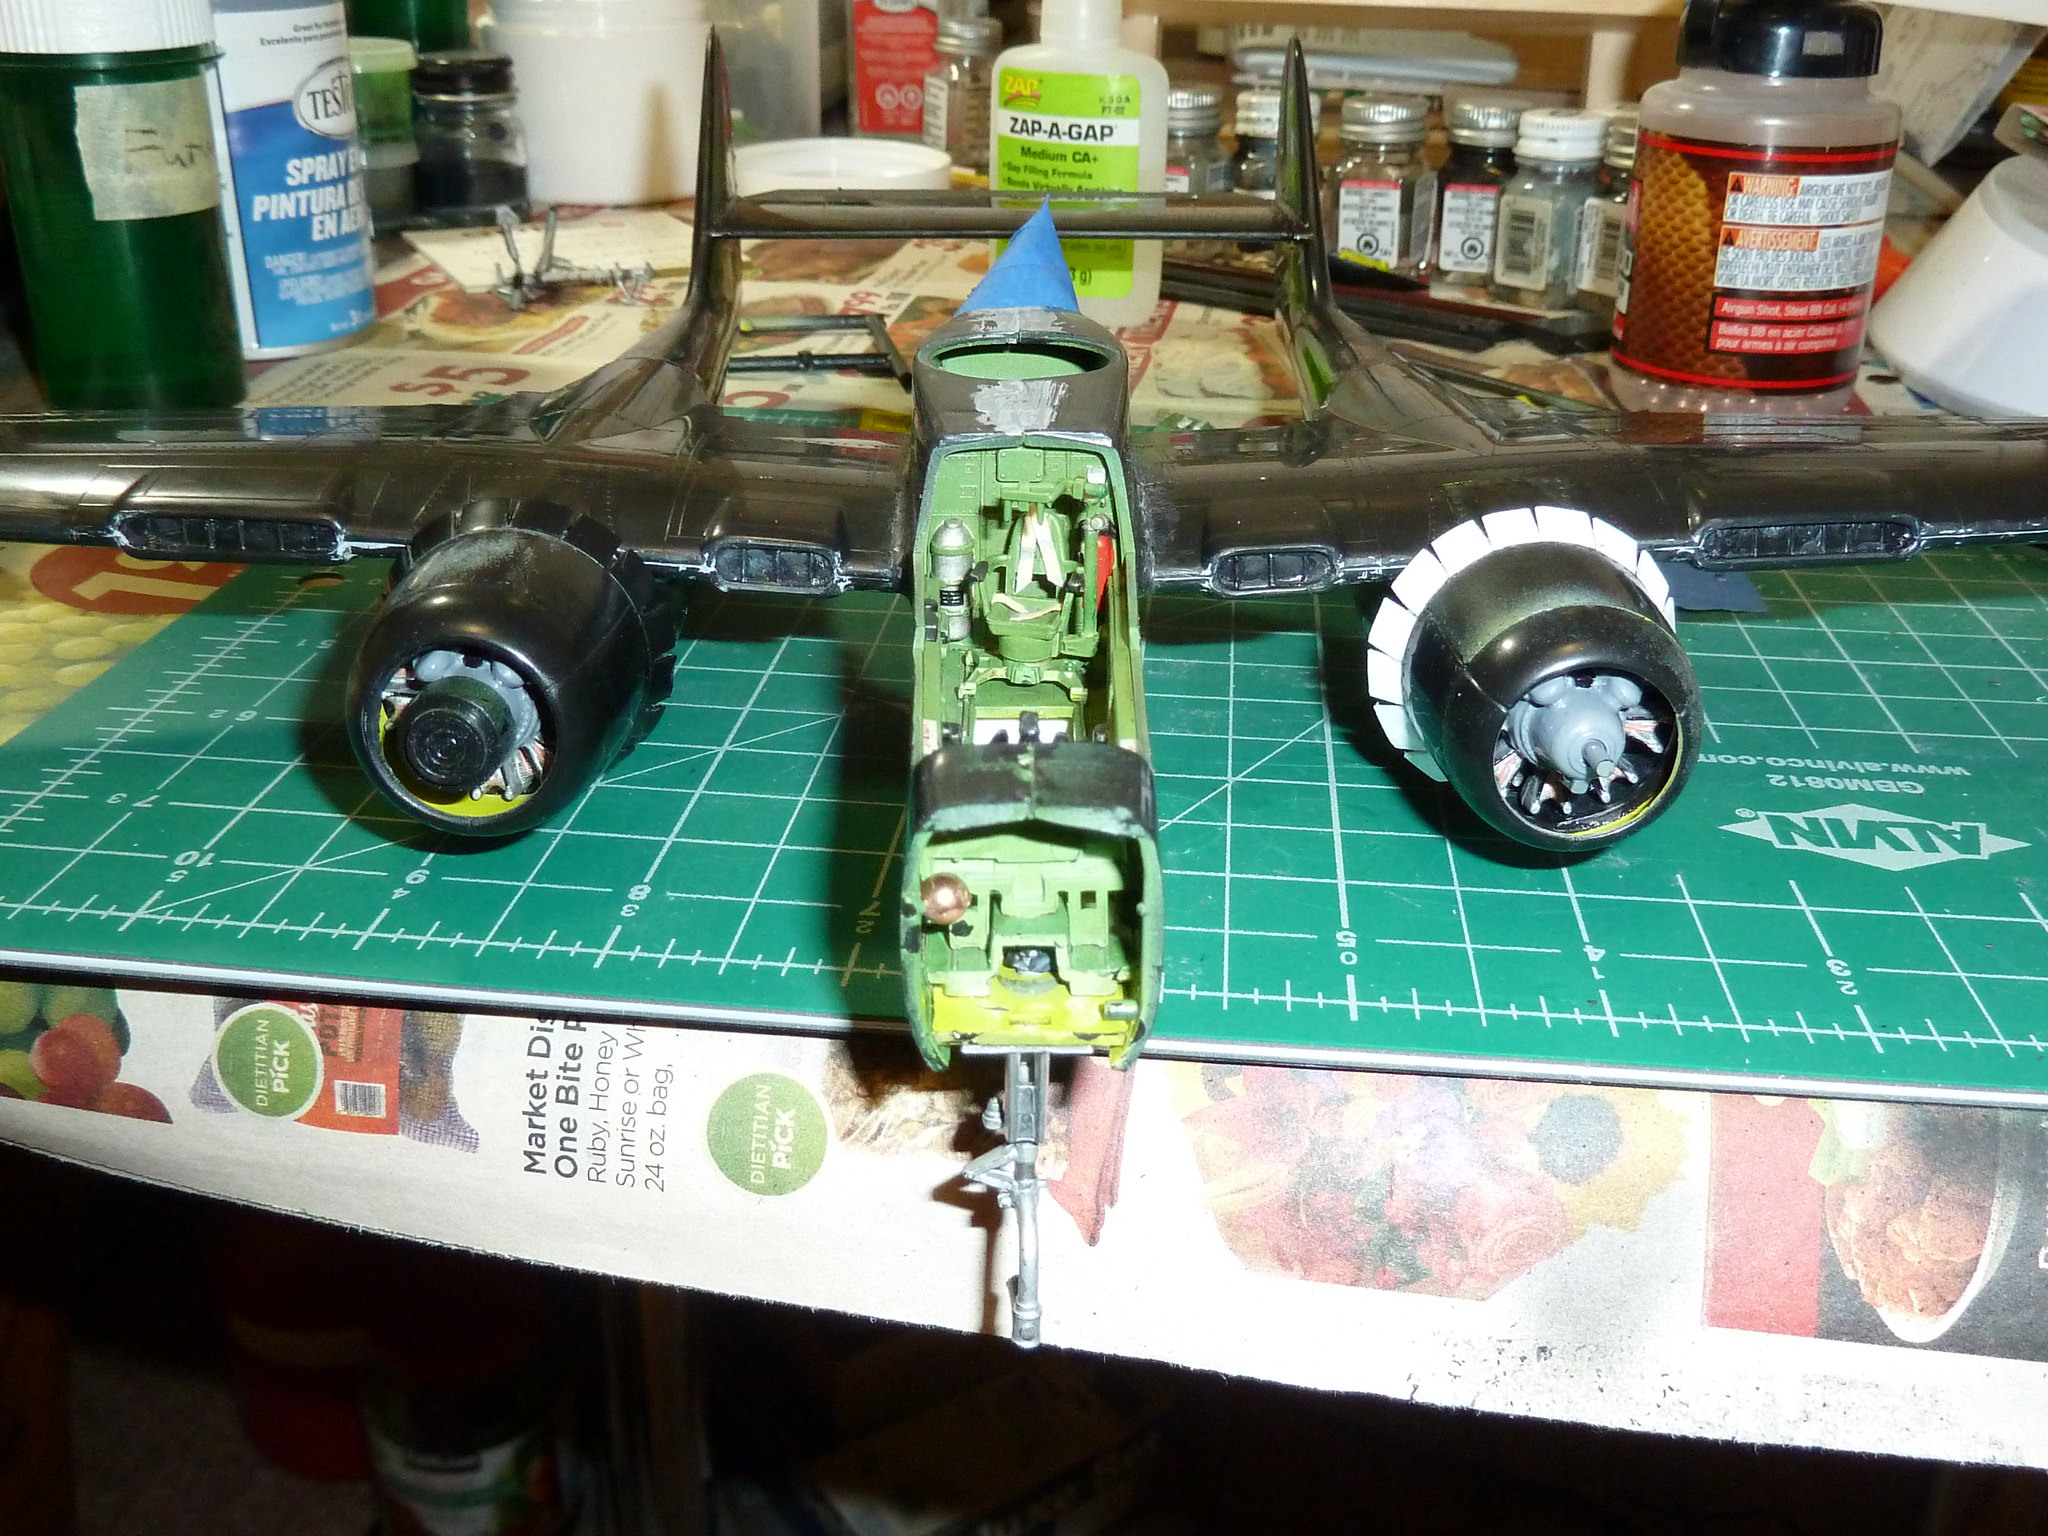
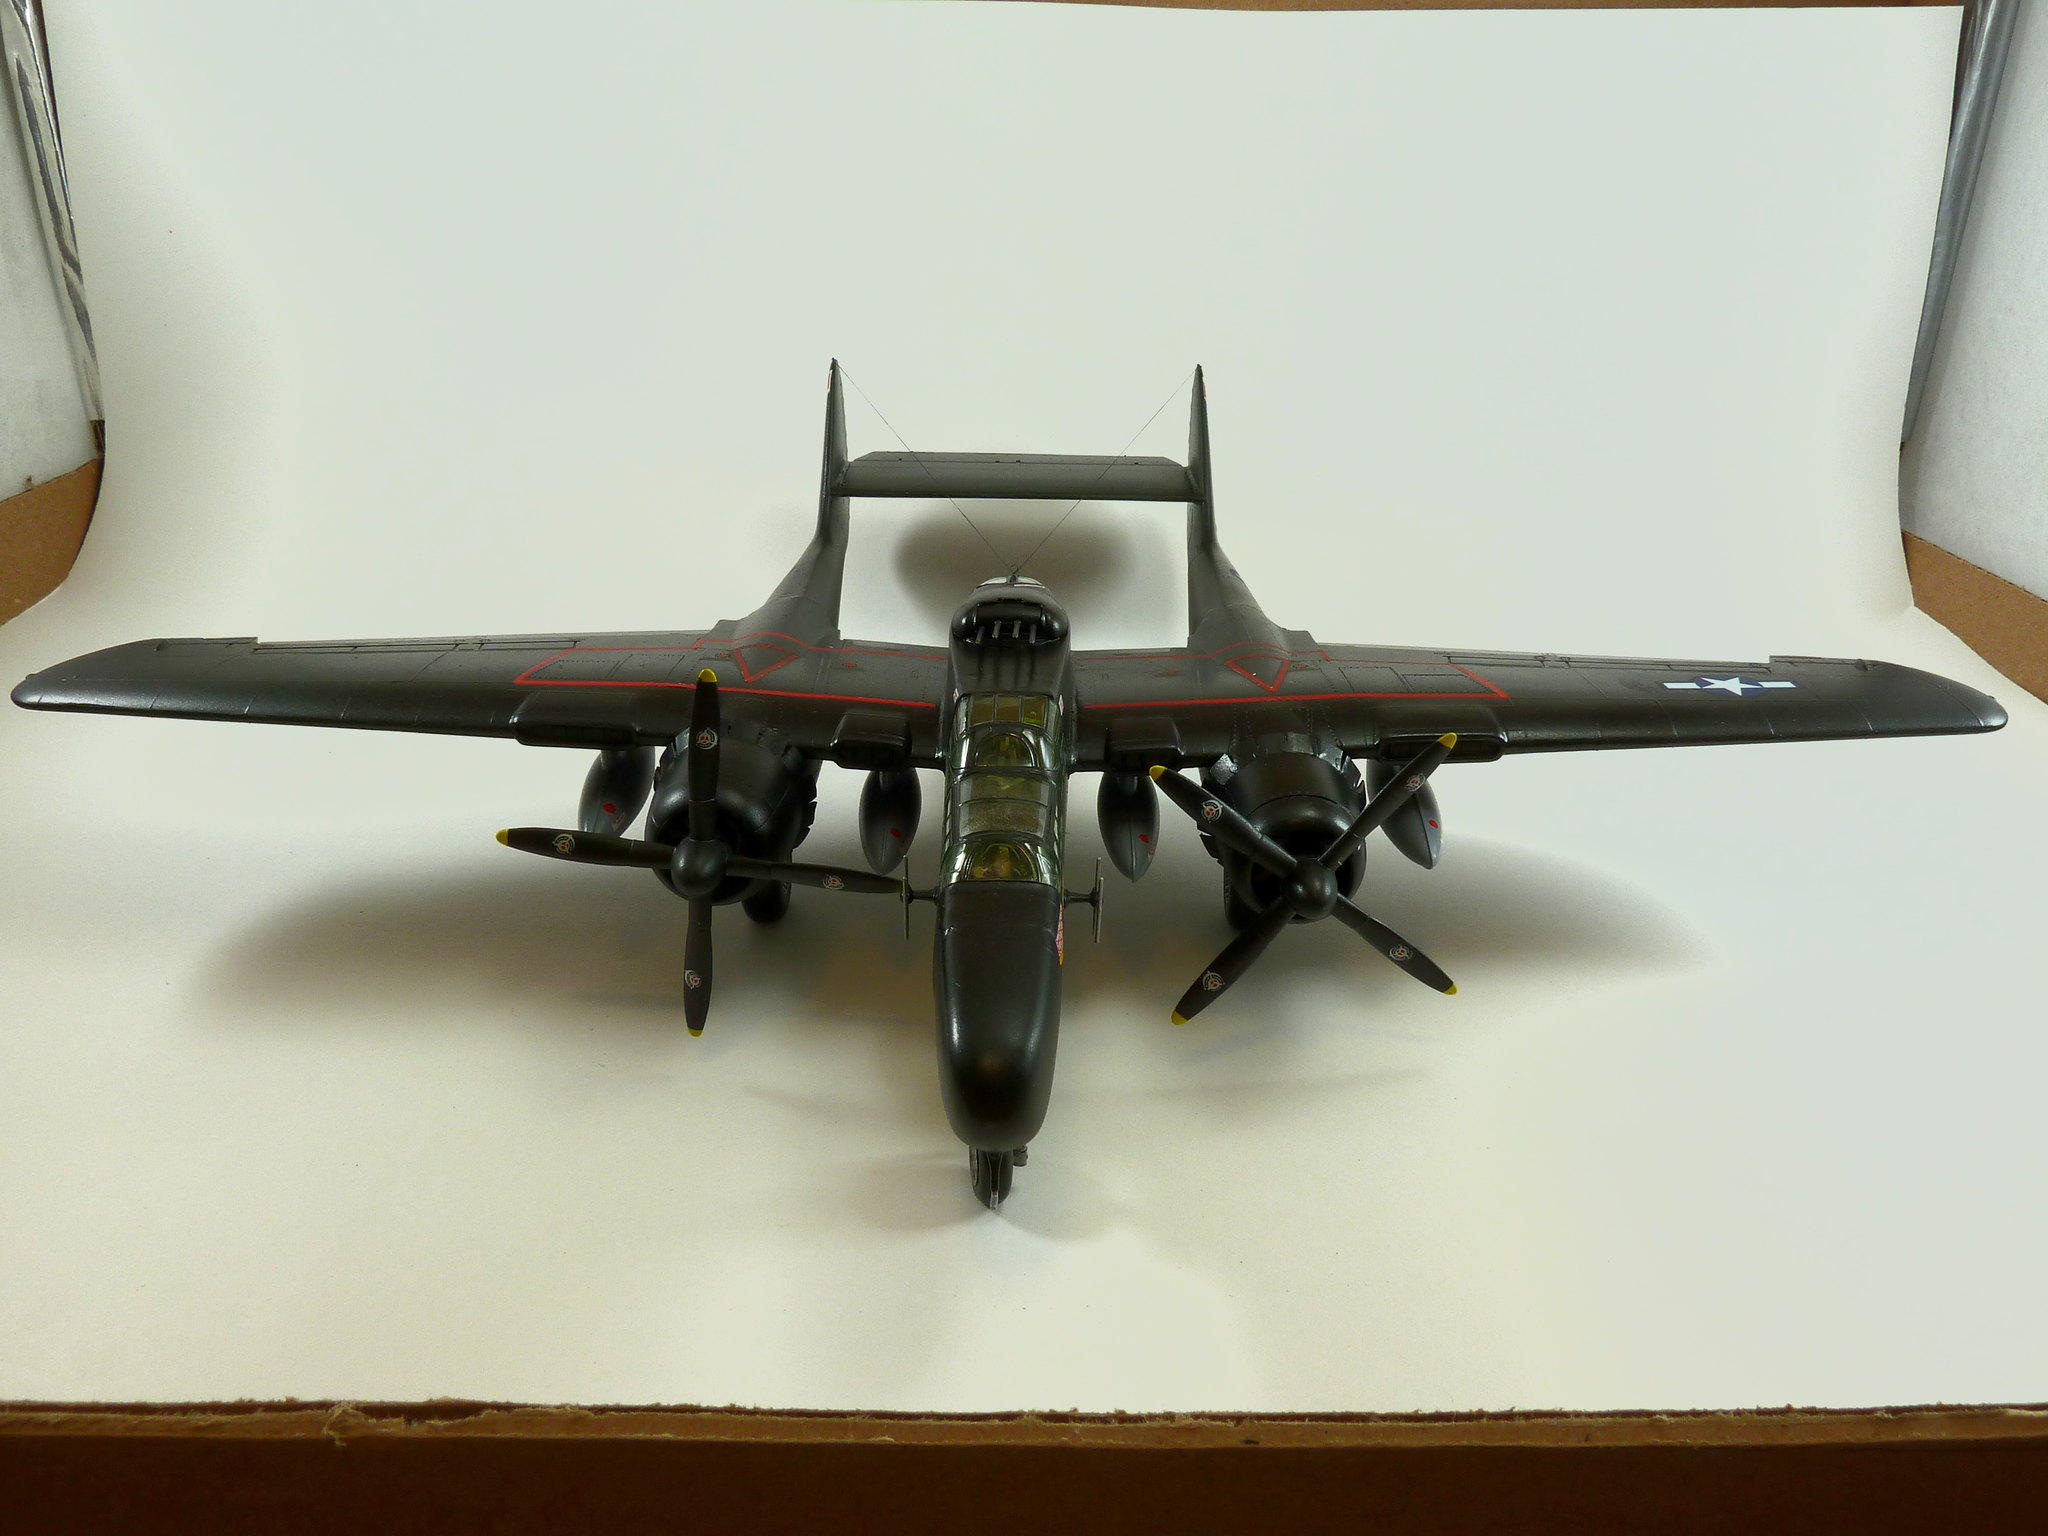
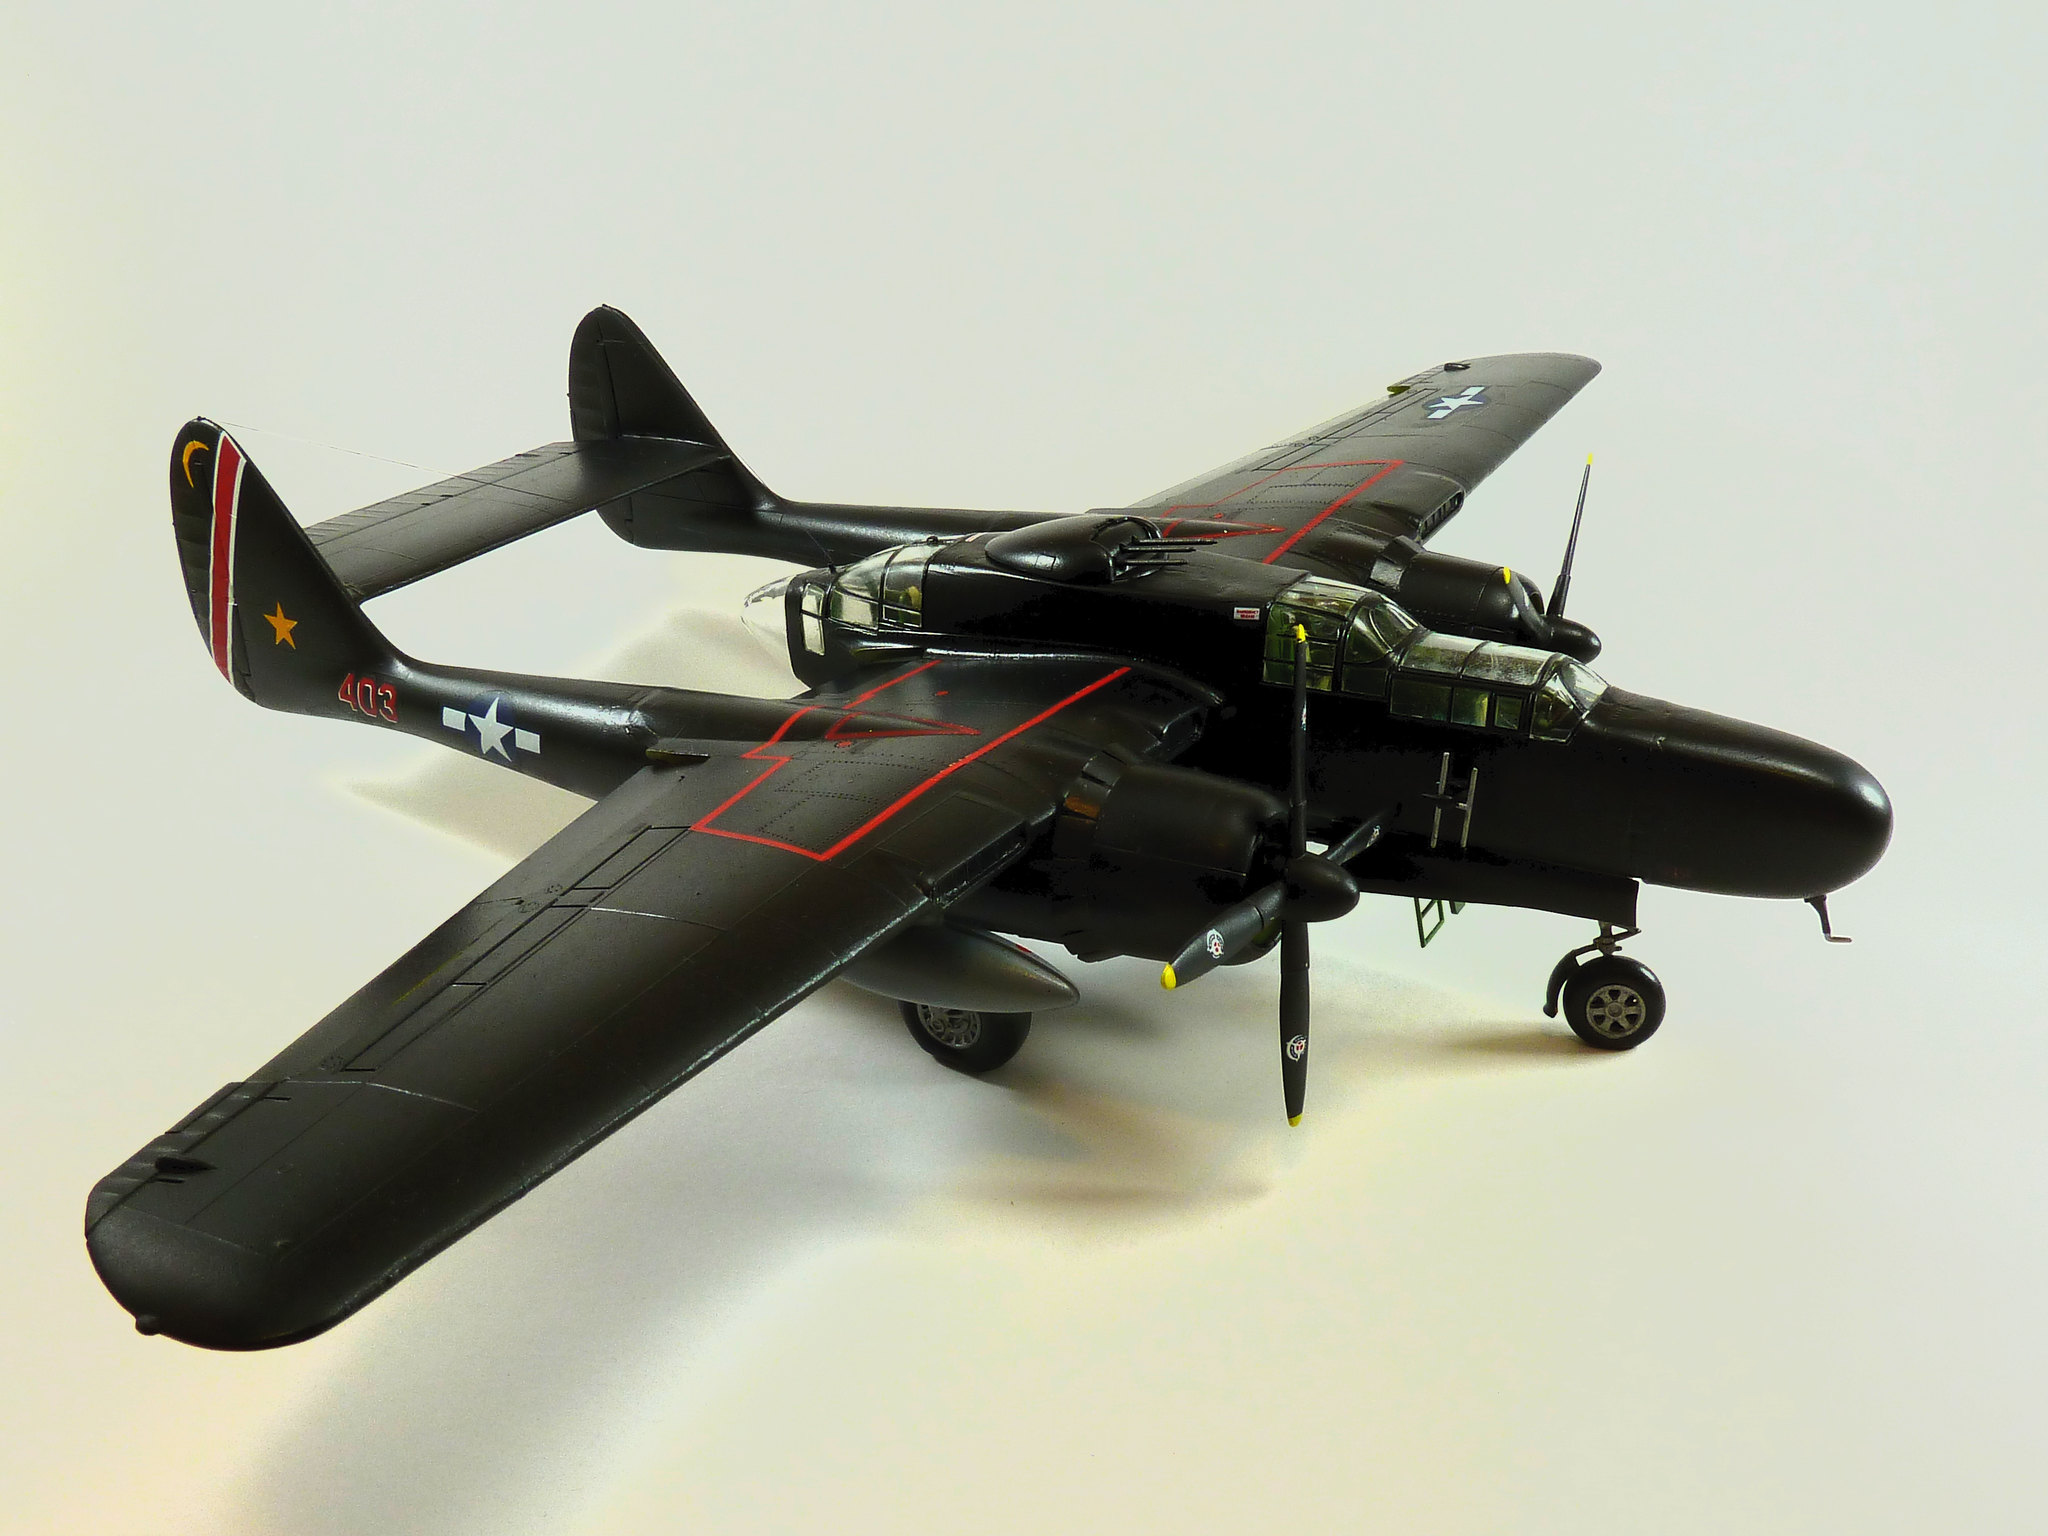
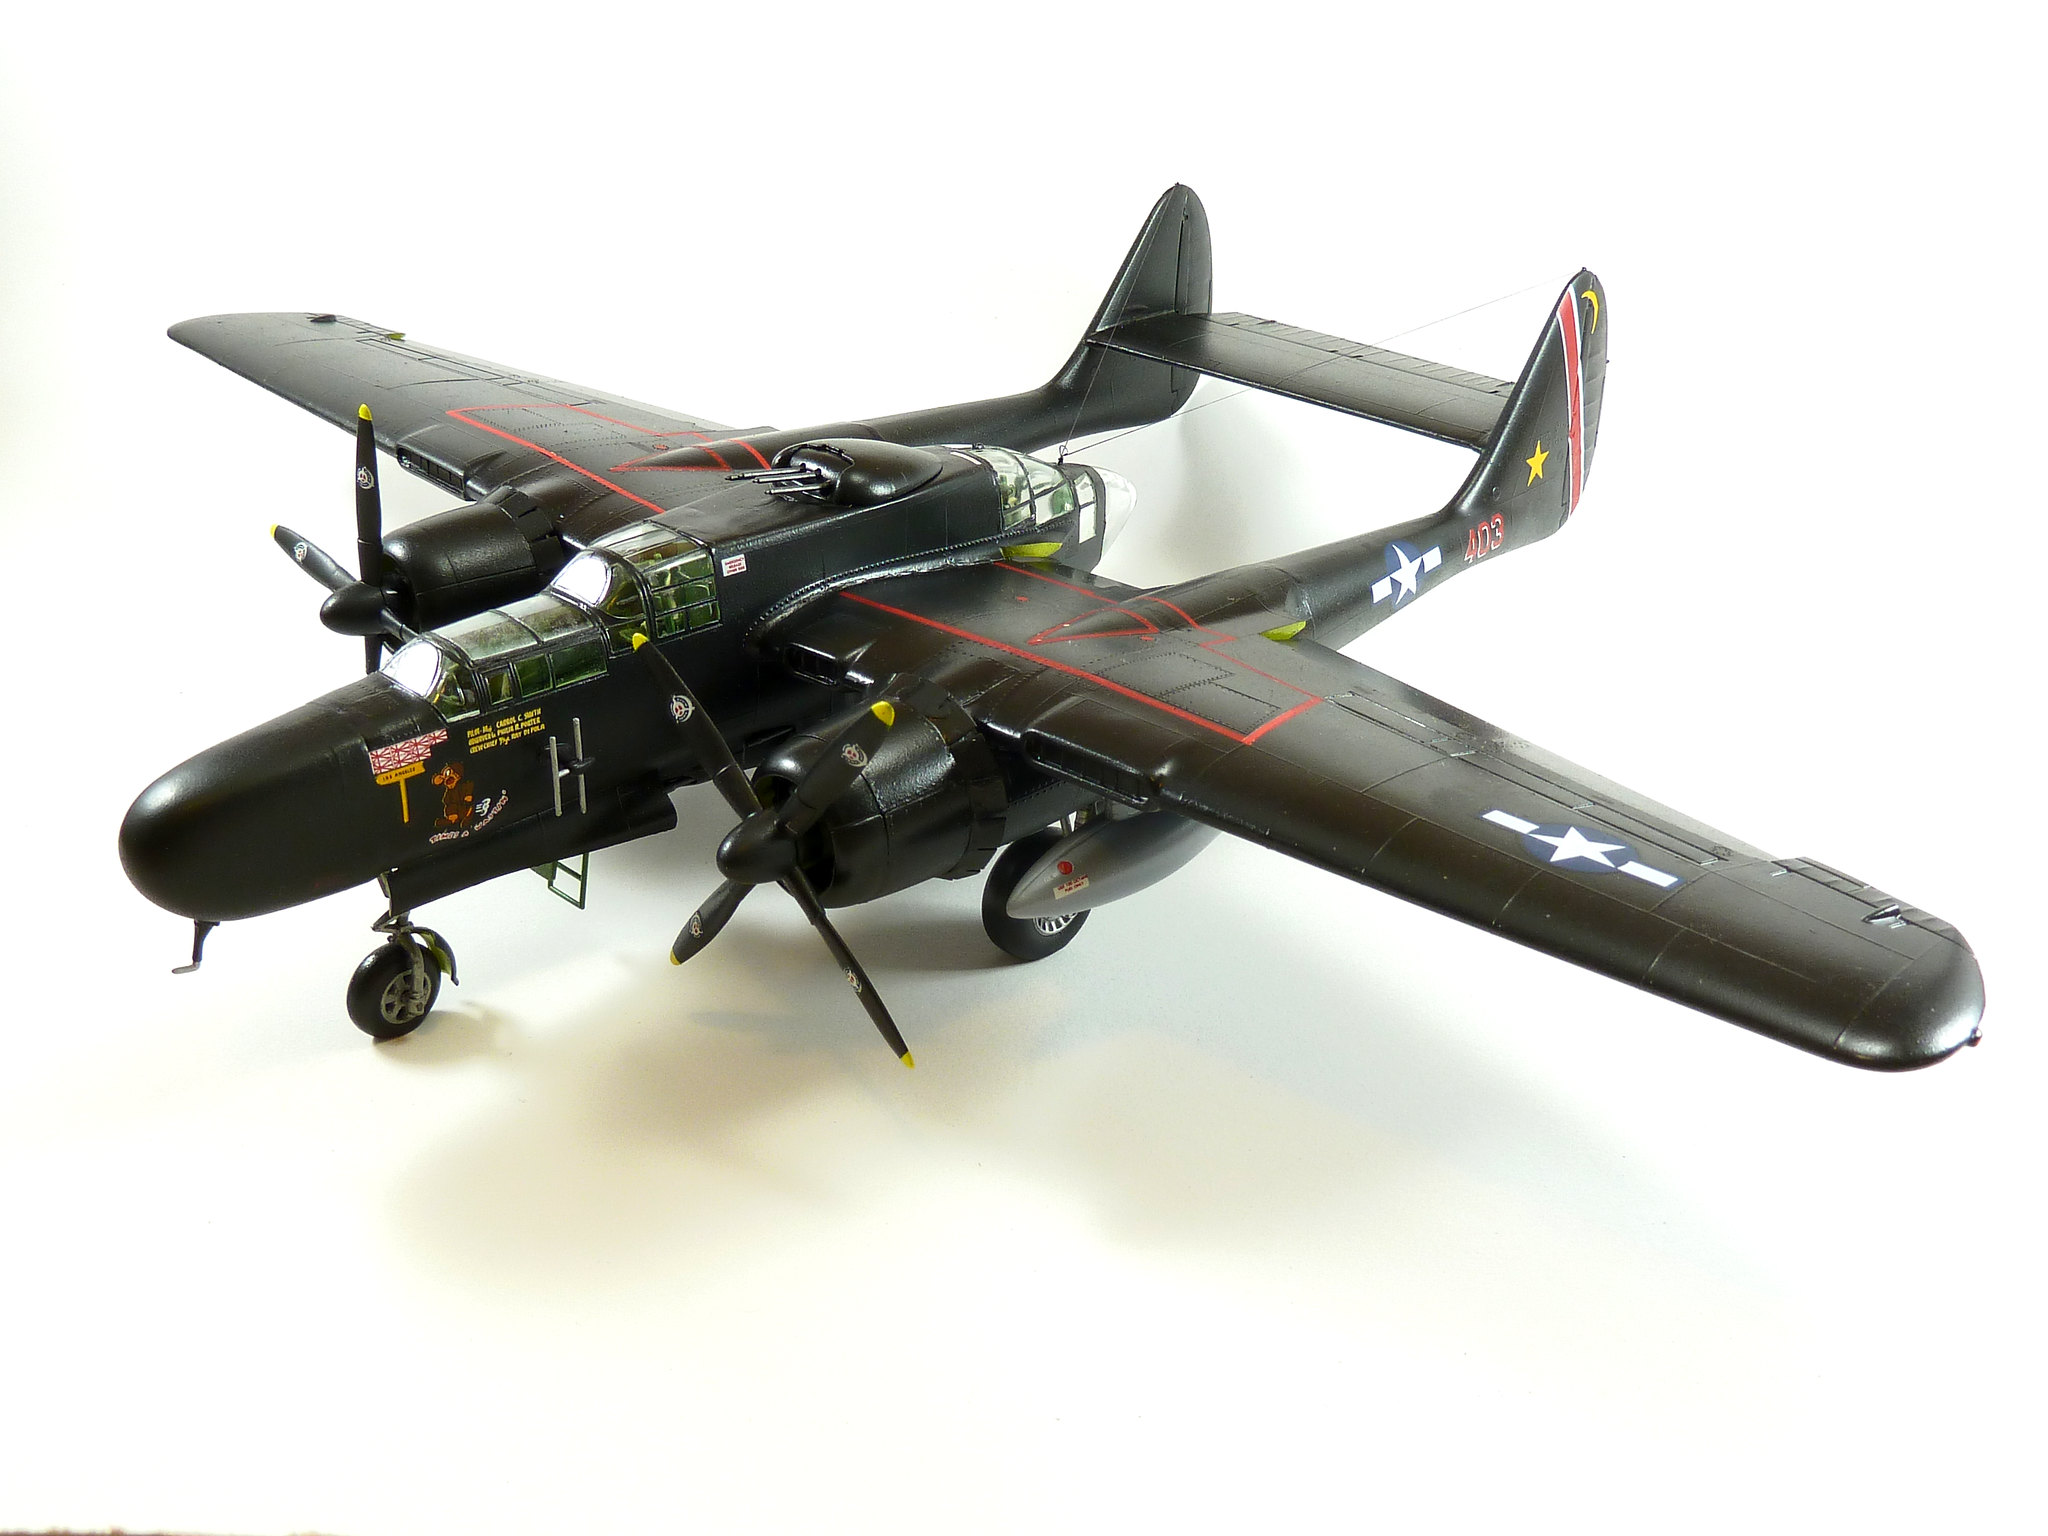
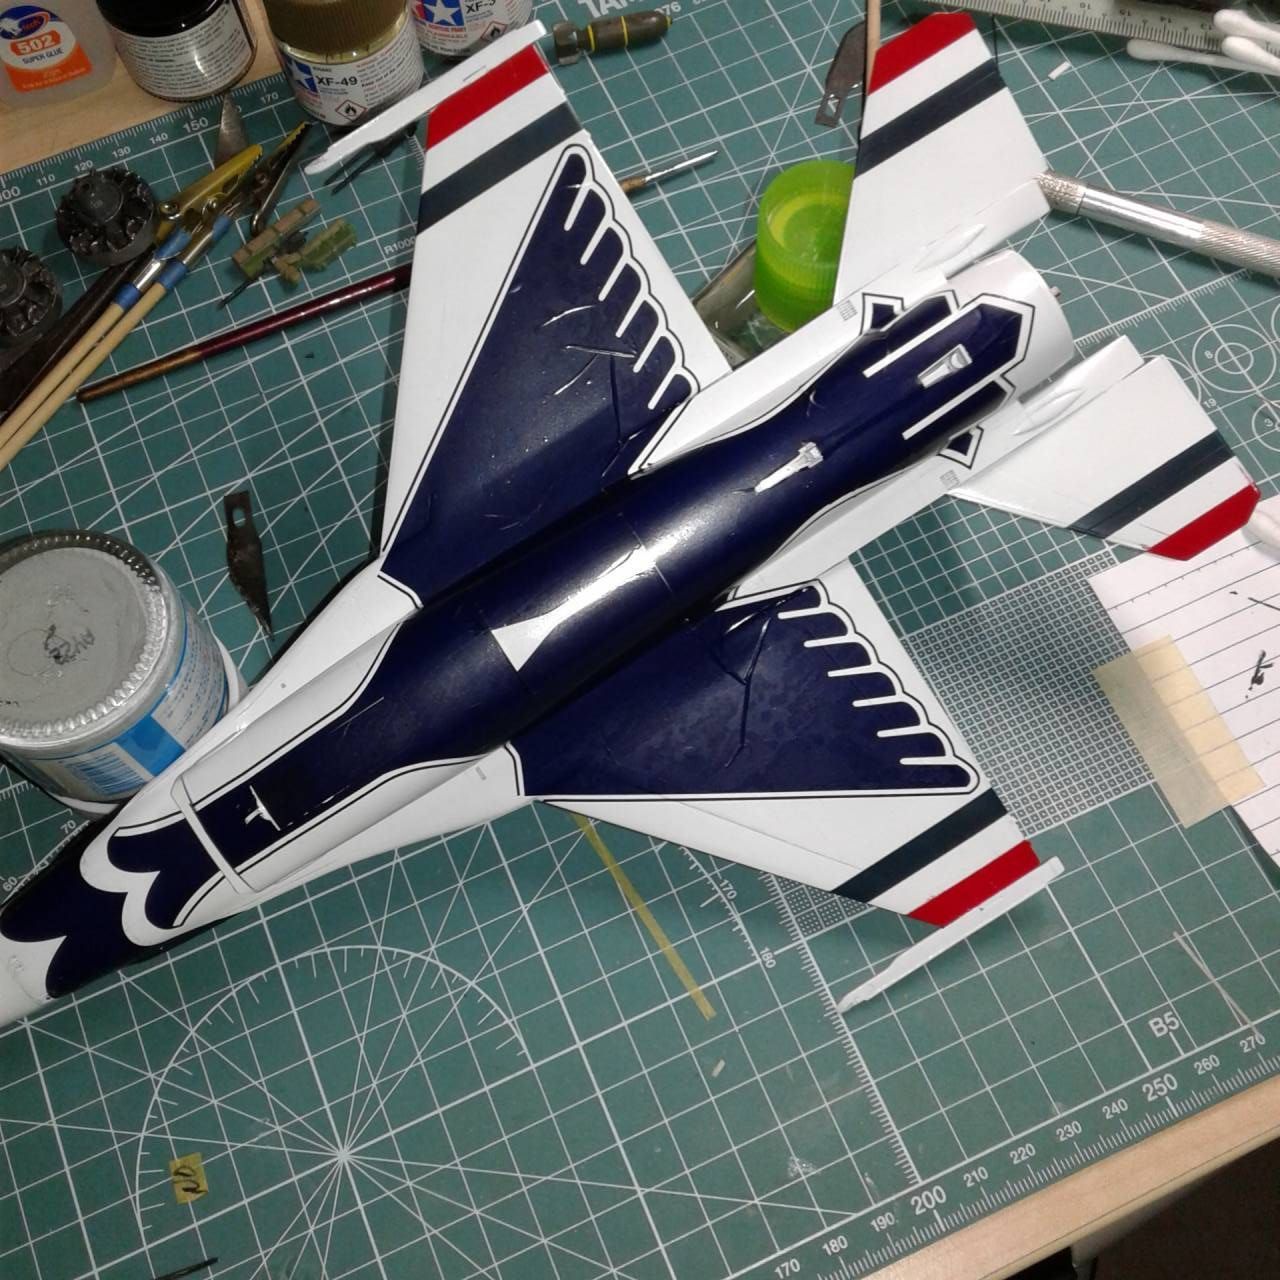
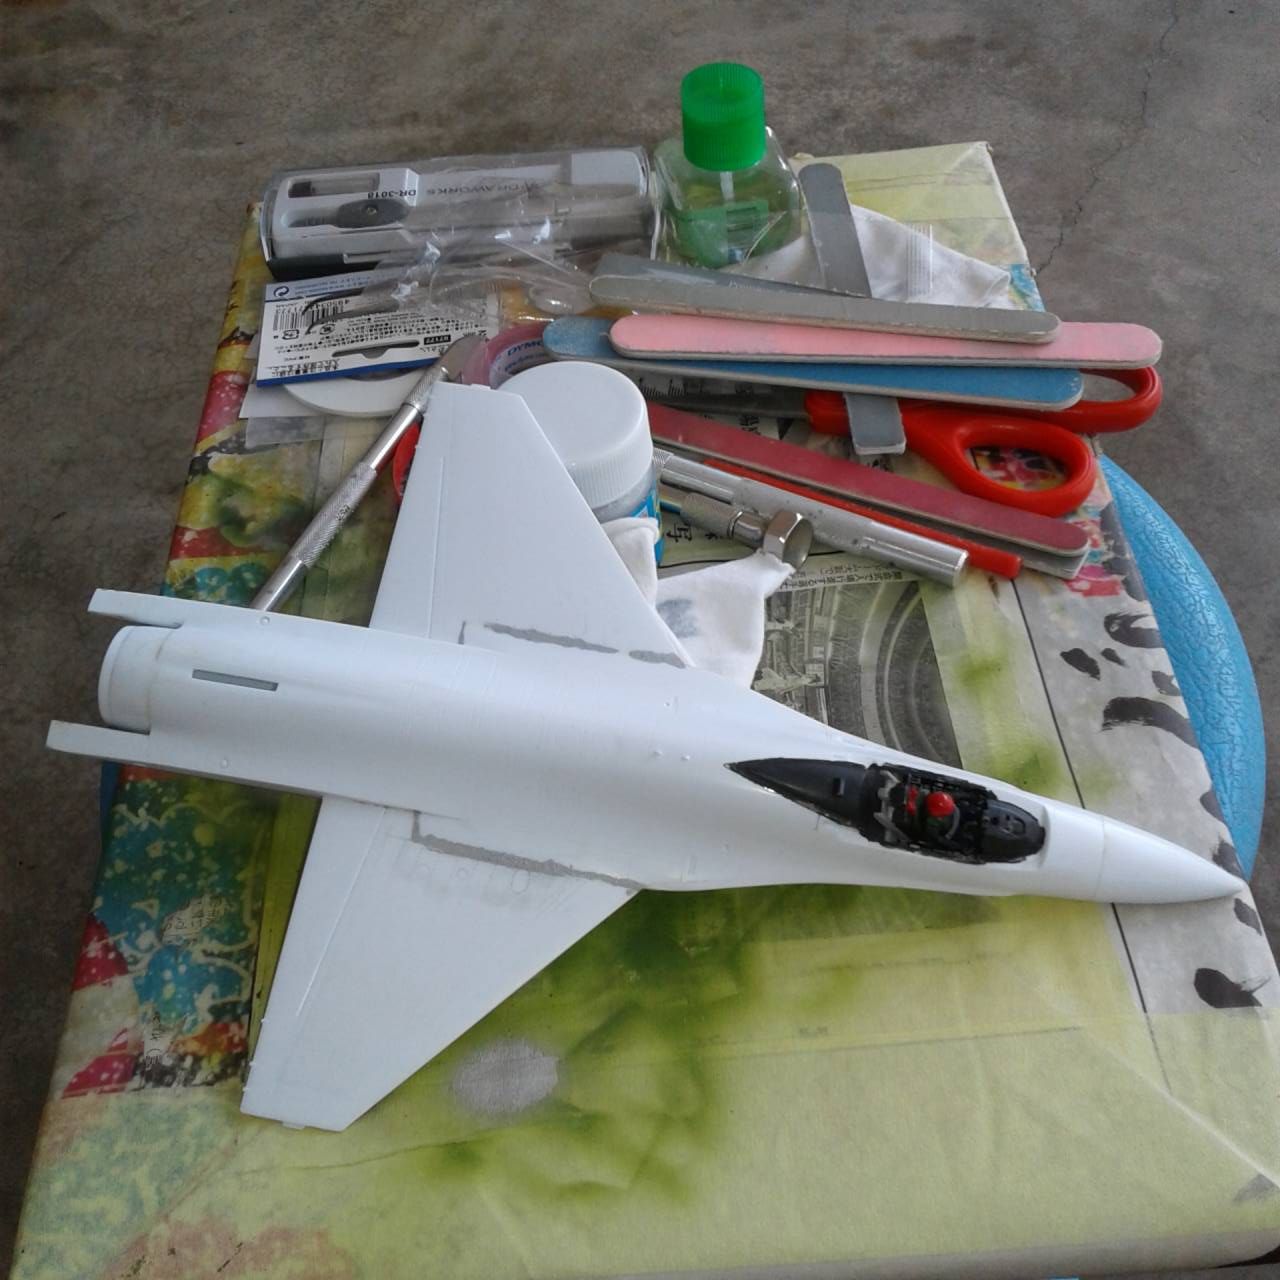
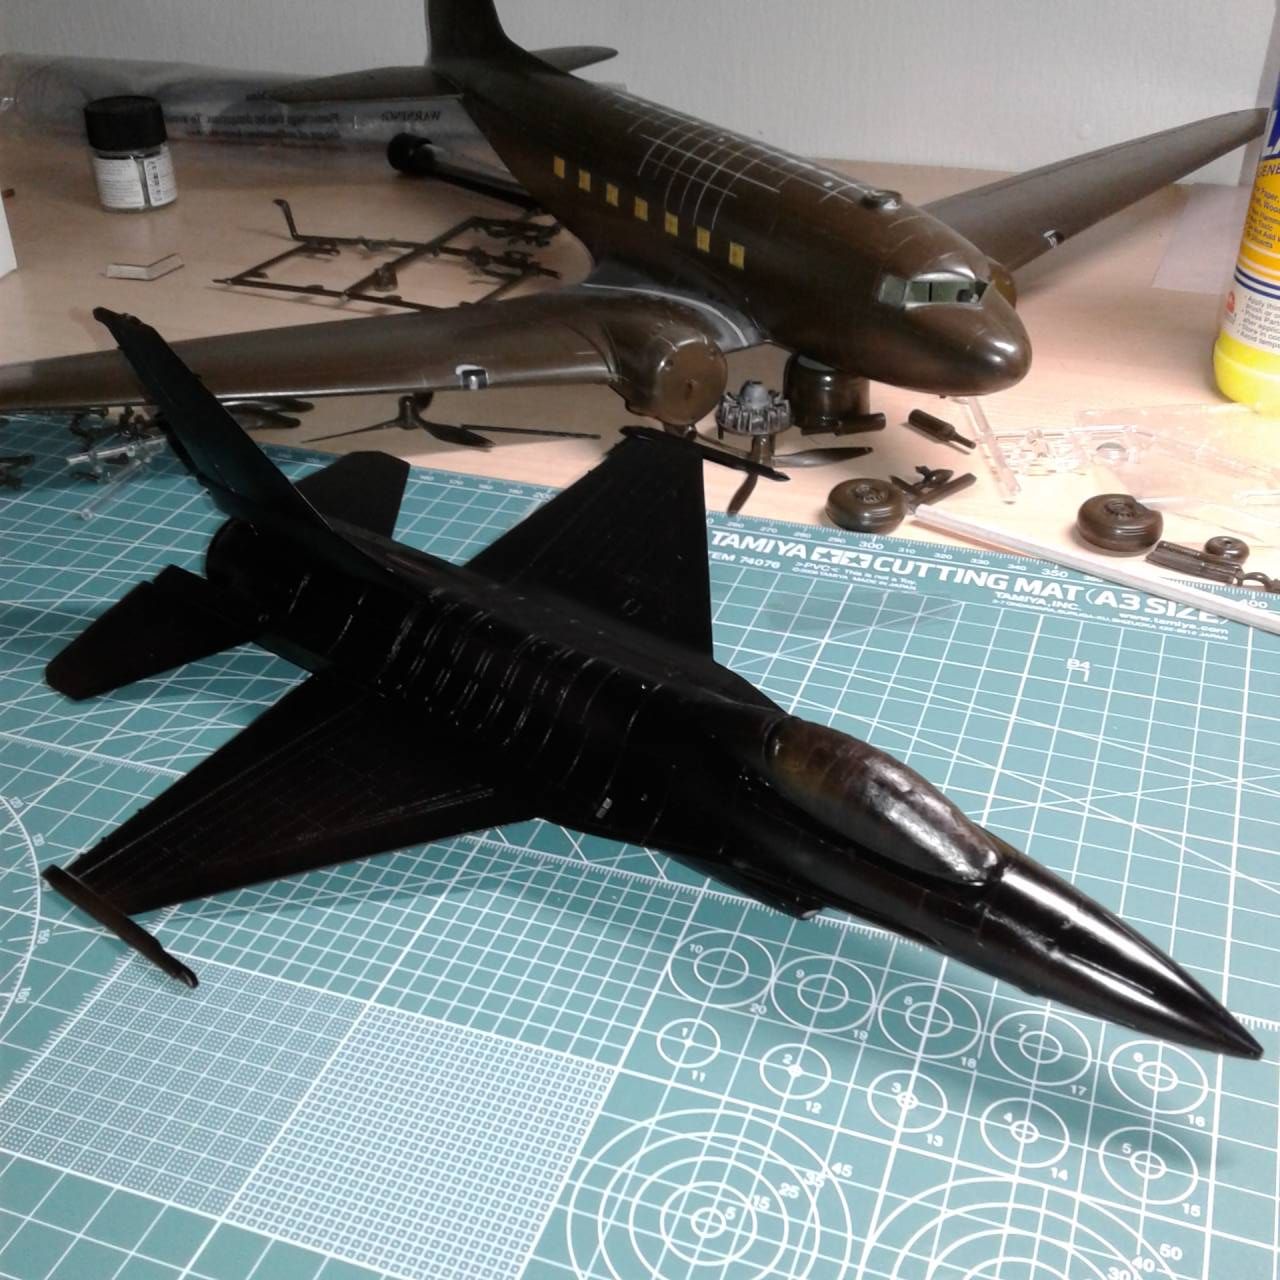
I was finally able to complete the airframe! Now a new adventure! Painting at the new place while not being completely set up. I laid a coat of Tamiya gloss black down as a primer and to check for any real glaring issues. While this build will be a gloss finish, it has worn me out, so my re-work on the few sanding scratches the are present will be pretty much ignored.
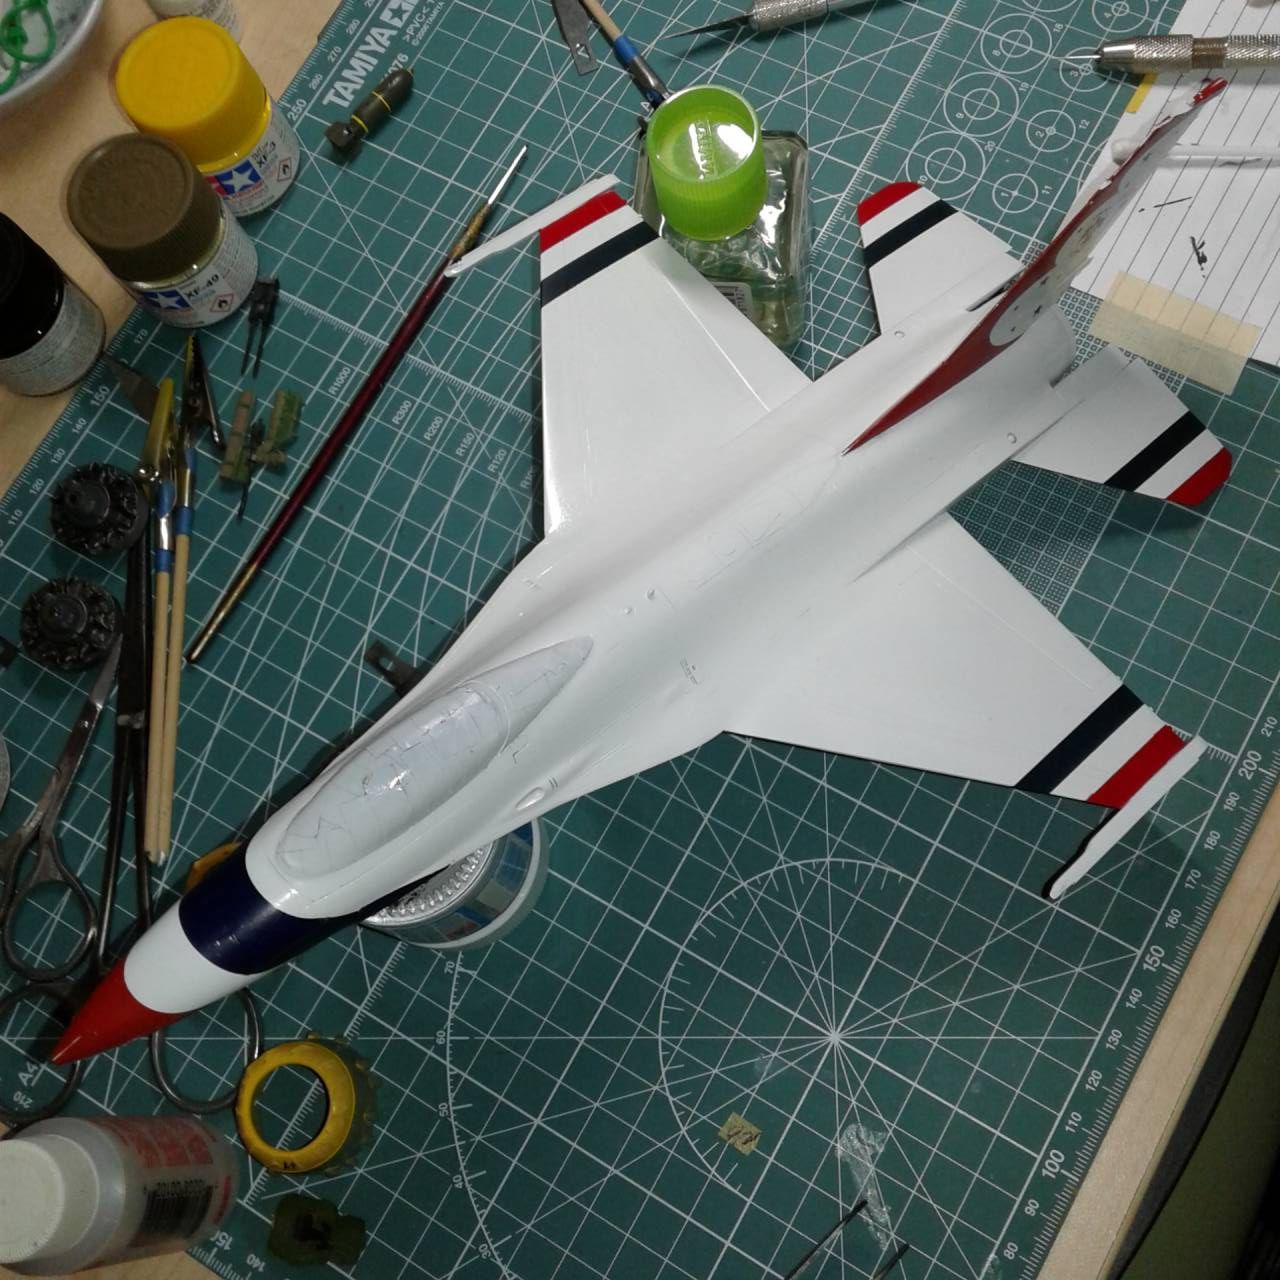
Now onto the base color of gloss white! I believe Ive gotten over the Academy hurdle and hope that this build will be a bit more pleasant! Making the best of this one