Looks great, Torsten. Cool job on the masking. So time consuming, but so worth it.
Looking forward to see more 🙂
Air Campaigns
Want to start or join a group build? This is where to start.
Want to start or join a group build? This is where to start.
Hosted by Frederick Boucher, Michael Satin
Hot Out of the Molds 2018
Posted: Saturday, September 08, 2018 - 11:52 AM UTC

BlackWidow

Joined: August 09, 2009
KitMaker: 1,732 posts
AeroScale: 1,336 posts

Posted: Sunday, September 16, 2018 - 02:30 AM UTC
Thanks Jesper, I always probably do more masking than needed, but itt pays ....
Have done quite a lot this week and so the big hangar doors are in sight for the first flight ....
She stands on her own feet .... ehm .... wheels and Bodenglänzer (the german equivalent to Future) is on and now she's ready for the decals ....
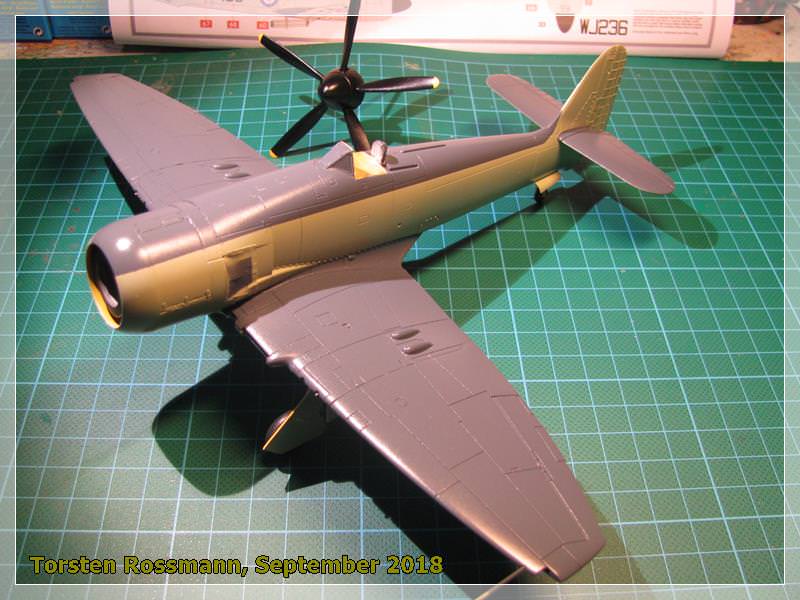
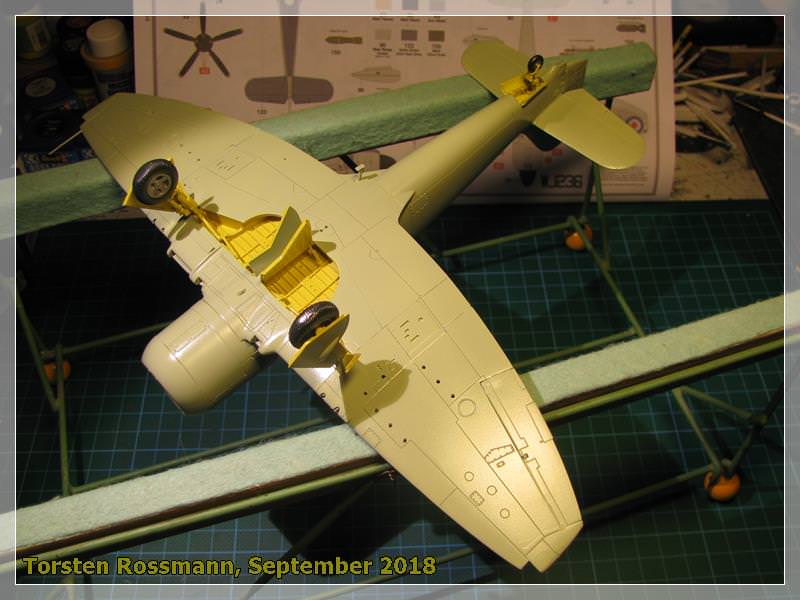
.... after 3 days all decals are on and if everything goes well, my Sea Fury is ready for the maiden flight next Wednesday ....
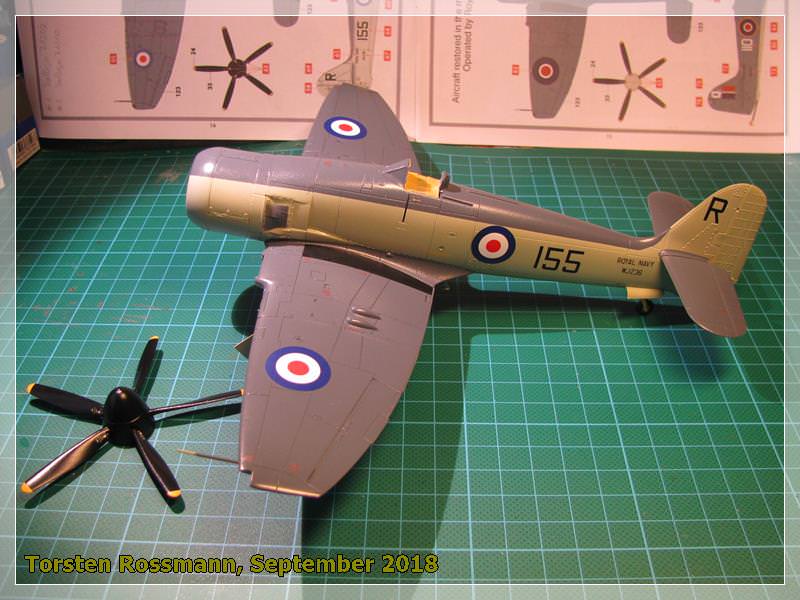
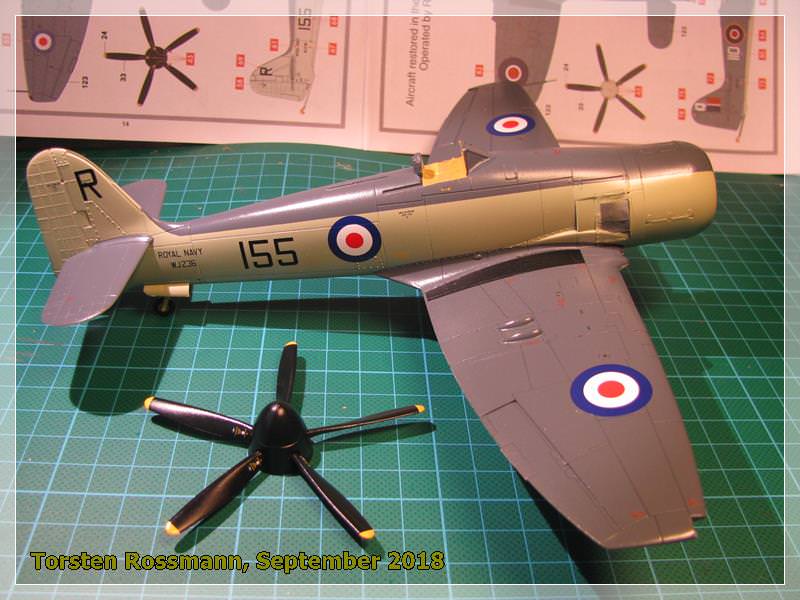
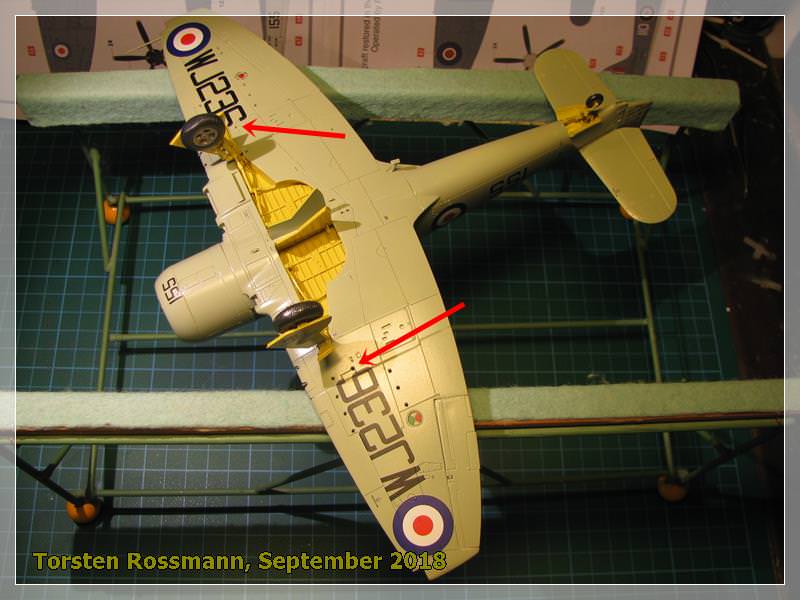
.... I have noticed, when I want the rockets under the wings, I cannot use the external fuel tank and the camera pod. So I have closed the holes (see red arrows) after I took this photo. With bombs under the wings I could still use them. Well, bad luck, but maybe another time ...
Happy modelling!
Torsten
Have done quite a lot this week and so the big hangar doors are in sight for the first flight ....

She stands on her own feet .... ehm .... wheels and Bodenglänzer (the german equivalent to Future) is on and now she's ready for the decals ....


.... after 3 days all decals are on and if everything goes well, my Sea Fury is ready for the maiden flight next Wednesday ....


.... I have noticed, when I want the rockets under the wings, I cannot use the external fuel tank and the camera pod. So I have closed the holes (see red arrows) after I took this photo. With bombs under the wings I could still use them. Well, bad luck, but maybe another time ...
Happy modelling!
Torsten


BlackWidow

Joined: August 09, 2009
KitMaker: 1,732 posts
AeroScale: 1,336 posts

Posted: Friday, September 21, 2018 - 06:00 AM UTC
Done! 
Finished already Wednesday evening I hadn't time to take pictures earlier. Well, here she is:
Hawker Sea Fury FB 11, No. 801 NAS, aboard HMS "Glory", Korea War 1952, kit from Airfix 2017, scale 1/48
More and better photos soon in my Assembly Line Thread. So, next weekend is the expo in Basel/Switzerland. First time to be seen in public ....
All the best for finisheing your models
Torsten

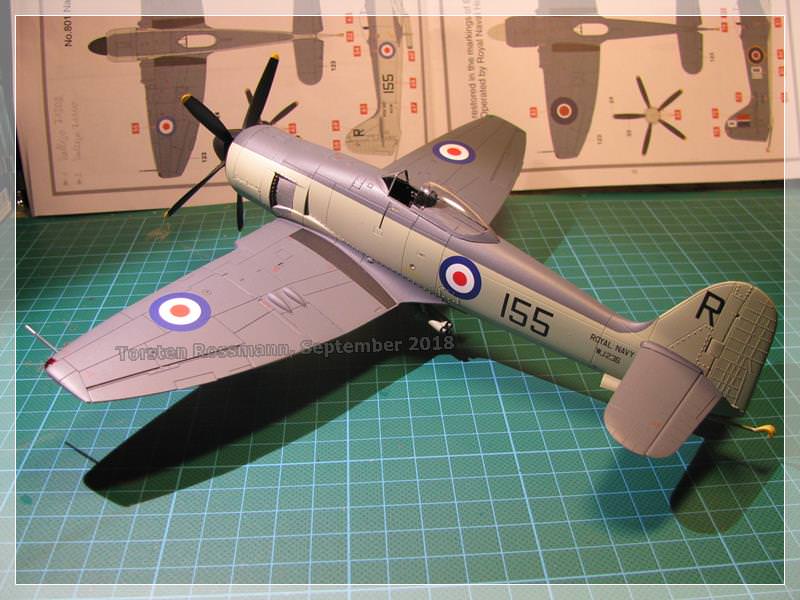


Finished already Wednesday evening I hadn't time to take pictures earlier. Well, here she is:
Hawker Sea Fury FB 11, No. 801 NAS, aboard HMS "Glory", Korea War 1952, kit from Airfix 2017, scale 1/48
More and better photos soon in my Assembly Line Thread. So, next weekend is the expo in Basel/Switzerland. First time to be seen in public ....

All the best for finisheing your models
Torsten


goofmuilwijk

Joined: April 19, 2013
KitMaker: 179 posts
AeroScale: 34 posts

Posted: Friday, September 21, 2018 - 08:39 AM UTC
I've decided to drop out of this campaign. I have too many campaigns and builds. Add to that a busy workload both at the office and at home... All this means a sort of step back and refocus attempt, trying to figure out what i will and will not build in the limited time available... And the plain truth is that if i were to start this one, it will probably end up on the Shelf Of Shame 

Posted: Saturday, September 29, 2018 - 05:59 AM UTC
Torsten, Great build! Looks very good. Congrats on finishing.
Goof, sorry to hear that. Hope you can join us next year
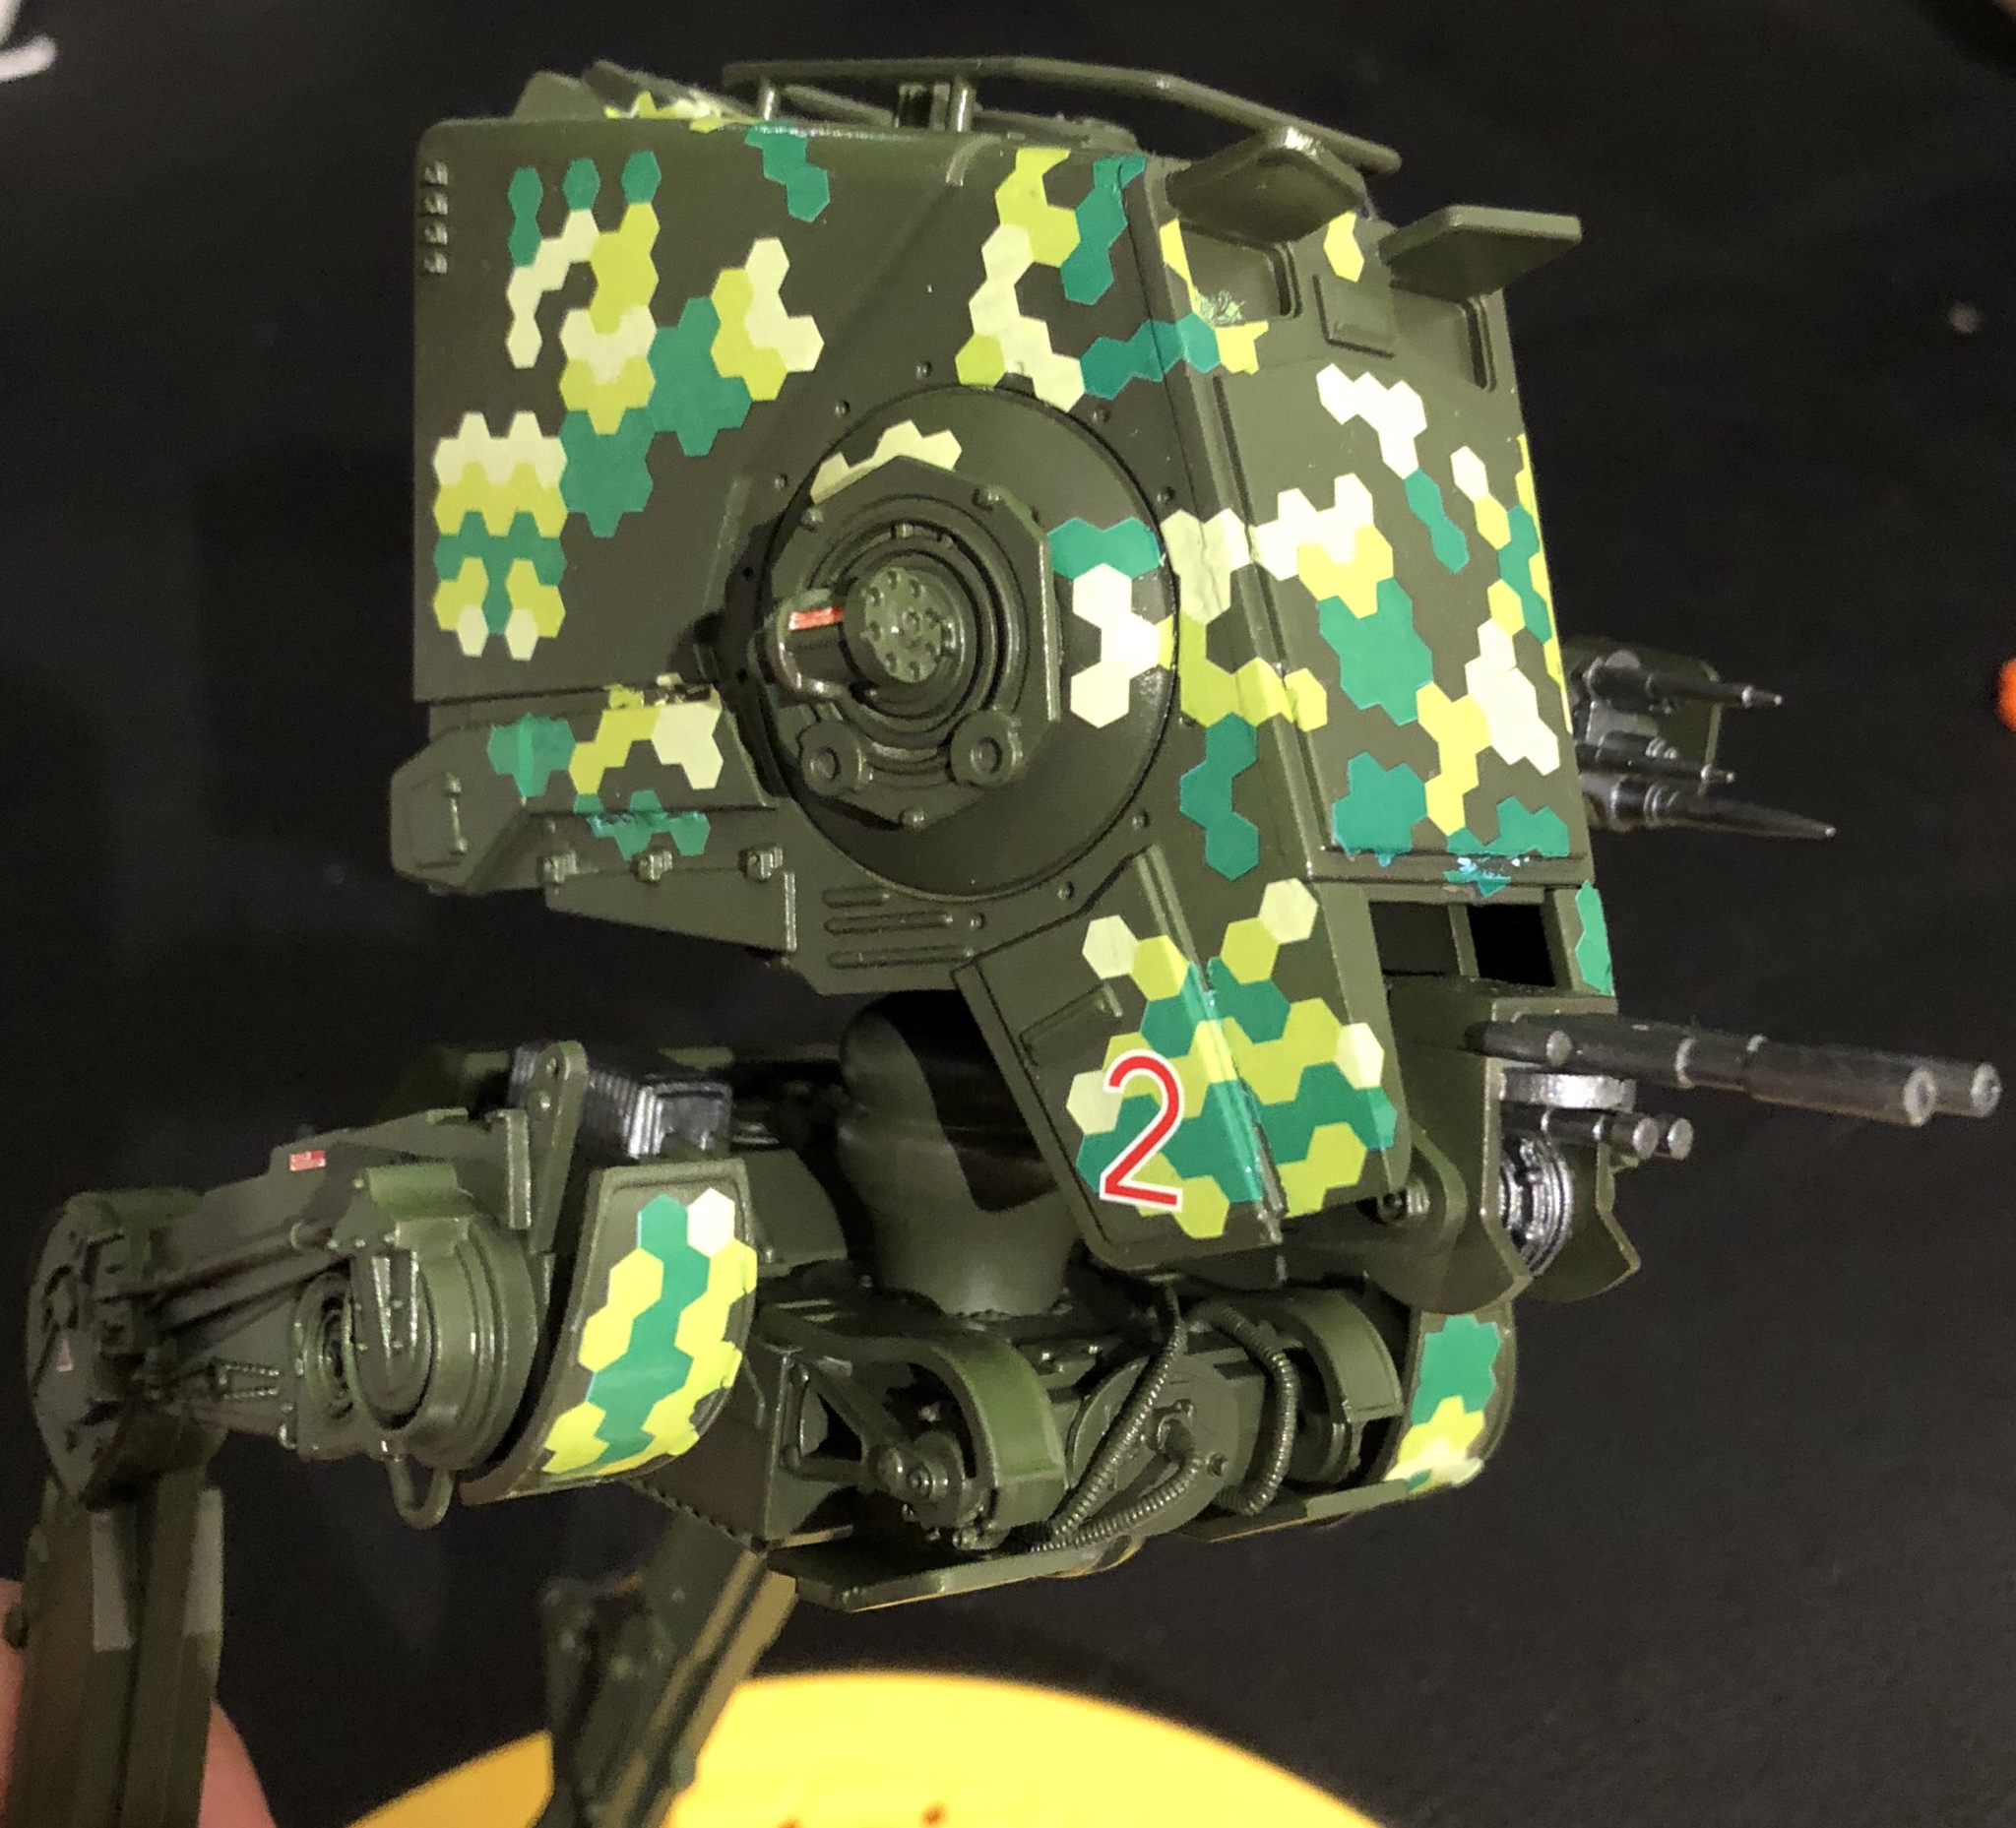
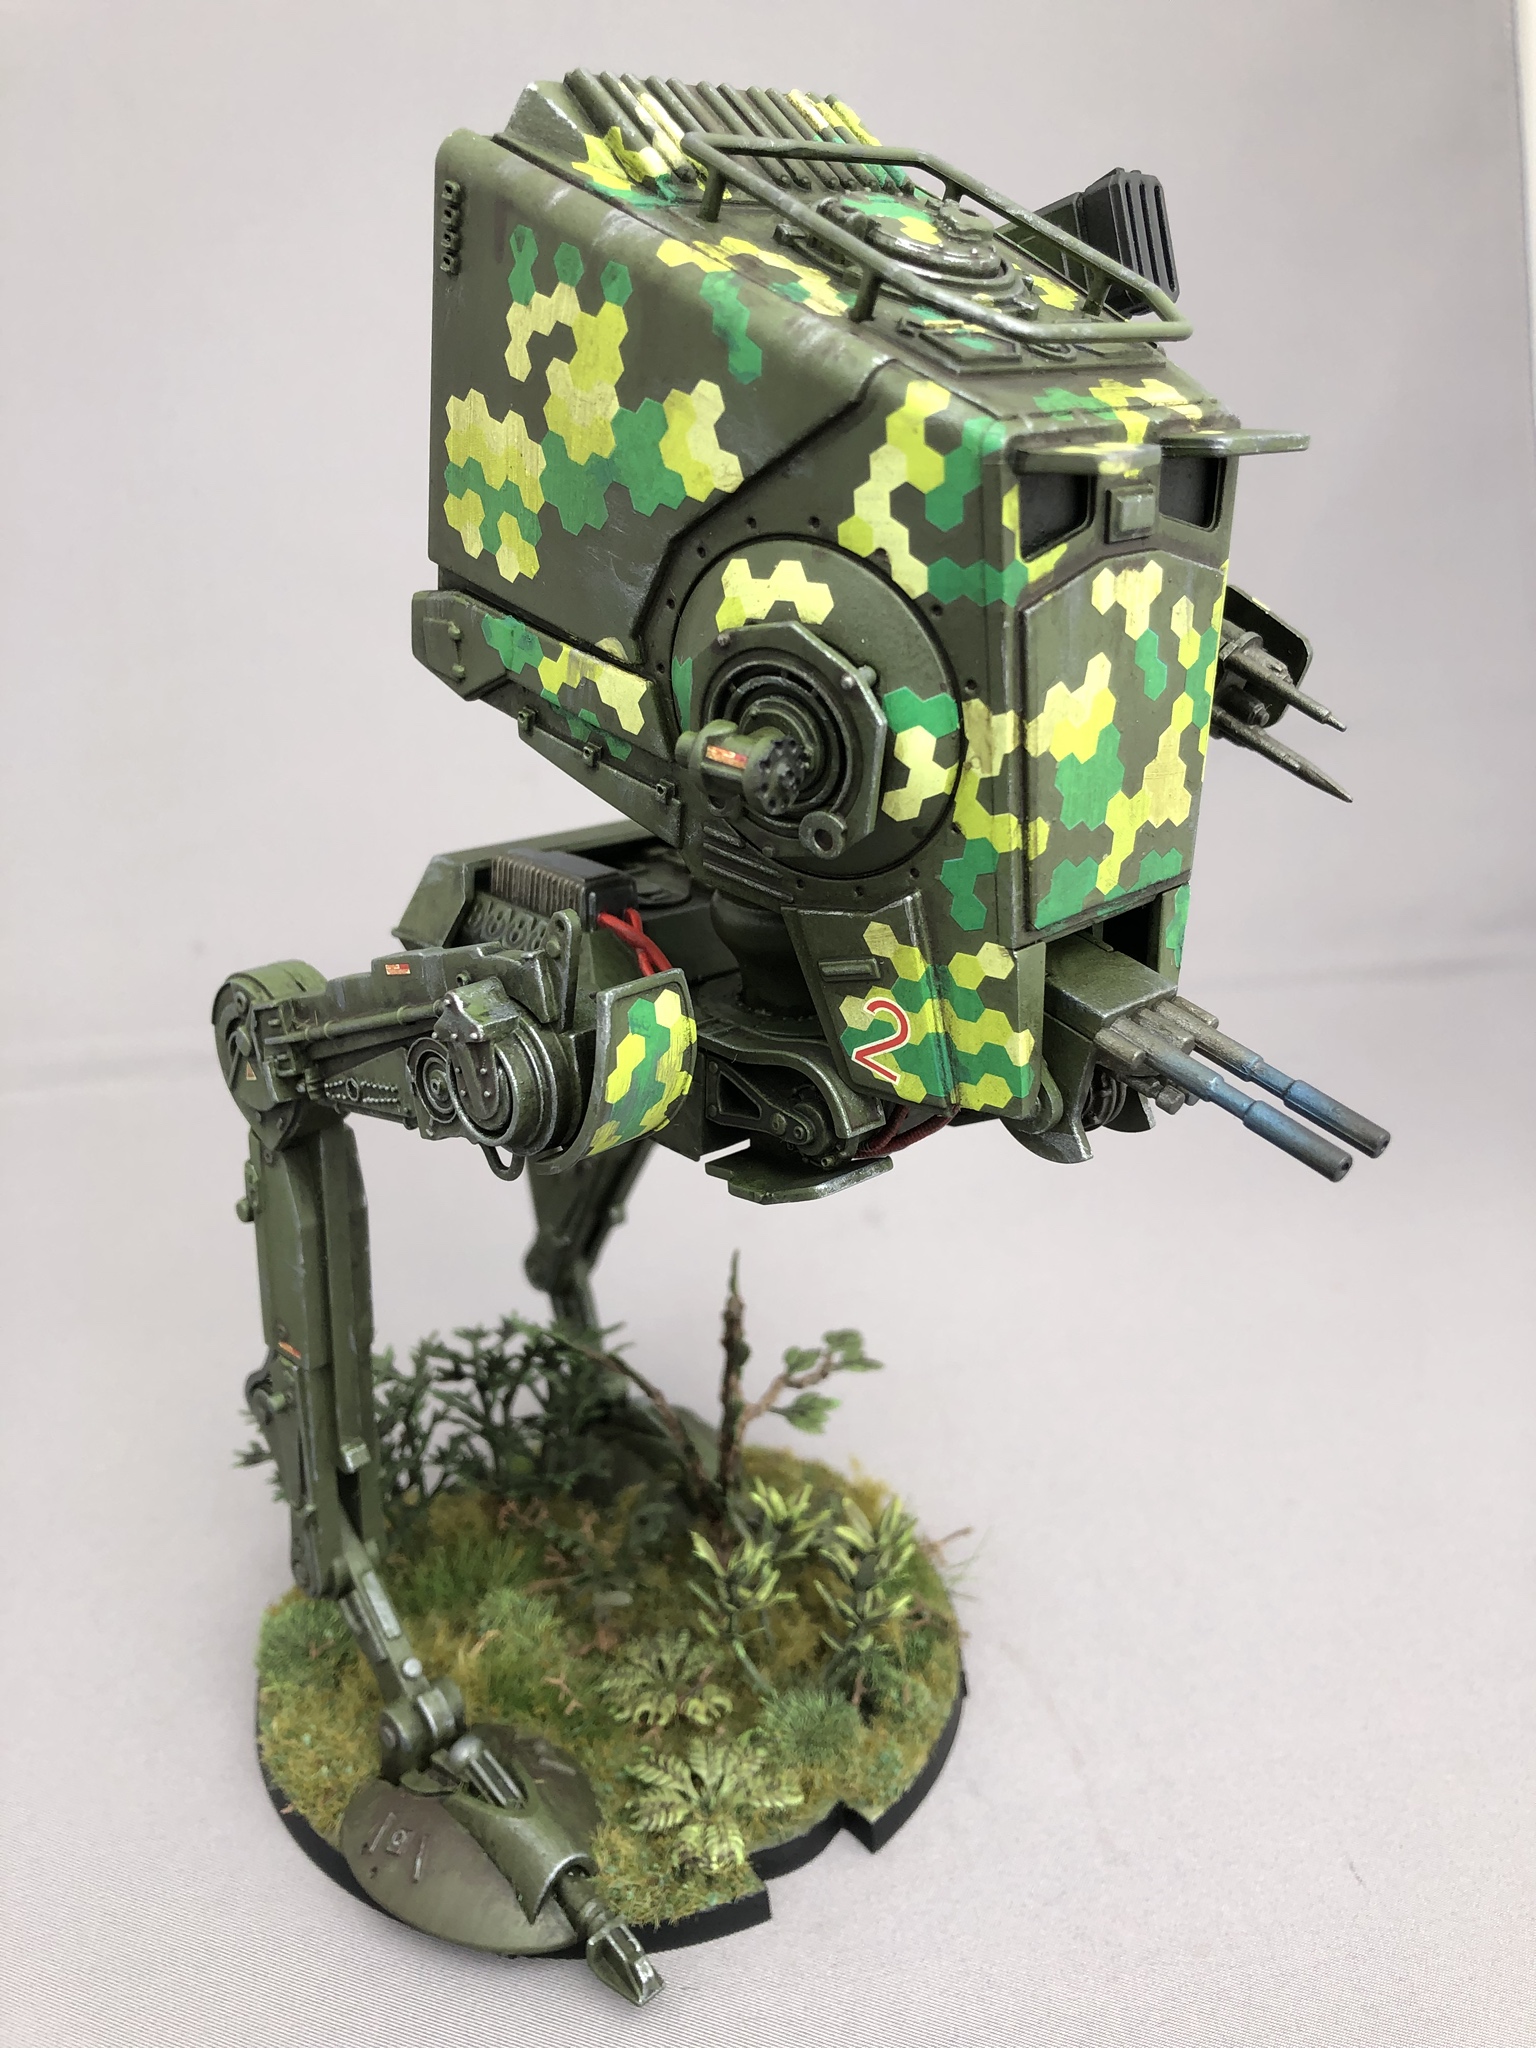
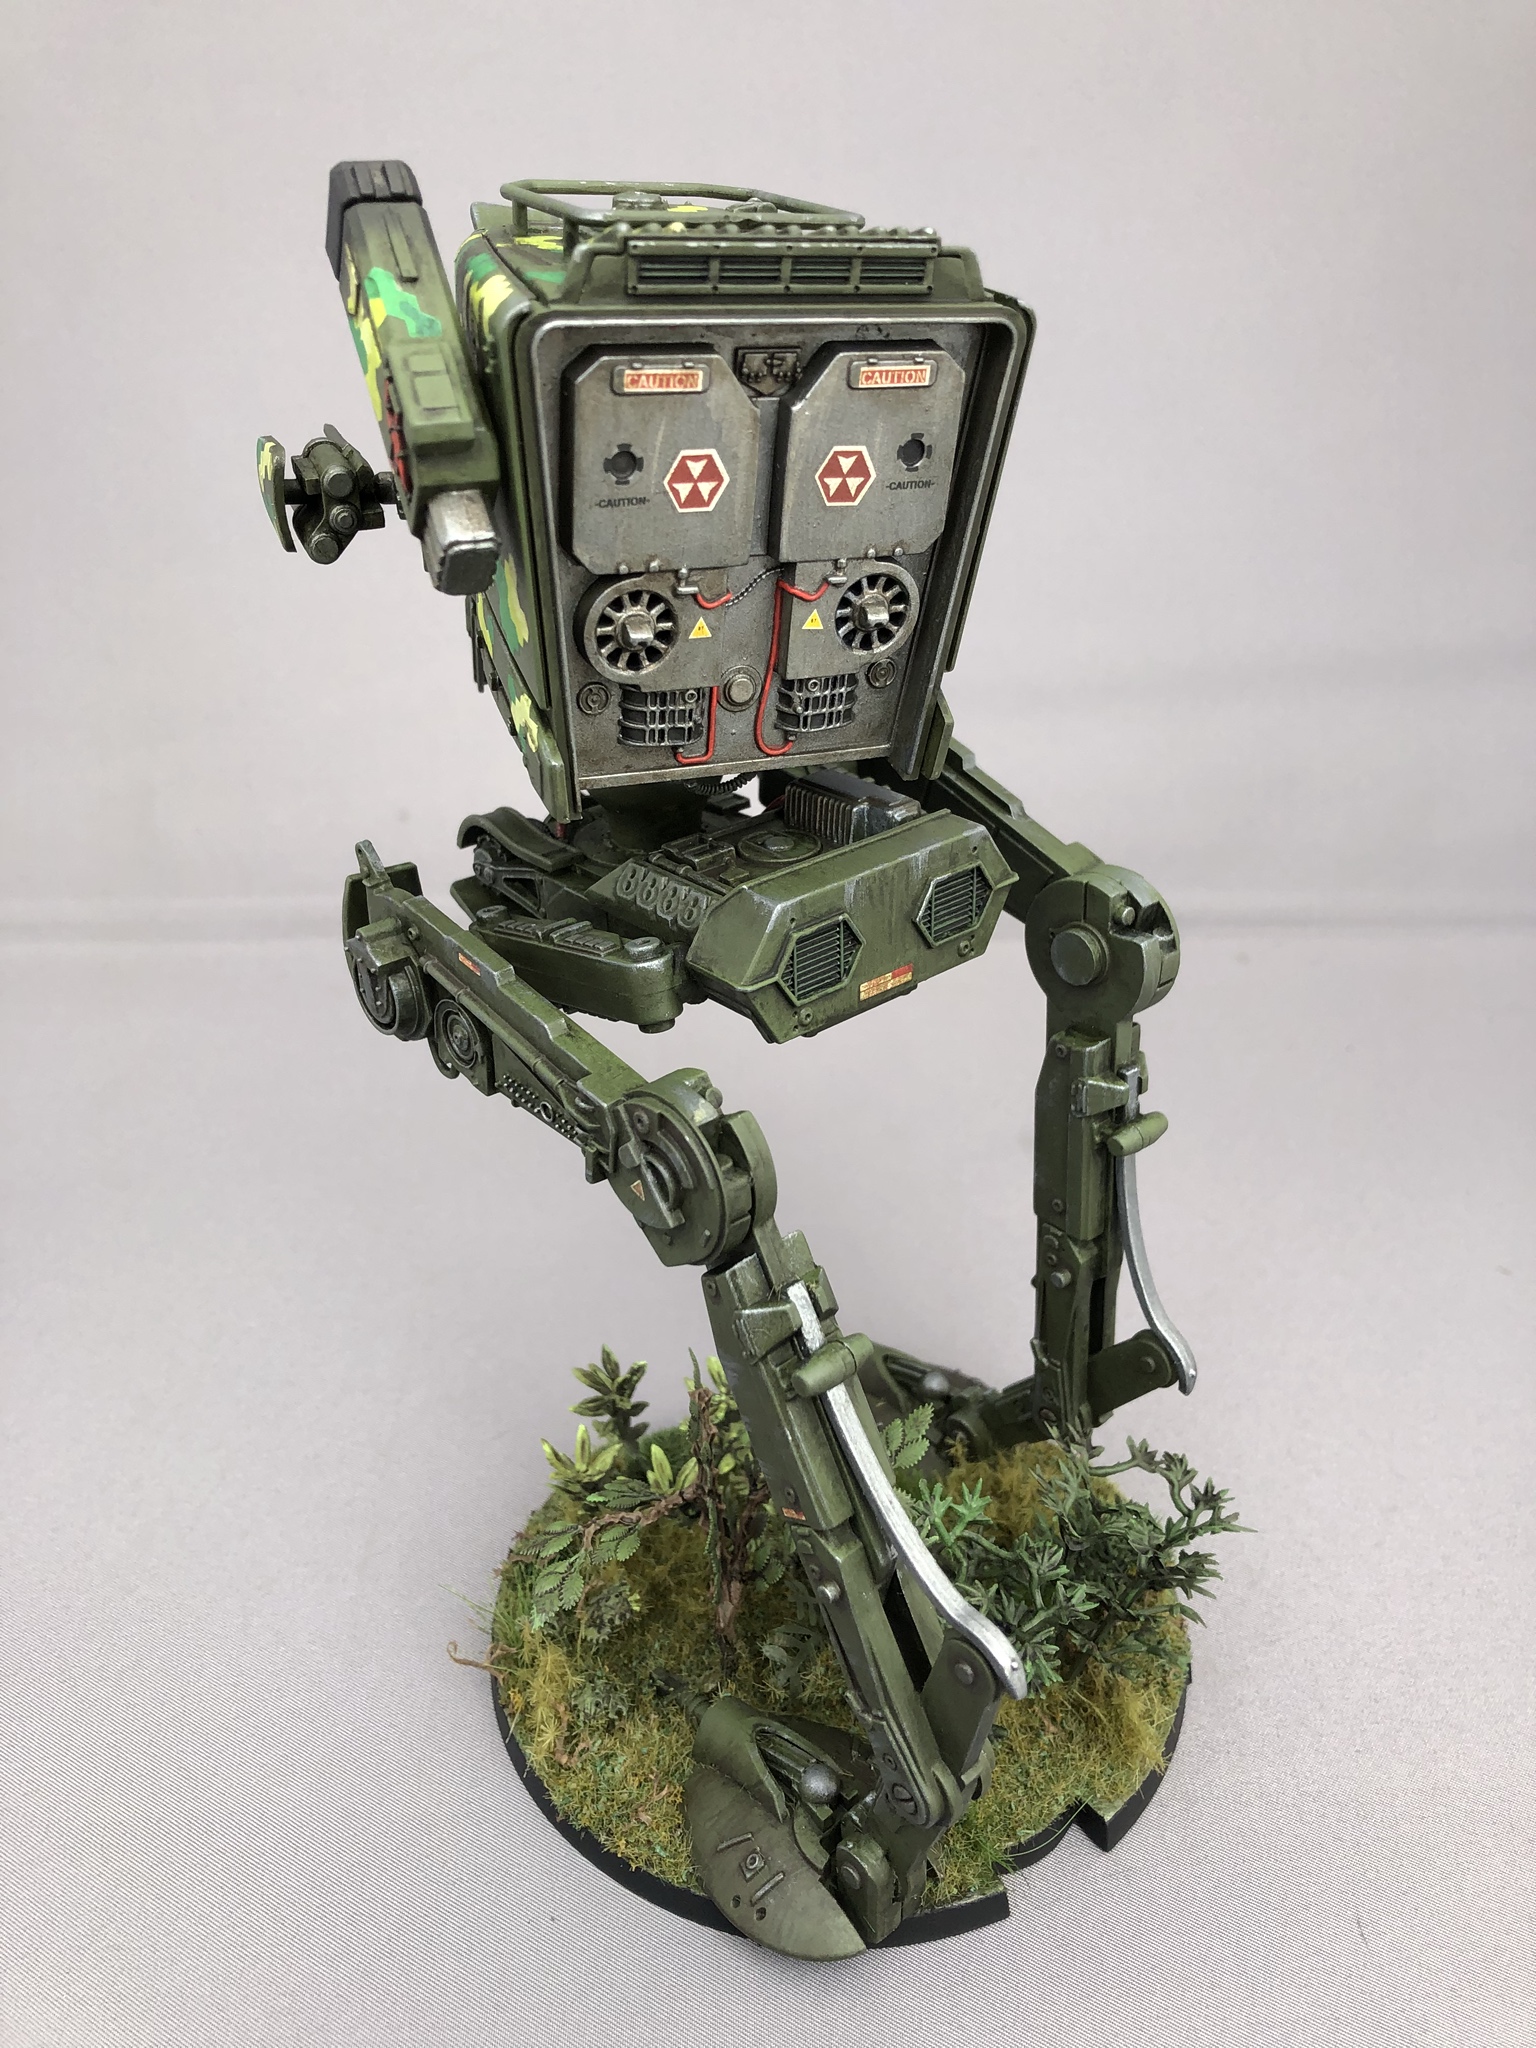
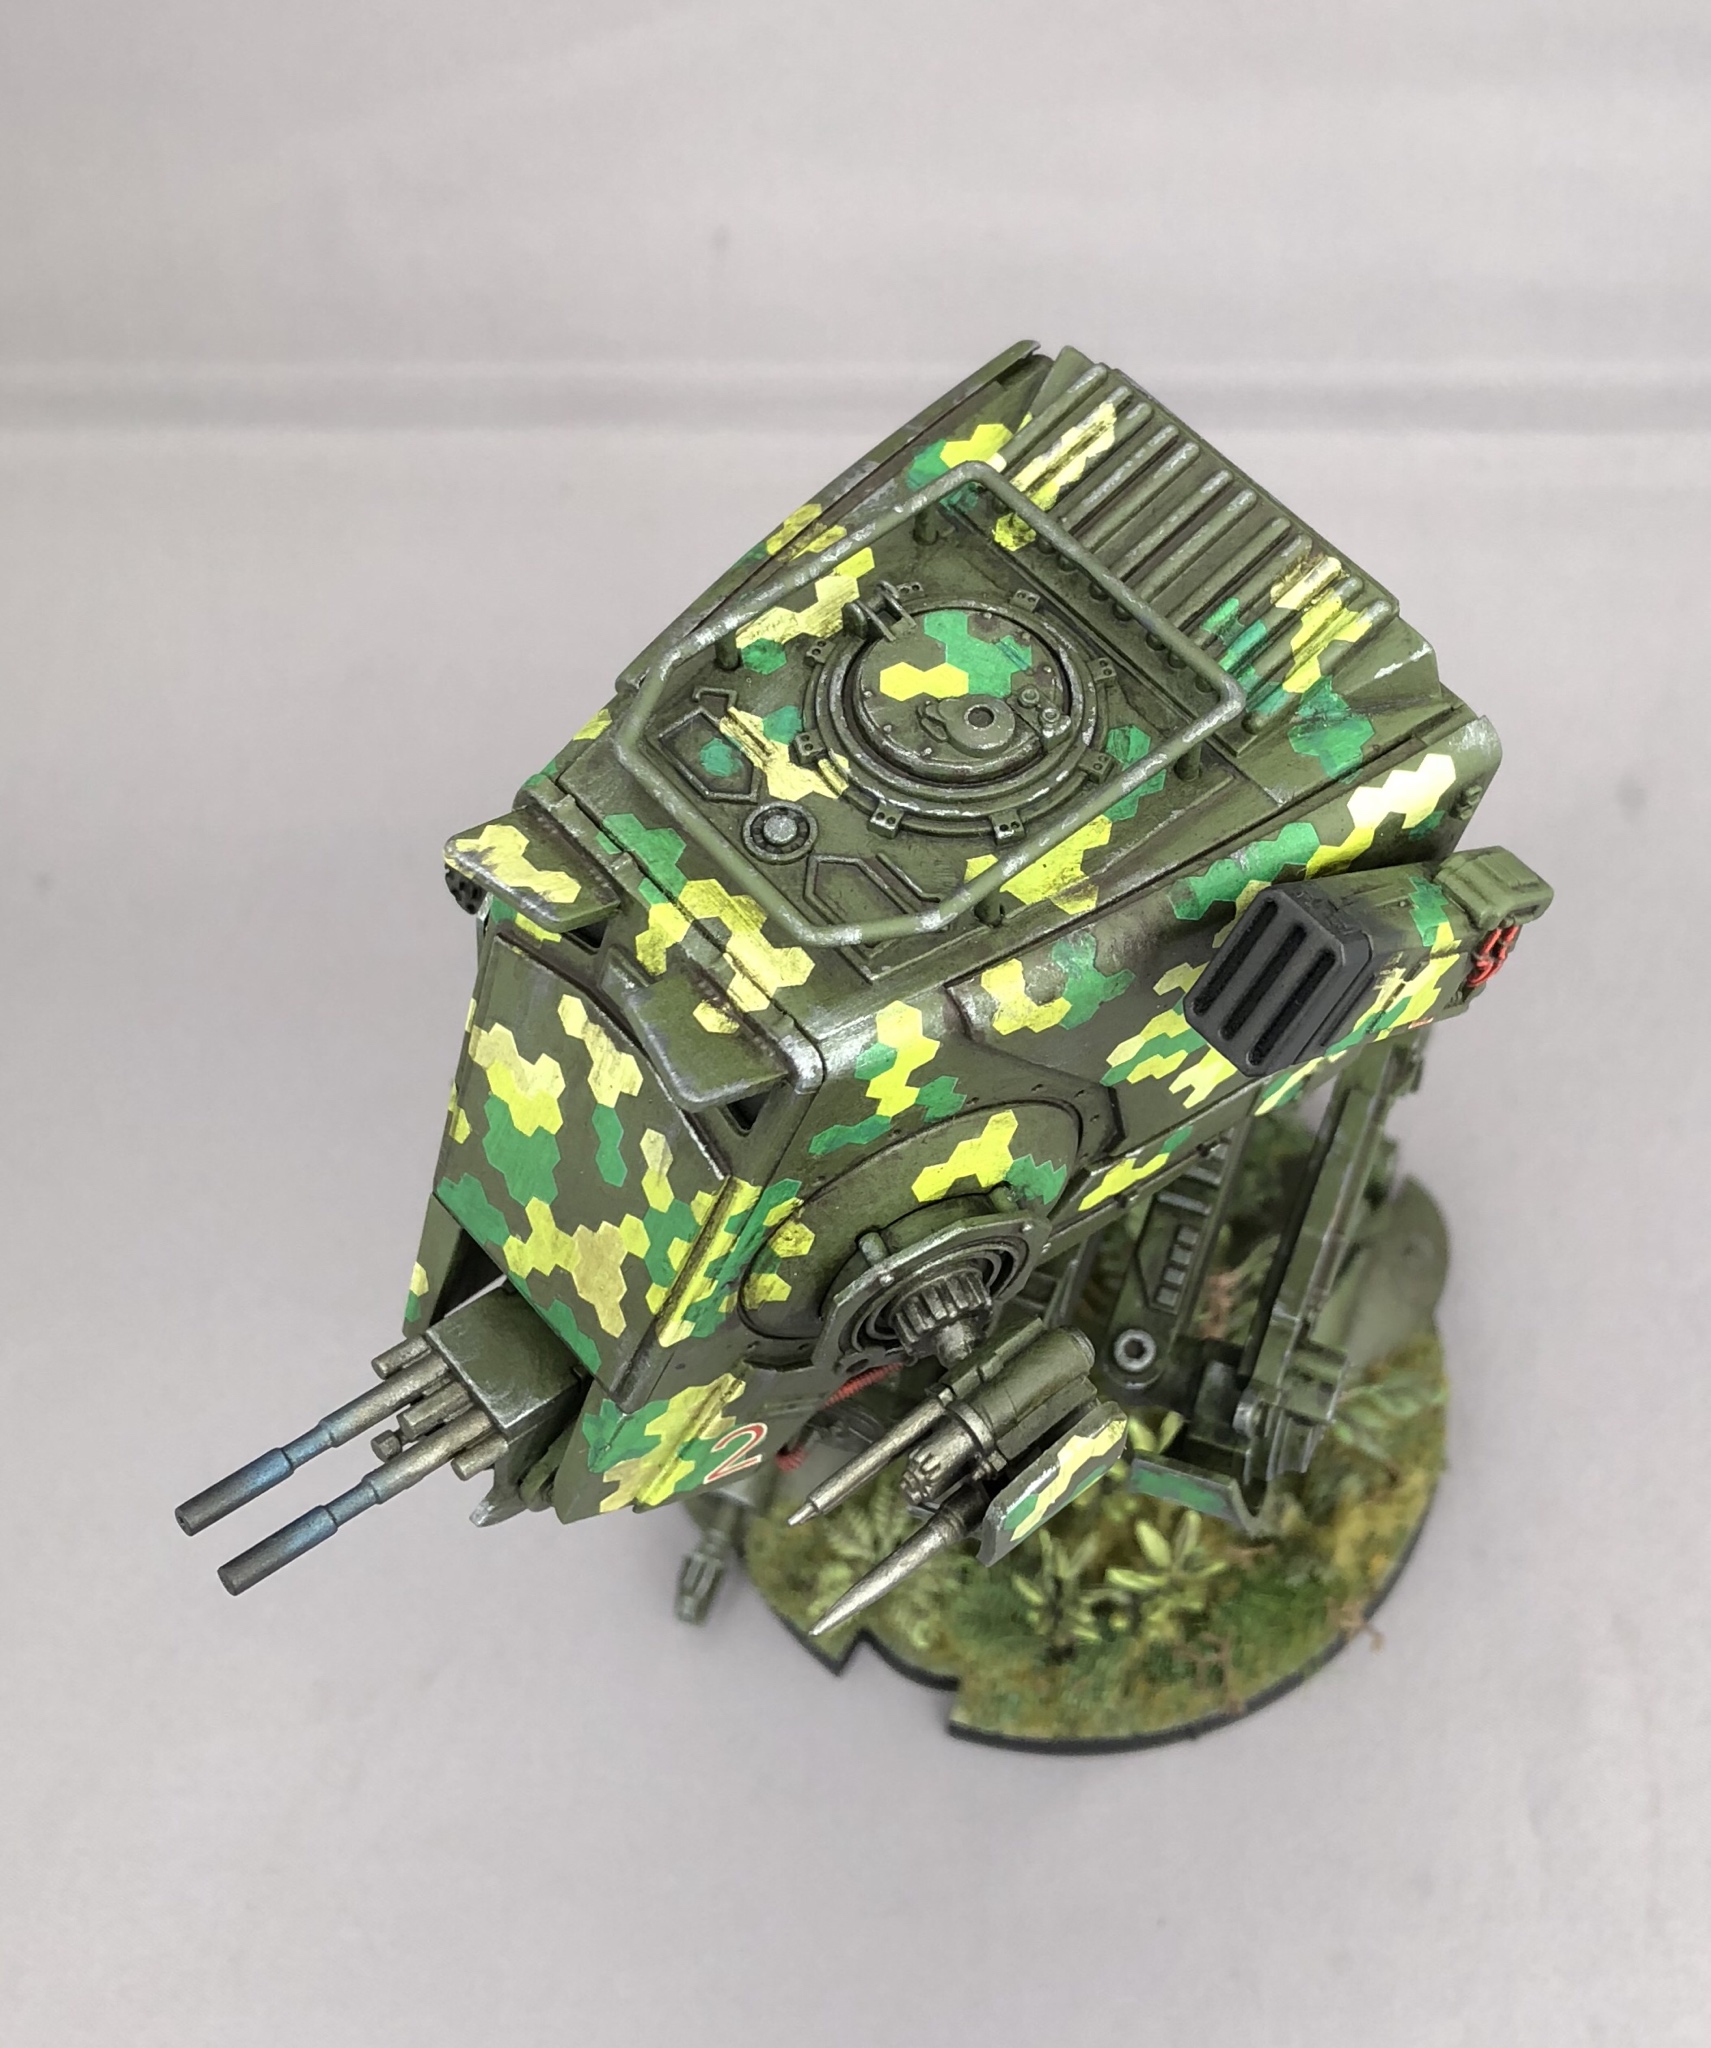
Here is a bit of progress on my AT-ST. More to follow soon.
Goof, sorry to hear that. Hope you can join us next year

Here is a bit of progress on my AT-ST. More to follow soon.

Posted: Sunday, September 30, 2018 - 02:19 AM UTC
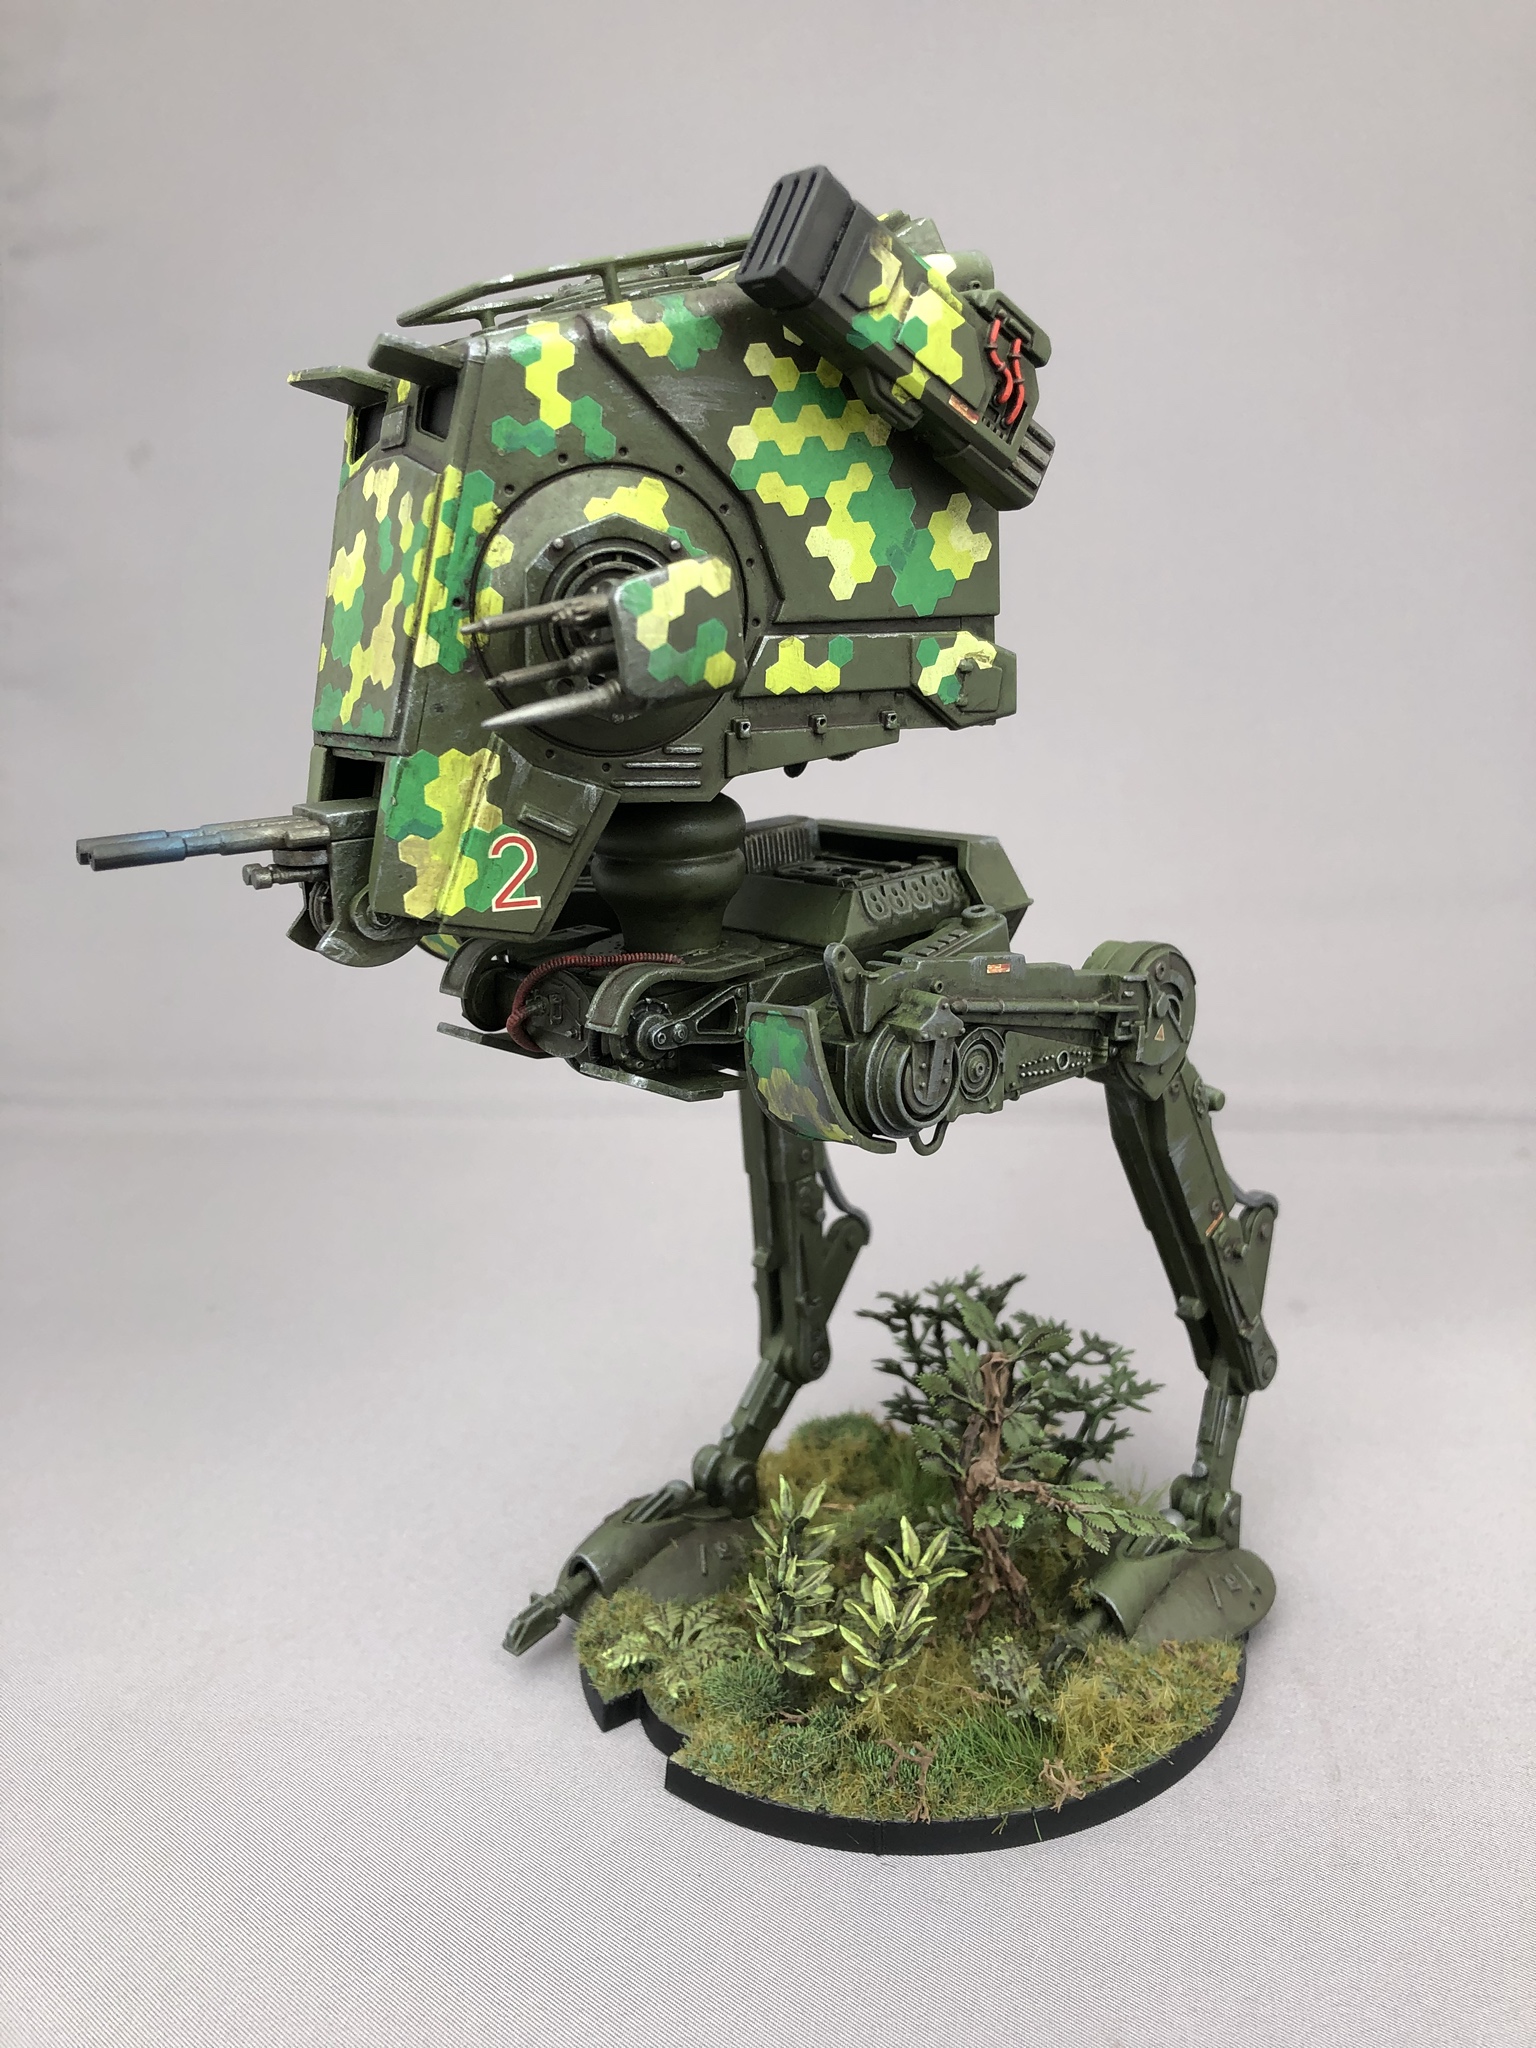
Now my entey for this campaign is done. The AT-ST is from fantasy flight games and roughly 1/48 scale - maybe a bit bigger.


Klaus-Adler

Joined: June 08, 2015
KitMaker: 1,505 posts
AeroScale: 193 posts

Posted: Monday, October 08, 2018 - 01:11 AM UTC
ok, well now that i have managed to clear the bench a little so to speak i am now able to start work on the JPG Productions imperial probe droid.
this is the upper pod section which i have now attached the two hlaves and back filled the gap with putty. this might need another coat of the stuff as it appears to be sinking into the gap as it it is drying.
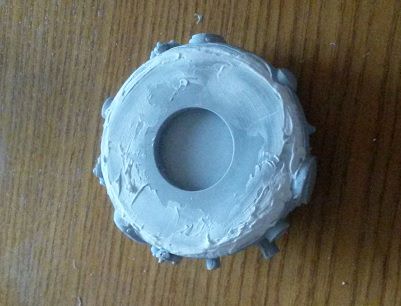
this is the upper pod section which i have now attached the two hlaves and back filled the gap with putty. this might need another coat of the stuff as it appears to be sinking into the gap as it it is drying.

Klaus-Adler

Joined: June 08, 2015
KitMaker: 1,505 posts
AeroScale: 193 posts

Posted: Wednesday, October 24, 2018 - 03:43 AM UTC
well what can i say after many repeated filling and sanding episodes i have now managed to complete the two turret sections. next up are the arms/legs/appendages or what ever you want to call them that hang below the two saucer sections.Needless to say there is a lot of clean up there that is required as well as replacing some of the small pistons that work the legs. I have orders replacement aluminium piping to do this as it is easier to cut than brass tubes.
my progress thus far:

my progress thus far:

Posted: Wednesday, October 24, 2018 - 07:51 AM UTC
Looks good, Klaus. Beginning to look like the “real” thing.
Looking forward to see more
Looking forward to see more

Klaus-Adler

Joined: June 08, 2015
KitMaker: 1,505 posts
AeroScale: 193 posts

Posted: Saturday, November 03, 2018 - 04:59 AM UTC
well i am now working on the arms/legs/appendages that are attached to the lower saucers section and these too are needing a lot of filling and sanding.
The piston arms aren't worth keeping and i am removing those and replacing them with aluminium tubing as it is easier to cut through (i'm using an xacto blade for this).
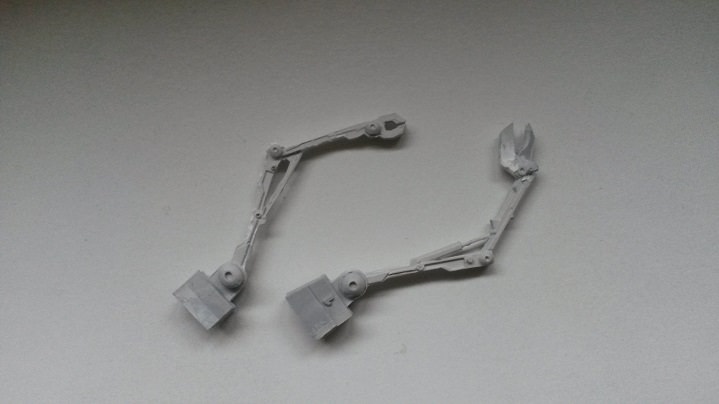
The piston arms aren't worth keeping and i am removing those and replacing them with aluminium tubing as it is easier to cut through (i'm using an xacto blade for this).

Klaus-Adler

Joined: June 08, 2015
KitMaker: 1,505 posts
AeroScale: 193 posts

Posted: Sunday, November 04, 2018 - 11:36 PM UTC
ok well here you can see what i had to work with with regards to the resin cast piston arms and in the second section you can see the replacements made from aluminium tubing:
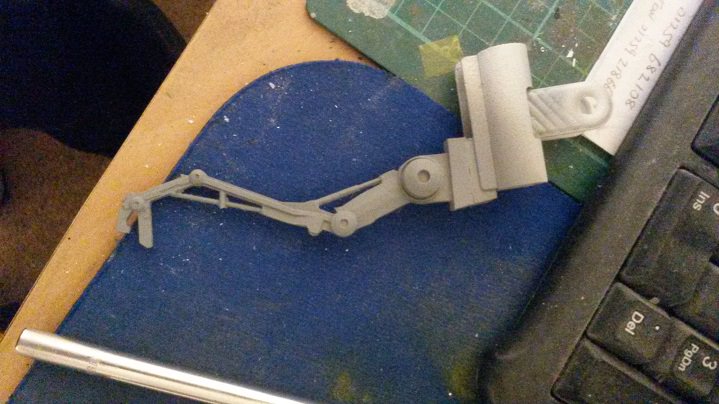
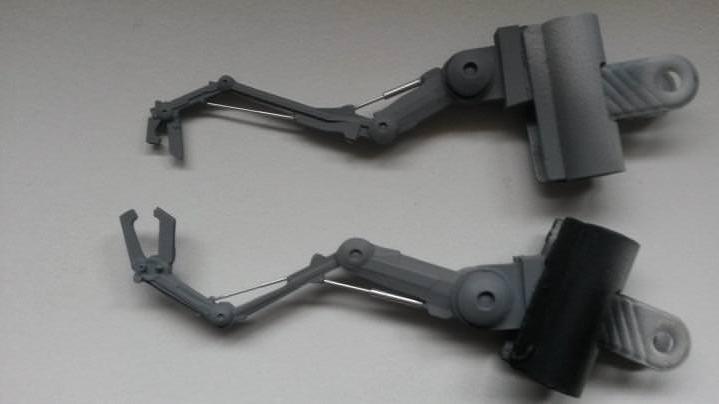


Klaus-Adler

Joined: June 08, 2015
KitMaker: 1,505 posts
AeroScale: 193 posts

Posted: Sunday, November 18, 2018 - 03:02 AM UTC
finally the painting process can begin: i have opted to use Tamiya Rubber Black as the main coat for the kit and i will mask off other areas for some colour variation later on:
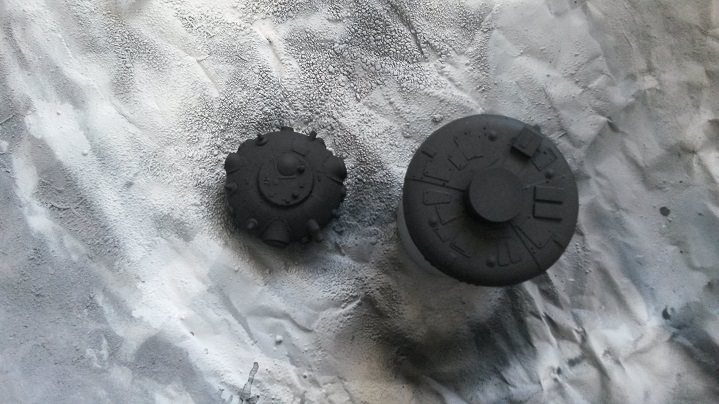

Posted: Sunday, November 18, 2018 - 07:30 AM UTC
Looks good, David. How big is the model?
Klaus-Adler

Joined: June 08, 2015
KitMaker: 1,505 posts
AeroScale: 193 posts

Posted: Sunday, November 18, 2018 - 08:53 AM UTC
Quoted Text
Looks good, David. How big is the model?
it's 1/12 scale mate, so it ties in with the bandai kits
Klaus-Adler

Joined: June 08, 2015
KitMaker: 1,505 posts
AeroScale: 193 posts

Posted: Thursday, November 29, 2018 - 11:13 PM UTC
ok so i have sealed the main hull sections using tamiya flat clear in a spray can... wow this stuff is great but boy the smell can really blow your socks off.
i have also painted the base in preparation of the final assembly, so with a little luck i might get this finished in the next 7 days.... hahahaha well maybe, we shall see.

i have also painted the base in preparation of the final assembly, so with a little luck i might get this finished in the next 7 days.... hahahaha well maybe, we shall see.

Posted: Sunday, December 02, 2018 - 05:52 AM UTC
Hi mates,
just hopped on the campaign train, we'll see if I can manage to finish in time.
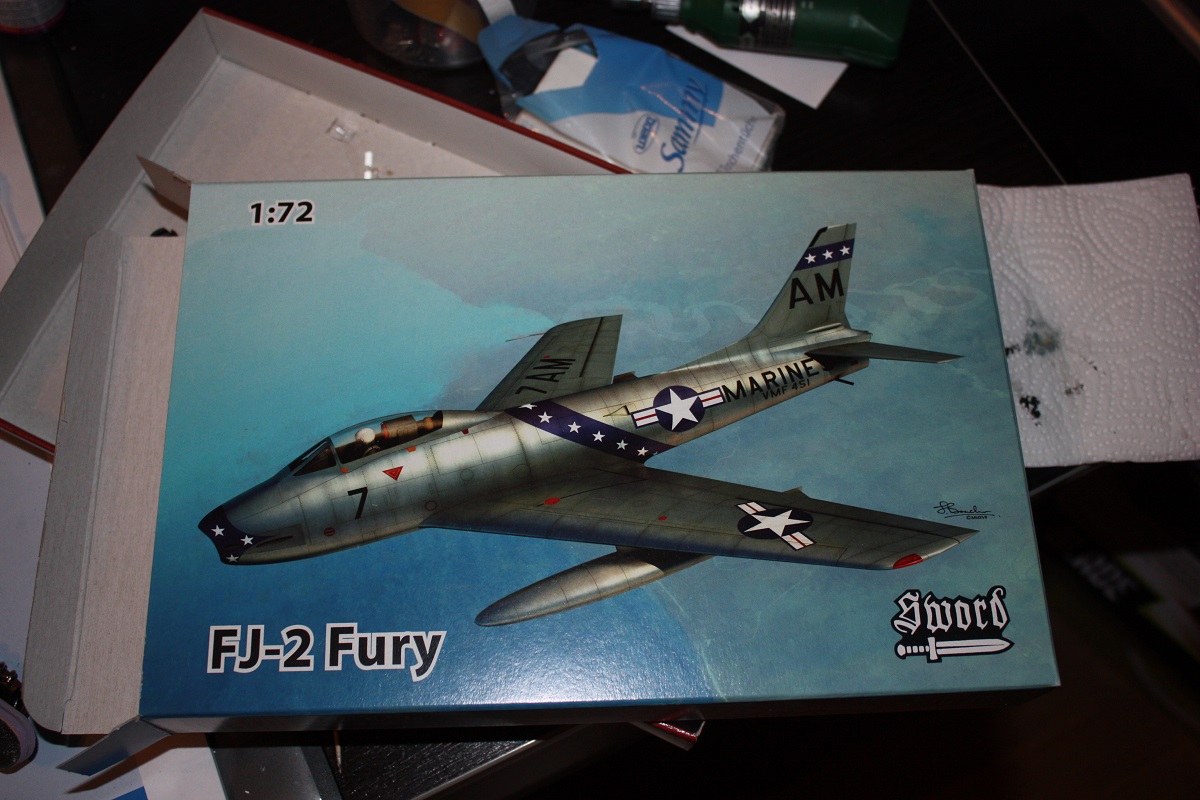
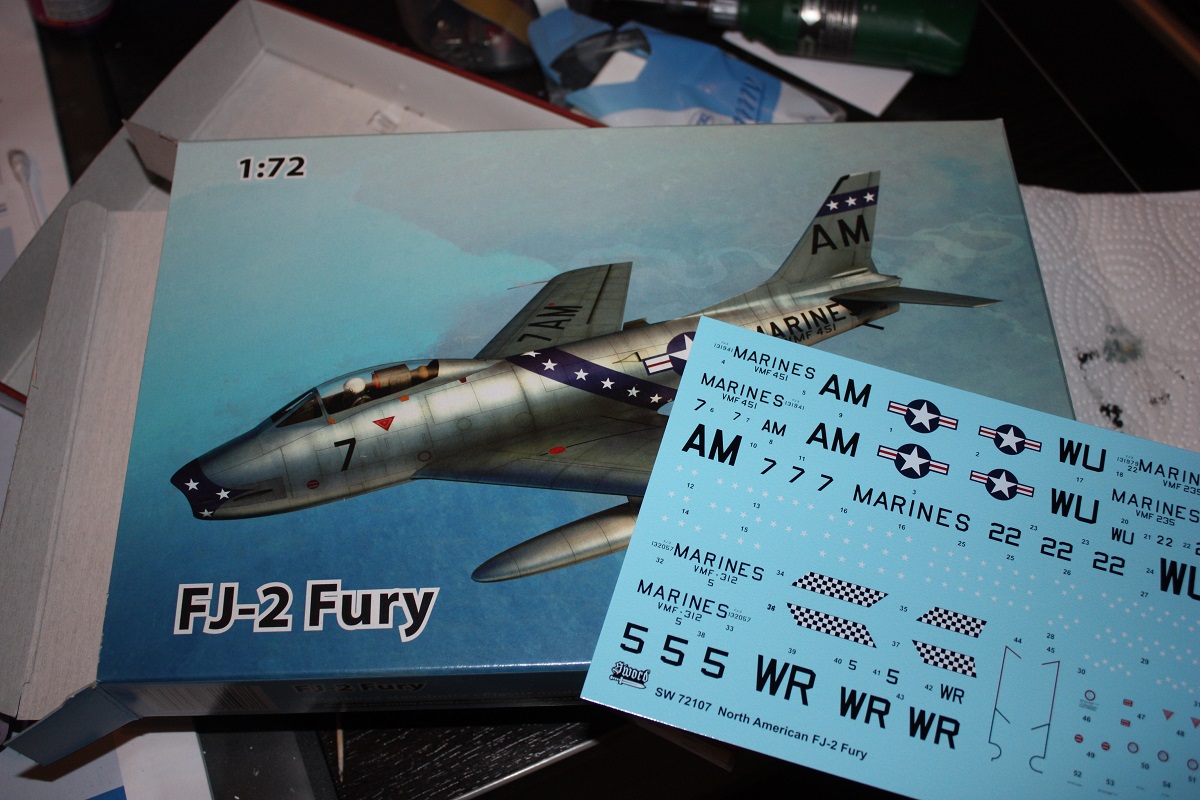
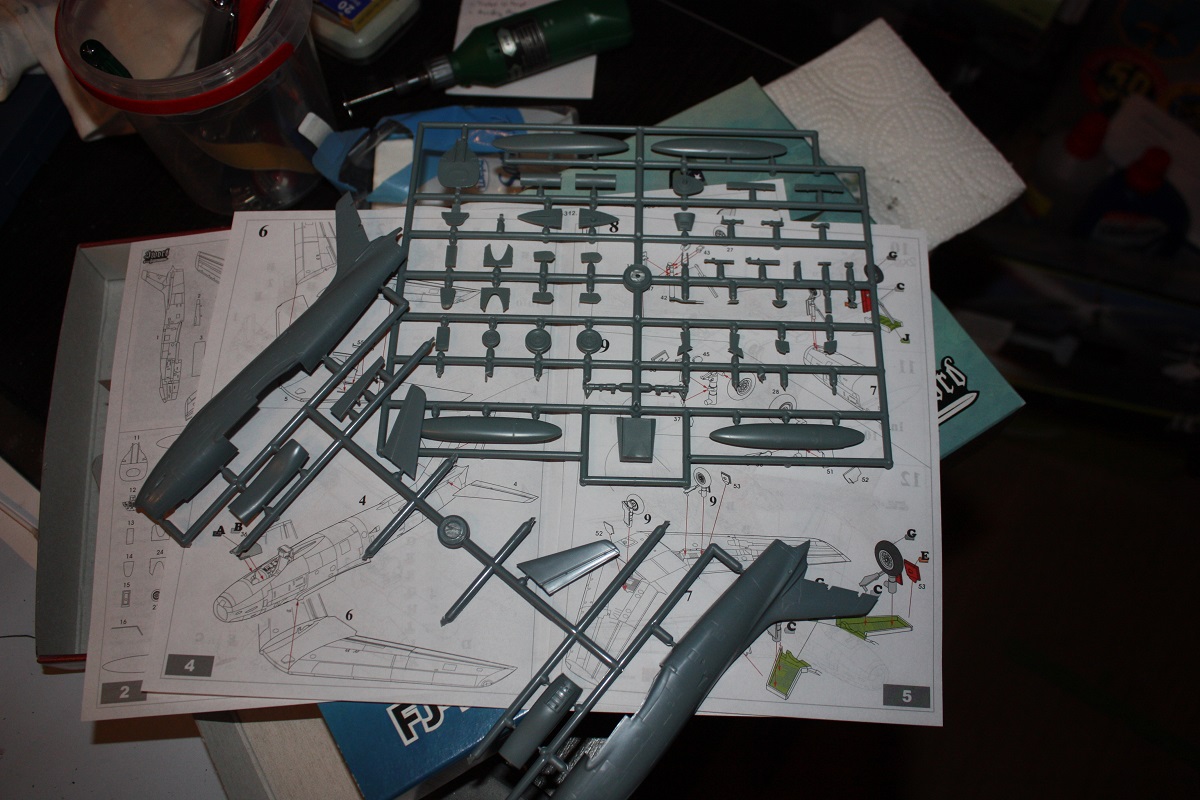
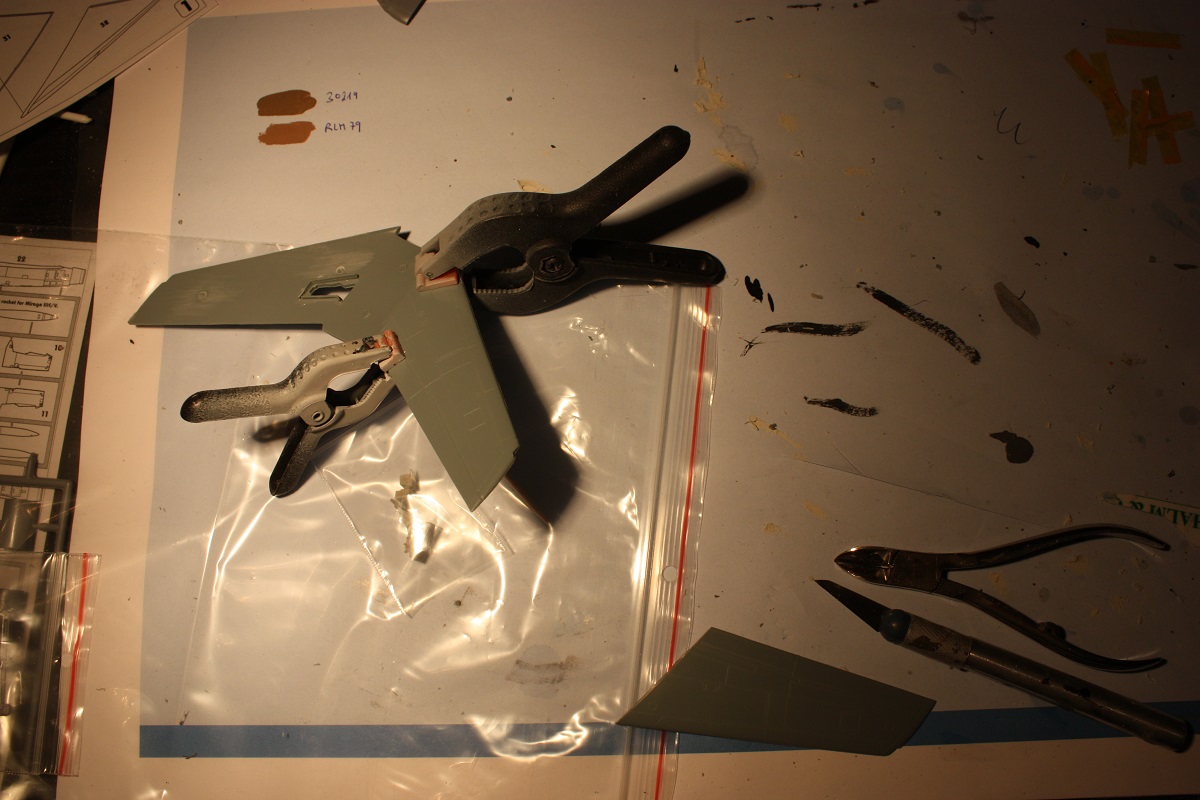
Needed a break from RV's really bad fitting Mirage III, so I decided to try my luck with Sword's NA FJ-2 Fury. It came out autumn 2017 and I bought it at E-Day 2017 in Prague. Started to glue the wing halves together and it worked
Here are the entry pictures
@Torsten - The Sea Fury looks great!
just hopped on the campaign train, we'll see if I can manage to finish in time.
Needed a break from RV's really bad fitting Mirage III, so I decided to try my luck with Sword's NA FJ-2 Fury. It came out autumn 2017 and I bought it at E-Day 2017 in Prague. Started to glue the wing halves together and it worked

Here are the entry pictures
@Torsten - The Sea Fury looks great!
Posted: Sunday, December 02, 2018 - 09:00 AM UTC
Looks good, Peter. Looking forward to see more 

Klaus-Adler

Joined: June 08, 2015
KitMaker: 1,505 posts
AeroScale: 193 posts

Posted: Monday, December 03, 2018 - 03:16 AM UTC
and now a recent update from the weekend. the appendages have now been attached and i am now working on the upper hull section adding the lenses that are all over the outside of the upper hull section.



RadekZ

Joined: March 12, 2013
KitMaker: 125 posts
AeroScale: 85 posts

Posted: Monday, December 03, 2018 - 07:29 AM UTC
Hi guys,
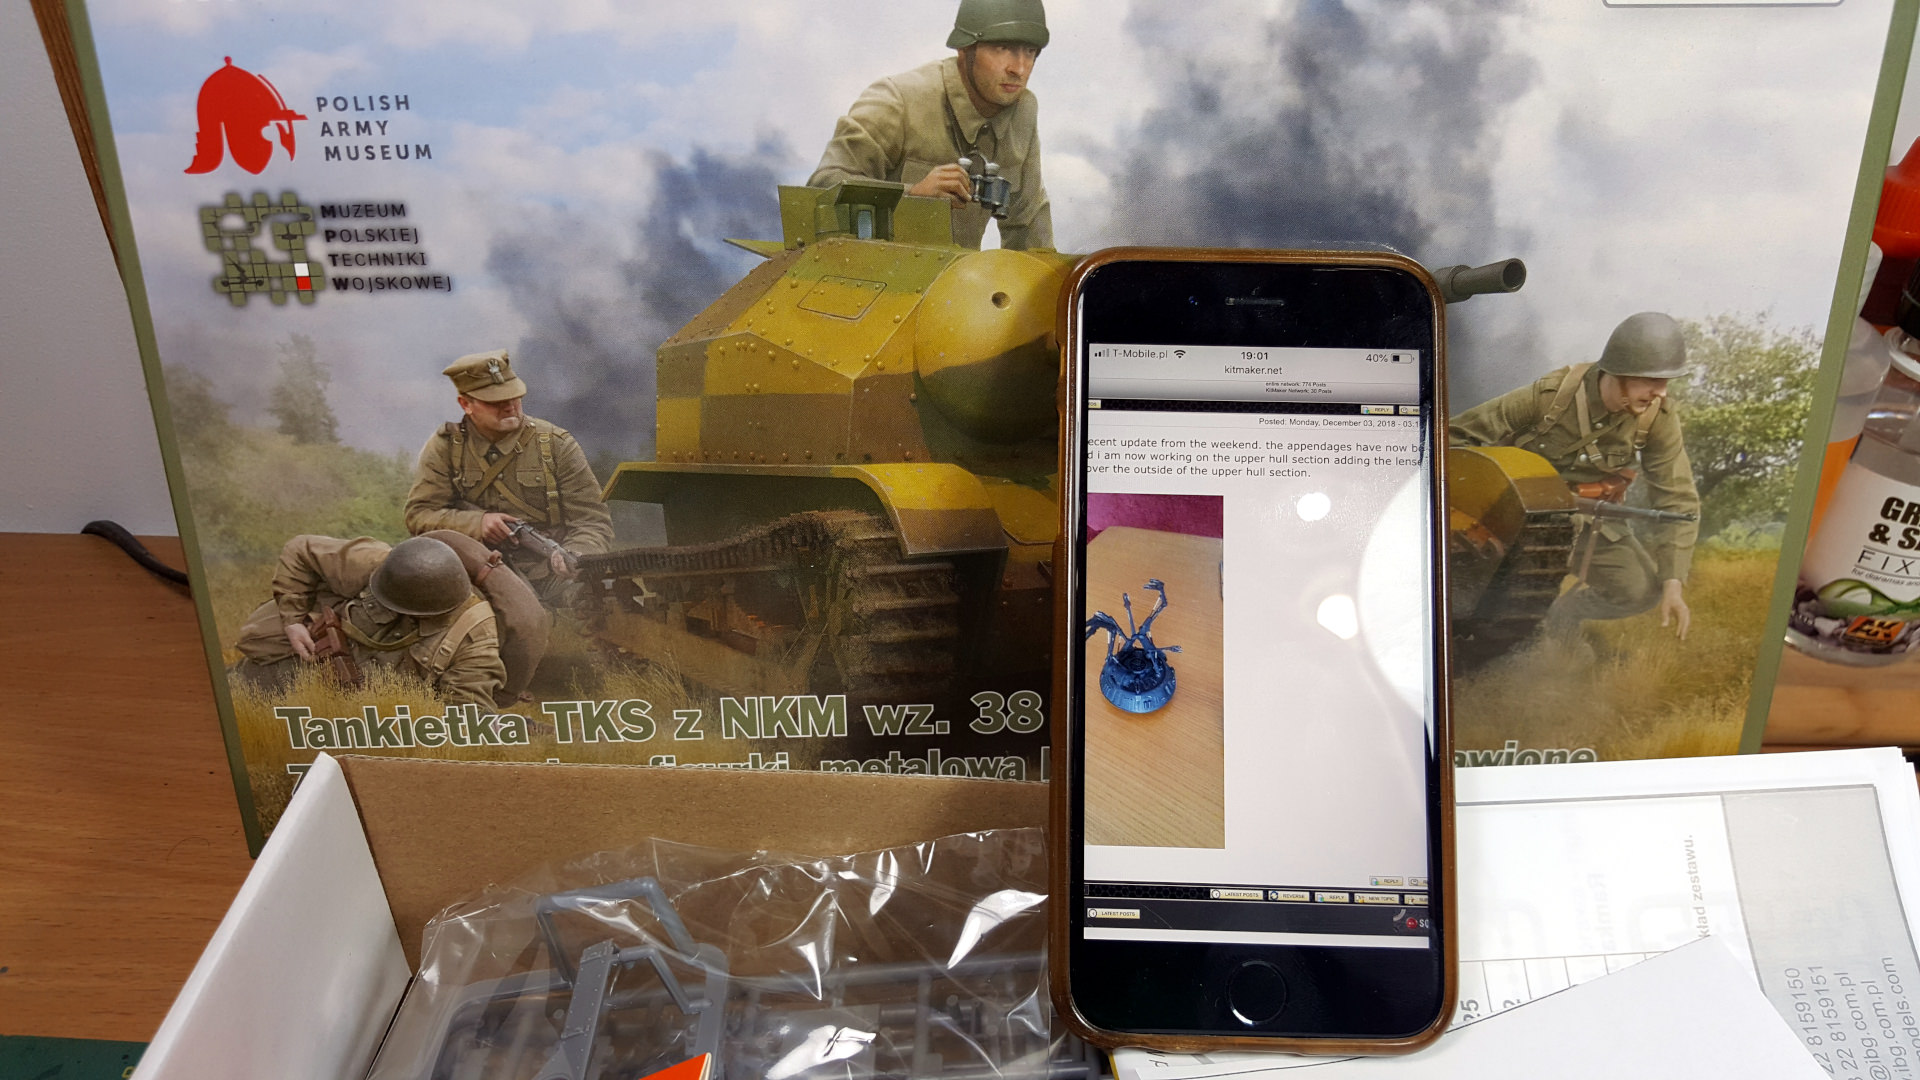
still a month to go, so I'll try to build IBG 1:35 scale TKS with 20mm gun released earlier this year:
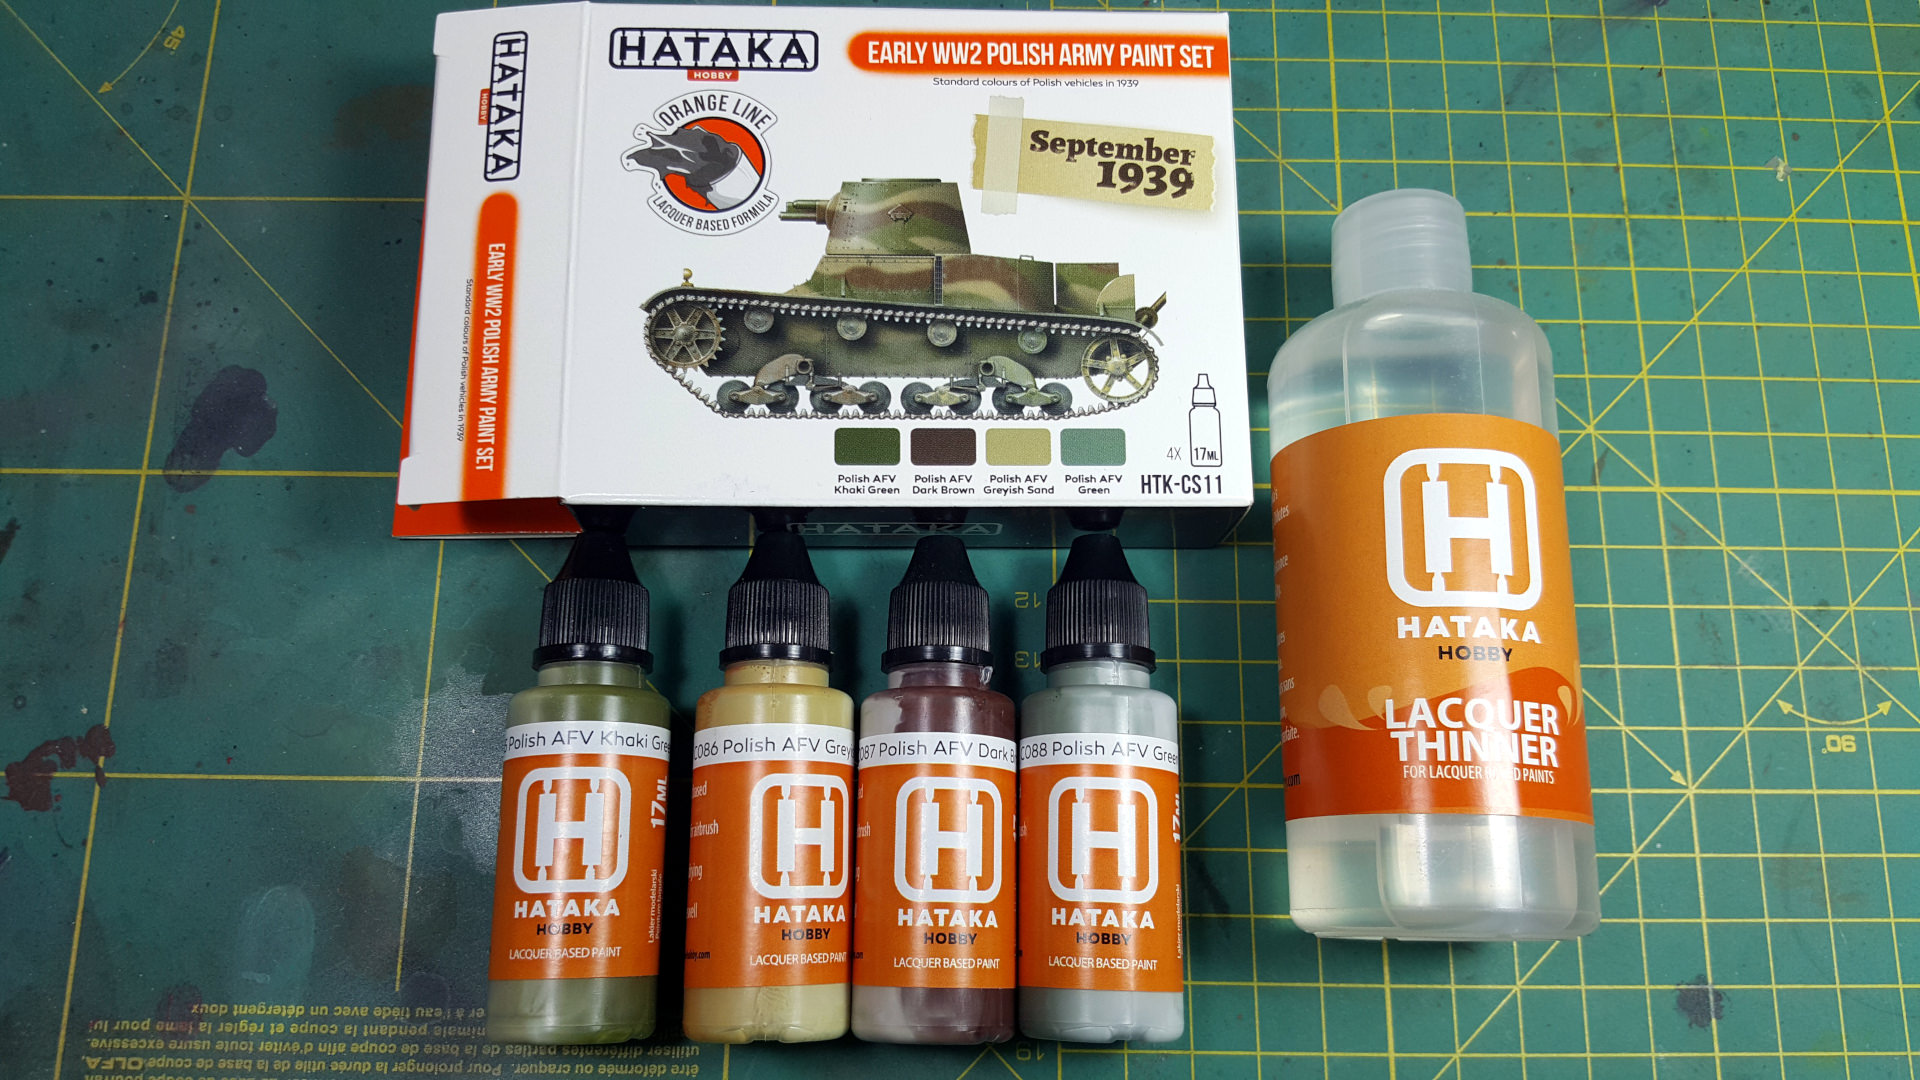
I'm going also to try for first time Hataka Orange series set for Polish early WWII set:
Cheers,
Radek
still a month to go, so I'll try to build IBG 1:35 scale TKS with 20mm gun released earlier this year:

I'm going also to try for first time Hataka Orange series set for Polish early WWII set:

Cheers,
Radek
Posted: Monday, December 03, 2018 - 08:52 AM UTC
Welcome onboard, Radoslaw. Cool choice of kit.
Please let us know how does colors work. Are they acrylic? I am curious to hear more about them.
Please let us know how does colors work. Are they acrylic? I am curious to hear more about them.
Posted: Monday, December 03, 2018 - 09:06 AM UTC
Hi Jesper that's Hataka's orange range which are lacquers.

RadekZ

Joined: March 12, 2013
KitMaker: 125 posts
AeroScale: 85 posts

Posted: Monday, December 03, 2018 - 10:30 AM UTC
Quoted Text
Welcome onboard, Radoslaw. Cool choice of kit.
Please let us know how does colors work. Are they acrylic? I am curious to hear more about them.
Hi Jesper,
as Chris said these are Orange series, so lacquer stuff. Suprisingly they smell less than for example Gunze H series .
Well that will be one big experiment for me as I never used not only Hataka Orange, but lacquers in general

I have to read something about using them and make some practice shots on defensless targets

Cheers,
Radek
Posted: Monday, December 03, 2018 - 12:01 PM UTC
Hi Radek one tip I can pass on as a regular user of Lacquers is your airbrush will need either Teflon seals or something resistant to the solvents used. Ask me how I know LOL! If the Hataka range have a less pungent smell than Gunze perhaps they use a less aggressive solvent?
Posted: Monday, December 03, 2018 - 06:27 PM UTC
Thanks for the info, guys.
Looking forward to see how it all goes
Looking forward to see how it all goes


RadekZ

Joined: March 12, 2013
KitMaker: 125 posts
AeroScale: 85 posts

Posted: Monday, December 03, 2018 - 08:21 PM UTC
Quoted Text
Hi Radek one tip I can pass on as a regular user of Lacquers is your airbrush will need either Teflon seals or something resistant to the solvents used. Ask me how I know LOL! If the Hataka range have a less pungent smell than Gunze perhaps they use a less aggressive solvent?
Thank you, Chris, I'll be careful.
I'm using H&S Infinity which I think has the teflon seals where it should have and in worst case... I have a replacement set

 |


