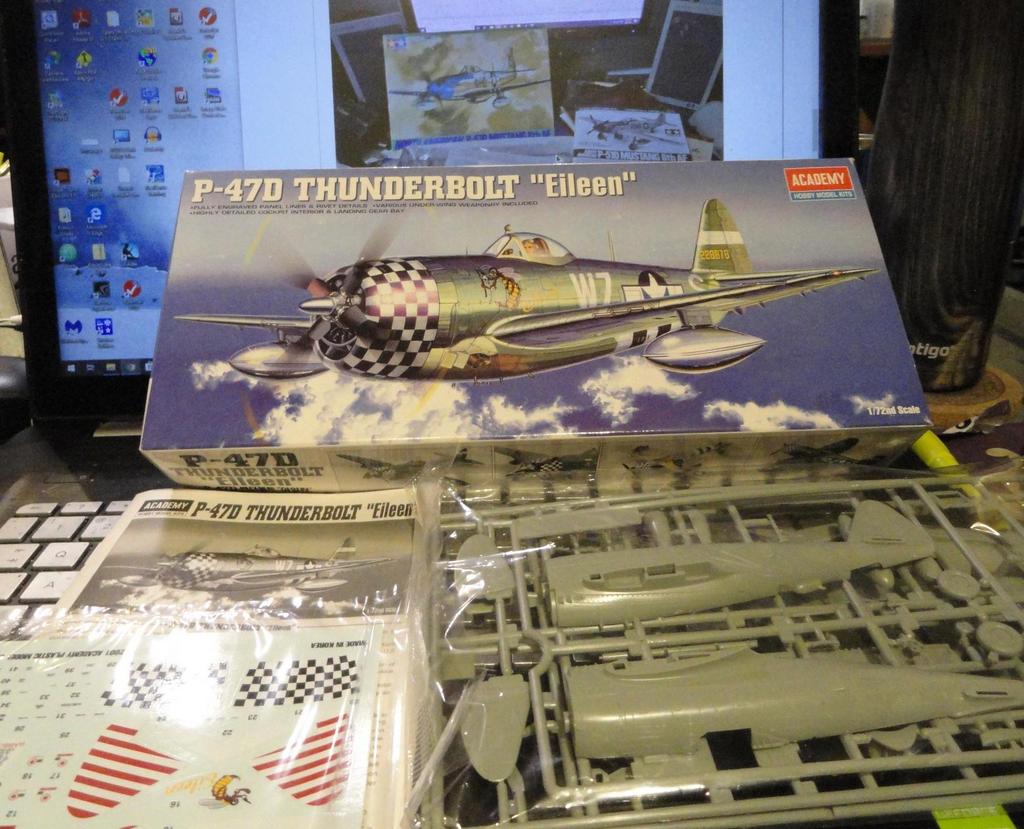
Hi All,
I thought I put a progress shot in here, but with all the things going on, I didn't. So here goes!
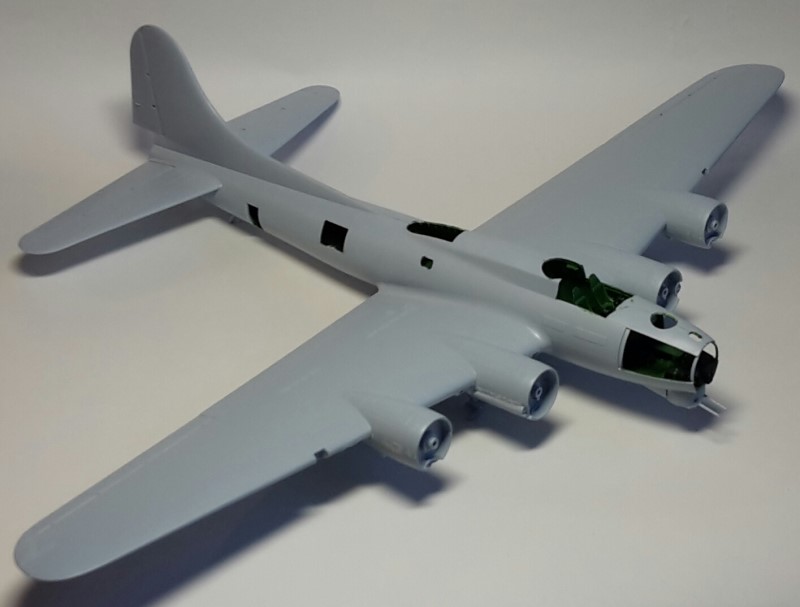
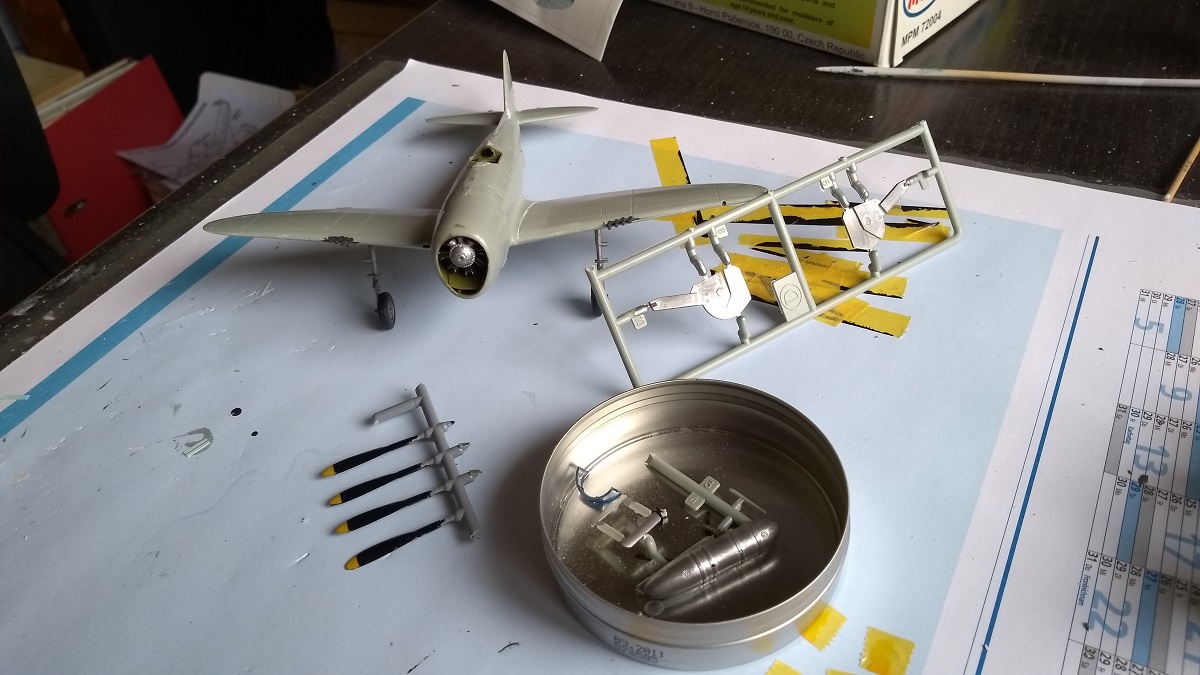
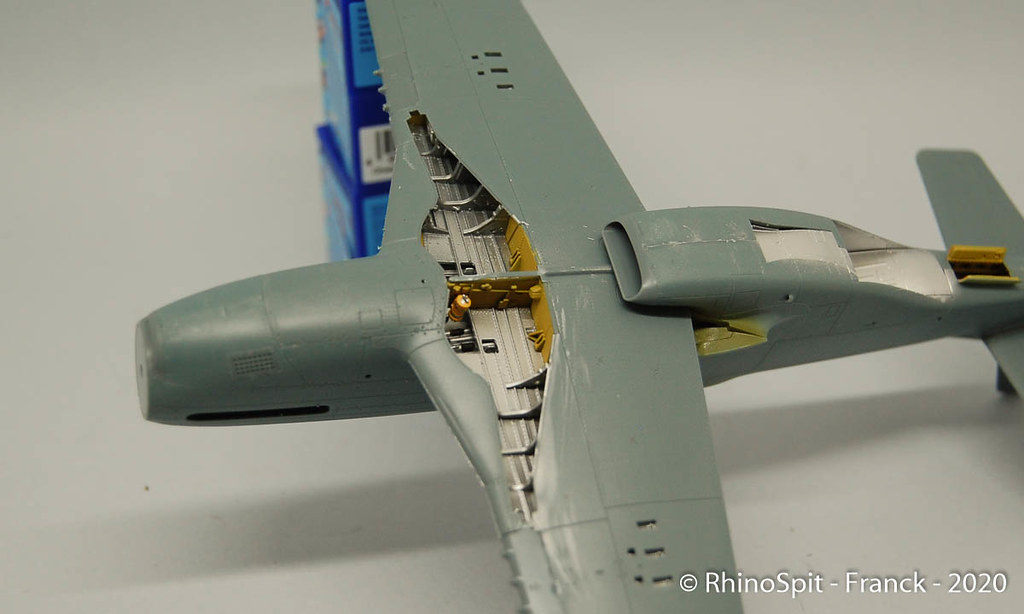
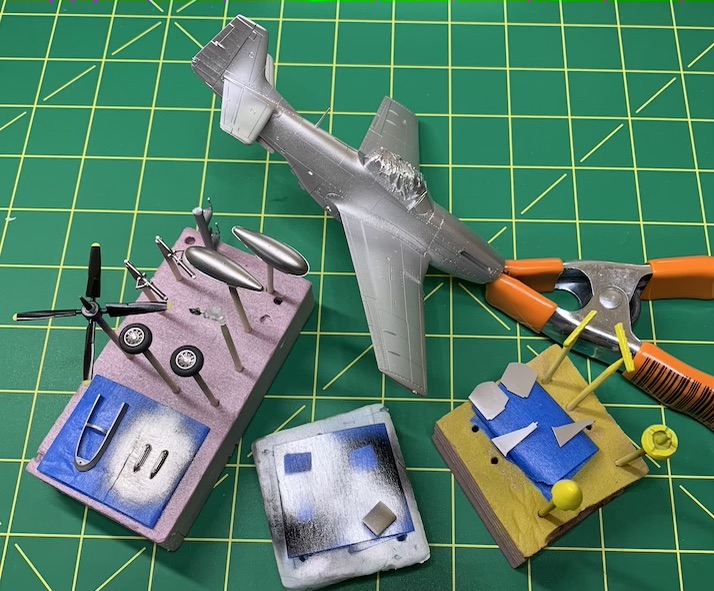
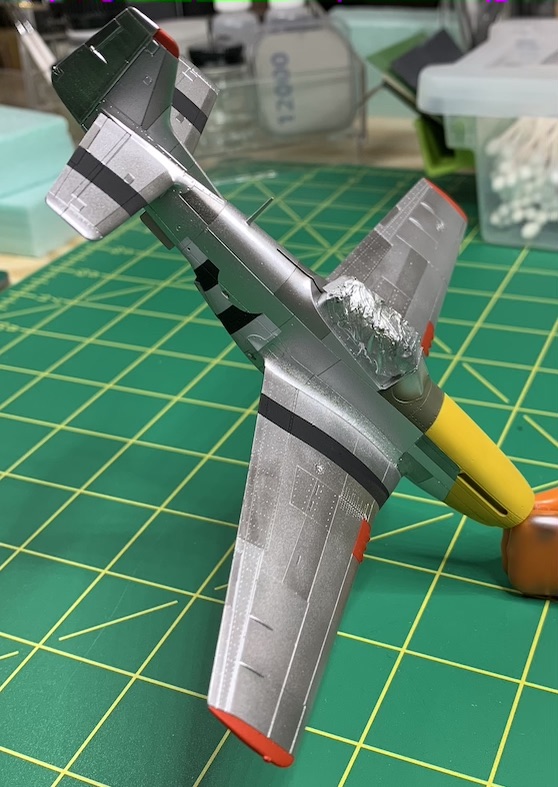
I started with the wings of course!
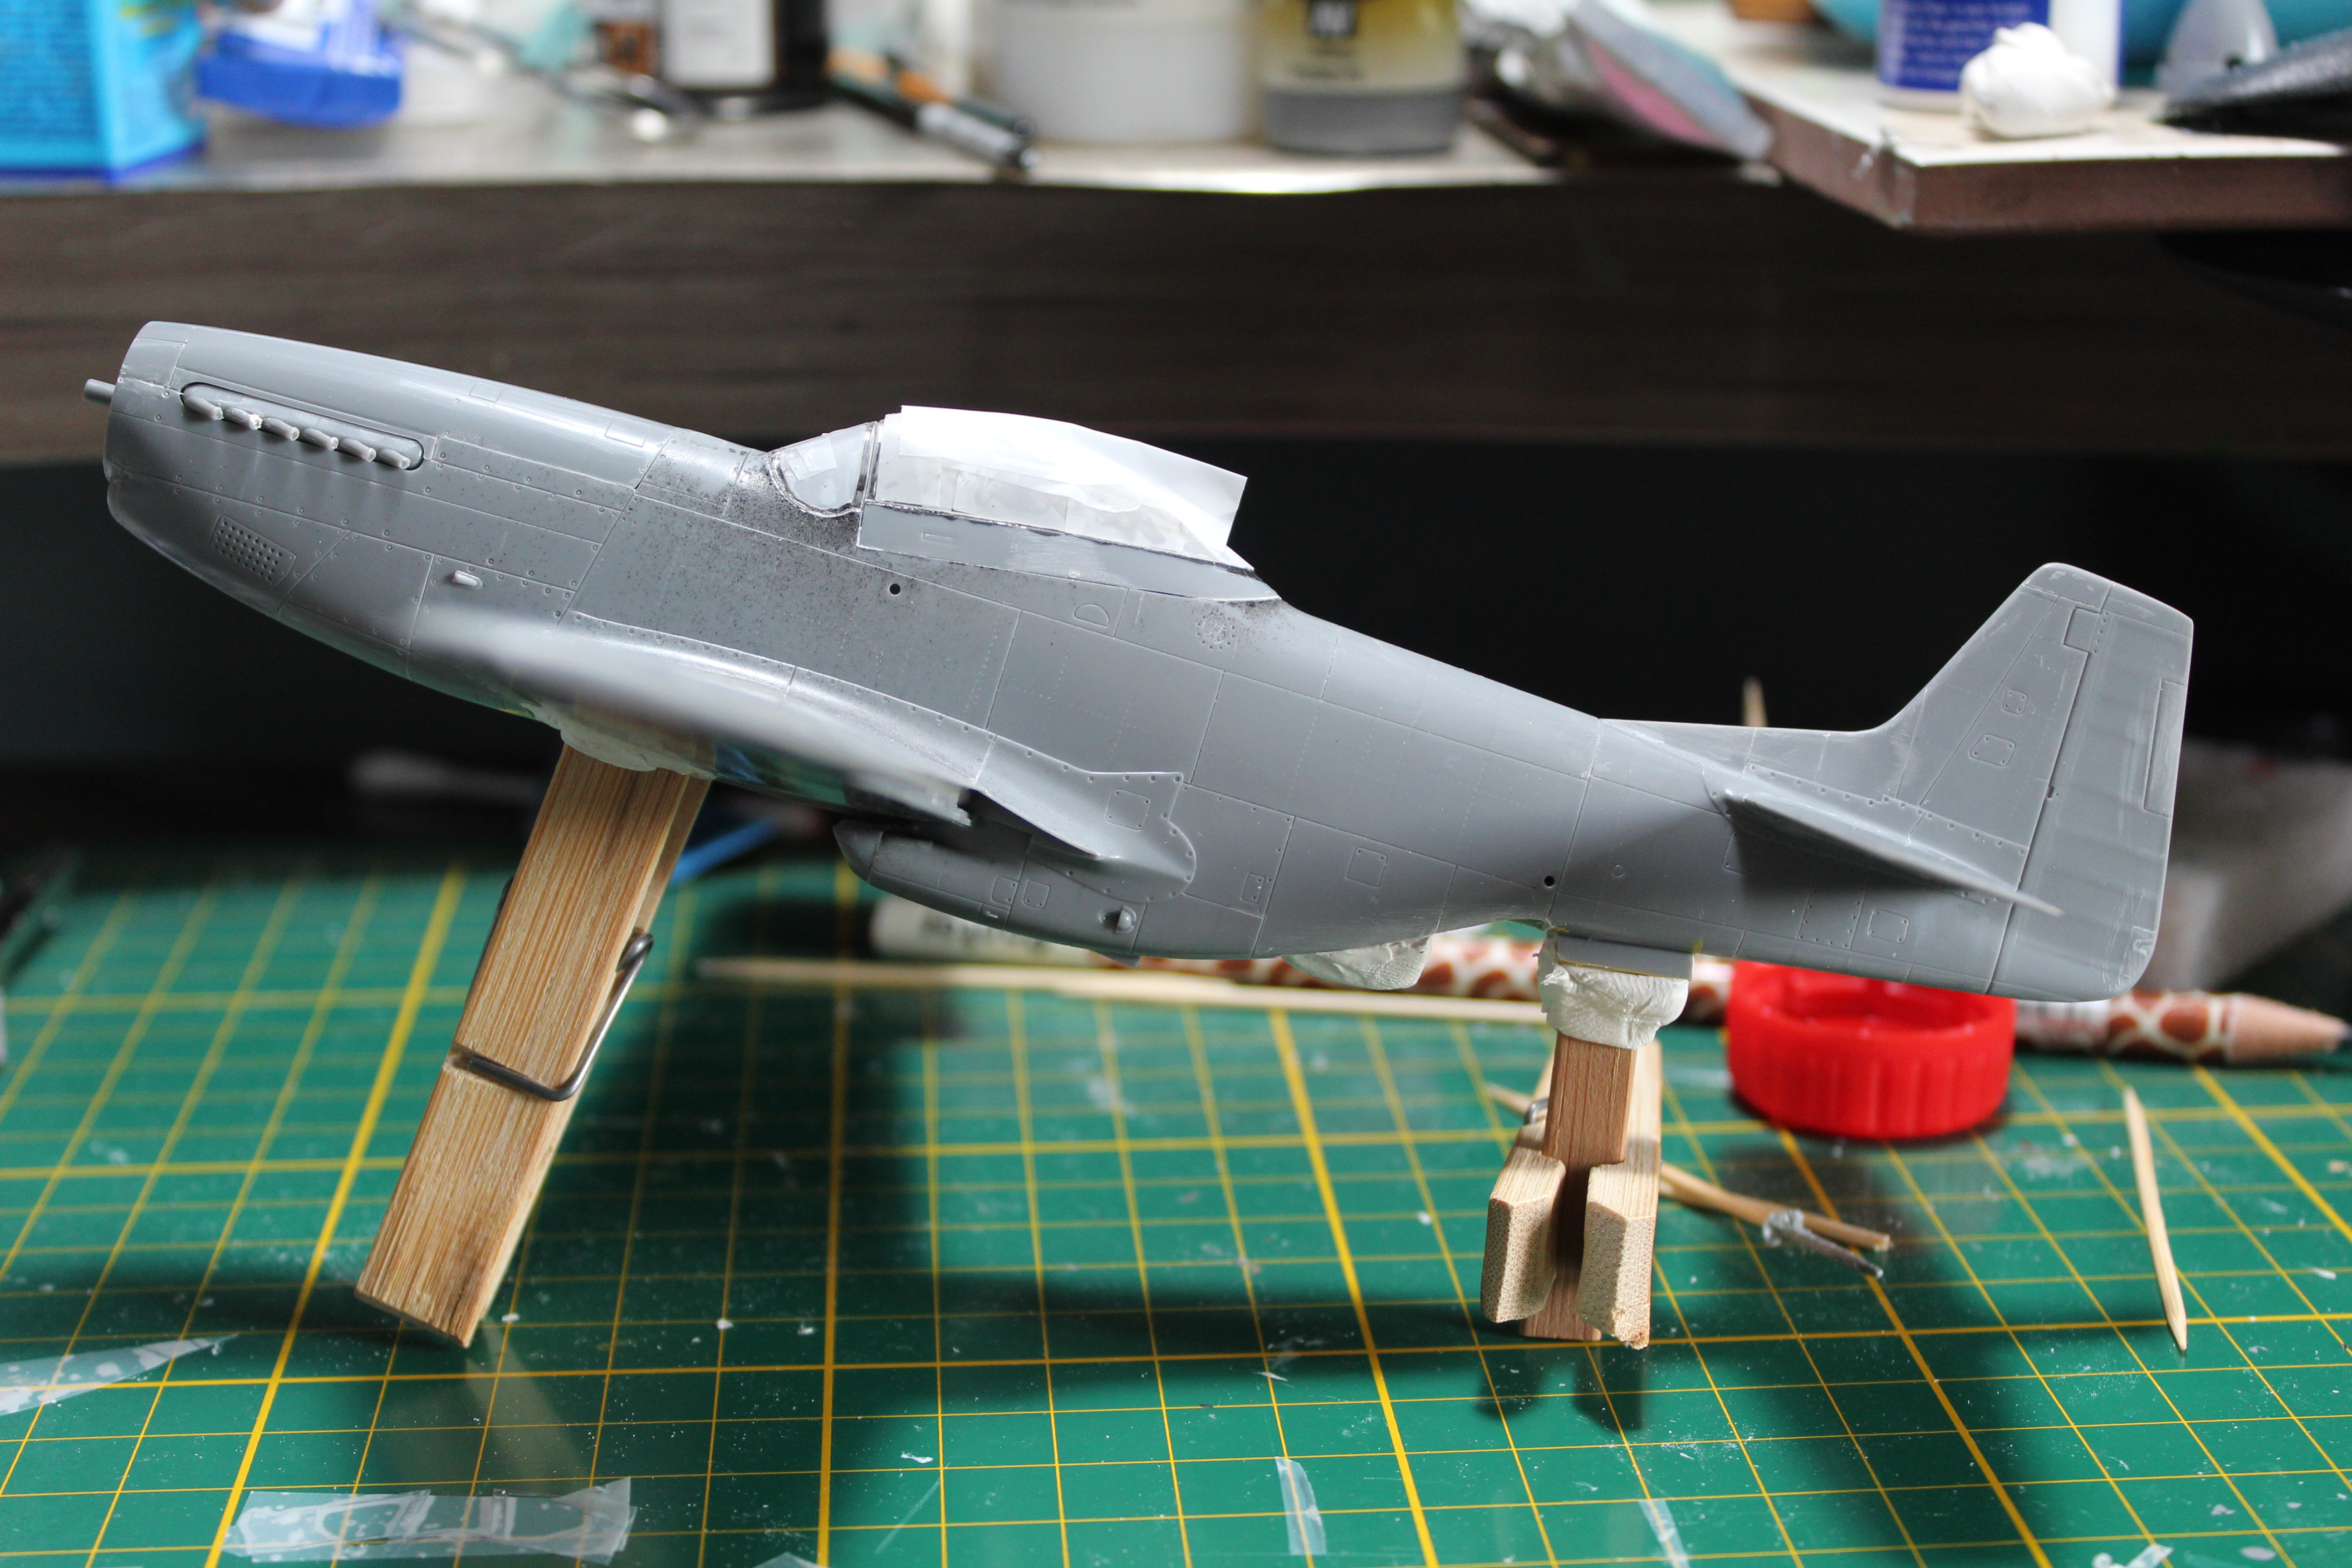
The fit was so-so. Using tape to keep things aligned helped to restore the panel lines lost to sanding. I used superglue to fill any unwanted seams.
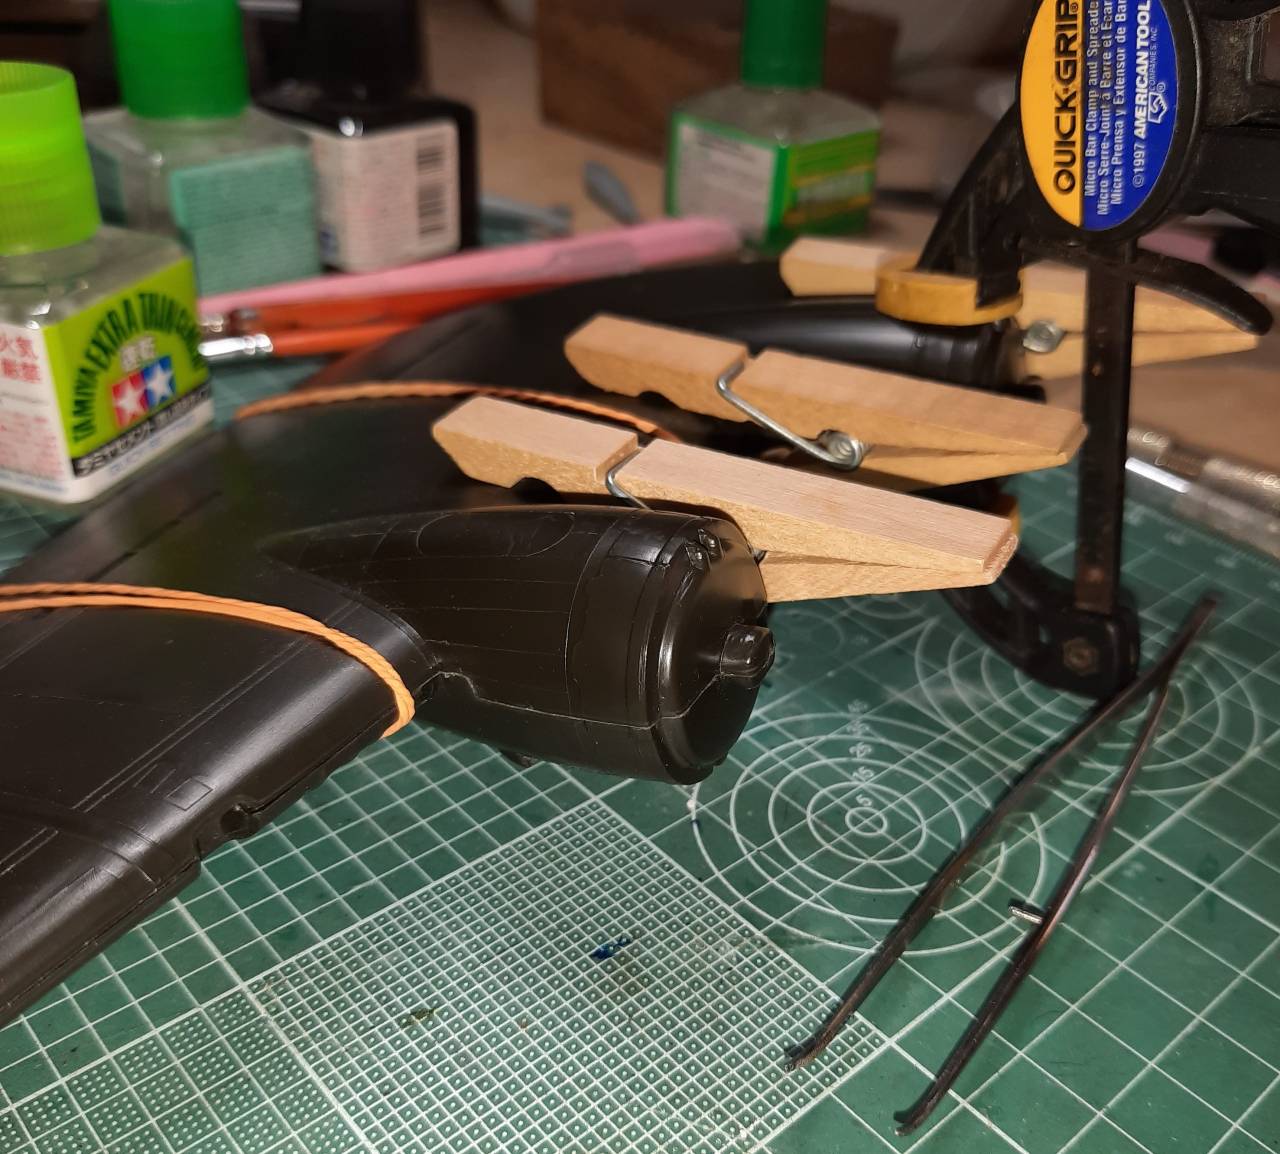
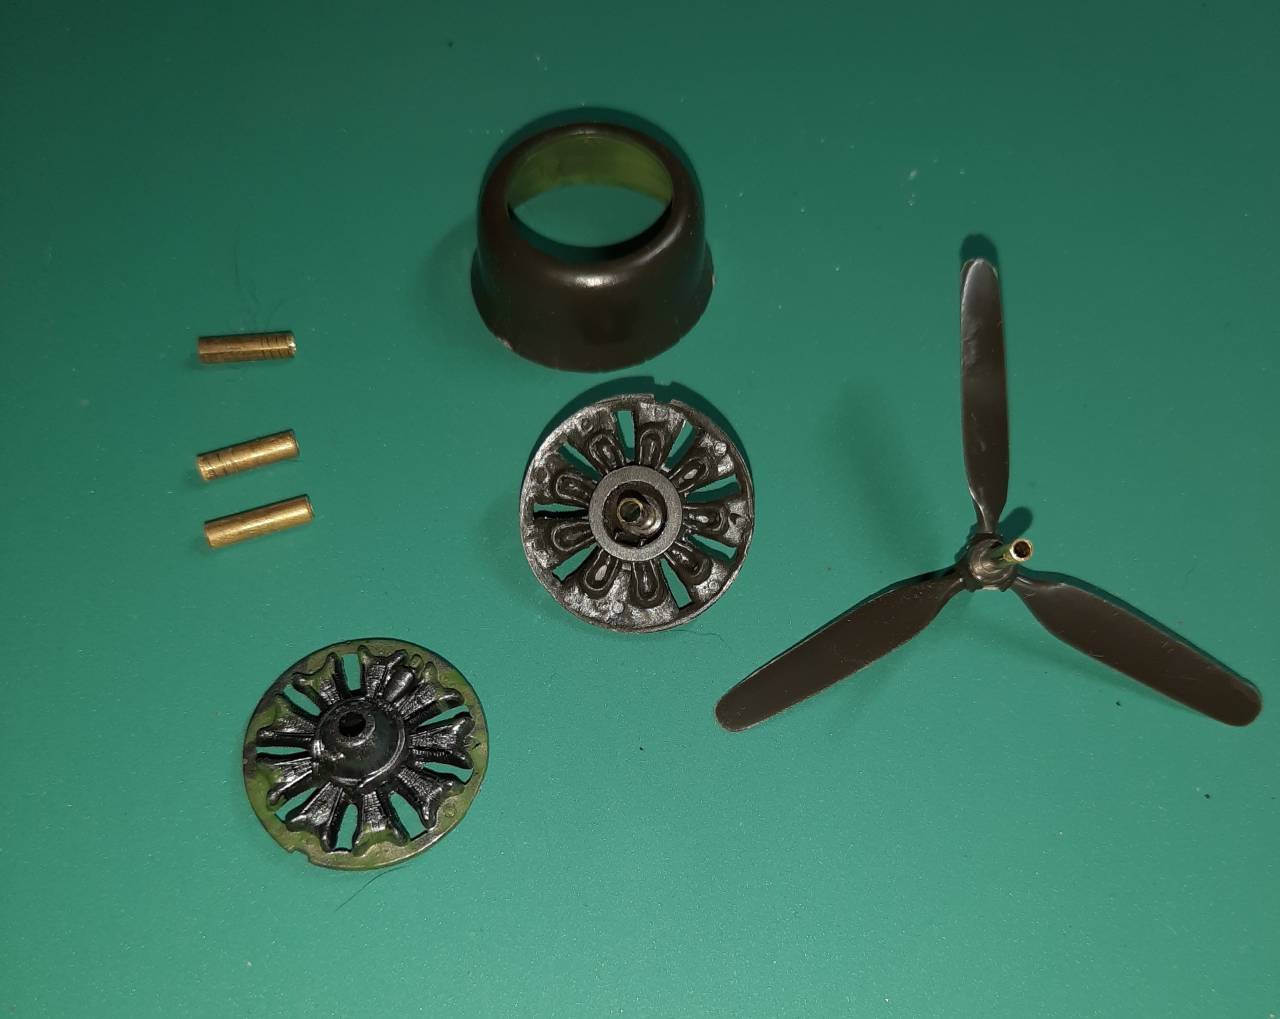
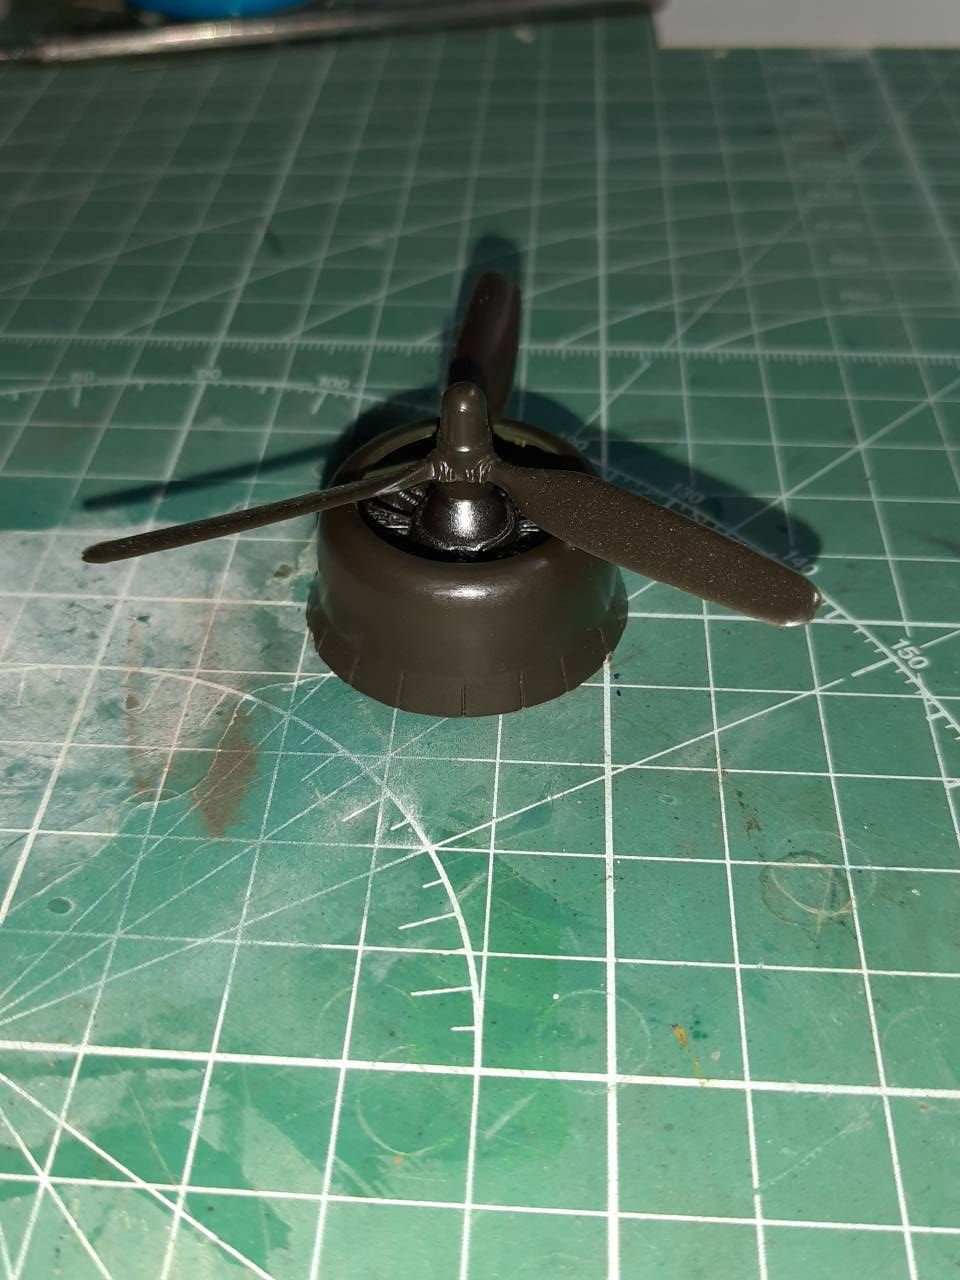
Next I worked on the engines. I have found that Revell, Monogram engine faces with the prop lug tend to droop. To avoid this I replace the prop shaft with brass tubing and also insert tubing into the engine face. This makes for a much better fit, with no droop!
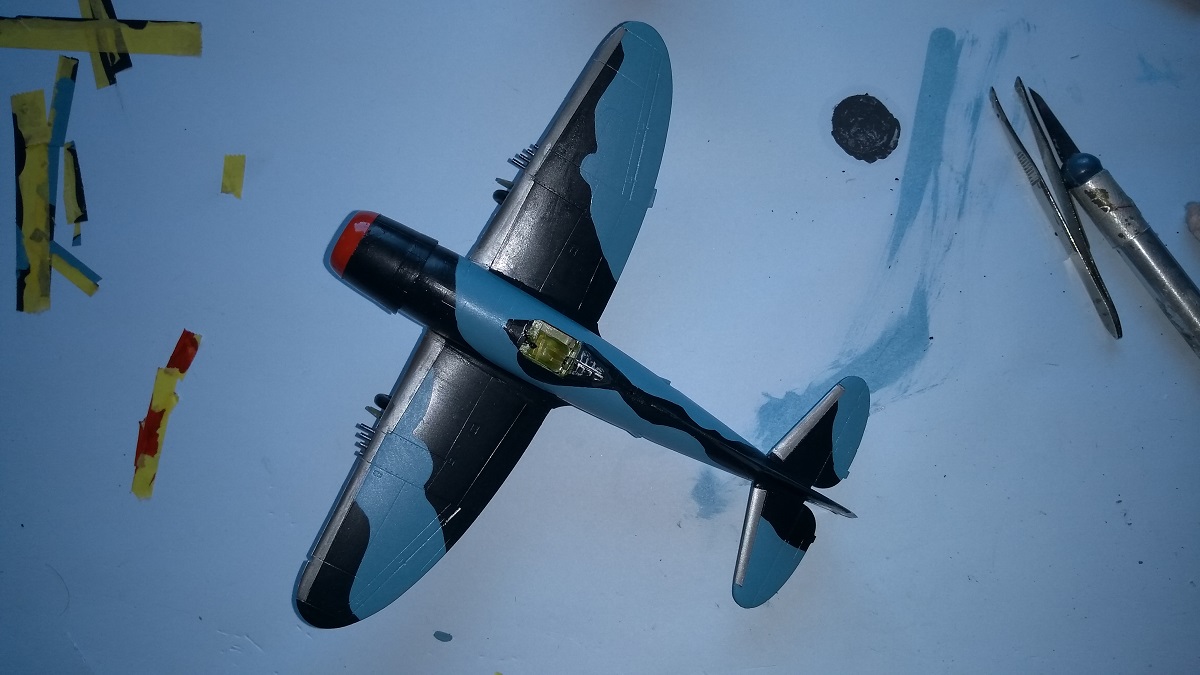
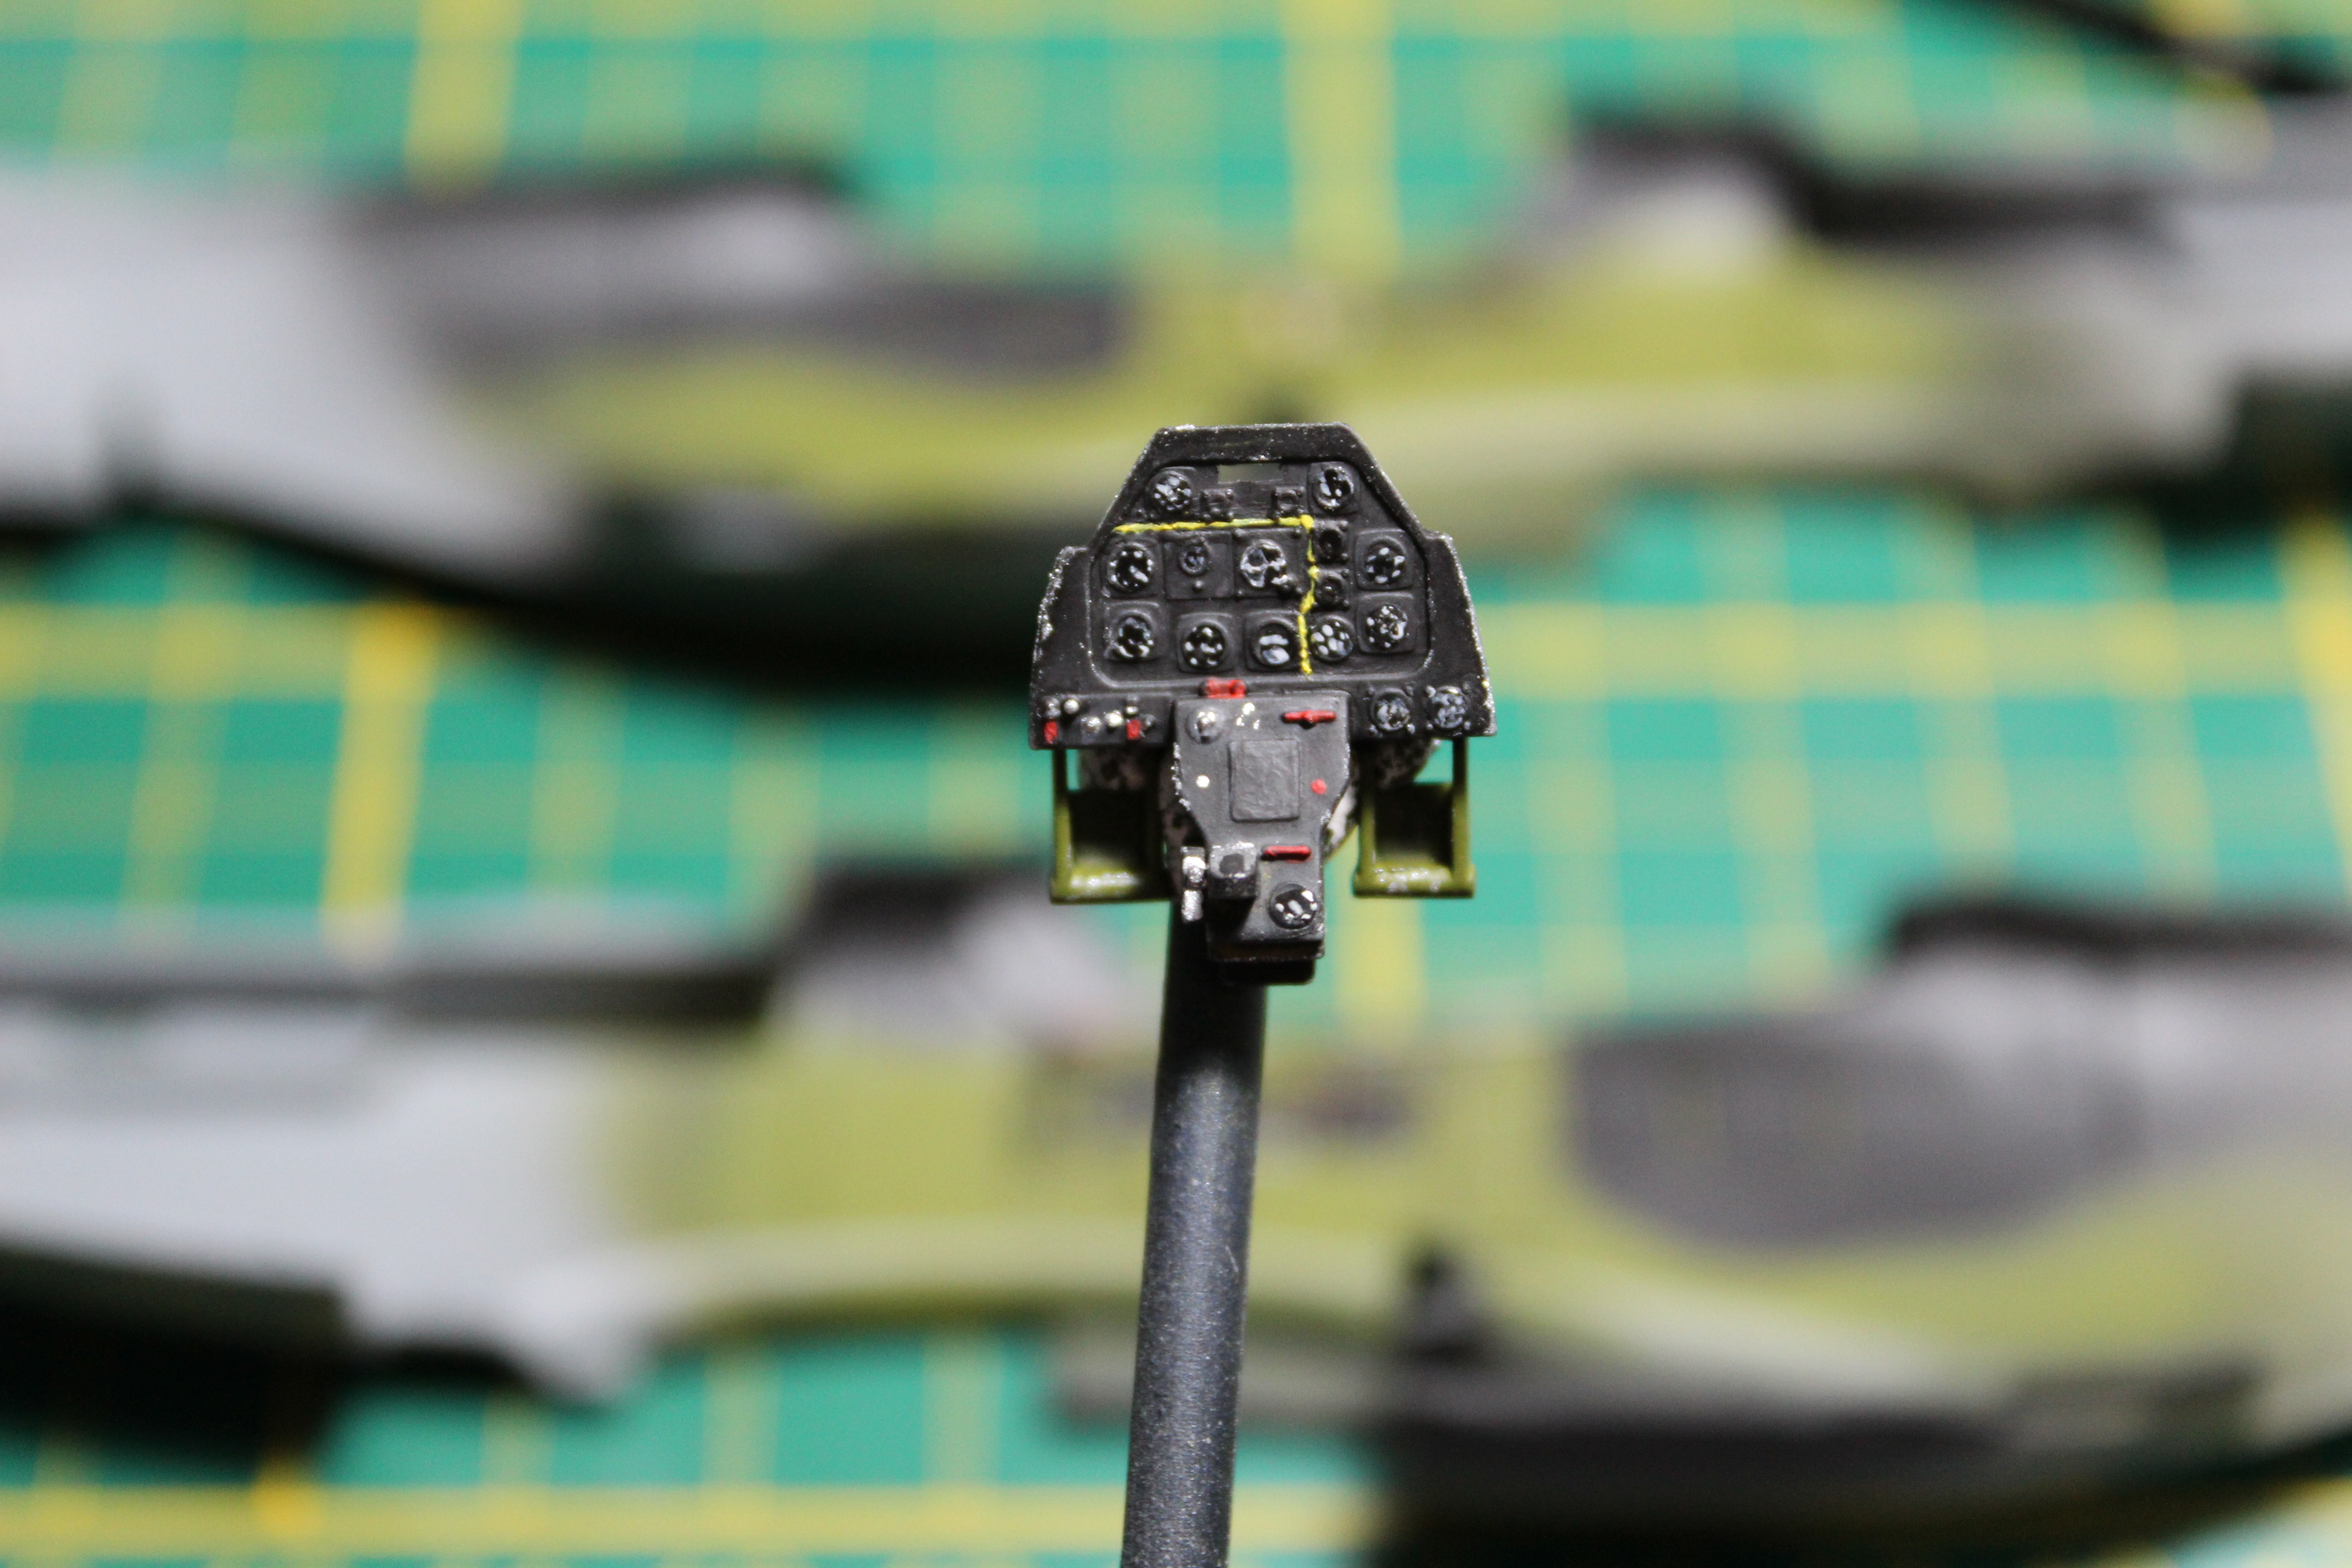
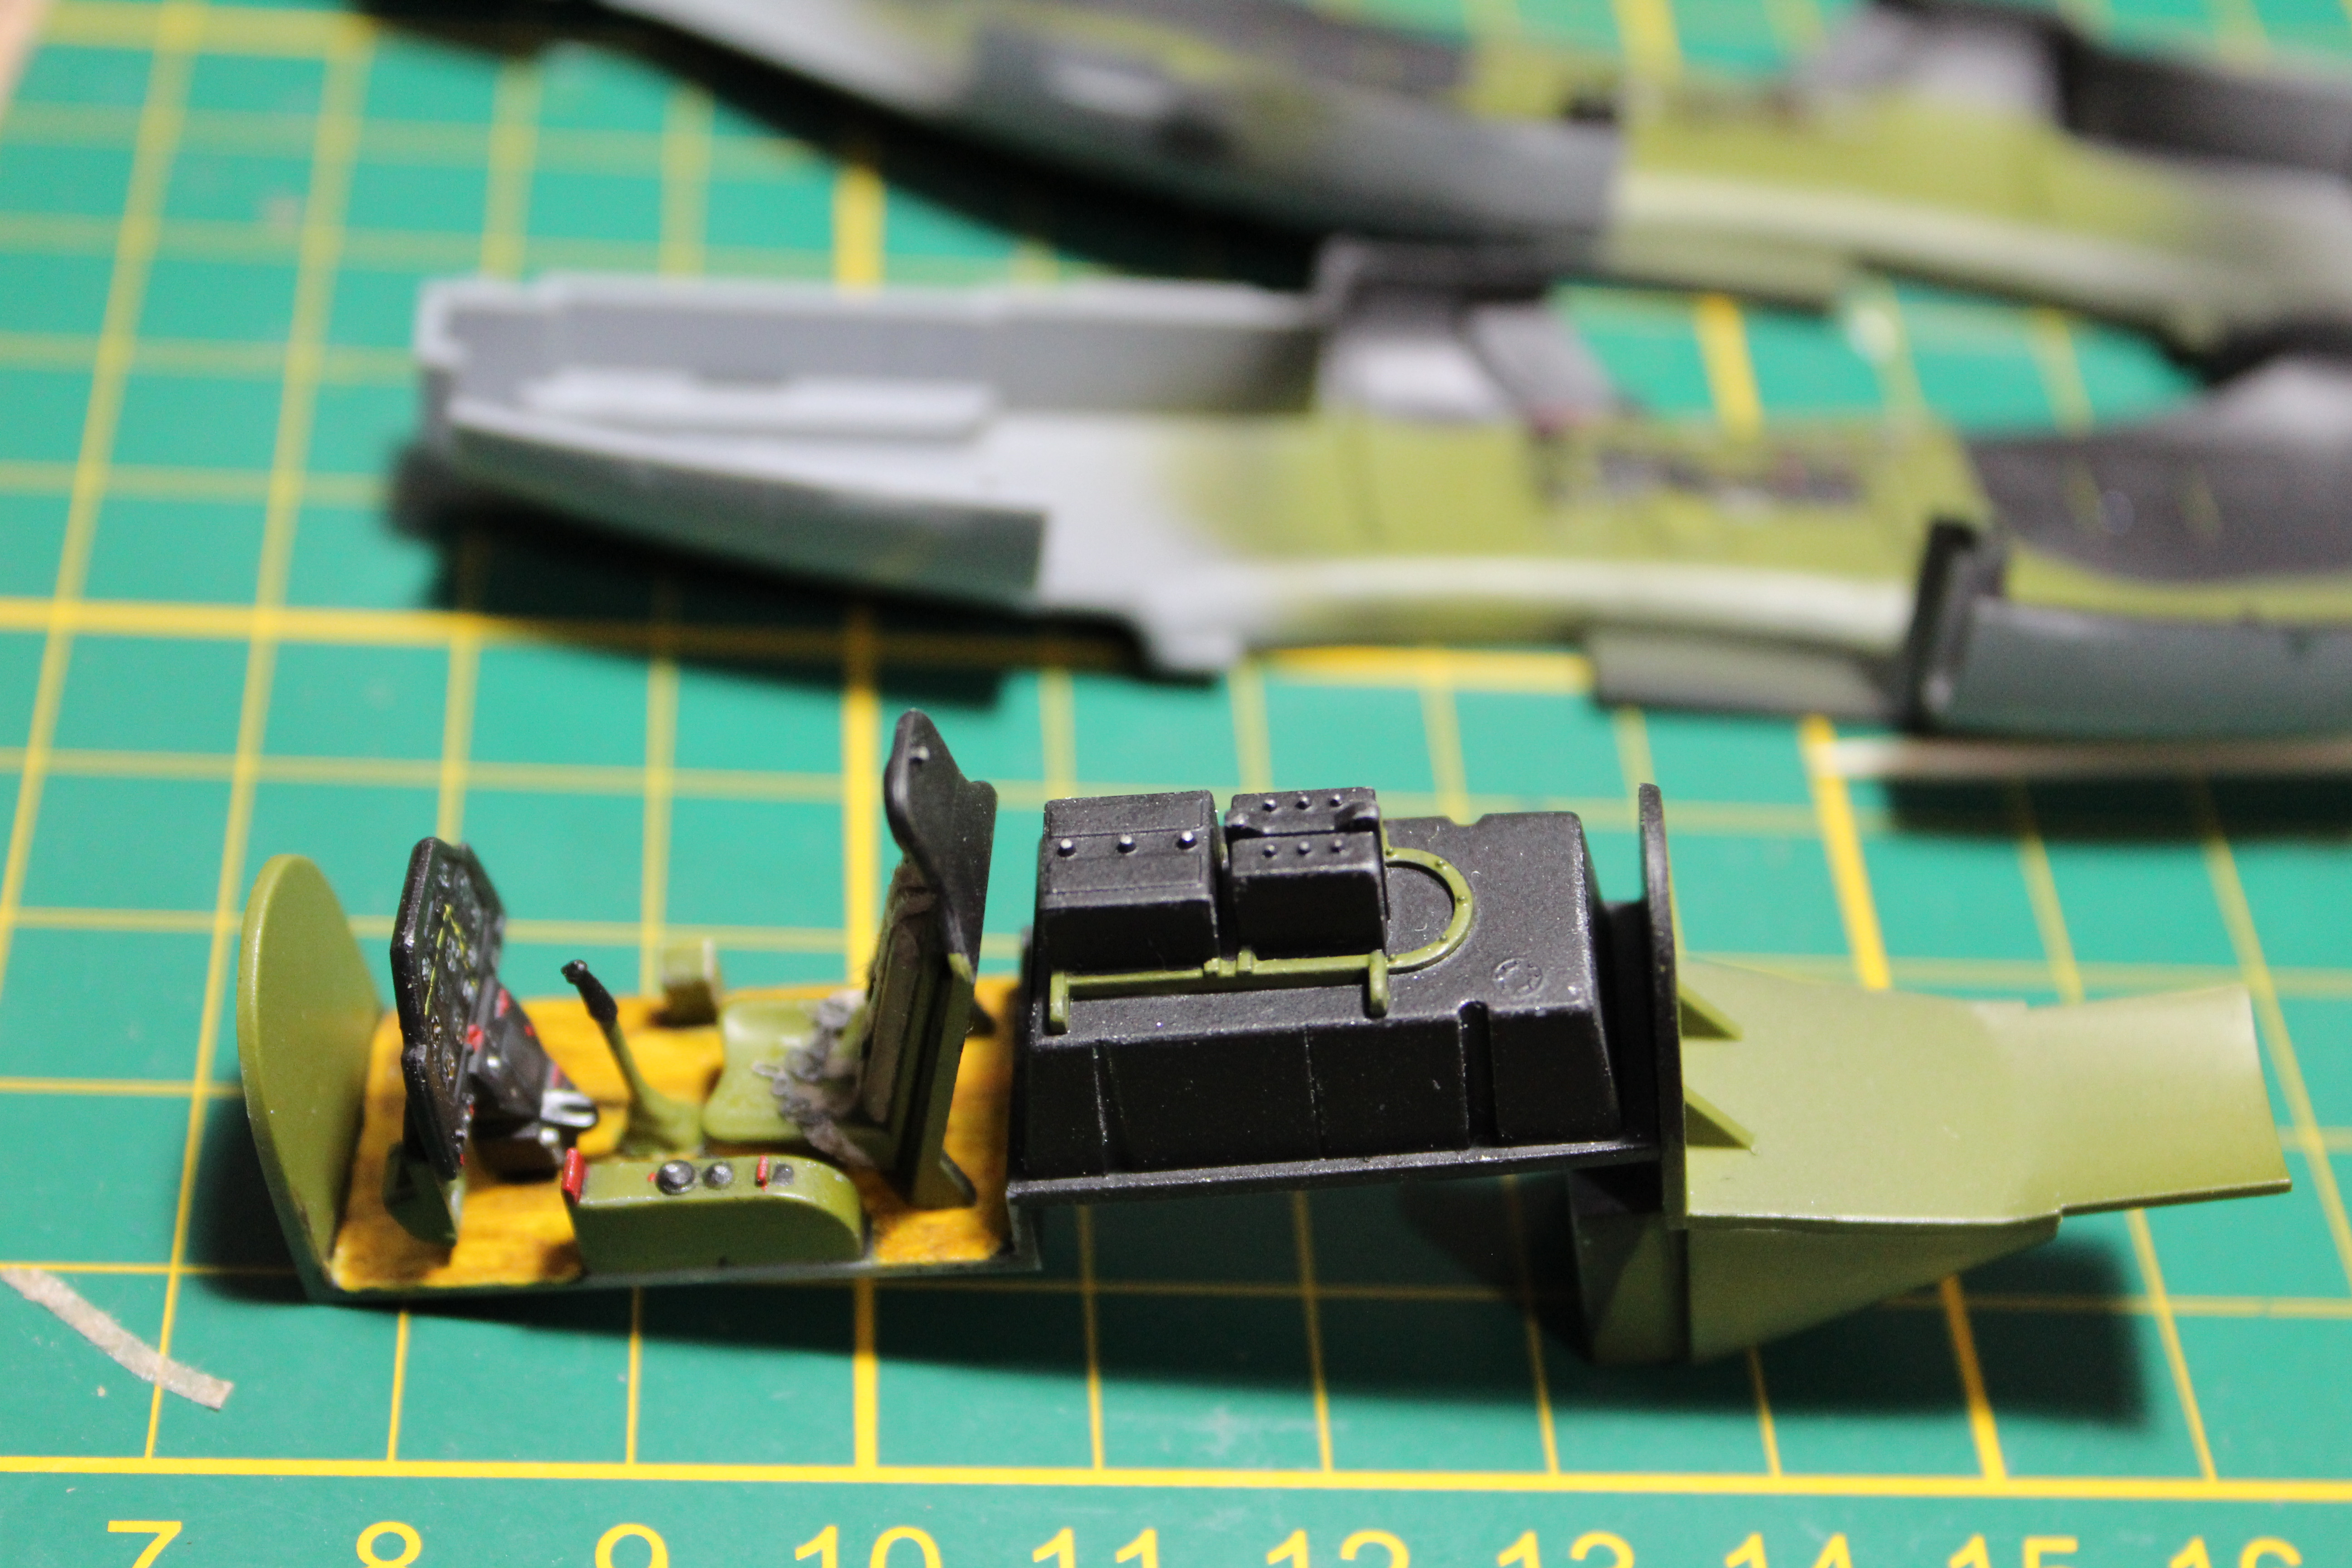
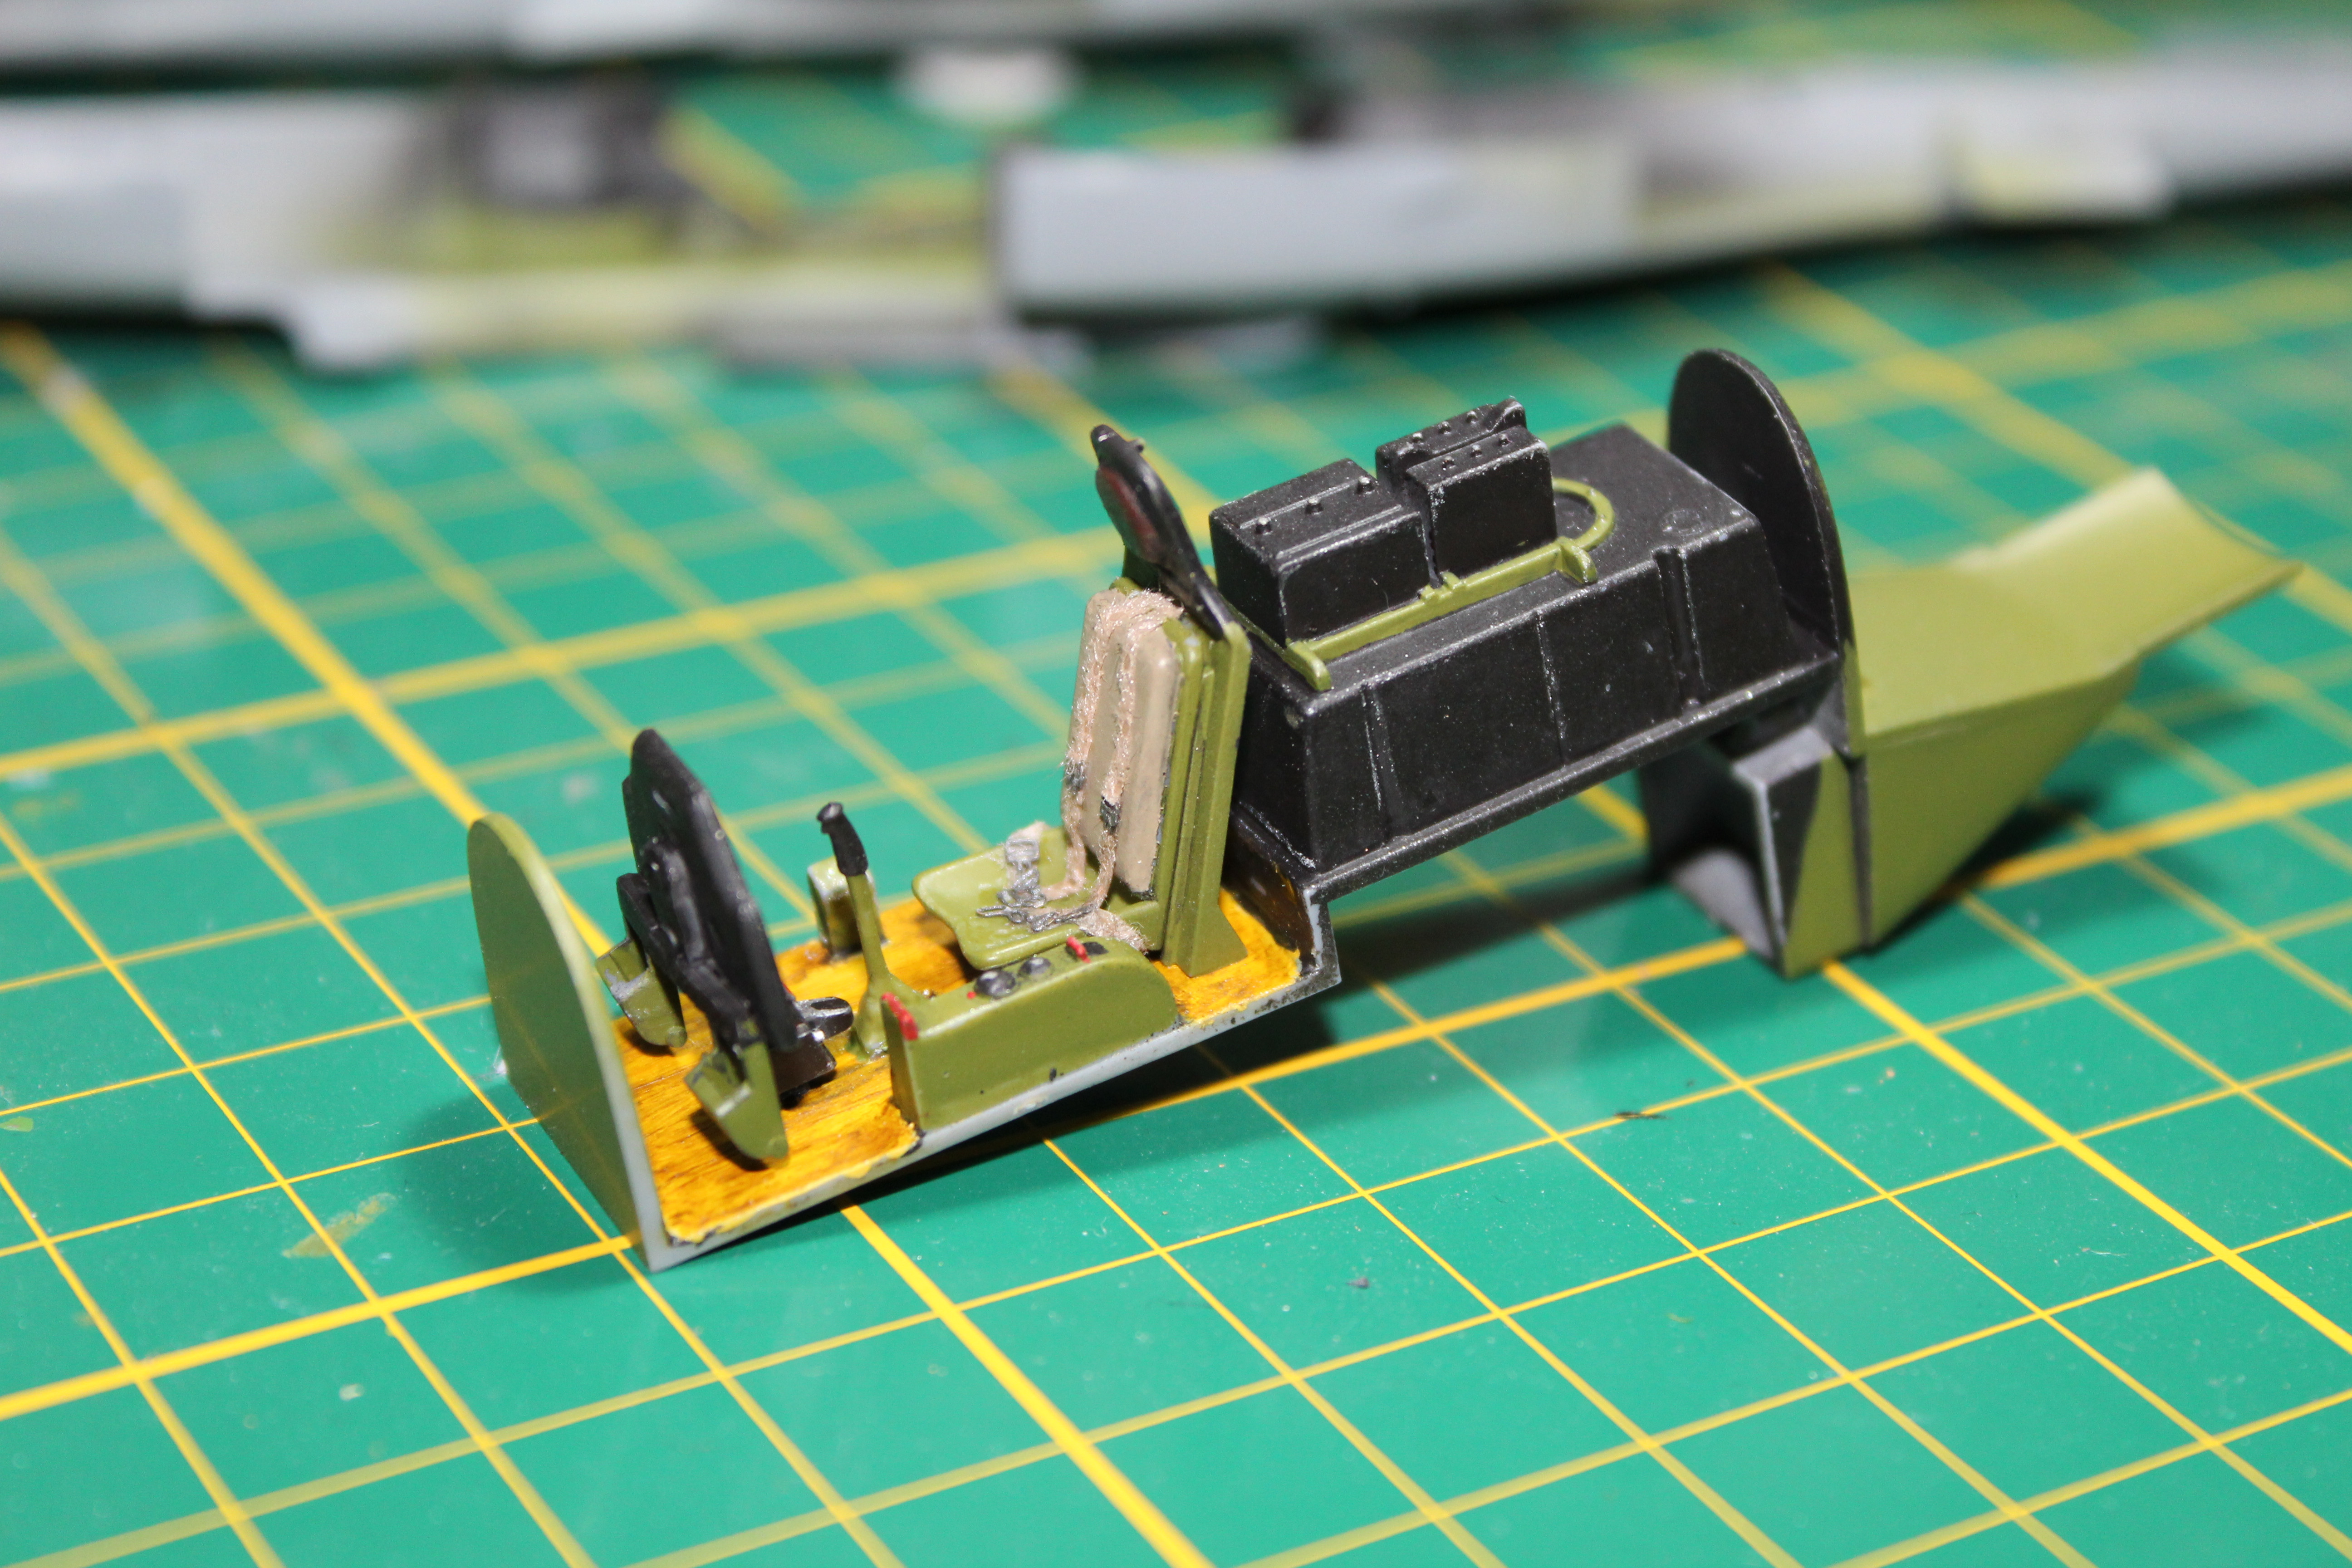
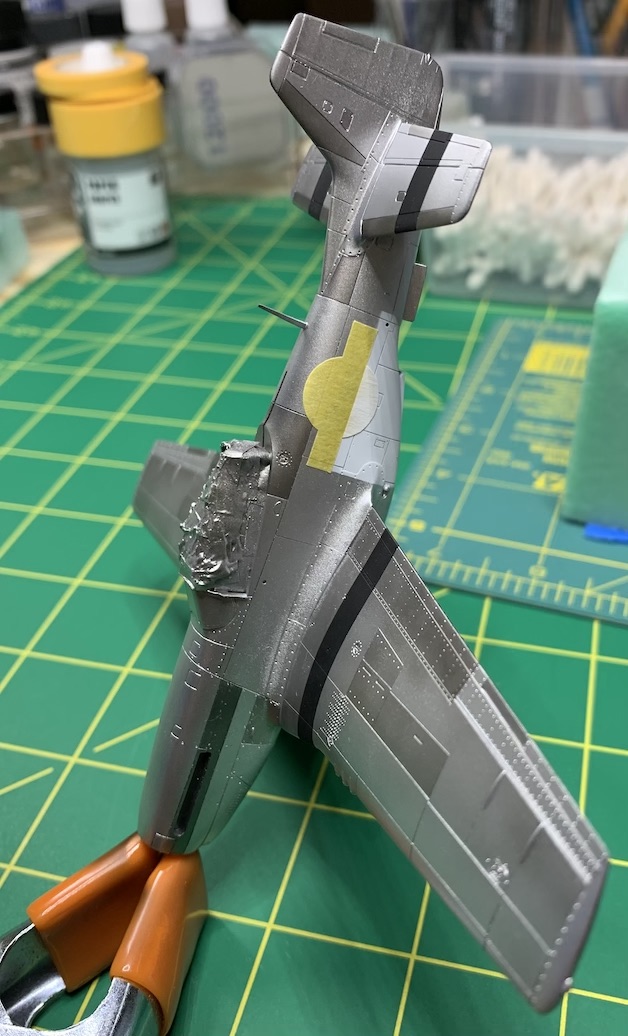
I then moved onto the fuselage. There's not much detail in the Revell kit, so if you want it you'll have to scratch it out. I decided not to go that path. First you don't see too much inside a B-17 anyway, and second, where this is going not many will notice. I really wanted to focus on the exterior and try to get it looking as it did on it's last mission return, or for the war bond tour in the US. Pretty dirty!
I pieced the fuselage together using CA glue and liquid cement, filling was the name of the game, but after a few tries it got better. I wound up throwing Tamiya putty on the underside of the port wing (really bad fit). I also made some liquid plastic by dissolving cut sprue into some liquid cement, and used that to fill the rather large gaps on the wing fuselage join.
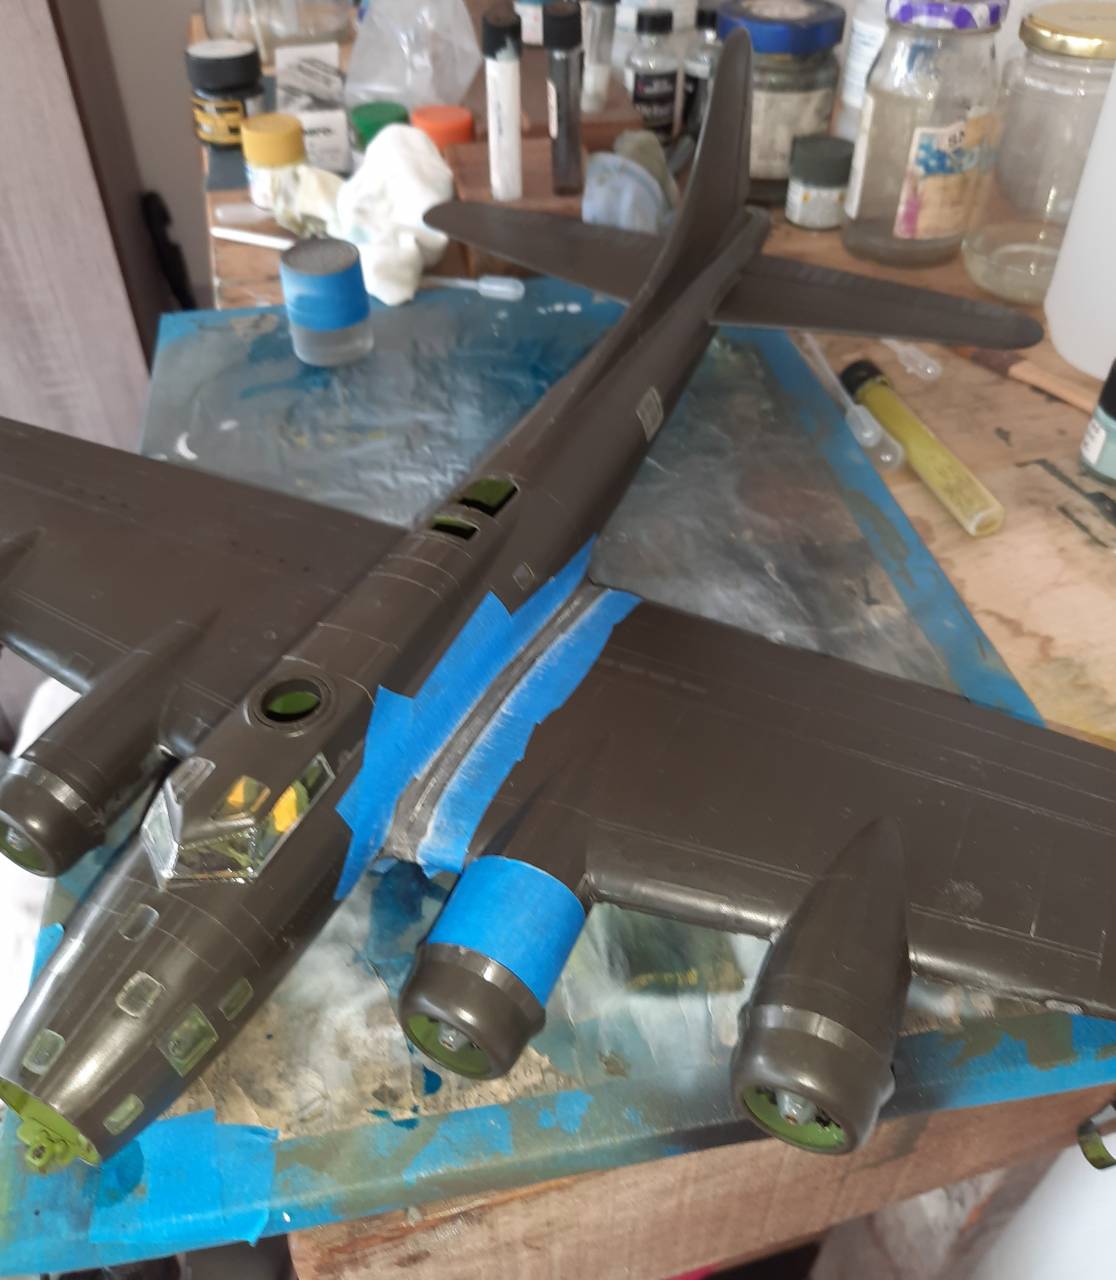
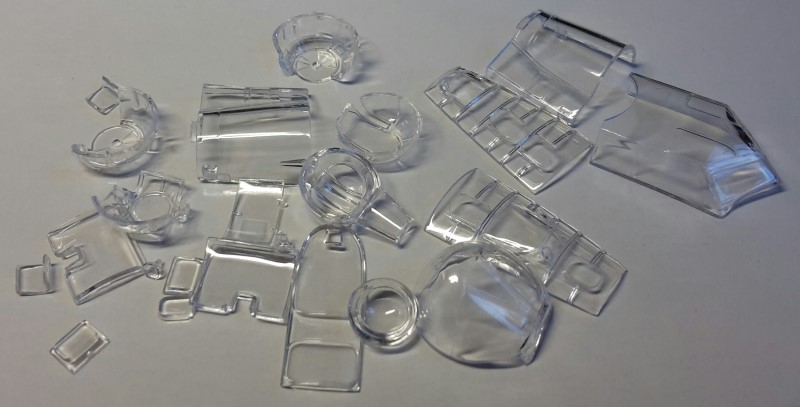
Now I'm going through the process of masking all the glass, and there's a lot!! After that I'm sure there will be some more minor filling and then off to the paint shop!
Stay safe, wash your hands and have fun!


 )
)