Thanks guys!
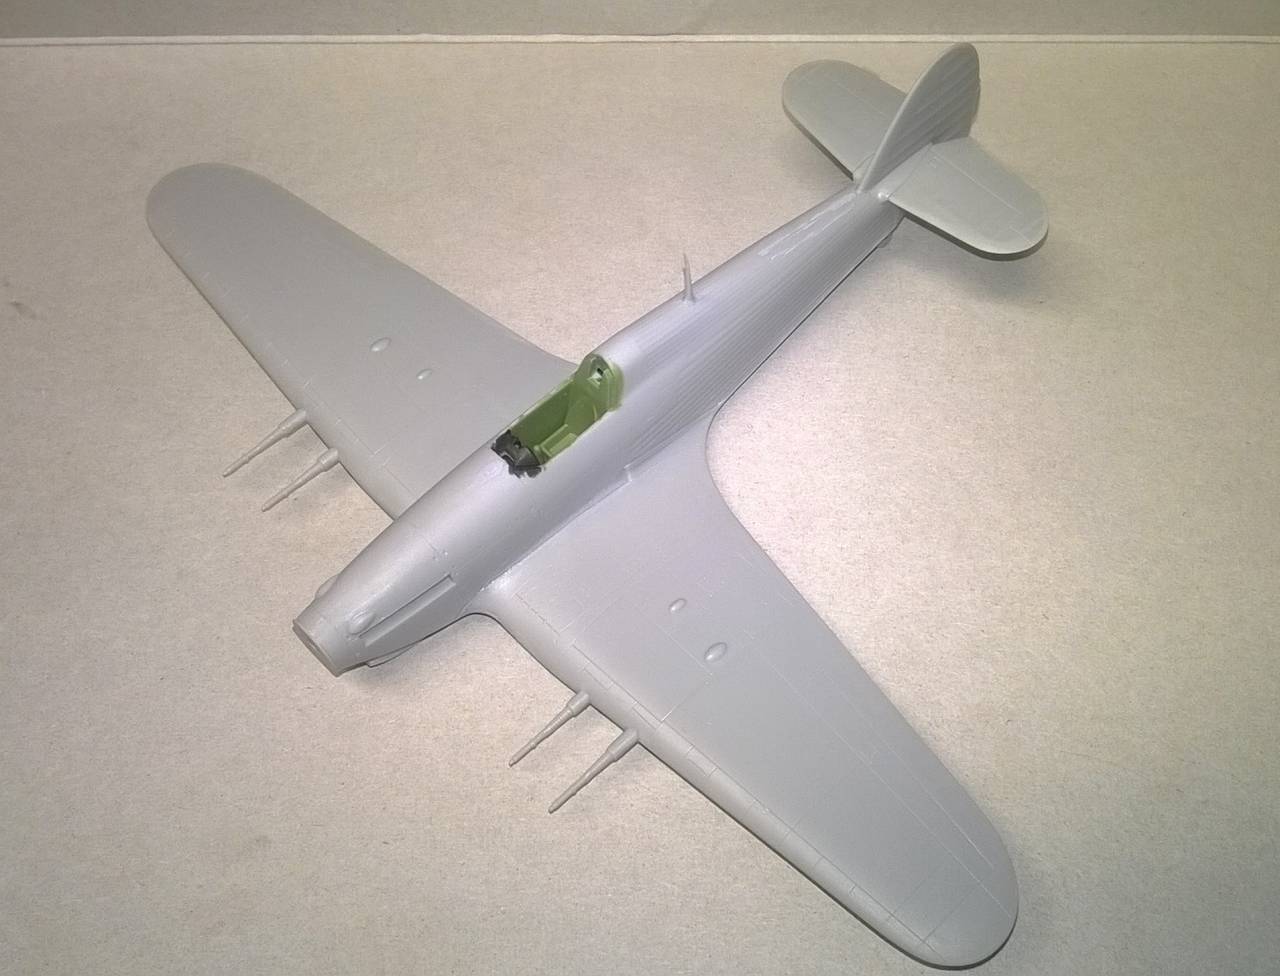
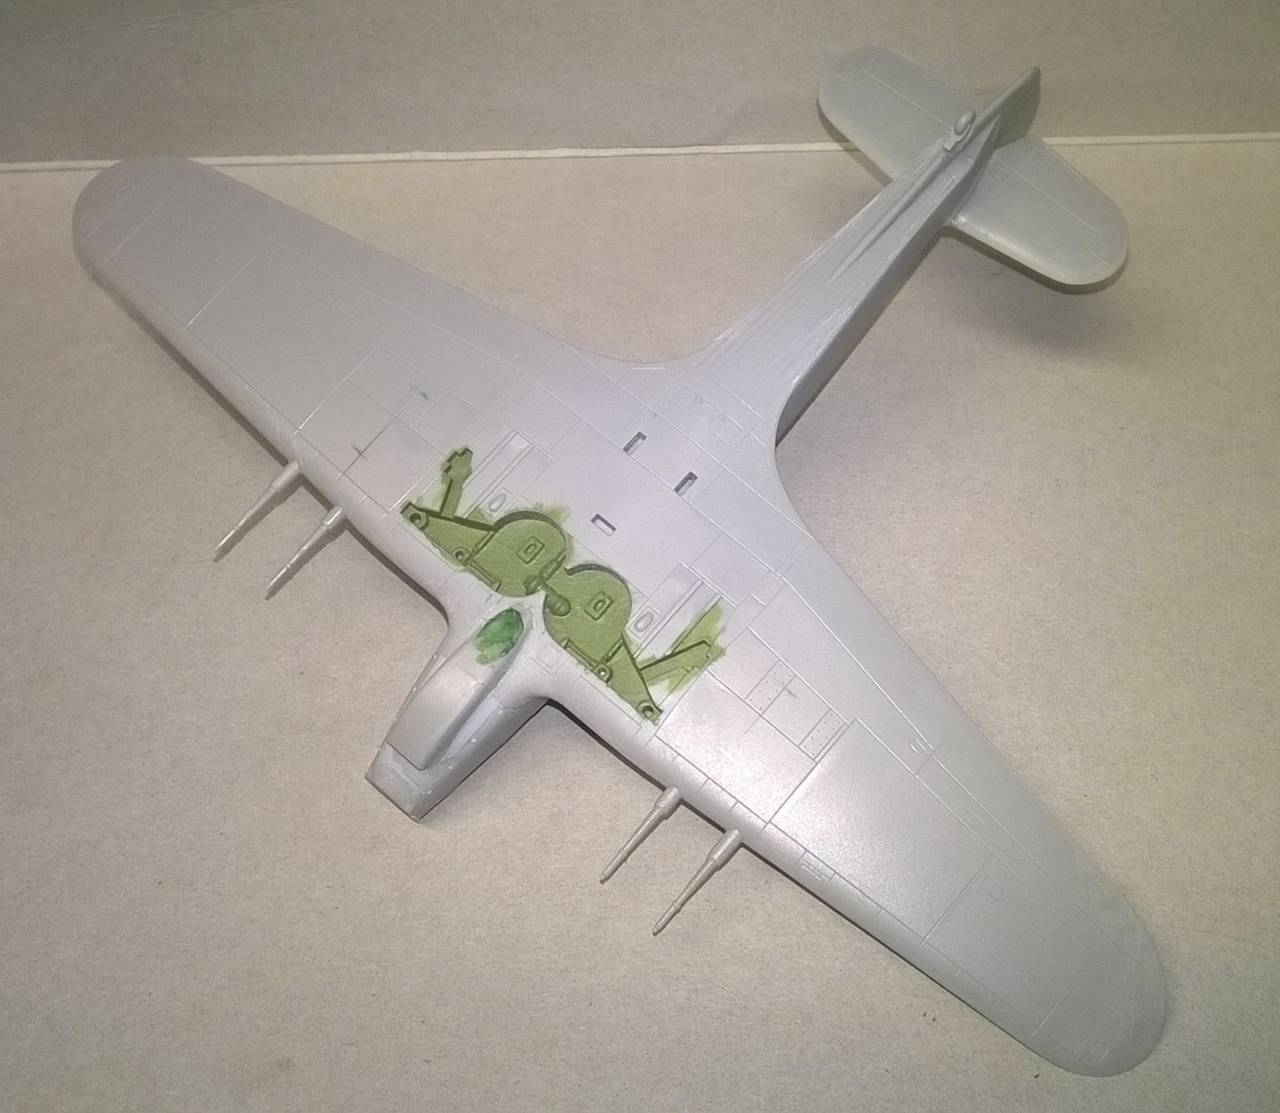
I've made a bit of progress. I built the Mk.IID by Fly a year or so ago and have decided to approach this one a bit differently:
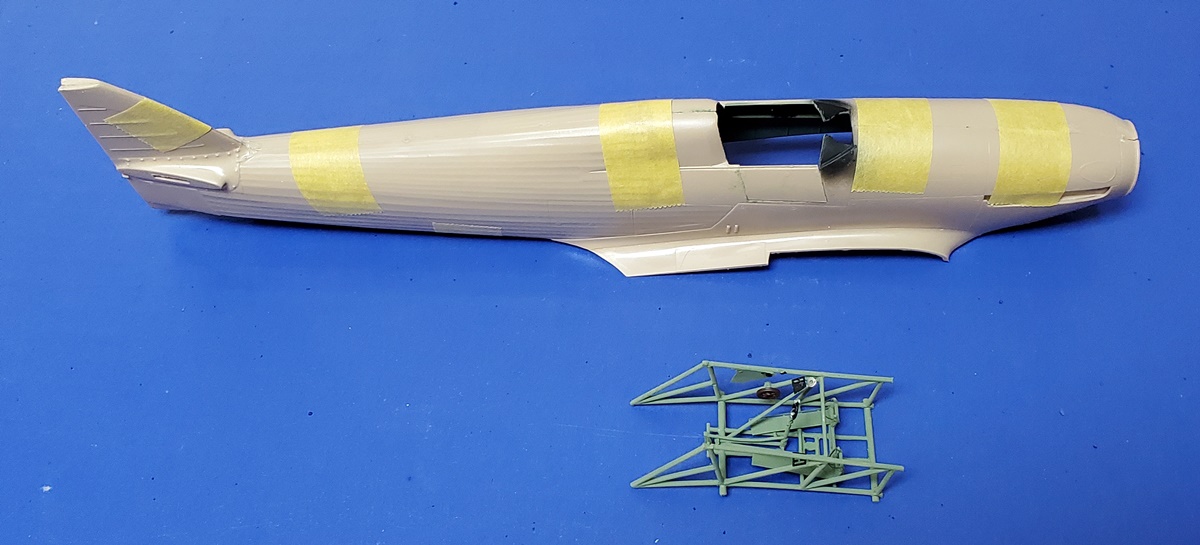
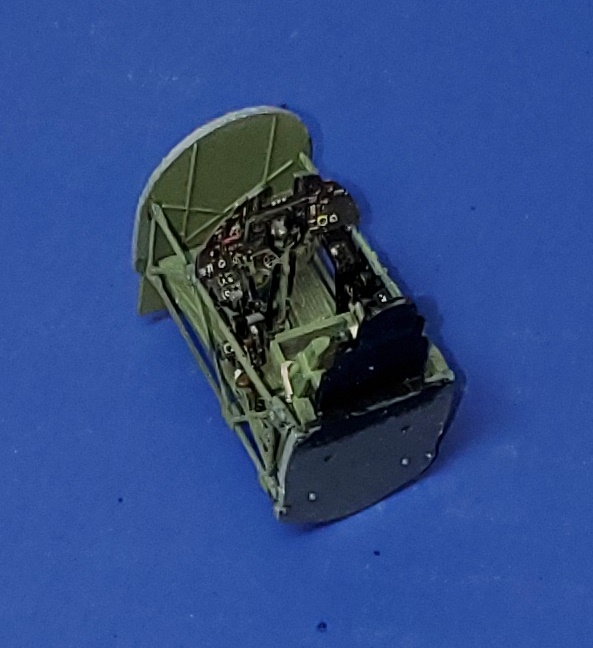
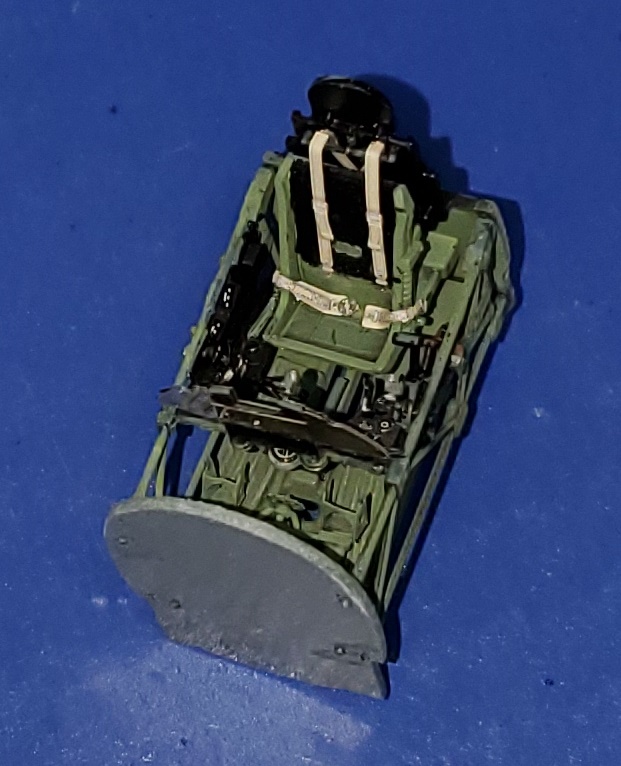
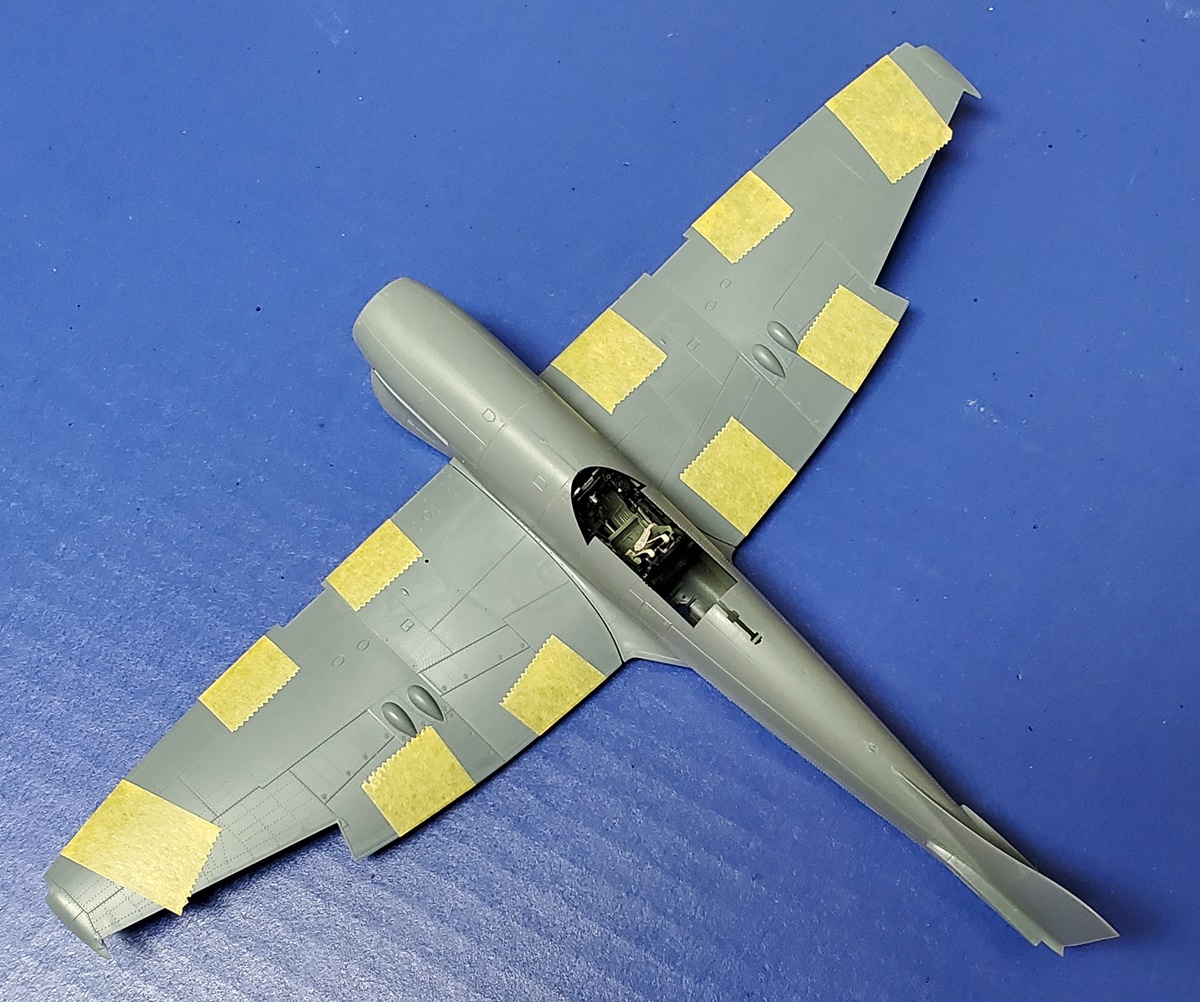
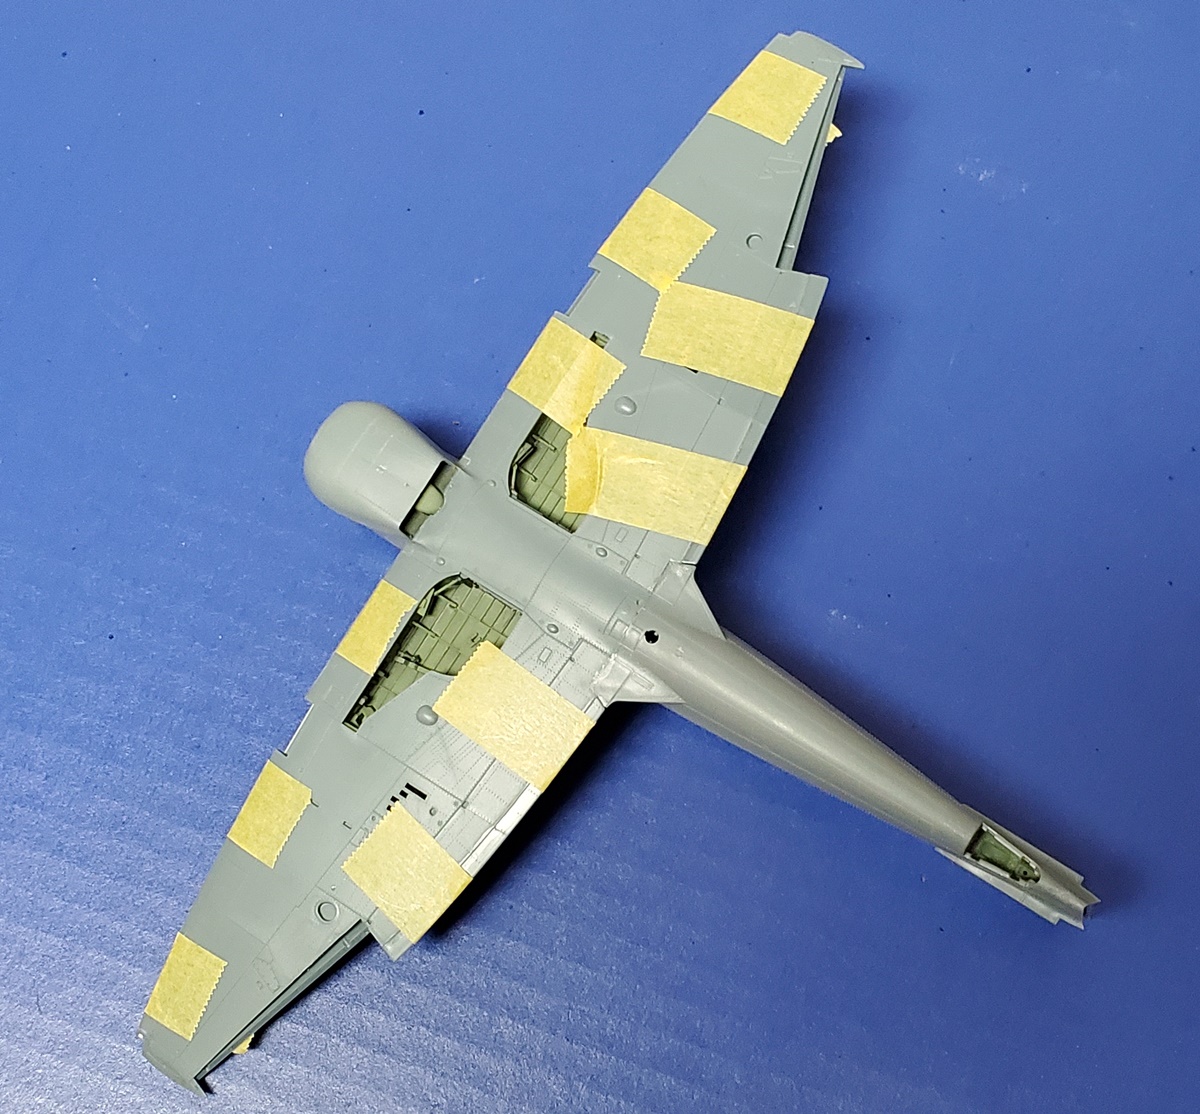
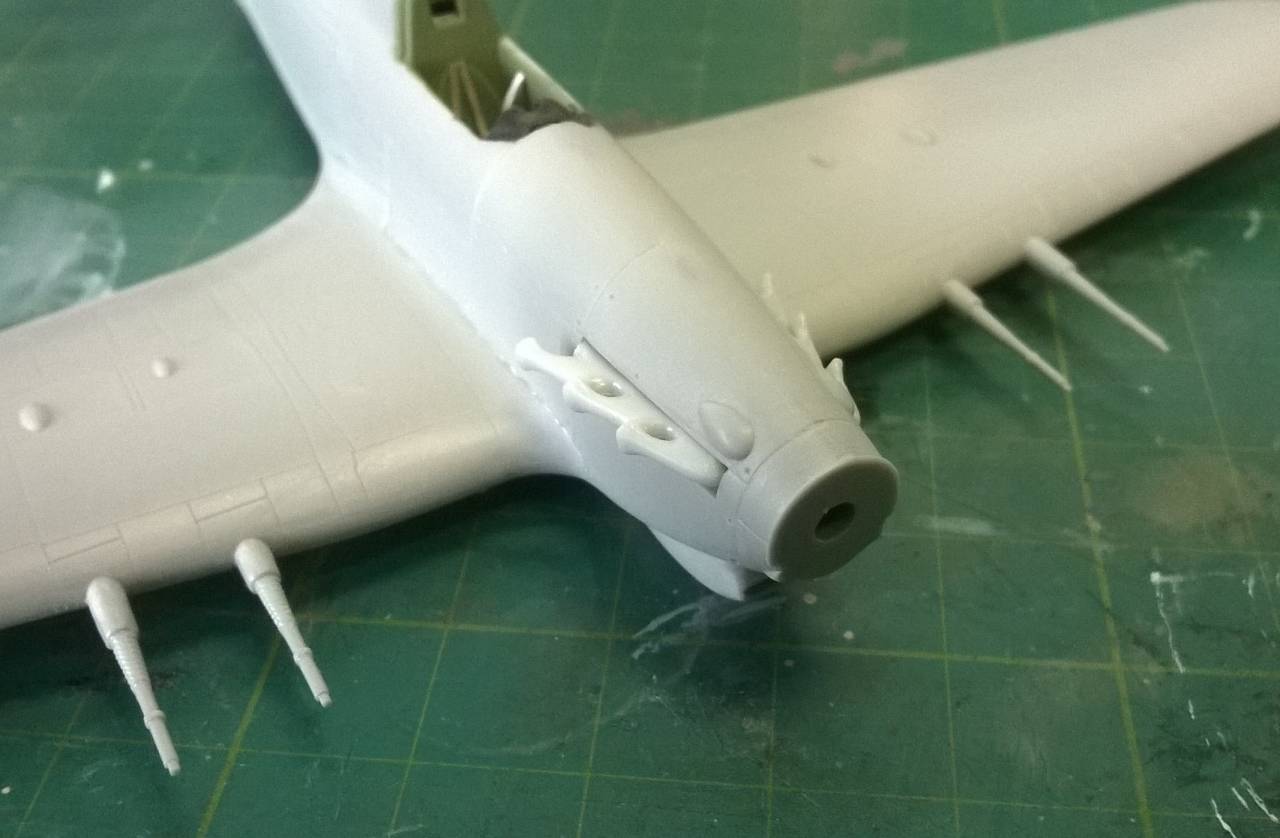
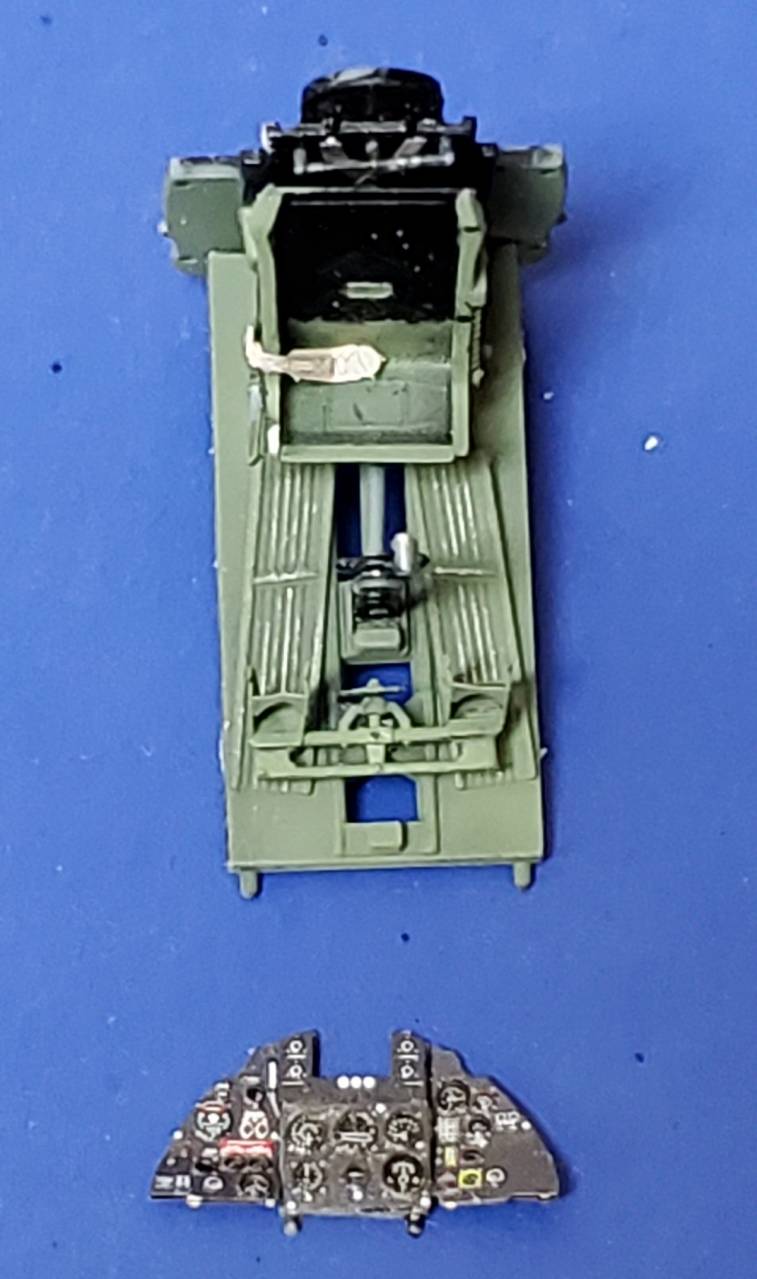
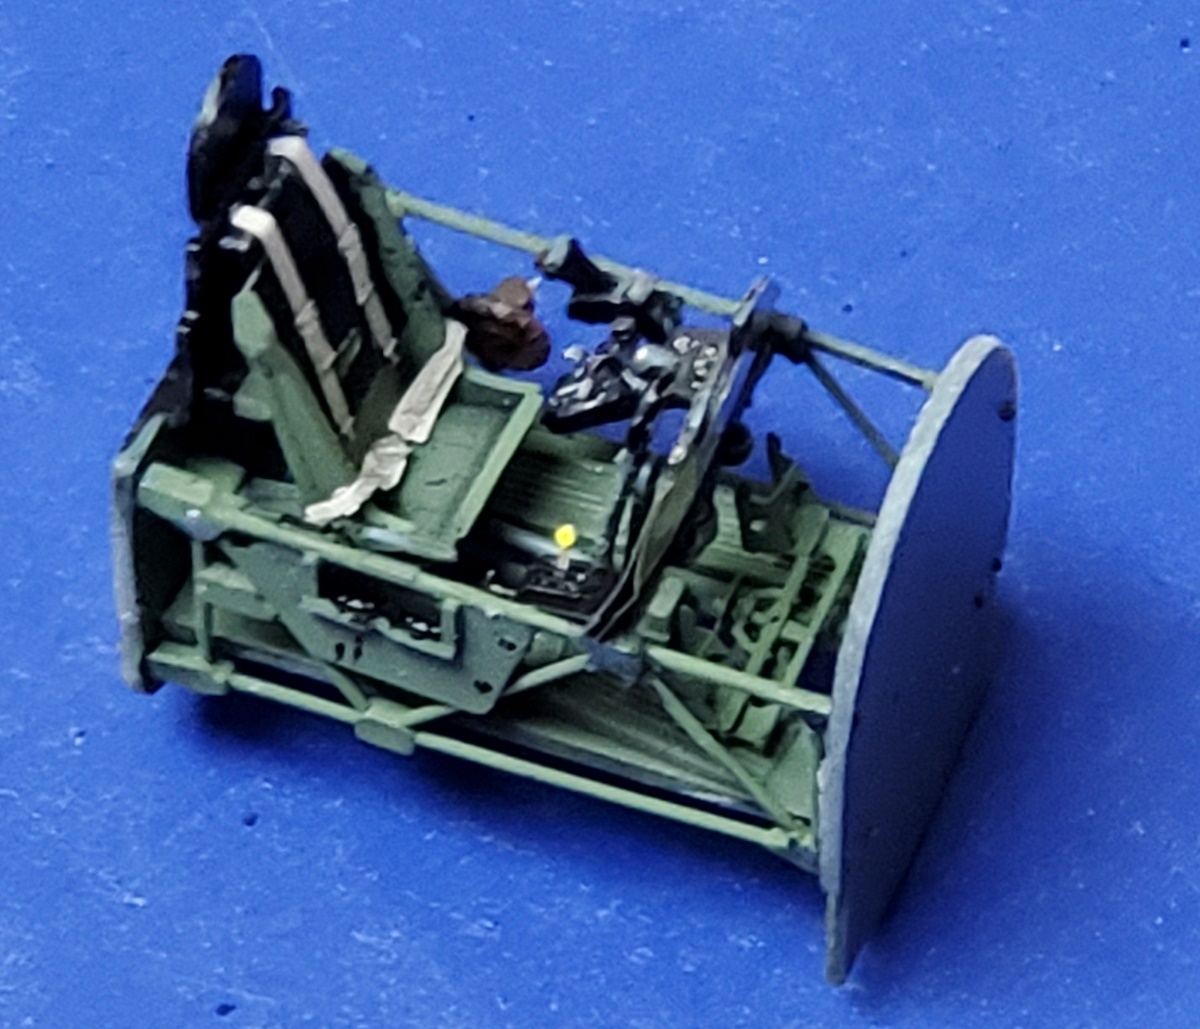
I'll install the panel, cockpit, etc. from below. And yes, I know, that oil collector ring has to go. Here's the basic cockpit without the seat and instrument panel:
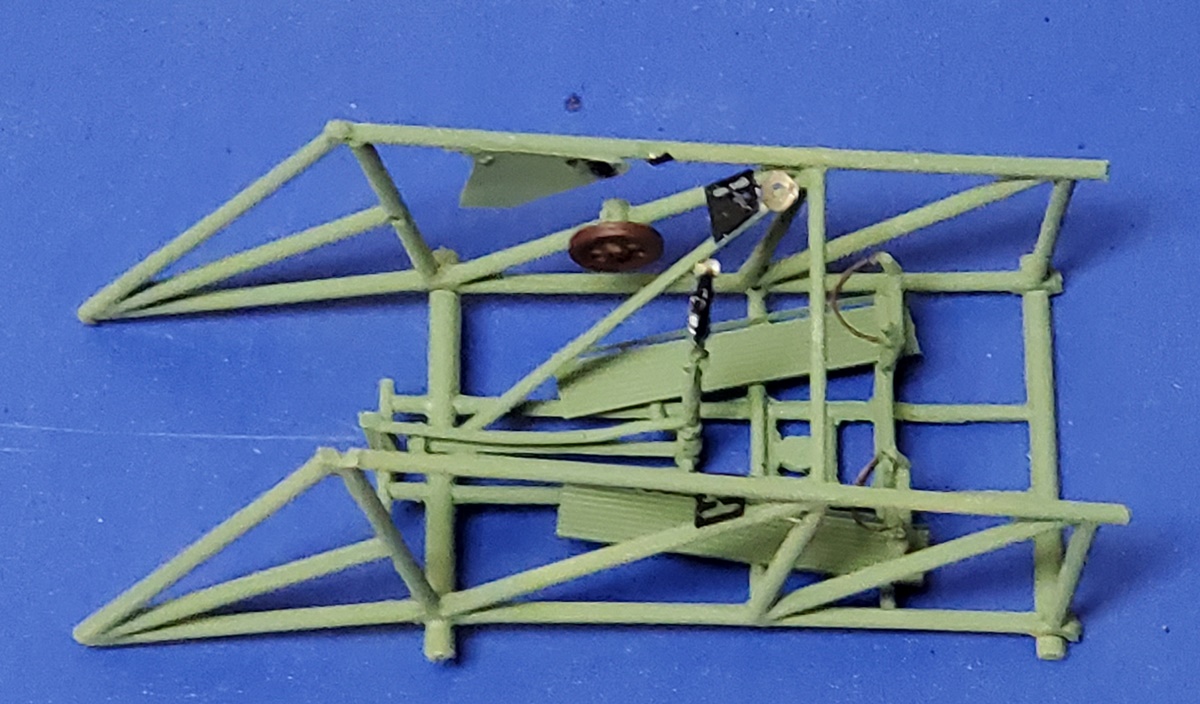
It is indeed pretty basic. There are some photo etch details but they're small and thin and thus hard to install.
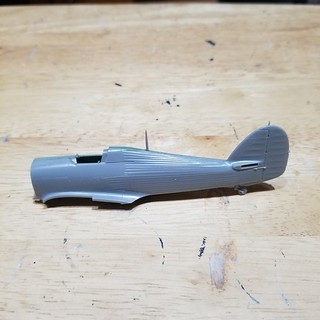
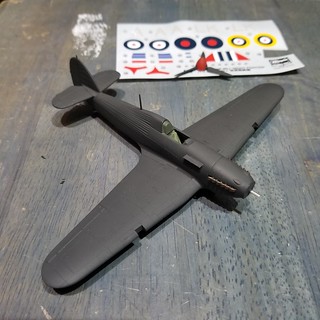
One thing I was interested in was whether this fuselage was correctly shorter than the Mk.II fuselages. It is, by about 7mm. While I had things out, I also compared it to the Pacific Coast Mk.I fuselage:
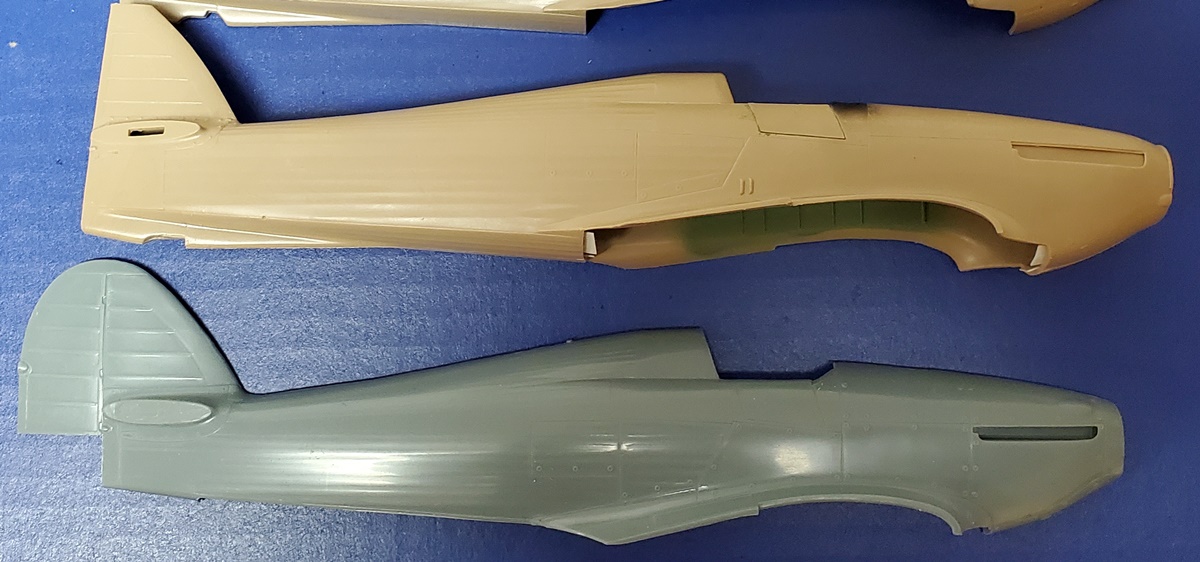
Kingston, we have a problem! The Fly fuselage is significantly longer. I did a bit of comparison with plans in the SAM Modellers Datafile and AeroDetail 2 on the Hurricane and came up with some interesting findings.
The Fly Mk.I fuselage is 260 mm from rudder post to nose. The PCM fuselage is 255 mm.
AeroDetail's measure from post to nose is 253.5 mm. SAM's is 258.
When I did some online searches the most often quoted overall length is 9.58 meters. AeroDetail measures out at 9.31 meters overall and SAM at 9.56 overall.
Bottom line, SAM's plans seem more accurate for fuselage length and Fly is much closer to SAM's plans than PCM. So, while the PCM kit is more detailed that Fly's, the Fly kit is better on dimensions (at least length). And there are more variants and they're still available.
I don't normally do this, but the significant difference caught me by surprise, so I checked it out. Your experience may vary!;)
Michael
Air Campaigns
Want to start or join a group build? This is where to start.
Hosted by Frederick Boucher, Michael Satin
OFFICIAL: Sopwith-Hawkers-BAe Campaign
MichaelSatin
Campaigns Administrator
Colorado, United States
Joined: January 19, 2008
KitMaker: 3,909 posts
AeroScale: 2,904 posts
Joined: January 19, 2008
KitMaker: 3,909 posts
AeroScale: 2,904 posts
Posted: Sunday, December 29, 2019 - 07:51 AM UTC
Propster
Western Australia, Australia
Joined: January 01, 2019
KitMaker: 81 posts
AeroScale: 38 posts
Joined: January 01, 2019
KitMaker: 81 posts
AeroScale: 38 posts
Posted: Sunday, December 29, 2019 - 10:43 PM UTC
Had issues with my original Sea Fury. Have recommenced with the export version.
Propster
Western Australia, Australia
Joined: January 01, 2019
KitMaker: 81 posts
AeroScale: 38 posts
Joined: January 01, 2019
KitMaker: 81 posts
AeroScale: 38 posts
Posted: Monday, January 06, 2020 - 04:51 PM UTC
Progress on my Sea Fury
PasiAhopelto
Uusimaa, Finland
Joined: October 01, 2016
KitMaker: 514 posts
AeroScale: 239 posts
Joined: October 01, 2016
KitMaker: 514 posts
AeroScale: 239 posts
Posted: Thursday, January 09, 2020 - 05:46 AM UTC
Pup's engine done:
steviecee
United States
Joined: September 01, 2011
KitMaker: 123 posts
AeroScale: 37 posts
Joined: September 01, 2011
KitMaker: 123 posts
AeroScale: 37 posts
Posted: Thursday, January 09, 2020 - 03:36 PM UTC
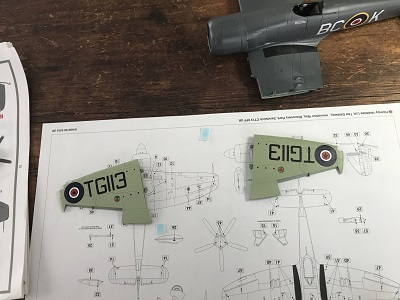
I'm doing the naval version of Arma Hobby's Hurricane
Removed by original poster on 01/10/20 - 16:21:02 (GMT).
Removed by original poster on 01/10/20 - 16:27:24 (GMT).
Removed by original poster on 01/10/20 - 16:29:41 (GMT).
air-aset
Ecuador
Joined: March 25, 2004
KitMaker: 84 posts
AeroScale: 42 posts
Joined: March 25, 2004
KitMaker: 84 posts
AeroScale: 42 posts
Posted: Friday, January 10, 2020 - 04:31 AM UTC
He is My late entry
RhinoSpit
Bas-Rhin, France
Joined: September 22, 2016
KitMaker: 224 posts
AeroScale: 191 posts
Joined: September 22, 2016
KitMaker: 224 posts
AeroScale: 191 posts
Posted: Thursday, January 16, 2020 - 09:08 AM UTC
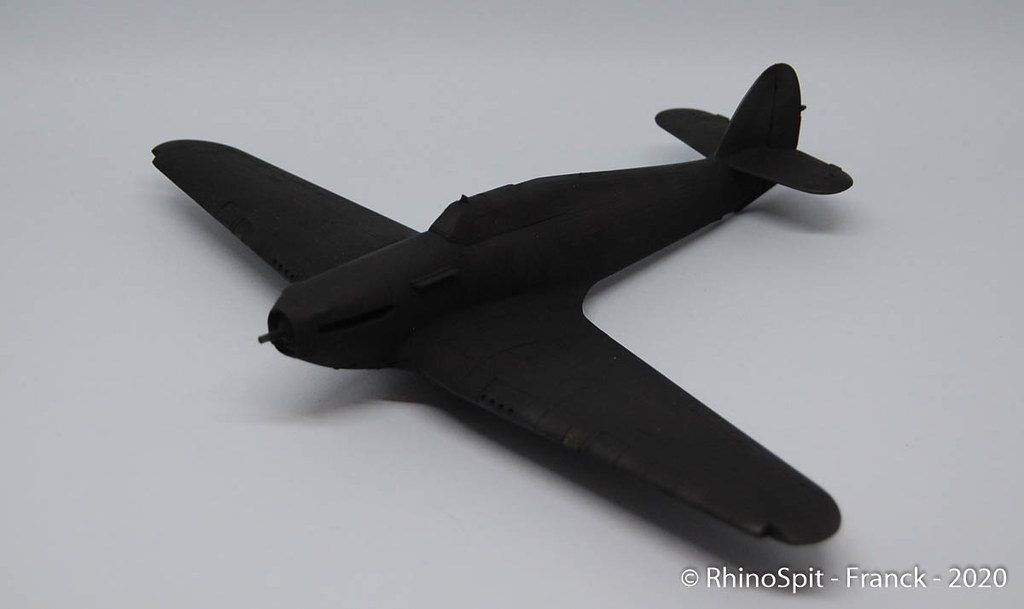
My vacation was productive. I was able to close the fuselage, then black priming and apply the main color.
MichaelSatin
Campaigns Administrator
Colorado, United States
Joined: January 19, 2008
KitMaker: 3,909 posts
AeroScale: 2,904 posts
Joined: January 19, 2008
KitMaker: 3,909 posts
AeroScale: 2,904 posts
Posted: Monday, January 20, 2020 - 06:40 AM UTC
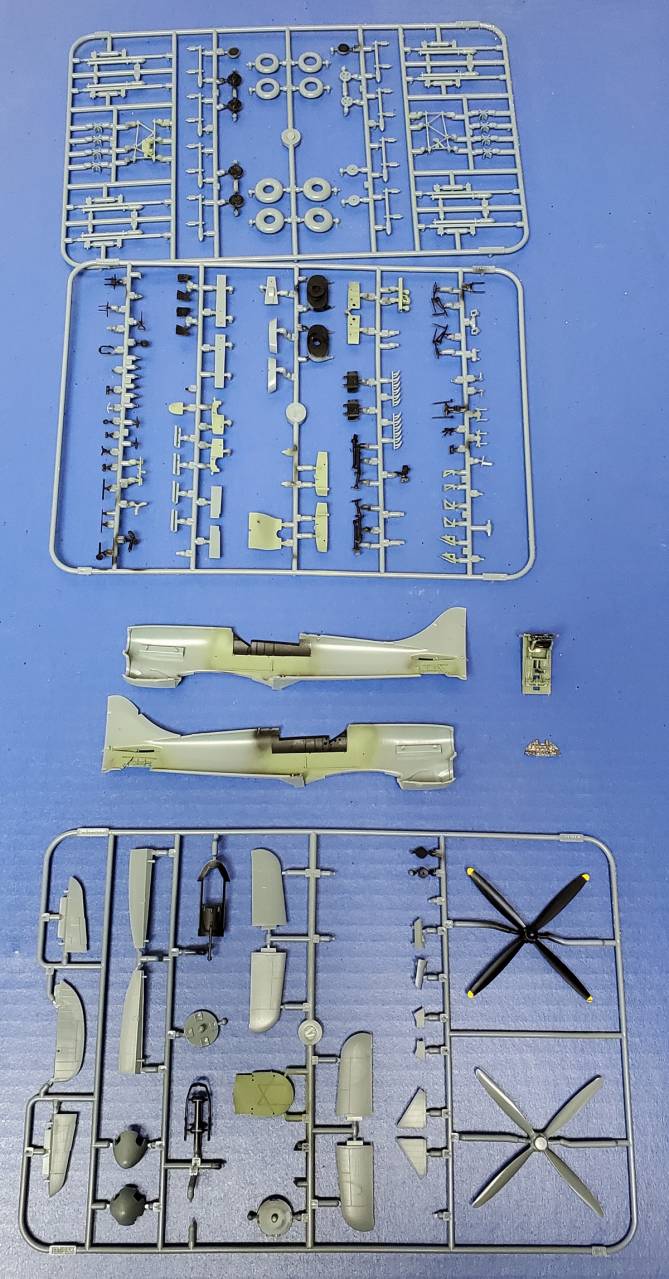
Man, I just can't stick to anything. I've decided I'm not going to let that Eduard Tempest get me down. So, here's the state of play as of yesterday morning:
And here we are as of this morning (sorry about the picture quality!):
Believe everything you've read about how fragile those fuselage side frames are. Also, of course, Eduard's reputation for fiddly small photo-etch remains intact. Nevertheless, I'm carrying on!
Michael
And here we are as of this morning (sorry about the picture quality!):
Believe everything you've read about how fragile those fuselage side frames are. Also, of course, Eduard's reputation for fiddly small photo-etch remains intact. Nevertheless, I'm carrying on!
Michael
Posted: Friday, January 24, 2020 - 03:39 PM UTC
Wow, late start, and now this:
The Italeri plastic is for a standard Hawk, but the Goshawk has squared off wing tips and a straight leading edge with leading edge flaps.
same with the elevators and rudder.
and a few other places have more material than the kit. Any ideas on how to add the extra material?
The Italeri plastic is for a standard Hawk, but the Goshawk has squared off wing tips and a straight leading edge with leading edge flaps.
same with the elevators and rudder.
and a few other places have more material than the kit. Any ideas on how to add the extra material?
petbat
Queensland, Australia
Joined: August 06, 2005
KitMaker: 3,353 posts
AeroScale: 93 posts
Joined: August 06, 2005
KitMaker: 3,353 posts
AeroScale: 93 posts
Posted: Saturday, January 25, 2020 - 07:59 AM UTC
Depending on the overall dimensions Mark, perhaps if you cut off the tips and leading edge then use some laminated sections of plastic card stock to extend from the join. If you laminate thin sections, you can perhaps leave the centre ones longer to slip inside the gap in the main wing to add some strength to the join (presuming these were halves joined together and not one piece). If it is one piece, cutting into the centre to add a groove where the laminated section can slot in is another option. Good luck.
Posted: Sunday, January 26, 2020 - 03:13 AM UTC
Pepsi, that engine looks fantastic!
Michael, looking forward to seeing that big Hurricane come together.
Finally managed to do a little more work on mine this weekend. Did some tidying up of the wing-fuselage join, added the tailplane and vokes filter. Hopefully should be close to painting soon.
Michael, looking forward to seeing that big Hurricane come together.
Finally managed to do a little more work on mine this weekend. Did some tidying up of the wing-fuselage join, added the tailplane and vokes filter. Hopefully should be close to painting soon.
RhinoSpit
Bas-Rhin, France
Joined: September 22, 2016
KitMaker: 224 posts
AeroScale: 191 posts
Joined: September 22, 2016
KitMaker: 224 posts
AeroScale: 191 posts
Posted: Sunday, January 26, 2020 - 07:55 AM UTC
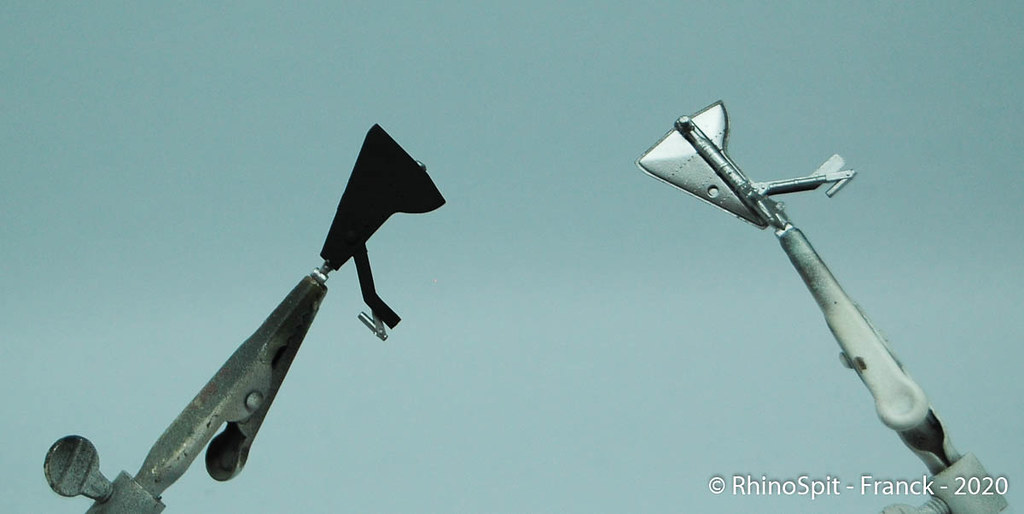
I was not sure of the kit decal quality, so i've painted some of it.
MichaelSatin
Campaigns Administrator
Colorado, United States
Joined: January 19, 2008
KitMaker: 3,909 posts
AeroScale: 2,904 posts
Joined: January 19, 2008
KitMaker: 3,909 posts
AeroScale: 2,904 posts
Posted: Sunday, January 26, 2020 - 11:36 AM UTC
Nice work guys!
Sorry Stephen, I've gone off the Hurricane and am back on the Eduard Tempest.
Here are some marginally better pics of the cockptit:
And here's where I am at the end of the weekend:
Going fairly well so far. I haven't tightened up the wing/fuselage join yet, I hope that will look better when I do. I do really wish they hadn't chosen to put that seem line down the middle of the bottom of the flap. Guess we'll see how that goes.
Michael
Propster
Western Australia, Australia
Joined: January 01, 2019
KitMaker: 81 posts
AeroScale: 38 posts
Joined: January 01, 2019
KitMaker: 81 posts
AeroScale: 38 posts
Posted: Thursday, January 30, 2020 - 06:12 PM UTC
My Sea Fury nearing the assembly stage.
Posted: Friday, January 31, 2020 - 05:41 PM UTC
Posted: Friday, February 07, 2020 - 02:14 AM UTC
Posted: Friday, February 07, 2020 - 03:53 PM UTC
Hi Everyone!
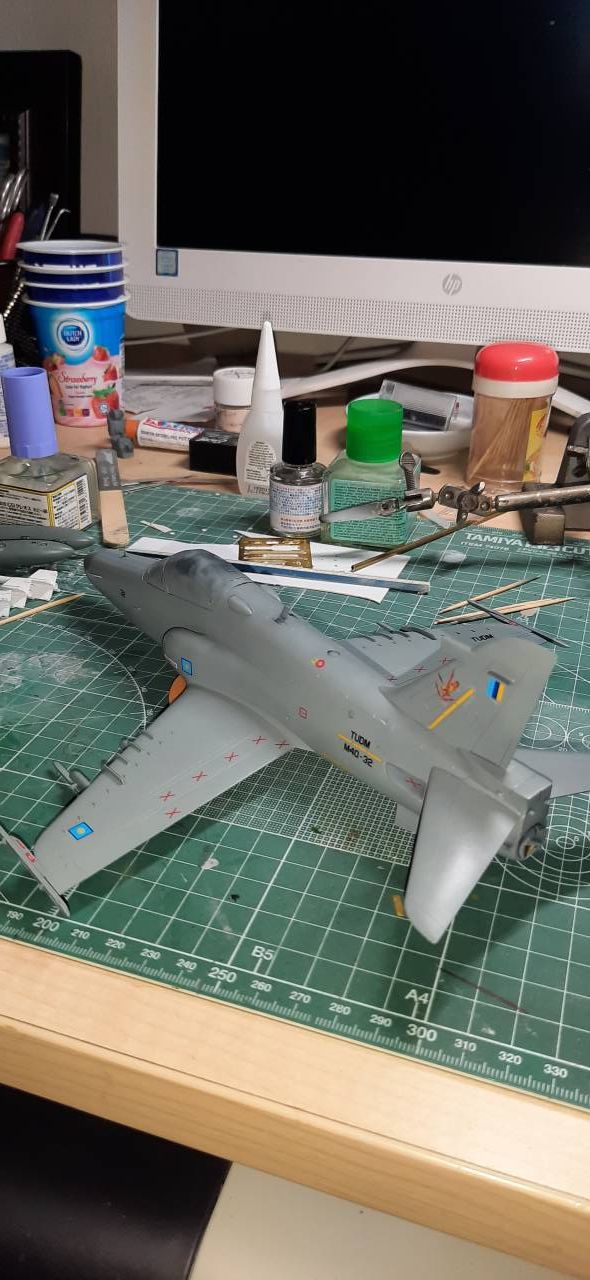
While I toiled away on the Hawk 208, getting photo's to load has become a different story.
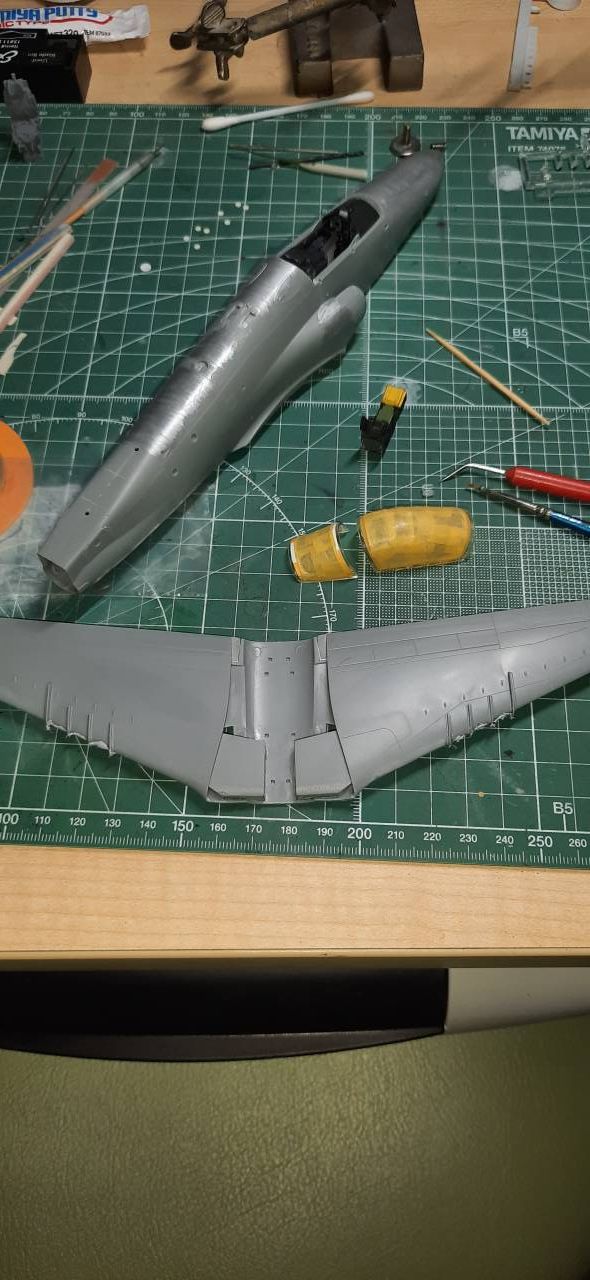
For me, the kit was a challenge in dealing with the rather large sprue gates to the parts, which caused serious alignment issues. This lead to a lot of filling and sanding. I did overcome them, and the results are fine by me!
Lots of places needed filling.
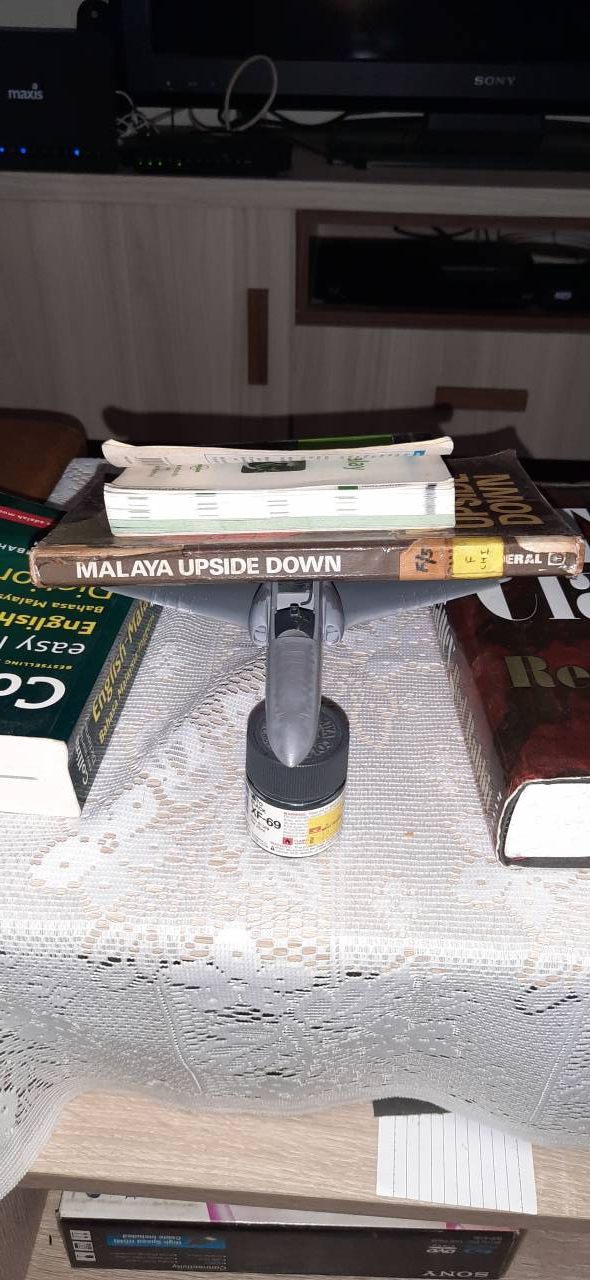
Innovative clamping techniques lead to a wing/fuselage join that didn't need any filling!
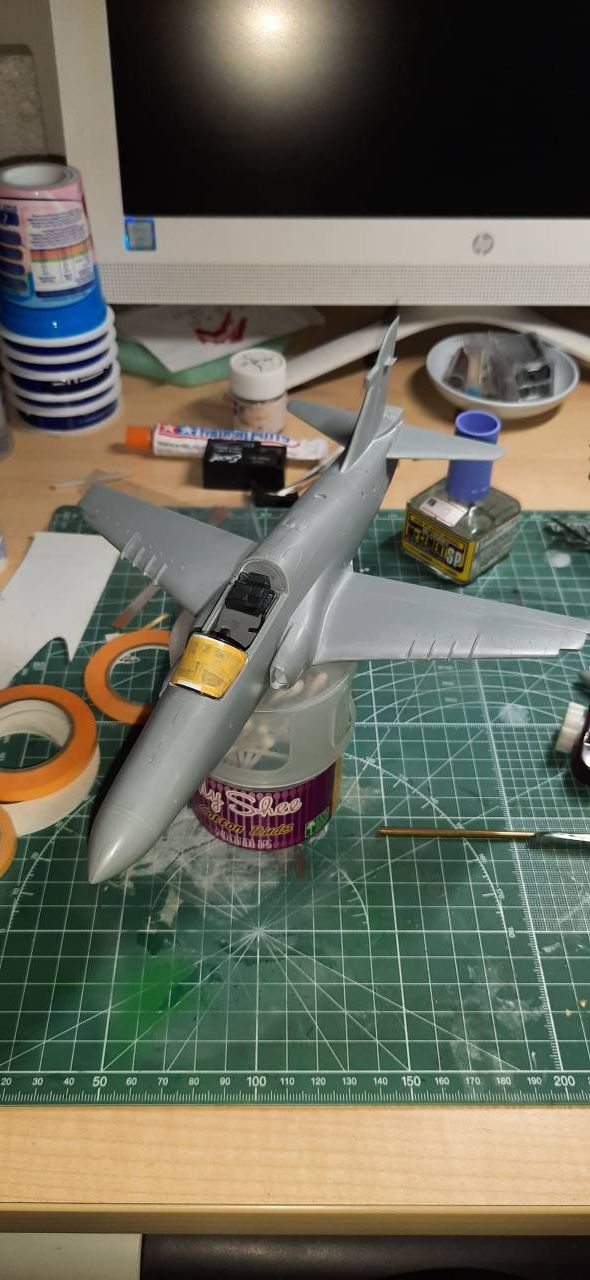
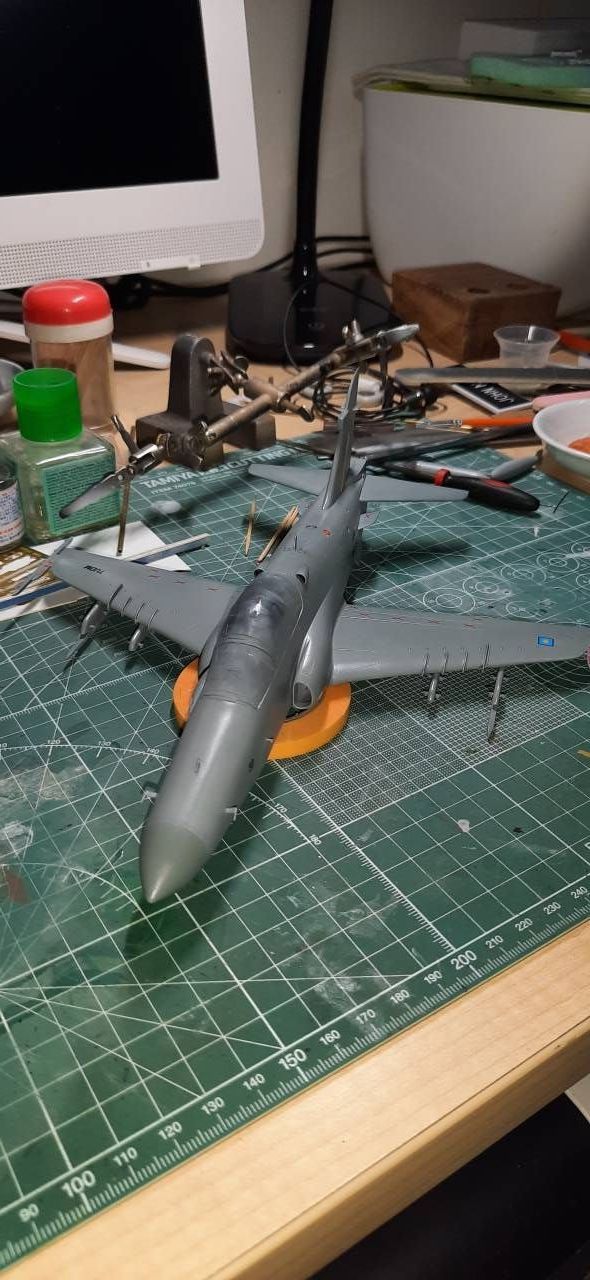
Due diligence paid off, and I had an airframe that was ready for the RMAF basic paint scheme.
Once painted Medium Sea Grey, and Light Medium Sea Grey for the radome and drop tanks, the little jet was ready for decals.
The kits decals are really nice, though can be a little fiddly on the small stencils, overall, they turned out quite nicely and add a lot to the look.
Following the decals, I gave the jet an overall dulling down of flat. I then added the little things which went on as per the instructions without any real drama.
Next up will the final photos, once I overcome the upload issue I'm dealing with.
Lot's of great stuff going on here, keep it up!
John
PasiAhopelto
Uusimaa, Finland
Joined: October 01, 2016
KitMaker: 514 posts
AeroScale: 239 posts
Joined: October 01, 2016
KitMaker: 514 posts
AeroScale: 239 posts
Posted: Friday, February 07, 2020 - 10:24 PM UTC
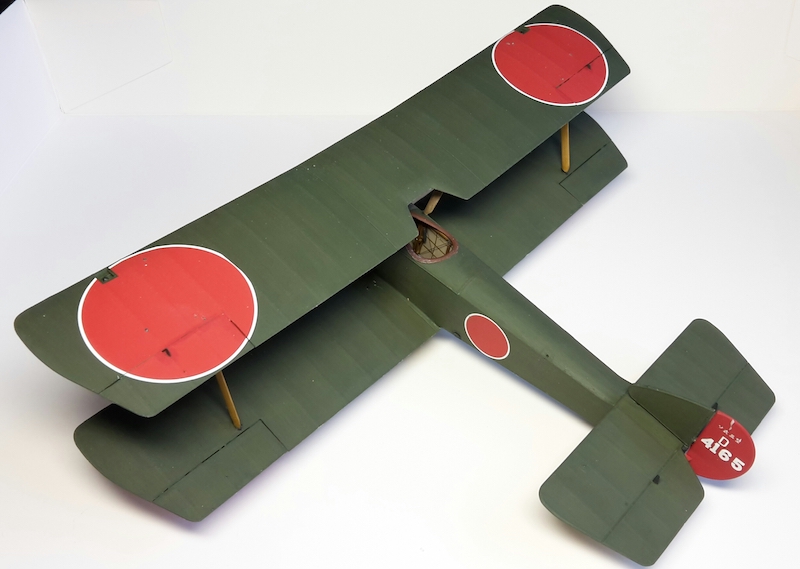
Rigging, final assembly, touching up paint and some weathering to be done:
Posted: Saturday, February 08, 2020 - 07:50 PM UTC
MichaelSatin
Campaigns Administrator
Colorado, United States
Joined: January 19, 2008
KitMaker: 3,909 posts
AeroScale: 2,904 posts
Joined: January 19, 2008
KitMaker: 3,909 posts
AeroScale: 2,904 posts
Posted: Sunday, February 09, 2020 - 02:41 AM UTC
Very nice work, everyone!
I know it's only February 9th, but I've become involved in a project for work that is taking up all my weekend time and am afraid I won't have the opportunity to finish the Tempest by the end of the month. Anyone else feeling the need for an extension?
Michael
I know it's only February 9th, but I've become involved in a project for work that is taking up all my weekend time and am afraid I won't have the opportunity to finish the Tempest by the end of the month. Anyone else feeling the need for an extension?
Michael
Posted: Sunday, February 09, 2020 - 06:32 AM UTC
Looking good everyone.
Especially liking your Pup Pasi. Interesting to see it in the Japanese colours.
Managed a bit more work today on my Hurricane. Mostly concentrating on all the little bits to get them out of the way before I put some colour on it.
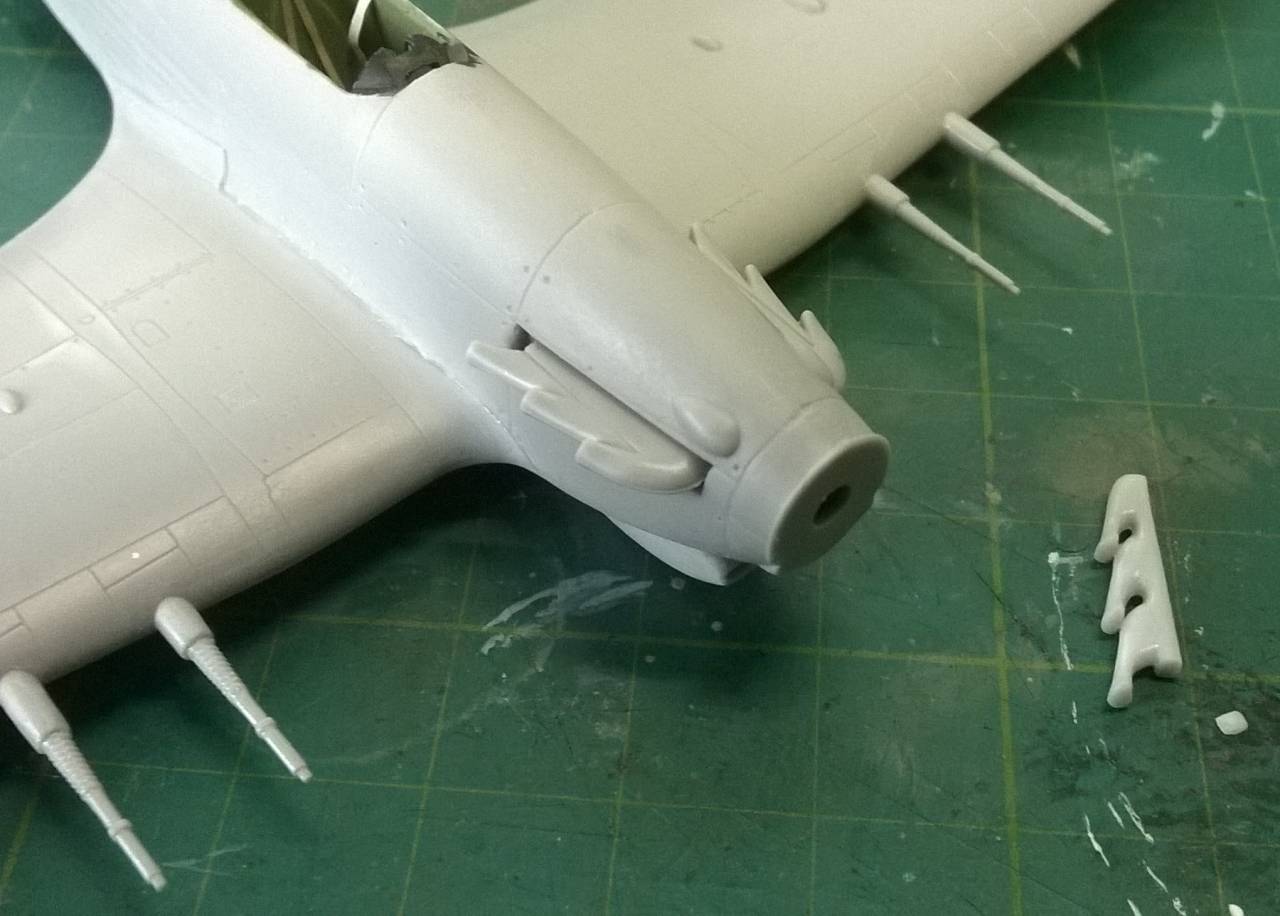
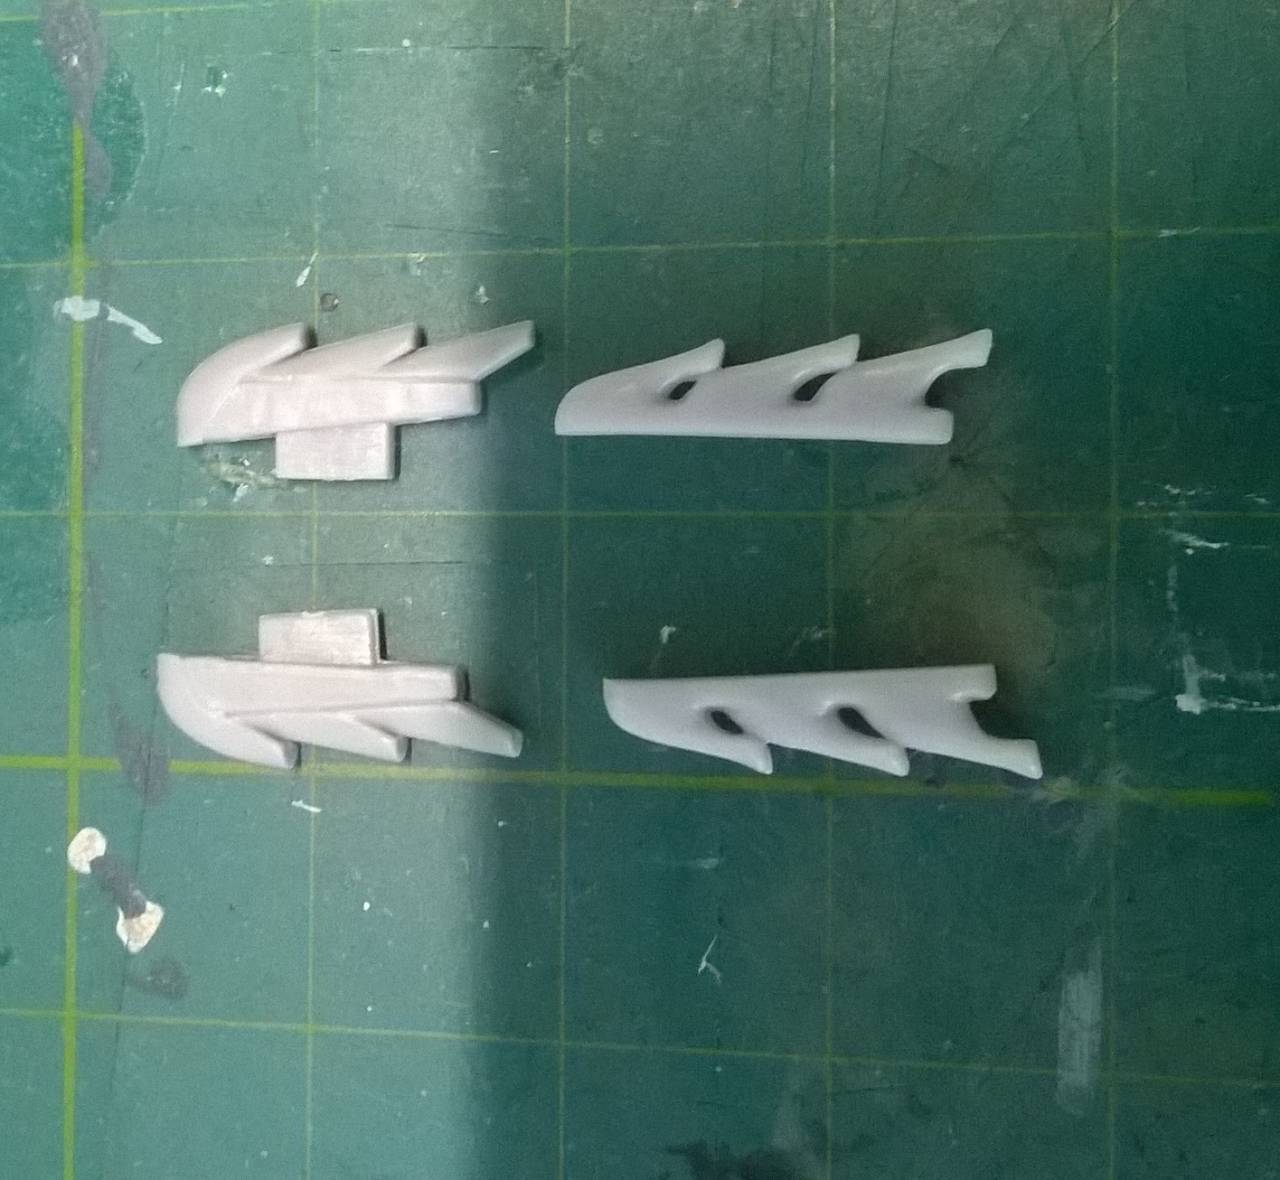
One thing I'm really not happy with on this kit are the exhausts which bear no resemblance to what they should be.
Fortunately I had some better ones in my spares. The kit parts are on the left in comparison.
Little trimming was needed to get them to fit.
Much better!
Posted: Monday, February 10, 2020 - 11:07 PM UTC
Some really nice work going on here guys!
Lots of Hurricanes so that's always good to see...
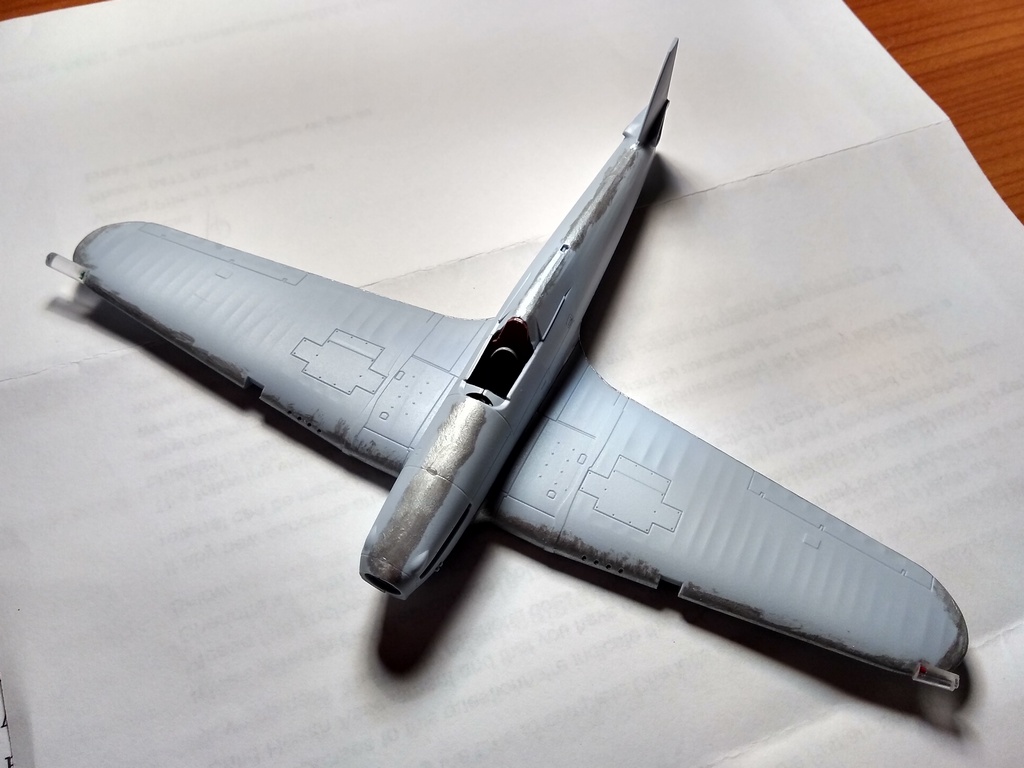
Speaking of which,here's my update on Airfix's 1/72 Hurricane
Cockpit finished and basic assembly done
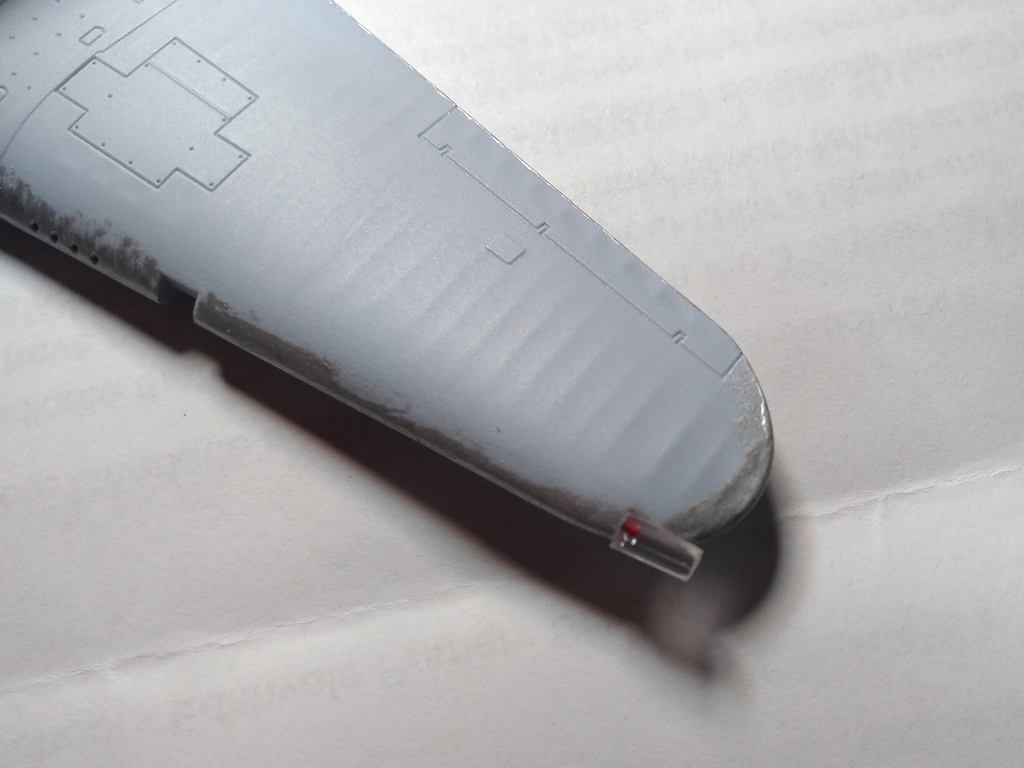
Airfix don't provide clear parts for the outboard lights, so I thought I'd give it a go... Shaping yet to be done
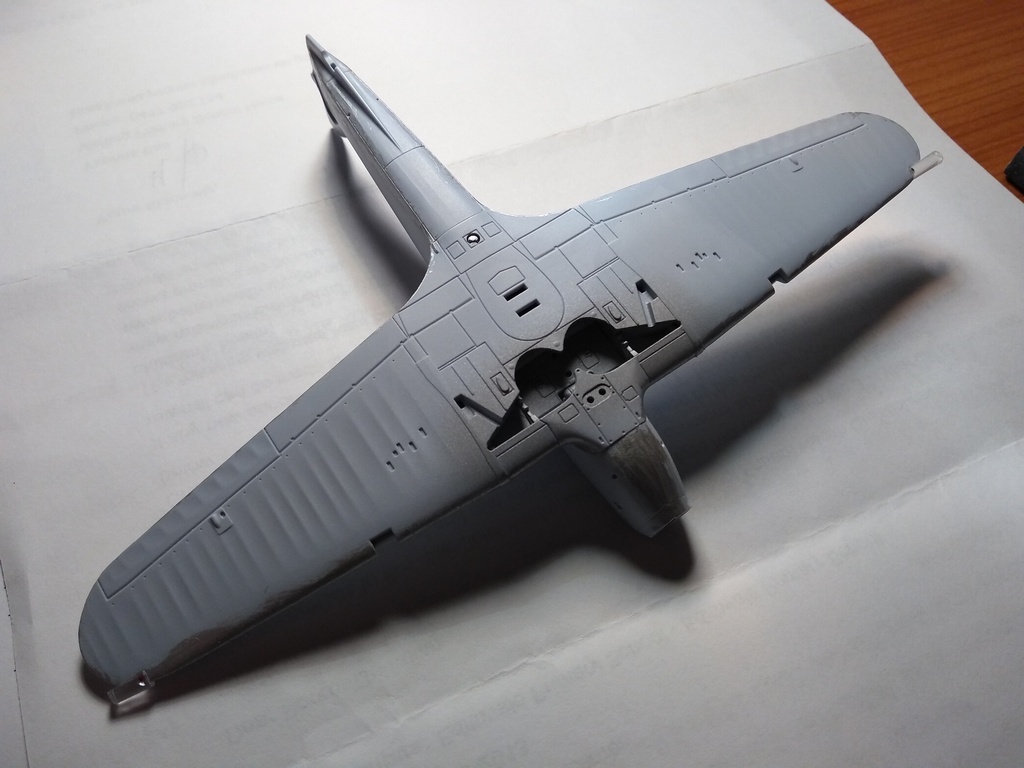
and the underside
Still some way to go and the pointy end of the campaign is in sight