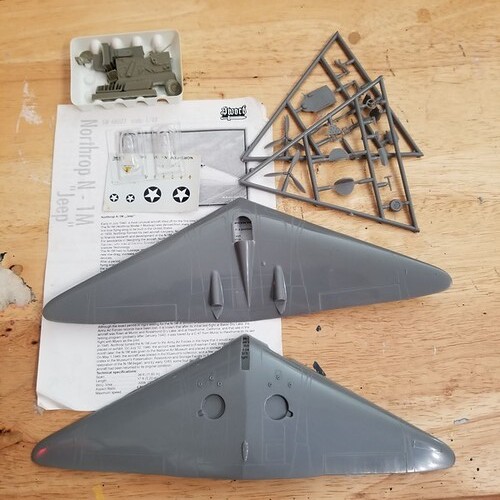
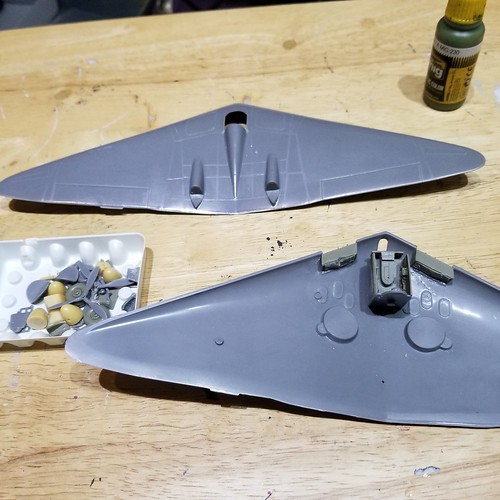
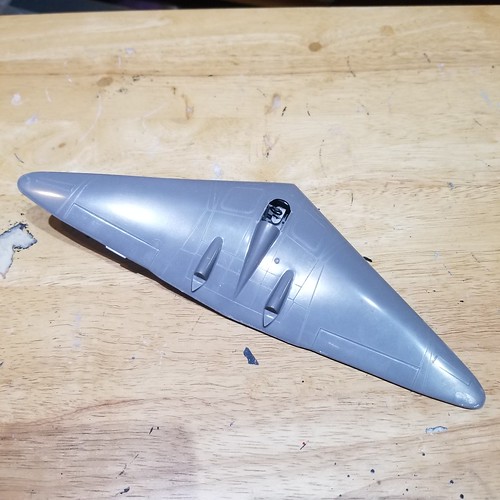
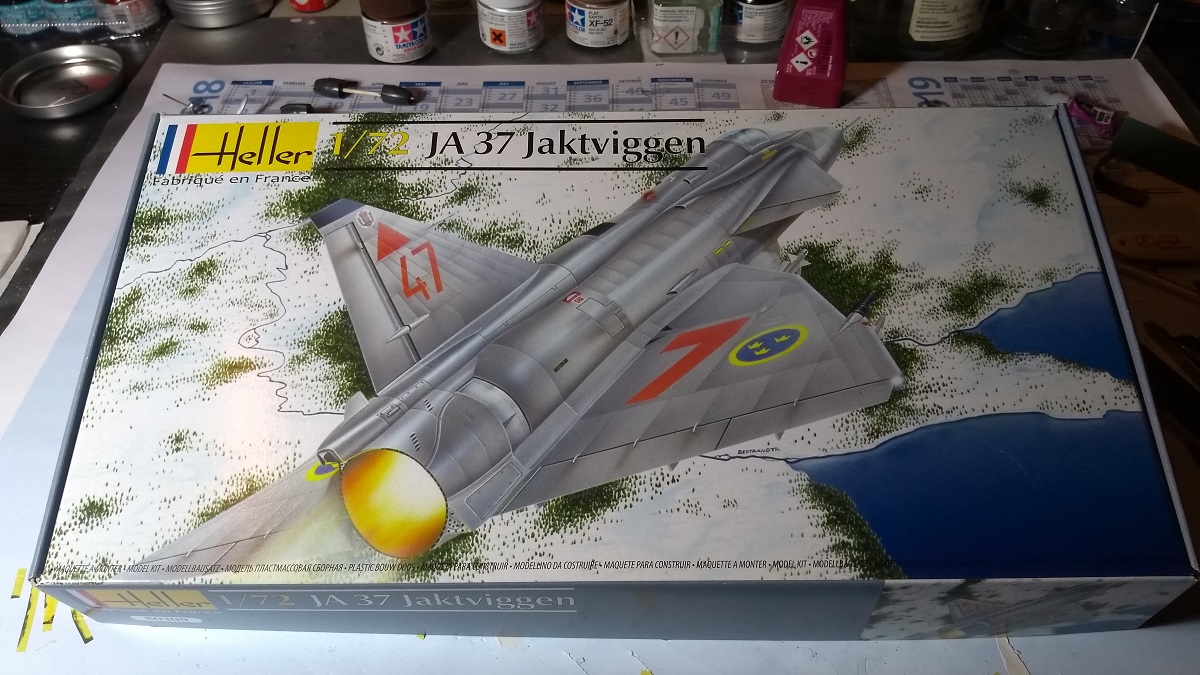
Welcome to the Delta Wings 2 Campaign! This campaign is all about aircraft with delta wings. The campaign will run from 1 February through 8 September, 2020.
If you want to see the rules and sign up, go here. Post campaign related discussion and in-progress photos in this thread. Pics of finished models should be posted in the campaign gallery.
Looking forward to models of those big triangles in the sky!
Michael
Air Campaigns
Want to start or join a group build? This is where to start.
Hosted by Frederick Boucher, Michael Satin
OFFICIAL: Delta Wings 2 Campaign
MichaelSatin
Campaigns Administrator
Colorado, United States
Joined: January 19, 2008
KitMaker: 3,909 posts
AeroScale: 2,904 posts
Joined: January 19, 2008
KitMaker: 3,909 posts
AeroScale: 2,904 posts
Posted: Friday, January 31, 2020 - 11:50 AM UTC
Posted: Friday, January 31, 2020 - 12:25 PM UTC
Alrighty then, it's a day early and I'm already behind.
Gotta dig out that OLD Hase F-106 and get to sanding.
PasiAhopelto
Uusimaa, Finland
Joined: October 01, 2016
KitMaker: 514 posts
AeroScale: 239 posts
Joined: October 01, 2016
KitMaker: 514 posts
AeroScale: 239 posts
Posted: Friday, January 31, 2020 - 08:36 PM UTC
Here's my entry:
It's Kinetic plastic with resin parts and decals printed by Cartograph (over 20 marking options).
Posted: Saturday, February 08, 2020 - 06:35 AM UTC
Awesome looking kit, Pasi! I have not seen these kits before. Looks like it will be a nice one - a little like Eduards royal class kits.
Looking forward to see more
Kevlar06
Washington, United States
Joined: March 15, 2009
KitMaker: 3,670 posts
AeroScale: 833 posts
Joined: March 15, 2009
KitMaker: 3,670 posts
AeroScale: 833 posts
Posted: Saturday, February 08, 2020 - 08:48 AM UTC
Quoted Text
Alrighty then, it's a day early and I'm already behind.
Gotta dig out that OLD Hase F-106 and get to sanding.
Mark, I don’t want to spoil your “sanding and filling fun”, but if you can find the Meng kit, you’ll be putting that Hasegawa kit in the bin. Except for the decals, Hasegawa had some interesting decal options as I recall. If you need some F106 photos, I’ll be glad to forward some of the McChord AFB F106. Delta wings are my favorite jet, I’ll be watching this campaign with great interest.
VR, Russ
Posted: Saturday, February 08, 2020 - 04:07 PM UTC
No doubt the Meng kit is much more modern. The Hasegawa kit may have it's origins with good ol Frog, lots of butt joints. On the other hand, this could be one of the oldest kits in the stash (Christmas 1968??). I really gotta get this one built sooner or later.
Posted: Saturday, February 15, 2020 - 02:49 AM UTC
Posted: Sunday, February 16, 2020 - 01:45 PM UTC
Hi Everybody!
Pasi, and Lap Man, nice choices! I'll be following along.
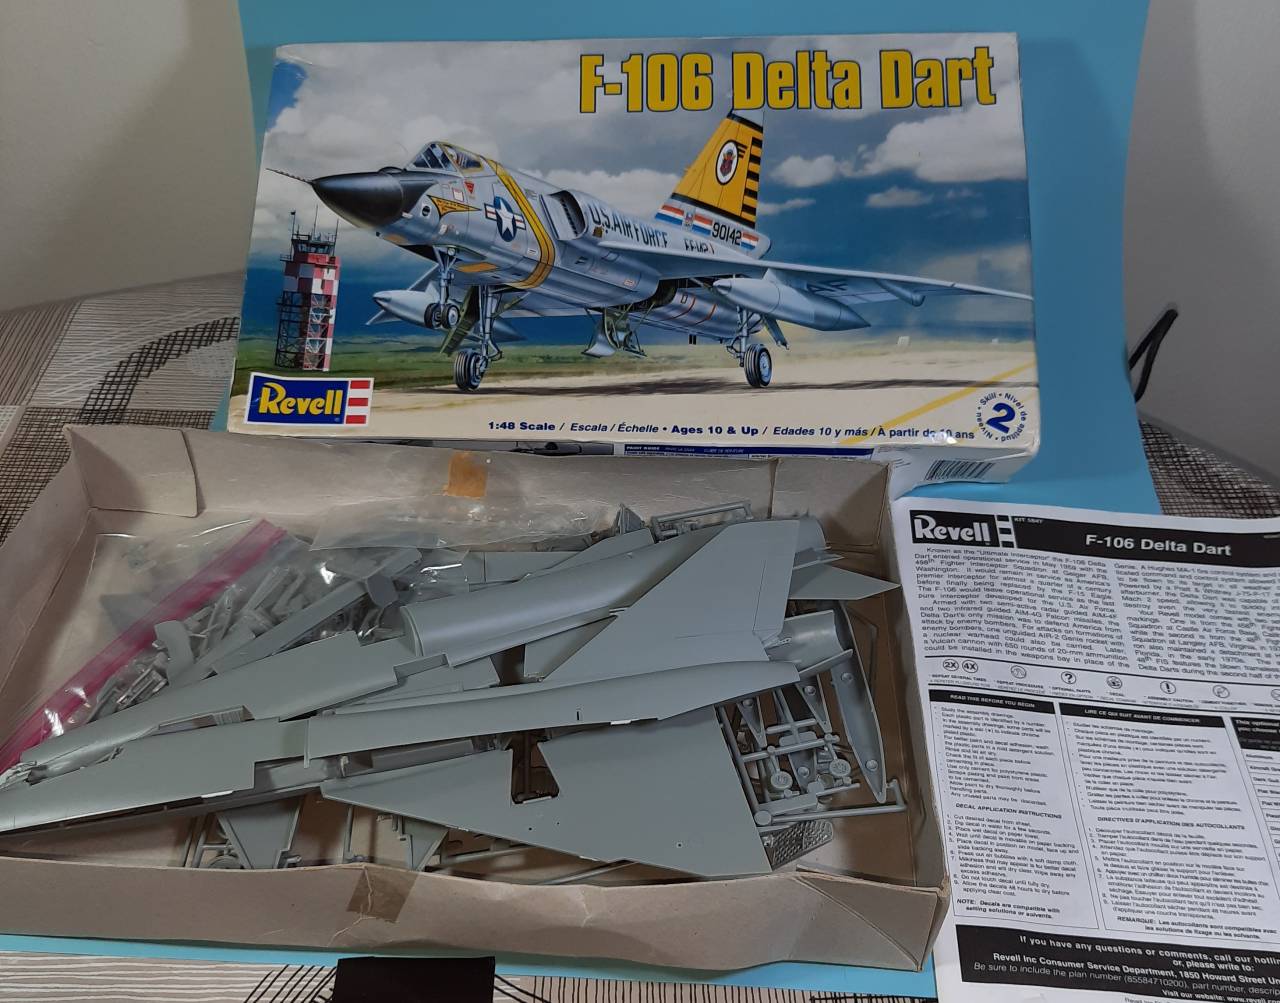
After much debate, I've picked Revell's re-issue of Monogram's F-106. I'd forgotten just how big this plane was!
Now the debate revolves around open bay or closed. Both have merit. Great detail opened, clean look on the ground closed. Either way, lots of work involved for either.
Have fun!
Kevlar06
Washington, United States
Joined: March 15, 2009
KitMaker: 3,670 posts
AeroScale: 833 posts
Joined: March 15, 2009
KitMaker: 3,670 posts
AeroScale: 833 posts
Posted: Sunday, February 16, 2020 - 03:54 PM UTC
John,
Having built several F106s in various scales in my lifetime, I’d vote for missile bay open, there’s just too much great detail in there to pass up. If you want, I’ll send you a few photos of the McCord AFB F106 missile bay for reference. This was the runner-up record setter in 358th livery which now sits at the air park at McCord.
VR, Russ
Florre
West-Vlaaderen, Belgium
Joined: February 11, 2003
KitMaker: 980 posts
AeroScale: 12 posts
Joined: February 11, 2003
KitMaker: 980 posts
AeroScale: 12 posts
Posted: Thursday, February 20, 2020 - 01:42 AM UTC
Hi all!
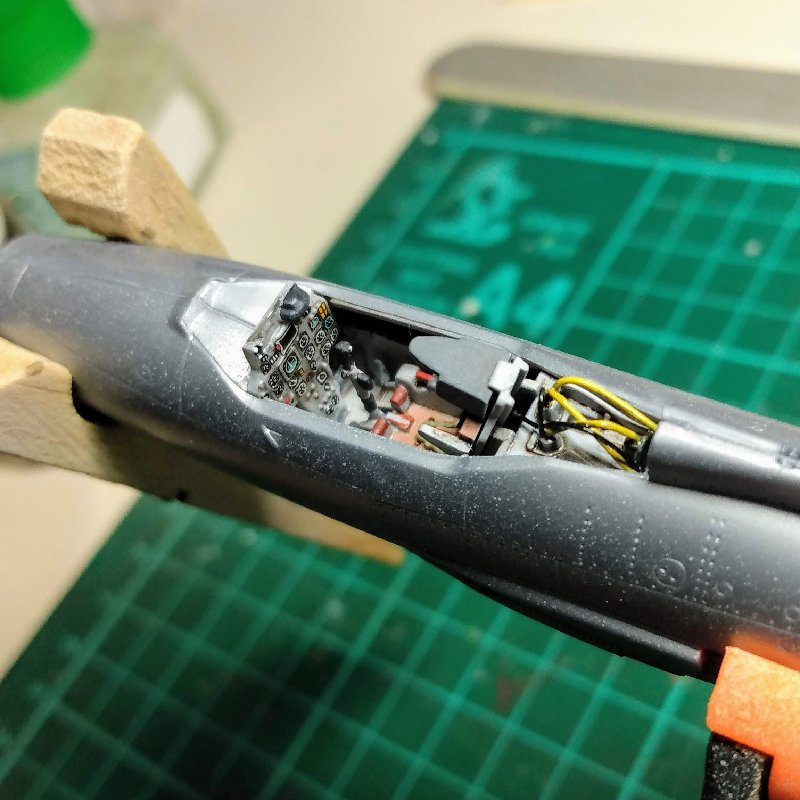
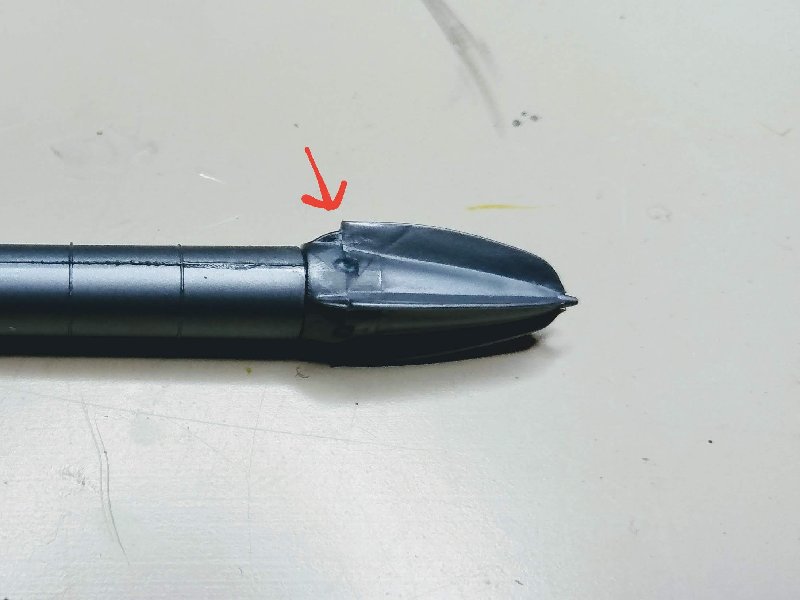
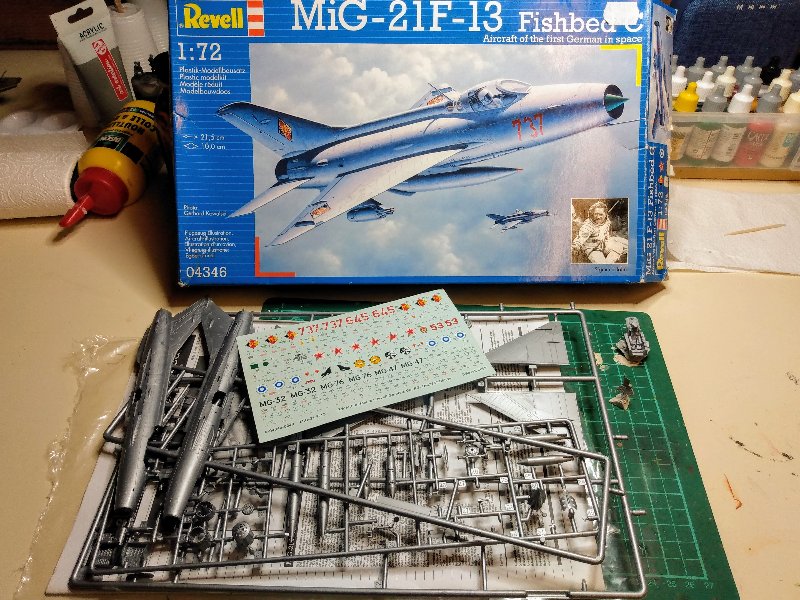
I'm joining this campaign with a revell 1/72 MiG-21. It's a great kit (+- 10 years old, new tooling), that has outstanding detail, great fit, and some akward bits : the external fuel tank is a joke and will not be used (check last picture), the airbrake flaps are over-dimensioned and thus a hassle to depict in closed position. I ended up putting them in 95% closed position, as I've seen on several reference pictures.
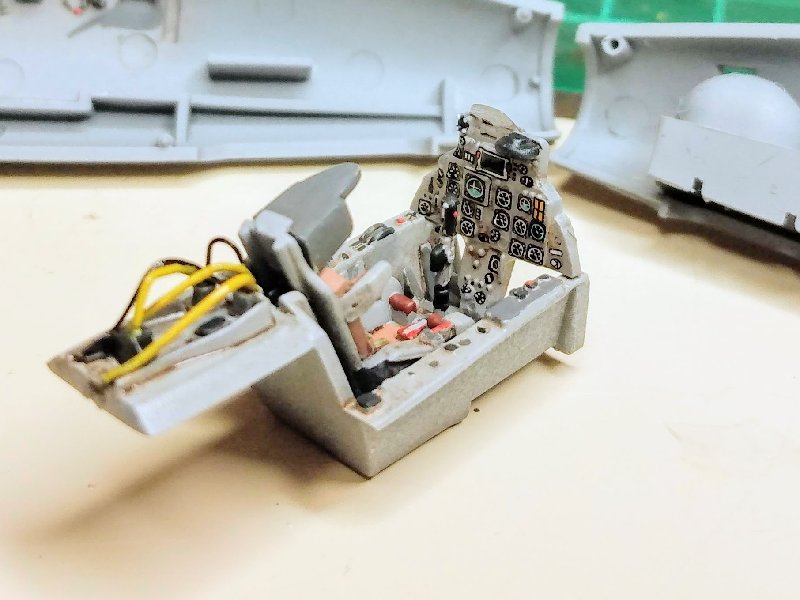
So far, the cockpit (really nice OOTB) is done and the fuselage halves are joined. This went pretty good, the fit is excellent overall, just some minor issues here and there.
I intend to build OOTB, although I'll scratch some details here and there (e.g. the fuel lines behind the cockpit, which will be very visible).
It will be a bundeswehr machine, with a nice green and brown camo. I used to live close to the Belgian air base of Beauvechain, which has a small open-air museum, where a german MiG-21 can be seen. I have some pictures, and will probably use these as inspiration. I'll post some pictures of that particular MiG later.
Posted: Thursday, February 20, 2020 - 04:33 AM UTC
TimReynaga
Associate Editor
California, United States
Joined: May 03, 2006
KitMaker: 2,500 posts
AeroScale: 318 posts
Joined: May 03, 2006
KitMaker: 2,500 posts
AeroScale: 318 posts
Posted: Sunday, March 08, 2020 - 06:16 AM UTC
I have a Messerschmitt Me-163 in the stash awaiting my attention... would it qualify as a delta wing for this campaign?
MichaelSatin
Campaigns Administrator
Colorado, United States
Joined: January 19, 2008
KitMaker: 3,909 posts
AeroScale: 2,904 posts
Joined: January 19, 2008
KitMaker: 3,909 posts
AeroScale: 2,904 posts
Posted: Sunday, March 08, 2020 - 08:27 AM UTC
Quoted Text
I have a Messerschmitt Me-163 in the stash awaiting my attention... would it qualify as a delta wing for this campaign?
Sorry Tim, I think that's gotta be more of a swept wing design than delta winged.
Michael
Removed by original poster on 03/29/20 - 20:30:24 (GMT).
Posted: Sunday, March 29, 2020 - 08:35 AM UTC
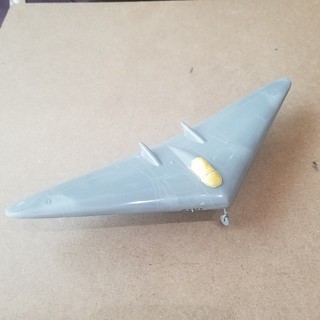
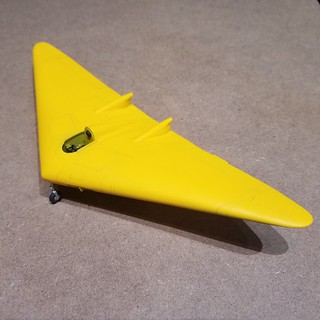
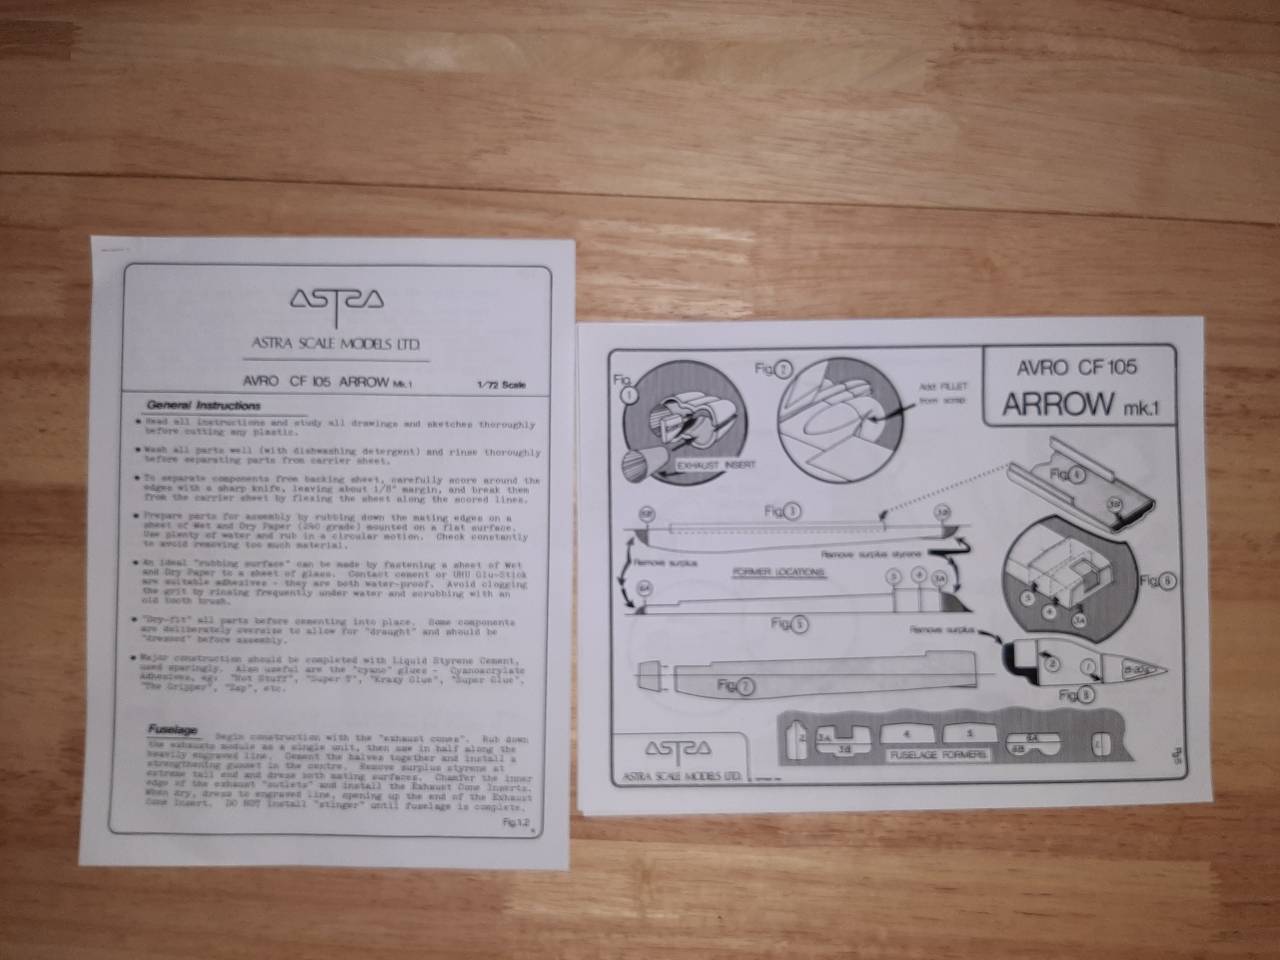
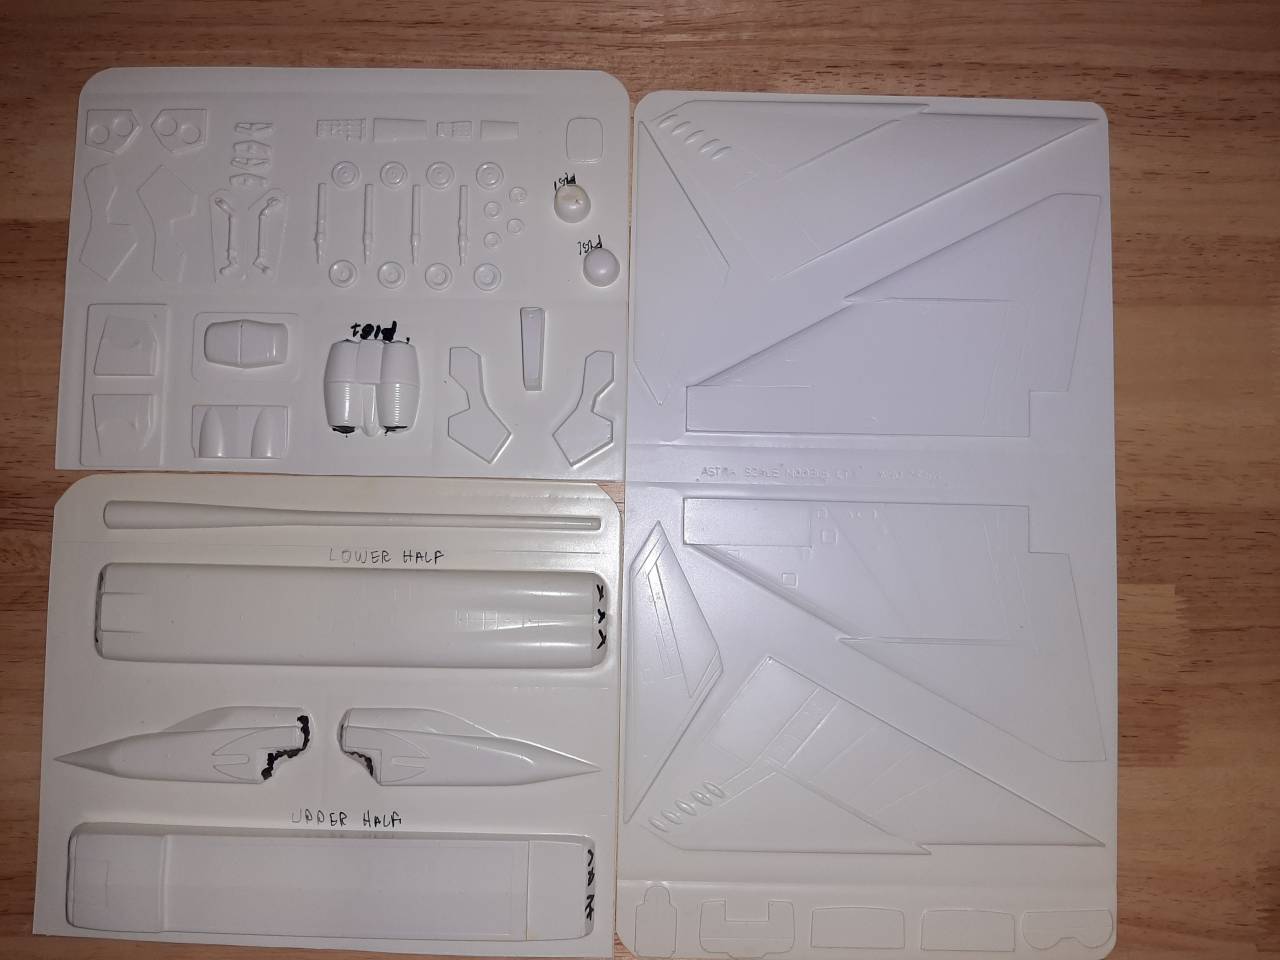
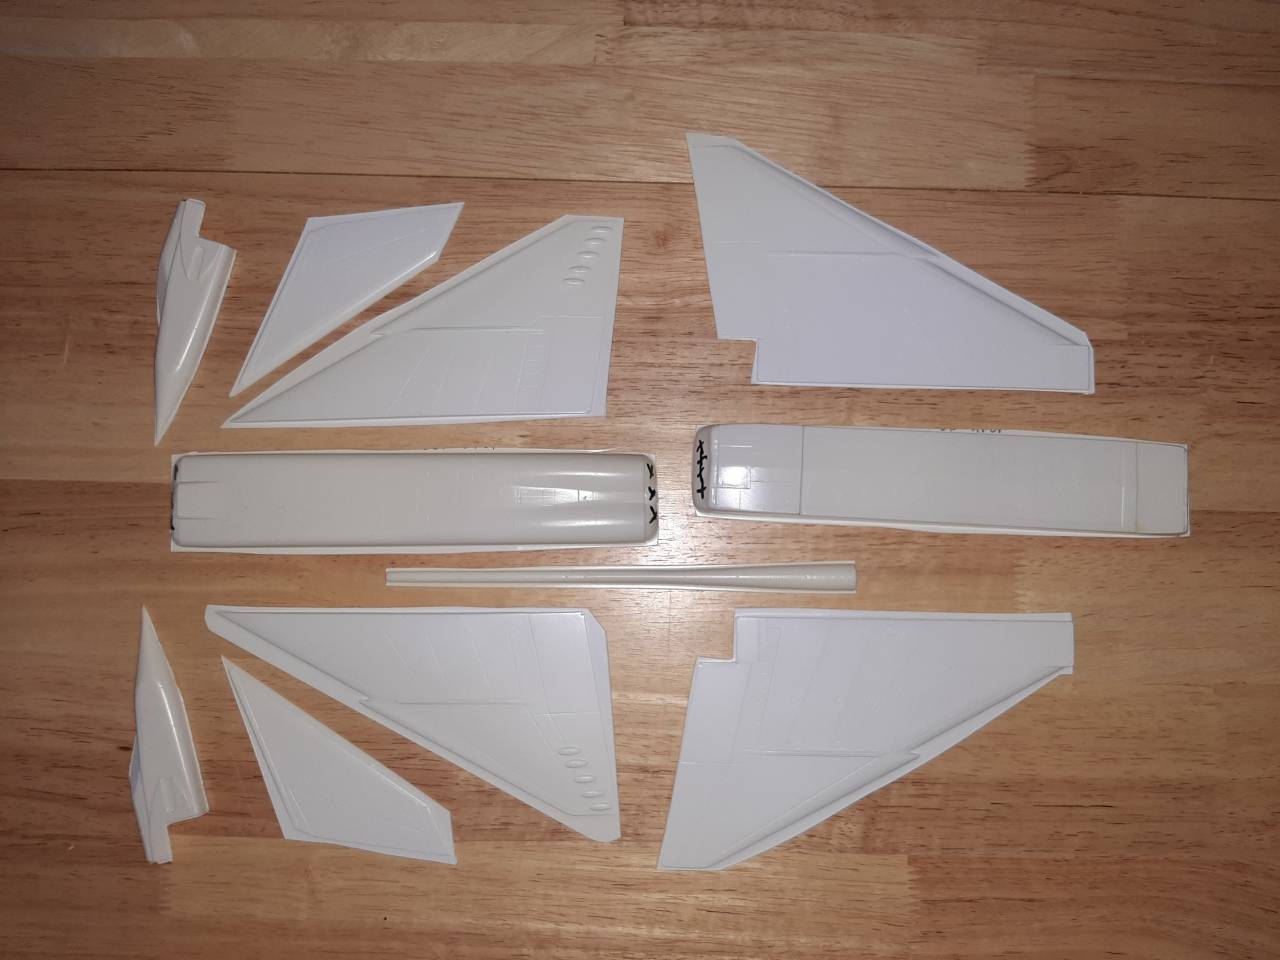
Here is my entry my first vacuform kit an Astro Scales Avro Arrow. I hope I can do it justice. Any suggestions fro the experts will be appreciated.
Kevlar06
Washington, United States
Joined: March 15, 2009
KitMaker: 3,670 posts
AeroScale: 833 posts
Joined: March 15, 2009
KitMaker: 3,670 posts
AeroScale: 833 posts
Posted: Sunday, March 29, 2020 - 09:47 AM UTC
Darrell,
An old vac-form trick— use a black medium-pointed “Sharpie” pen to completely outline the parts, then cut until just a thin outline remains and sand the rest of the way with sandpaper mounted on a flat surface until the black is gone. If the Vac was a decent kit to begin with (which yours looks like it is) the parts fit should be very good. Another trick I like to use is to fill in voids with insulation foam, but go easy— a little goes a long way. You may need to build some bulkheads for that unless you want a solid model. On bigger kits, I also like to use a balsa wing spar.
VR, Russ
Posted: Sunday, March 29, 2020 - 10:57 AM UTC
Quoted Text
Darrell,
An old vac-form trick— use a black medium-pointed “Sharpie” pen to completely outline the parts, then cut until just a thin outline remains and sand the rest of the way with sandpaper mounted on a flat surface until the black is gone. If the Vac was a decent kit to begin with (which yours looks like it is) the parts fit should be very good. Another trick I like to use is to fill in voids with insulation foam, but go easy— a little goes a long way. You may need to build some bulkheads for that unless you want a solid model. On bigger kits, I also like to use a balsa wing spar.
VR, Russ
Thanks for the advice. This kit includes a few bulkheads so that might help. I don't know if I will need wing spars but I might need something in the fuselage to strengthen it.
Jessie_C
British Columbia, Canada
Joined: September 03, 2009
KitMaker: 6,965 posts
AeroScale: 6,247 posts
Joined: September 03, 2009
KitMaker: 6,965 posts
AeroScale: 6,247 posts
Posted: Monday, March 30, 2020 - 10:01 AM UTC
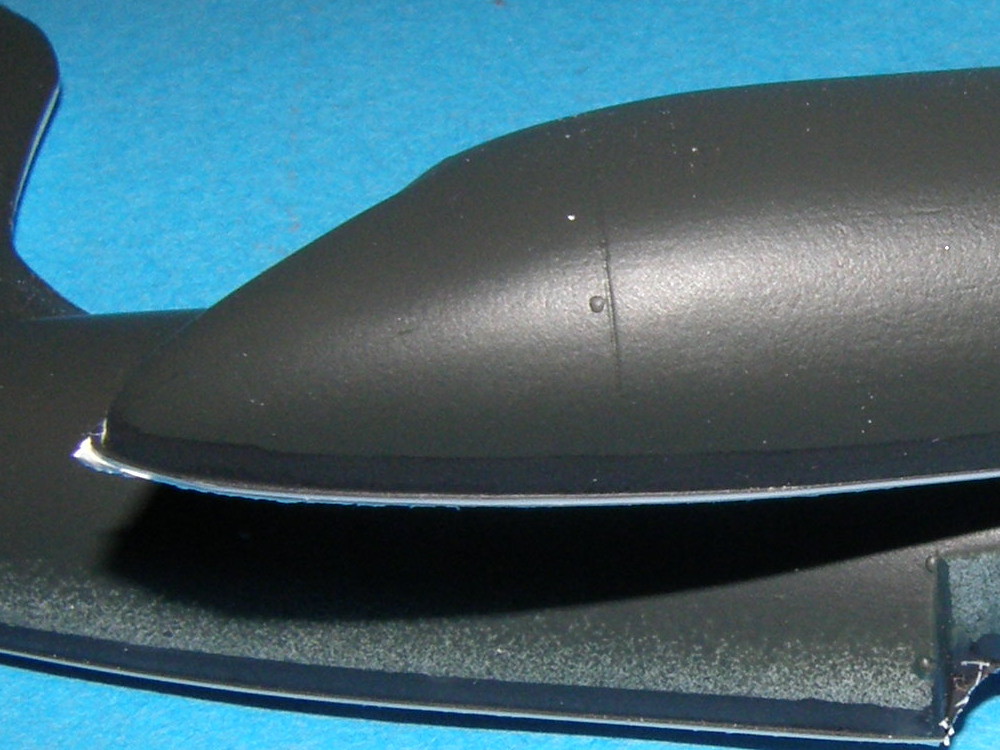
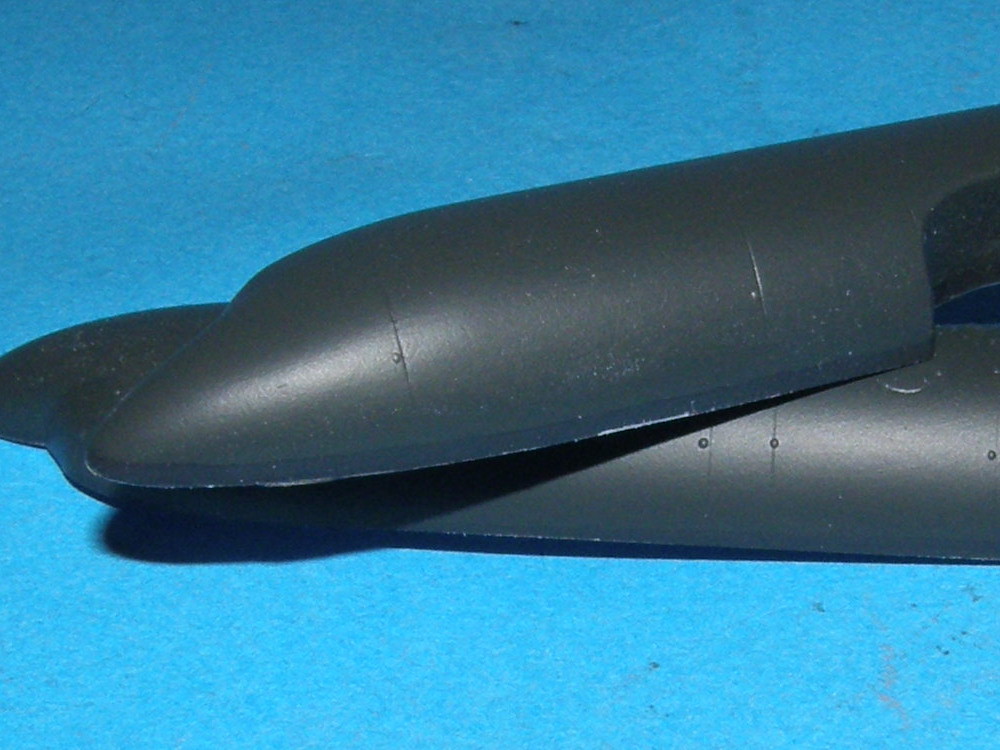
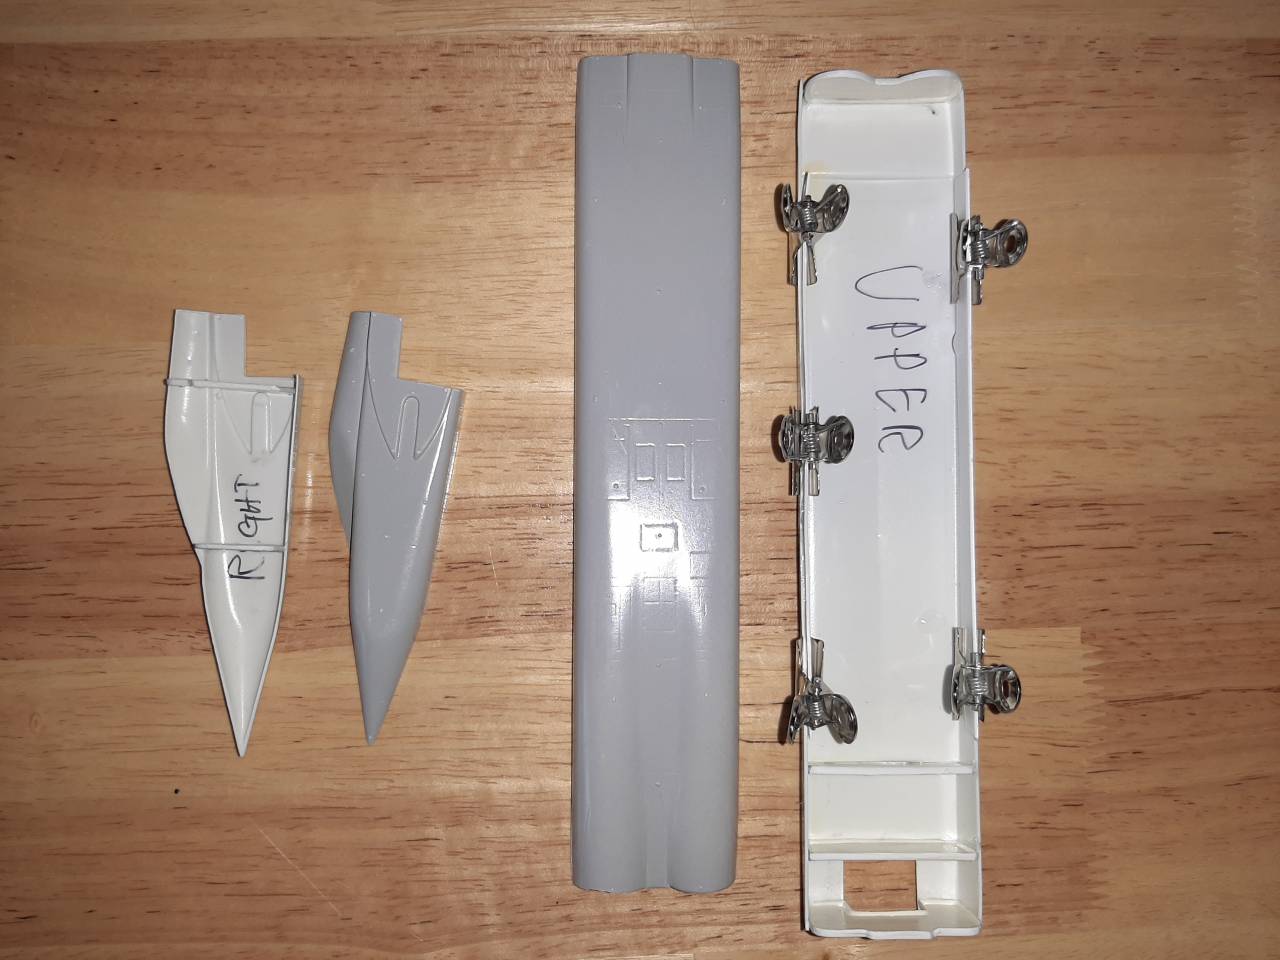
One trick I use for vacs is to spray the parts primer grey before cutting them out. Then when sanding it's crystal clear how much to sand away.
Before sanding:
After sanding:
Before sanding:
After sanding:
Posted: Tuesday, March 31, 2020 - 05:32 AM UTC
Quoted Text
One trick I use for vacs is to spray the parts primer grey before cutting them out. Then when sanding it's crystal clear how much to sand away.
Before sanding:
After sanding:
Thanks for the tip Jessie
Jessie_C
British Columbia, Canada
Joined: September 03, 2009
KitMaker: 6,965 posts
AeroScale: 6,247 posts
Joined: September 03, 2009
KitMaker: 6,965 posts
AeroScale: 6,247 posts
Posted: Tuesday, March 31, 2020 - 08:51 AM UTC
It's good to see that old beast getting some love at last
Removed by original poster on 03/31/20 - 22:21:18 (GMT).
Posted: Tuesday, March 31, 2020 - 10:22 AM UTC
Quoted Text
It's good to see that old beast getting some love at last
I hope I do it justice Jessie.
Criticize as necessary.
Posted: Friday, April 10, 2020 - 09:08 PM UTC
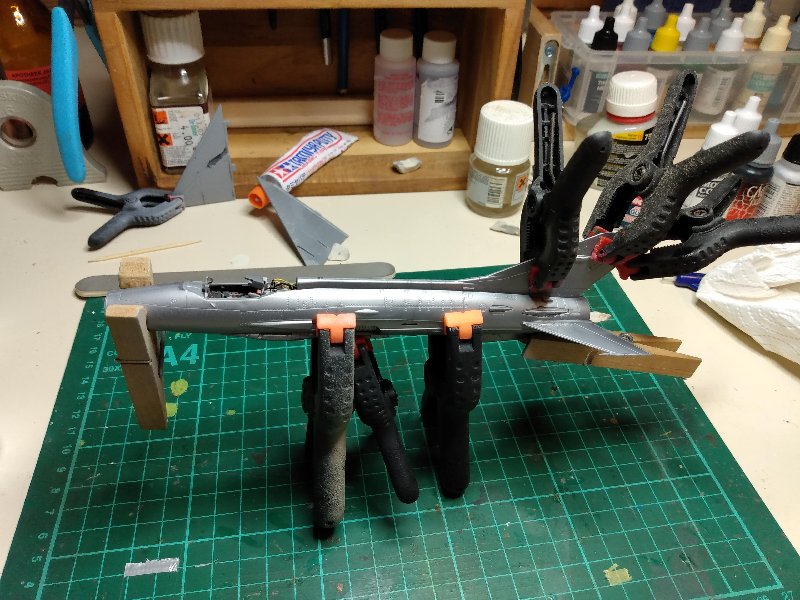
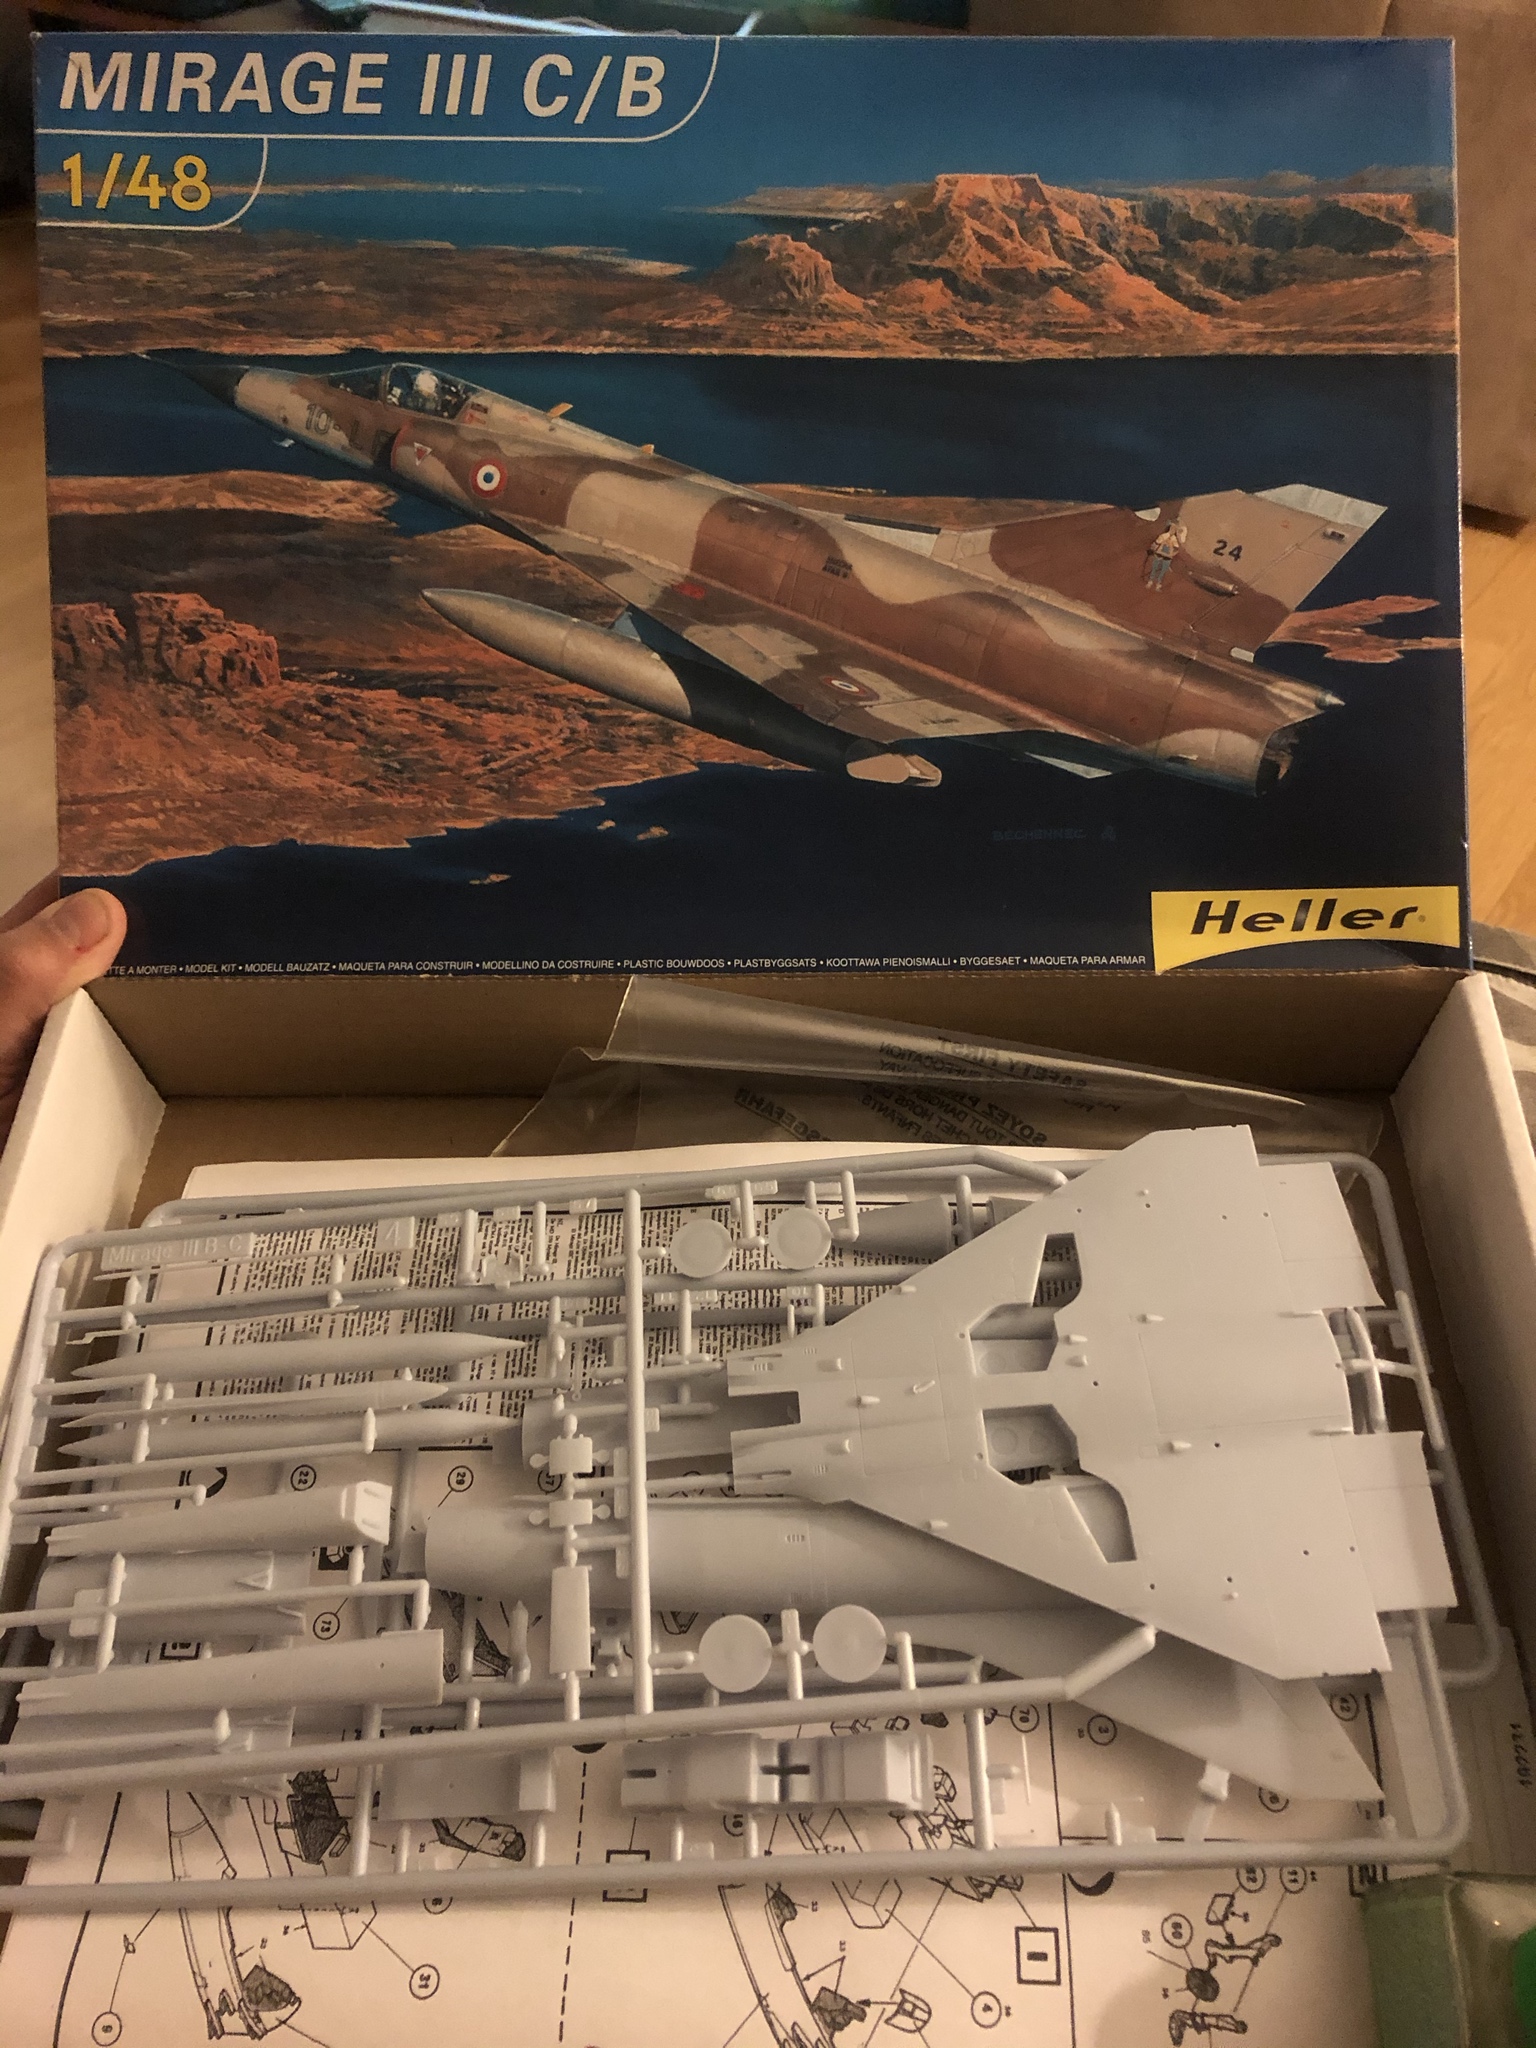
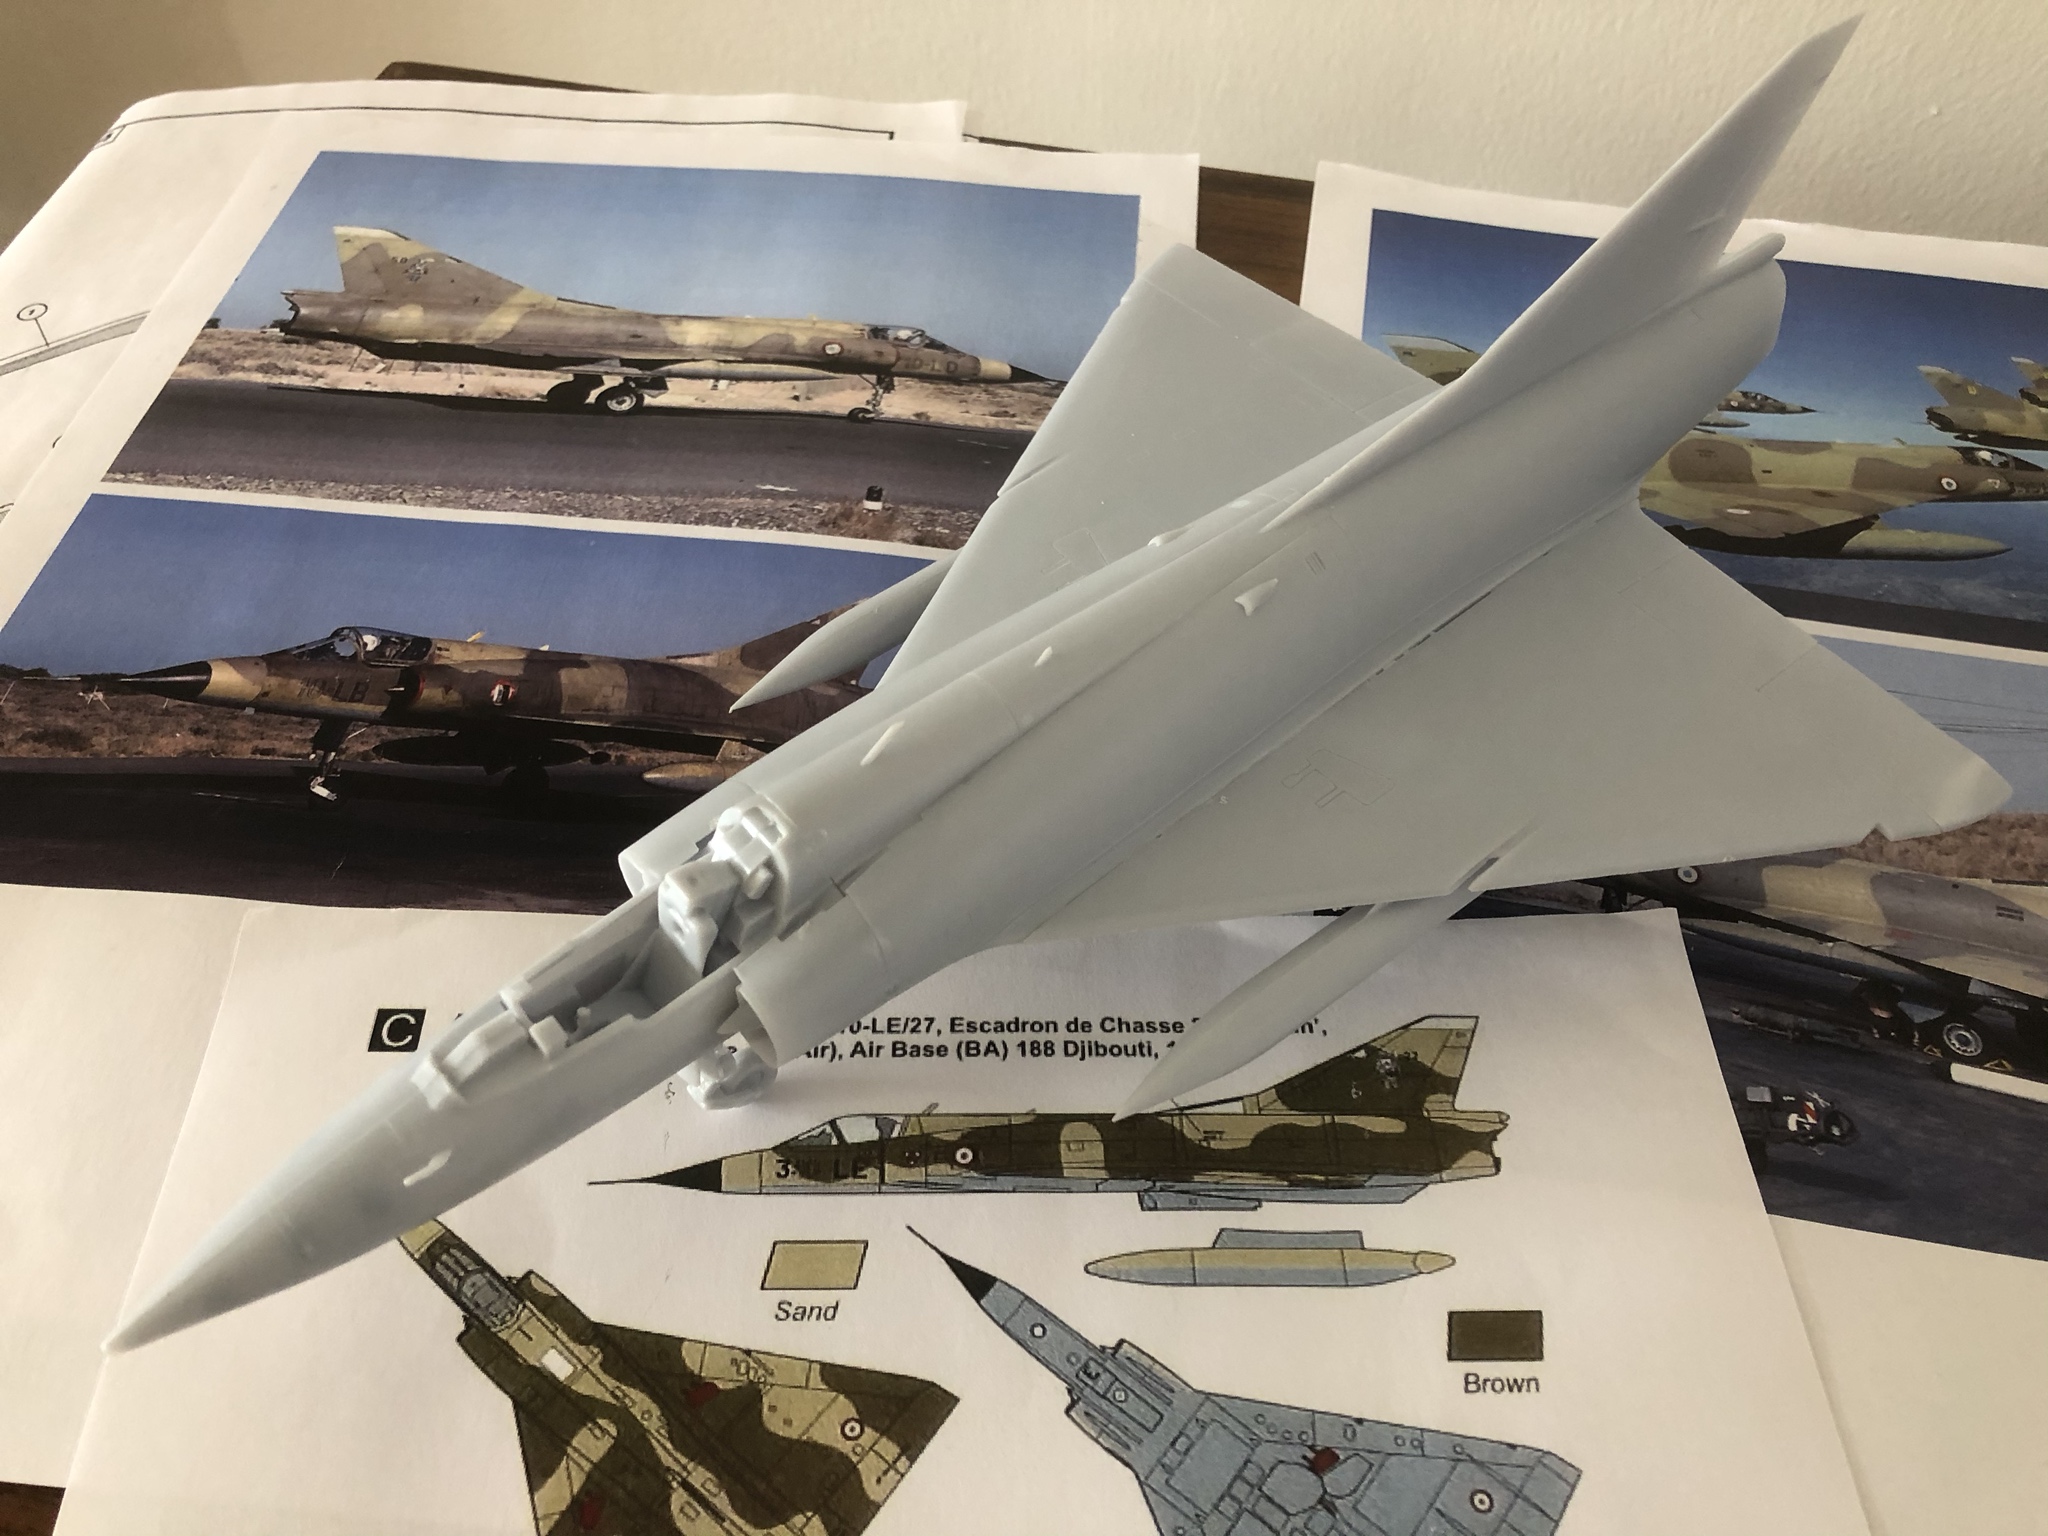
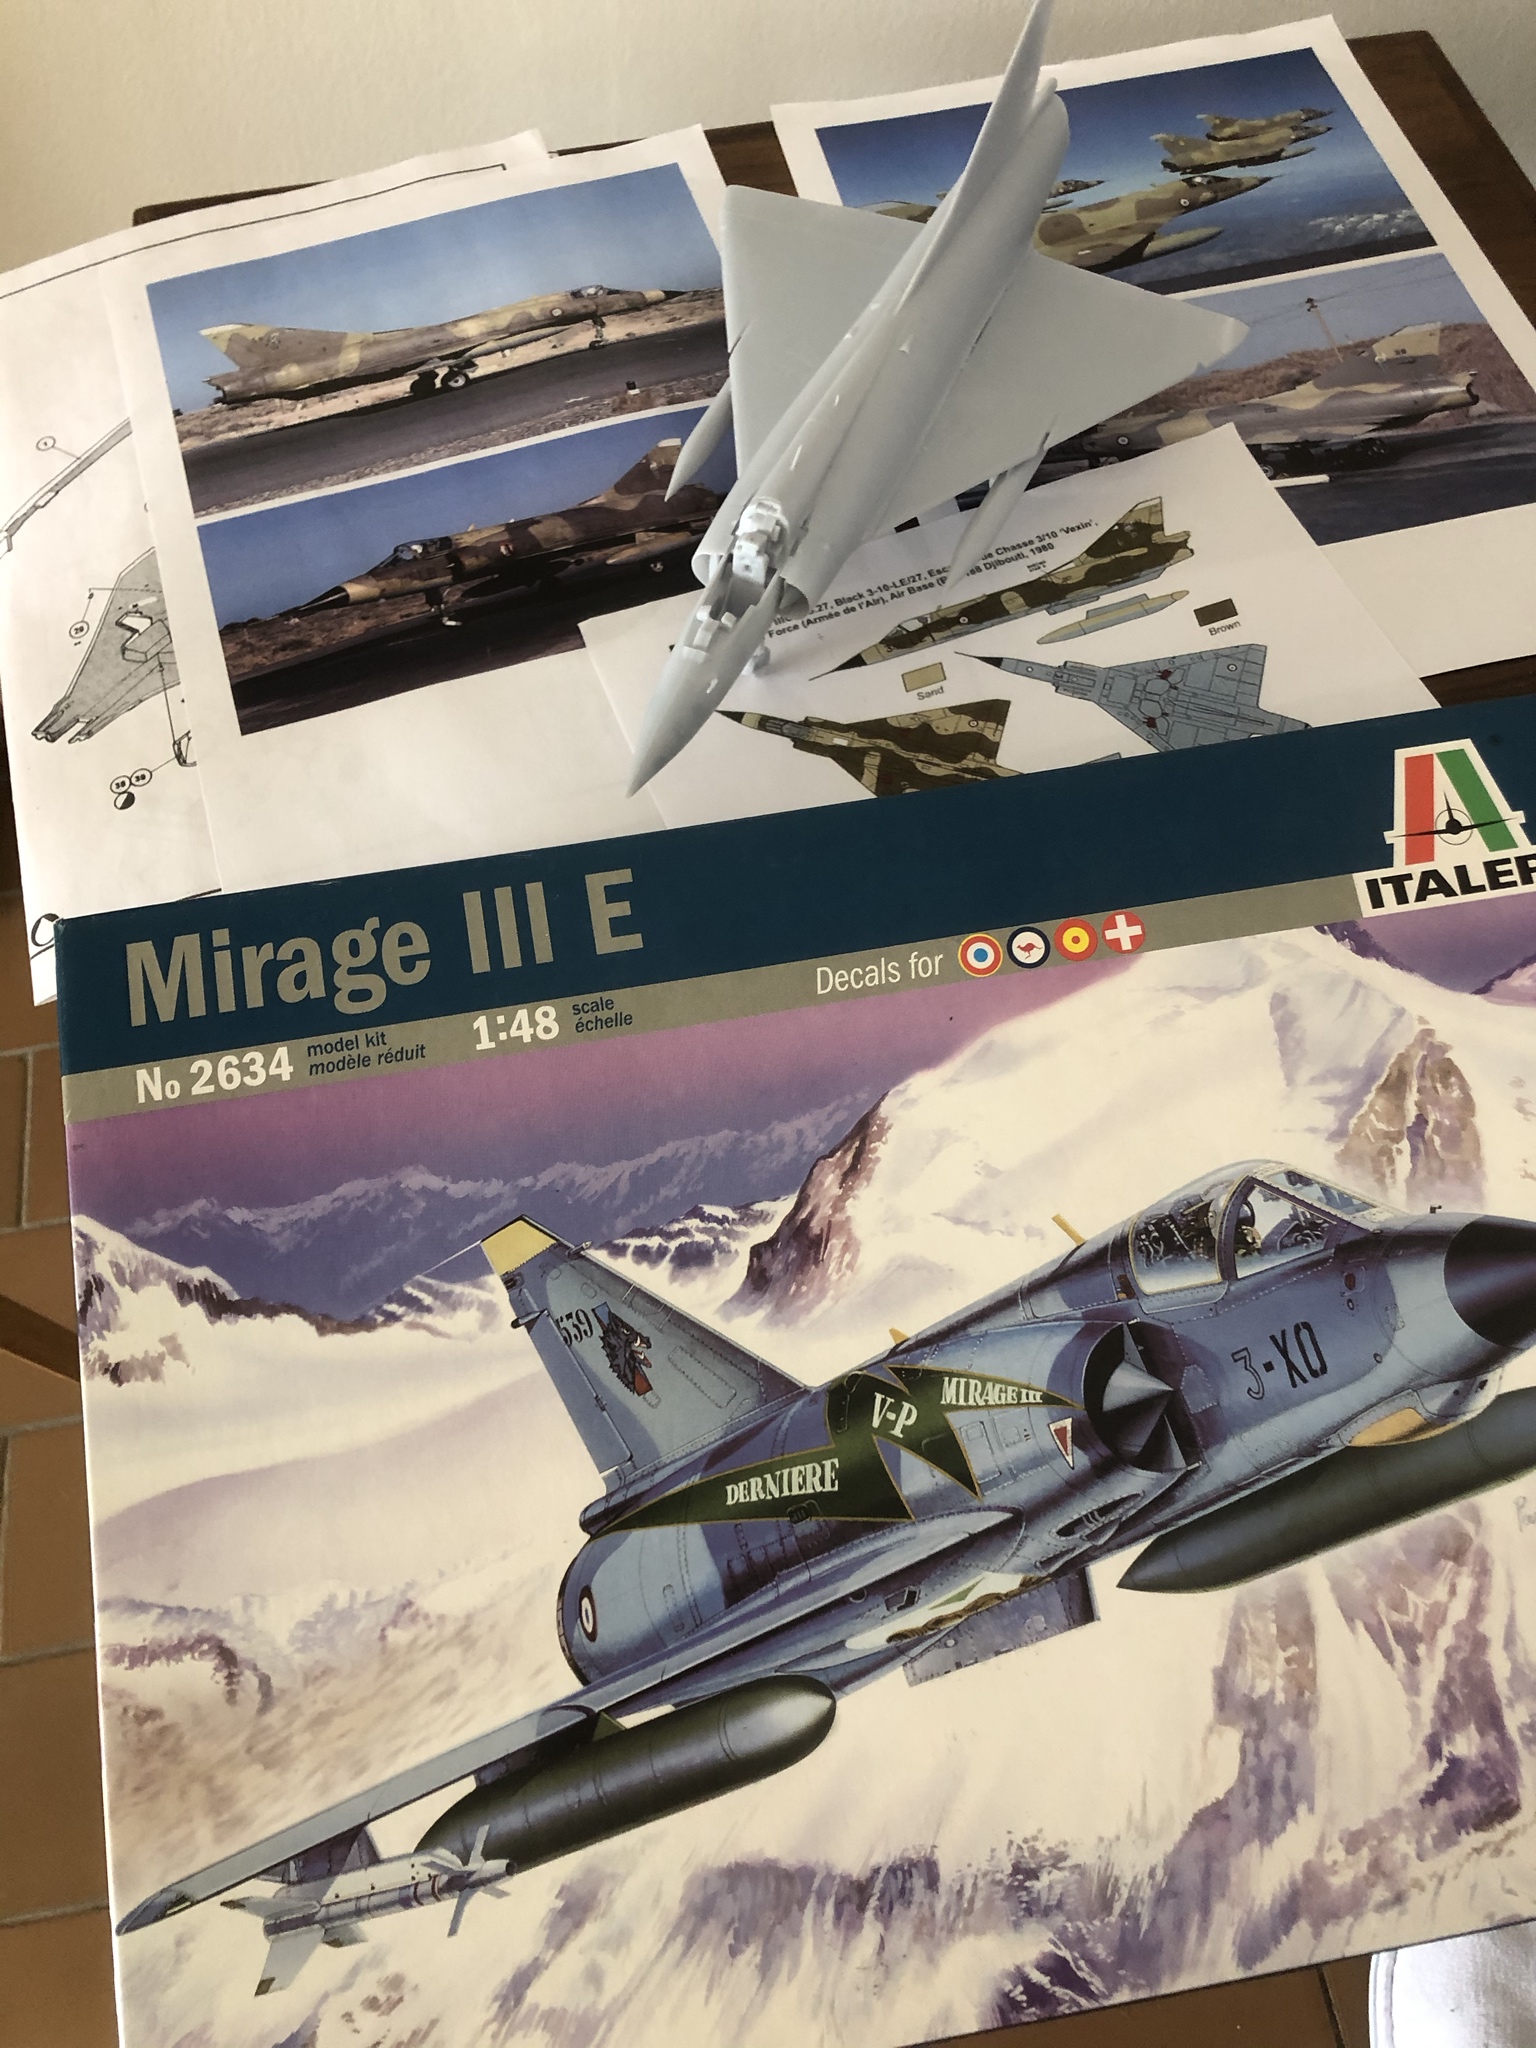
I have started my build for this campaign: the 1/48 Mirage IIIC. Started last night and did the full construction in one evening.
A very old kit, but builds up nice. The only issue is that it is made so it can be build as both a single seater and double seater. Makes it a bit tricky to line everything up.
I was planning to rob my italeri kit of some extra missile stores. However, I decided against it after building the Mirage. The lines are so beautiful - I do not want to break them with missiles.
I am planning to do the brown and sand wavy camouflage. The smooth soft camouflage combined with the sharp lines of the aircraft will look awesome. Hope I can get it right 🙂
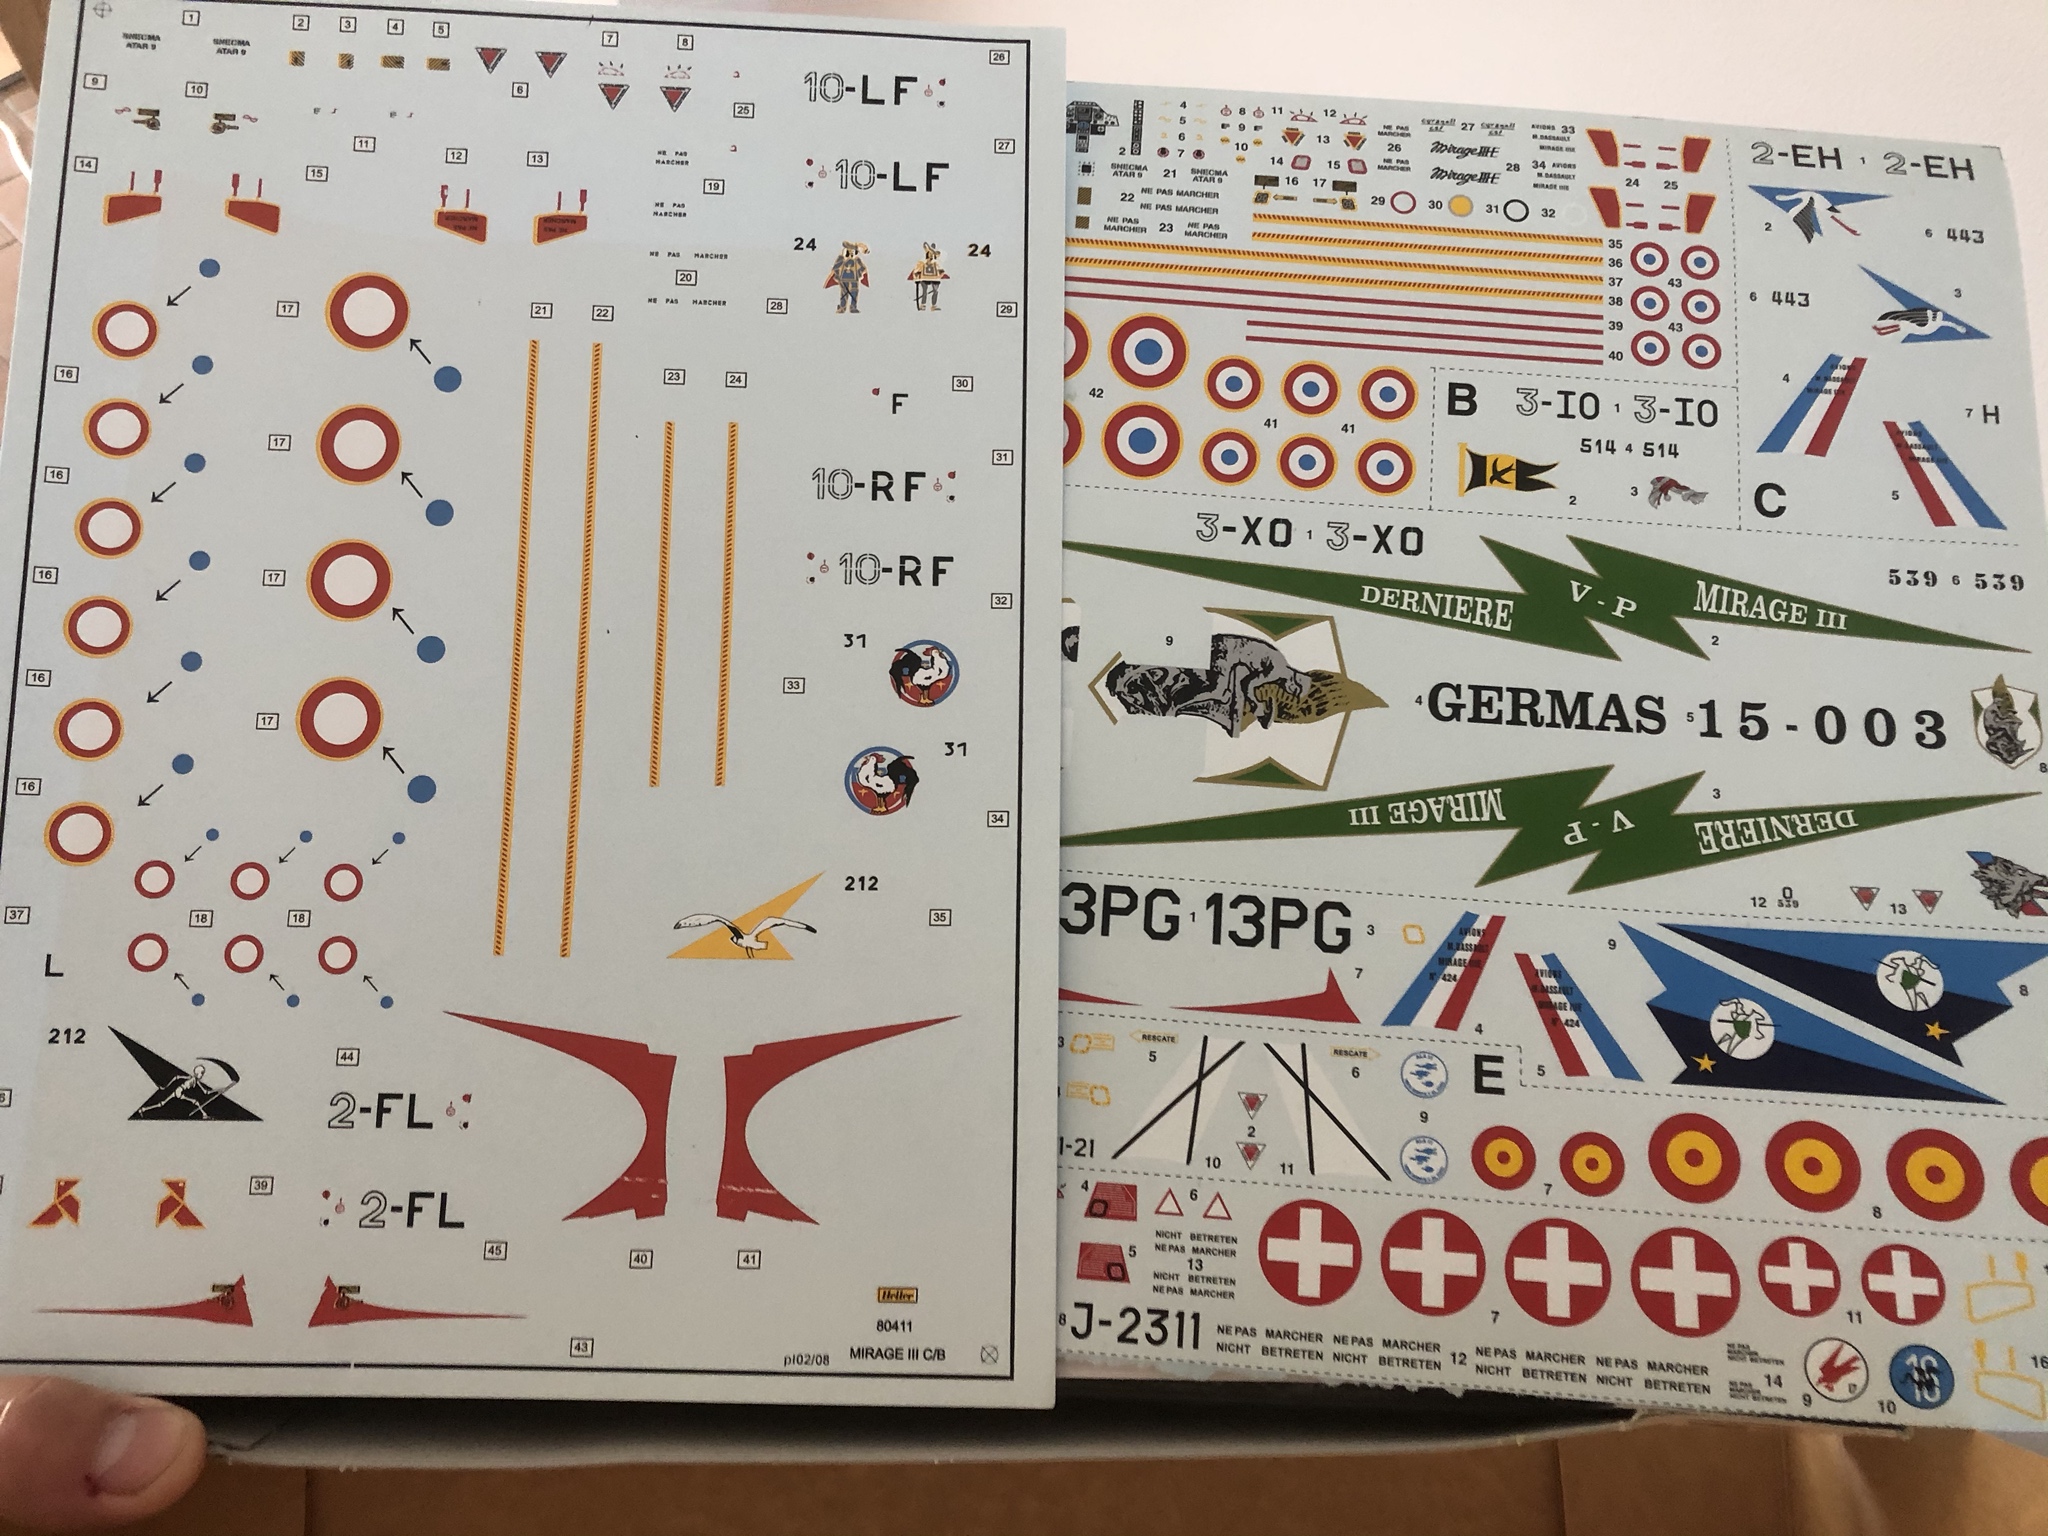
The heller decals are partly out of register, so I will combine/replace with some decals from the italeri kit.
More to follow
A very old kit, but builds up nice. The only issue is that it is made so it can be build as both a single seater and double seater. Makes it a bit tricky to line everything up.
I was planning to rob my italeri kit of some extra missile stores. However, I decided against it after building the Mirage. The lines are so beautiful - I do not want to break them with missiles.
I am planning to do the brown and sand wavy camouflage. The smooth soft camouflage combined with the sharp lines of the aircraft will look awesome. Hope I can get it right 🙂
The heller decals are partly out of register, so I will combine/replace with some decals from the italeri kit.
More to follow
Posted: Sunday, April 12, 2020 - 08:26 AM UTC
Just a little progress. It seems to take more time building the vac kits than other types. Just one picture today. Spent most of the morning into the afternoon sanding and find a nose weight, will check the shop for a suitable weight, probably a couple of nuts.
Posted: Sunday, April 19, 2020 - 03:53 AM UTC
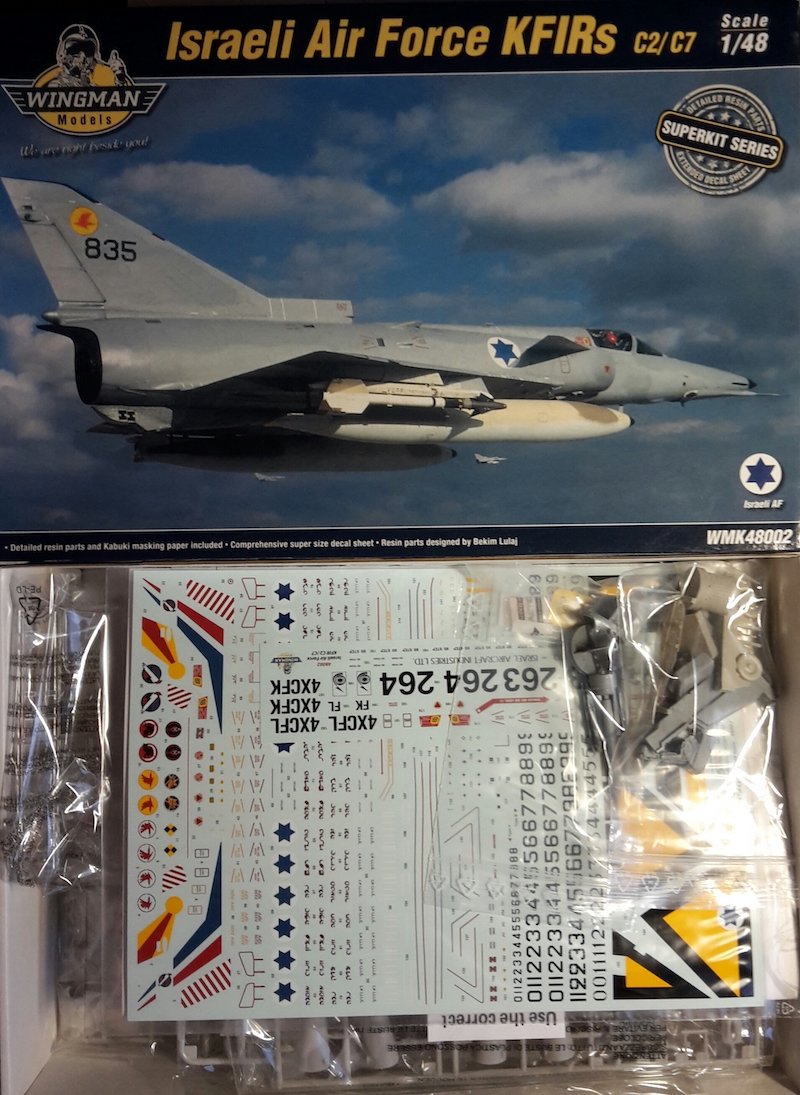
Hi mates,
finally I dug this item out of my stash for this campaign, we'll see if I can finish as I'm already into two other ones (Big Three and Mighty Eighth...)
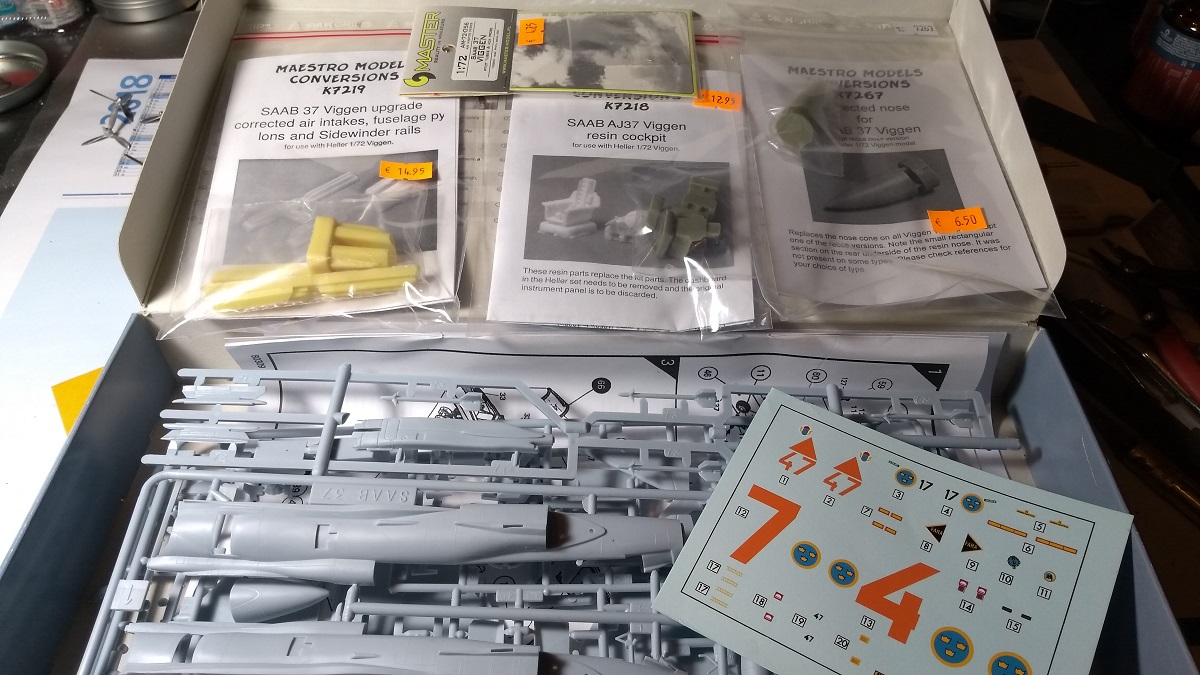
I will use some aftermarket stuff here
see you there
Cheers Peter
finally I dug this item out of my stash for this campaign, we'll see if I can finish as I'm already into two other ones (Big Three and Mighty Eighth...)
I will use some aftermarket stuff here
see you there
Cheers Peter