Welcome to The Phantom 60 Campaign! This campaign is all about honoring the 60th Anniversary of the introduction of the Mighty F-4 Phantom II. The campaign will run from 1 August, 2020 through 1 June, 2021.
If you want to see the rules and sign up, go here. Post campaign related discussion and in-progress photos in this thread. Pics of finished models should be posted in the campaign gallery.
Looking forward to models of the greatest jet fighter ever to rule the skies (there, I said it)!
Michael
Air Campaigns
Want to start or join a group build? This is where to start.
Hosted by Frederick Boucher, Michael Satin
OFFICIAL: Phantom 60 Campaign
MichaelSatin
Campaigns Administrator
Colorado, United States
Joined: January 19, 2008
KitMaker: 3,909 posts
AeroScale: 2,904 posts
Joined: January 19, 2008
KitMaker: 3,909 posts
AeroScale: 2,904 posts
Posted: Friday, July 31, 2020 - 12:44 PM UTC
MichaelSatin
Campaigns Administrator
Colorado, United States
Joined: January 19, 2008
KitMaker: 3,909 posts
AeroScale: 2,904 posts
Joined: January 19, 2008
KitMaker: 3,909 posts
AeroScale: 2,904 posts
Posted: Friday, July 31, 2020 - 01:03 PM UTC
By the way, we need a ribbon.
Michael
Michael
Sleepwalker71
Singapore / 新加坡
Joined: August 30, 2012
KitMaker: 265 posts
AeroScale: 72 posts
Joined: August 30, 2012
KitMaker: 265 posts
AeroScale: 72 posts
Posted: Friday, July 31, 2020 - 07:53 PM UTC
Let's roll!
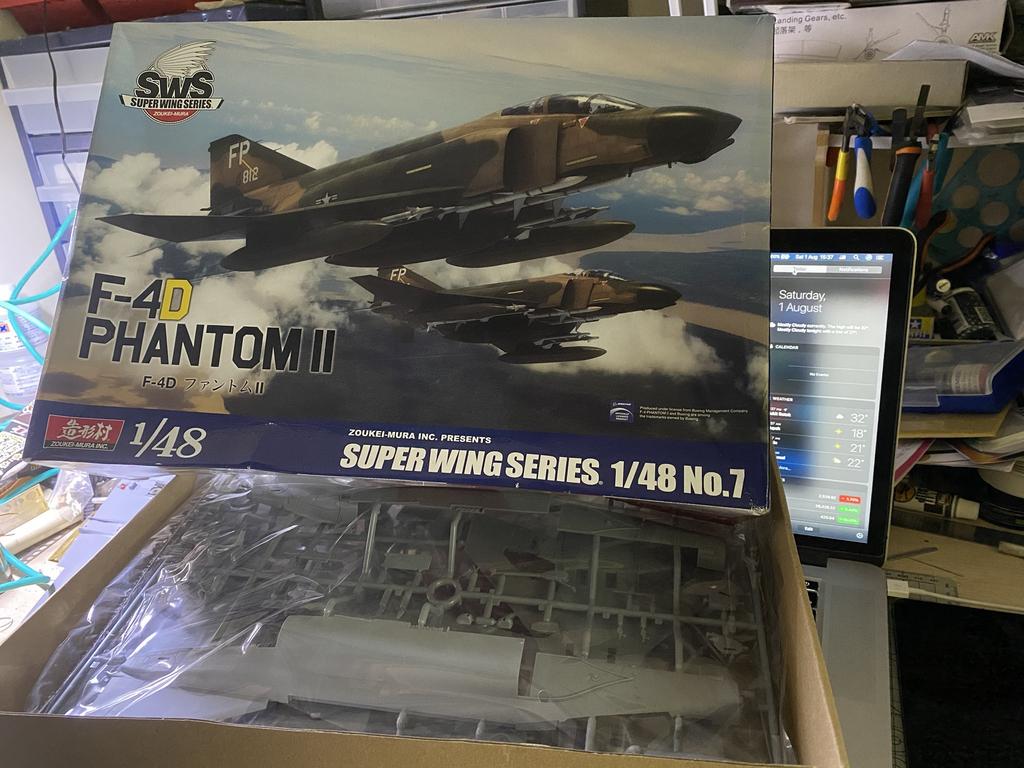
Official start photo:
Some background:
The model will depict F-4D-33-MC s/n 66-8812 from 8TFW / 497TFS stationing at Udon AFB in Thailand in January 1971 (my birth time). This particular plane has been equipped with LORAN-D navigational system and used as a pathfinder and Fast FAC during the night raids over Ho Chi Minh trail.
I'm planning to make it OOB except for a loadout more suitable for the mission this machine was taking part in, besides both outboard pylons which in the kit are integrated with fuel tank, while I need them for something else.
PasiAhopelto
Uusimaa, Finland
Joined: October 01, 2016
KitMaker: 514 posts
AeroScale: 239 posts
Joined: October 01, 2016
KitMaker: 514 posts
AeroScale: 239 posts
Posted: Friday, July 31, 2020 - 08:57 PM UTC
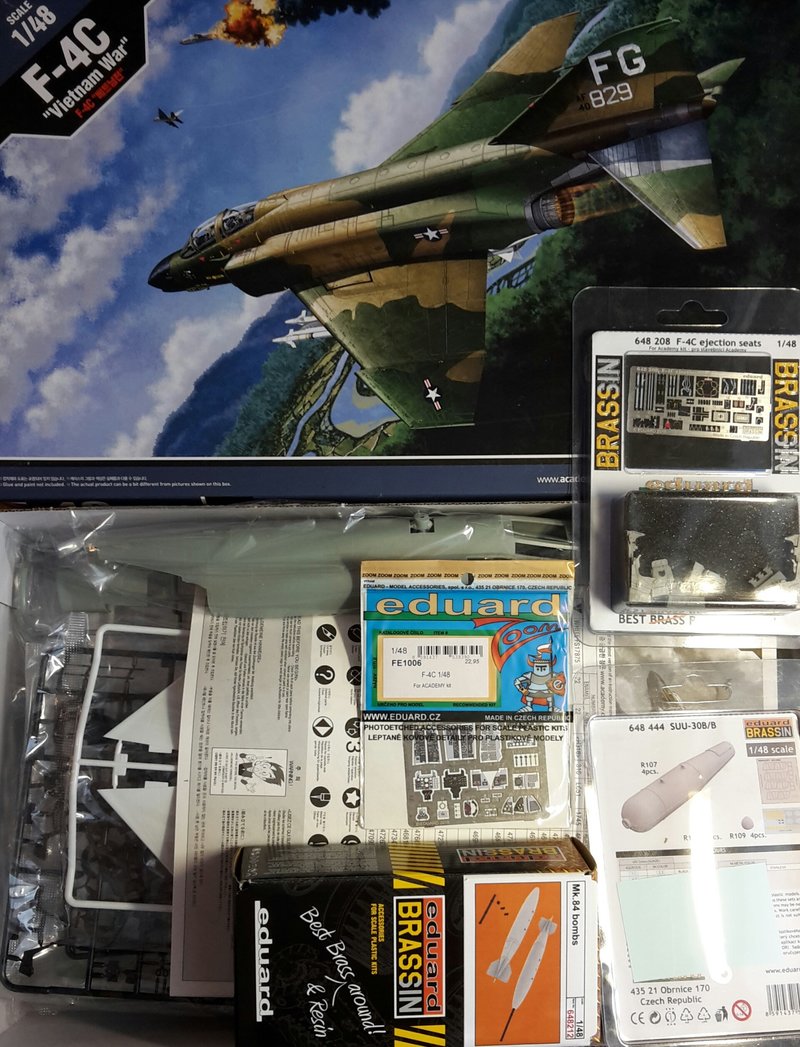
Here's my entry:
I'll use Eduard's PE and ejections seats for cockpit. Decals are for Robin Olds's F-4C, and will be armed for air to ground. Again, Eduard will provide some diversity for the loadout and goal is the more the better...
I've built Academy's F-4C perhaps two years ago, and that was Eduard's packaging. The kit should be pleasure build and Eduard PE will make cockpit detailing a lot simpler.
Johnnych01
England - South West, United Kingdom
Joined: June 29, 2019
KitMaker: 604 posts
AeroScale: 32 posts
Joined: June 29, 2019
KitMaker: 604 posts
AeroScale: 32 posts
Posted: Friday, July 31, 2020 - 10:43 PM UTC
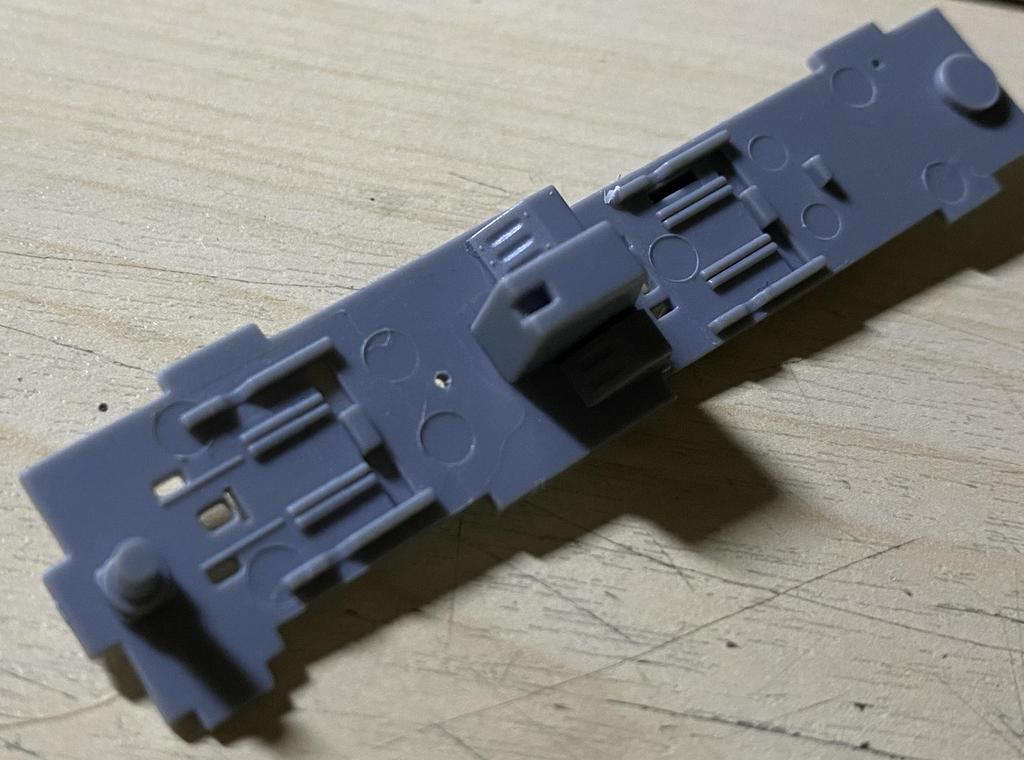
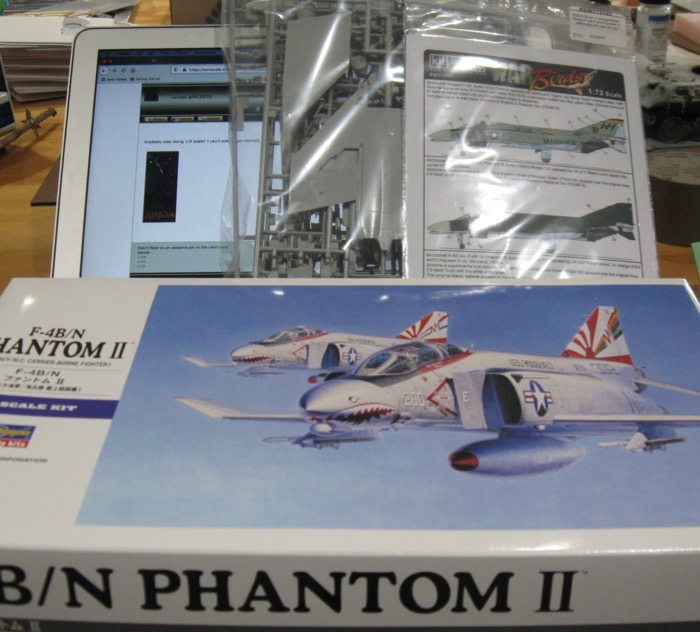
Ok, so here we go. First aircraft for about 20 years lol.
With my limited knowledge of aircraft modelling, it's going to straight OOB, no thrills or spills.
On looking at the sprues, the level of detail looks quite good.
There is some flash which will need a careful trim on the smaller delicate parts and some sink marks but they should be easy to sort.
Kit provides 2 crew, one seated, the other walking carrying his helmet. The seated figure looks almost childlike in scale compared to the walking one, but it won't matter as they will not be used.
Looking forward to getting started now.
Decals look good but only have the one set which is as per the box art, so that will be as it is.
Posted: Friday, July 31, 2020 - 10:55 PM UTC
Two new tool F-4s to start this thread off. I shall be building not just what is the "iconic" Phantom kit, but I think what should be considered an all time classic model kit. The Hasegawa 1/48 Phantom.
In my case, the JASDF F-4EJ Kai in the gorgeous blue maritime scheme
SpeedyJ
Bangkok, Thailand / ไทย
Joined: September 17, 2013
KitMaker: 1,617 posts
AeroScale: 212 posts
Joined: September 17, 2013
KitMaker: 1,617 posts
AeroScale: 212 posts
Posted: Saturday, August 01, 2020 - 12:13 AM UTC
Hello. I want to build something completely different. Inspired by what came along on the armor side, (IDFTiran on a transporter btw), I remembered this one:
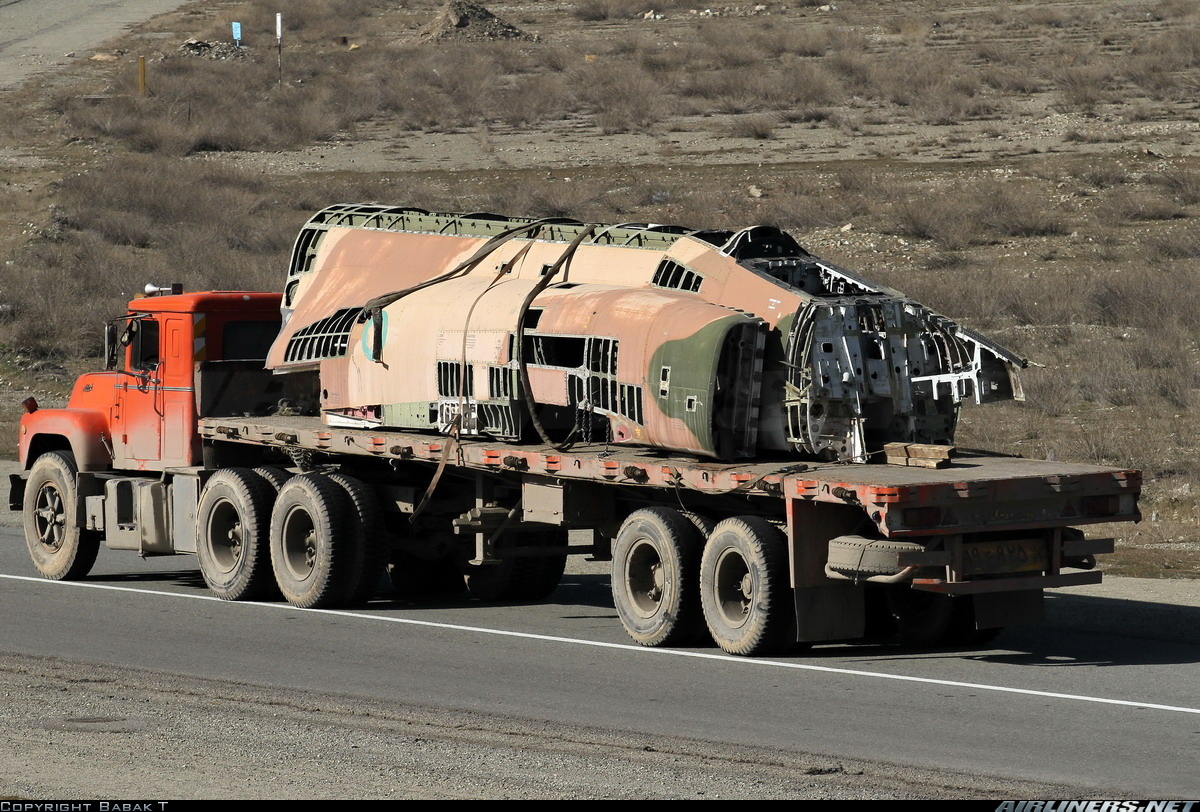
Building this would be a total scratch build for the remains of this fuselage.
Will have do that in 1/24 scale, I have a fruehauf for the match to make it easy for the start.
Also have some photos of a stripped cockpit. For measurement and up-scaling there are my 1/32 fuselages from Tamiya and drawings for rivets, panels, etc.
So I leave my F-4B in the box for a while, see if I can get this from the ground.
I have, the same as you all one full year to get this done, so why not give it a try?
Need to purchase a lot of styrene sheet and profiles, a MACK and a new Fruehauf trailer. Happy AMT is reissuing the whole business over the last months!
Good luck everybody.
phil2015
Illinois, United States
Joined: July 27, 2015
KitMaker: 502 posts
AeroScale: 110 posts
Joined: July 27, 2015
KitMaker: 502 posts
AeroScale: 110 posts
Posted: Saturday, August 01, 2020 - 01:44 AM UTC
Anybody else doing 1/8 scale? I can't wait to get started:
SpeedyJ
Bangkok, Thailand / ไทย
Joined: September 17, 2013
KitMaker: 1,617 posts
AeroScale: 212 posts
Joined: September 17, 2013
KitMaker: 1,617 posts
AeroScale: 212 posts
Posted: Saturday, August 01, 2020 - 02:35 AM UTC
Quoted Text
Anybody else doing 1/8 scale? I can't wait to get started:
That seriously would make a great ribbon!
Sleepwalker71
Singapore / 新加坡
Joined: August 30, 2012
KitMaker: 265 posts
AeroScale: 72 posts
Joined: August 30, 2012
KitMaker: 265 posts
AeroScale: 72 posts
Posted: Saturday, August 01, 2020 - 04:47 AM UTC
Nobody is perfect, but to be honest these are only pin marks visible on the exposed parts of the kit. Some will be hidden under other parts, but some will still hurt eyes, even when barely visible.
MichaelSatin
Campaigns Administrator
Colorado, United States
Joined: January 19, 2008
KitMaker: 3,909 posts
AeroScale: 2,904 posts
Joined: January 19, 2008
KitMaker: 3,909 posts
AeroScale: 2,904 posts
Posted: Saturday, August 01, 2020 - 06:06 AM UTC
Quoted Text
Quoted Text
Anybody else doing 1/8 scale? I can't wait to get started:
That seriously would make a great ribbon!
If only it was horizontal instead of vertical!
I was thinking more of something like this:
Whaddaya think?
Michael
Posted: Saturday, August 01, 2020 - 07:00 AM UTC
I think it looks great
phil2015
Illinois, United States
Joined: July 27, 2015
KitMaker: 502 posts
AeroScale: 110 posts
Joined: July 27, 2015
KitMaker: 502 posts
AeroScale: 110 posts
Posted: Saturday, August 01, 2020 - 07:32 AM UTC
Here's my start photo:
and a close-up of the plane I'm aiming to build:
Posted: Saturday, August 01, 2020 - 10:20 AM UTC
Ribbon looks spot on.
Here's my leftovers from Phablous Phantoms 55. Guess I'll try to get back to where I was and get this bird finished.
Posted: Saturday, August 01, 2020 - 10:59 AM UTC
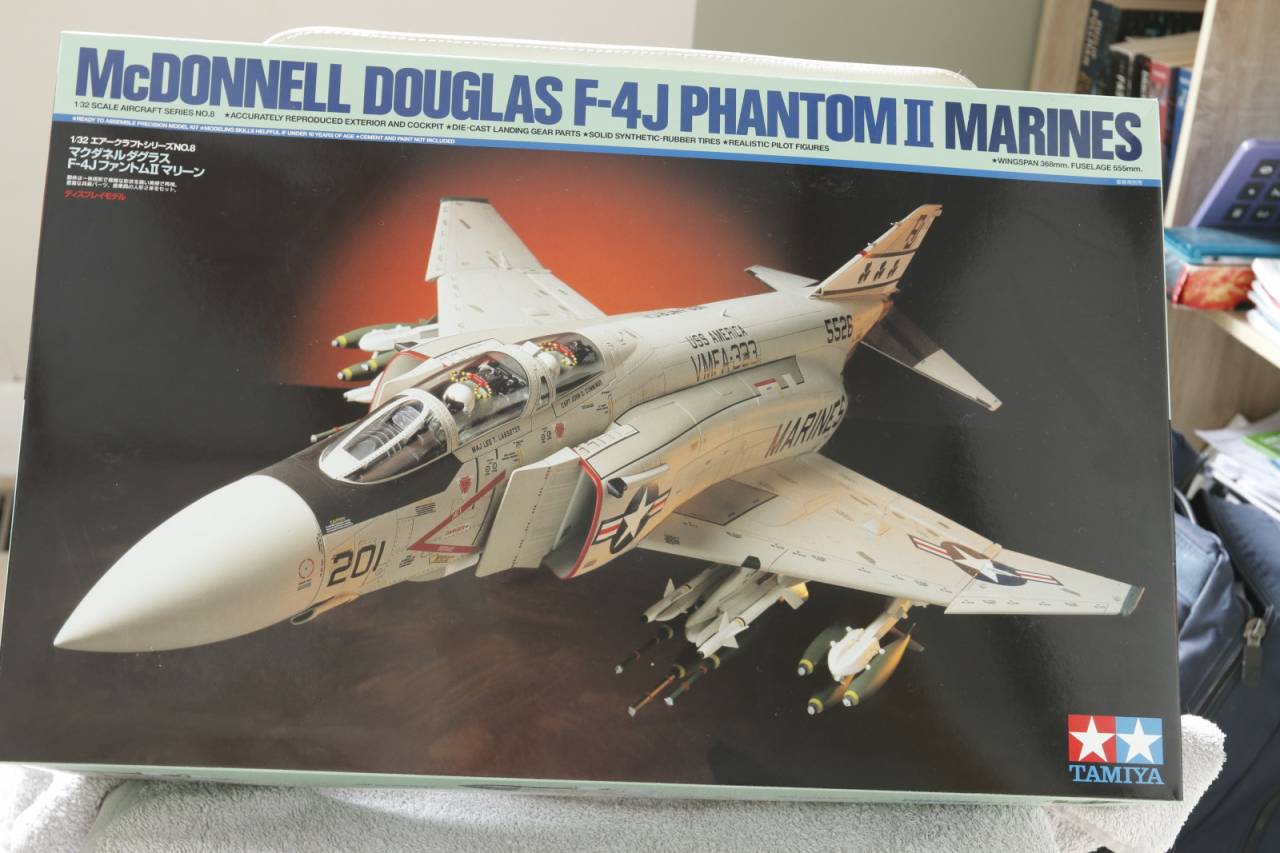
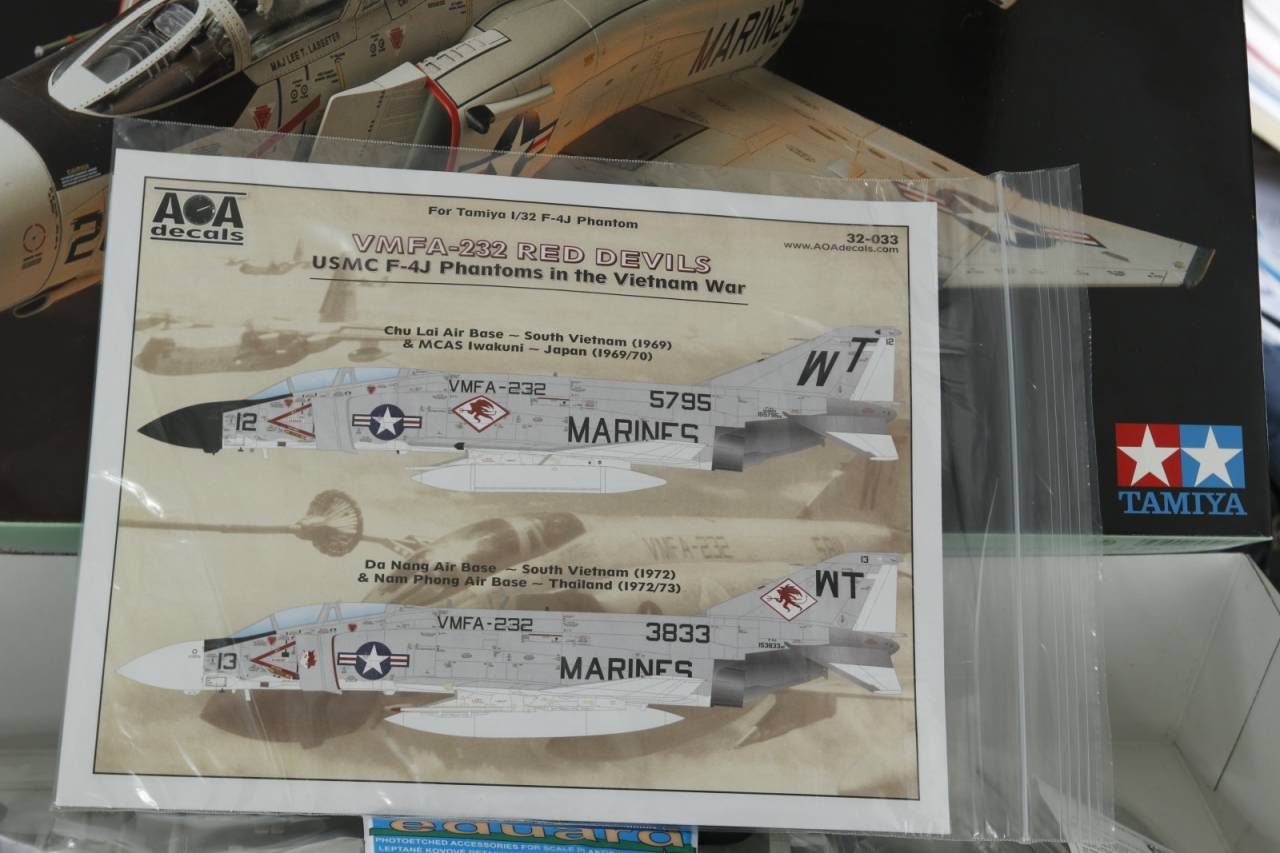
Well I'm in with the biggest plane I will have attempted - Tamiya's 1/32 classic
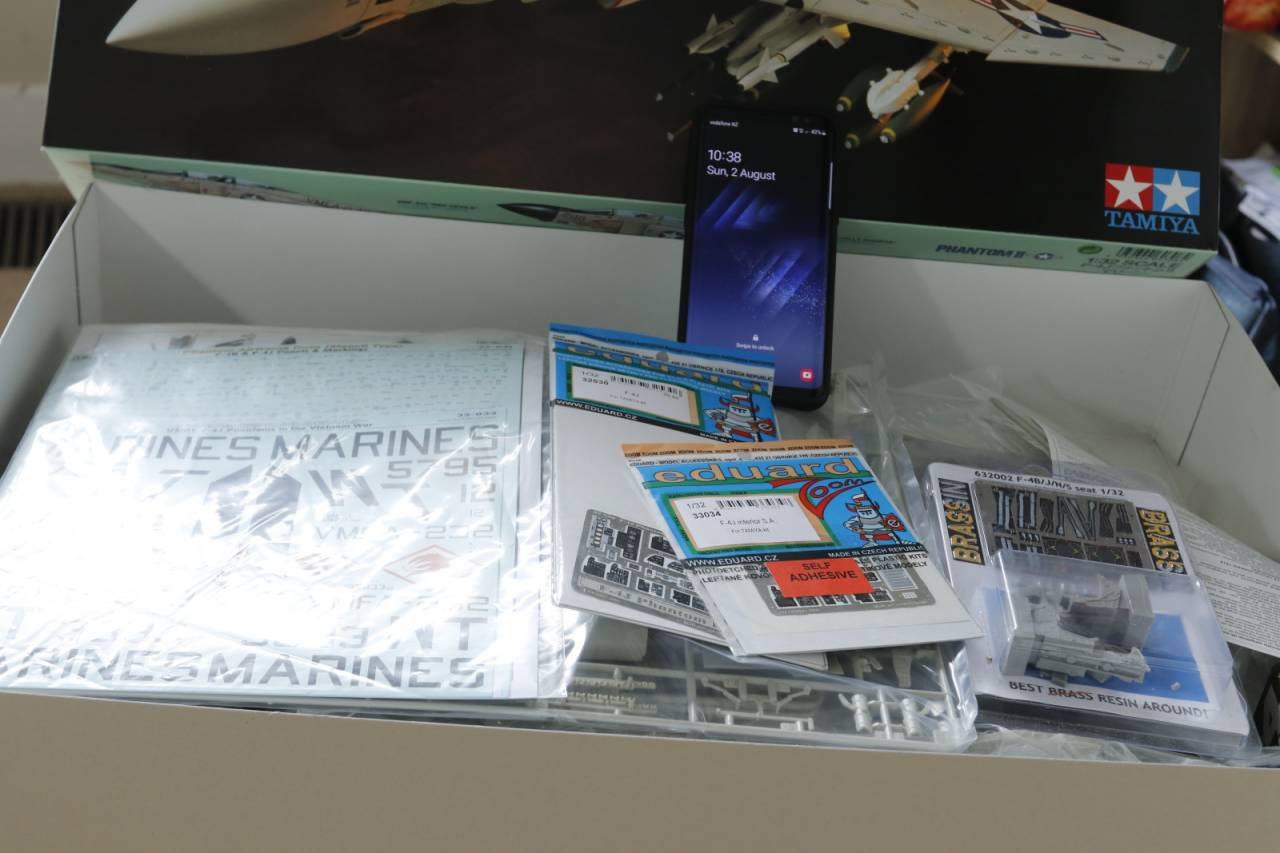
Have a few Eduard bits for it. The danger of buying bits over time is that you find you have bought the interior twice.
And here the version I'm going to build - Red Devils at Chu Lai
I was tempted to do one of Japanese F-4 EJs that were in the video from earlier but that would mean finding a new kit meanwhile I just have to finish an Automodeler campaign then I can cut some plastic.
cheers
Michael
Sleepwalker71
Singapore / 新加坡
Joined: August 30, 2012
KitMaker: 265 posts
AeroScale: 72 posts
Joined: August 30, 2012
KitMaker: 265 posts
AeroScale: 72 posts
Posted: Saturday, August 01, 2020 - 01:10 PM UTC
Quoted Text
I was thinking more of something like this:
Whaddaya think?
Michael
It's a yes from me.
Posted: Saturday, August 01, 2020 - 04:41 PM UTC
Quoted Text
I was thinking more of something like this:
Whaddaya think?
Michael
I think that works perfectly Michael
Posted: Saturday, August 01, 2020 - 09:05 PM UTC
Ribbon looks great Mike
Pete
Pete
Johnnych01
England - South West, United Kingdom
Joined: June 29, 2019
KitMaker: 604 posts
AeroScale: 32 posts
Joined: June 29, 2019
KitMaker: 604 posts
AeroScale: 32 posts
Posted: Sunday, August 02, 2020 - 08:53 AM UTC
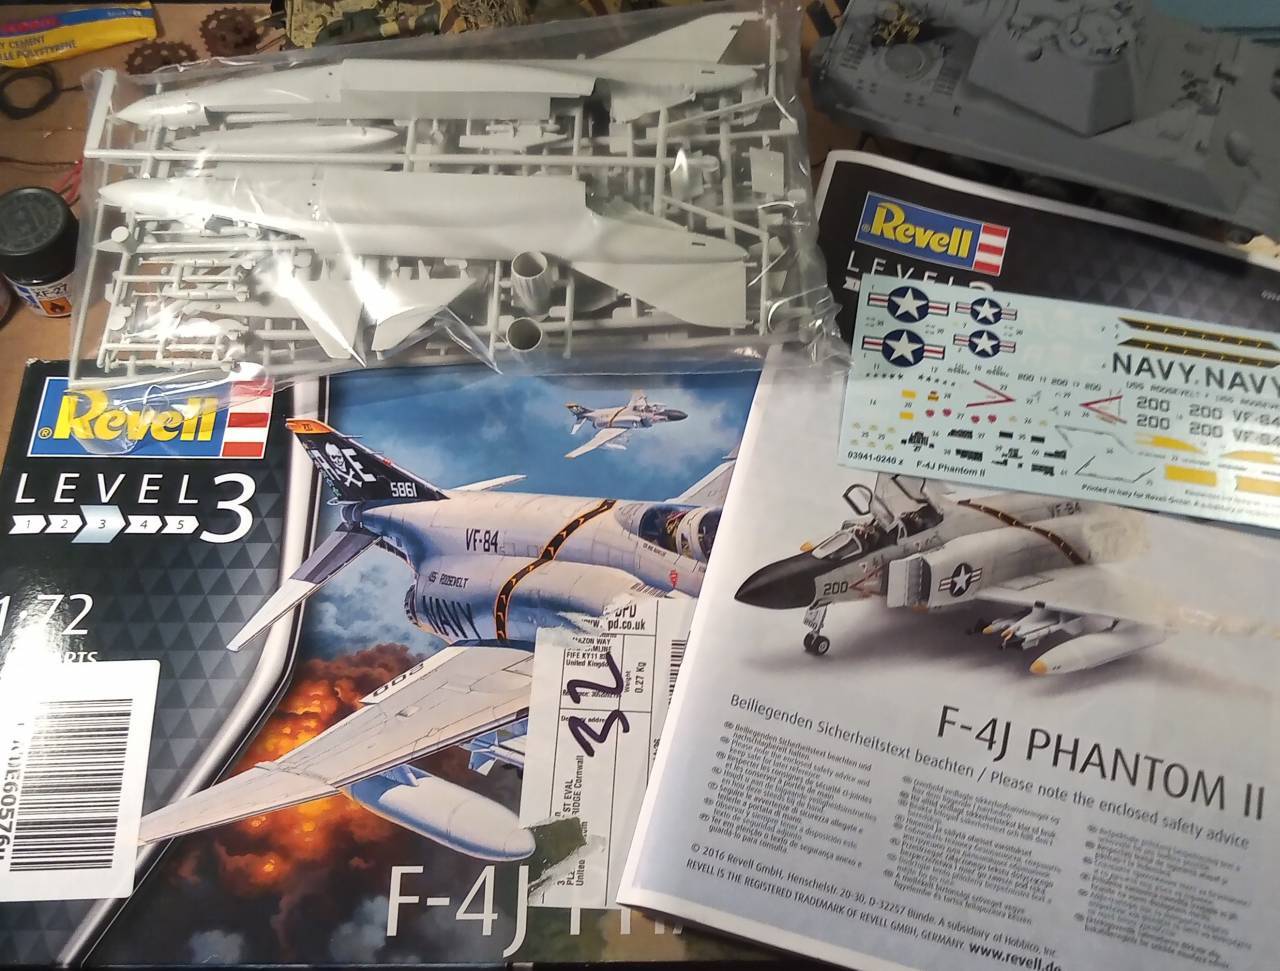
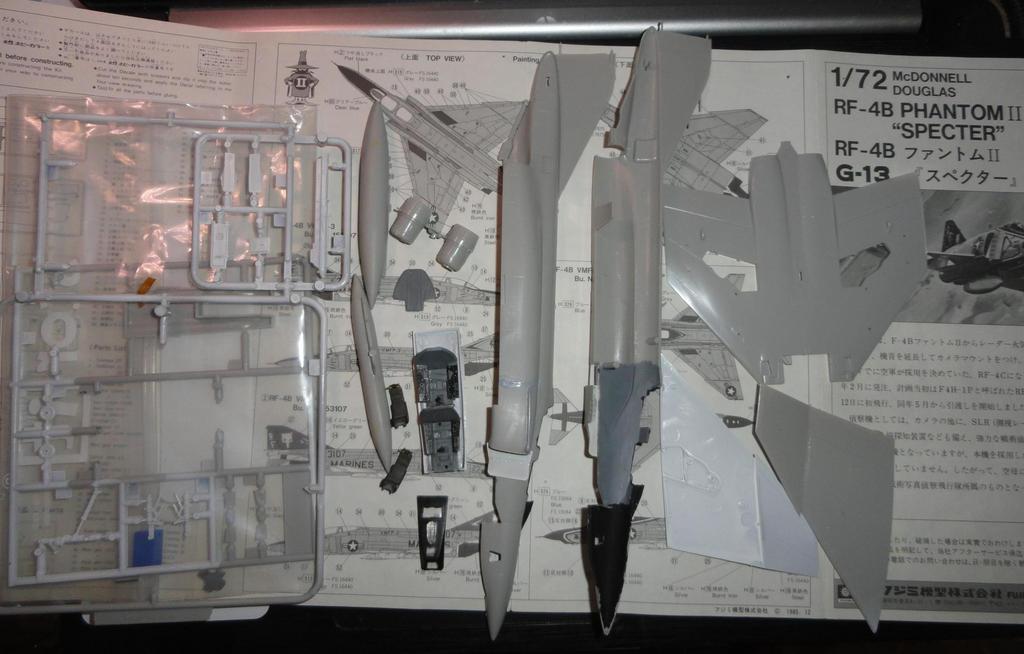
Just started on the cockpit...
Jesus, I don't know how you guys do 1/72, it's making my eyes bleed lol ..
I now know why I love 1/35 lol....
Ribbon looks great btw.
Jesus, I don't know how you guys do 1/72, it's making my eyes bleed lol ..
I now know why I love 1/35 lol....
Ribbon looks great btw.
phil2015
Illinois, United States
Joined: July 27, 2015
KitMaker: 502 posts
AeroScale: 110 posts
Joined: July 27, 2015
KitMaker: 502 posts
AeroScale: 110 posts
Posted: Sunday, August 02, 2020 - 11:32 AM UTC
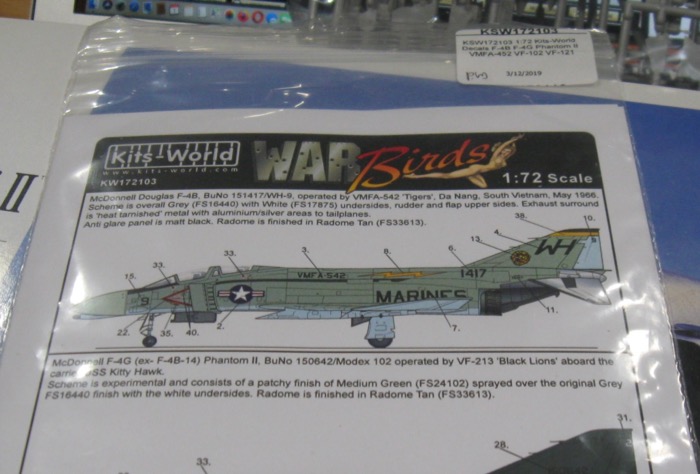
Looking ahead to painting my plane. I'm doing a marine f4b from Vietnam. I think I have a handle on most of it as far as painting goes, but I'm a little confused about the tail assembly. It looks like the vertical part is gull gray with white on the rudder. On the drawings I have (with the decals and the osprey plate from the same unit) look like they are white metal close to the wing and white (on the top surface, I'm assuming that's what they would be on the bottom surface). What do you think?
Ah, nevermind. I found a picture of the model that I have decals for, on wikipedia:
https://commons.wikimedia.org/wiki/File:F-4B_VMFA-542_DaNang_1966.jpg
Just need to figure out what to put under the wings now.
Ah, nevermind. I found a picture of the model that I have decals for, on wikipedia:
https://commons.wikimedia.org/wiki/File:F-4B_VMFA-542_DaNang_1966.jpg
Just need to figure out what to put under the wings now.
phil2015
Illinois, United States
Joined: July 27, 2015
KitMaker: 502 posts
AeroScale: 110 posts
Joined: July 27, 2015
KitMaker: 502 posts
AeroScale: 110 posts
Posted: Tuesday, August 04, 2020 - 11:15 AM UTC
I hit my first snag. My subject has wing tanks on the outer pylon - no prob. I think I'll put a couple of 4 tube zuni launchers on each inner pylon - no prob. There is an MER mounted centerline that can take 6 bombs - no prob. But, the MER should be attached to a centerline pylon - big prob. There isn't one in the kit or in the Hasegawa weapons set. I haven't been able to find one aftermarket. I'm working in 1/72. So I guess I'll have to scratch one. I'm not sure how detailed it needs to be because it will mostly be obscured, but I am concerned about how to position it, and the MER on it.
Suggestions for any of these steps would be most welcomed.....
SpeedyJ
Bangkok, Thailand / ไทย
Joined: September 17, 2013
KitMaker: 1,617 posts
AeroScale: 212 posts
Joined: September 17, 2013
KitMaker: 1,617 posts
AeroScale: 212 posts
Posted: Tuesday, August 04, 2020 - 01:00 PM UTC
Hi Phil.
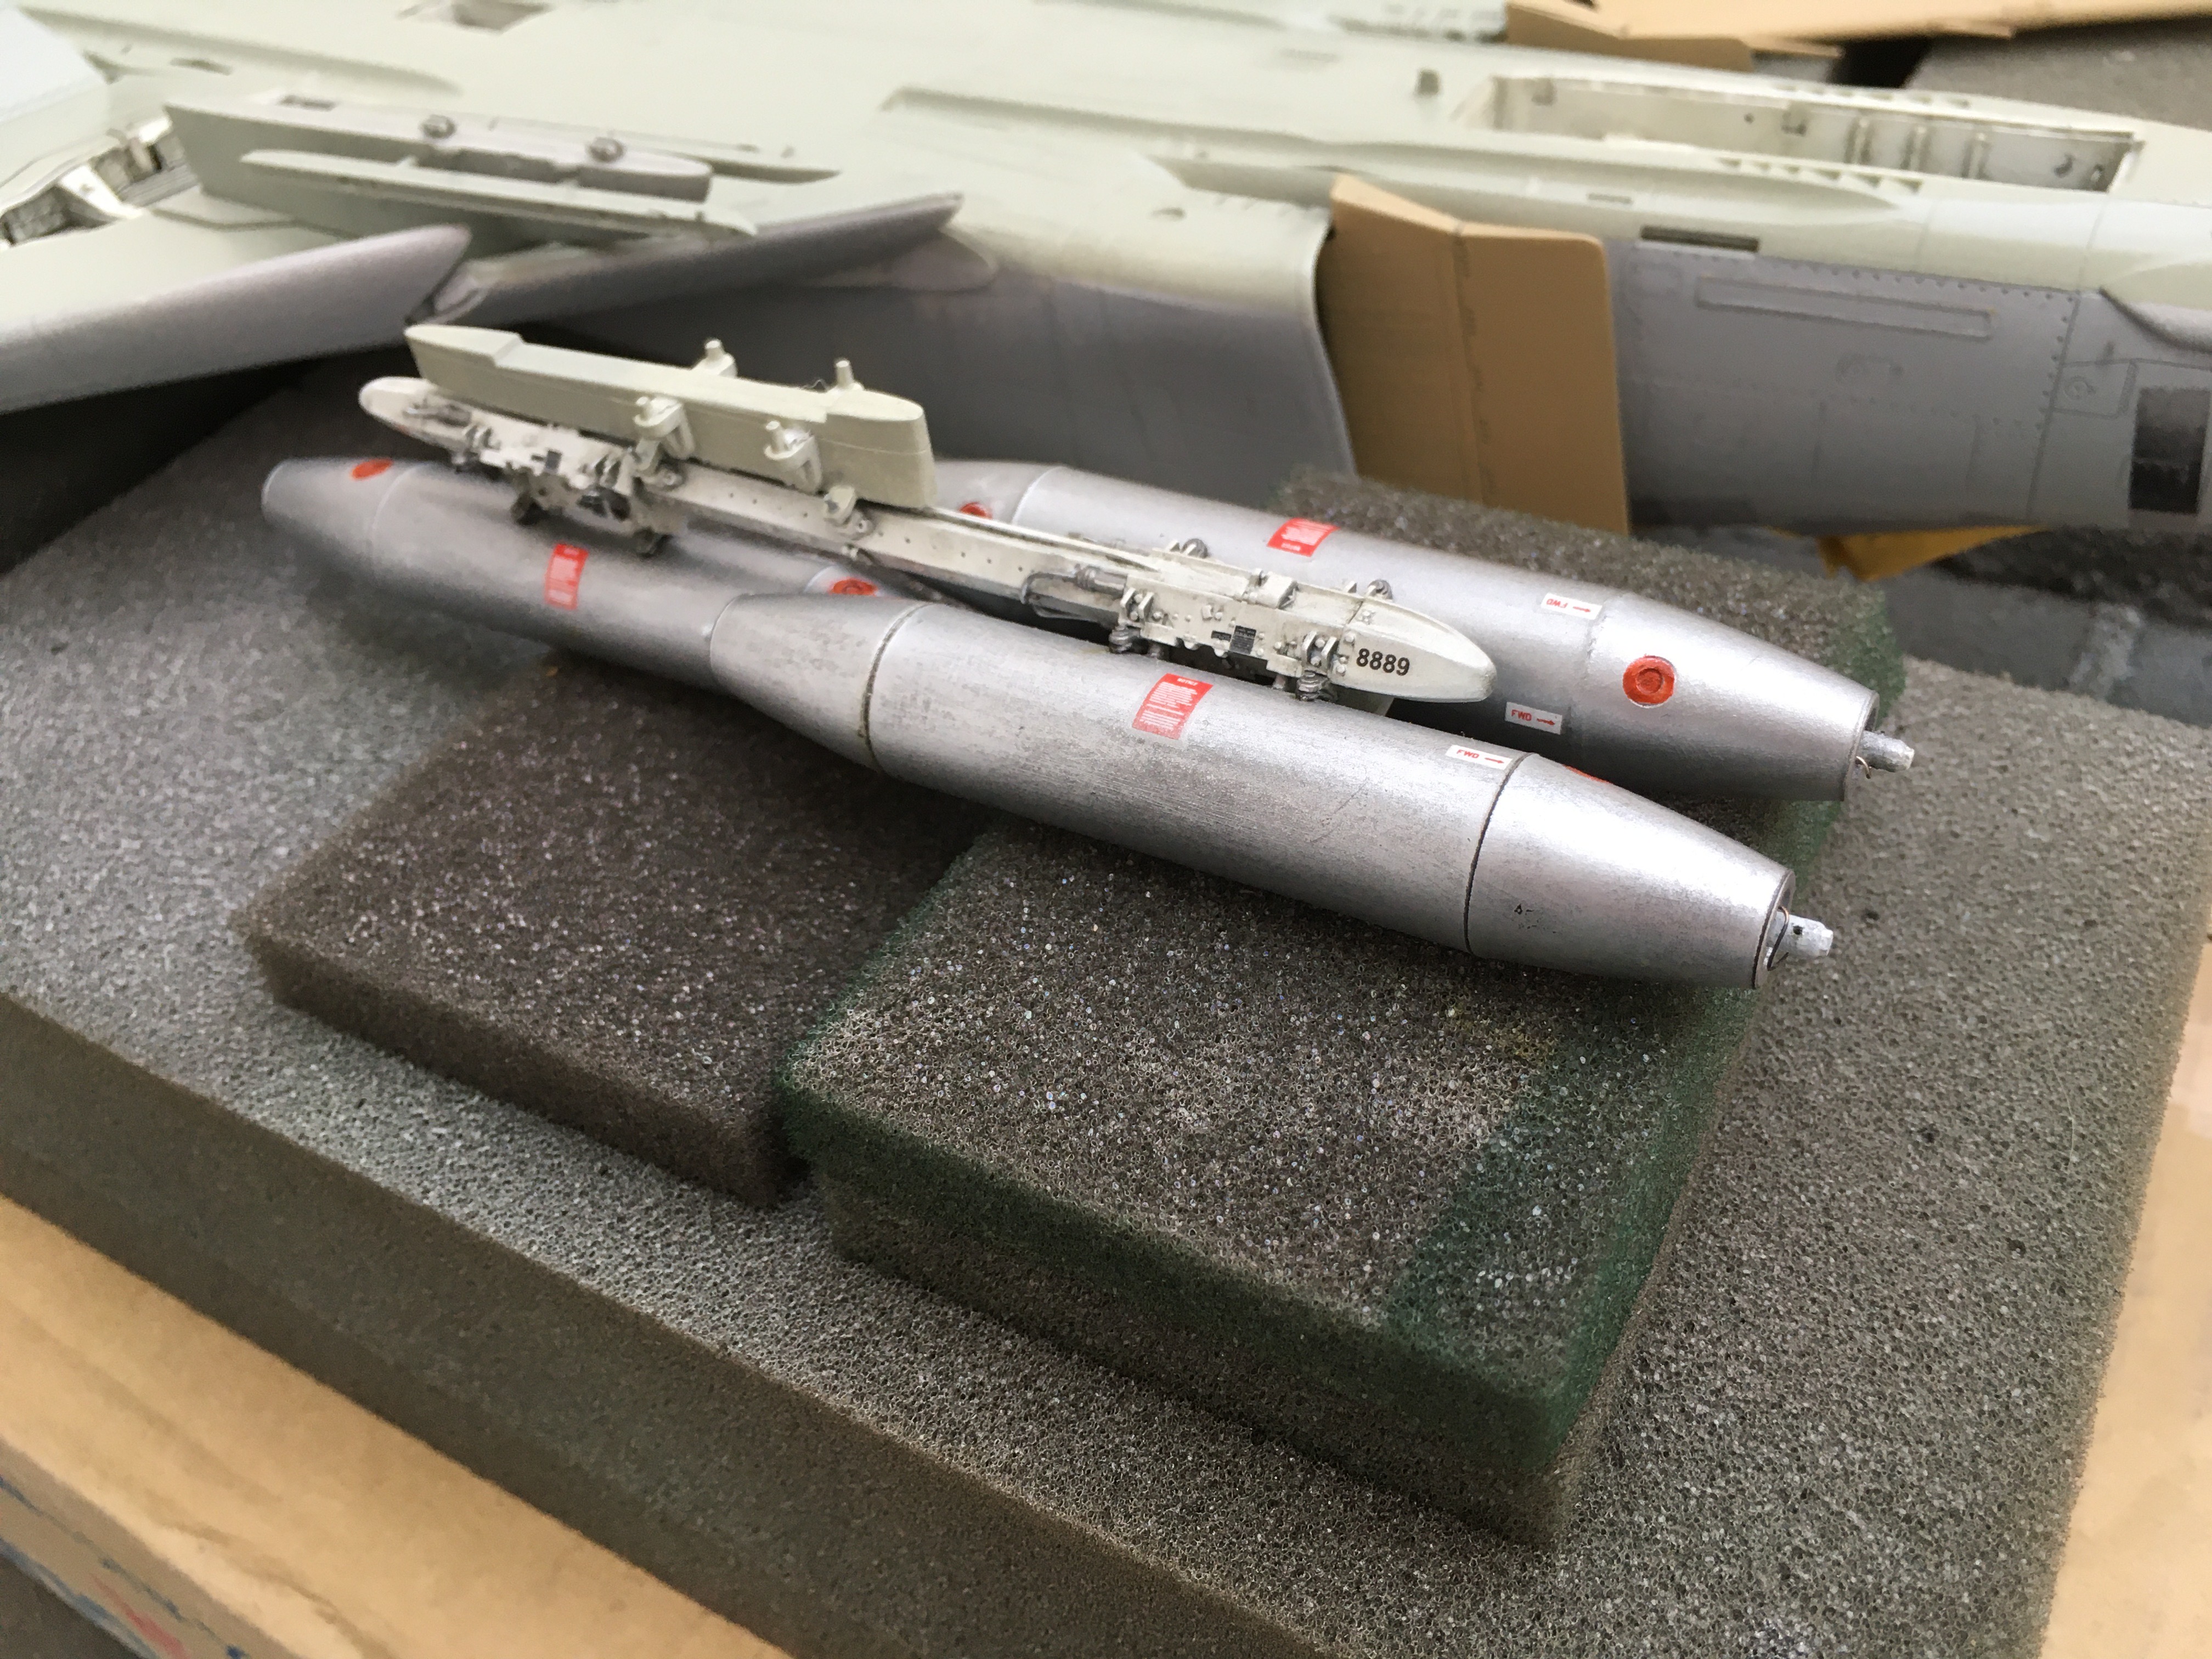
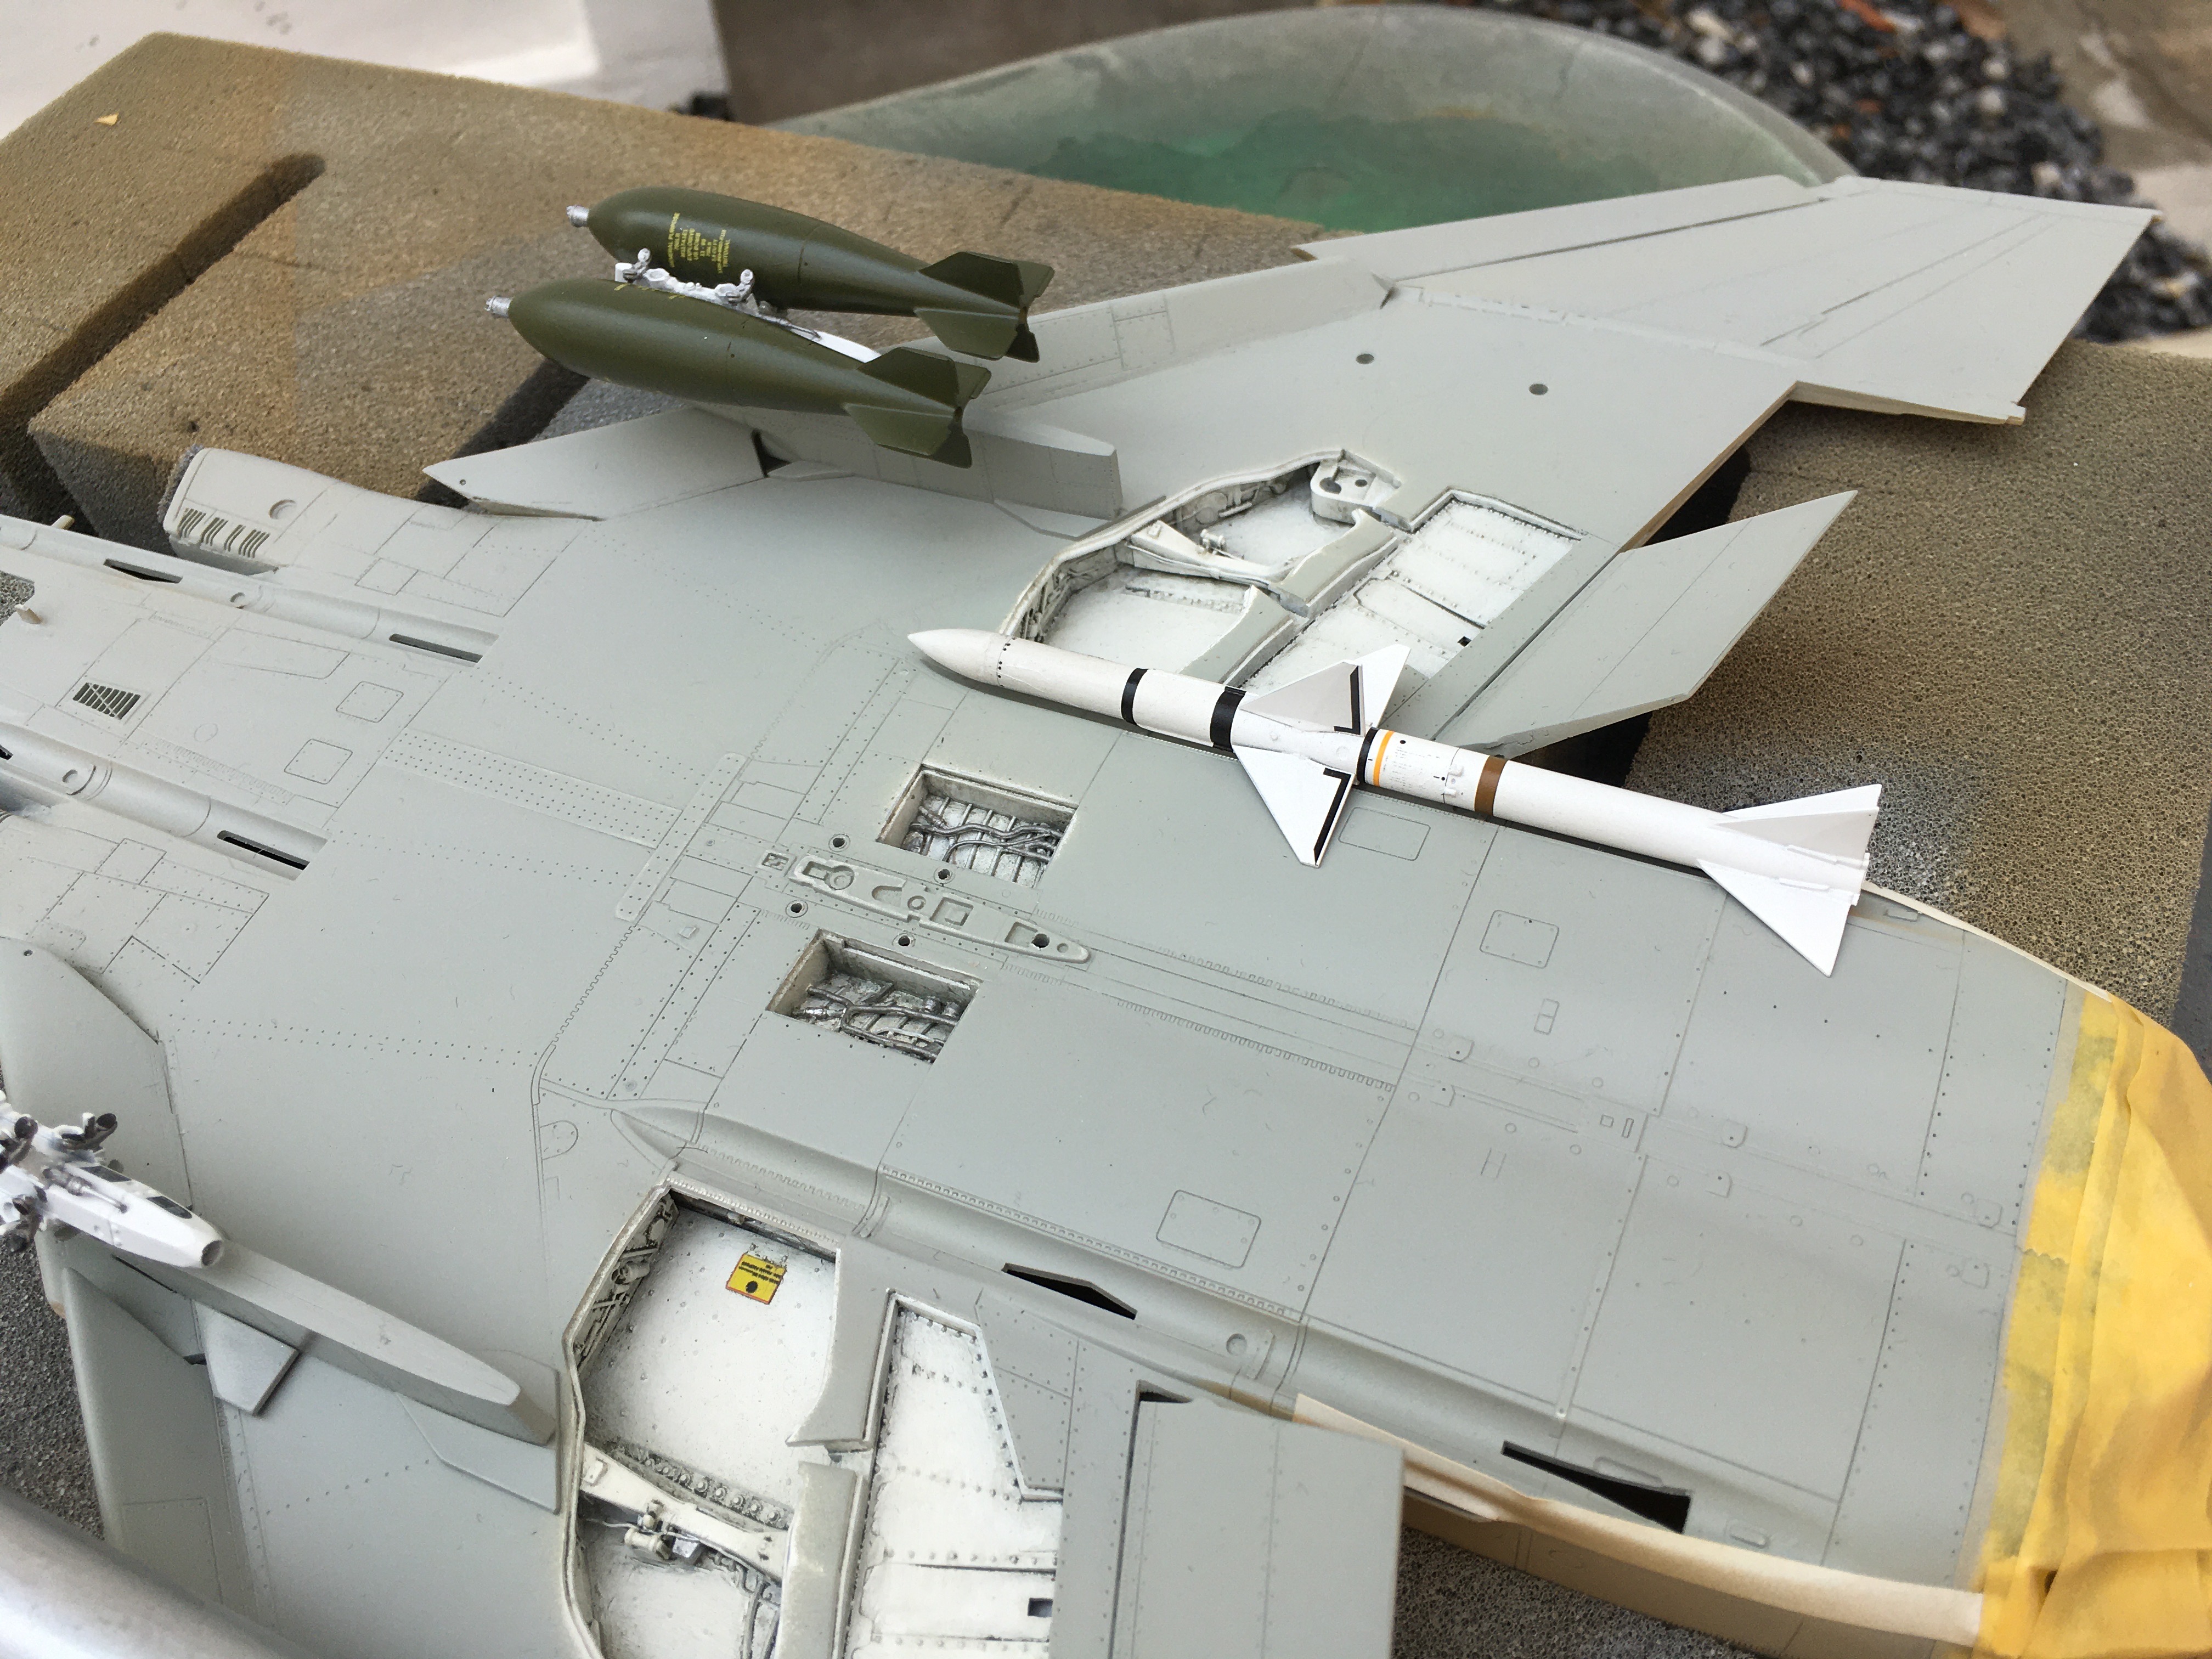
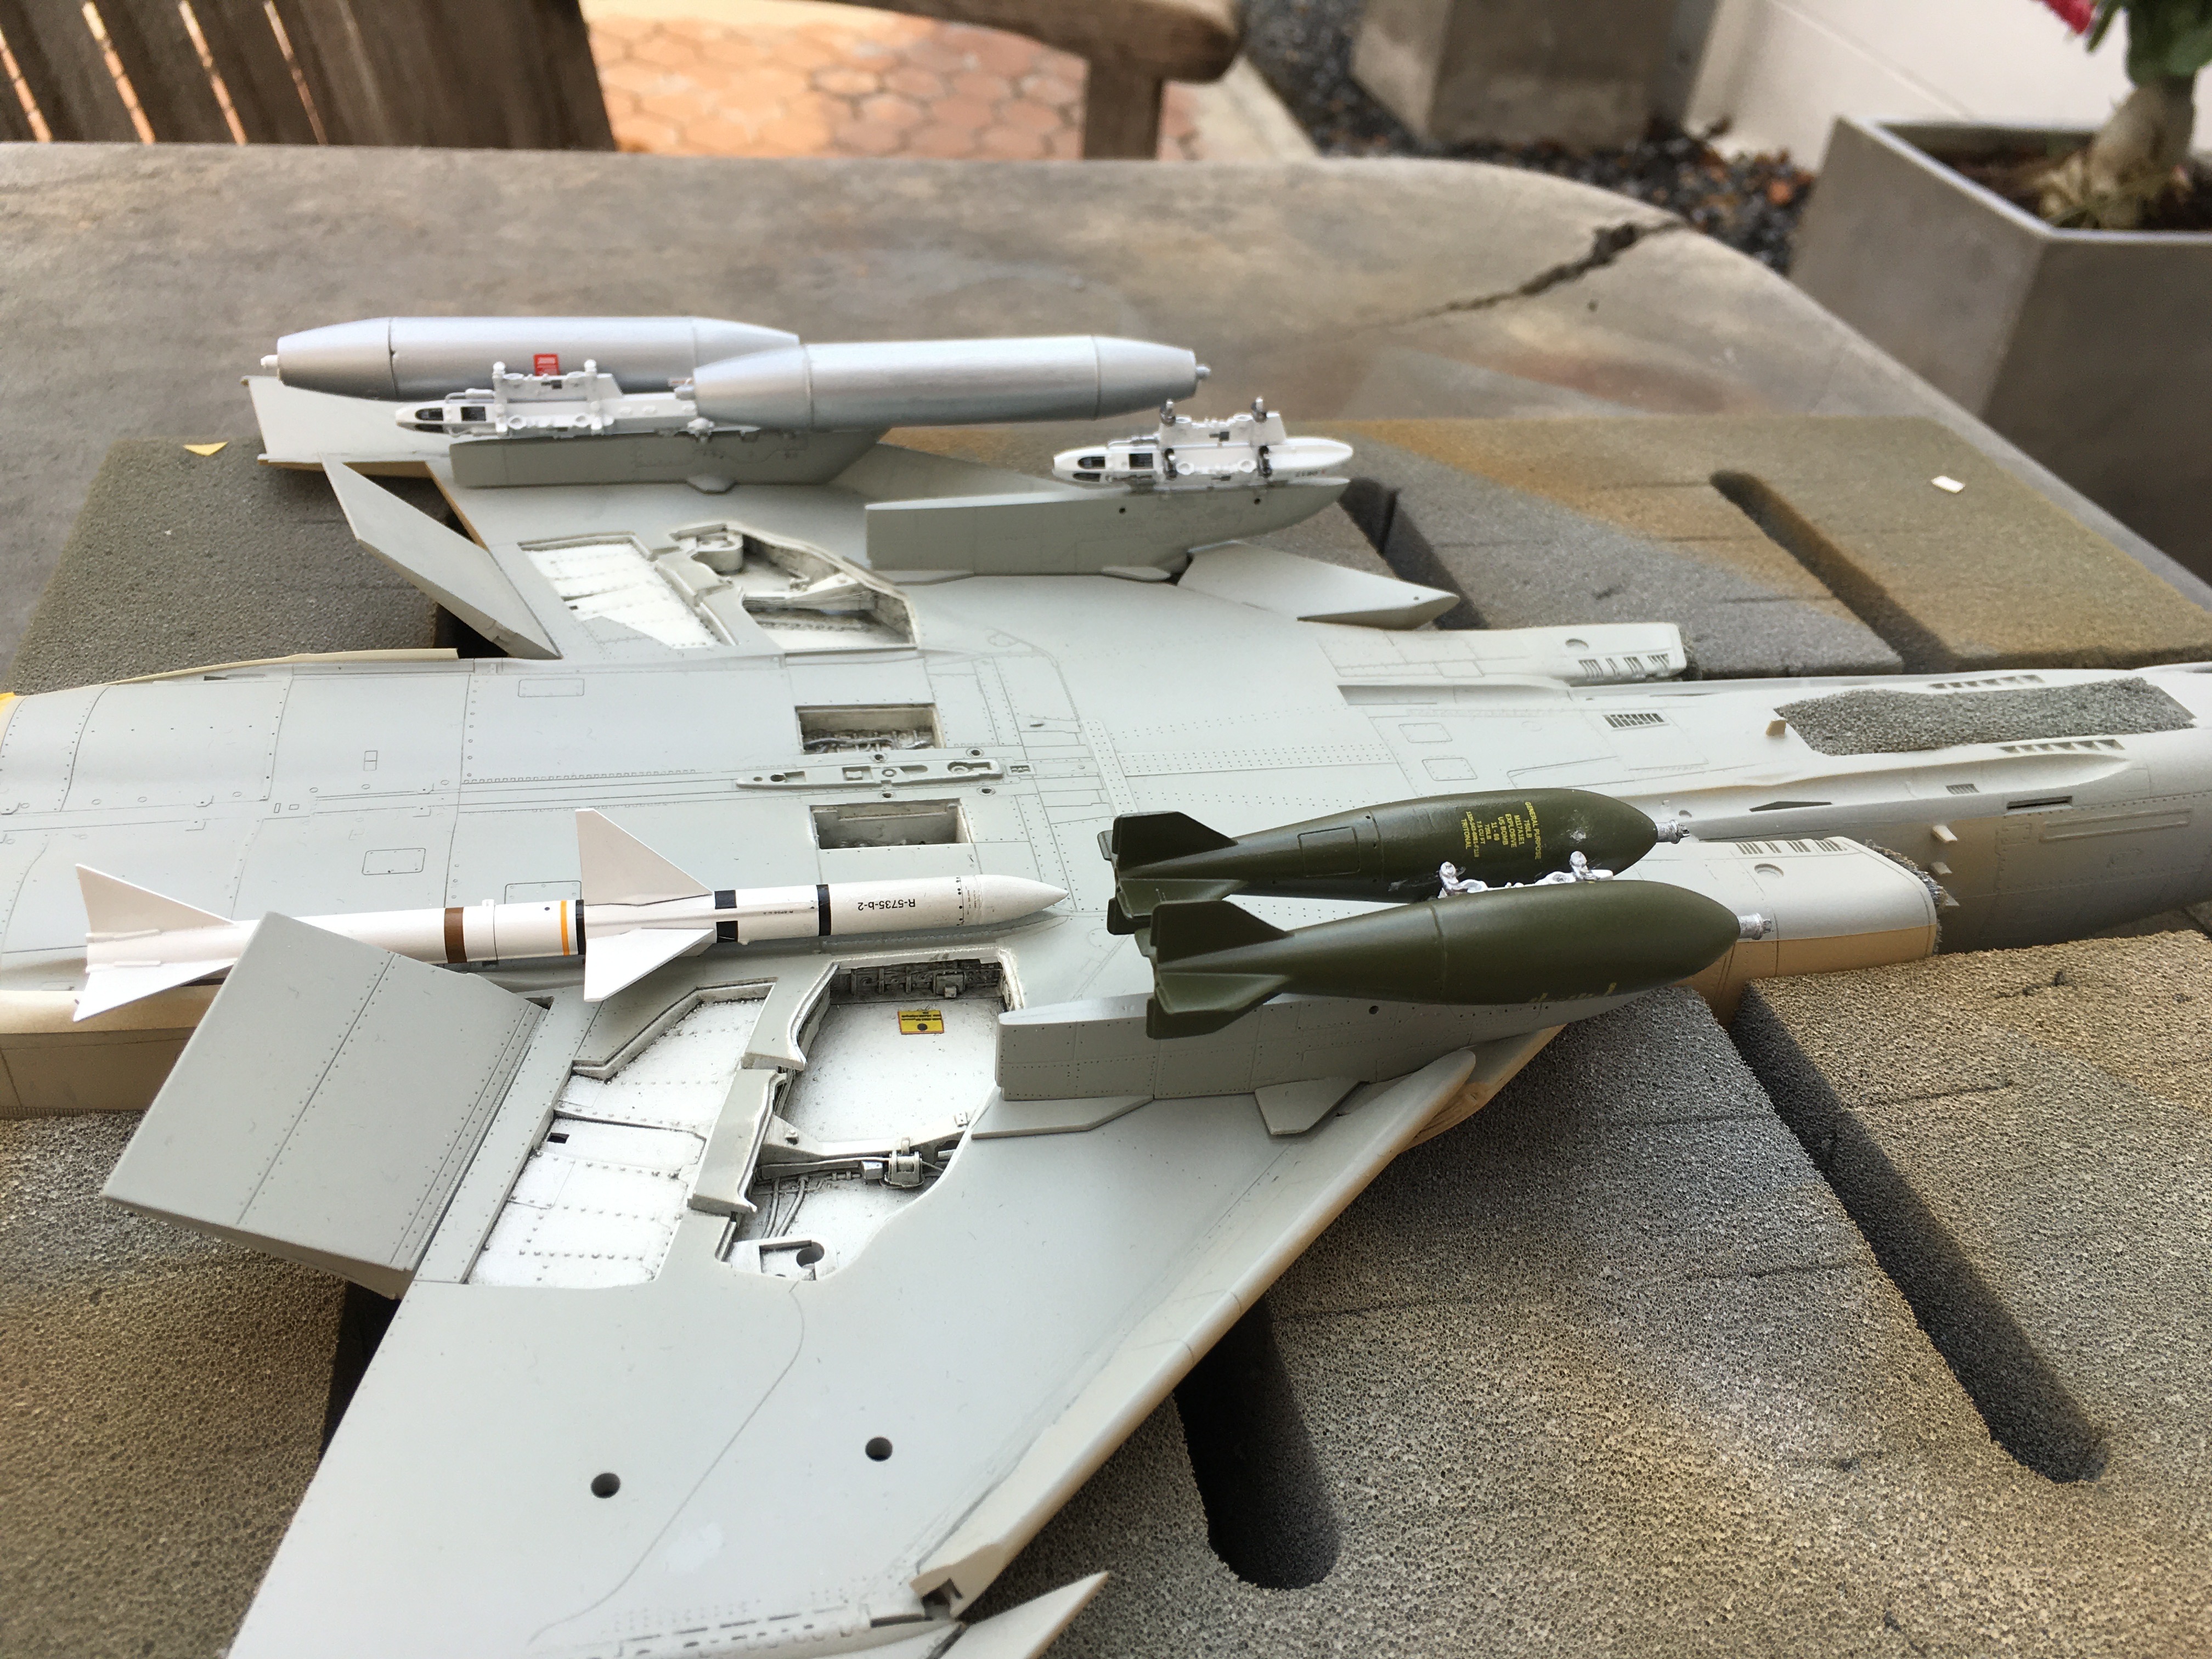
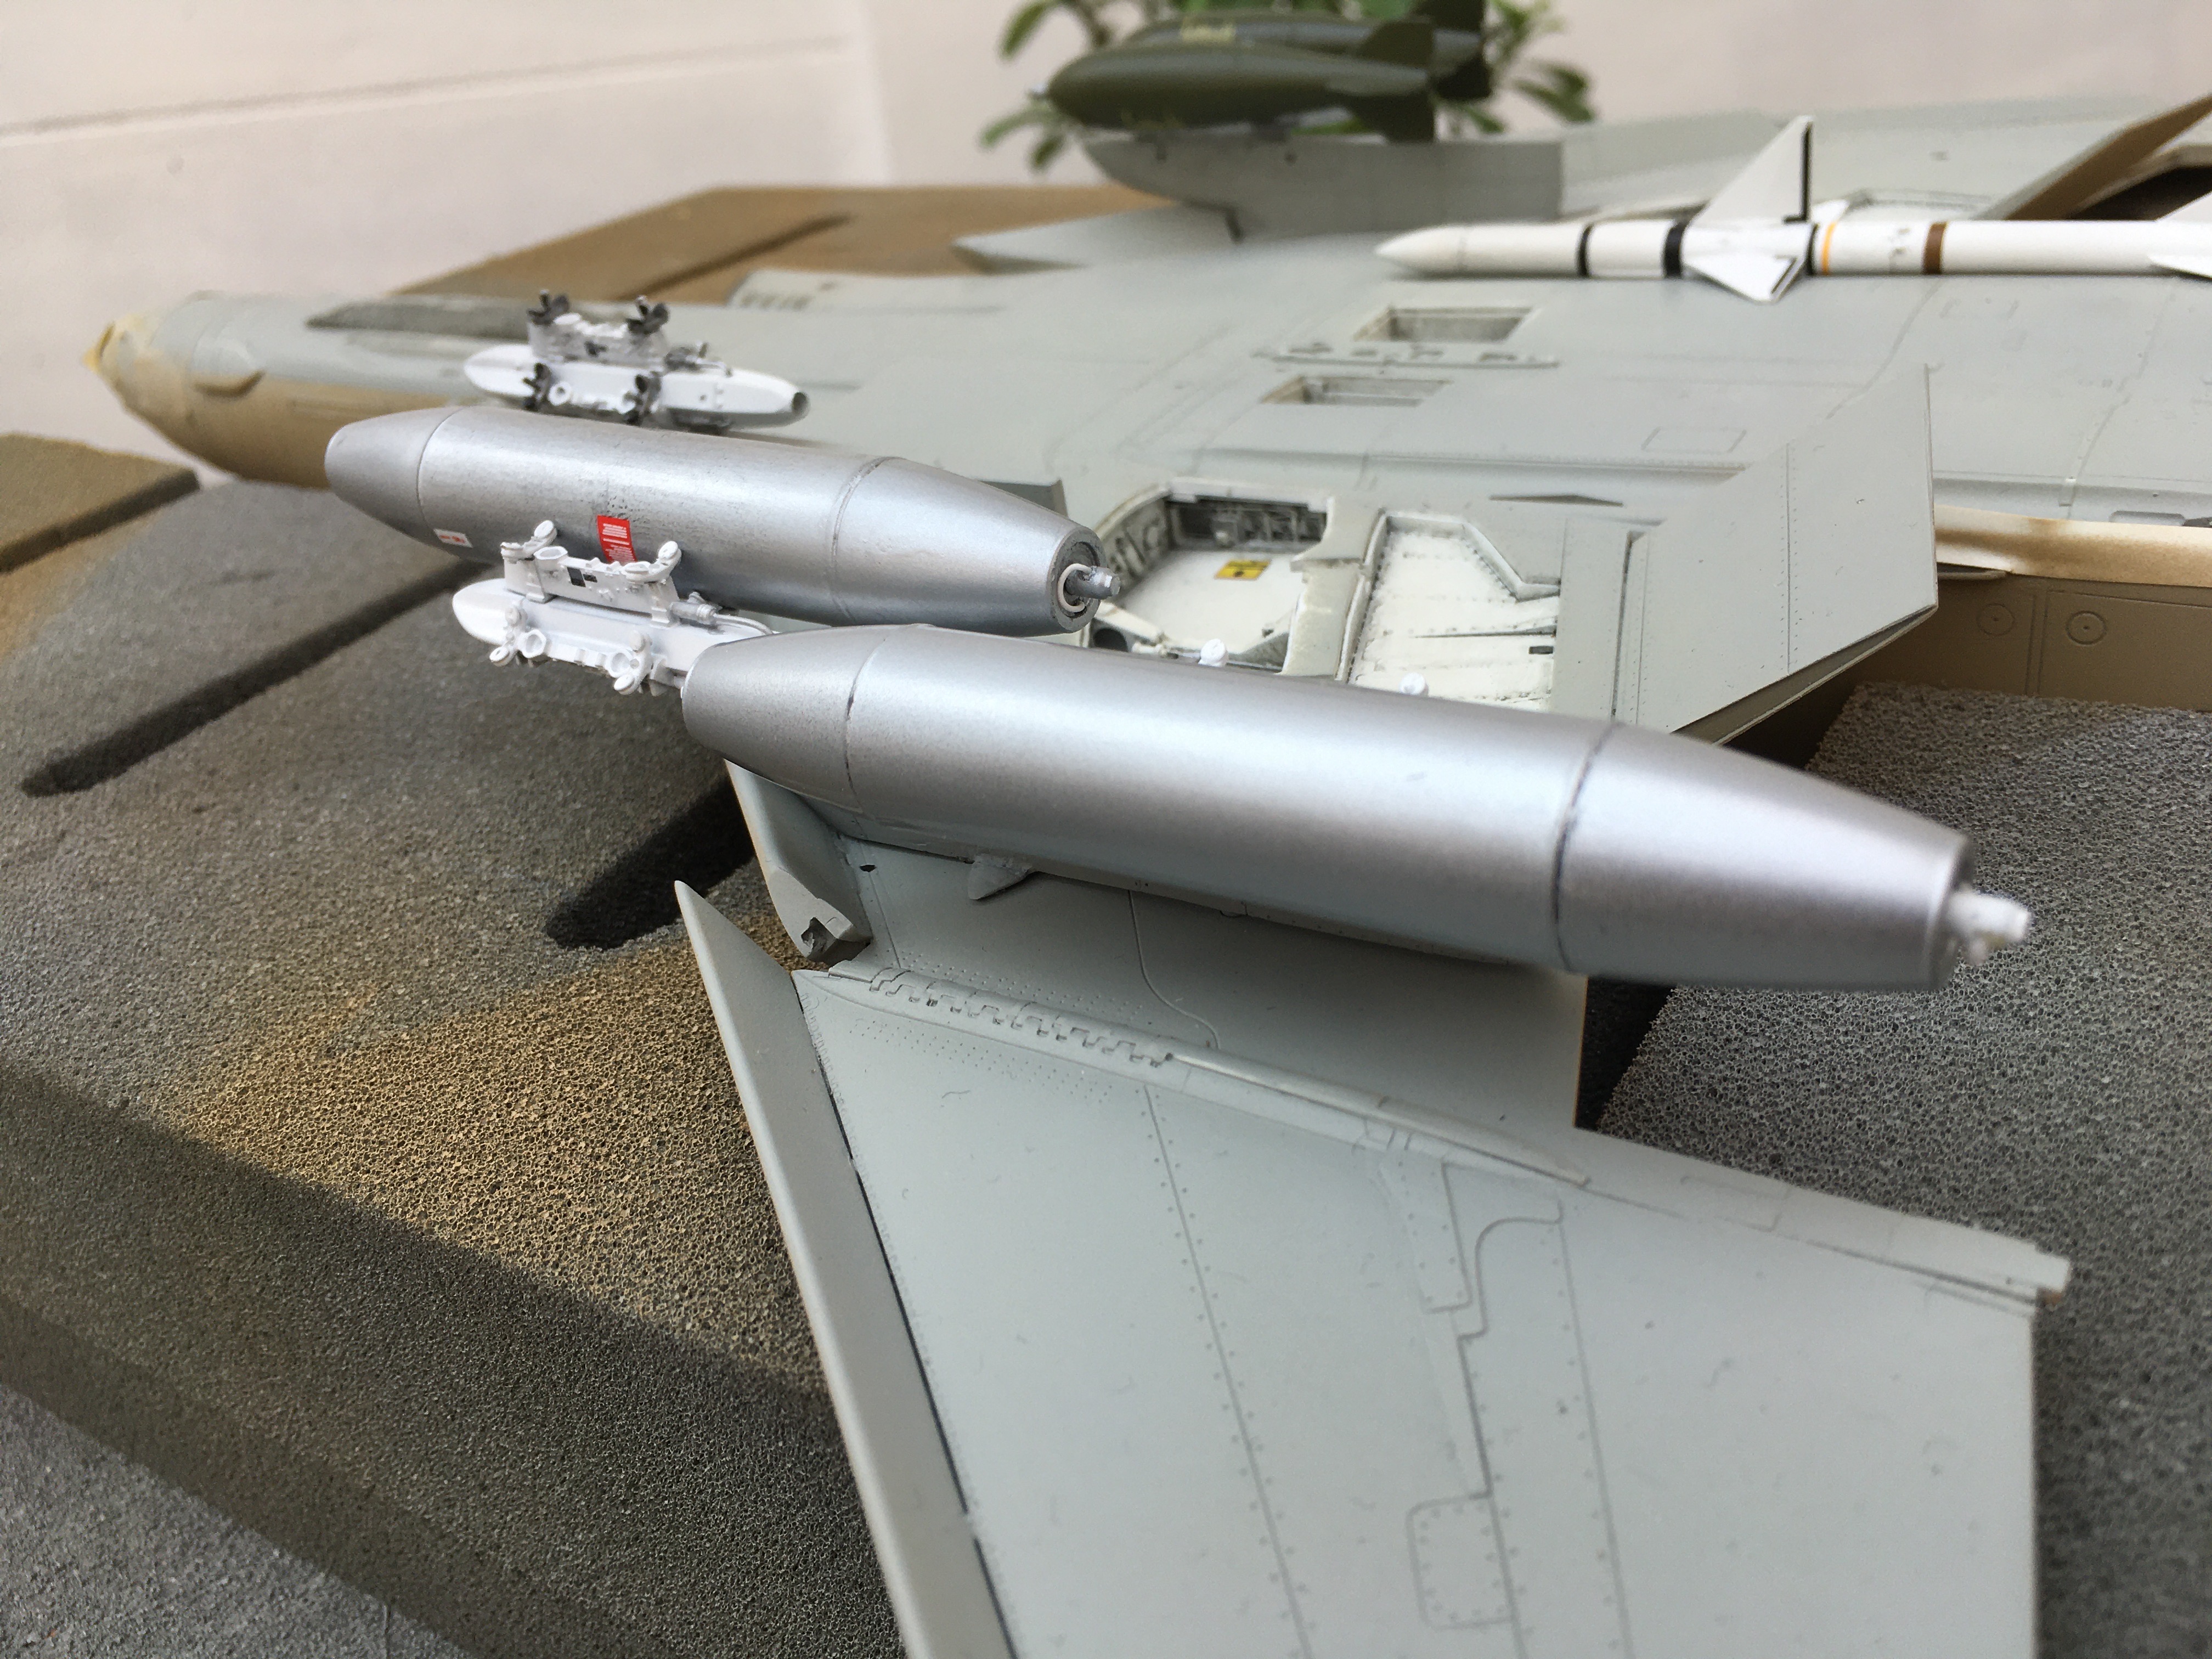
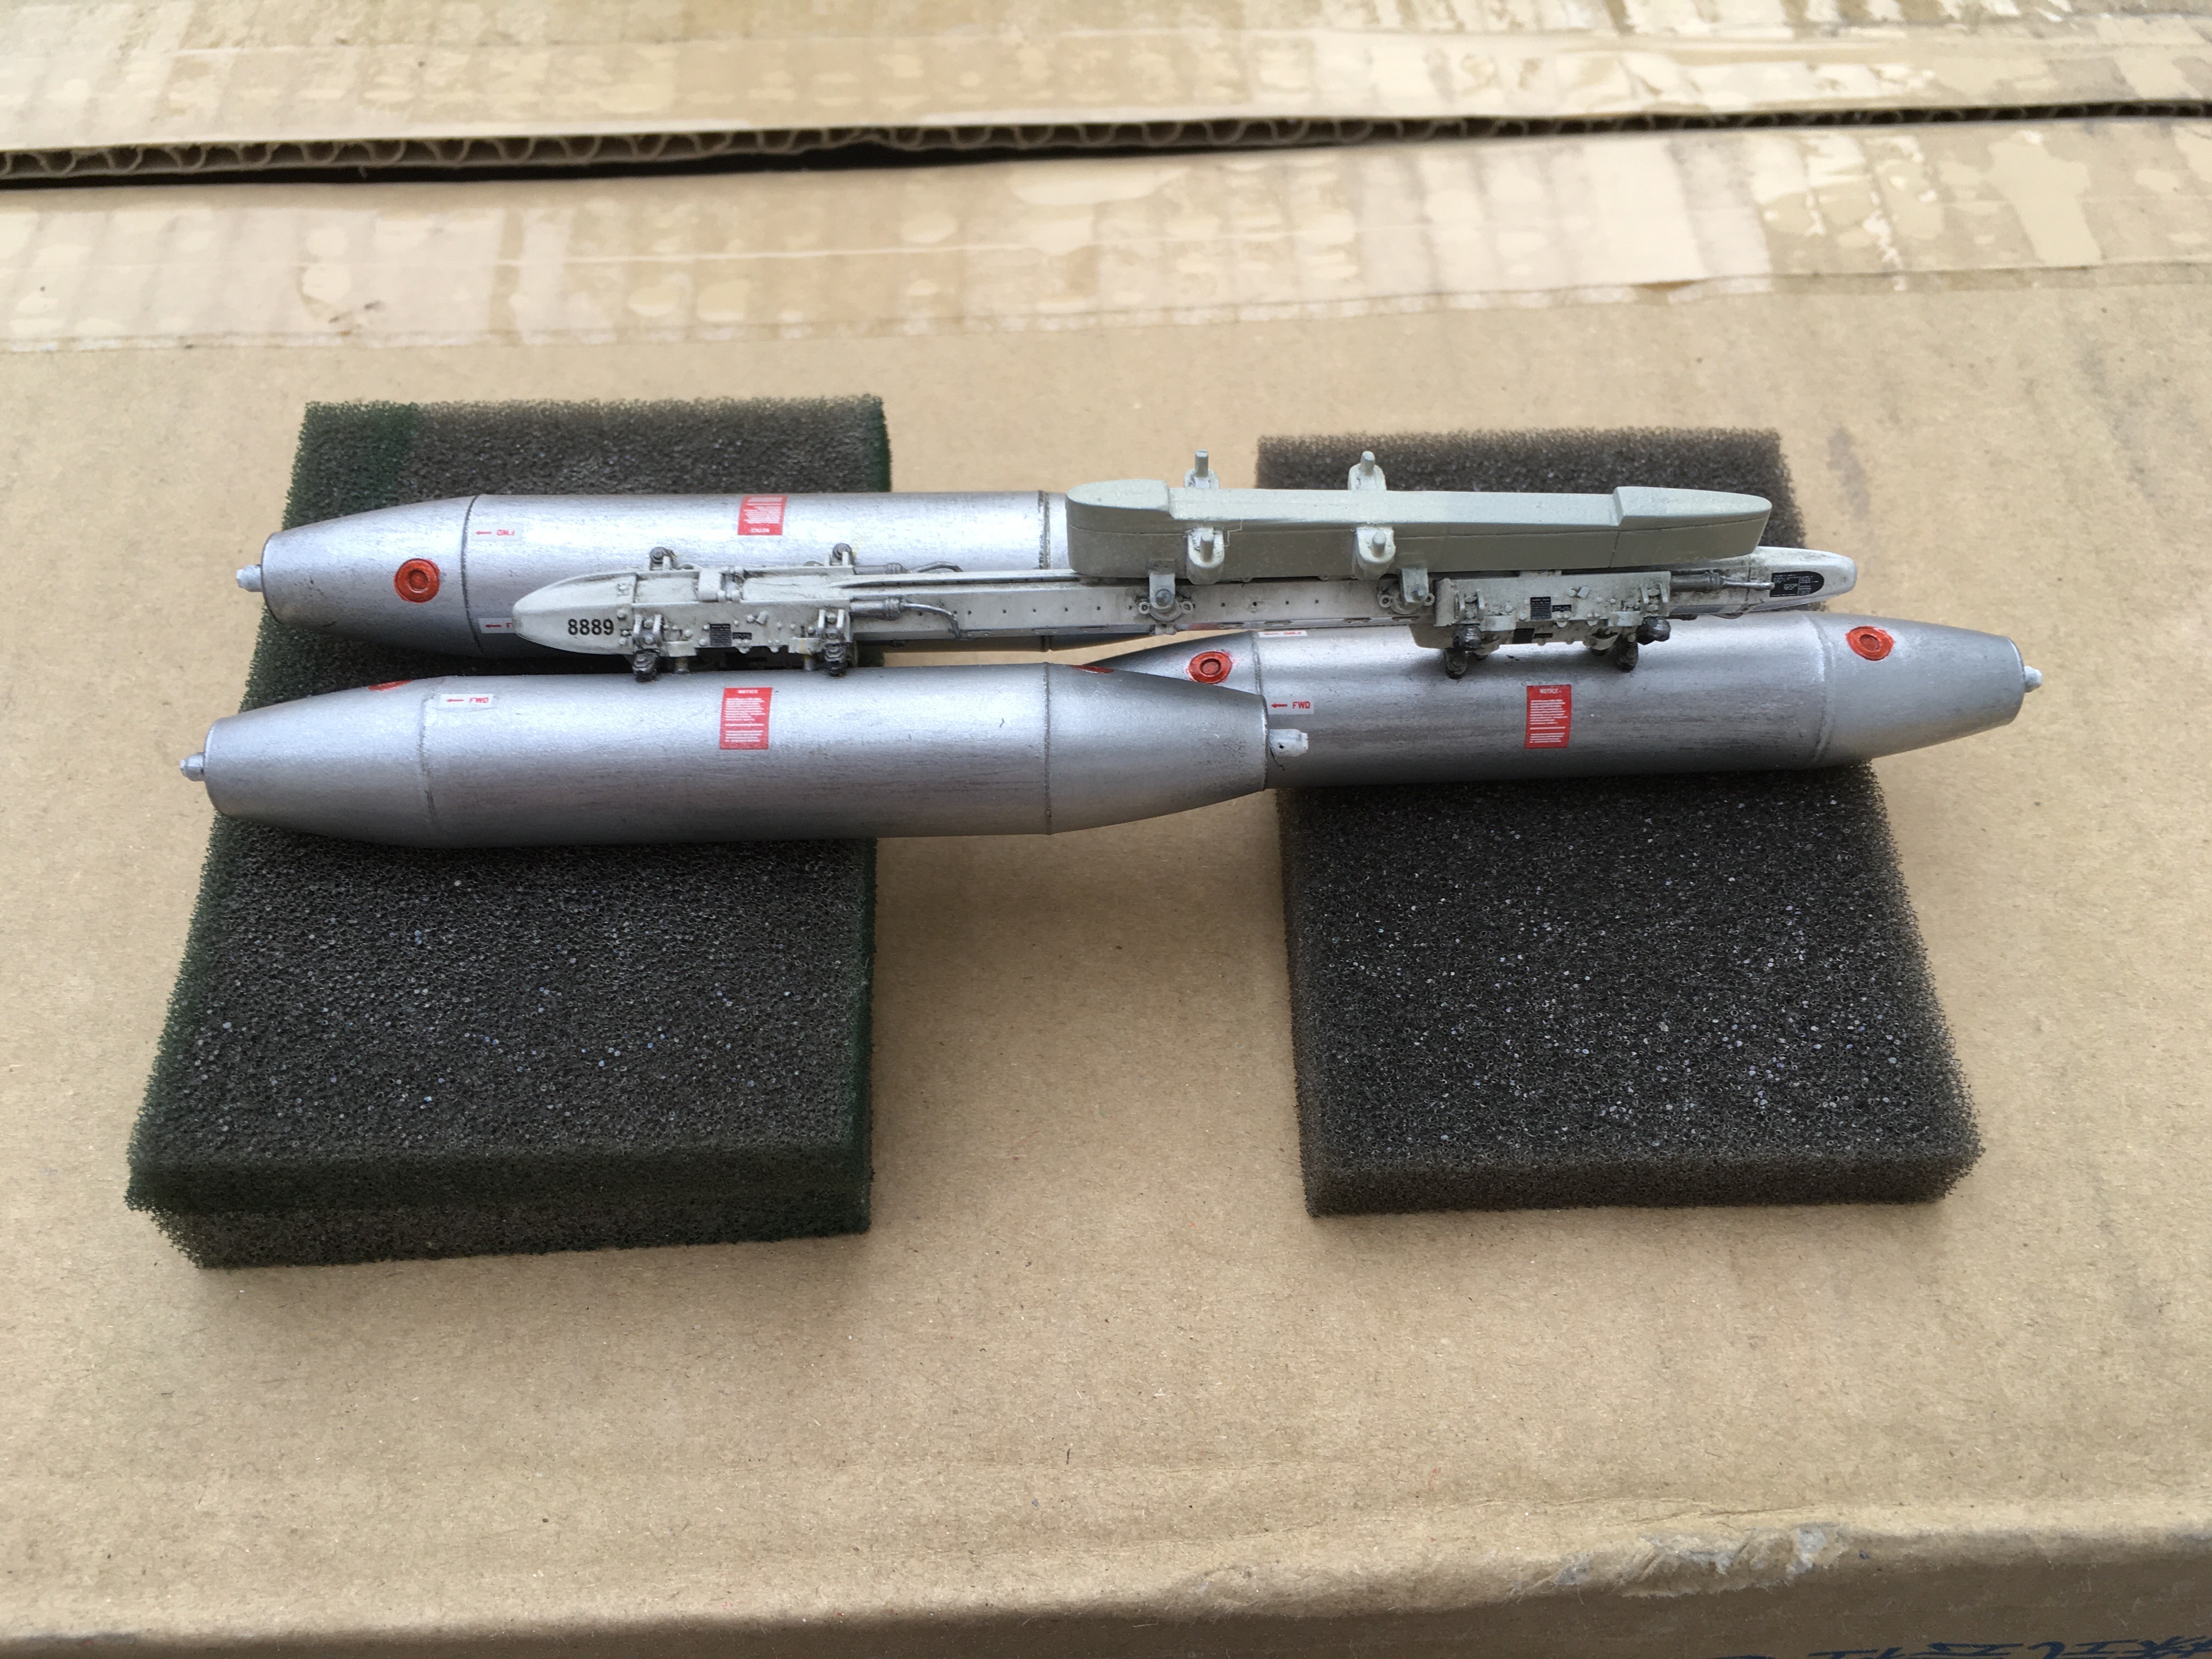
See below pictures from a 1/32 scale build I'm busy with. Centerline pylon was in a lot of cases already attached to the MER. You can see the postion on the MER.
Position where the MER was mounted can be seen on this picture. The oval shape has 4 holes where the threaded pegs of the pylon would 'slot' in. Holes inside the oval shape are for the centerline fuel tank.
Some more from other angles.
I am experimenting with load outs on this F-4D (IRAF). Its pretty busy with the MERs
Napalm canisters for the centerline MER or outer wing MER are mounted different as you can see.
But this is not the only position. Depending on the load, the MER can be moved forward or back wards.
Hope this helps.
phil2015
Illinois, United States
Joined: July 27, 2015
KitMaker: 502 posts
AeroScale: 110 posts
Joined: July 27, 2015
KitMaker: 502 posts
AeroScale: 110 posts
Posted: Wednesday, August 05, 2020 - 12:23 AM UTC
Yes, it helps a lot, thanks. I imagine getting the angle between top and bottom just right will be the biggest challenge.
SpeedyJ
Bangkok, Thailand / ไทย
Joined: September 17, 2013
KitMaker: 1,617 posts
AeroScale: 212 posts
Joined: September 17, 2013
KitMaker: 1,617 posts
AeroScale: 212 posts
Posted: Wednesday, August 05, 2020 - 12:41 AM UTC
Hi Phil. Glad you liked the information. Click on the link to see how it looked like. These shots come from Thailand Ubon, land base, during Vietnam crisis. Gives some nice shots how they worked to get the loads mounted.
http://www.arcforums.com/forums/air/index.php?/topic/295427-f-4-unusual-load/&
Notice the pre-mounted TERs & MERs.
http://www.arcforums.com/forums/air/index.php?/topic/295427-f-4-unusual-load/&
Notice the pre-mounted TERs & MERs.
SpeedyJ
Bangkok, Thailand / ไทย
Joined: September 17, 2013
KitMaker: 1,617 posts
AeroScale: 212 posts
Joined: September 17, 2013
KitMaker: 1,617 posts
AeroScale: 212 posts
Posted: Wednesday, August 05, 2020 - 02:03 AM UTC
Always forget that those links are my special interests for a completely different subject. In this case the loading vehicles, MHU's. But please read through the 5 pages, that Mister Jim Rotramel, he knows everything(just a tip)
I found a great link for scratch building a F-4 fuselage. Complete cutaway for the full length with inside photos. Now I need a wizard to translate it to my preferred scale.
Have fun and stay safe please!
I found a great link for scratch building a F-4 fuselage. Complete cutaway for the full length with inside photos. Now I need a wizard to translate it to my preferred scale.
Have fun and stay safe please!