

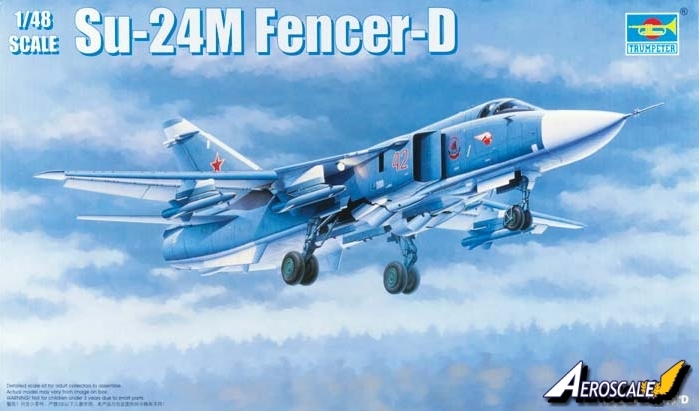
1⁄48Su-24M
7
Comments
Building the beast
Let me preface this by saying this is a huge kit! A modeling friend recently moved in with us for a short while and had his Trumpeter 1/32 A-10 with him. The Fencer in this article is 1/48 and yet was almost as big as my friends 1/32 A-10 if that gives you any indication. So with that being said, make sure you have ample room on your workbench to tackle this beast.If you followed along on my build log, you probably recall a few hiccups I encountered along the way. These were not pleasant, but all of them were my own doing and I was able to overcome them.
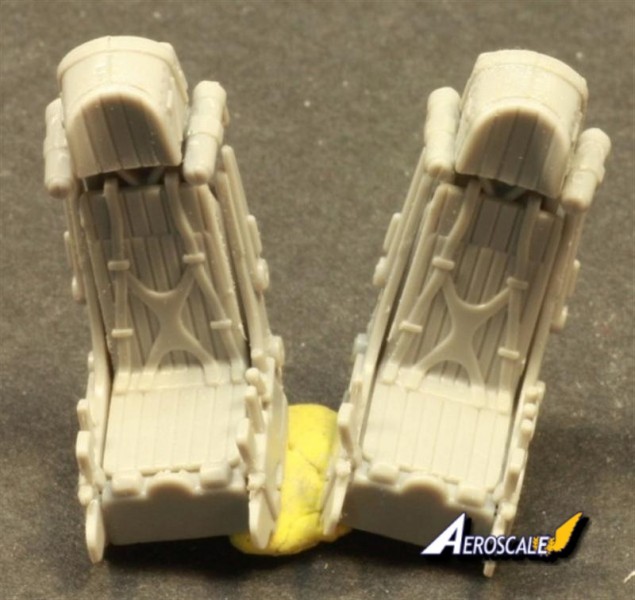
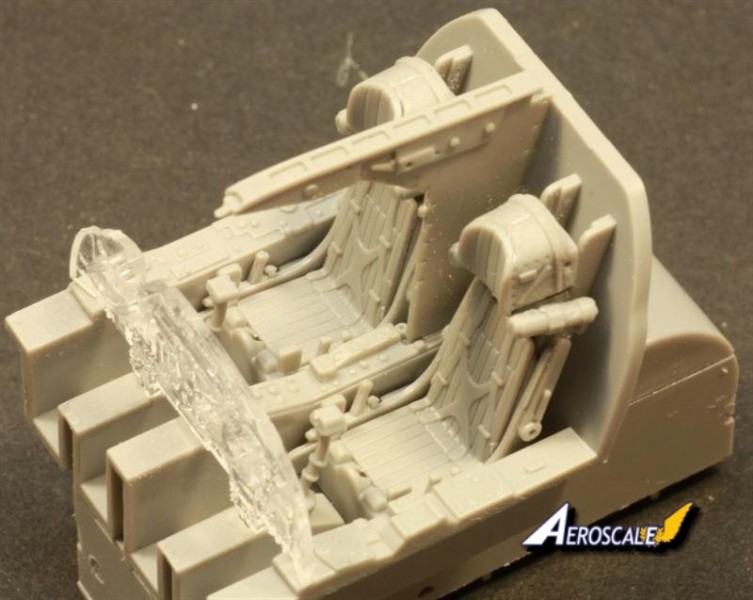
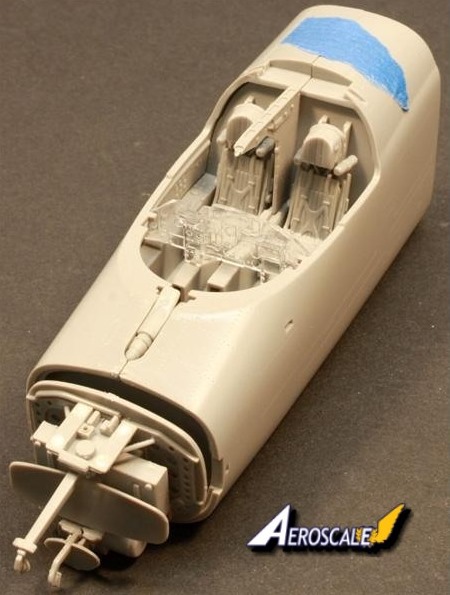
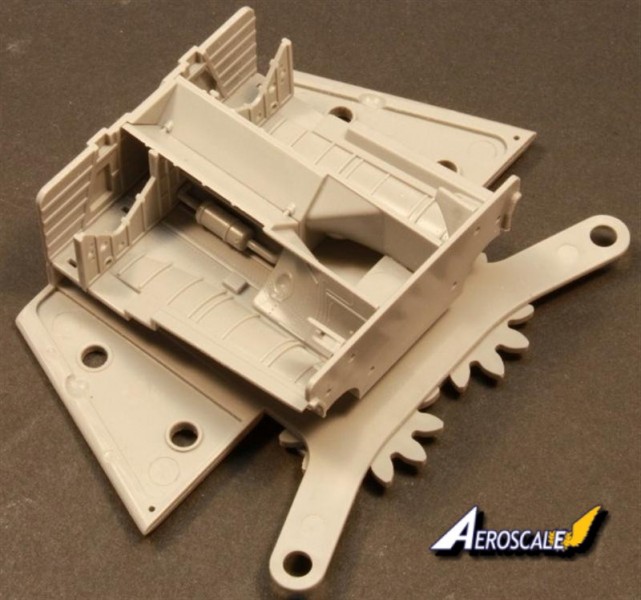
Assembly takes place over twenty one steps and begins with the cockpit. Test shots from a couple years back showed the kit with some really excellent looking bang seats installed. Unfortunately the ones that come with the kit are anything but that. However, there is ample room to swap them out should you decide to. I built this monster strictly OOB to show just what you get inside the massive box. Even using the kit supplied seats, things came out looking pretty nice.
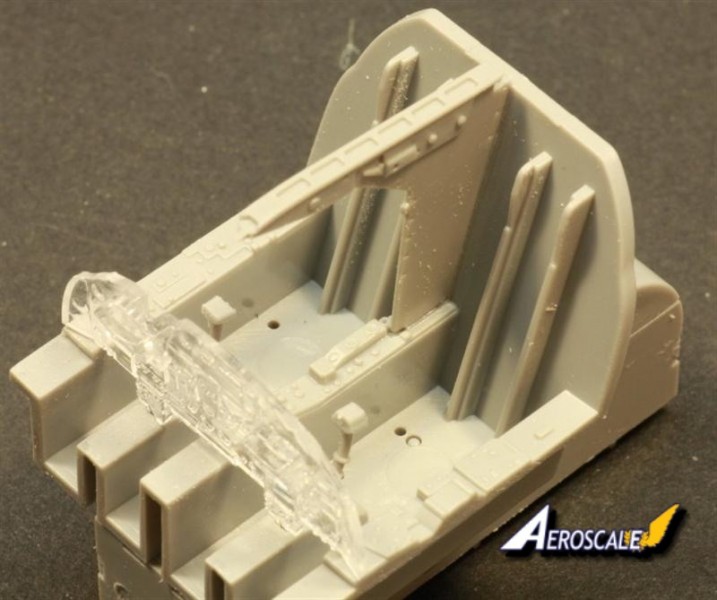
The cockpit is the first item addressed and it is fairly simple and easy to assemble. The clear instrument panel can be handled one of two ways; either by painting the details or by using the kit supplied decals. I opted for the latter, with a twist. There are two areas on the IP that stand proud from the rest of the panel and would have been impossible to get the decal to conform to. I cut these sections out of the decal sheet prior. The IP was painted Russian interior green on the front and flat black on the back. I then added the decal to the front of the IP and adjusted it into position. I applied a little heat from a hair dryer set on low to help soften the decal and then applied a couple drops of Micro sol which aided in snuggling the decal around all the raised details. The two sections I cut out previously were then added where they needed to go. The completed IP looked good and was considerably easier to deal with than painting. I decided to paint the side consoles as the decals just didnt do it for me.
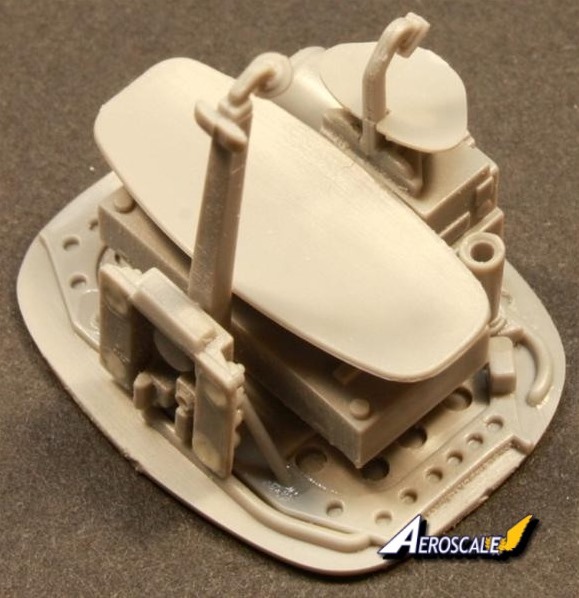
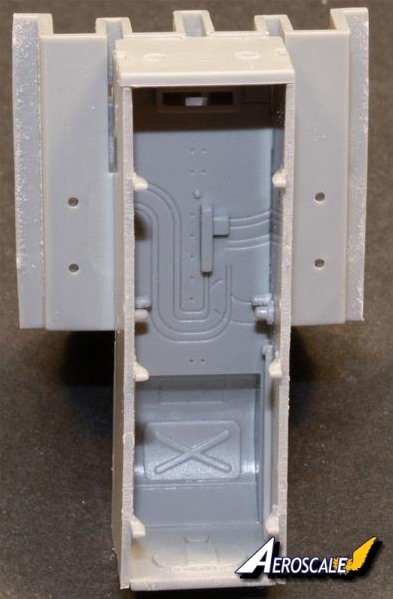
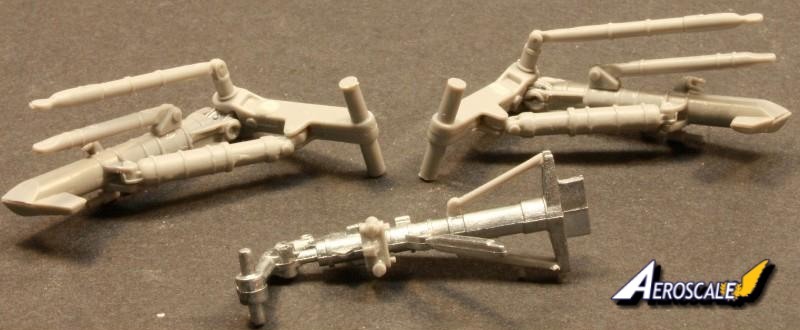
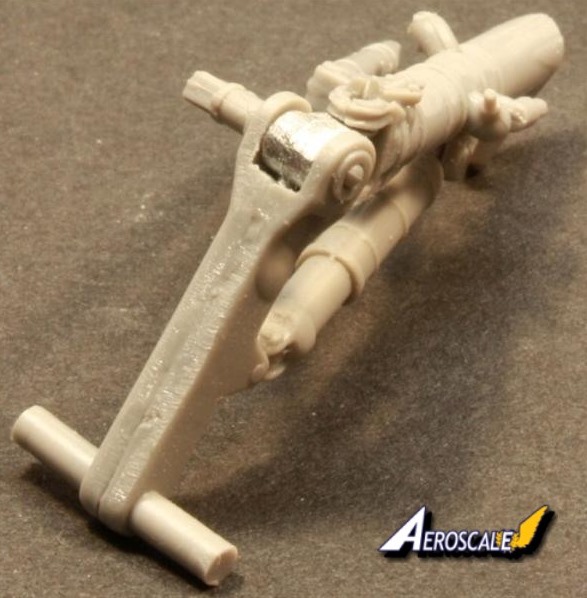
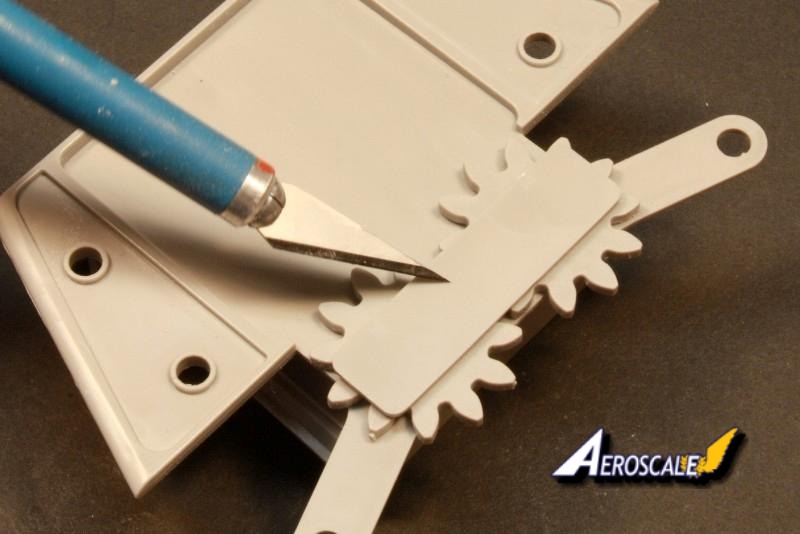
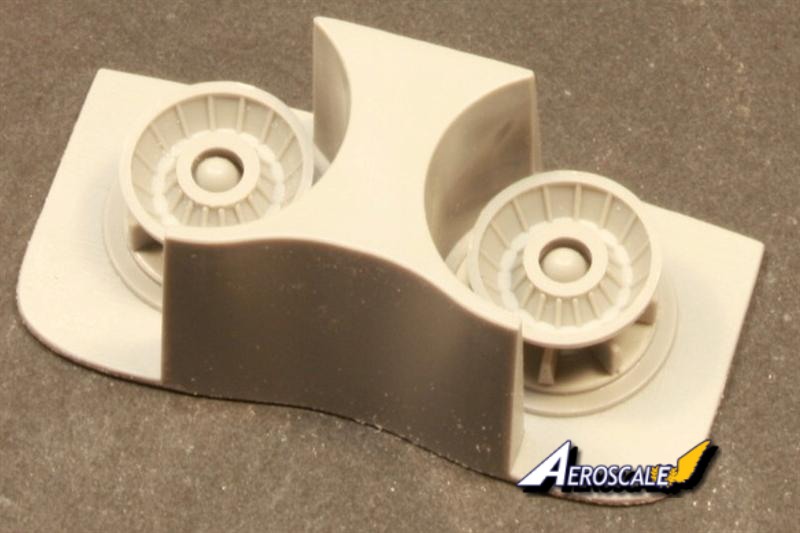
You have a choice in building the nose gear which is what followed next. You are provided a total of four nose landing gear legs to choose from; two in plastic, and two in white metal. I opted for one of the white metal ones as I could already tell this kit was going to have some weight to it. There are two choices for the legs here as well; compressed and uncompressed. I chose the compressed one. Mold lines were minimal on the leg and clean up was easily accomplished with the backside of a #11 blade and some sand paper. The nose gear is very busy looking once all the parts are added to it. A few hydraulic lines would busy this area up even more. One thing I would caution the builder on is step three. The instructions call for adding parts H34, H36, H32, H31, and H24 dont do it or you will have to deal with these parts getting snagged on everything as you work on the rest of the model. Specifically parts H34 and H36. I added mine and inside of an hour they were history. They sit proud of the fuselage bottom and there is no way to protect them from damage. It is easier to add them last once the rest of the build is complete. The same can be said for the remainder of the nose gear. It is also easier to paint the gear bay prior to assembly. I usually paint mine once assembled/installed. Its a little difficult to do with this one. Learn from my mistake!
About the Author


FROM: CALIFORNIA, UNITED STATES
After a several year break from the hobby I have happily returned to it. Slowly, but surely getting my mojo back.
Comments

Very good job.Pre-shading came out really well.
Build On,
Justin
MAY 22, 2010 - 02:30 AM
Thanks Justin, but no pre-shading done on this one. It was all post shading and lots of it too.
"Q"
MAY 22, 2010 - 11:55 AM
Great build, Matt. This is one big beast, but one of the more sleak and beautiful Soviet jets.
Thanks for sharing
MAY 27, 2010 - 01:35 AM
Thanks for the kind words Jesper. It was a challenging and yet rewarding build. Lots of things I would change if I had it to do over again. Thanks again, "Q"
MAY 27, 2010 - 12:14 PM

Again, one of the BEST build reviews I've ever seen. This particular kit is still a bit pricey for me, but I'm sure in a couple of years when it's been on the market for a while one will make it's way to my stash. In all honesty Trumpeter should pay you for this one Q. I'm sure you're in depth review has sold quite a few of these kits for them.
Hermon
MAY 31, 2010 - 10:35 AM
Thanks for the kind words Hermon. I was just glad to get the chance to build and ultimately finish it. It isn't a bad kit in my eyes, just extremely complex in some areas; areas that I should have slowed down a wee bit on.. lol. Glad you liked the review.
"Q"
JUN 01, 2010 - 02:37 AM
Copyright ©2021 by Matthew Quiroz. Images also by copyright holder unless otherwise noted. The views and opinions expressed herein are solely the views and opinions of the authors and/or contributors to this Web site and do not necessarily represent the views and/or opinions of AeroScale, KitMaker Network, or Silver Star Enterrpises. Images also by copyright holder unless otherwise noted. Opinions expressed are those of the author(s) and not necessarily those of AeroScale. All rights reserved. Originally published on: 2010-05-19 00:00:00. Unique Reads: 14367

WEB HOSTING BY


Copyright ©2021 AeroScale and Kitmaker Network, a subsidiary of Silver Star Enterprises
All Rights Reserved. Please read our Conditions of Use and Privacy Policy.
All Rights Reserved. Please read our Conditions of Use and Privacy Policy.