

1⁄48Su-24M
7
Comments
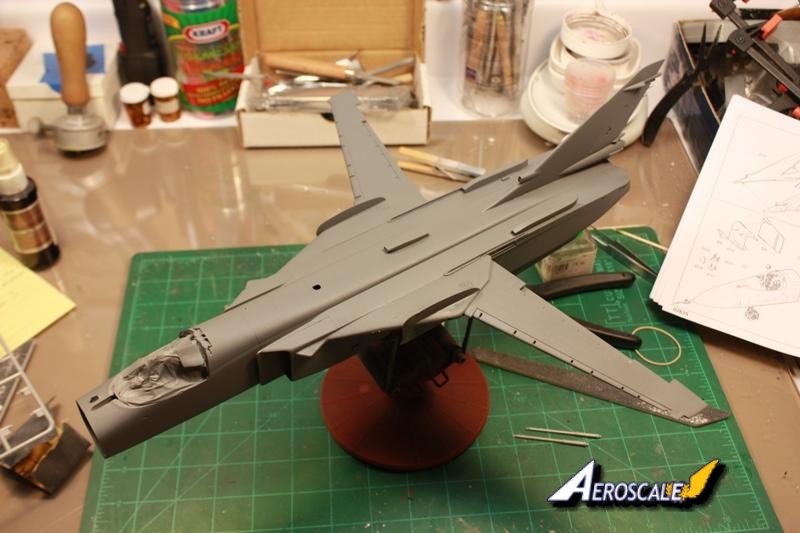
Step eleven takes us to the wings. The instructions show you how to build them in the down and dirty configuration of 16 degrees for landing or take off, but they dont show you how to build them in the 69 degree full sweep. It is really simple to do. I chose to build mine down and dirty as it just looked cool to me. To convert them for the fully swept look, simply omit parts C12 and C3. Then sand off the mounting tabs on the leading edge slats parts C4 and C13. The flaps, parts C9 and C18 can be slipped into the back edge of the wing and glued in place. The leading edge slats now missing the locating tabs can be added in the same manner to the leading edge of the wing. In the down and dirty mode, you cant swing the wings as the flaps will foul on the wing gloves.
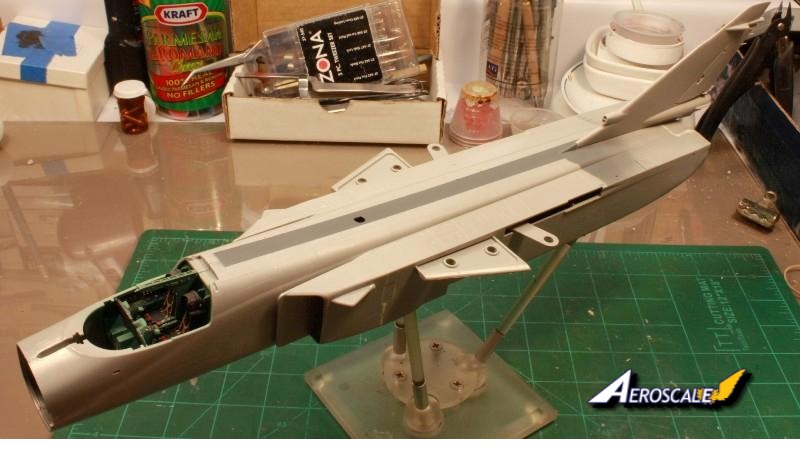
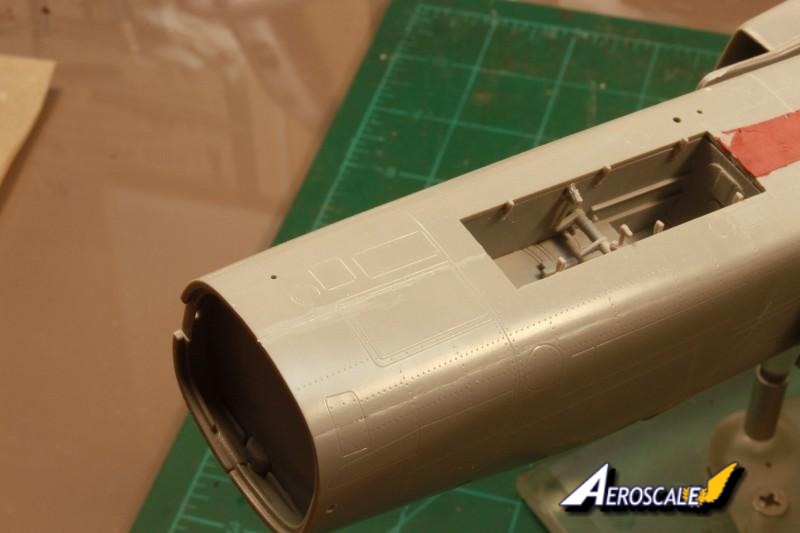
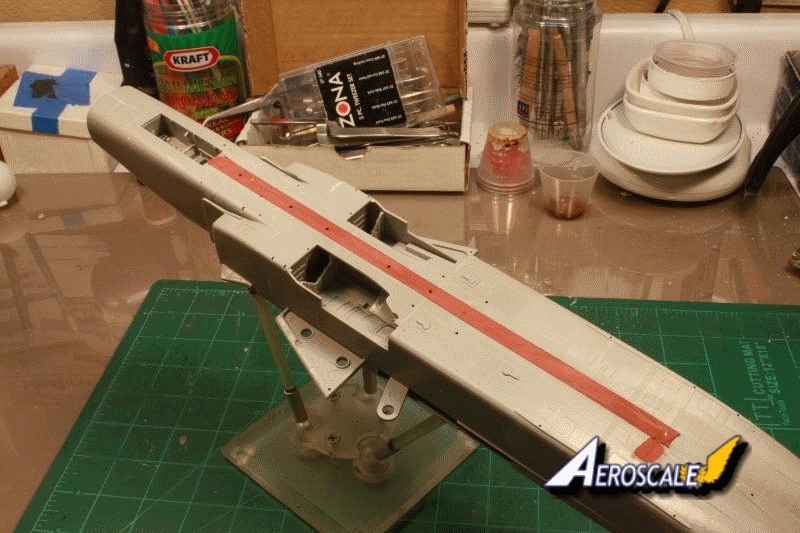
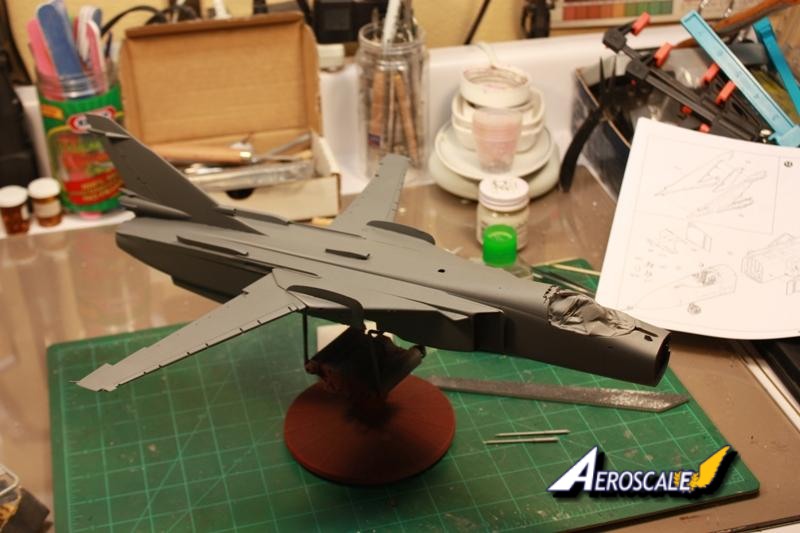
At this point my fuselage halves are still drying so I work on other little nit-noid areas such as the intakes, assembling the HUD, various fins, and antennas. I also decide to get the swing wing mechanism covers prepped. This takes place in step fourteen. Guess what happened? Another mistake I missed a step to open the slots on the upper and lower portions of parts B18/B19. This would come back to really bite me in the behind. The holes/slots are for the wings fences to fit into. Reading is fundamental remember this. Well, by this point my fuselage halves had dried and moved on to trapping all the interior pieces inside. I worked slowly to try and keep that massive belly seam even. As I mentioned above, I had some hills and valleys to deal with when it was all said and done. But, I did get the fuselage assembled in one setting. I taped off the belly seam on either side and laid in a nice strip of red putty. Once dry it was sanded/feathered out, and everything looked a bit tighter which I was happy with. There were some additional issues with parts F8 and F1 which are panels that fit at the very ass end of the plane. They both required copious amounts of putty to fair them into the fuselage. In the end, I got them faired in smoothly while only losing some minor detail on each panel.
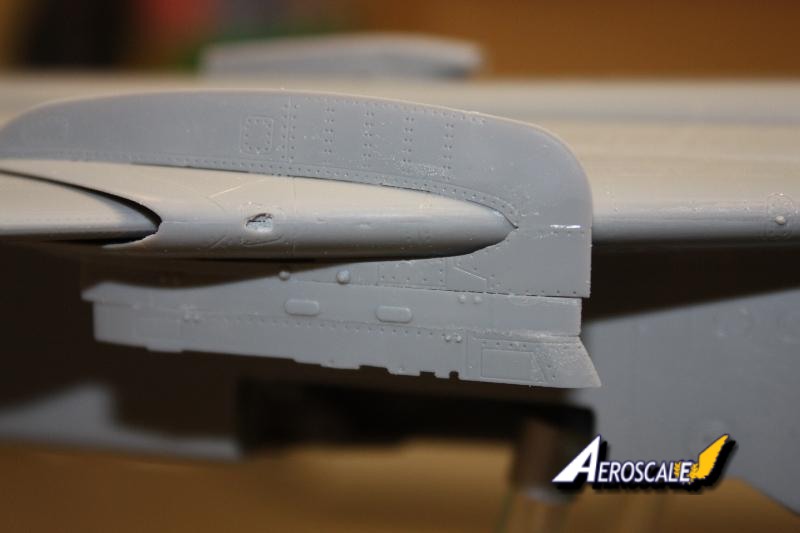
Remember those slots/holes I missed earlier? Well, here is where they came back to bite me. The wing fences are assembled in step twenty from a total of five pieces for each wing fence. I am curious if the guys who designed this also free lance as parts designers for Dragon armor kits sheesh. The portion of the fences that mount to the wing shoulders have small tabs located on them that fit into the previously mentioned slots/holes that I failed to open that I swore werent in the instructions. I cut and sanded off the corresponding tabs on the fences and eyeballed their location on the wing shoulder area. I got them pretty darn close to where they should have gone had I found said slots/holes and opened them up. At this point I am cussing Trumpeter for not including them in the kit, or making mention of slots and holes in the instructions. Imagine my surprise when I go back the next morning with a fresh set of eyes and discover that they were there all along. Talk about feeling like a schmuck. Suffice to say, I felt like an idiot and could have avoided all the problems had I done a more thorough job at looking at the directions, or as I prefer to call them, the destructions. Again, reading is fundamental. By the way, the kit can be built with or without the wing fences. Should I acquire another one in the future you can rest assured it will not be built with wing fences!
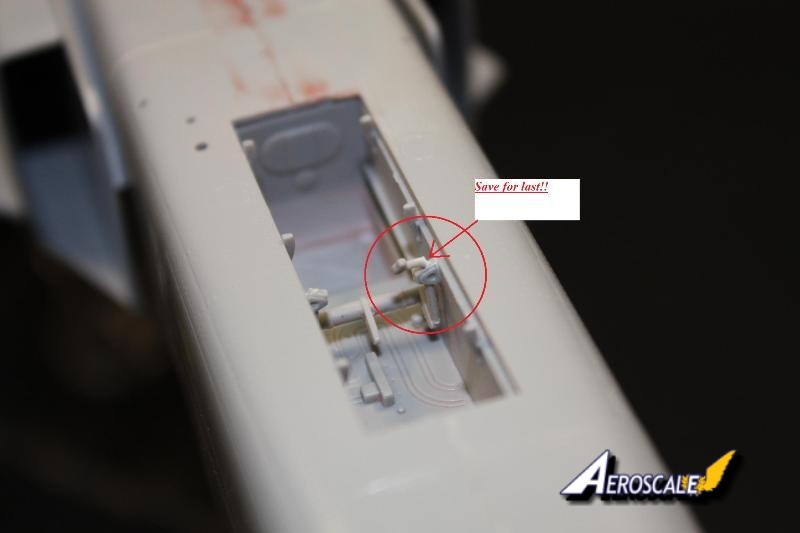
This is where things get a bit scattered, as if they arent already. I intentionally left off a lot of small pieces to avoid what happened with the pieces in the nose gear. So far it has worked. Of the pieces I left off, a large amount of them deal with the landing gear struts and arms and the landing gear themselves. I will add all of these as close to the end as possible to avoid damaging and losing them. This will still prove to be fatal in a couple of instances.
At this point my fuselage halves are still drying so I work on other little nit-noid areas such as the intakes, assembling the HUD, various fins, and antennas. I also decide to get the swing wing mechanism covers prepped. This takes place in step fourteen. Guess what happened? Another mistake I missed a step to open the slots on the upper and lower portions of parts B18/B19. This would come back to really bite me in the behind. The holes/slots are for the wings fences to fit into. Reading is fundamental remember this. Well, by this point my fuselage halves had dried and moved on to trapping all the interior pieces inside. I worked slowly to try and keep that massive belly seam even. As I mentioned above, I had some hills and valleys to deal with when it was all said and done. But, I did get the fuselage assembled in one setting. I taped off the belly seam on either side and laid in a nice strip of red putty. Once dry it was sanded/feathered out, and everything looked a bit tighter which I was happy with. There were some additional issues with parts F8 and F1 which are panels that fit at the very ass end of the plane. They both required copious amounts of putty to fair them into the fuselage. In the end, I got them faired in smoothly while only losing some minor detail on each panel.
Remember those slots/holes I missed earlier? Well, here is where they came back to bite me. The wing fences are assembled in step twenty from a total of five pieces for each wing fence. I am curious if the guys who designed this also free lance as parts designers for Dragon armor kits sheesh. The portion of the fences that mount to the wing shoulders have small tabs located on them that fit into the previously mentioned slots/holes that I failed to open that I swore werent in the instructions. I cut and sanded off the corresponding tabs on the fences and eyeballed their location on the wing shoulder area. I got them pretty darn close to where they should have gone had I found said slots/holes and opened them up. At this point I am cussing Trumpeter for not including them in the kit, or making mention of slots and holes in the instructions. Imagine my surprise when I go back the next morning with a fresh set of eyes and discover that they were there all along. Talk about feeling like a schmuck. Suffice to say, I felt like an idiot and could have avoided all the problems had I done a more thorough job at looking at the directions, or as I prefer to call them, the destructions. Again, reading is fundamental. By the way, the kit can be built with or without the wing fences. Should I acquire another one in the future you can rest assured it will not be built with wing fences!
This is where things get a bit scattered, as if they arent already. I intentionally left off a lot of small pieces to avoid what happened with the pieces in the nose gear. So far it has worked. Of the pieces I left off, a large amount of them deal with the landing gear struts and arms and the landing gear themselves. I will add all of these as close to the end as possible to avoid damaging and losing them. This will still prove to be fatal in a couple of instances.
About the Author


FROM: CALIFORNIA, UNITED STATES
After a several year break from the hobby I have happily returned to it. Slowly, but surely getting my mojo back.
Comments

Very good job.Pre-shading came out really well.
Build On,
Justin
MAY 22, 2010 - 02:30 AM
Thanks Justin, but no pre-shading done on this one. It was all post shading and lots of it too.
"Q"
MAY 22, 2010 - 11:55 AM
Great build, Matt. This is one big beast, but one of the more sleak and beautiful Soviet jets.
Thanks for sharing
MAY 27, 2010 - 01:35 AM
Thanks for the kind words Jesper. It was a challenging and yet rewarding build. Lots of things I would change if I had it to do over again. Thanks again, "Q"
MAY 27, 2010 - 12:14 PM

Again, one of the BEST build reviews I've ever seen. This particular kit is still a bit pricey for me, but I'm sure in a couple of years when it's been on the market for a while one will make it's way to my stash. In all honesty Trumpeter should pay you for this one Q. I'm sure you're in depth review has sold quite a few of these kits for them.
Hermon
MAY 31, 2010 - 10:35 AM
Thanks for the kind words Hermon. I was just glad to get the chance to build and ultimately finish it. It isn't a bad kit in my eyes, just extremely complex in some areas; areas that I should have slowed down a wee bit on.. lol. Glad you liked the review.
"Q"
JUN 01, 2010 - 02:37 AM
Copyright ©2021 by Matthew Quiroz. Images also by copyright holder unless otherwise noted. The views and opinions expressed herein are solely the views and opinions of the authors and/or contributors to this Web site and do not necessarily represent the views and/or opinions of AeroScale, KitMaker Network, or Silver Star Enterrpises. Images also by copyright holder unless otherwise noted. Opinions expressed are those of the author(s) and not necessarily those of AeroScale. All rights reserved. Originally published on: 2010-05-19 00:00:00. Unique Reads: 14367

WEB HOSTING BY


Copyright ©2021 AeroScale and Kitmaker Network, a subsidiary of Silver Star Enterprises
All Rights Reserved. Please read our Conditions of Use and Privacy Policy.
All Rights Reserved. Please read our Conditions of Use and Privacy Policy.