Eduard 1:48 Bristol F.2b Fighter
Attica, Greece / Ελλάδα
Joined: May 01, 2008
KitMaker: 1,437 posts
AeroScale: 1,241 posts
Posted: Sunday, August 09, 2009 - 09:13 PM UTC
Attica, Greece / Ελλάδα
Joined: May 01, 2008
KitMaker: 1,437 posts
AeroScale: 1,241 posts
Posted: Thursday, September 10, 2009 - 06:34 AM UTC
Colorado, United States
Joined: January 25, 2004
KitMaker: 11,669 posts
AeroScale: 11,011 posts
Posted: Thursday, September 10, 2009 - 06:42 AM UTC
No worries Nick. Life intervenes sometimes. We are here when you get back to it. Sometimes a build goes slow. I look forward to your finished work.
". . .The most important thing is to know why you build and then get the most that you can out of building." via D.D.
Alberta, Canada
Joined: January 19, 2008
KitMaker: 6,743 posts
AeroScale: 6,151 posts
Posted: Thursday, September 10, 2009 - 01:32 PM UTC
Like Stephen said Nick , no worries ! Some of my builds take me from any where to 4 to 7 months . We are all in the same boat as you , Just take your and Enjoy

Attica, Greece / Ελλάδα
Joined: May 01, 2008
KitMaker: 1,437 posts
AeroScale: 1,241 posts
Posted: Wednesday, September 16, 2009 - 03:49 AM UTC
Alberta, Canada
Joined: January 19, 2008
KitMaker: 6,743 posts
AeroScale: 6,151 posts
Posted: Wednesday, September 16, 2009 - 01:19 PM UTC
Not bad at all Nick !
What do you like about the build so far ?
Attica, Greece / Ελλάδα
Joined: May 01, 2008
KitMaker: 1,437 posts
AeroScale: 1,241 posts
Posted: Thursday, September 17, 2009 - 12:46 AM UTC
Attica, Greece / Ελλάδα
Joined: May 01, 2008
KitMaker: 1,437 posts
AeroScale: 1,241 posts
Posted: Monday, September 28, 2009 - 01:53 AM UTC
West Virginia, United States
Joined: December 18, 2006
KitMaker: 1,121 posts
AeroScale: 1,063 posts
Posted: Monday, September 28, 2009 - 02:03 AM UTC
Hi Nick,
Do you have any new pictures for us?
Mark
Attica, Greece / Ελλάδα
Joined: May 01, 2008
KitMaker: 1,437 posts
AeroScale: 1,241 posts
Posted: Monday, September 28, 2009 - 09:12 AM UTC
Unfortunately no

Cheers Nick

Attica, Greece / Ελλάδα
Joined: May 01, 2008
KitMaker: 1,437 posts
AeroScale: 1,241 posts
Posted: Tuesday, October 13, 2009 - 04:42 AM UTC
Attica, Greece / Ελλάδα
Joined: May 01, 2008
KitMaker: 1,437 posts
AeroScale: 1,241 posts
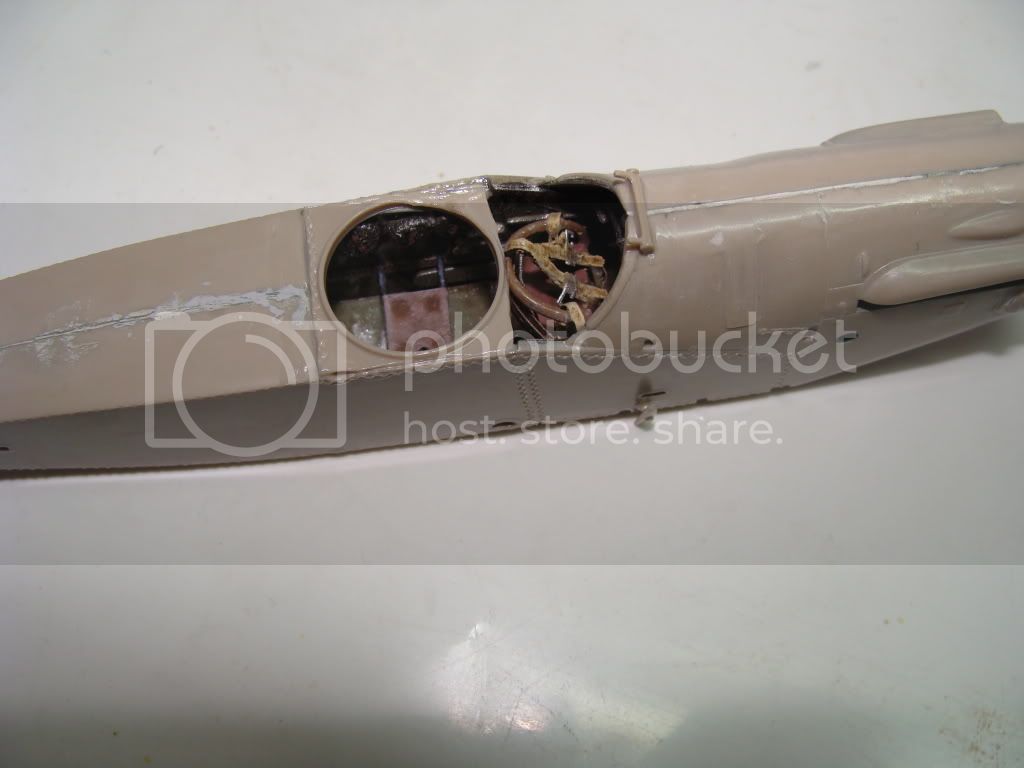
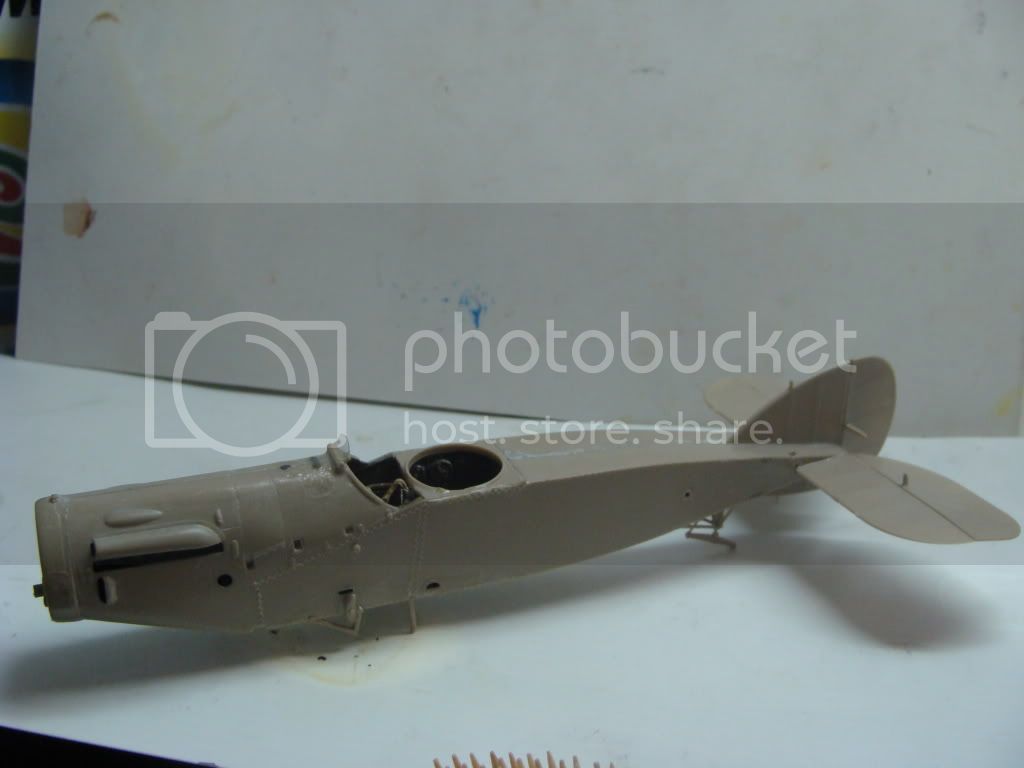
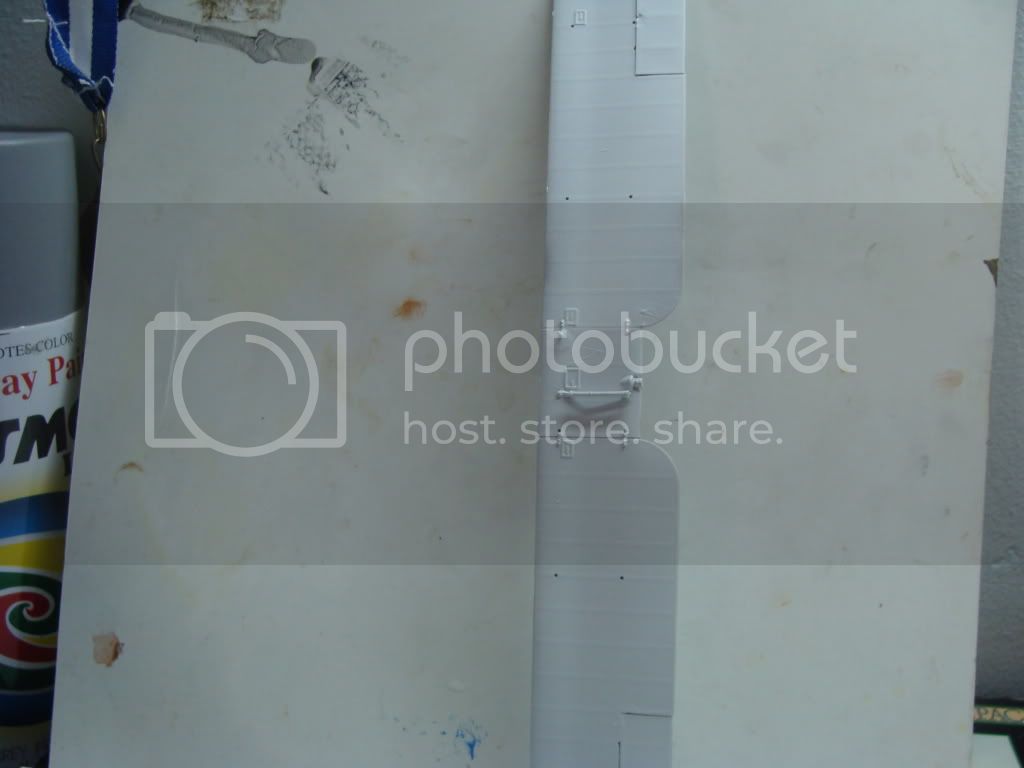
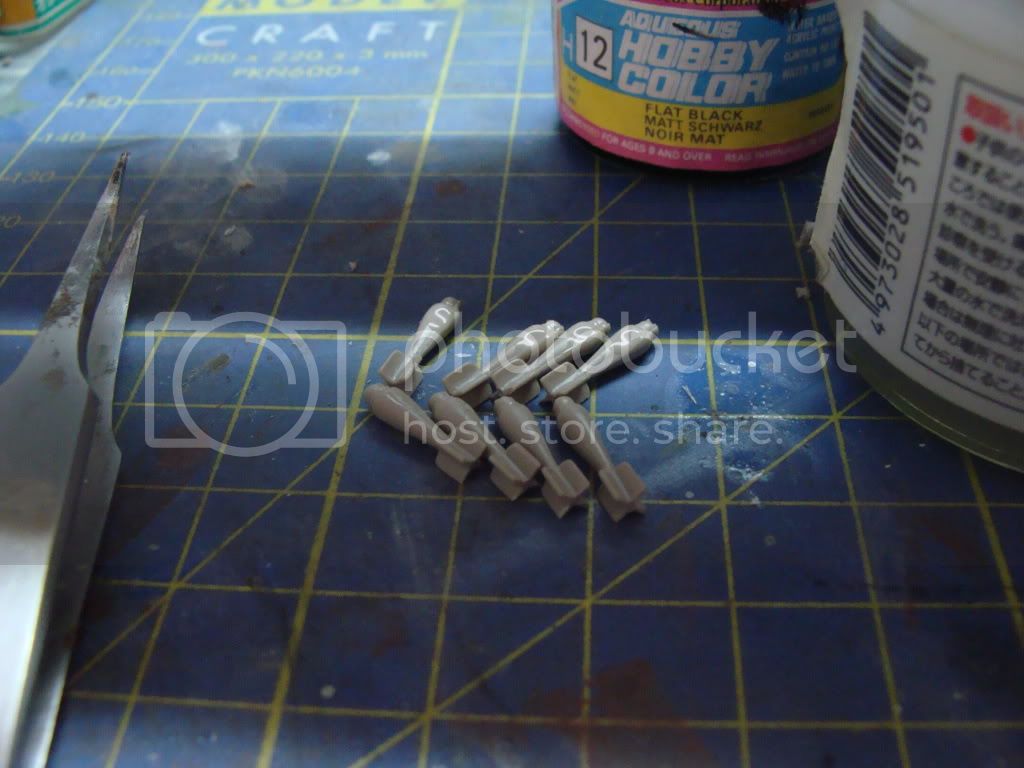
Posted: Saturday, October 24, 2009 - 08:33 PM UTC
Updaaaate
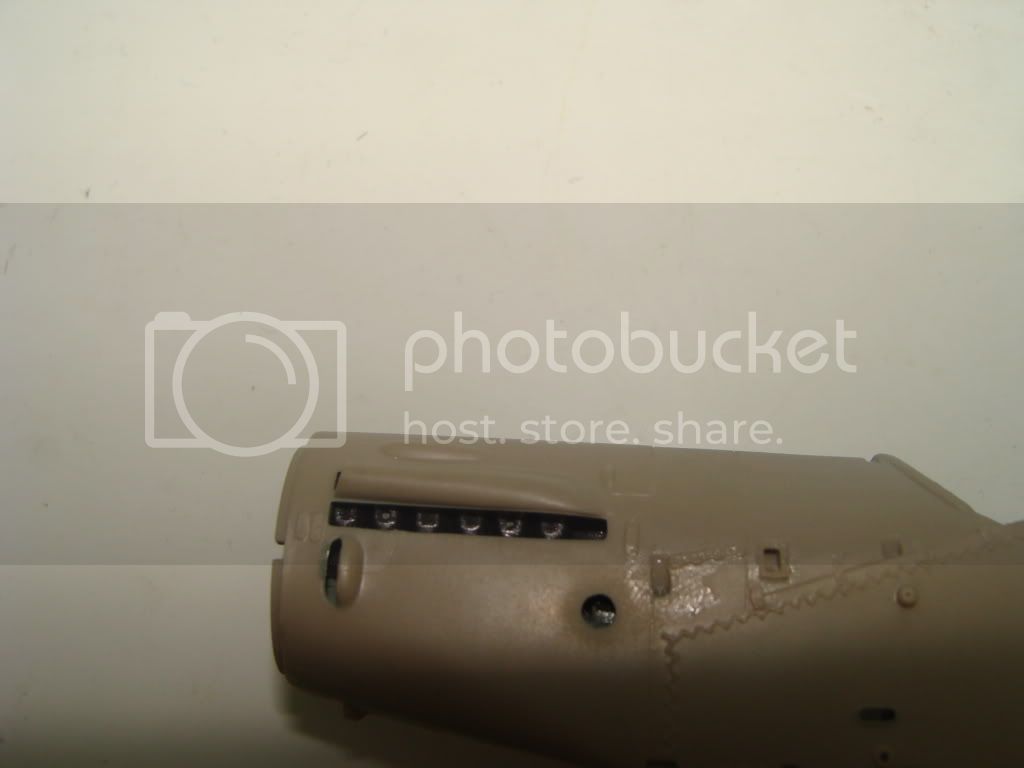
Some details on the upper fuselage
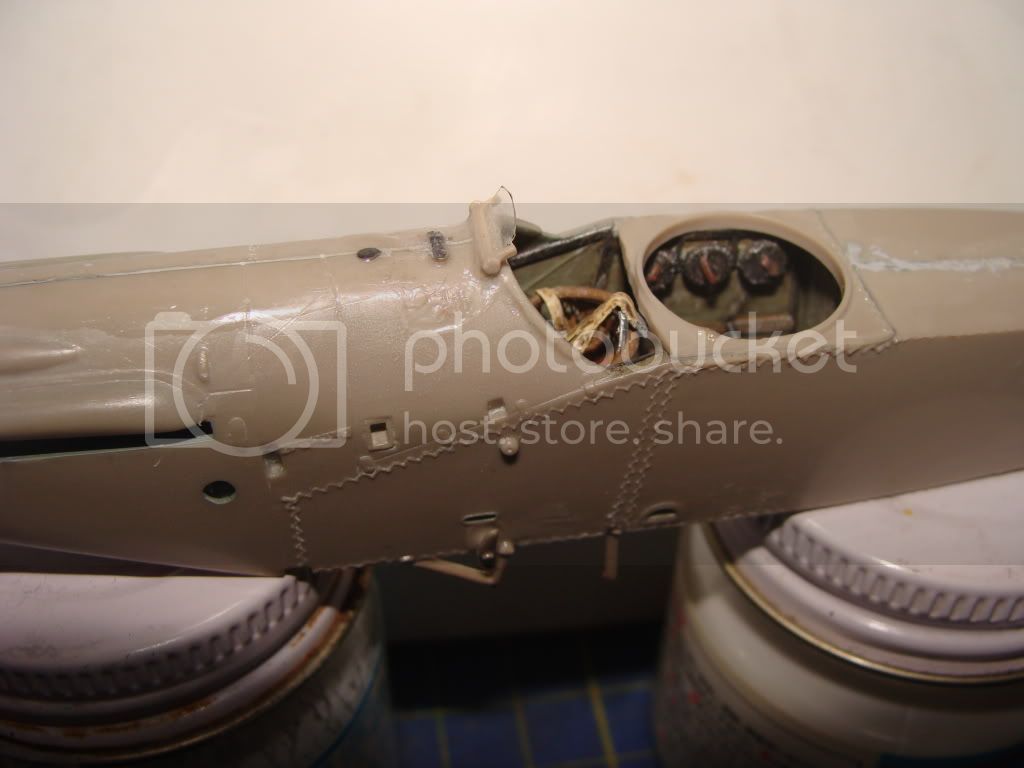
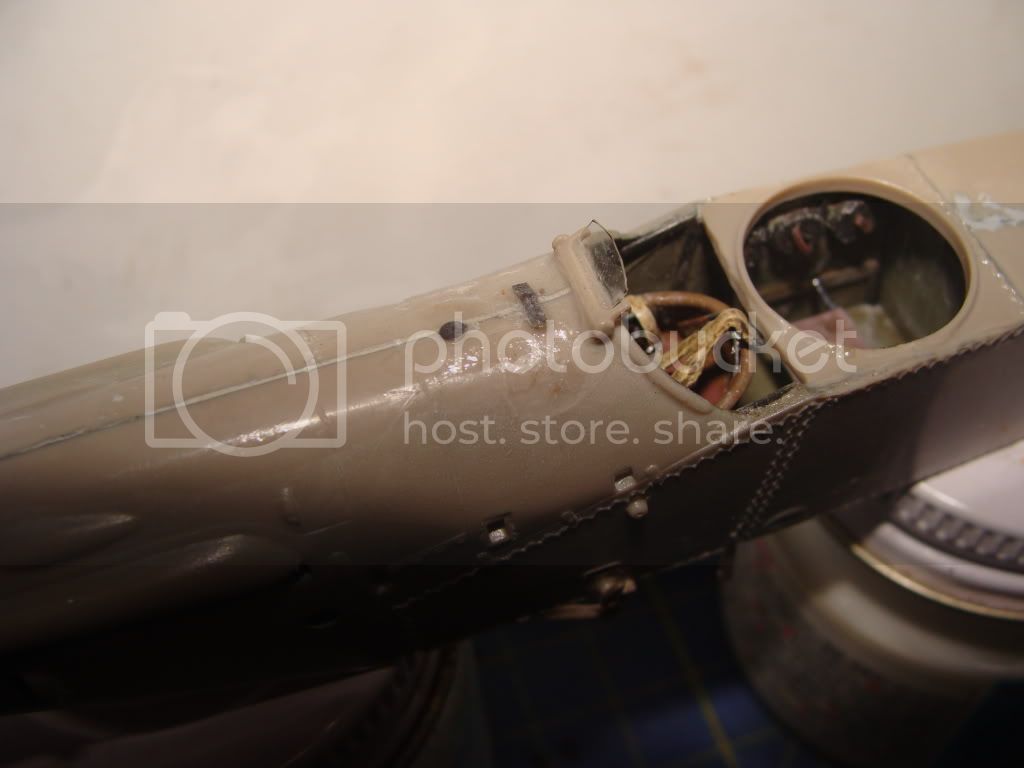
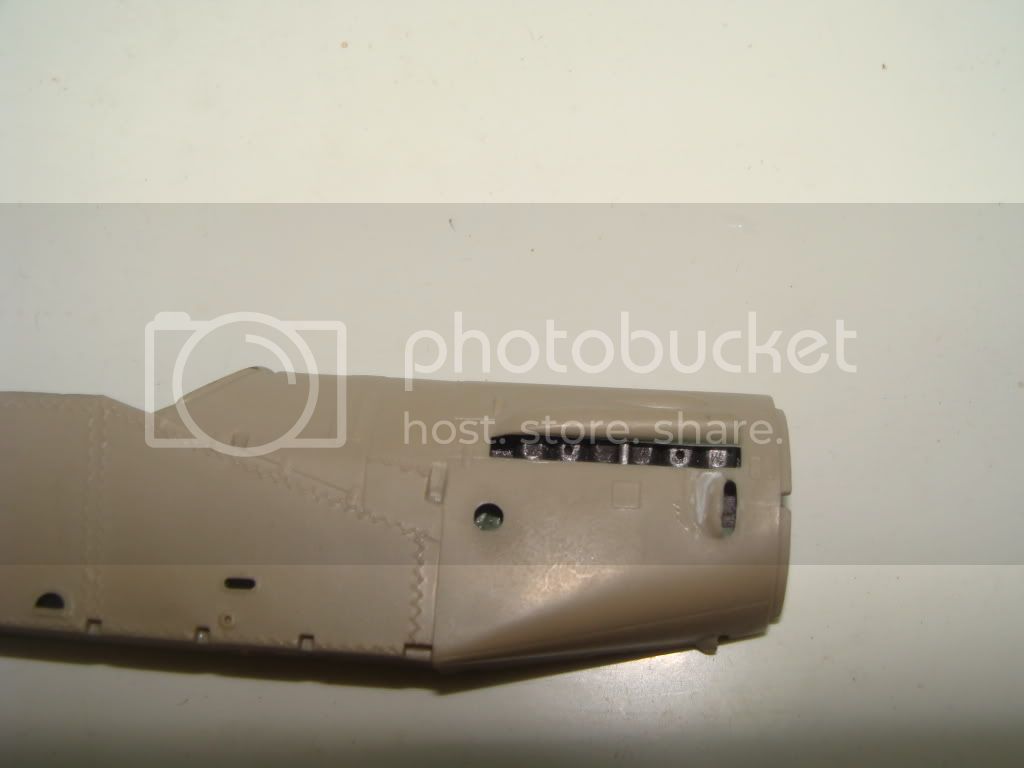
Some detail on the lower fuselage

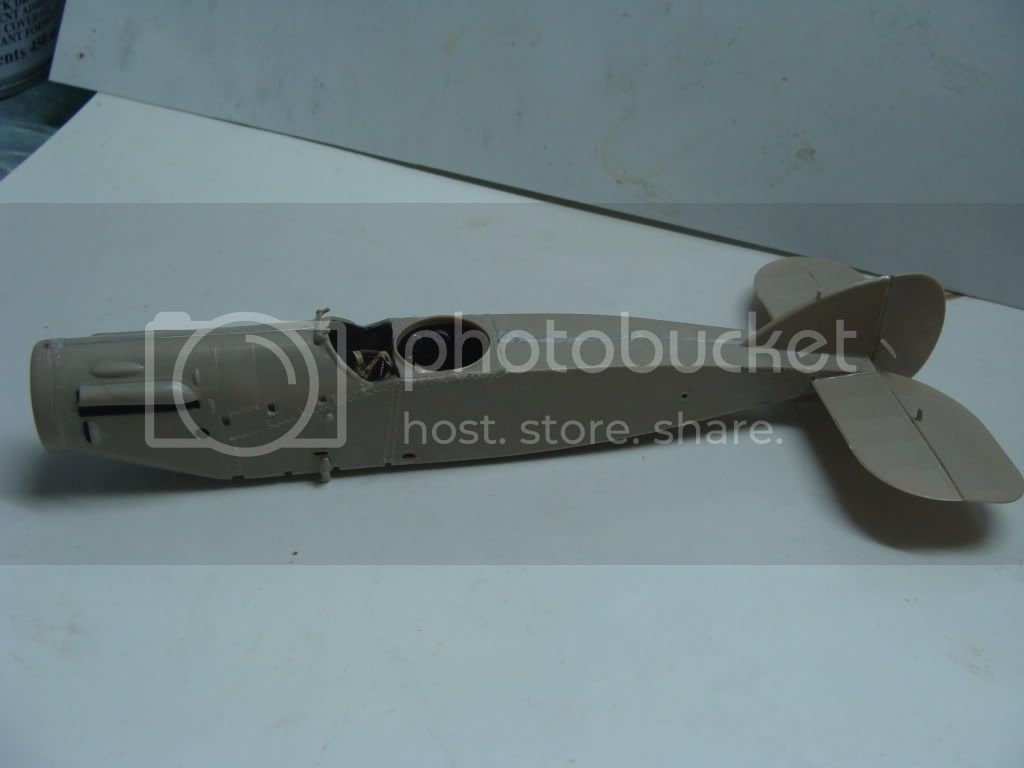
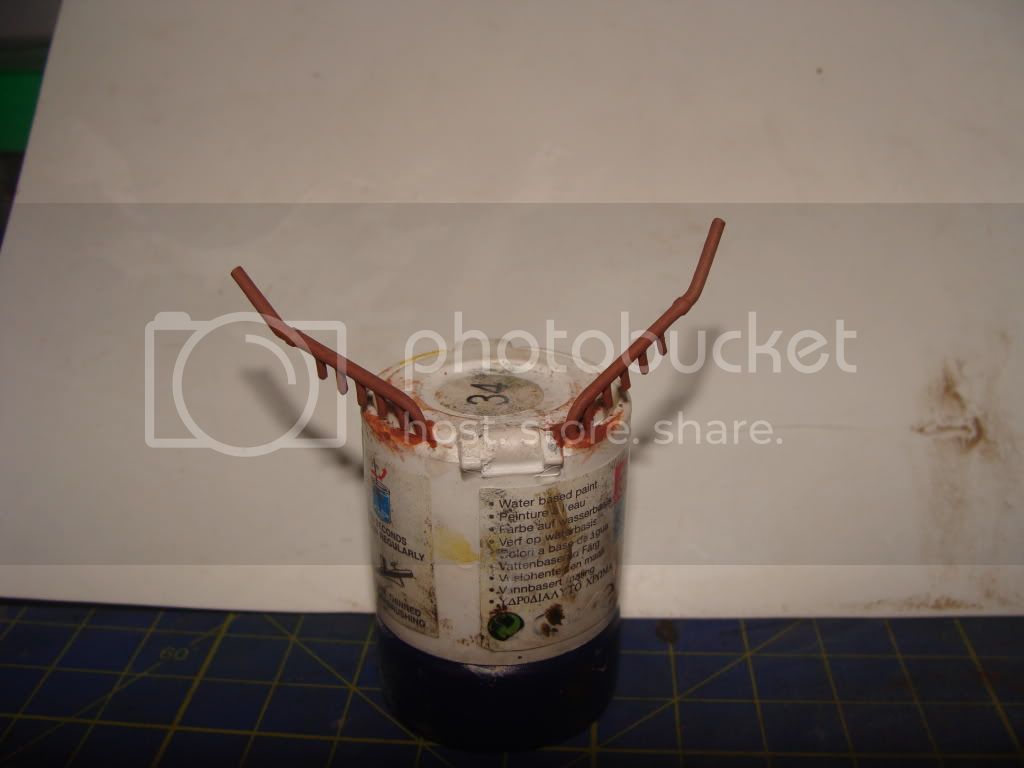
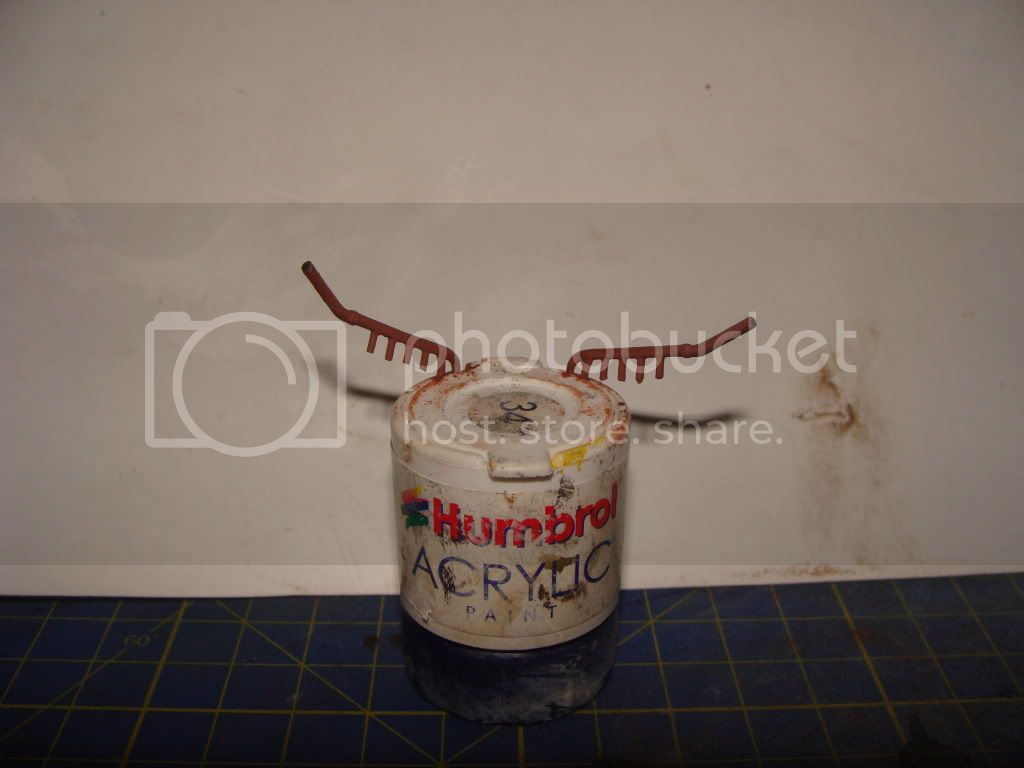
Here is something useful that the useless humbrol acrylics can do

The exhausts finished
Basic color humbrol enamel 100 matt 75% w/ raw umber oil paint 25%.Drybrush is the same mixture with 30% titanium white oil paint
Cheers Nick
Alberta, Canada
Joined: January 19, 2008
KitMaker: 6,743 posts
AeroScale: 6,151 posts
Posted: Sunday, October 25, 2009 - 03:23 AM UTC
Looking pretty good so far Nick ! I like how your seatbelts turned out .
Would it have been easier to leave the front windsrceen off until after painting ?
Keep up the good work Nick
Attica, Greece / Ελλάδα
Joined: May 01, 2008
KitMaker: 1,437 posts
AeroScale: 1,241 posts
Posted: Sunday, October 25, 2009 - 09:05 AM UTC
Thank you very much for your comments Terri

Don't worry about the windscreen

I'm gone to use liquid mask such as Humbrol and Gunze (I've got them both
)
Really do you like the exhausts painting??
Cheers Nick
Alberta, Canada
Joined: January 19, 2008
KitMaker: 6,743 posts
AeroScale: 6,151 posts
Posted: Sunday, October 25, 2009 - 12:48 PM UTC
Yes Nick , I do like your exhaust painting .
Attica, Greece / Ελλάδα
Joined: May 01, 2008
KitMaker: 1,437 posts
AeroScale: 1,241 posts
Posted: Sunday, October 25, 2009 - 11:45 PM UTC
Thank you very much Terri
Cheers Nick
Attica, Greece / Ελλάδα
Joined: May 01, 2008
KitMaker: 1,437 posts
AeroScale: 1,241 posts
Posted: Tuesday, November 03, 2009 - 01:59 AM UTC
I changed my mind about the models profile
I'll finaly make this
Marking A (in the kit color chart)
"Bristol F.2B D-8084, No. 139 Squadron RAF, Cpt S Dalrymple and 2/Lt C Beagle, Italy August 1918"
Cheers Nick
Attica, Greece / Ελλάδα
Joined: May 01, 2008
KitMaker: 1,437 posts
AeroScale: 1,241 posts
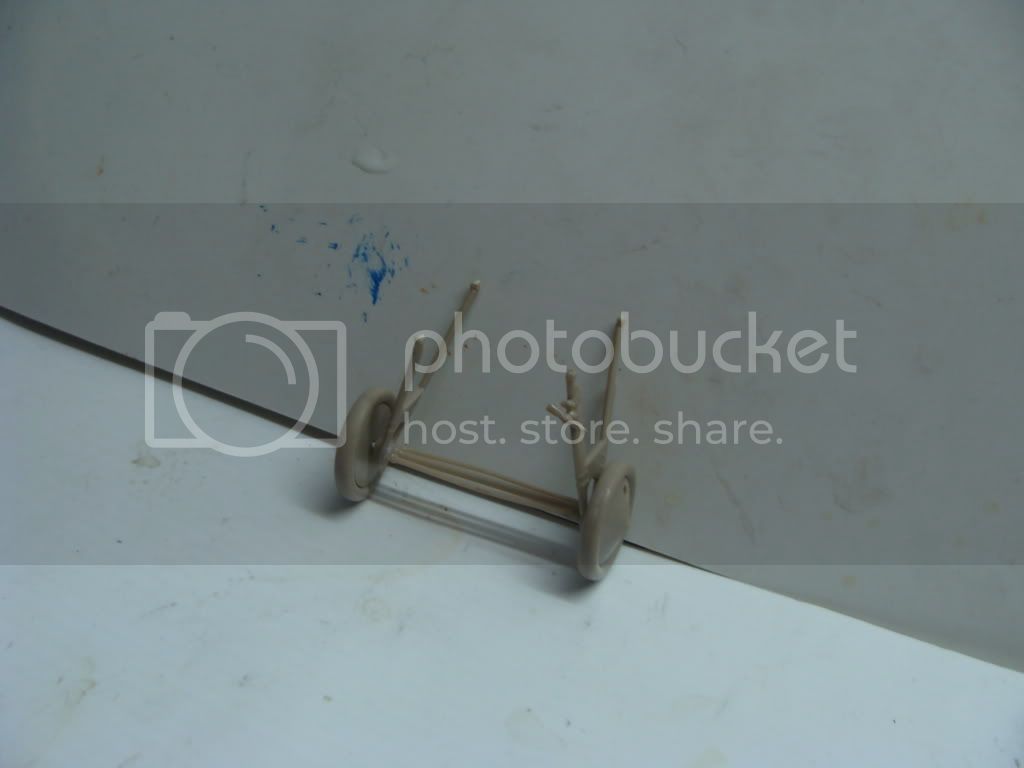
Posted: Friday, November 06, 2009 - 08:53 PM UTC
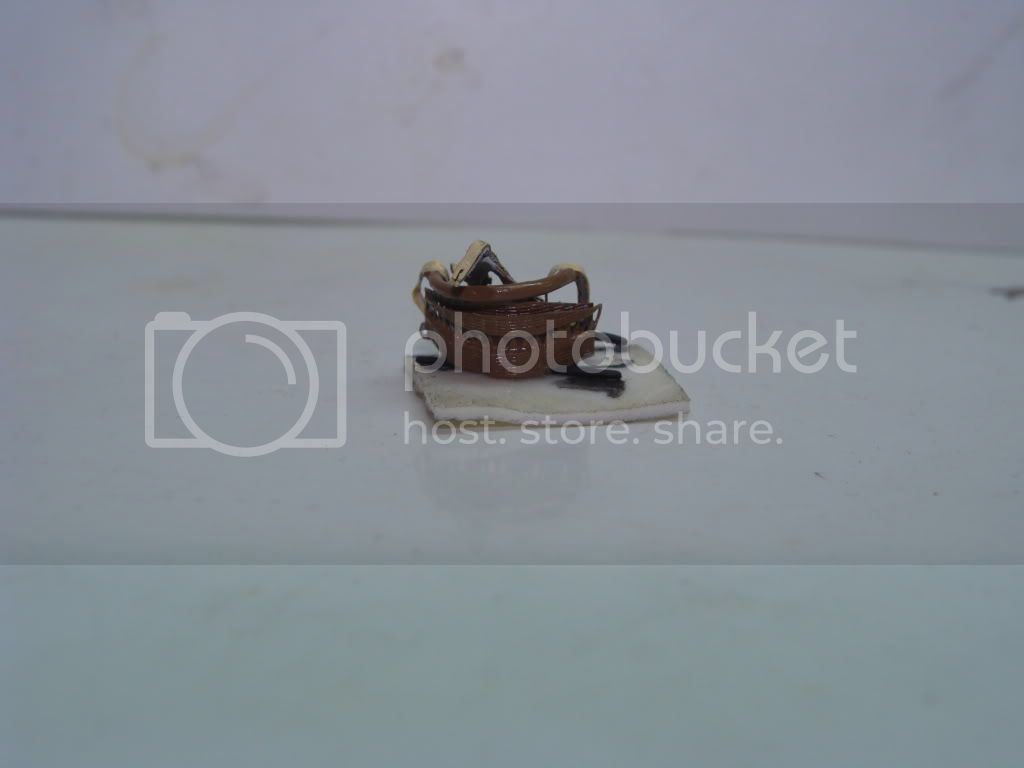
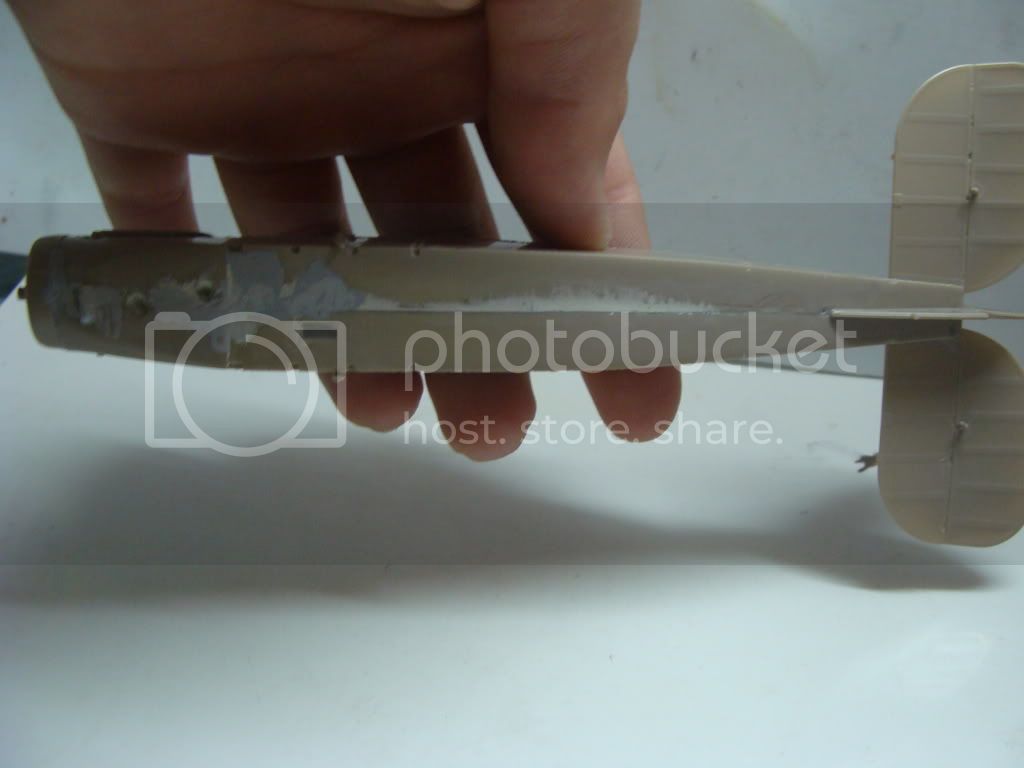
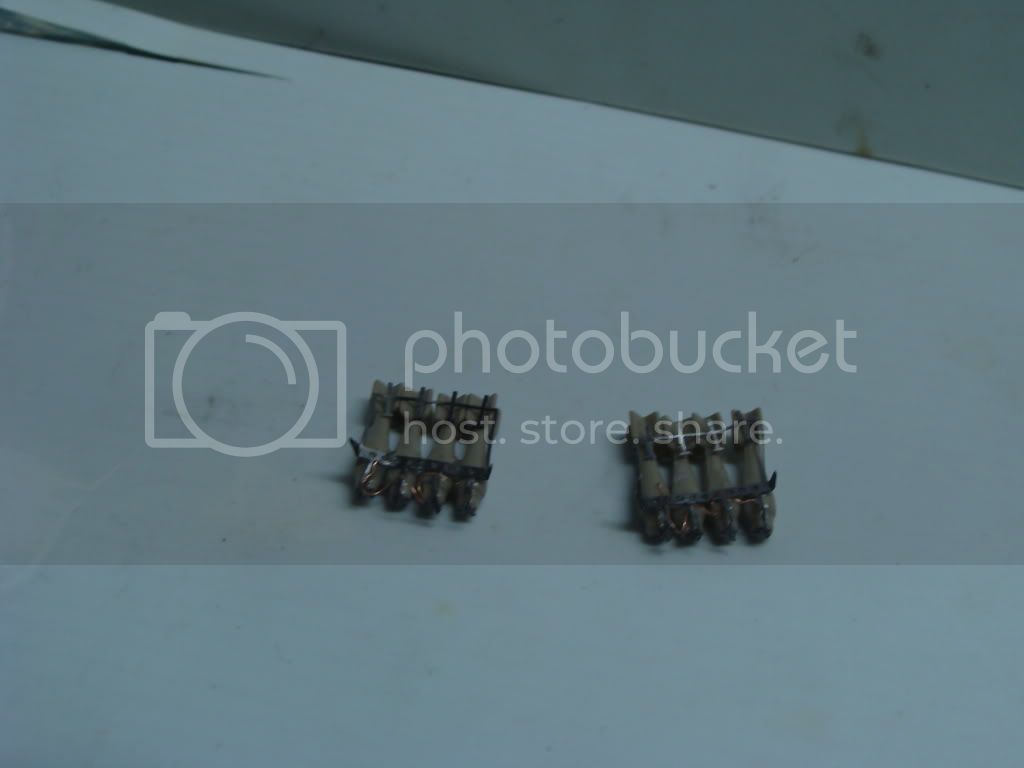
Updaaaaate
The fuselage
The finished landing gear (back)
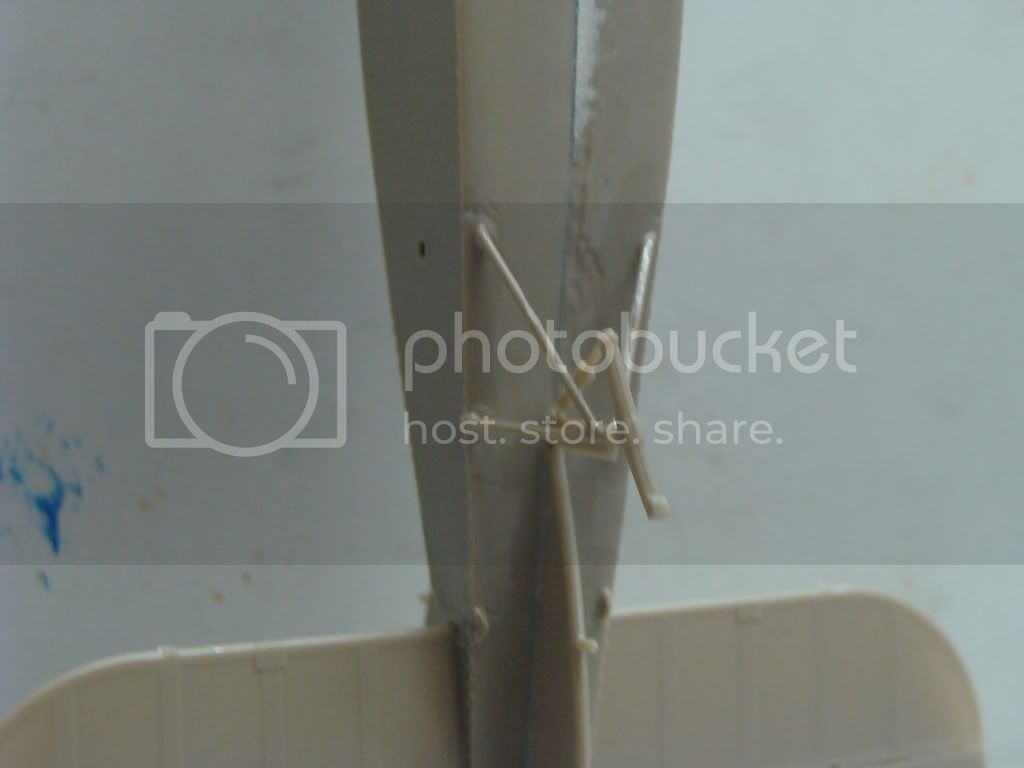
Some detail on the down surfaces of the fuselage
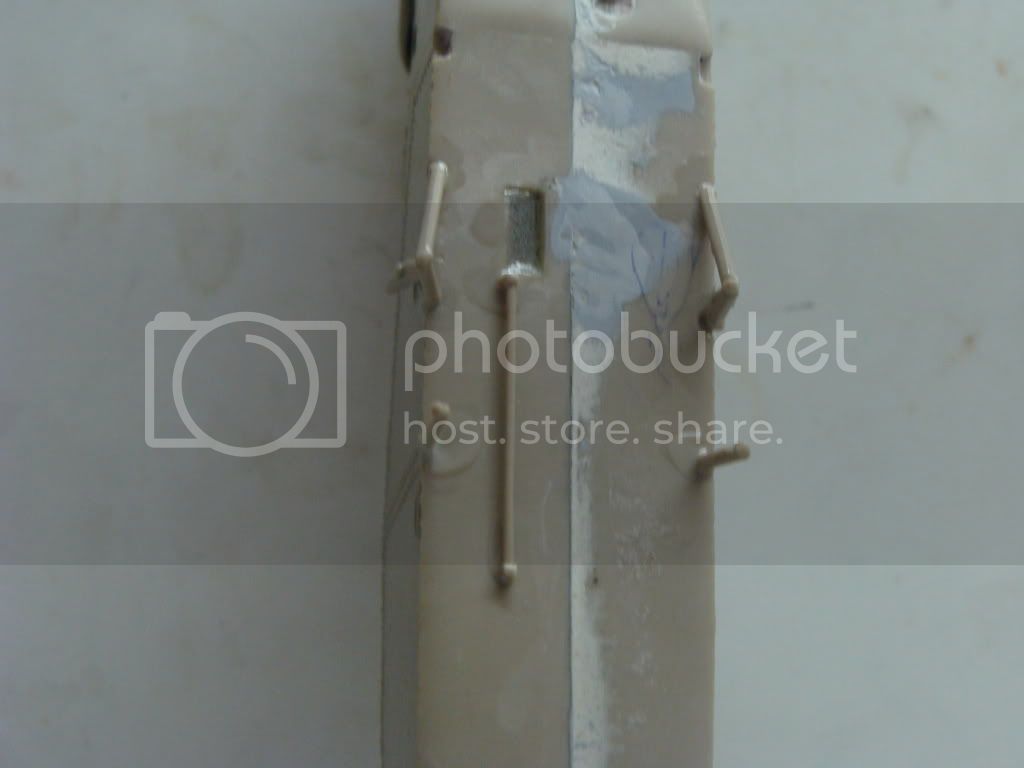
The lower wing
The bomb rails

The upper wing

The front landing gear
The bombs (needs the front P.E. propellor)
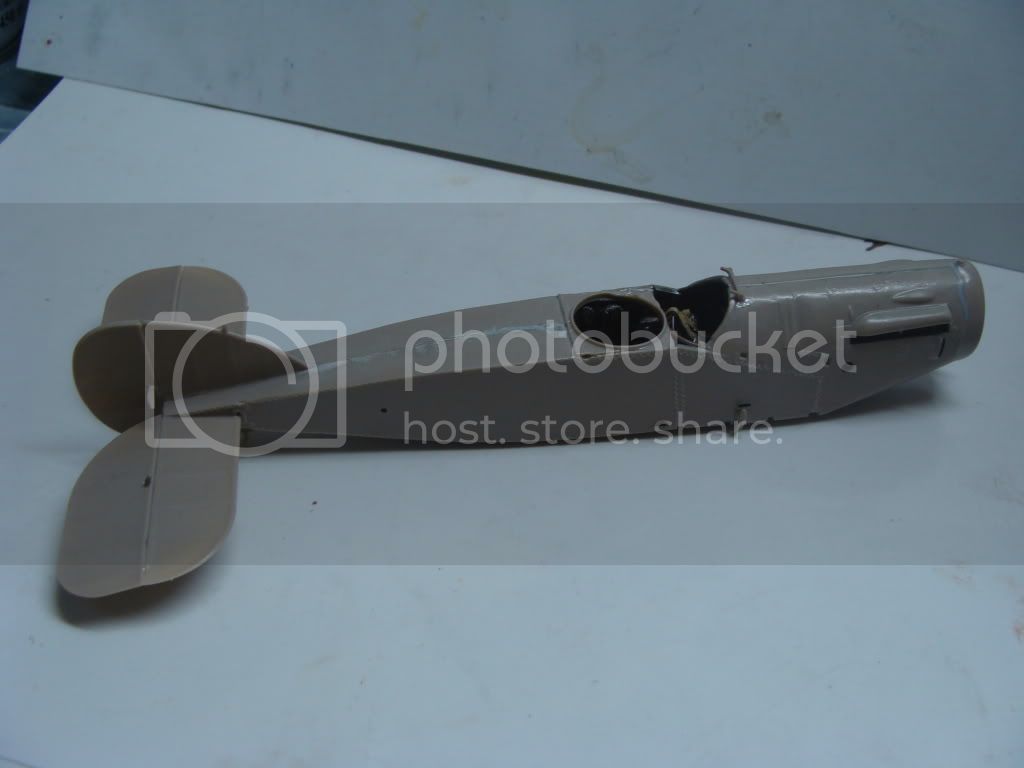
The exhausts in new "case"
Cheers Nick
Attica, Greece / Ελλάδα
Joined: May 01, 2008
KitMaker: 1,437 posts
AeroScale: 1,241 posts
Posted: Wednesday, November 11, 2009 - 08:24 AM UTC
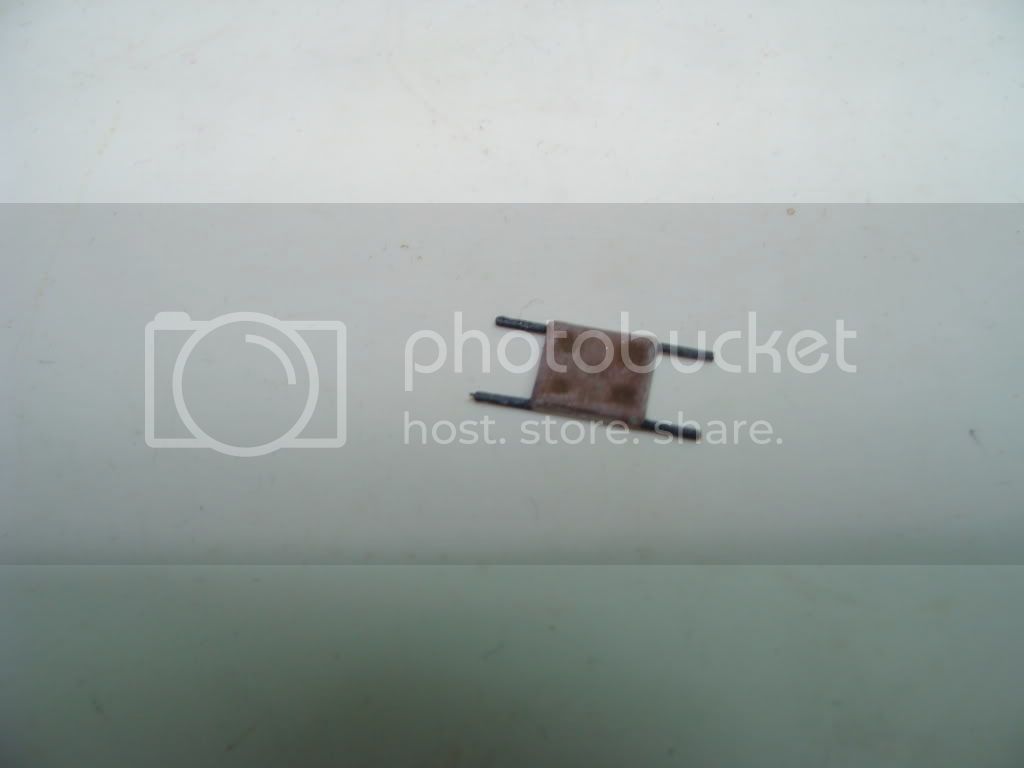
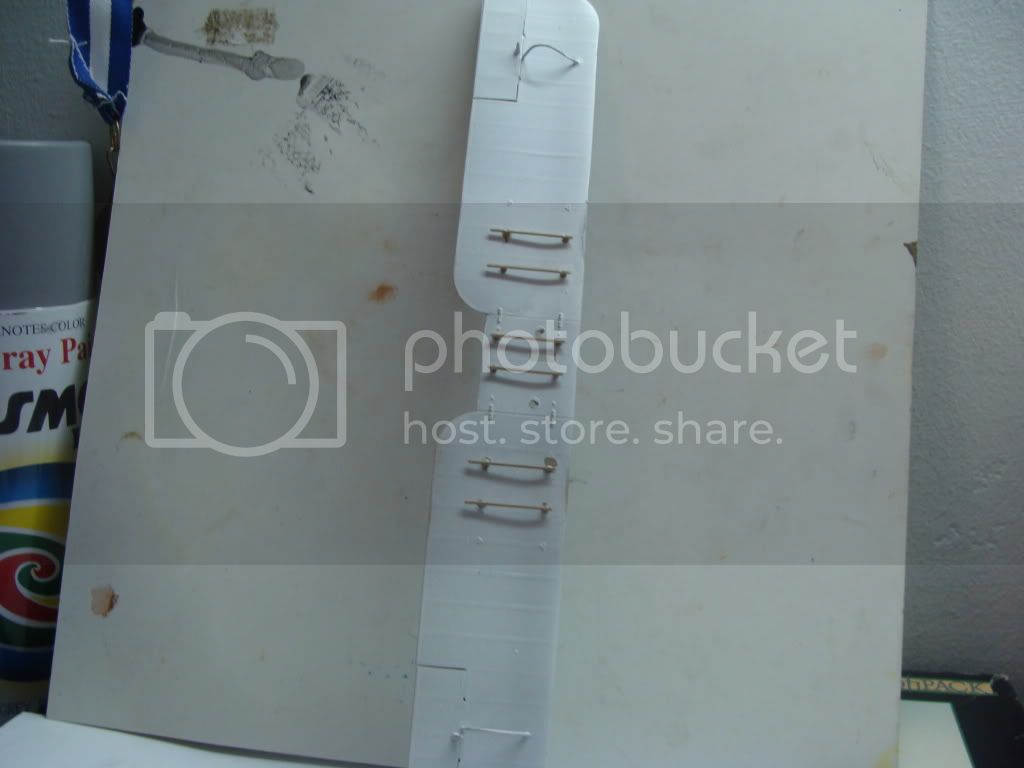
Update
I have finished masking (no pictures

)
I have finished bomb bays too

and When I saw this photo
 http://www.moorewallpaper.com/ww1-32.jpg
 I scratch-builded the cables in the photo
Cheers Nick
Attica, Greece / Ελλάδα
Joined: May 01, 2008
KitMaker: 1,437 posts
AeroScale: 1,241 posts
Posted: Friday, November 13, 2009 - 01:54 AM UTC
I need your comments

Cheers Nick
Attica, Greece / Ελλάδα
Joined: May 01, 2008
KitMaker: 1,437 posts
AeroScale: 1,241 posts
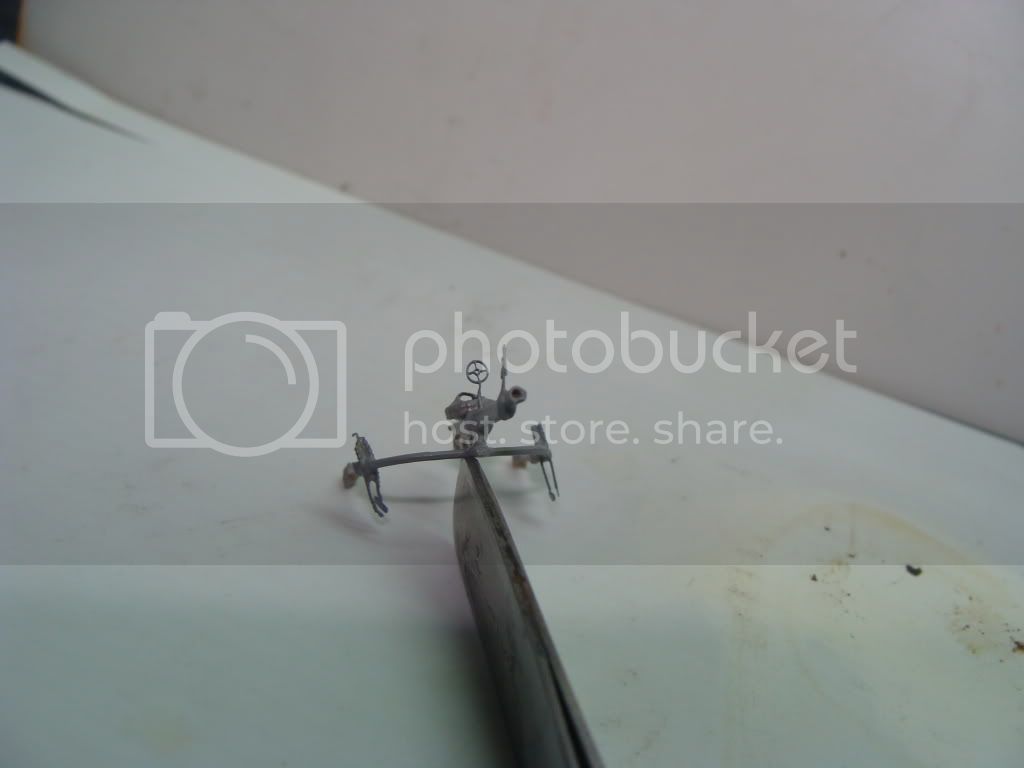
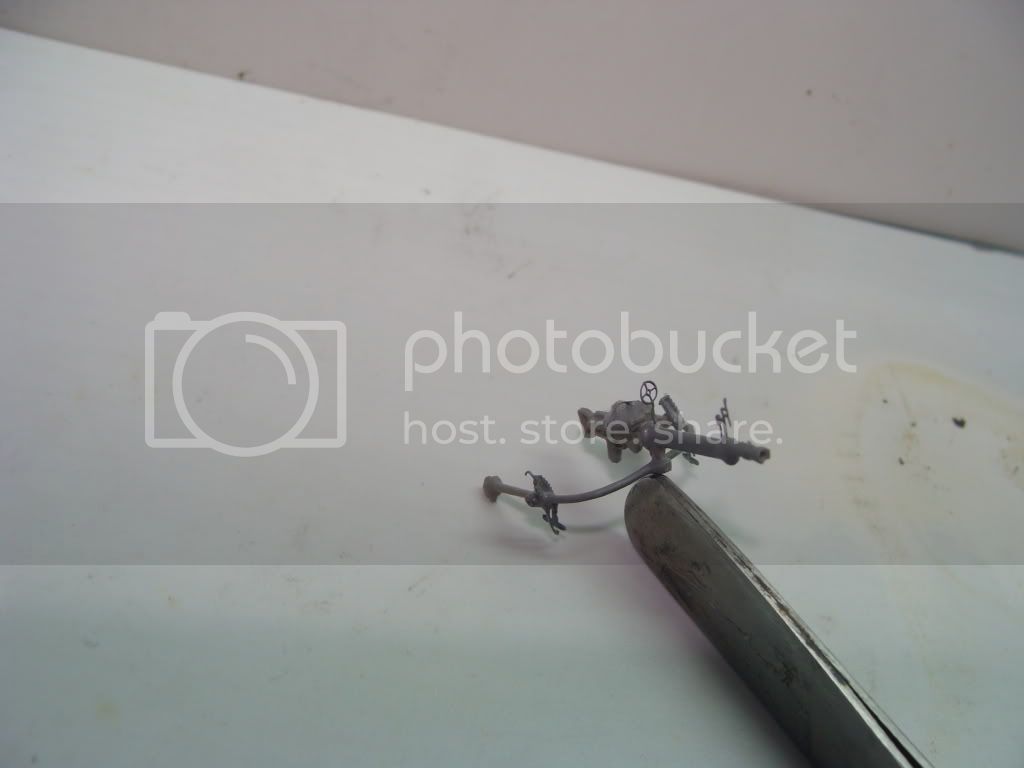
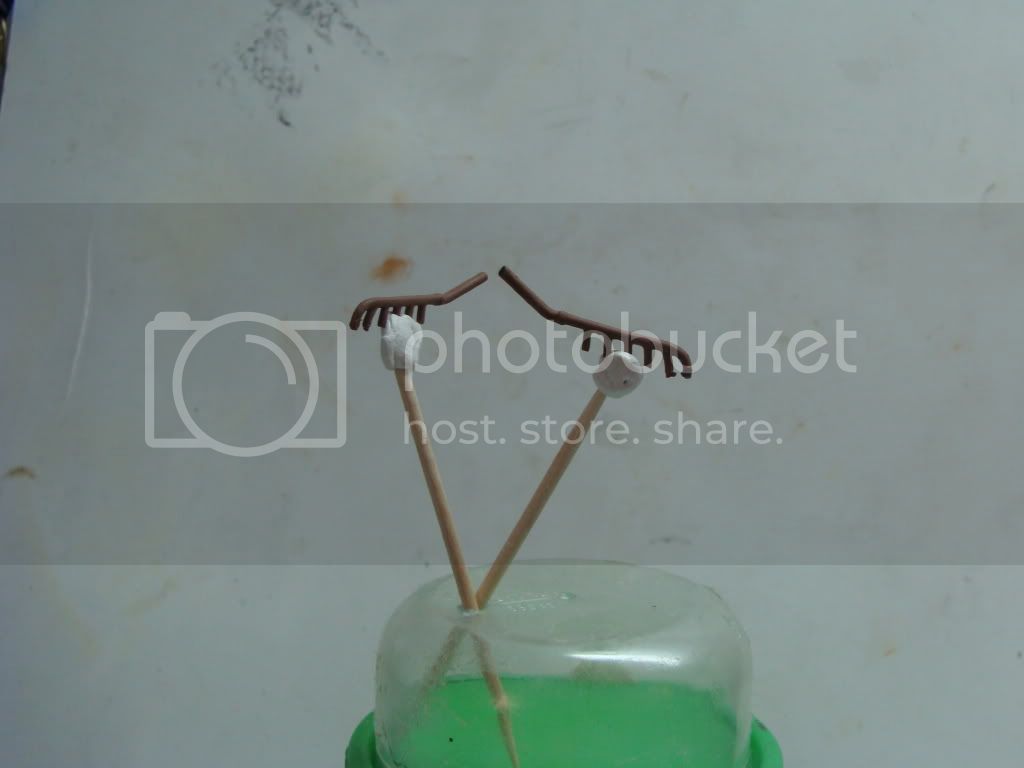
Posted: Sunday, November 15, 2009 - 03:58 AM UTC
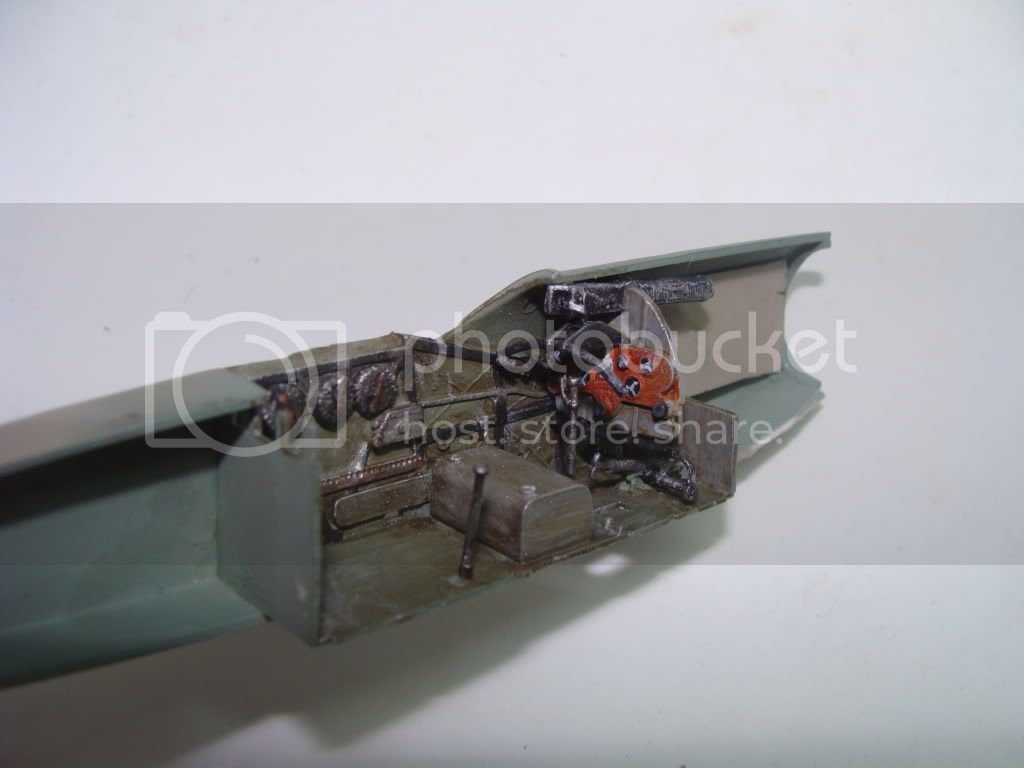
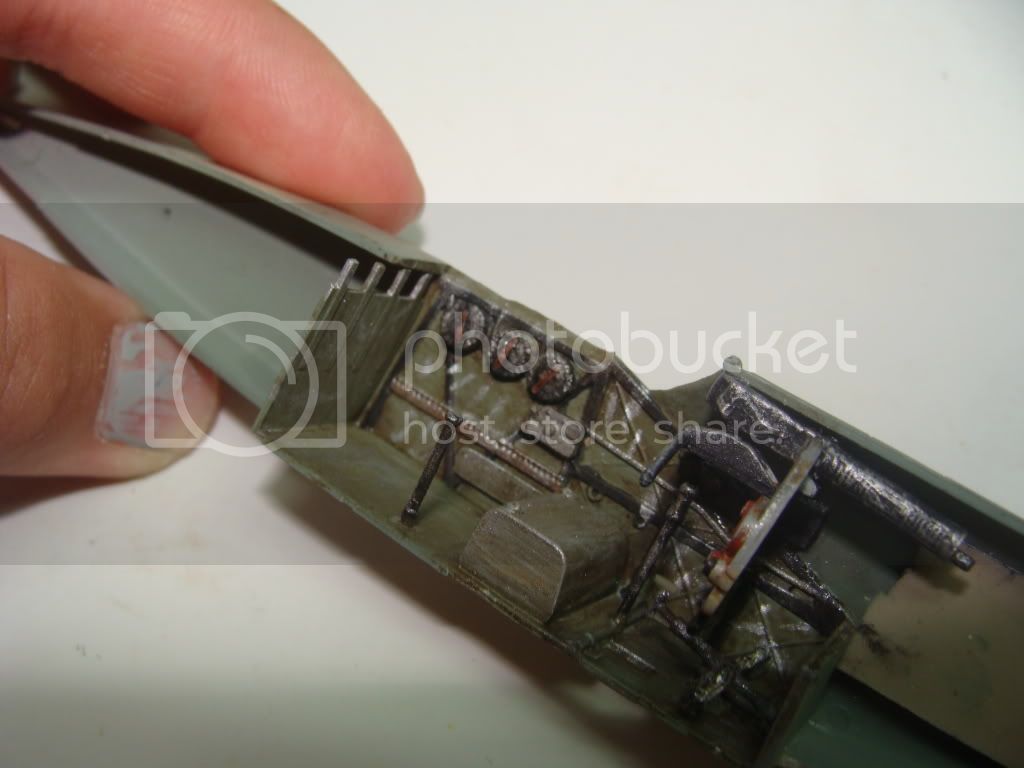
Update!!
The fuselage had been masked and primed

The machingunner's seat

The machinegun

I drilled the machingun's barrel
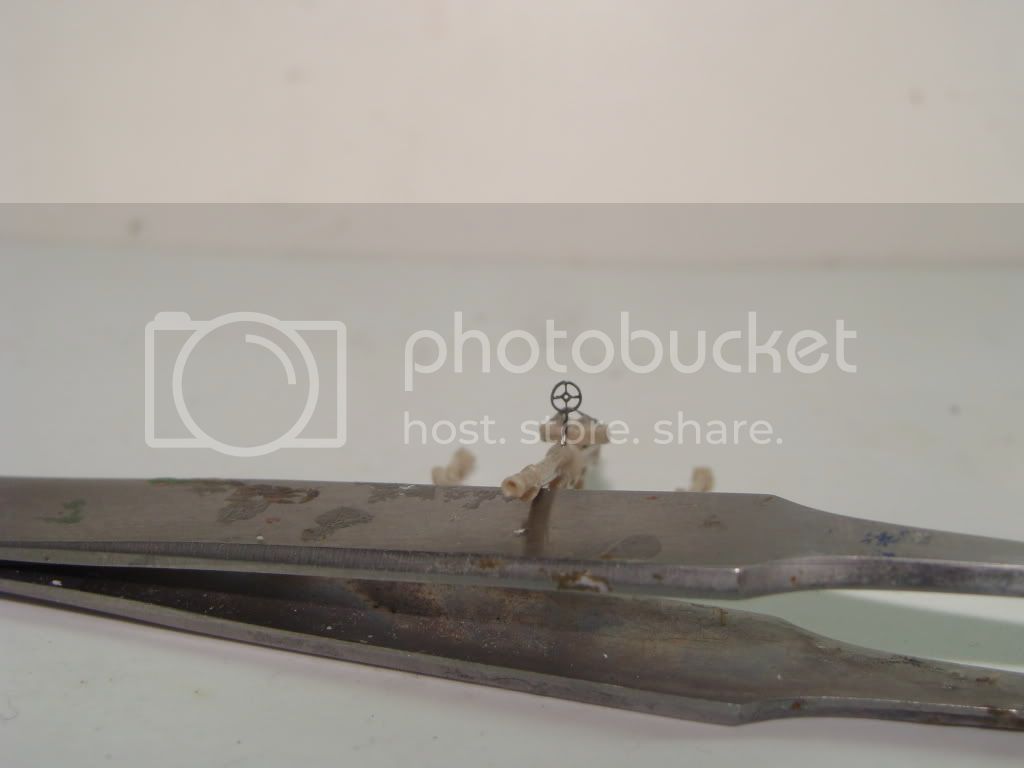
And a size compare

Cheers Nick
Attica, Greece / Ελλάδα
Joined: May 01, 2008
KitMaker: 1,437 posts
AeroScale: 1,241 posts
Posted: Tuesday, November 17, 2009 - 03:18 AM UTC
Colorado, United States
Joined: January 25, 2004
KitMaker: 11,669 posts
AeroScale: 11,011 posts
Posted: Tuesday, November 17, 2009 - 08:21 AM UTC
Decent work here Nick. PE can be a trial at first but your doing well. Model On!
". . .The most important thing is to know why you build and then get the most that you can out of building." via D.D.
Merlin
 Senior Editor
#017
United Kingdom
Joined: June 11, 2003
KitMaker: 17,582 posts
AeroScale: 12,795 posts
Posted: Tuesday, November 17, 2009 - 08:38 AM UTC
Hi Nick
Well done! I'm impressed - you've picked a pretty advanced kit of a complicated subject - so don't be surprised if it's a quantum leap in complexity over what you've tackled before.
But take heart - one day, you'll look back on your efforts with the Brisfit and realise how much you learned with this build. Occasionally, we all feel we've bitten off more than we can chew - my latest build has almost gone in the bin through sheer frustration on several occasions!

- but learning to overcome such obstacles is part of what modelling is all about.
That fact that you're still making progress speaks volumes for your determination. Keep at it! (And, maybe save your other Eduard Brisfit kit for another day...
).
All the best
Rowan
BEWARE OF THE FEW...
As I grow older, I regret to say that a detestable habit of thinking seems to be getting a hold of me. - H. Rider Haggard
Attica, Greece / Ελλάδα
Joined: May 01, 2008
KitMaker: 1,437 posts
AeroScale: 1,241 posts
Posted: Tuesday, November 17, 2009 - 09:02 AM UTC