Thanks, Gaston- overall I'd definitely say that the kit is worth the effort. I just don't know when to stop! ;D I thought those intakes would be the death of me- I just kept calm and kept filing until things looked right. It helped to have a nice photo or two of these little widgets. They remind me of German-styled household appliances- the same aesthetic is in play!
Thanks, Roxter- I brushed a bit of Future/Pledge with Future Shine/whatever on the inside before gluing- it creates the perfect barrier against CYA fumes. Best tip I ever learned!
More to come this weekend- cheers!
chuk
World War II
Discuss WWII and the era directly before and after the war from 1935-1949.
Discuss WWII and the era directly before and after the war from 1935-1949.
Hosted by Rowan Baylis
Ju 388- Planet Models 1/48 Resin
chukw1

Joined: November 28, 2007
KitMaker: 817 posts
AeroScale: 729 posts

Posted: Thursday, December 01, 2011 - 03:54 AM UTC
chukw1

Joined: November 28, 2007
KitMaker: 817 posts
AeroScale: 729 posts

Posted: Sunday, January 01, 2012 - 03:16 PM UTC
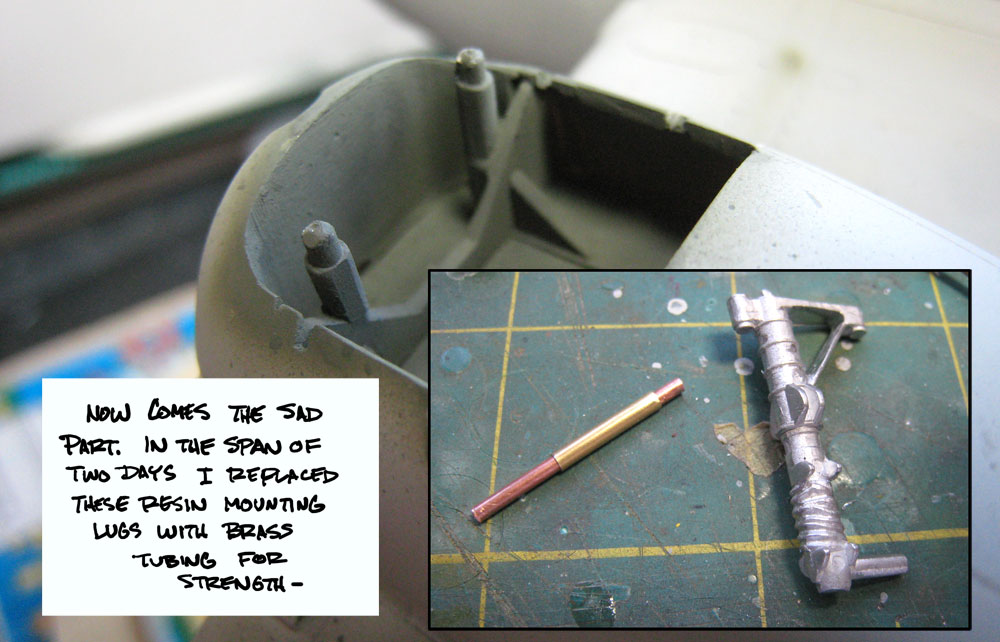
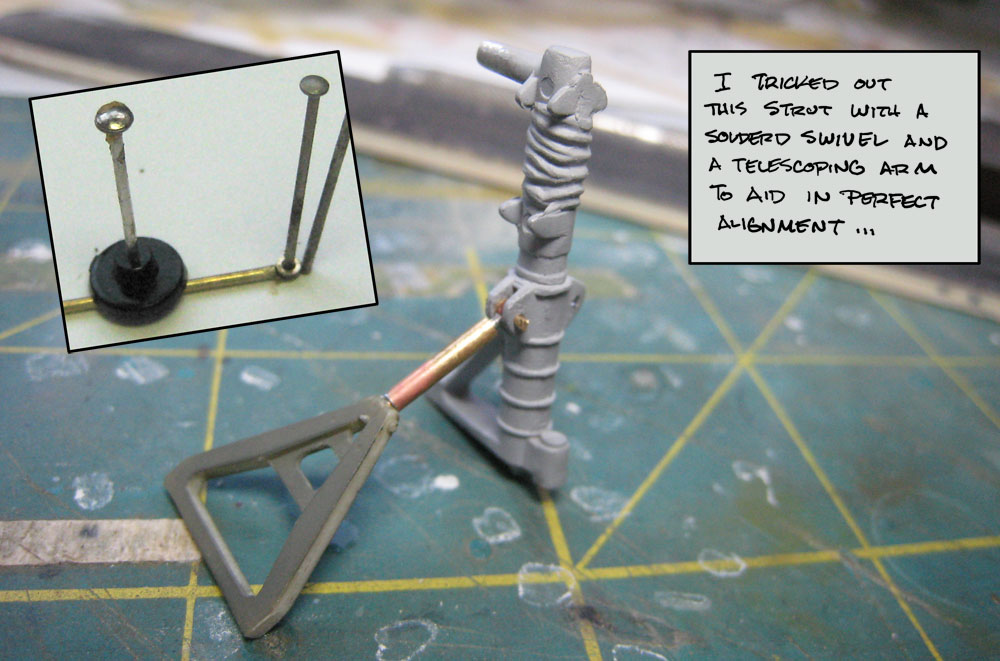
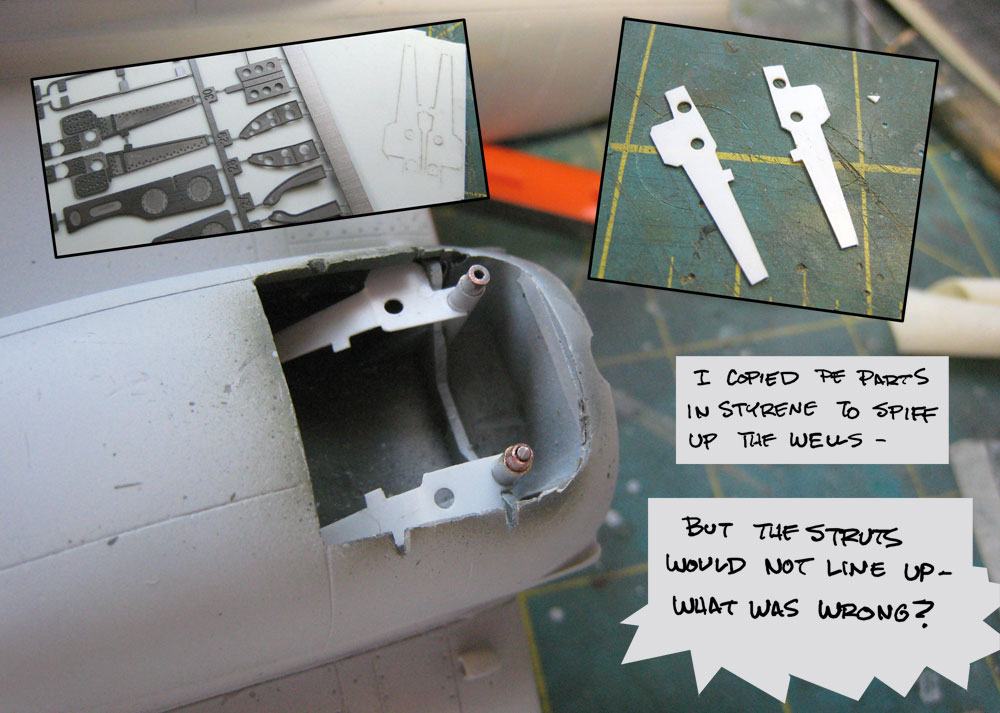
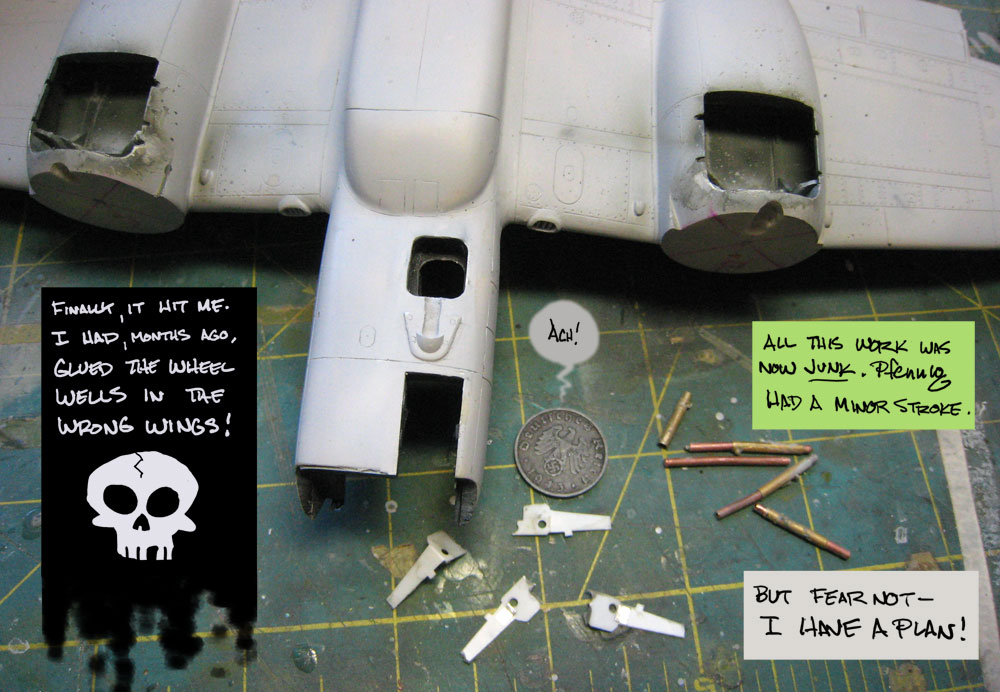
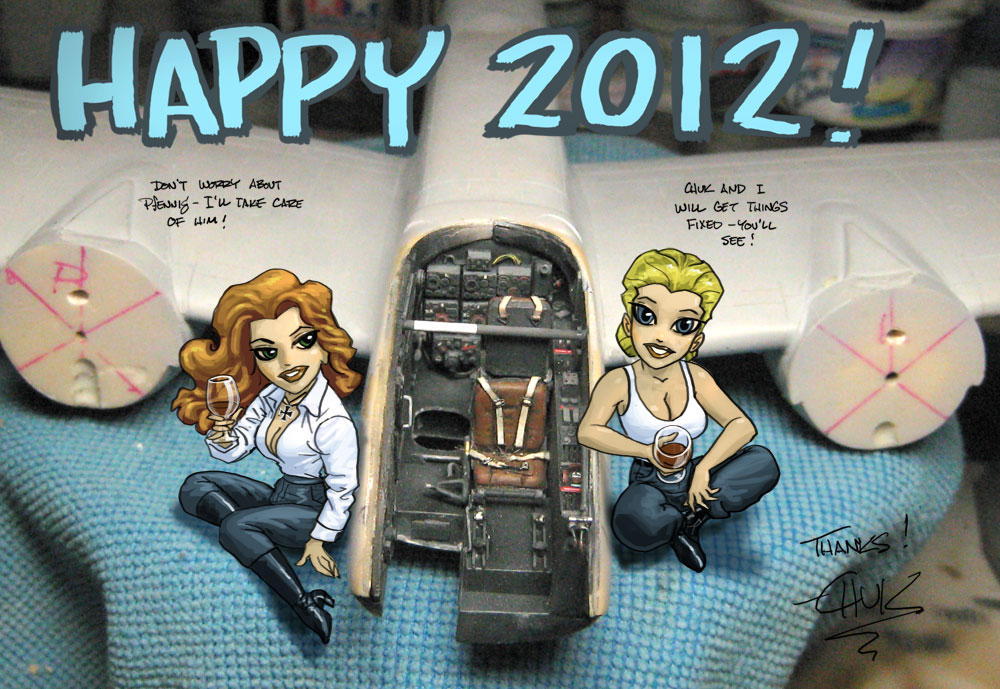
Happy new year, everybody! It's been a while- life, health, work- all have conspired to keep me from the bench. I've had the last week off, and put in a lot of effort! The results are, um... mixed. Read on- if you dare!
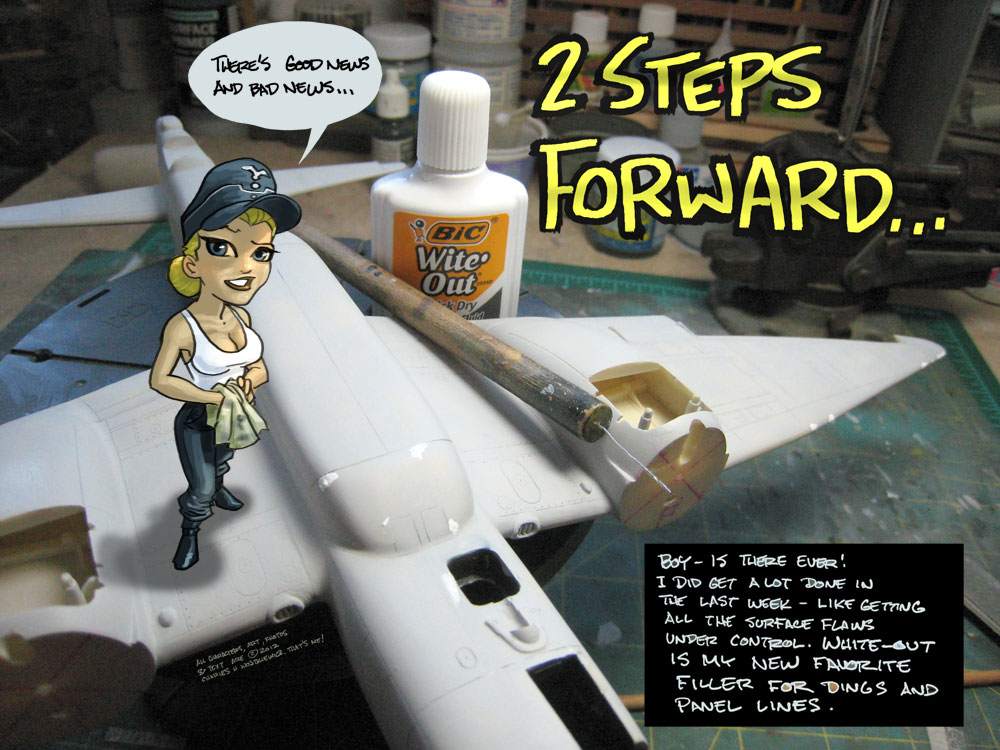
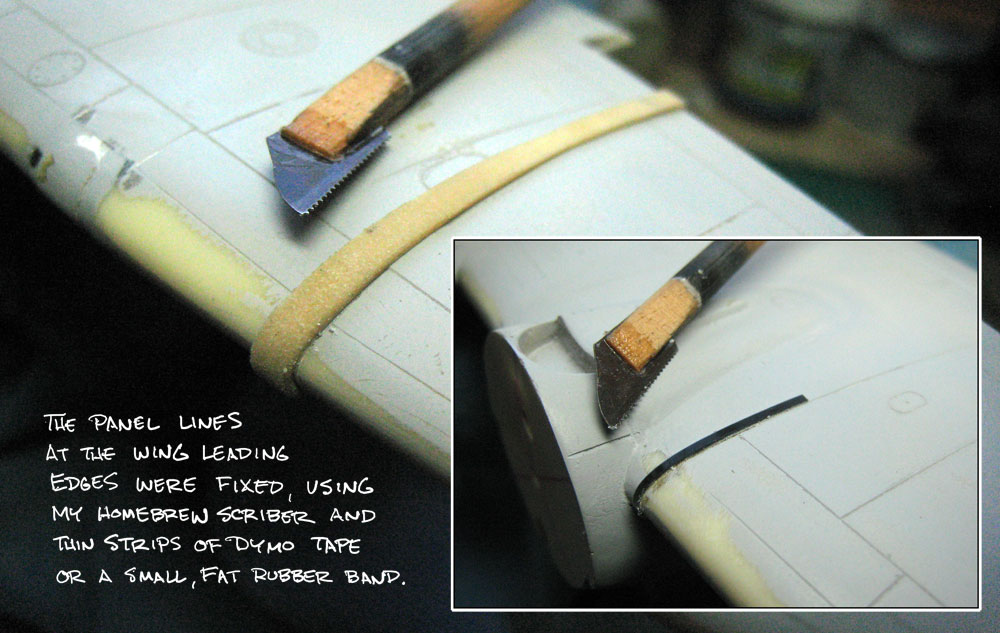
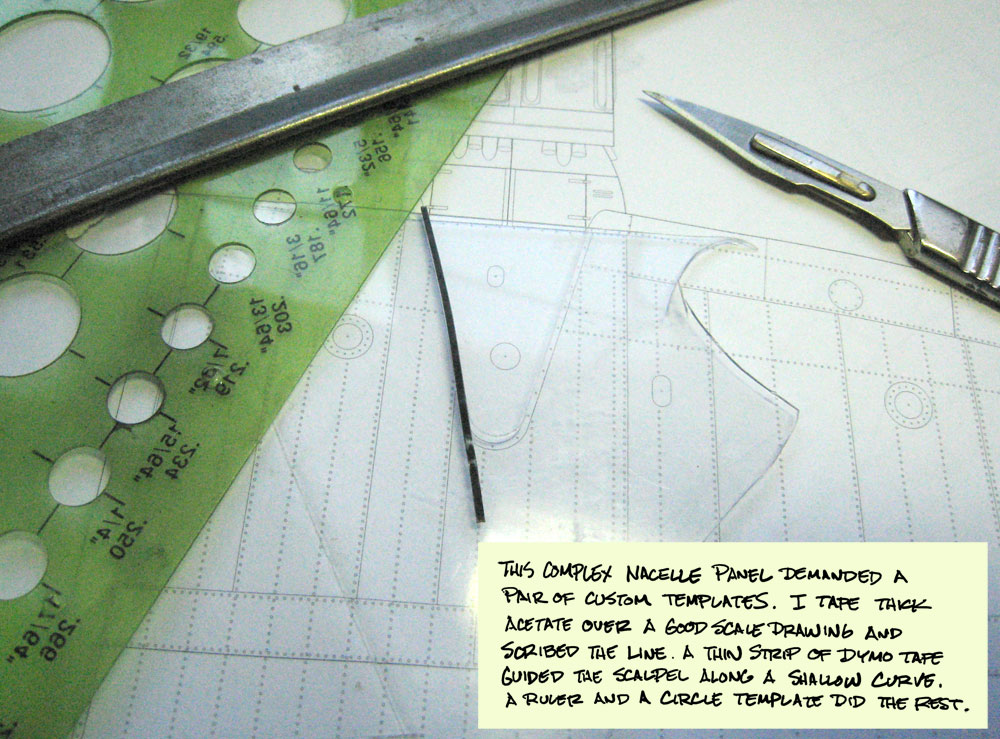
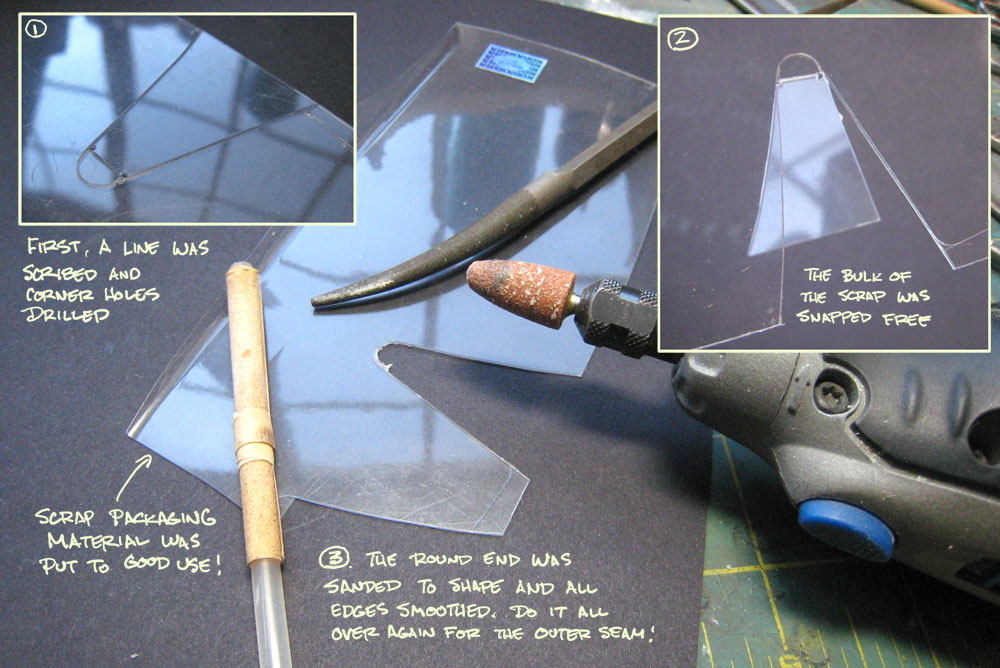


Automaton

Joined: August 12, 2007
KitMaker: 153 posts
AeroScale: 139 posts

Posted: Sunday, January 01, 2012 - 03:42 PM UTC
Awwww, man! You gotta hate it when that happens. But it's not a setback, it's an opportunity to create even better wheelwells. 
Regards;
Automaton

Regards;
Automaton
Posted: Sunday, January 01, 2012 - 04:00 PM UTC
Chuck, watching the amazing work you do having the wheel wells in the wrong wings is a minor hic-up for you. It will just be another reason for the rest of us meir mortals to keep watching and see how you over come this.
Oh tell Pfennig if he doesn't get better you will replace him with a Euro!!
Oh tell Pfennig if he doesn't get better you will replace him with a Euro!!

ludwig113

Joined: February 05, 2008
KitMaker: 1,381 posts
AeroScale: 1,110 posts

Posted: Sunday, January 01, 2012 - 09:09 PM UTC
Quoted Text
Oh tell Pfennig if he doesn't get better you will replace him with a Euro!!
LMAO ha ha ha
very nice work chuck, i'm sure it will all work out in the end!
paul
chukw1

Joined: November 28, 2007
KitMaker: 817 posts
AeroScale: 729 posts

Posted: Wednesday, January 04, 2012 - 04:38 AM UTC
Thank you, My friends!
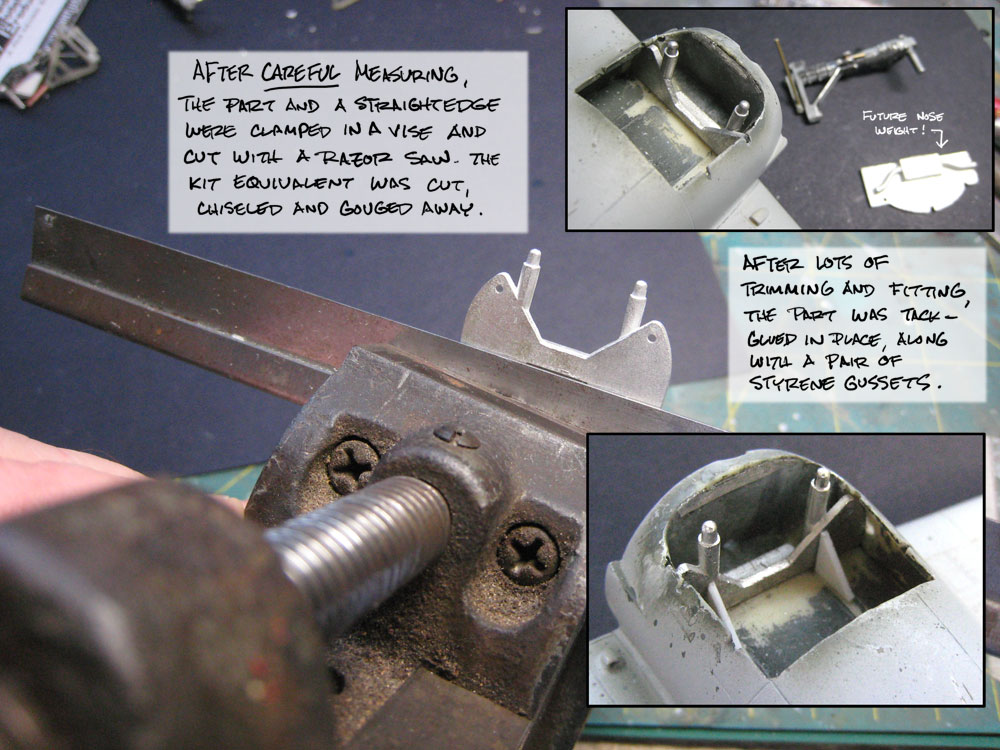
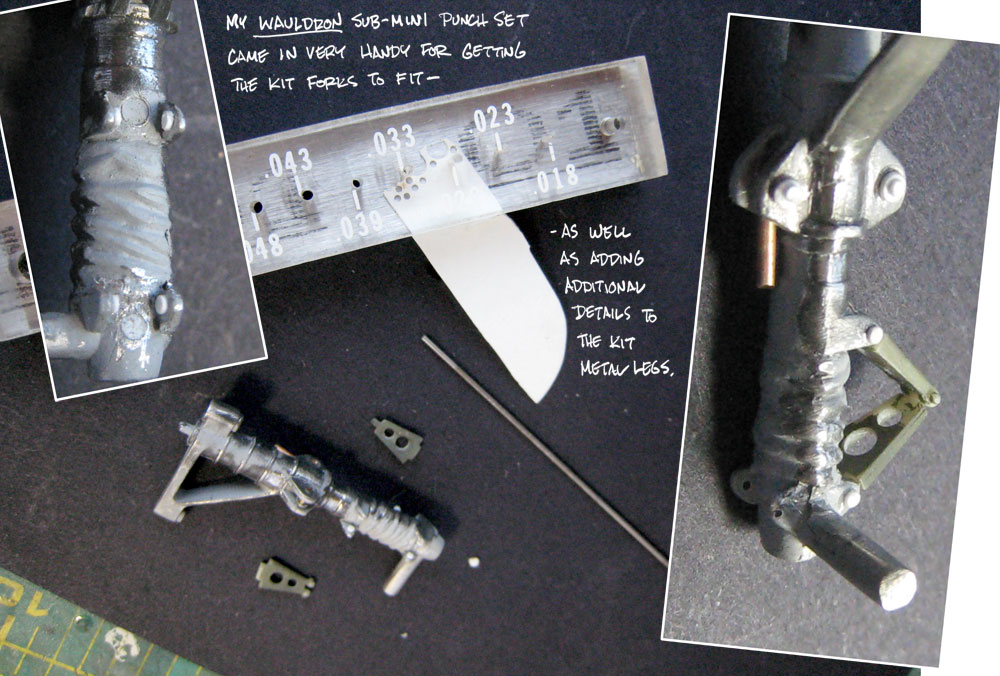
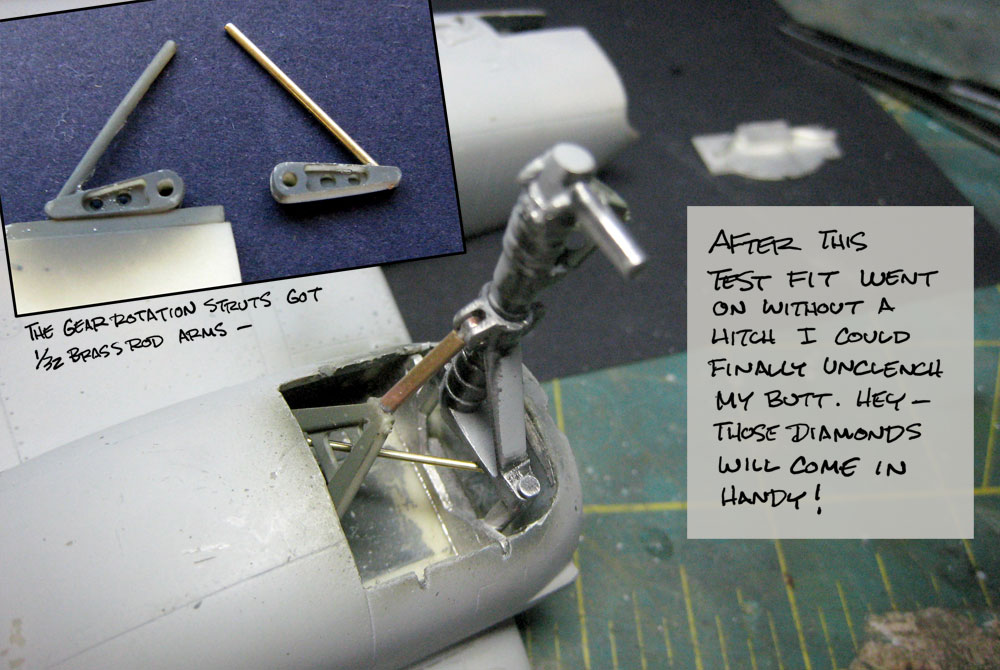
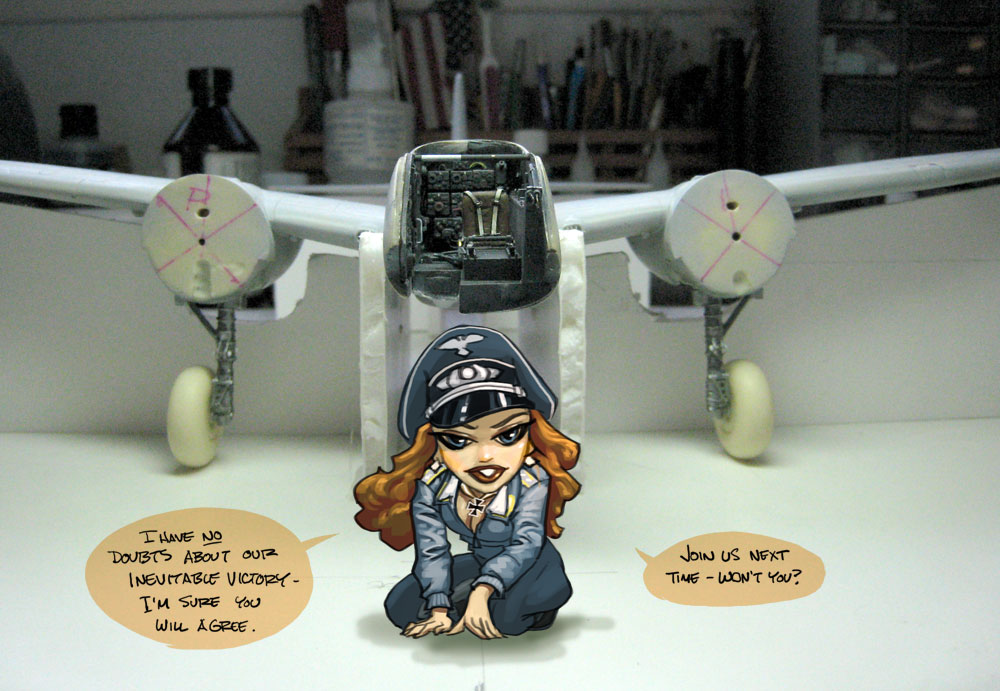
Help is on the way- from Sprue Brothers! It should (knock on wood) be a relatively easy fix. The kit wells are basically bare, so any changes will be solely structural. It's just a matter of getting the alignment right- good thing I have that foamcore jig! Careful examination of drawings indicate that the gear angle out about 2 degrees, with slight toe-out of the wheels. The kit instructions say 90 degrees- phfft!
I have reviewed some PE for a Wolf Defender with a bit of help from Queen Pence- take a look here:
http://www.modelersalliance.com/aftermarket/77-others/771-ph-designs-wmik-
chukw1

Joined: November 28, 2007
KitMaker: 817 posts
AeroScale: 729 posts

Posted: Sunday, January 08, 2012 - 02:52 PM UTC
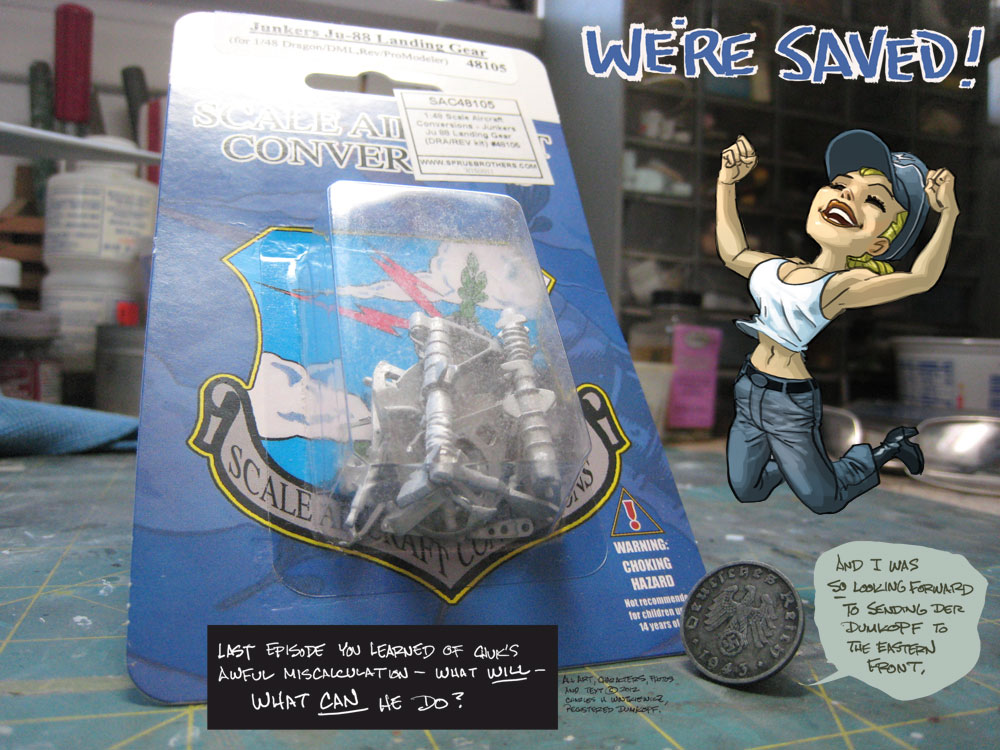
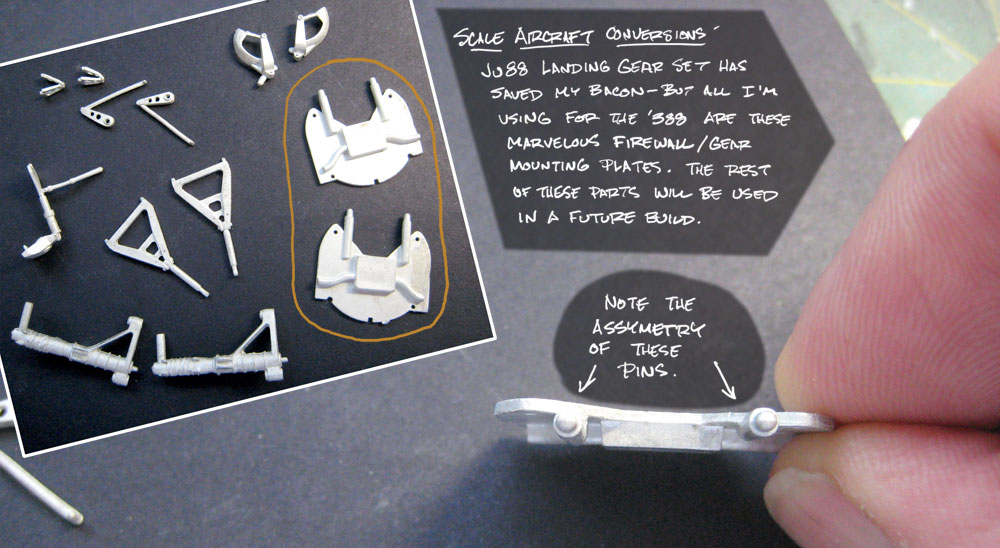
The package has arrived- and I think I've nailed it. Fritzi agrees!


Automaton

Joined: August 12, 2007
KitMaker: 153 posts
AeroScale: 139 posts

Posted: Sunday, January 08, 2012 - 03:59 PM UTC
Good save, Chuk. I know you're glad to have that out of the way. 
Regards;
Automaton

Regards;
Automaton

DougN1

Joined: August 08, 2011
KitMaker: 410 posts
AeroScale: 409 posts

Posted: Tuesday, January 10, 2012 - 02:41 AM UTC
Nice save Chuck! Can't wait to see how this model will look when it is finished!
Doug
Doug
chukw1

Joined: November 28, 2007
KitMaker: 817 posts
AeroScale: 729 posts

Posted: Monday, January 16, 2012 - 03:05 PM UTC
Thanks, gents!
I'm home with a virus and should have been painting pictures of robots all day, but here's what I've gotten done this weekend. Cheers!
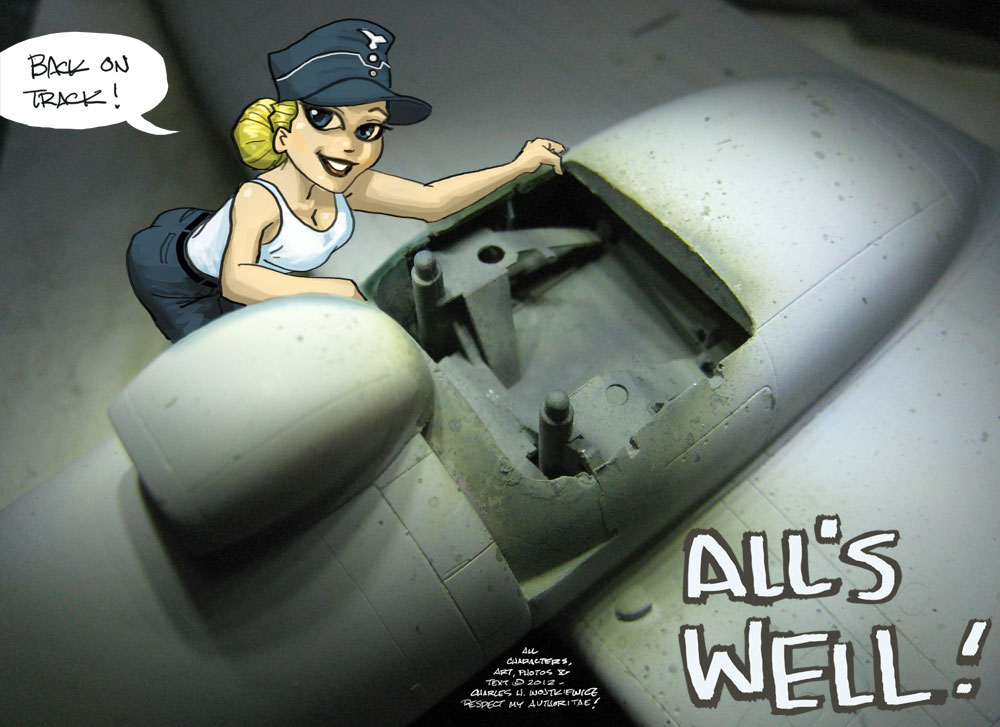
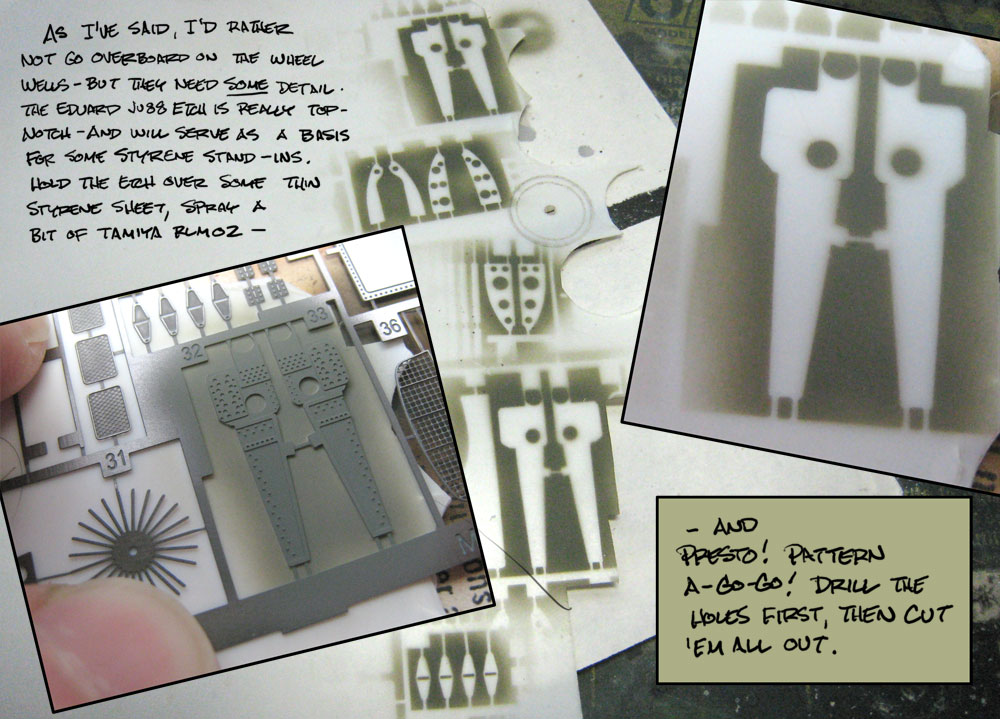
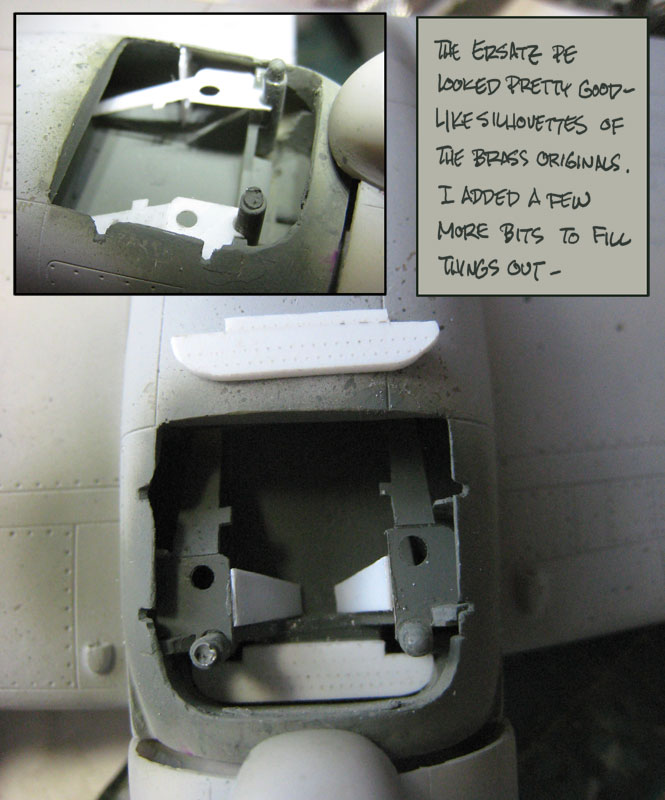
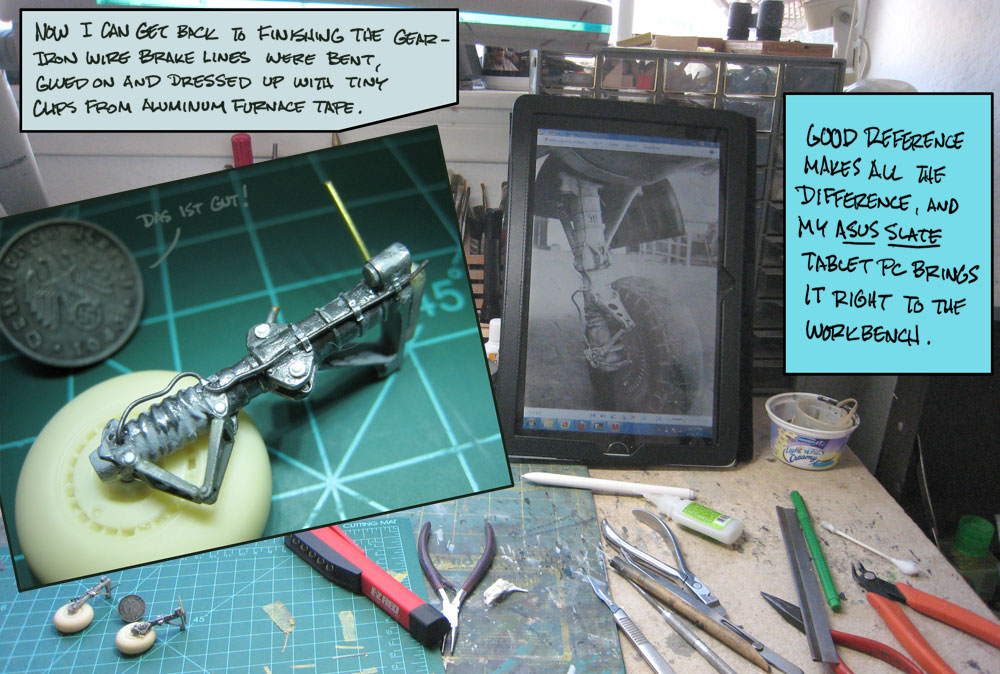
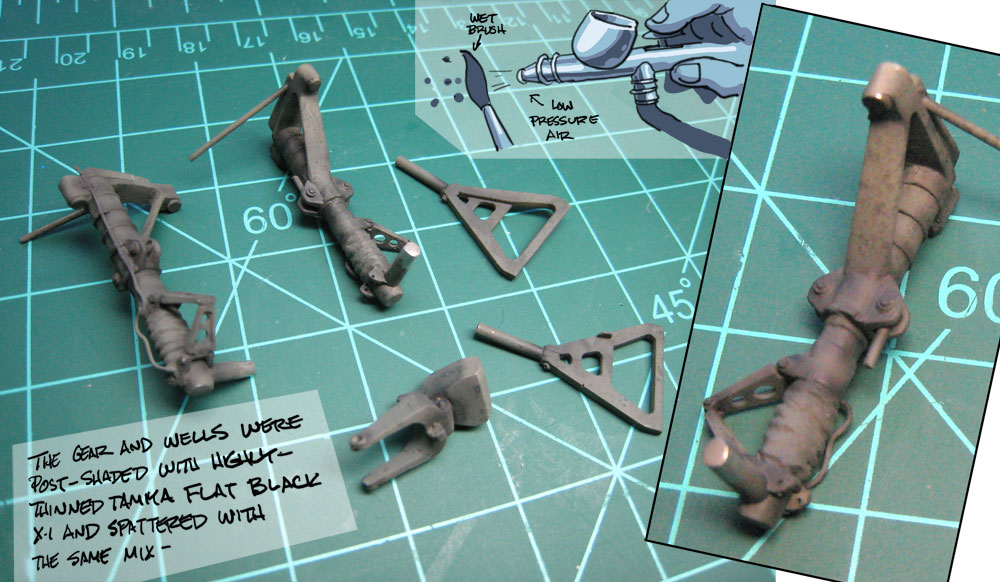
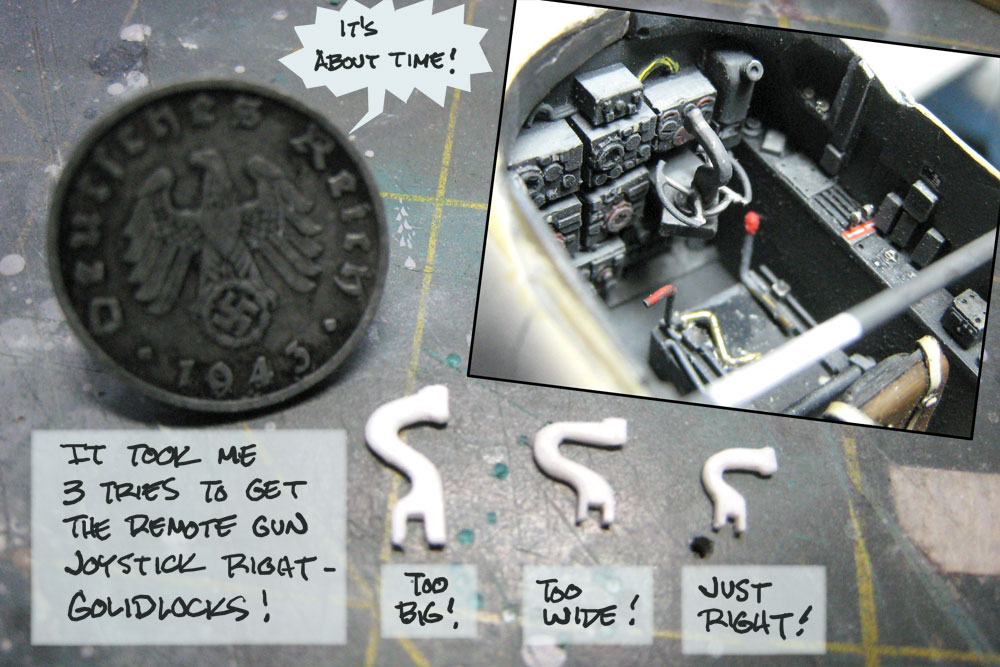
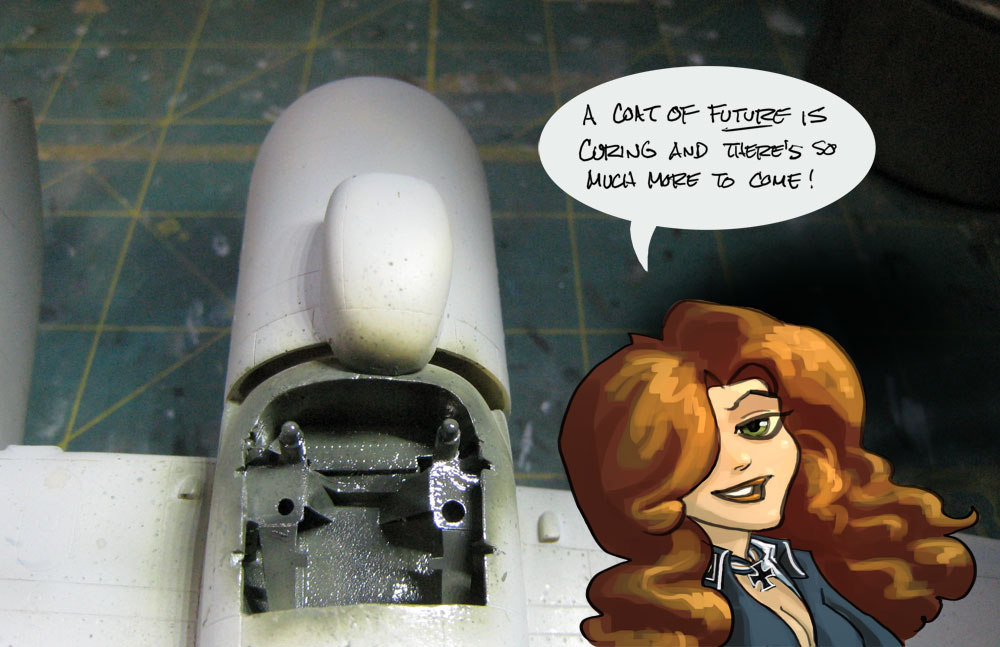
I'm home with a virus and should have been painting pictures of robots all day, but here's what I've gotten done this weekend. Cheers!


DougN1

Joined: August 08, 2011
KitMaker: 410 posts
AeroScale: 409 posts

Posted: Tuesday, January 17, 2012 - 08:29 AM UTC
Looks great Chuck! I'll have to try that technique with the airbrush blowing on the brush to get spatters. Looks great on your gear 
Doug

Doug
chukw1

Joined: November 28, 2007
KitMaker: 817 posts
AeroScale: 729 posts

Posted: Sunday, February 19, 2012 - 03:14 PM UTC
Thanks, Doug!
Just time for a quick update- all has been kinds crazy at Chez ChukkenMarc. We're cool, though- and I've even done some modeling! Let Hannah be your guide...
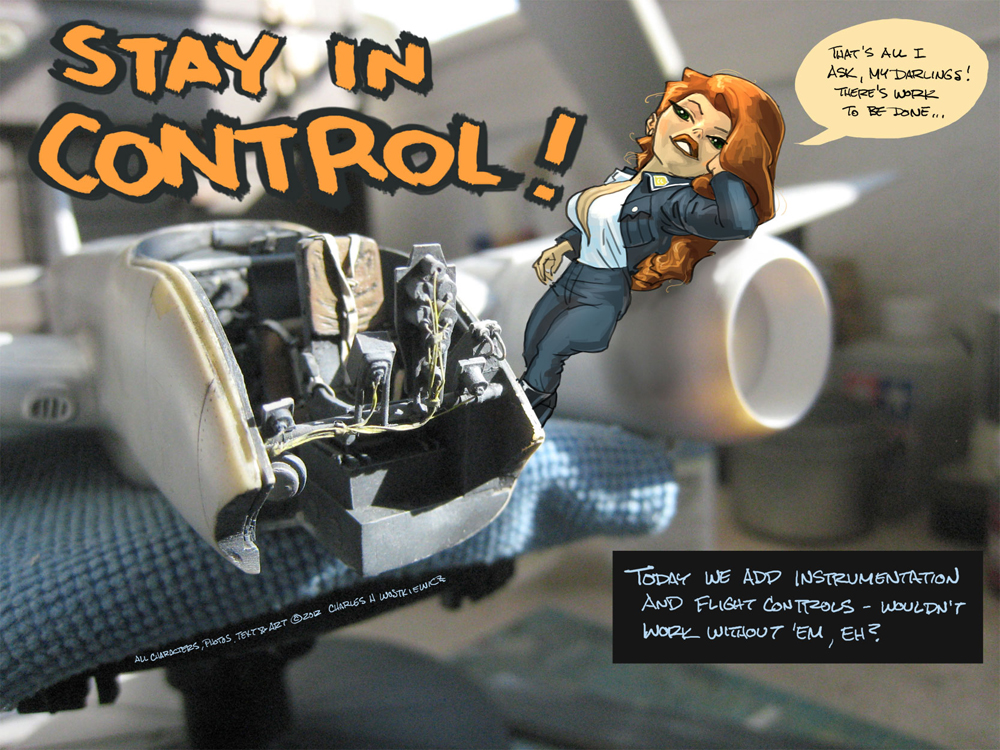
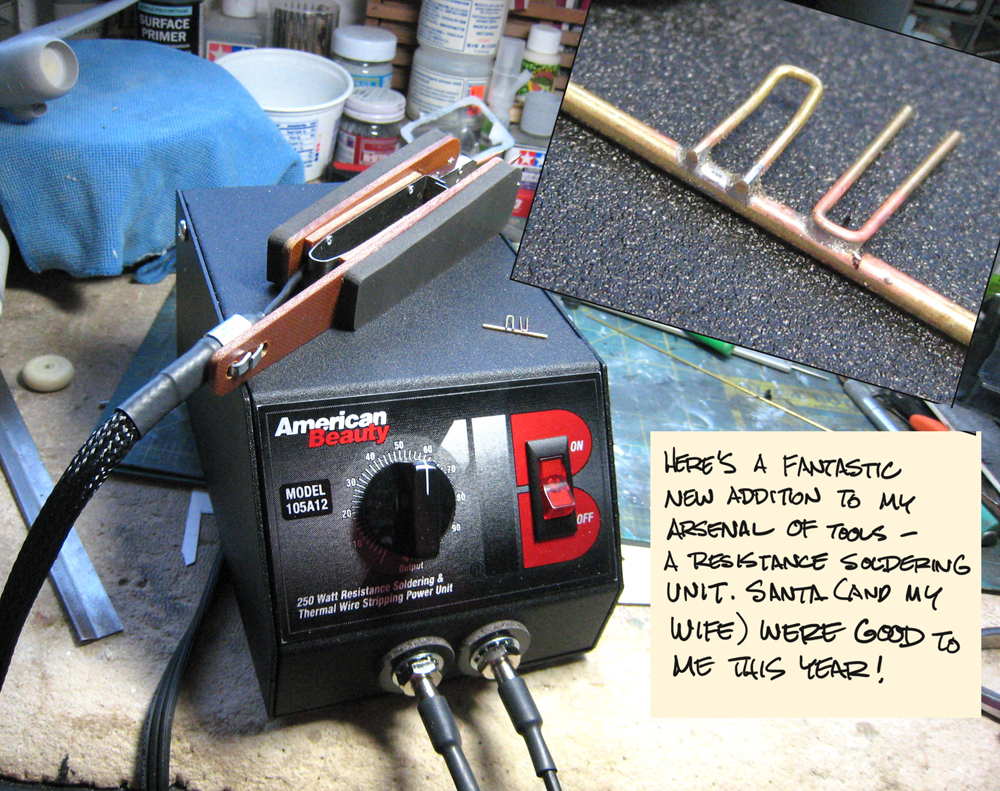
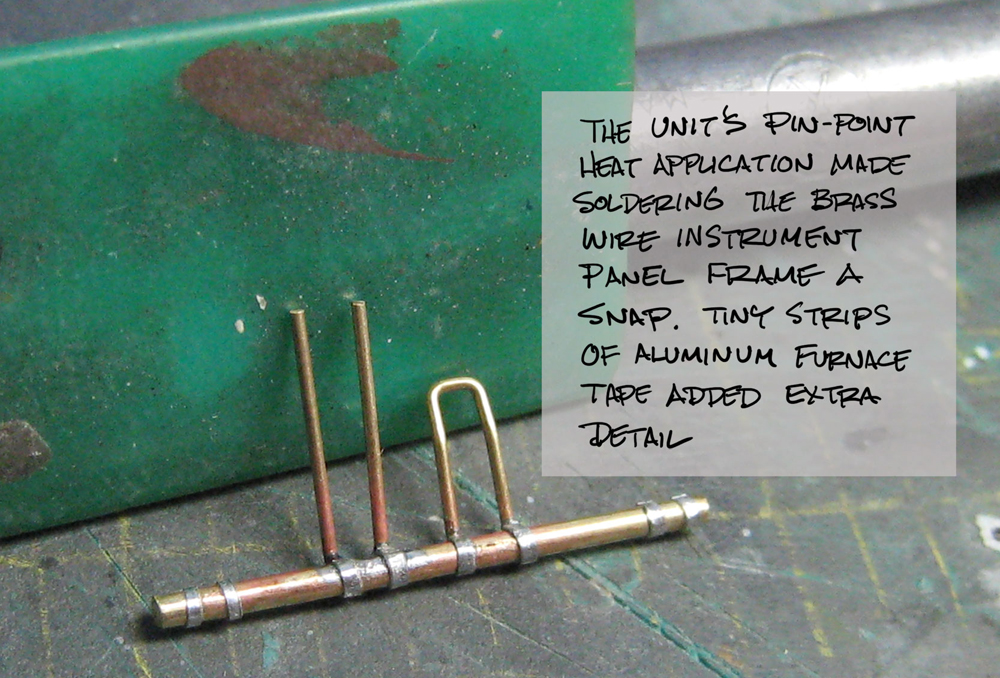
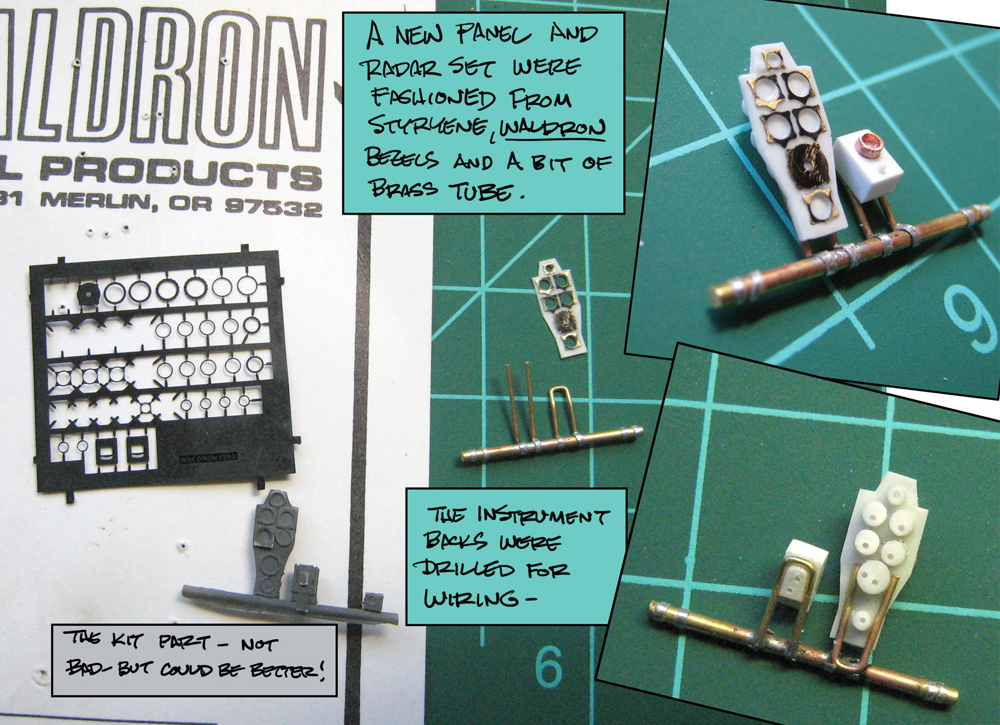
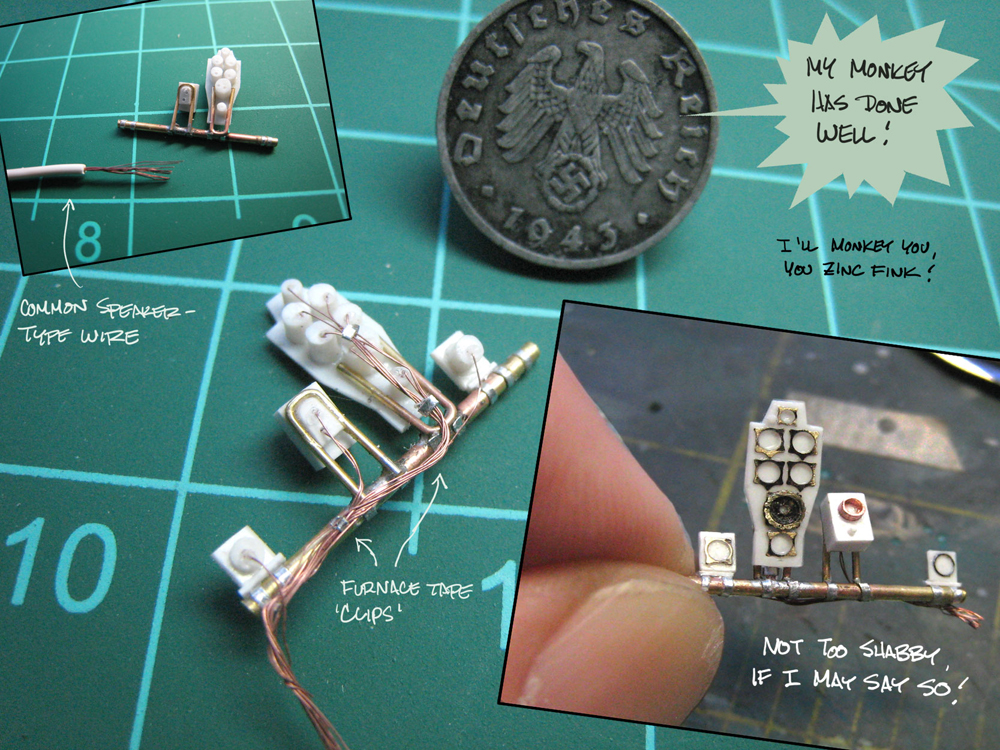

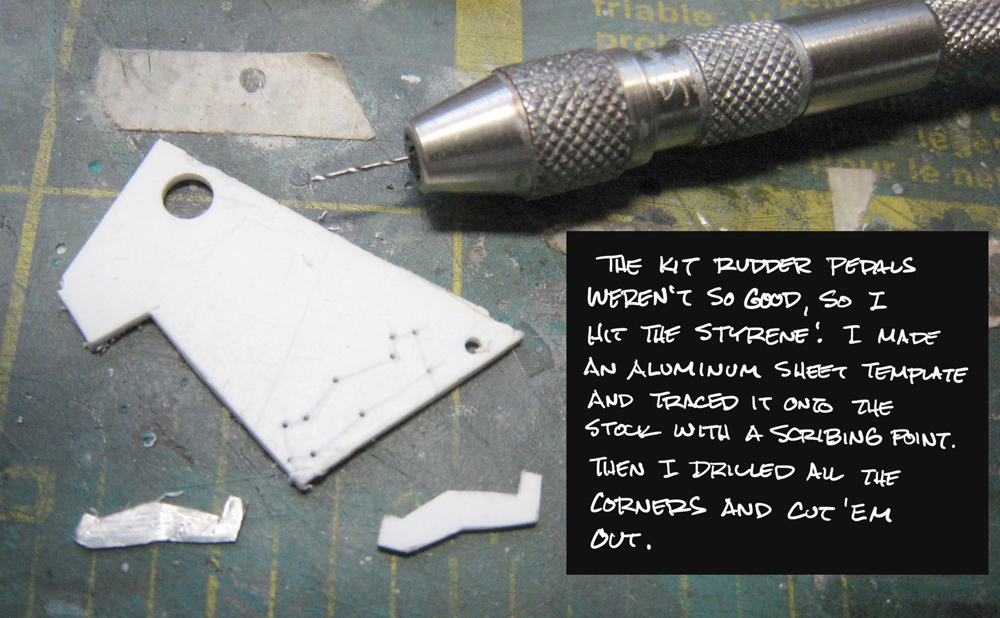
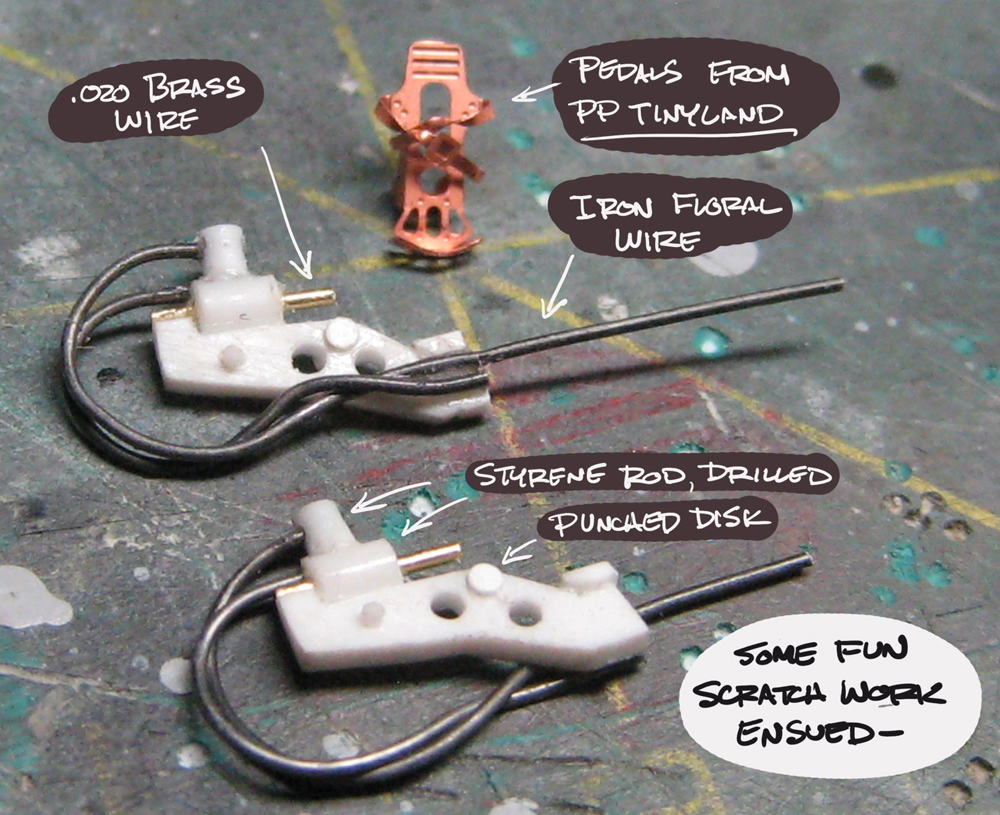
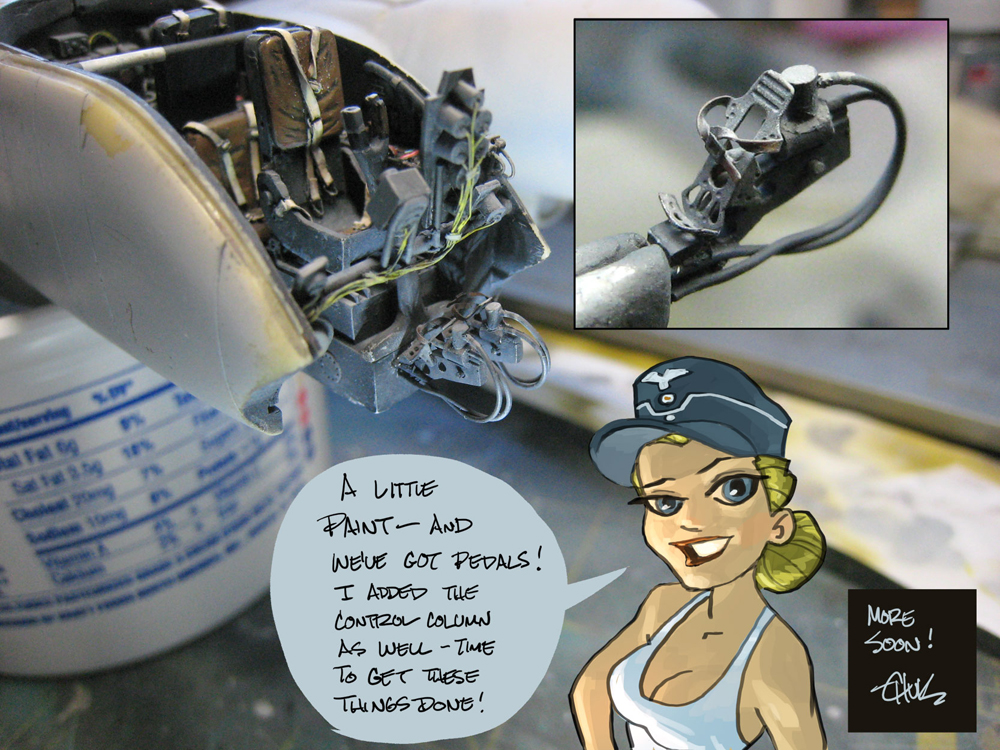
Just time for a quick update- all has been kinds crazy at Chez ChukkenMarc. We're cool, though- and I've even done some modeling! Let Hannah be your guide...


Roxter

Joined: July 04, 2007
KitMaker: 268 posts
AeroScale: 245 posts

Posted: Sunday, February 19, 2012 - 07:32 PM UTC
Perfection on every stage! If I would be a main editor of something like SAMI (scale aviation modelling international) I would buy this for printed version of this in-progress build. This will definitely become classics!
GastonMarty

Joined: April 19, 2008
KitMaker: 595 posts
AeroScale: 507 posts

Posted: Monday, February 20, 2012 - 11:43 AM UTC
Can't wait to see how the canopy and masking goes on!
Suspense, as we say in French...
Gaston
Suspense, as we say in French...
Gaston
Tobar

Joined: October 17, 2002
KitMaker: 192 posts
AeroScale: 70 posts

Posted: Thursday, February 23, 2012 - 04:04 PM UTC
Again, nice work!!! 

chukw1

Joined: November 28, 2007
KitMaker: 817 posts
AeroScale: 729 posts

Posted: Sunday, February 26, 2012 - 02:22 PM UTC
My thanks, gents!
Mini-Update time! For some reason this was all I got done this weekend, but It's one more step in this long, long journey. Fritzi's still got plenty of pep- take it away, Fraulein!
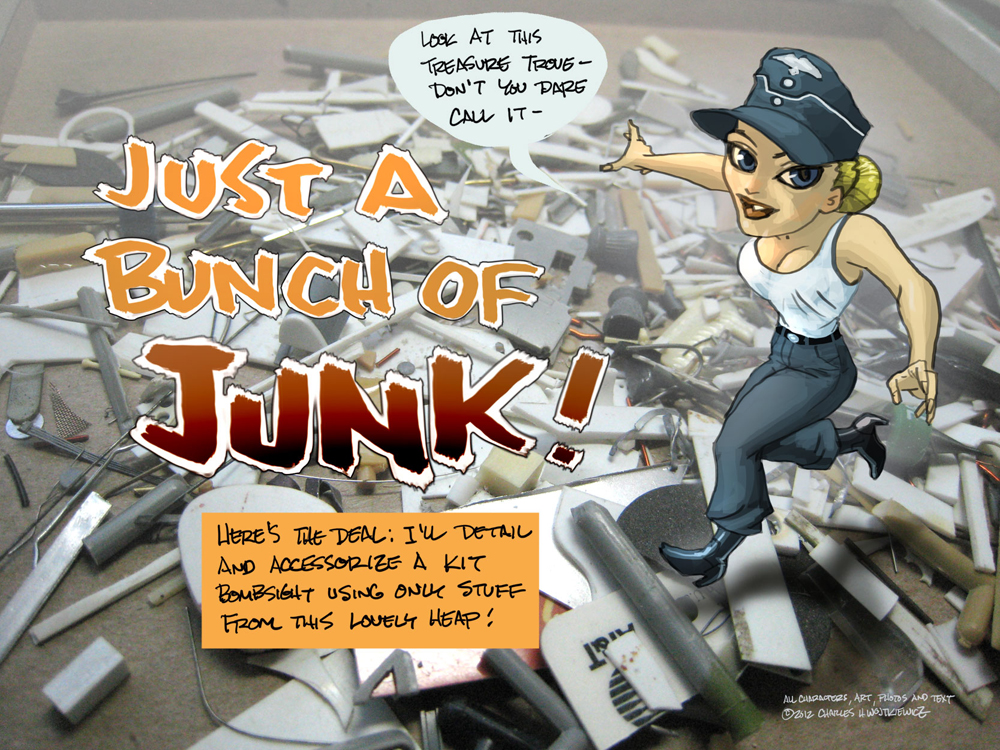
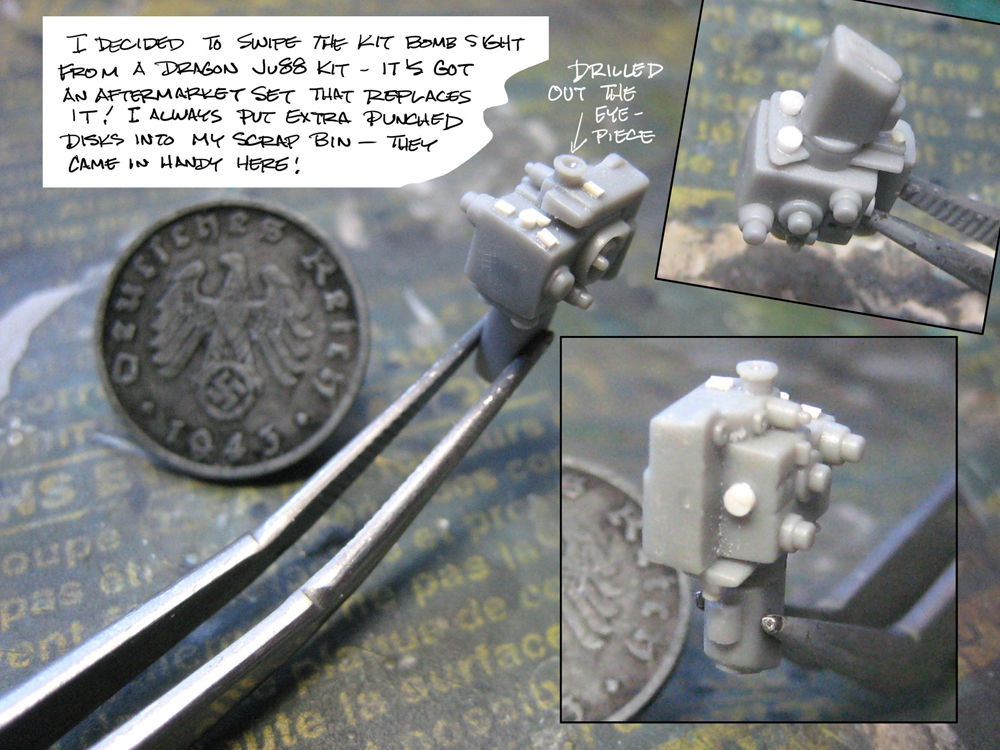
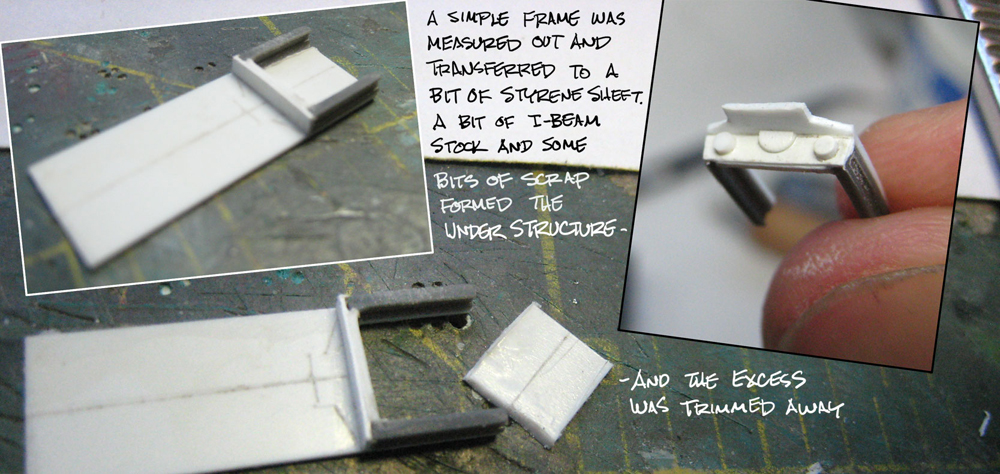
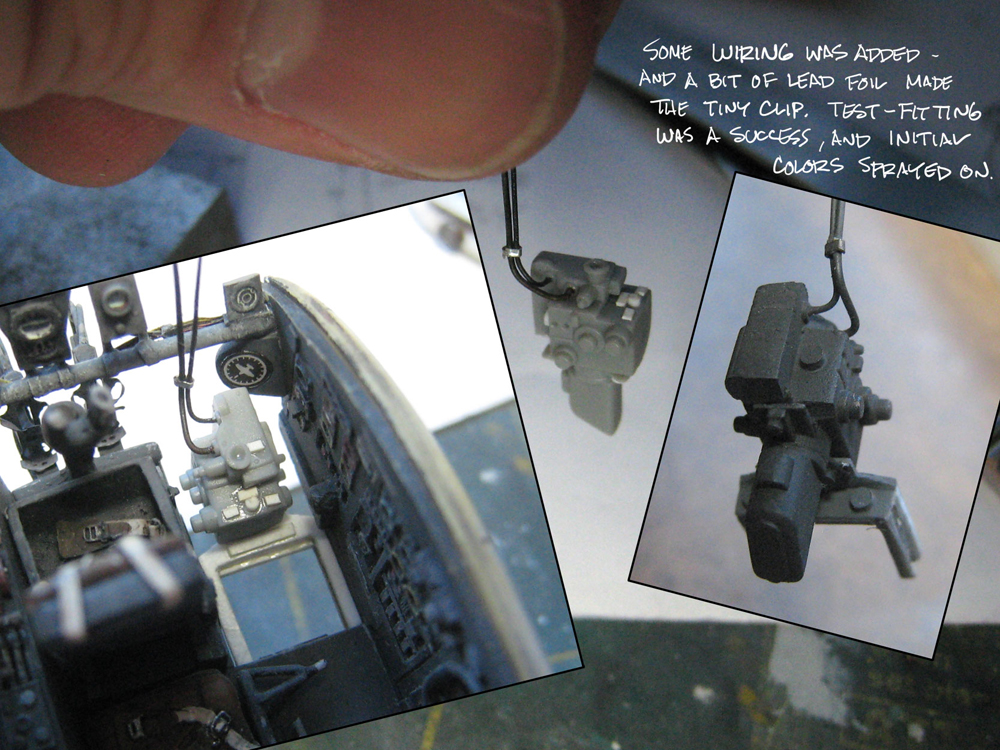
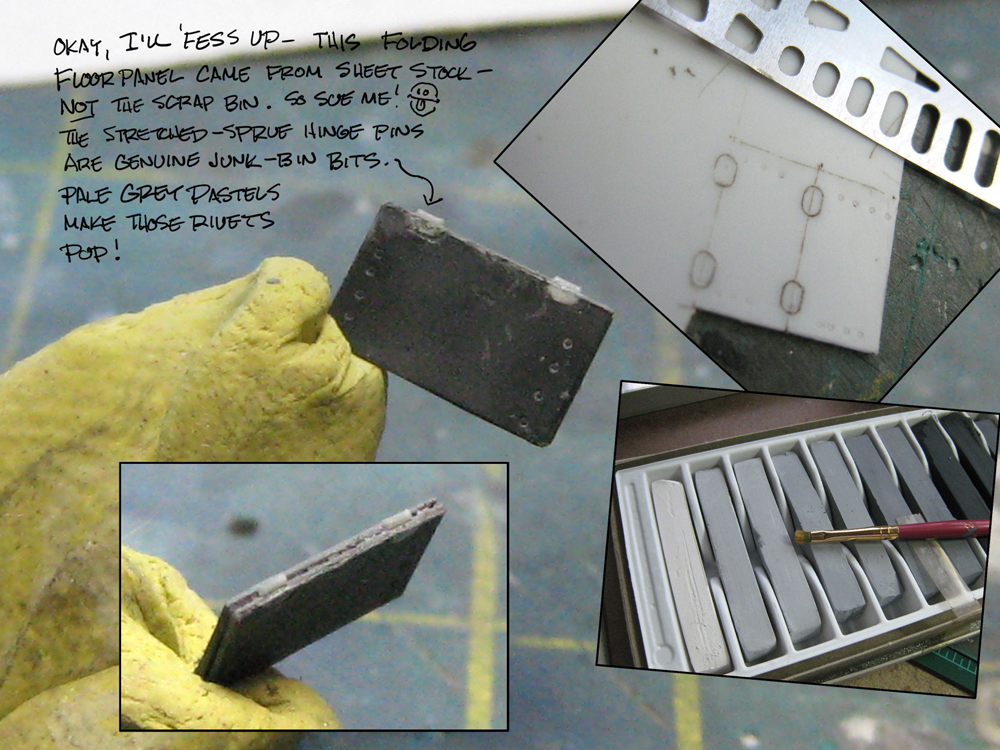
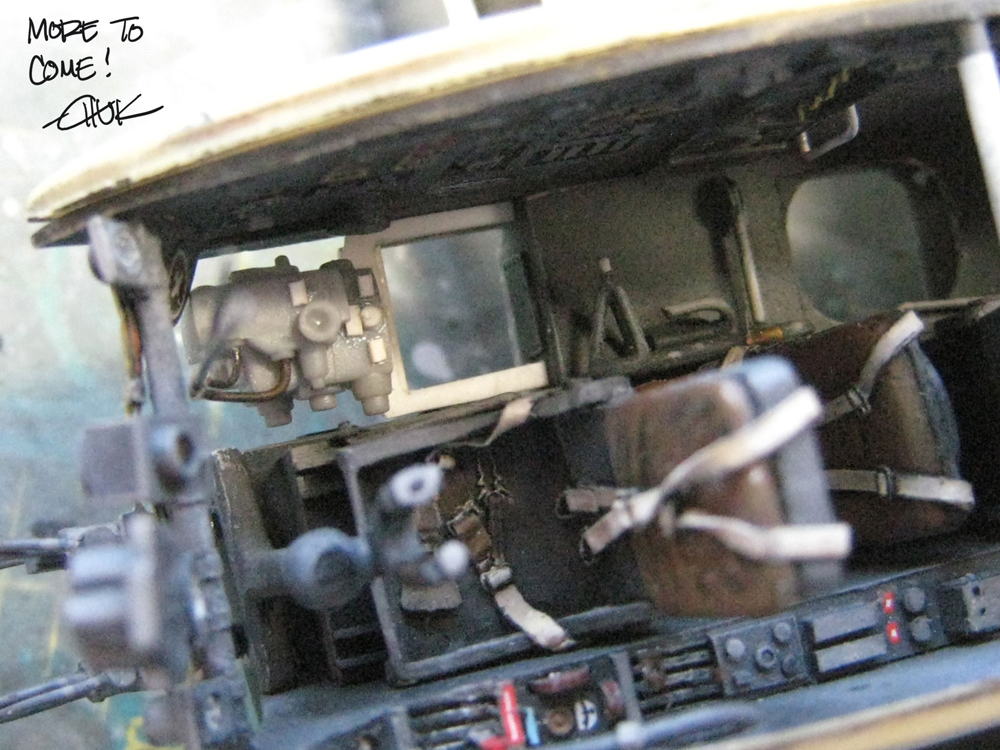
Mini-Update time! For some reason this was all I got done this weekend, but It's one more step in this long, long journey. Fritzi's still got plenty of pep- take it away, Fraulein!


magnusf

Joined: May 02, 2006
KitMaker: 1,953 posts
AeroScale: 1,902 posts

Posted: Sunday, February 26, 2012 - 06:35 PM UTC
Every update really makes my day Chuck! I'll save your "copying PE to plastic with the airbrush"-trick for my own use in the future.

Magnus

Magnus
NickZour

Joined: May 01, 2008
KitMaker: 1,437 posts
AeroScale: 1,241 posts

Posted: Tuesday, February 28, 2012 - 01:40 AM UTC
I really like your work Mr. Chuck 
Keep it up
Cheers Nick


Keep it up

Cheers Nick


chukw1

Joined: November 28, 2007
KitMaker: 817 posts
AeroScale: 729 posts

Posted: Sunday, March 25, 2012 - 01:38 PM UTC
Much appreciated, my friends!
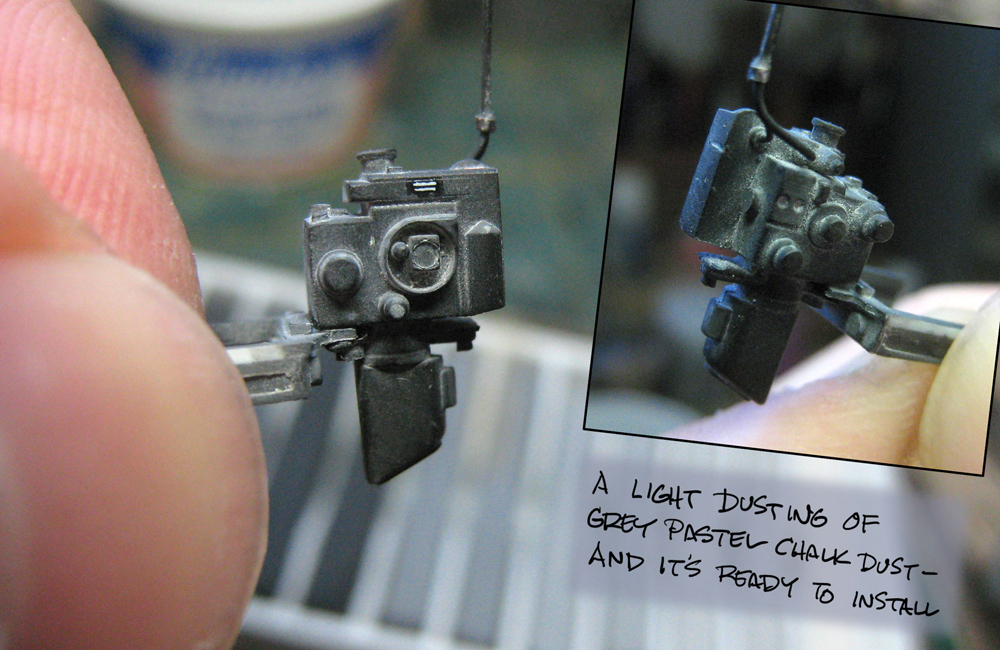
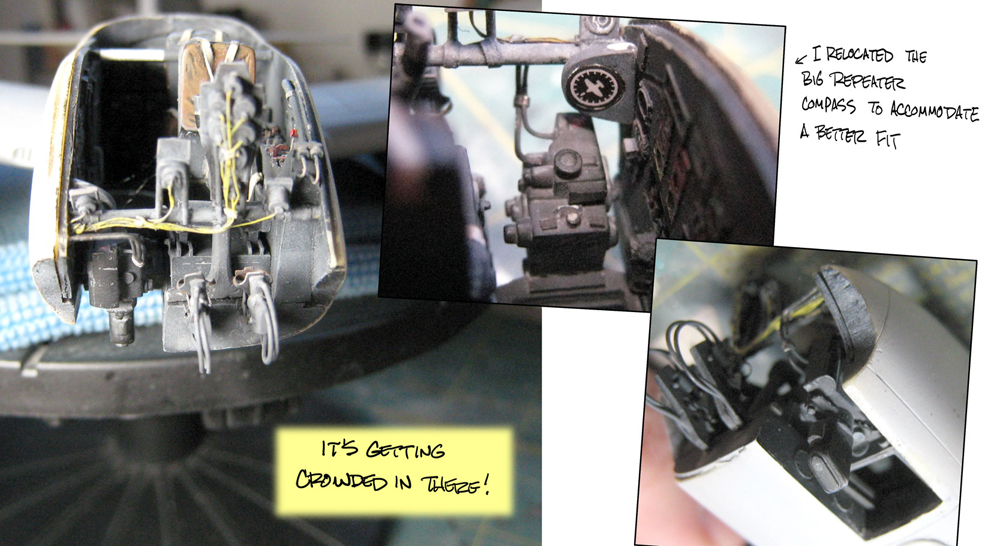
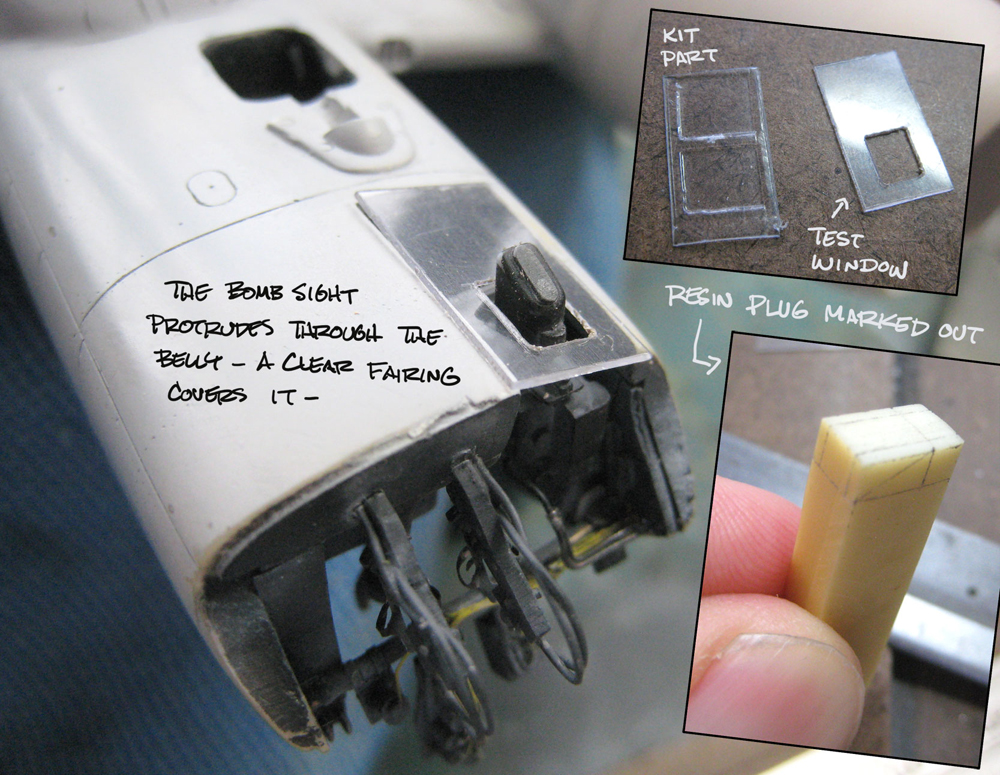
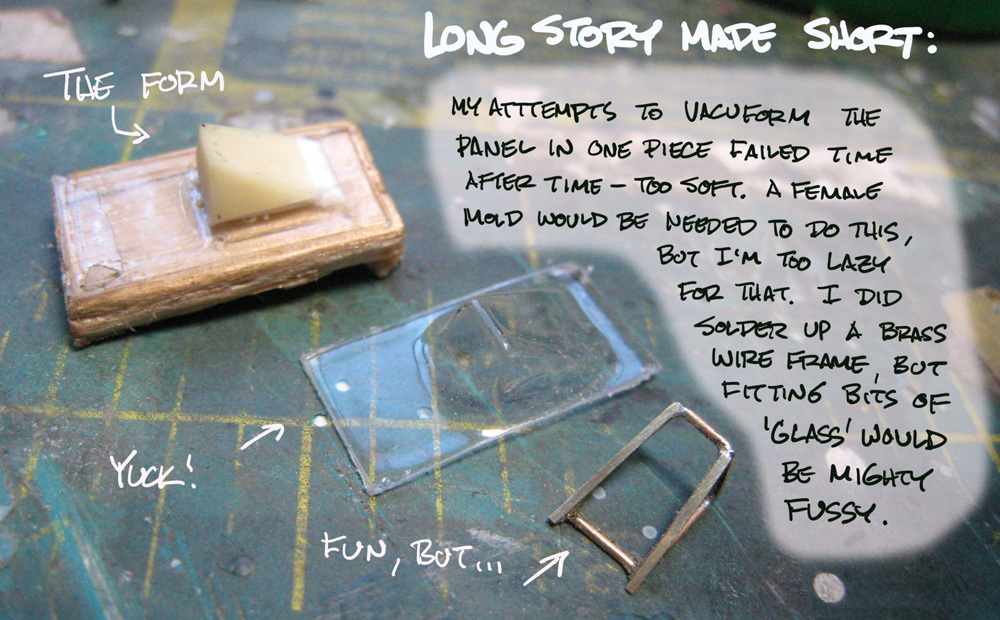
In the midst of the vortex of life I've gotten in a little modeling- Fritzi will be be your guide.
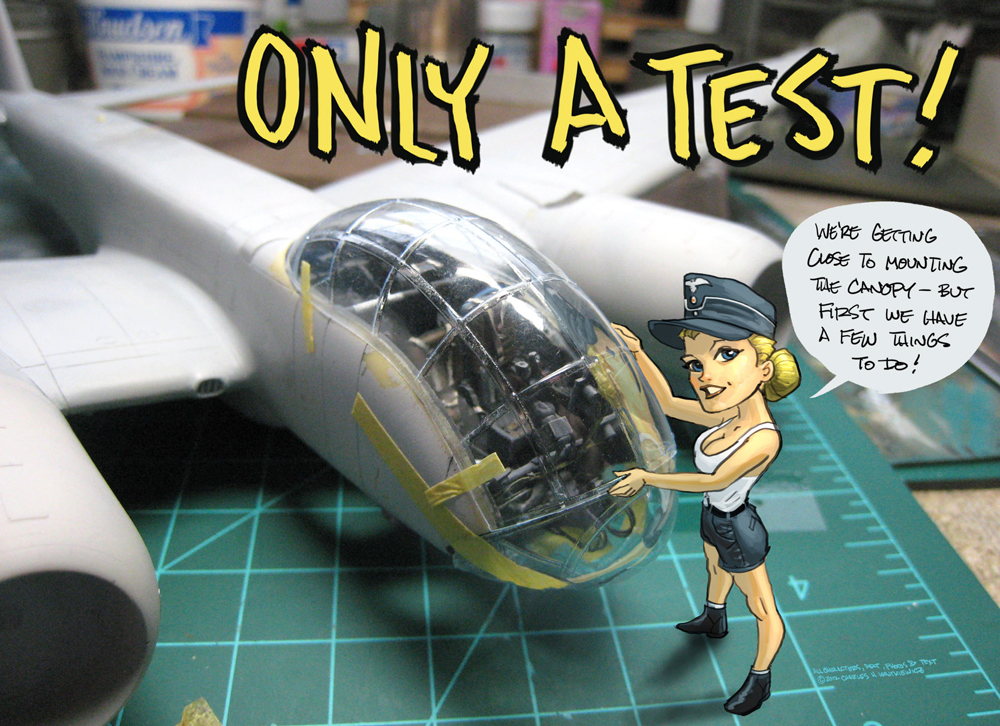
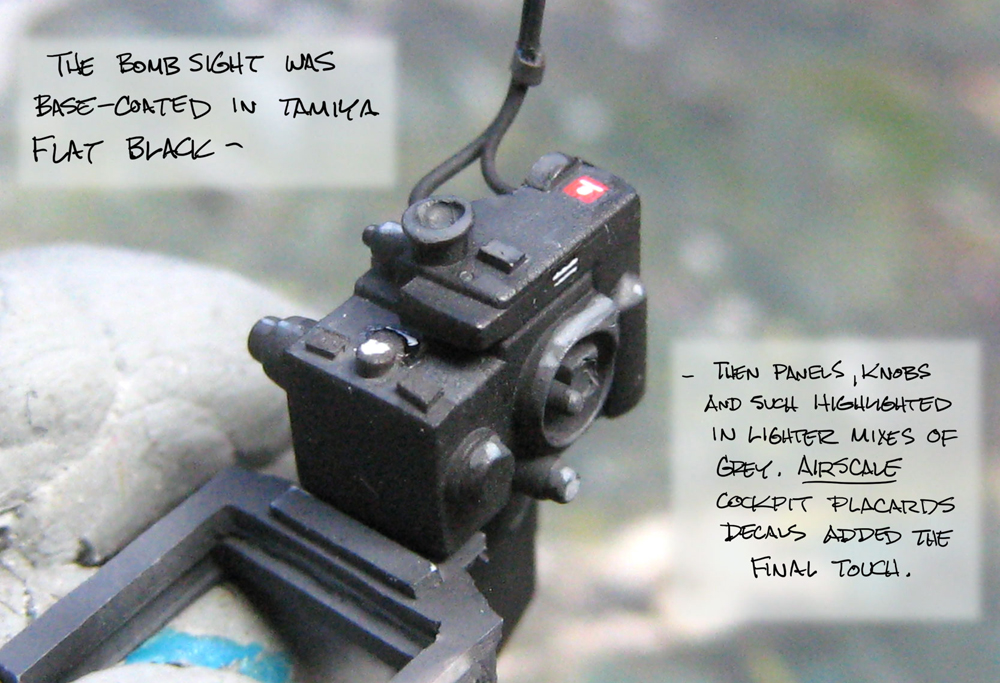
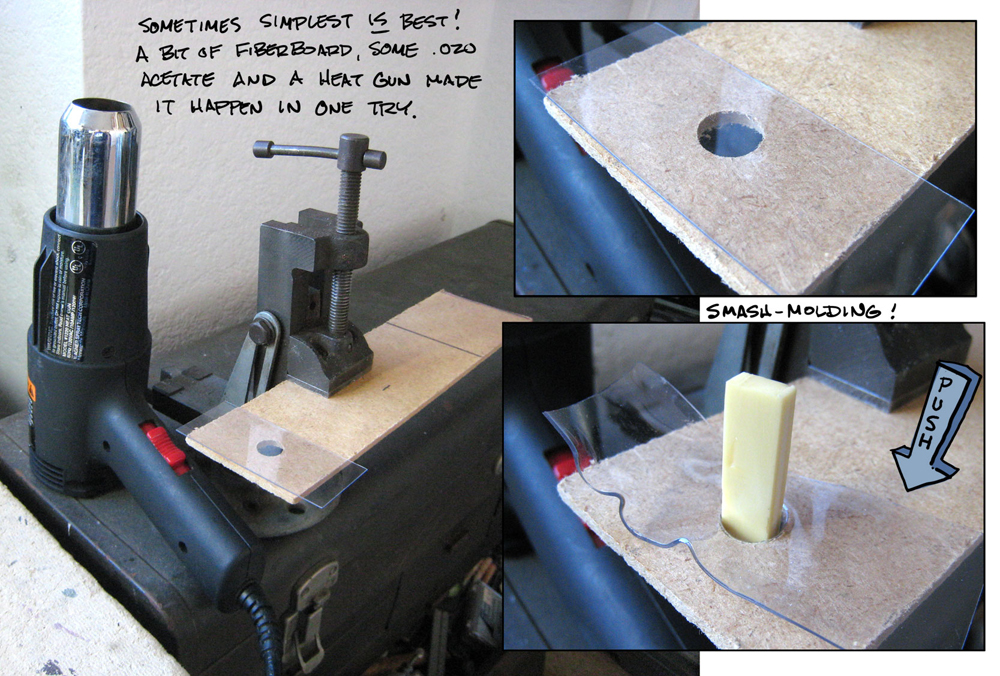
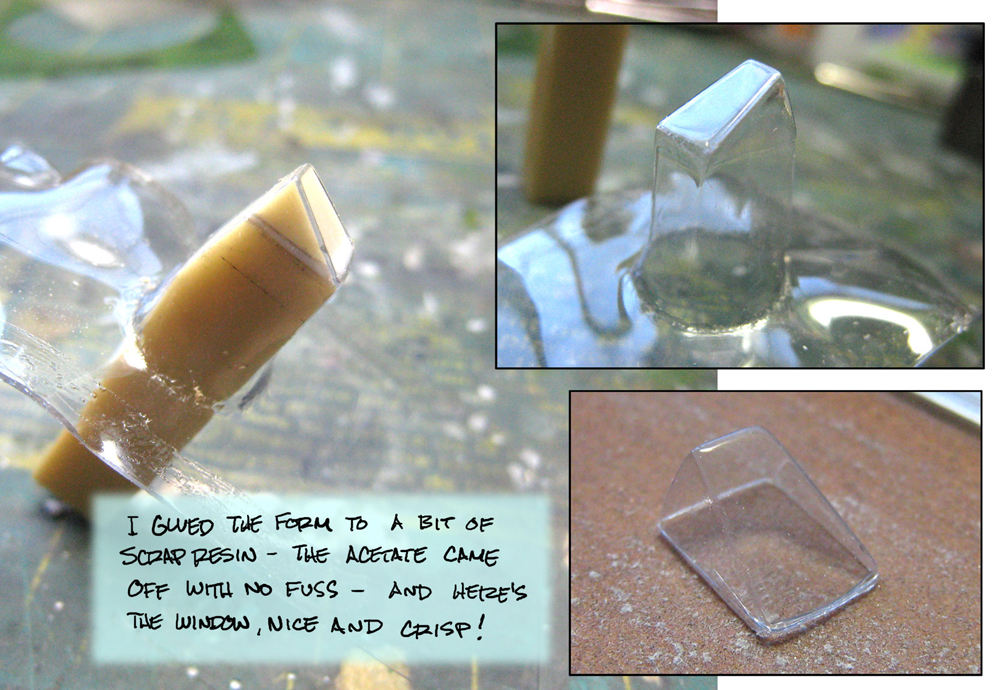
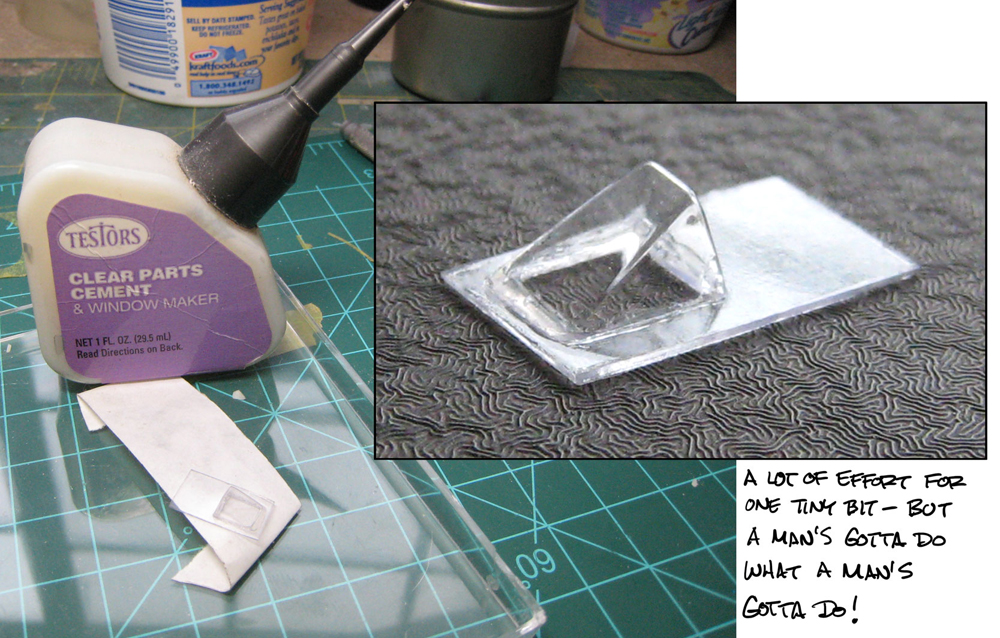
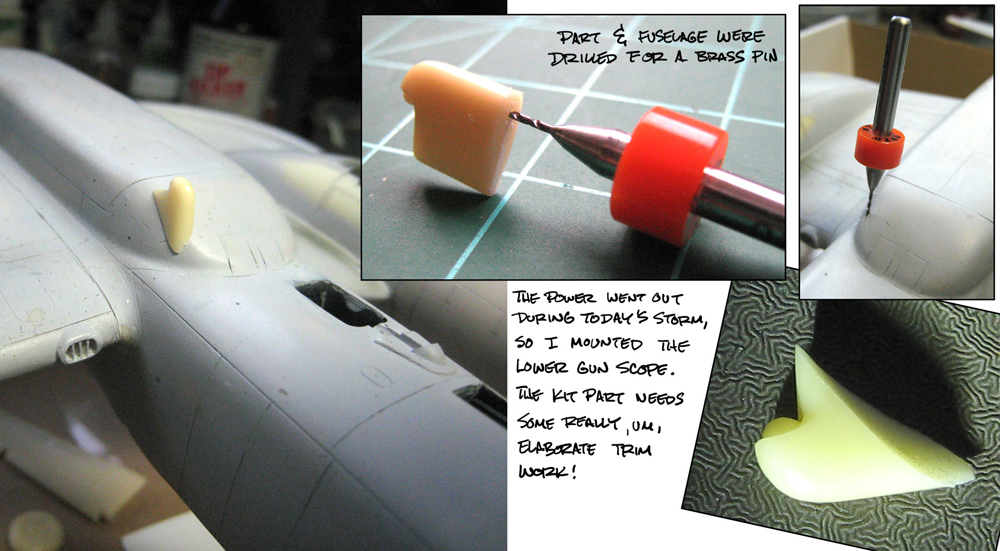
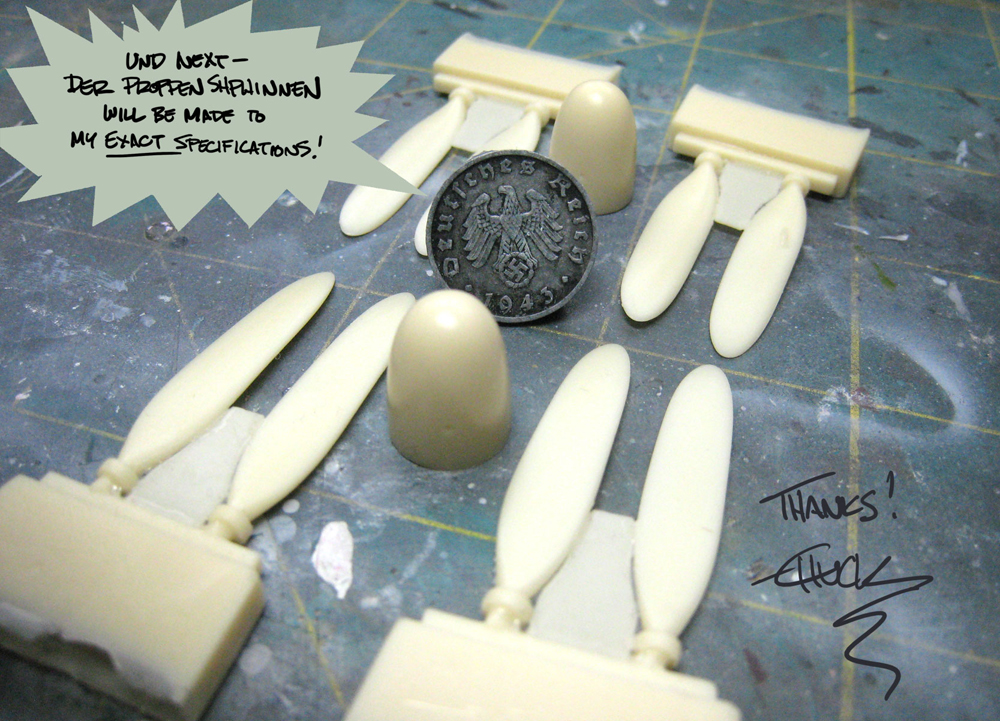
In the midst of the vortex of life I've gotten in a little modeling- Fritzi will be be your guide.


GastonMarty

Joined: April 19, 2008
KitMaker: 595 posts
AeroScale: 507 posts

Posted: Wednesday, March 28, 2012 - 03:32 PM UTC
Great work Chuck!: I think I know what Pfenning is referring to about the spinners!
The glass frames looks sharp and crisp on your model: I have found that paint adhesion can be a problem when unmasking these flexible vacu form plastic parts: The paint wants to come off across the frames if the frames are not "crisp" enough, and this effect seems worsened by the "slickness" of this kind of plastic under mask pulling: Paint just doesn't seem to stick to it as well: On mask pulling the edges are often "rough" and "crackled" instead of smooth straight lines: Terrible...
I am wondering if a good neat brush-painting of these canopies, before glueing and fairing them in place, might not be a good option for neater frames? I am using Falcon/Squadron parts on a B-29 and will try both methods, to see what works best with these troublesome canopies...
I recommend thick Testors tube glue, applied with a #11 blade tip, to "stabilize" the thin flexible plastic without those disastrous Cyano fumes: The thickness of that glue, when dry, is a big help to make the joints more "stiff", yet not brittle, especially where the the two clear parts are butt-joined to each other...
Good luck!
Gaston
chukw1

Joined: November 28, 2007
KitMaker: 817 posts
AeroScale: 729 posts

Posted: Sunday, April 29, 2012 - 02:23 PM UTC
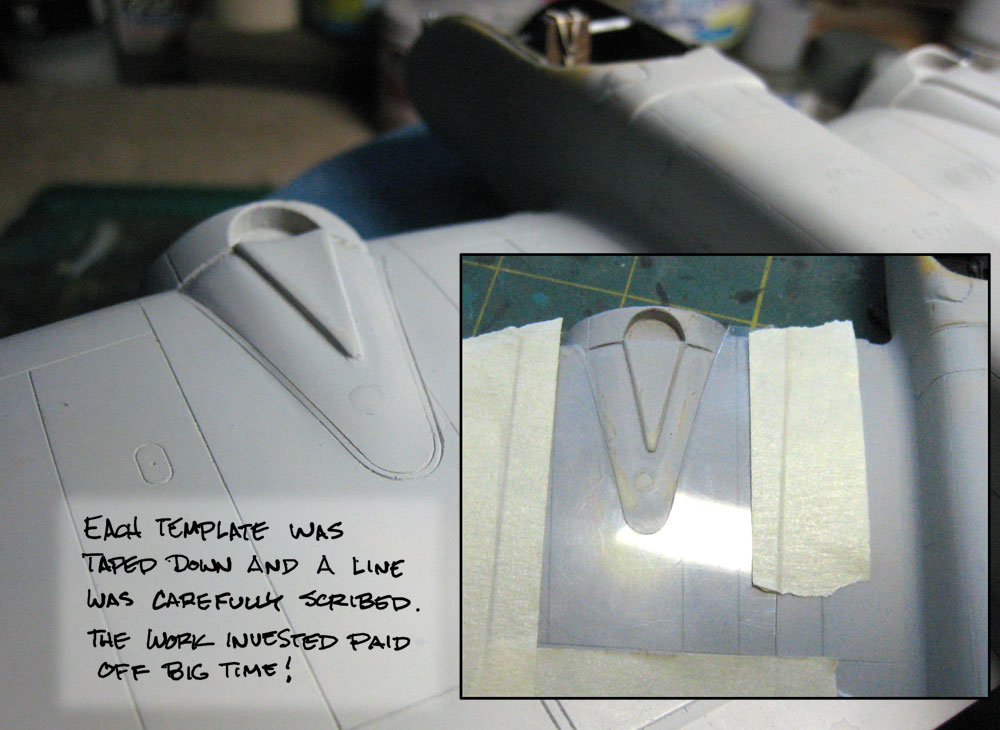
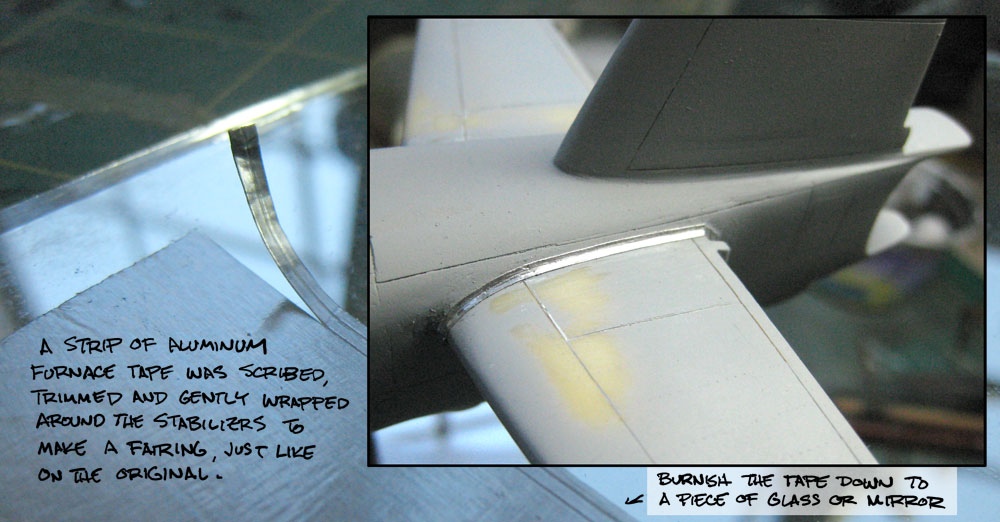
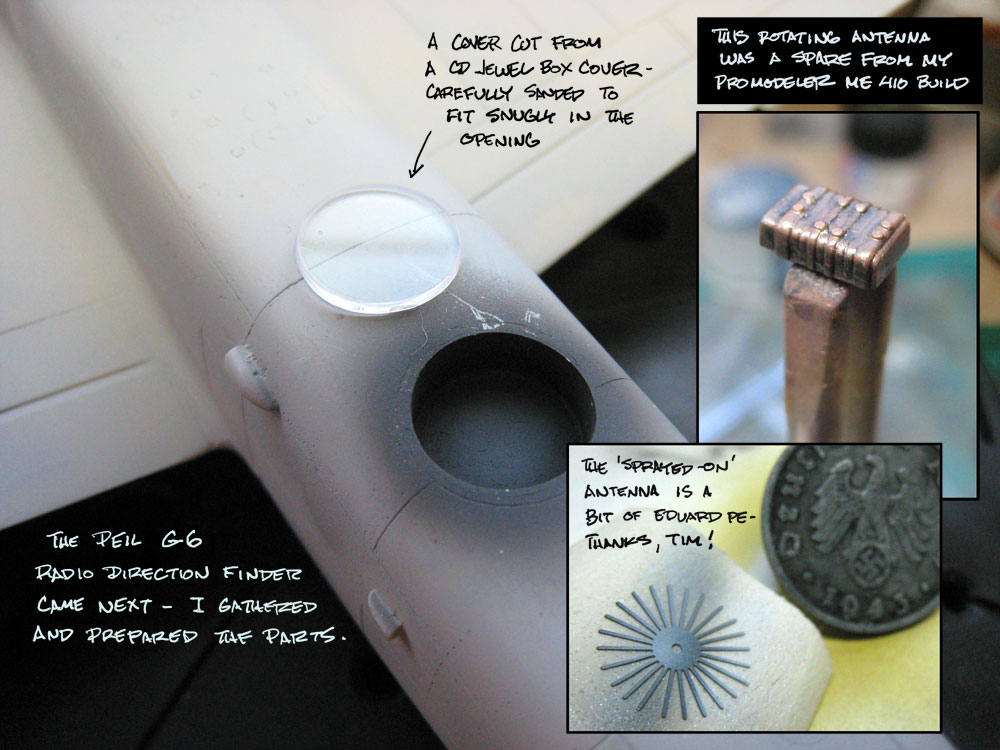
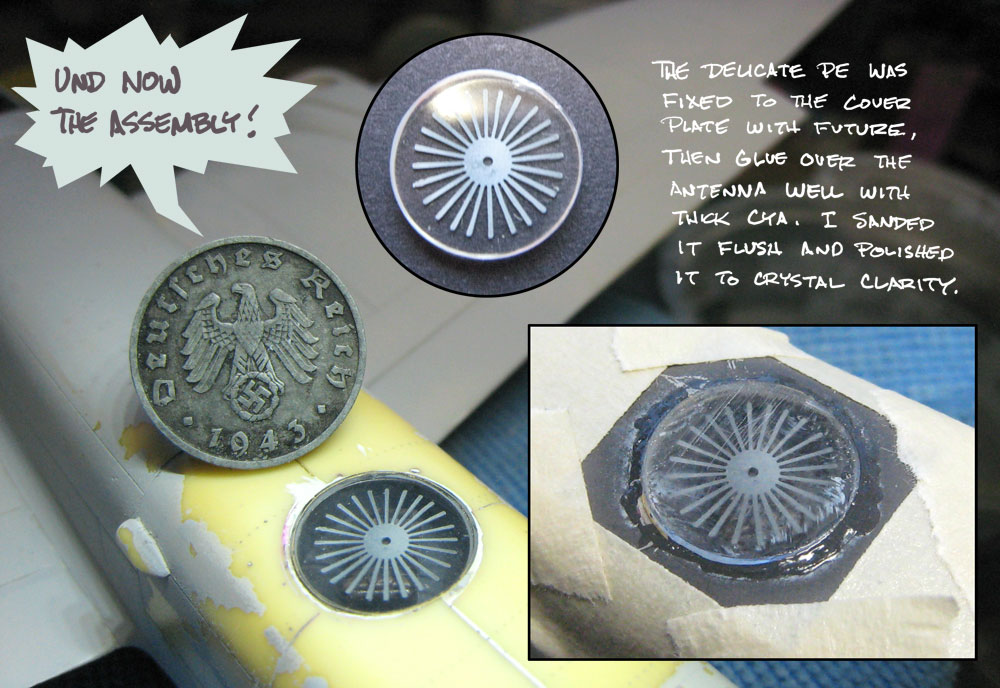
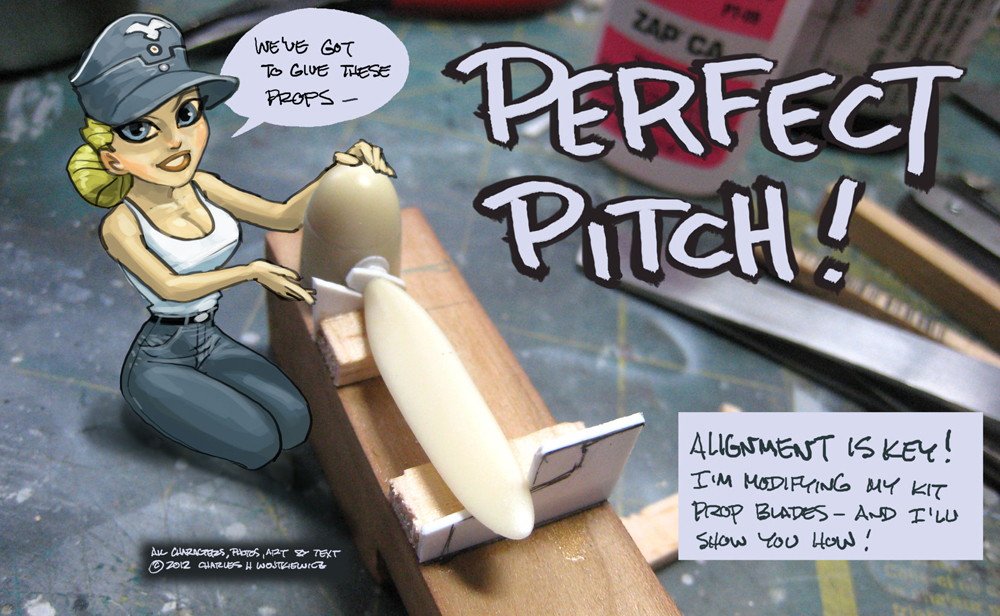
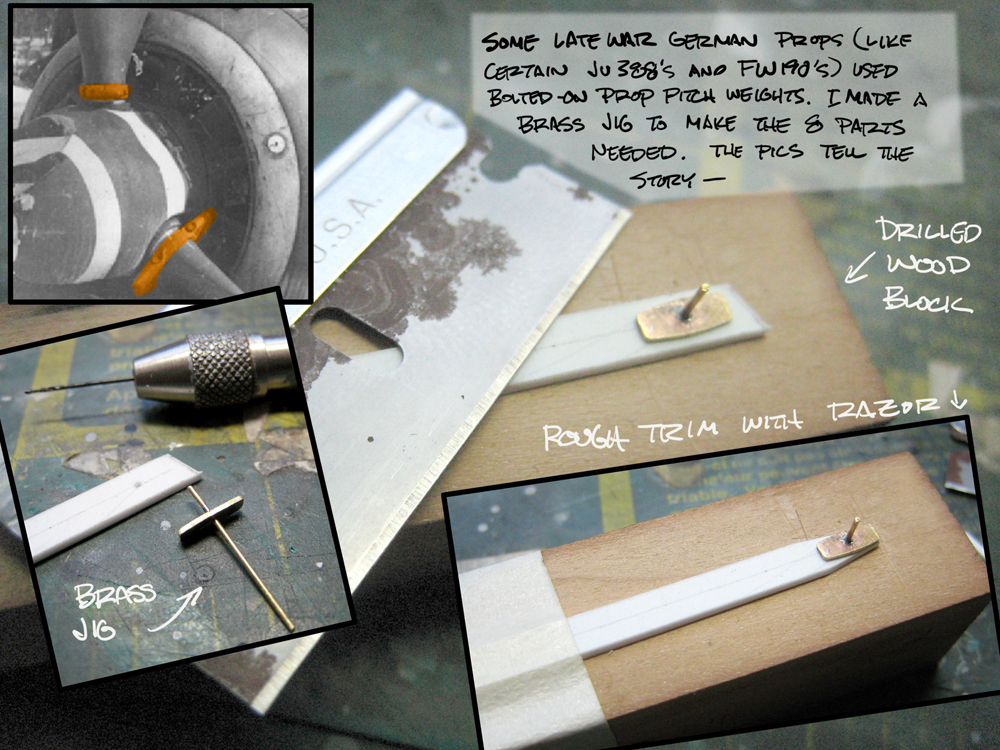
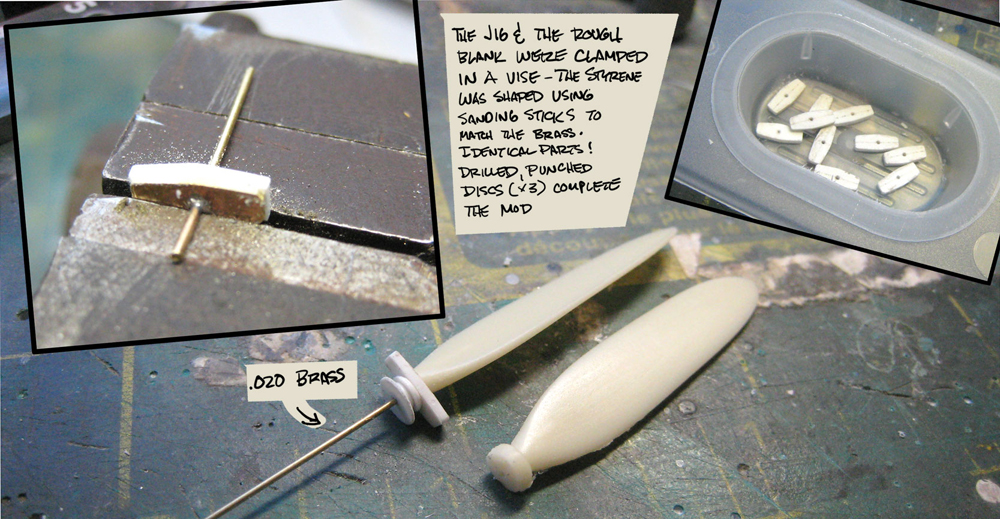
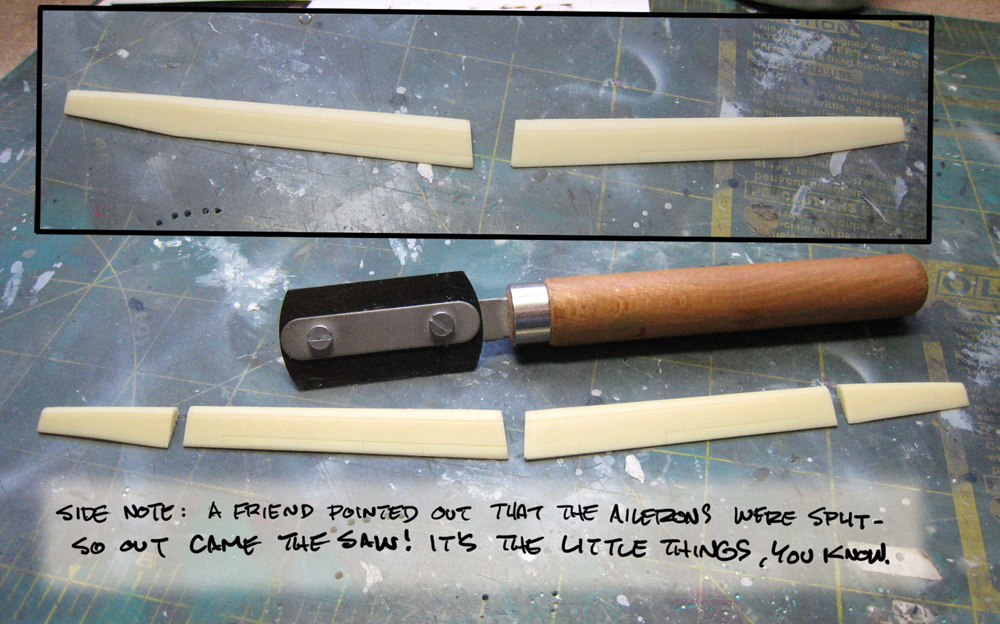
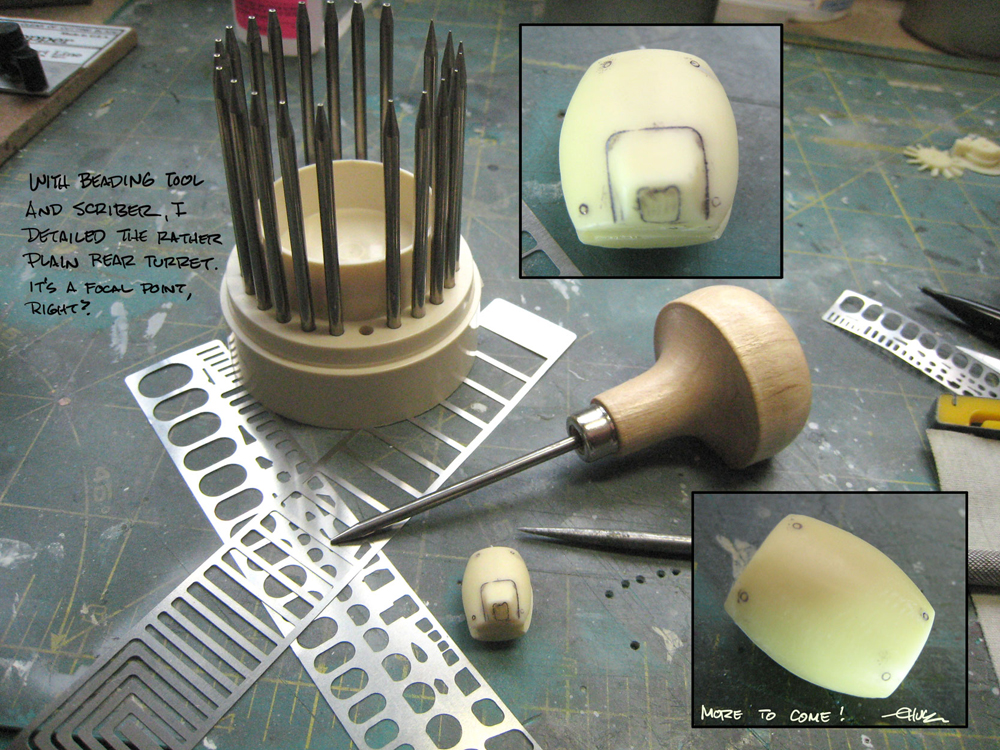
I'm back, guys! Here's what I've been up to- a little this-and-that...



jhoog59

Joined: November 13, 2005
KitMaker: 189 posts
AeroScale: 129 posts

Posted: Wednesday, May 09, 2012 - 10:01 PM UTC
Good update I never noticed those counterwights before.

Snorri23

Joined: March 25, 2010
KitMaker: 514 posts
AeroScale: 244 posts

Posted: Thursday, May 10, 2012 - 02:17 AM UTC
I have been lurking for some time in the weeds. I am quite impressed with the work you have done. Quite meticulous in the detail you have created. I for one am not that detail orientated. The progress that you have shown has given me some helpful hints in creating a better model. I do have a 1/48 388 conversion waiting to be used. Thanks again.
GastonMarty

Joined: April 19, 2008
KitMaker: 595 posts
AeroScale: 507 posts

Posted: Thursday, May 10, 2012 - 03:54 AM UTC
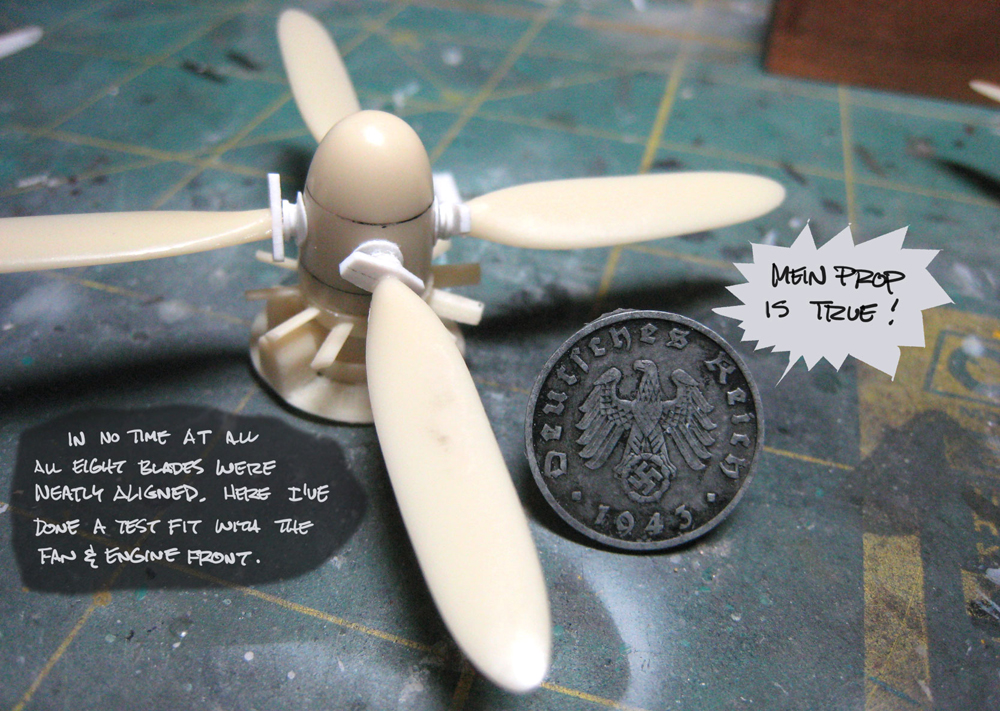
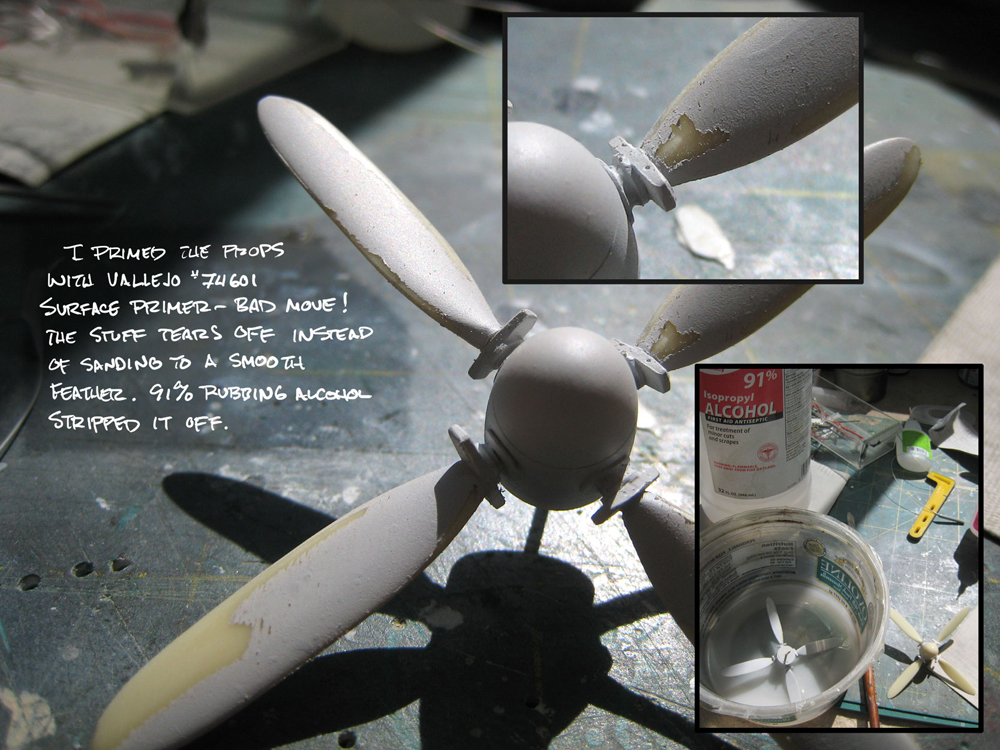
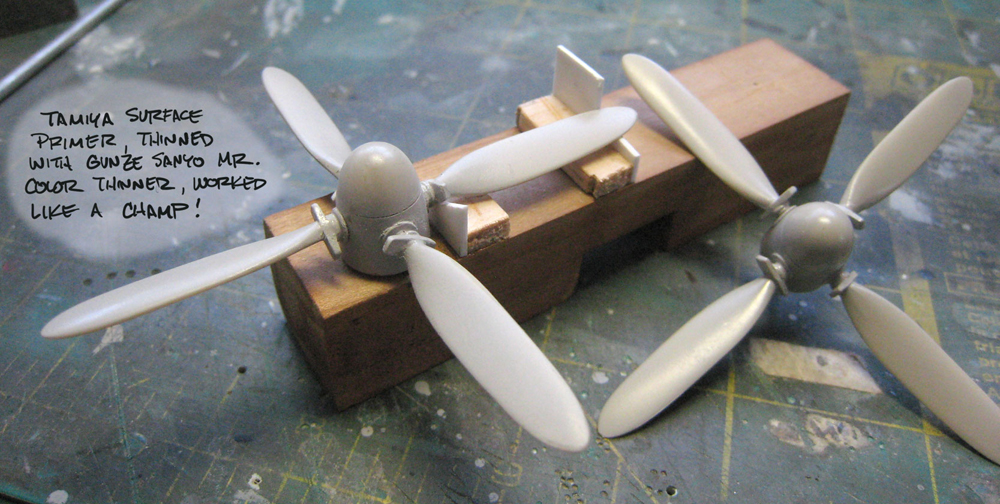
Wonderful work on that prop alignment Chuck!
How exactly did you regulate the pitch alignment?
Aligning resin props is the one thing I fear the most (after airbrushes), and I fear individual blade plastic props as well: Give me a one-piece prop anytime!
The distance between the prop blades and the cooling fan seems too great in your assembly compared to the picture you have included: Look at how close the prop blades are to the fan...
You remember the comment I made about the spinners putting the prop too far away from the cowling?
Lovely work on the turret as well: It seems oddly assymetrical, I suppose it was like that...
Gaston
chukw1

Joined: November 28, 2007
KitMaker: 817 posts
AeroScale: 729 posts

Posted: Friday, May 11, 2012 - 02:54 AM UTC
Thanks, guys! I'm glad to see folks are still reading. 
Jim, those darn weights were a real surprise to me, too! Well, you know how I love an extra layer of detail- and I had to build an alignment jig nayway, so why not go for it?
Trevor, thanks for the kind owrds- I'm glad all my ramblings have given you a pointer or two. I think I've seen the conversion set you've mentioned- it will, in all likelihood, be a lot easier than this all-resin beastie!
Gaston, in the words of Mr Spock, "I gave it my best guess." I'll check the whole prop-to-cowling thing. I'd hate to have to mess with trimming the spinners at this point!
More to come-
chuk

Jim, those darn weights were a real surprise to me, too! Well, you know how I love an extra layer of detail- and I had to build an alignment jig nayway, so why not go for it?
Trevor, thanks for the kind owrds- I'm glad all my ramblings have given you a pointer or two. I think I've seen the conversion set you've mentioned- it will, in all likelihood, be a lot easier than this all-resin beastie!
Gaston, in the words of Mr Spock, "I gave it my best guess."
 I'll check the whole prop-to-cowling thing. I'd hate to have to mess with trimming the spinners at this point!
More to come-
chuk
 |


