There's a storm front coming
Germany
Joined: September 07, 2005
KitMaker: 5,609 posts
AeroScale: 5,231 posts
Posted: Saturday, December 17, 2011 - 02:09 AM UTC
Hi all
When I saw Jean-Luc's Hurricane on my journey to Telford, I decided that I would start the kit when I have reviewed it (I intentionally don't say build, because I never know when I finish things).
I was not really overwhelmed by the kit and thus I thought to do a comparison build of the Hasegawa and the Italeri kits.
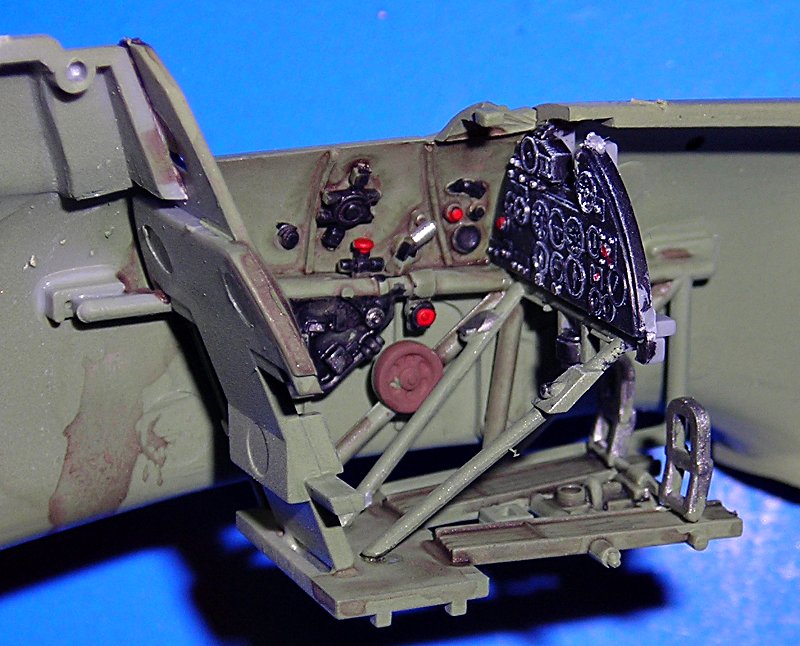
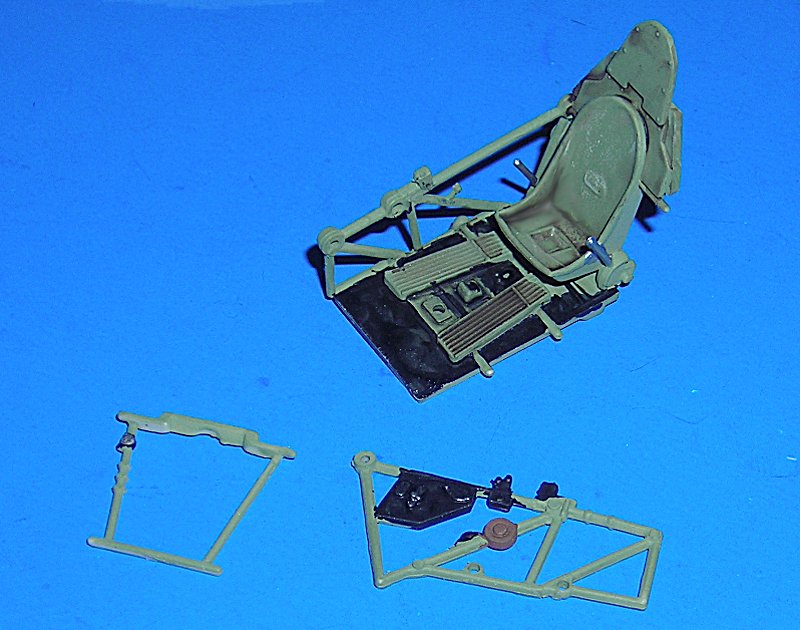
Cockpit: While italeri has the PE included and door opened I find the Hasegawa better detailed than the newer Italeri. Just adding some Eduard prepainted belts and it is good enough for 48 scale. Italeri's side walls have no detail and the instrument panel is much too plain. Plus the full plastic floor plate .. I painted it black in that areas.
Hasegawa
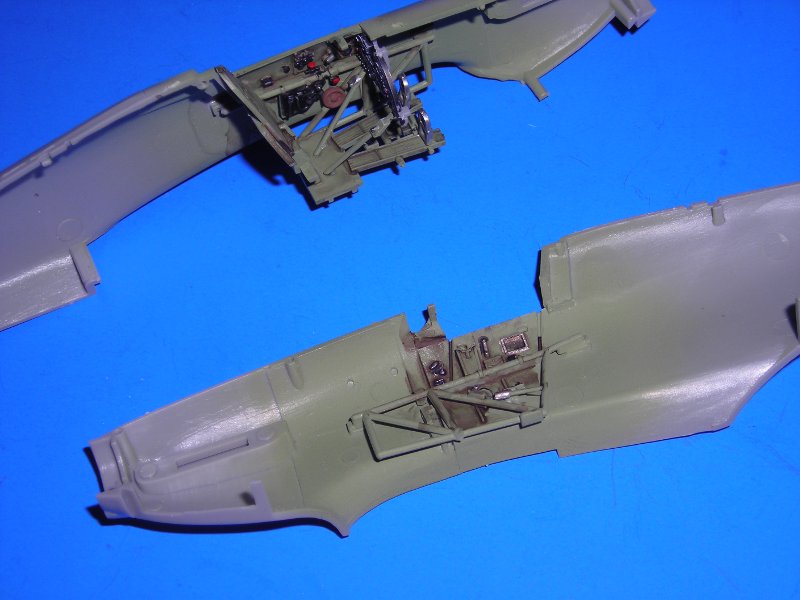
Italeri:
 Wings:
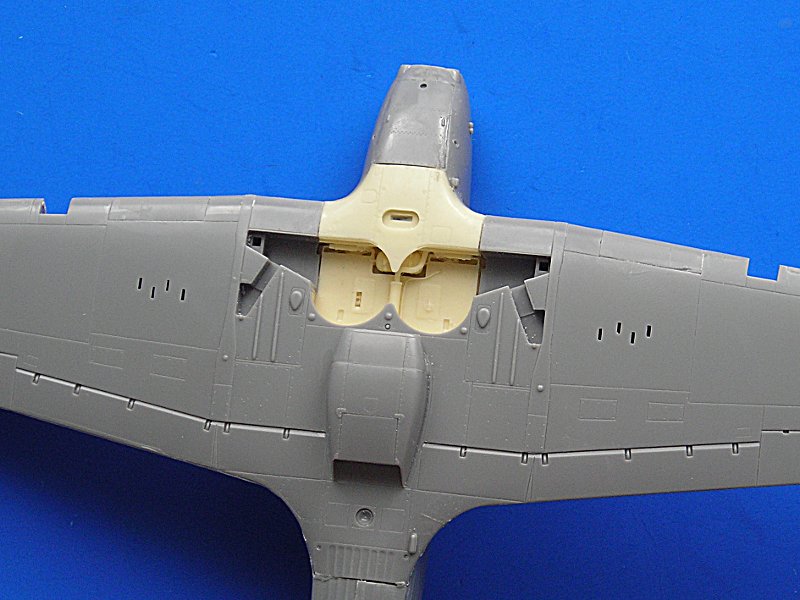
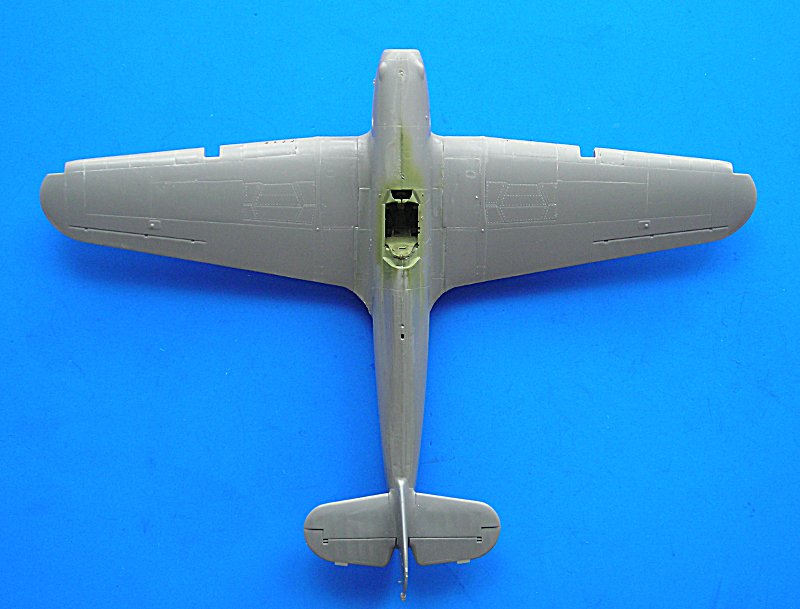
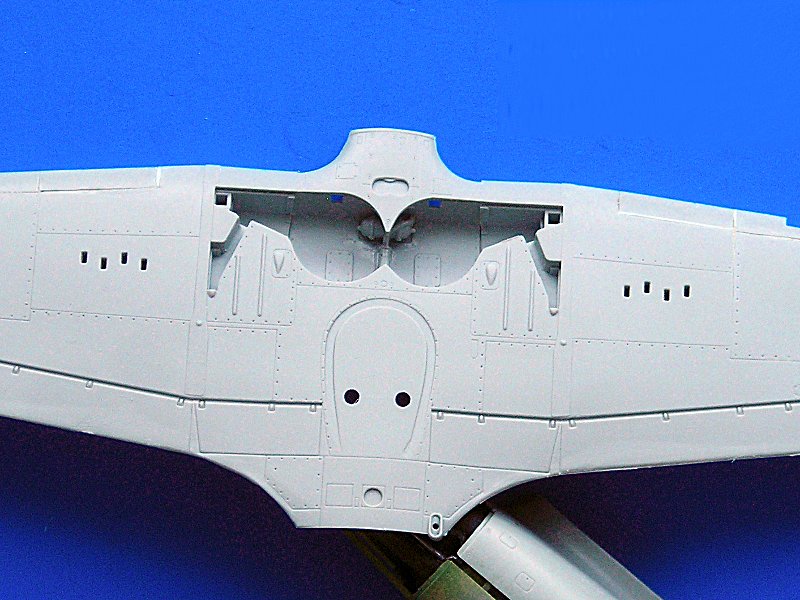
 Here I was a little surprised The Hasegawa has 4 inserts which needed a little trimming and sanding but fit quite good. The Italeri whing only has 2 inserts but these do not fit as they are too small. I needed to fit in some plastic sheet to get a good shape. On the plus side are the separate aileronswhich fit good (I glued mine in). The wheel well in the Italeri kit is only slightly better that the Hasegawa. I had a Griffon Set for the latter which I used. THer was aquite a gap at the front,where plastic top wing and resin insert should meet, but I could easily fill that with Magic Sculp (really easy!!)
Hasegawa:
Italeri:
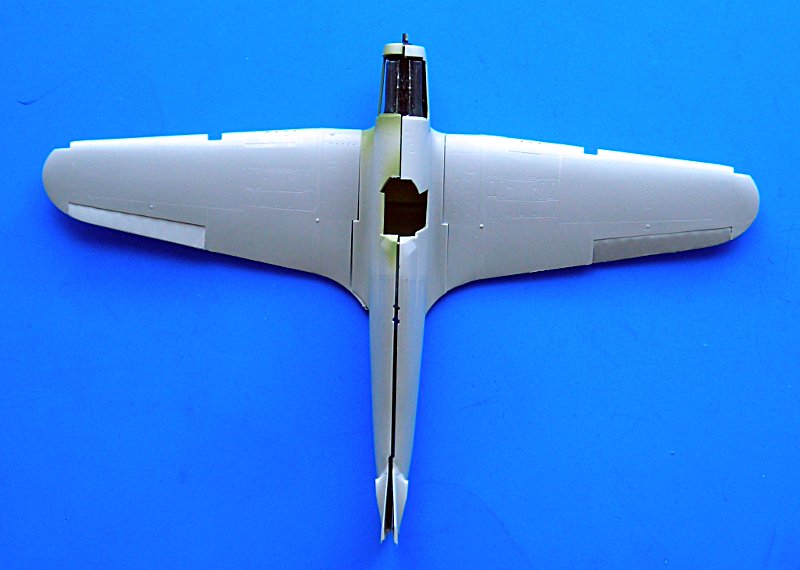
The engine is a nice gimmic and looked good on J-L's model, but it is pretty plain on mine.
Not sure when I will pickup building again, for the moment I try to keep up maintaining my website.
all the best
Steffen
DULCE ET DECORUM EST PRO HOBBY MORI
England - South East, United Kingdom
Joined: February 05, 2008
KitMaker: 1,381 posts
AeroScale: 1,110 posts
Posted: Saturday, December 17, 2011 - 03:01 AM UTC
hi steffan,
check the tail fin on your italieri kit, is one side flatter than the other?
paul
Germany
Joined: September 07, 2005
KitMaker: 5,609 posts
AeroScale: 5,231 posts
Posted: Saturday, December 17, 2011 - 03:16 AM UTC
Hi Paul
I do not understand your problem with that .. like the Hasegawa kit the tail is offset to cope with the torque of the engine...
cheers
Steffen
DULCE ET DECORUM EST PRO HOBBY MORI
England - South East, United Kingdom
Joined: February 05, 2008
KitMaker: 1,381 posts
AeroScale: 1,110 posts
Posted: Saturday, December 17, 2011 - 05:53 AM UTC
Quoted Text
Hi Paul
I do not understand your problem with that .. like the Hasegawa kit the tail is offset to cope with the torque of the engine...
cheers
Steffen
i never knew that...you learn something new everyday..... cheers
paul
Germany
Joined: September 07, 2005
KitMaker: 5,609 posts
AeroScale: 5,231 posts
Posted: Sunday, April 15, 2012 - 03:01 AM UTC
So now the Eduard Messerschmitt is almost done I proceed a little with my two Hurricanes. I finished the interiors and put on all panels on the Italeri kit with Maskol. I used Eduards masks on both kits which both do not include masks for the wing tip position lights.
Italeri:

Hasegawa:
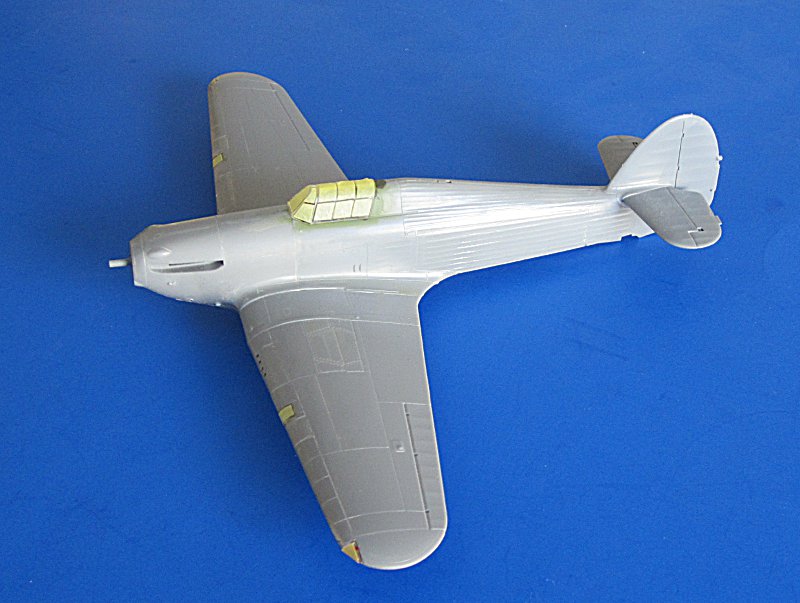
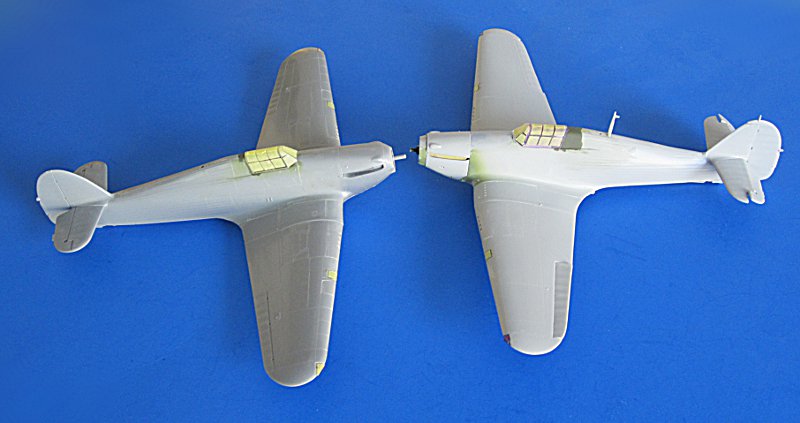
I also put some paint on but I do not photograph the steps in detail:
Italeri will get the McKnight scheme from the box, so I panted one wing black masked it off, mixed some Eau de Nile and put it on the rest. some more masking and a first layer of brown ... I am not sure if I like the tone so I might shoot that again (it is rather umbra like and might need some more red in it)... I got some overspray under the wing and of course I did not keep some of the mixture

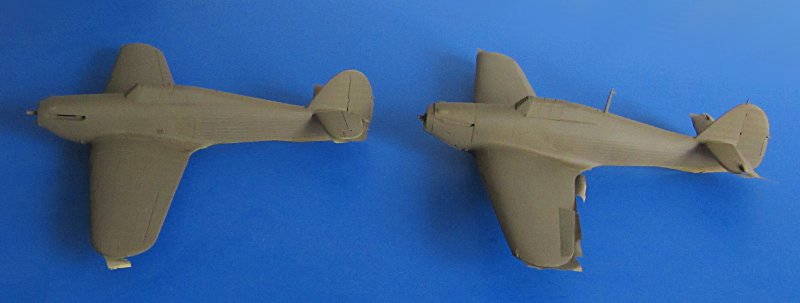
Hasegawa will get decals for Robert Stanford-Tucks mount. Sky Decals has markings for V6864 but also the caricature of Churchill (which seems to have been on V6555). I am using this as reference:
Three Tuck Hurricanes (by David Turner on Hyperscale) and will do V6555 with some spare numbers I have as I prefer to have one Hurricane without black wing ... I used Tamiya IJA grey (XF-14) as Sky grey and the same upper colors as on the other Mk.1
all the best
Steffen
DULCE ET DECORUM EST PRO HOBBY MORI
Slovakia
Joined: October 15, 2010
KitMaker: 825 posts
AeroScale: 476 posts
Posted: Sunday, April 15, 2012 - 05:27 AM UTC
Interesting to see them both in a comparison. Is it just me or is the front edge of the tail more rounded at the vertical on the Hasegawa kit ? Anyway just last week I picked up one MK.IIC from Hasegawa and Im preaty happy about it since they are harder to find now.
Germany
Joined: September 07, 2005
KitMaker: 5,609 posts
AeroScale: 5,231 posts
Posted: Monday, April 16, 2012 - 05:57 AM UTC
Your observation ic correct, but I am not sure which is right or wrong .. maybe I'll check that later.
The dk. earth paint ist the same I used on previous RAF machines so it is pretty much correct.
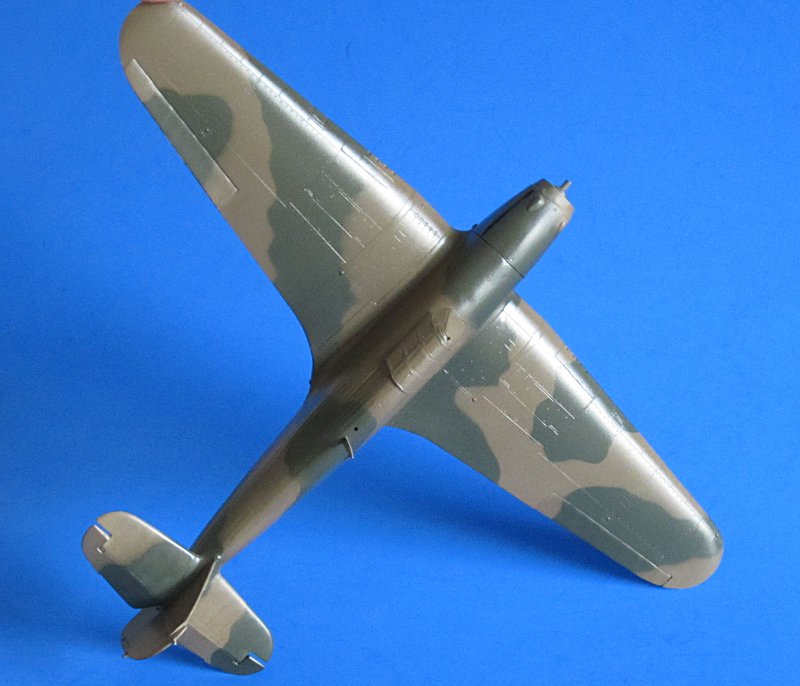
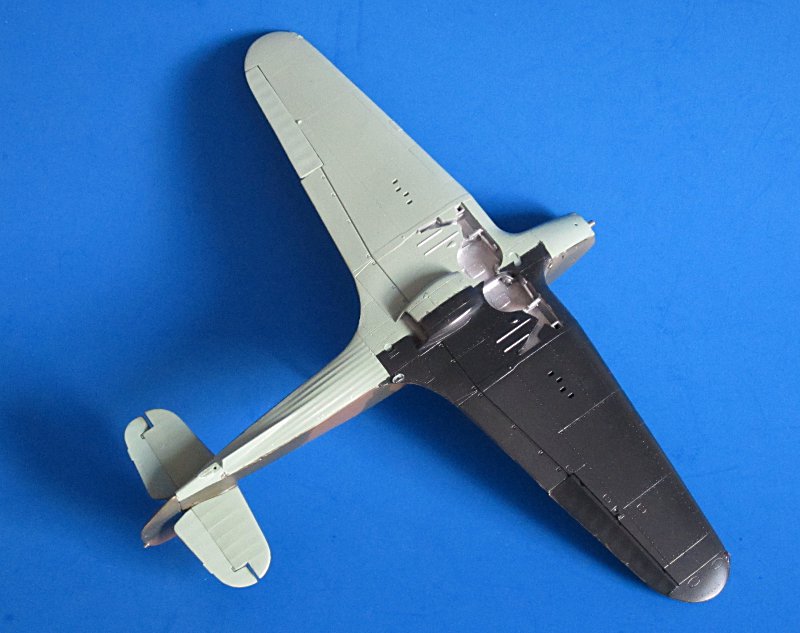
Meanwhile I put on some more color on the Italeri machine ... I really hate the Italeri instruction sheet as this shows the brown dark and the green light .. so I had to correct some mistakes due to the wrong impressions (and I will have to correct the paint under the canopy). I put on a Klear coat after the paint was (half way) dry ... looks pretty cool now
all the best
Steffen
DULCE ET DECORUM EST PRO HOBBY MORI
European Union
Joined: August 09, 2009
KitMaker: 1,732 posts
AeroScale: 1,336 posts
Posted: Monday, April 16, 2012 - 07:15 AM UTC
Steffen, good to see you doing a "Dual Combo" Looking forward to see them finished. One doesn't see a Hurri often on expos.
Next month I'll start on a Mk. I from Hase for the Fighters Campaign and it will not get British markings .....

I don't have the Italeri kit here but as they have a Sea Hurricane marked as "New" in their 2012 catalogue I'll probably go for that one.
Happy modelling!
Torsten

My campaigns for 2020:
MiGs - Done !
The Big Three - Done !
65 years Bundeswehr - Done !
40 years Leopard 2 - Done !
Land Lease - Done !
Germany
Joined: September 07, 2005
KitMaker: 5,609 posts
AeroScale: 5,231 posts
Posted: Monday, April 16, 2012 - 08:25 AM UTC
Thanks Torsten!
BTW the longer I look at my model the more it looks wrong. I will have to find some refs, but at the moment I believe the drawing in the Italeri kit is correct, but the colours are named wrong.... rats


DULCE ET DECORUM EST PRO HOBBY MORI
Merlin
 Senior Editor
#017
United Kingdom
Joined: June 11, 2003
KitMaker: 17,582 posts
AeroScale: 12,795 posts
Posted: Monday, April 16, 2012 - 08:50 AM UTC
Hi Steffen
Great to see you building again!

I have to agree - that Italeri fin does look too straight. I don't remember noticing it in our reviews, but built-up...
All the best
Rowan

BEWARE OF THE FEW...
As I grow older, I regret to say that a detestable habit of thinking seems to be getting a hold of me. - H. Rider Haggard
Germany
Joined: September 07, 2005
KitMaker: 5,609 posts
AeroScale: 5,231 posts
Posted: Wednesday, April 18, 2012 - 05:03 AM UTC
A bit more on the Italeri build: I repainted the upper side ... of course it would have been better to strip it and start from the beginning, but I did not want to repaint the whole kit, so I added three more layers of paint

it will "pay off" when I try to add the washing. Today I started to apply the decals.
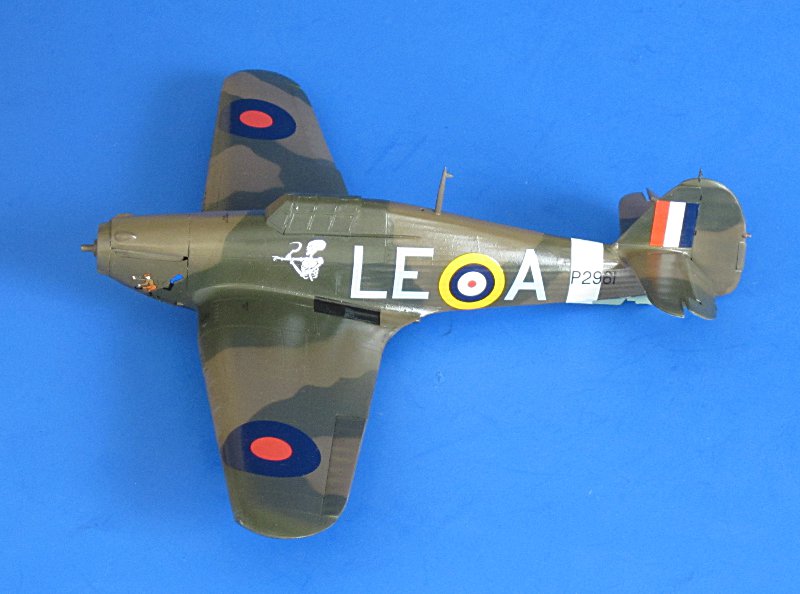
all the best
Steffen
DULCE ET DECORUM EST PRO HOBBY MORI
Germany
Joined: September 07, 2005
KitMaker: 5,609 posts
AeroScale: 5,231 posts
Posted: Friday, June 22, 2012 - 11:38 PM UTC
Yes I am slow, but I still work on this project!
I finished two small motivation projects meanwhile
Dash 1 and
Dash 2 but I also worked on this model.
I bought some Quickboost parts (still waiting for the door to arrive) to spice up the kit. I still do not know where to put the kit. It has some nice features and some issues that just make me shake my head. Anyway, flat coat is on so now I am preparing for the final approach...
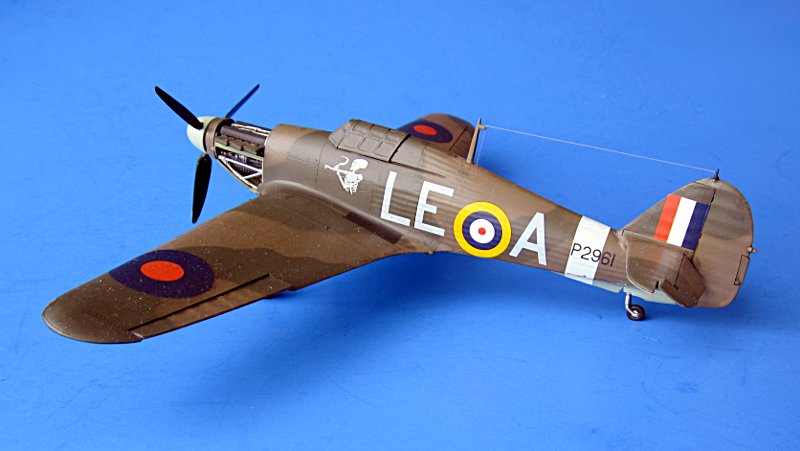
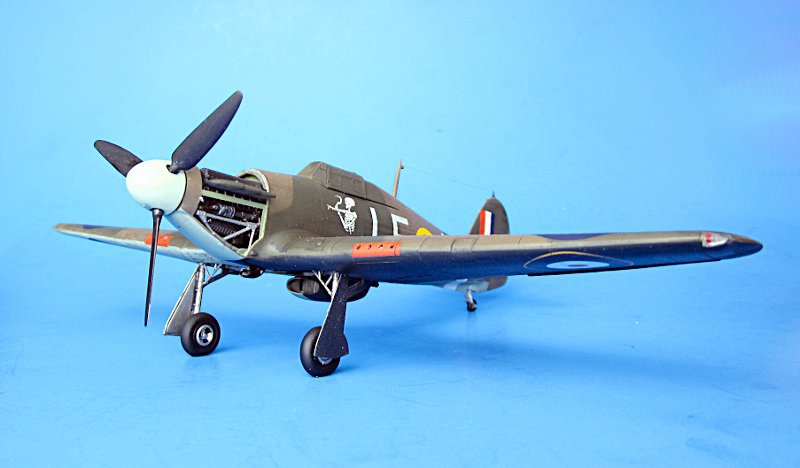
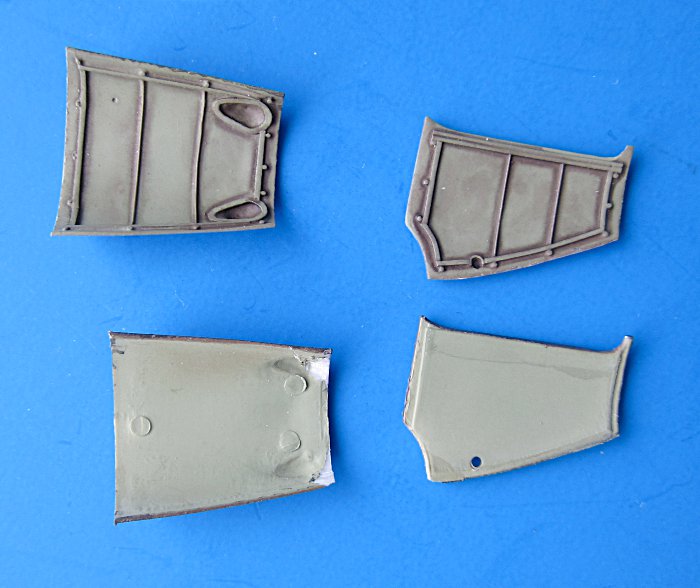
comments welcome
all the best
Steffen
DULCE ET DECORUM EST PRO HOBBY MORI
Slovakia
Joined: October 15, 2010
KitMaker: 825 posts
AeroScale: 476 posts
Posted: Saturday, June 23, 2012 - 05:11 AM UTC
Great work Steffen, To include the engine into the Italeri kit was a good idea after all. It looks convincing.
Germany
Joined: September 07, 2005
KitMaker: 5,609 posts
AeroScale: 5,231 posts
Posted: Saturday, June 23, 2012 - 05:36 AM UTC
Thanks for your kind comment!
IMHO the engine is crap. Of course if Aires (or similar) would come up with an engine the preparation is already there but in my book the plastic engine is very basic. OTOH if you prefer to scratch build details the plastic engine is better than nothing!
I forgot to add that I also used QB exhausts, but that is almost mandatory for all allied WW2 kits, as these are very difficult to do in IM plastic.
Anyway, just have fun to build models the way you do !
all the best
Steffen
DULCE ET DECORUM EST PRO HOBBY MORI
Germany
Joined: September 07, 2005
KitMaker: 5,609 posts
AeroScale: 5,231 posts
Posted: Wednesday, October 24, 2012 - 08:38 AM UTC
It's all Jean-Luc's fault:

took this pic in September. After I read J-Ls build review in TMMI ... but as he is a very kind guy, he provided some spare decals. Thanks a bunch my friend!!
all the best
Steffen
DULCE ET DECORUM EST PRO HOBBY MORI
JPTRR
 Managing Editor
#051
Tennessee, United States
Joined: December 21, 2002
KitMaker: 7,772 posts
AeroScale: 3,175 posts
Posted: Wednesday, October 24, 2012 - 10:24 PM UTC
Ouch!
Steffen, sorry about your decal problem. Glad J-L can help out. Your Hurricane is coming along nicely.
If they demand your loyalty, give them integrity; if they demand integrity, give them your loyalty.--Col John Boyd, USAF
“Any plan where you lose your hat is a bad plan.”
Germany
Joined: September 07, 2005
KitMaker: 5,609 posts
AeroScale: 5,231 posts
Posted: Wednesday, October 24, 2012 - 11:32 PM UTC
Thanks Fred,
he mentiond in his build report that Italeri got the codes the wrong way round and thus I had to remove it ...

all th best
Steffen
DULCE ET DECORUM EST PRO HOBBY MORI
Germany
Joined: September 07, 2005
KitMaker: 5,609 posts
AeroScale: 5,231 posts
Posted: Sunday, February 24, 2013 - 02:33 AM UTC
Hi all
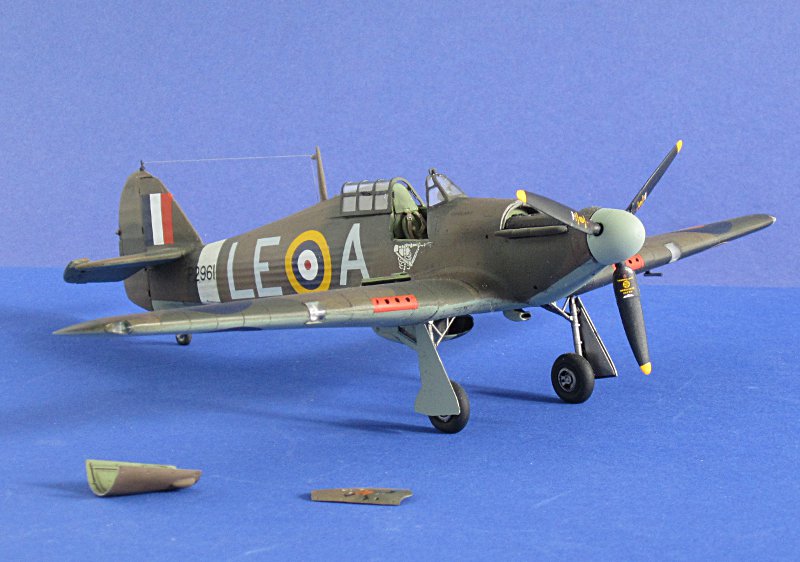
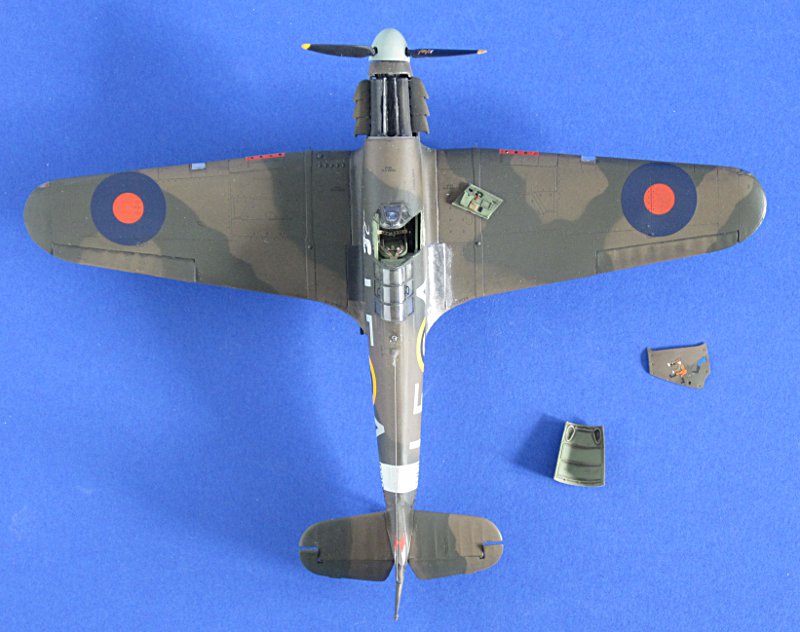
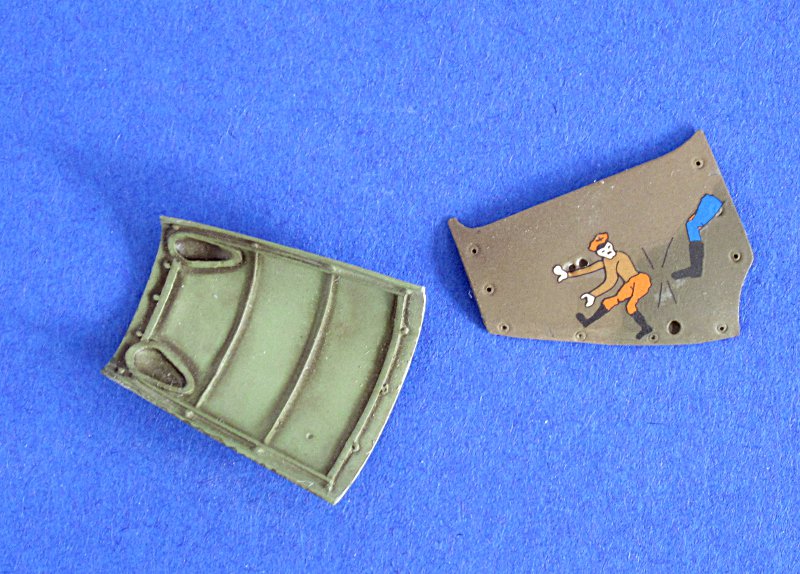
so the Italeri model ist almost finished since months. J-L got me the decals prior to Telford and I put them on pretty soon, but somehow I lost motivation on this project. Nonetheless I want to get it finished and thus I put it on the bench again.
Today I removed the masking tape and added the cockpit panel. Thankfully I got some kind responses on another board (thanks again to them especially as Edgar also visits here)
So this is how it looks now .. I bet it will take some more weeks before I finally get it done
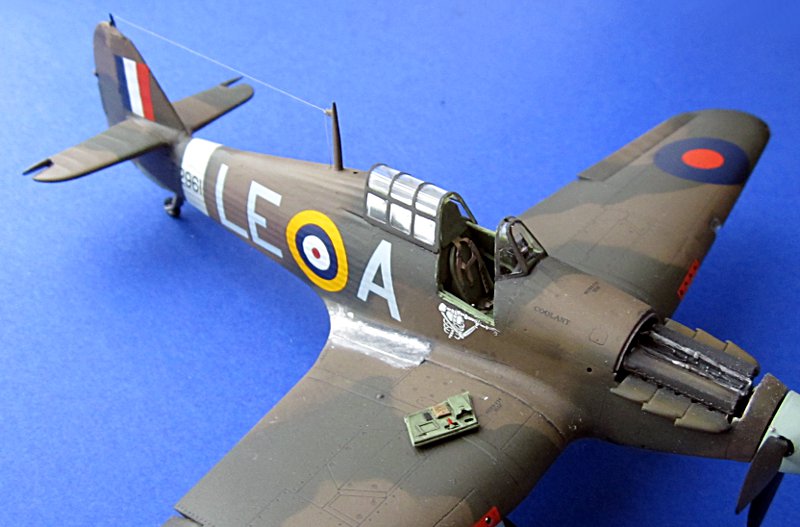
all the best
Steffen
DULCE ET DECORUM EST PRO HOBBY MORI
England - South East, United Kingdom
Joined: September 15, 2004
KitMaker: 4,728 posts
AeroScale: 1,351 posts
Posted: Sunday, February 24, 2013 - 02:49 AM UTC
Steffen your getting there and the Hurricane is looking good, any more on the Hasegawa one?
By the way, Slow progress is better than No progress.
On the bench...
Italeri A129 Mangusta
British Bulldog Spitfire theme build
Germany
Joined: September 07, 2005
KitMaker: 5,609 posts
AeroScale: 5,231 posts
Posted: Sunday, February 24, 2013 - 02:56 AM UTC
Thanks Luciano!
the other kit is still in the same state as obove ... the Italeri kit stealing all the joy of this project.
all the best
Steffen
(BTW I have another project that is progressing rather fast comparing to this glacial project)
DULCE ET DECORUM EST PRO HOBBY MORI
Germany
Joined: September 07, 2005
KitMaker: 5,609 posts
AeroScale: 5,231 posts
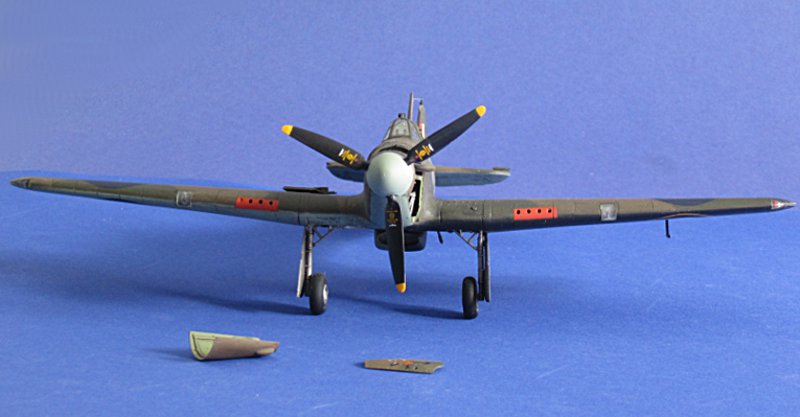
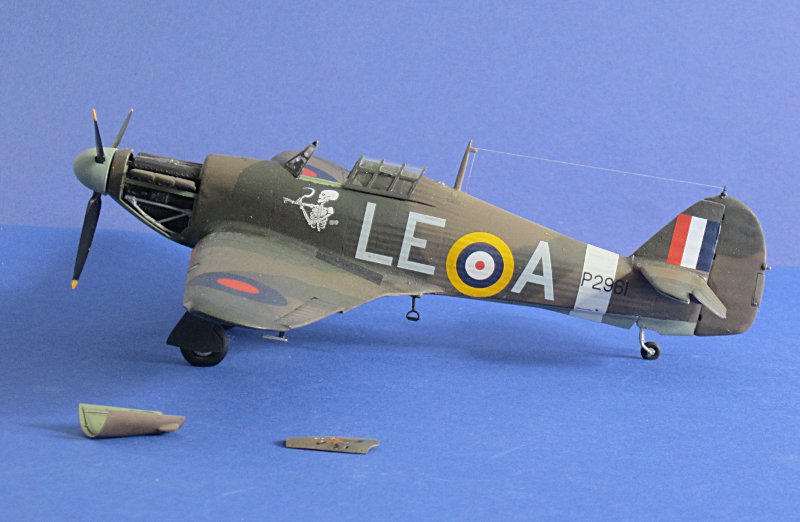
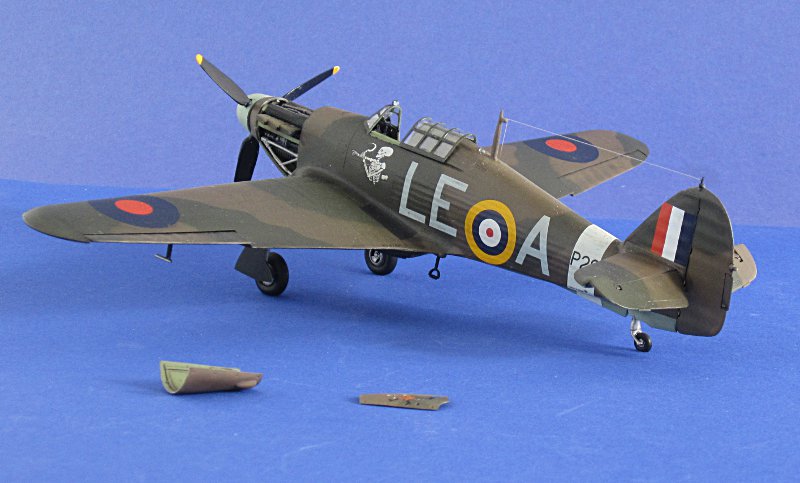
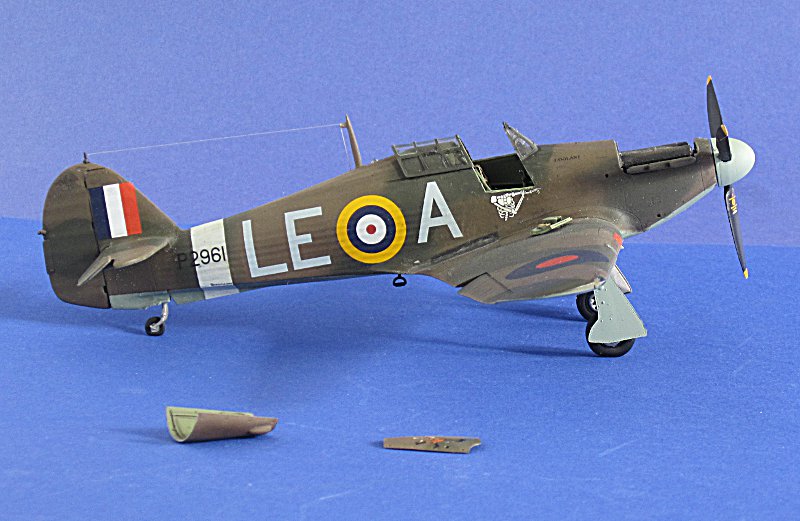
Posted: Friday, March 22, 2013 - 10:40 PM UTC
DULCE ET DECORUM EST PRO HOBBY MORI
Croatia Hrvatska
Joined: January 29, 2011
KitMaker: 977 posts
AeroScale: 263 posts
Posted: Friday, March 22, 2013 - 11:37 PM UTC
http://svenharjacekmodels.blogspot.com/
British Columbia, Canada
Joined: September 03, 2009
KitMaker: 6,965 posts
AeroScale: 6,247 posts
Posted: Saturday, March 23, 2013 - 04:11 AM UTC
I find it much more satisfying to conquer a difficult kit than to throw together a "box shaker"

Now you can put the trauma behind you and move on to the Hasegawa.
When once you have tasted flight you will walk the Earth with your eyes turned skyward.
For there you have been, and there you will always long to return.
-Leonardo Da Vinci
Germany
Joined: September 07, 2005
KitMaker: 5,609 posts
AeroScale: 5,231 posts
Posted: Saturday, March 23, 2013 - 04:48 AM UTC
Many thanks Sven amd Jessica!
Actually I am planning to get a few old dogs done over the next week of vacation, the Hasegawa being one of the younger ones

I already got this, the
Seafire XV and a Hasegawa Zero done. Now I have a few kits that still need cockpits ... not my favorite task, but I got to get my workbench clean for the Eduard Spitfire... maybe I will get another one for this thread ready (one of my oldest projects that I still want to finish)
all the best
Steffen
DULCE ET DECORUM EST PRO HOBBY MORI
Quebec, Canada
Joined: April 19, 2008
KitMaker: 595 posts
AeroScale: 507 posts
Posted: Sunday, March 24, 2013 - 01:44 PM UTC
Quote: The wheel well in the Italeri kit is only slightly better that the Hasegawa.
Hasegawa:

Italeri:

----------------------------------------------------
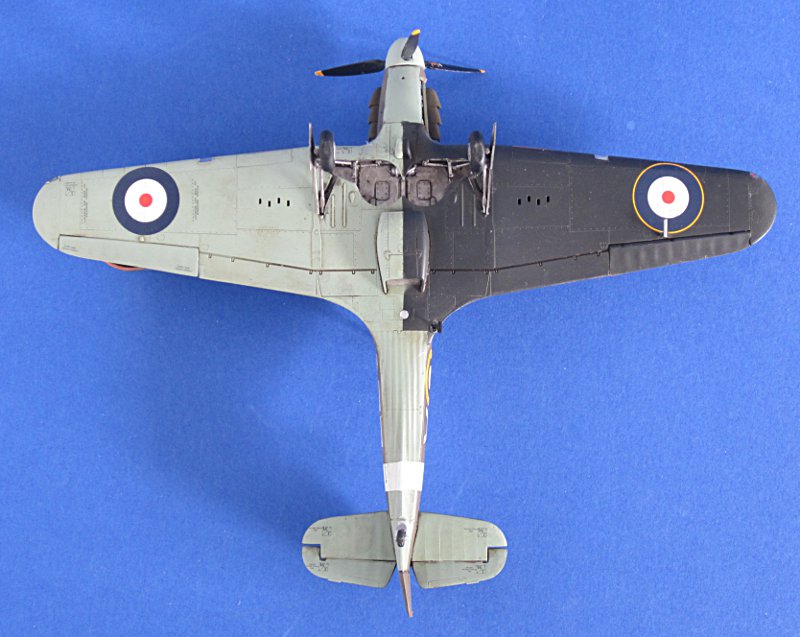
Note the huge difference in wheel well position between Italeri and Hasegawa: It is a huge discrepancy, and the Hasegawa is obviously the correct one: The Italeri wheel wells are right up to the leading edge: No Hurricane was like that that I am aware of...
This is on the bottom, but really disqualifies the Italeri kit in my opinion.
I am surprised few reviewers make note of this, as this kind of thing is usually more up their alley than canopies...
Gaston


