Air Pioneers & Record Breakers Campaign
Spain / España
Joined: February 28, 2012
KitMaker: 103 posts
AeroScale: 102 posts
Posted: Thursday, March 28, 2013 - 03:39 AM UTC
Sal has finished already, and I have just opened the box...
I will be doing the U.S.A.F BELL X-1 from Tamiya in 1/72. For the sake of this campaign I will be painting the "Glamorous Glennis" that was the first one to record supersonic flight, at Mach 1.06 peak speed.

Ontario, Canada
Joined: February 04, 2008
KitMaker: 2,507 posts
AeroScale: 1,814 posts
Posted: Thursday, March 28, 2013 - 03:55 AM UTC
Carlos.
Good Luck with the model,plenty of time until finish date.

" The Die Hards"
43rd MIDDLESEX REGIMENT
MACHINE GUN CORPS
XXX CORP
The most effective way to do it, is to do it.
- Amelia Earhart
Maryland, United States
Joined: February 25, 2013
KitMaker: 209 posts
AeroScale: 138 posts
Posted: Thursday, March 28, 2013 - 05:34 AM UTC
Carlos,
I am excited to see your progress on that one as I recently got one from hobbylinc japan (tamiya kits are so cheap there).
Anyway, here is another small progress update of the old Testors Ryan NYP. I have painted it using testors spray metallic silver and started decaling. Unfortunately, none of the decals from scalemaster matchup perfectly with their engraved locations (did I mention how annoying these are?). If one area was perfectly lined up another would be way too far off, so I settled mostly for just a tad bit off everywhere on the fuselage decals...
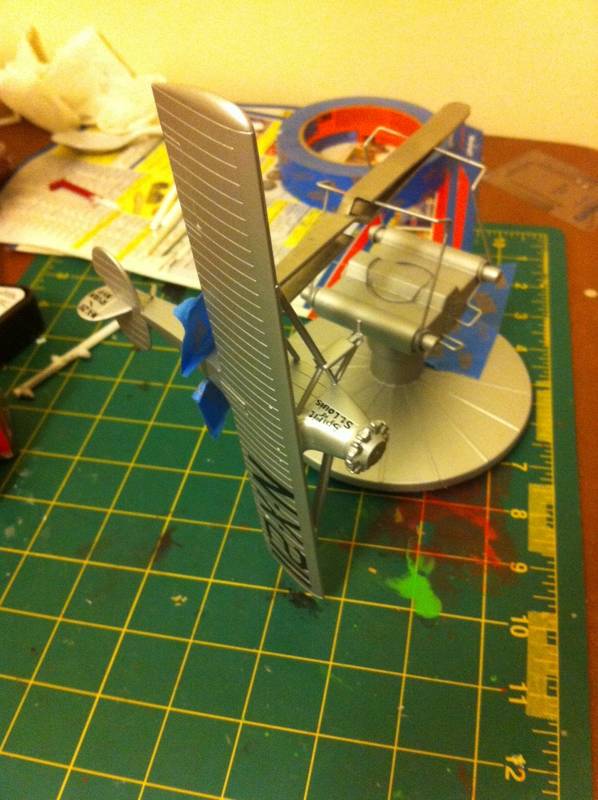
Since I knew about this problem ahead of time I decided to add the wing ID stencils one letter or number at a time to make sure they lined up better (still didn't work out perfectly because the letters aren't even the right size in all cases.
I am quite proud of the jig I came up with to hold the model sideways while the fuselage decals settled using only a pair of tweezers, a tamiya paint stand, and some tape.
Spain / España
Joined: February 28, 2012
KitMaker: 103 posts
AeroScale: 102 posts
Posted: Thursday, March 28, 2013 - 07:51 AM UTC
Quoted Text
Carlos,
I am excited to see your progress on that one as I recently got one from hobbylinc japan (tamiya kits are so cheap there).
Van, I am afraid I am not the most experience modeller around, and certainly not the most patient...
Maryland, United States
Joined: February 25, 2013
KitMaker: 209 posts
AeroScale: 138 posts
Posted: Thursday, March 28, 2013 - 07:53 AM UTC
I dabbled in it as a kid but really only picked it up seriously myself back in October of last year.
Spain / España
Joined: February 28, 2012
KitMaker: 103 posts
AeroScale: 102 posts
Posted: Saturday, March 30, 2013 - 07:07 AM UTC
A small update of the X-1. I have finish with the interior. The yellow-green is a bit too green but I got carried away.

I am very happy with the cockpit but not with the photo. I promise I won't use the mobile for the next update.

Ontario, Canada
Joined: February 04, 2008
KitMaker: 2,507 posts
AeroScale: 1,814 posts
Posted: Saturday, March 30, 2013 - 10:00 AM UTC
Nice job!

" The Die Hards"
43rd MIDDLESEX REGIMENT
MACHINE GUN CORPS
XXX CORP
The most effective way to do it, is to do it.
- Amelia Earhart
Maryland, United States
Joined: February 25, 2013
KitMaker: 209 posts
AeroScale: 138 posts
Posted: Sunday, March 31, 2013 - 08:22 AM UTC
Ontario, Canada
Joined: February 04, 2008
KitMaker: 2,507 posts
AeroScale: 1,814 posts
Posted: Sunday, March 31, 2013 - 01:36 PM UTC
Good job Van.
Please post photos when you get a chance.

" The Die Hards"
43rd MIDDLESEX REGIMENT
MACHINE GUN CORPS
XXX CORP
The most effective way to do it, is to do it.
- Amelia Earhart
Washington, United States
Joined: February 14, 2012
KitMaker: 252 posts
AeroScale: 209 posts
Posted: Thursday, April 04, 2013 - 03:59 PM UTC
Due to a recent misadventure concerning a bottle of glue and my F4D, I found myself without an entry for this campaign. Until now. I just got the Dragon 1/144 X-3 Stiletto. Will this work for this campaign

The X-3 did pave the way for such aircraft as the F-104 and it proved the theory that given enough power, even a brick can fly.

Happy Gluig, JT

Ontario, Canada
Joined: February 04, 2008
KitMaker: 2,507 posts
AeroScale: 1,814 posts
Posted: Thursday, April 04, 2013 - 10:28 PM UTC
Go for it.
Move the glue away from the kit!

" The Die Hards"
43rd MIDDLESEX REGIMENT
MACHINE GUN CORPS
XXX CORP
The most effective way to do it, is to do it.
- Amelia Earhart
Washington, United States
Joined: February 14, 2012
KitMaker: 252 posts
AeroScale: 209 posts
Posted: Friday, April 05, 2013 - 05:29 AM UTC
Thanks, Richard. I now have the Tenex VERY secure.

One good thing about the X-3 kit is you have two models- just in case. Just call me Mr. Bumble Fingers, JT
British Columbia, Canada
Joined: September 03, 2009
KitMaker: 6,965 posts
AeroScale: 6,247 posts
Posted: Friday, April 05, 2013 - 06:17 AM UTC
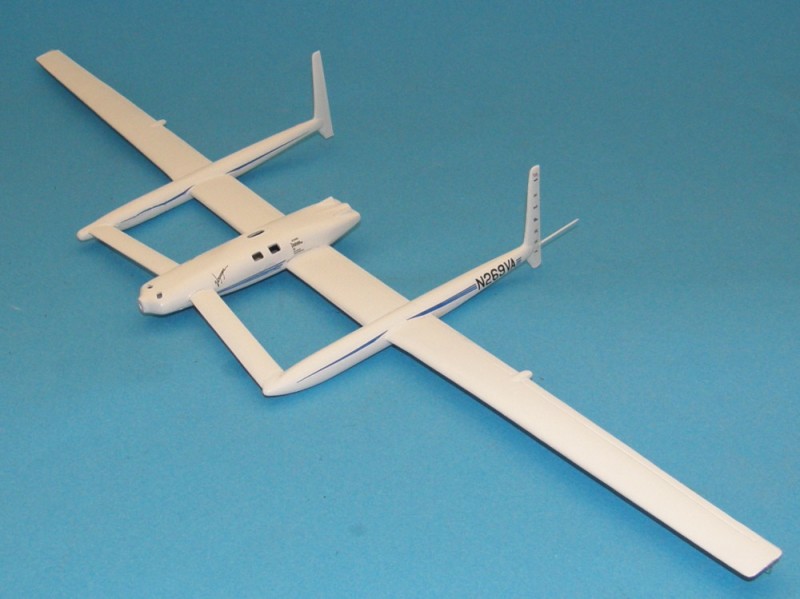
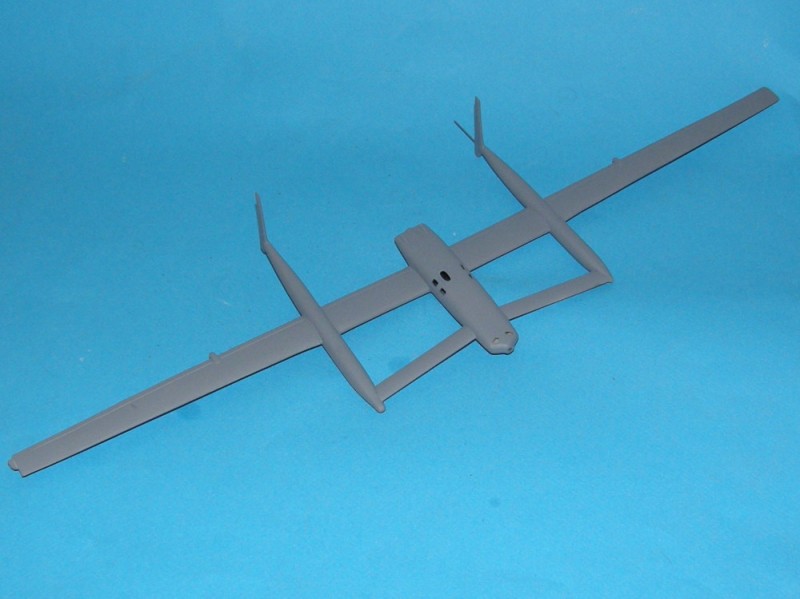
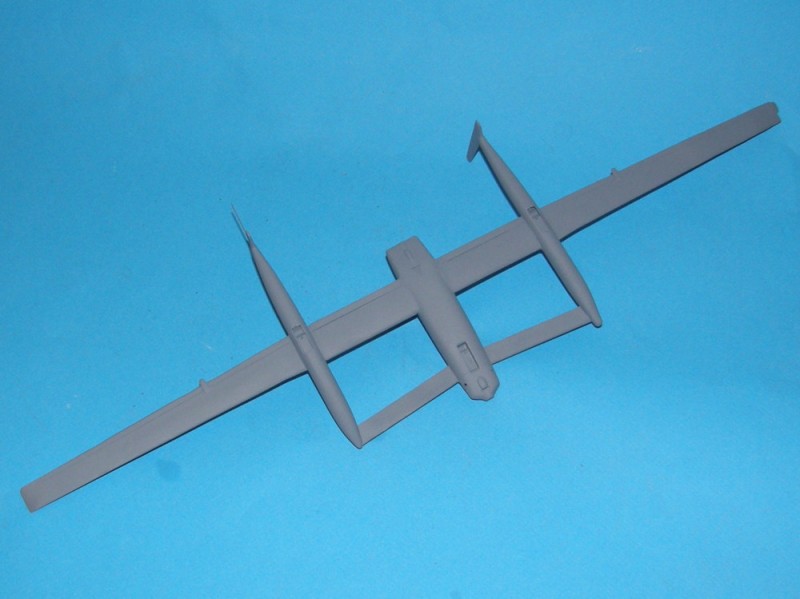
I've got some primer on Voyager now and it looks a lot cleaner.
When once you have tasted flight you will walk the Earth with your eyes turned skyward.
For there you have been, and there you will always long to return.
-Leonardo Da Vinci
Washington, United States
Joined: February 14, 2012
KitMaker: 252 posts
AeroScale: 209 posts
Posted: Friday, April 05, 2013 - 09:41 AM UTC
That beast is coming along nicely, Jessica. It's a wonder what you can do with bad kits. JT

#226
British Columbia, Canada
Joined: February 20, 2012
KitMaker: 1,909 posts
AeroScale: 508 posts
Posted: Monday, April 08, 2013 - 11:50 AM UTC
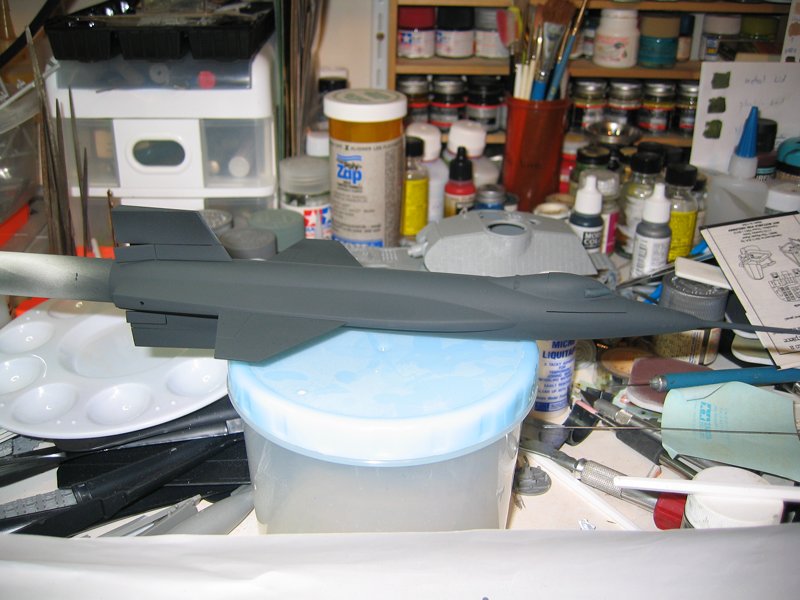
I managed to get some paint on the X-15.

Cheers Rob.
PS I think it's about time this campaign became official.

Anything without guns is a target!
27 completed campaigns and counting :)
Ontario, Canada
Joined: February 04, 2008
KitMaker: 2,507 posts
AeroScale: 1,814 posts
Posted: Monday, April 08, 2013 - 12:01 PM UTC
Me To!

" The Die Hards"
43rd MIDDLESEX REGIMENT
MACHINE GUN CORPS
XXX CORP
The most effective way to do it, is to do it.
- Amelia Earhart
British Columbia, Canada
Joined: September 03, 2009
KitMaker: 6,965 posts
AeroScale: 6,247 posts
Posted: Monday, April 08, 2013 - 02:34 PM UTC
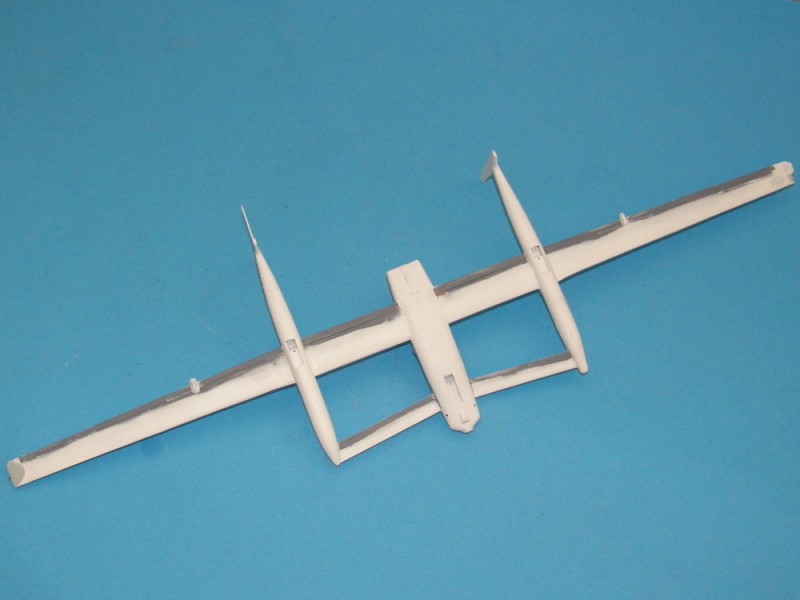
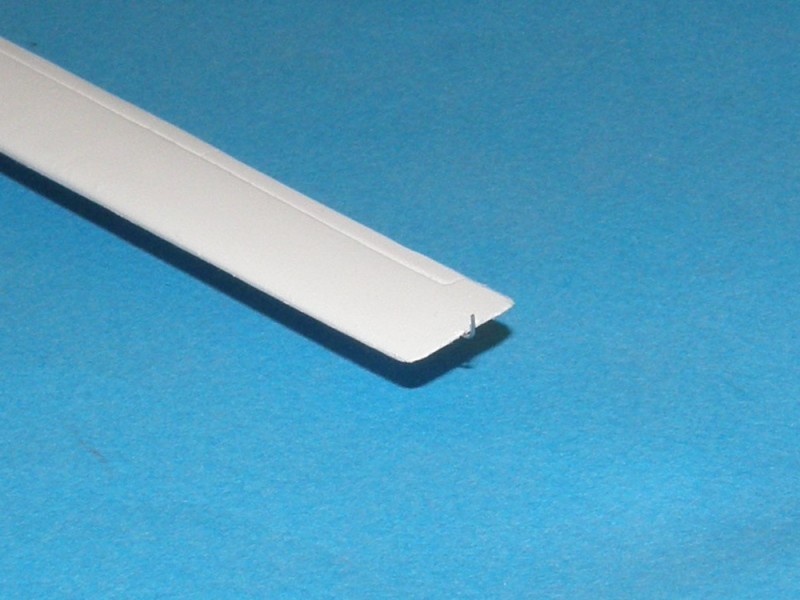
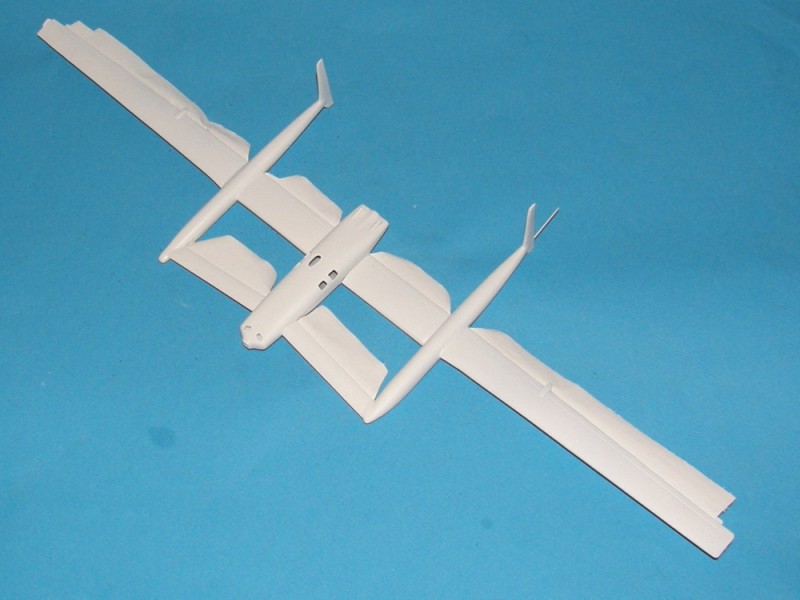
Voyager is wearing white primer now. The tape masks off a portion of the bottoms of the wings, because they were only half-painted in the interest of weight savings. I'll let this cure and then apply the gloss white.
When once you have tasted flight you will walk the Earth with your eyes turned skyward.
For there you have been, and there you will always long to return.
-Leonardo Da Vinci
British Columbia, Canada
Joined: September 03, 2009
KitMaker: 6,965 posts
AeroScale: 6,247 posts
Posted: Wednesday, April 10, 2013 - 06:05 AM UTC
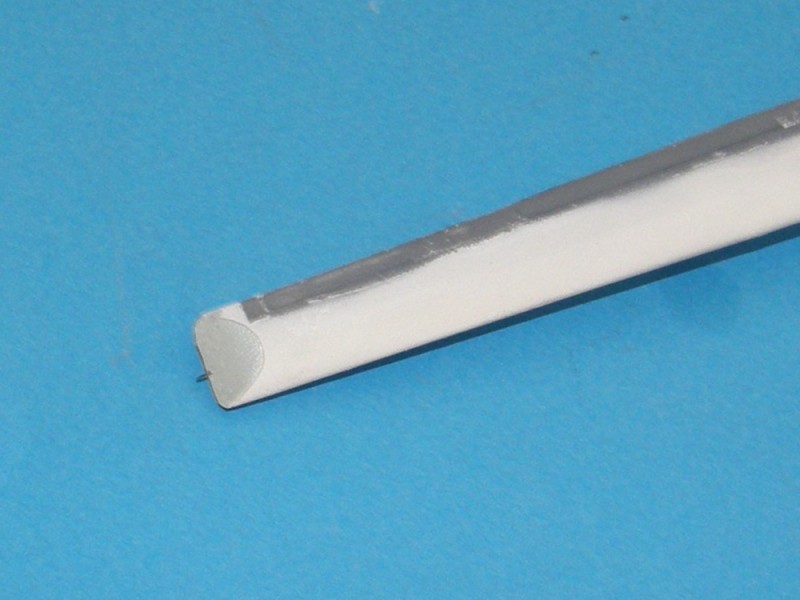
This is what I get for rushing. While the Kitmaker hamsters were on strike I had a paint incompatibility problem on Voyager's left wing. It seems that the primer coats were not entirely completely cured, and the top coat attacked them.
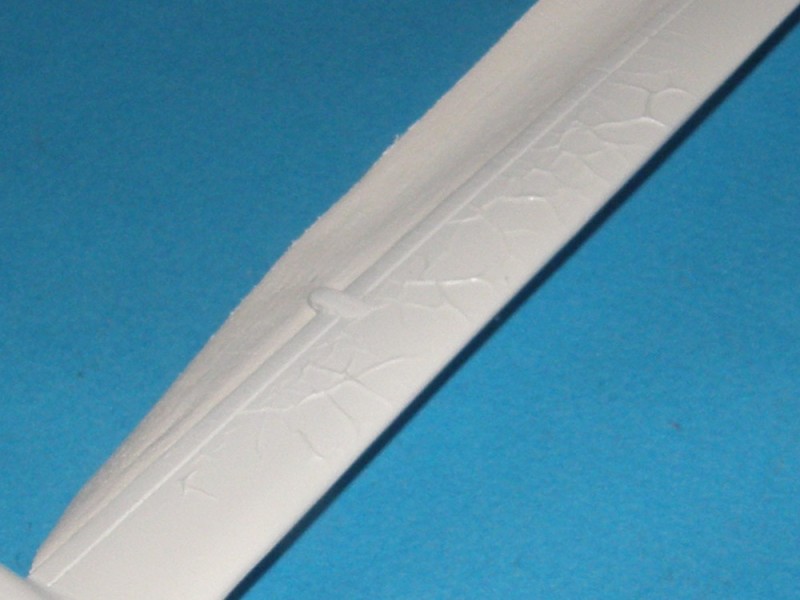
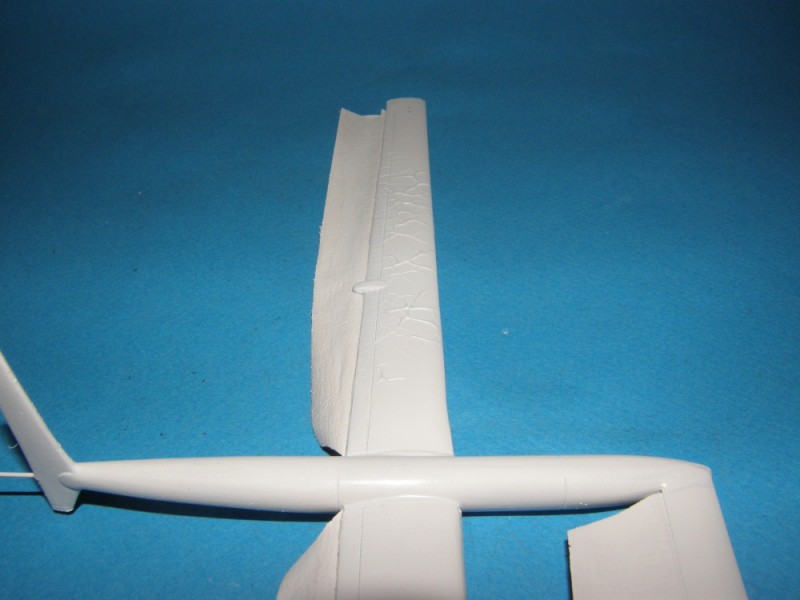
So out with the sandpaper and filler to try and salvage the mess.
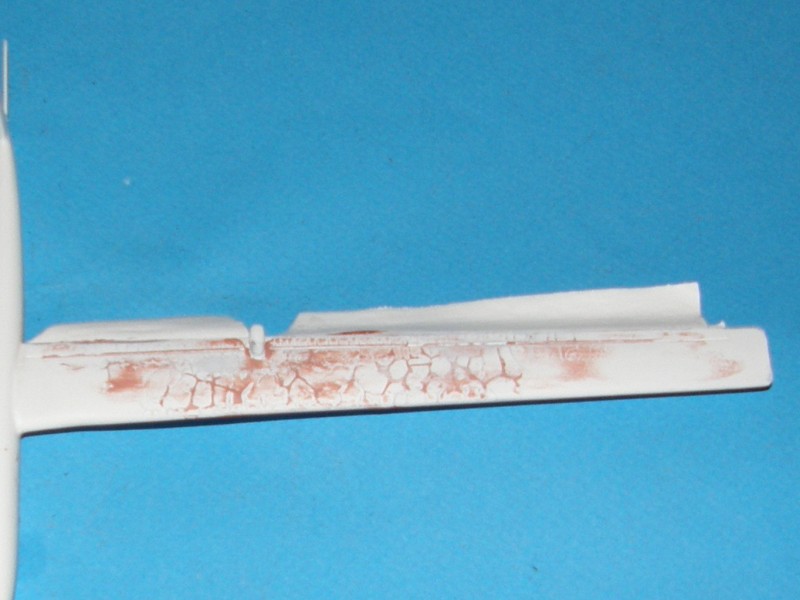
And this morning's white primer reveals that it's looking better.
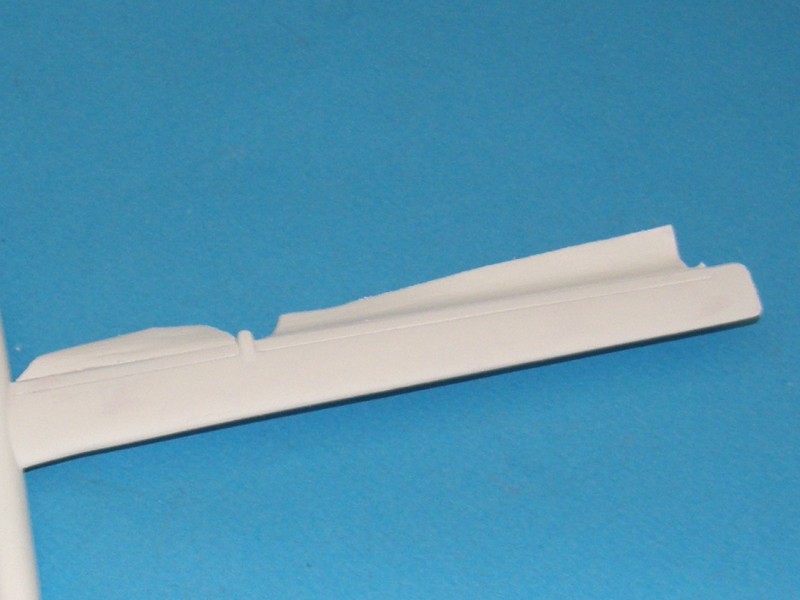
I'll need to leave it to cure longer this time.
When once you have tasted flight you will walk the Earth with your eyes turned skyward.
For there you have been, and there you will always long to return.
-Leonardo Da Vinci
Vermont, United States
Joined: July 21, 2002
KitMaker: 3,569 posts
AeroScale: 419 posts
Posted: Wednesday, April 10, 2013 - 07:19 AM UTC
Jessica,
Ouch!
I had the same problem with the Lockheed Vega for the getter done/hanger queen campaign, Tamiya red spraypaint over old (well cured) tamiya acrylic red mist coat crazed just like that as well.
The white is still on the jet vers and I might, might, might get to spray the red and blue/black mix on mine next weeek. (school vacation up here in the NE US)
keep calm and paint again?
Mike
If you can keep your head when all about you are losing theirs,
perhaps you've misunderstood the situation.
British Columbia, Canada
Joined: September 03, 2009
KitMaker: 6,965 posts
AeroScale: 6,247 posts
Posted: Wednesday, April 10, 2013 - 08:29 AM UTC
Keep calm and work on other parts

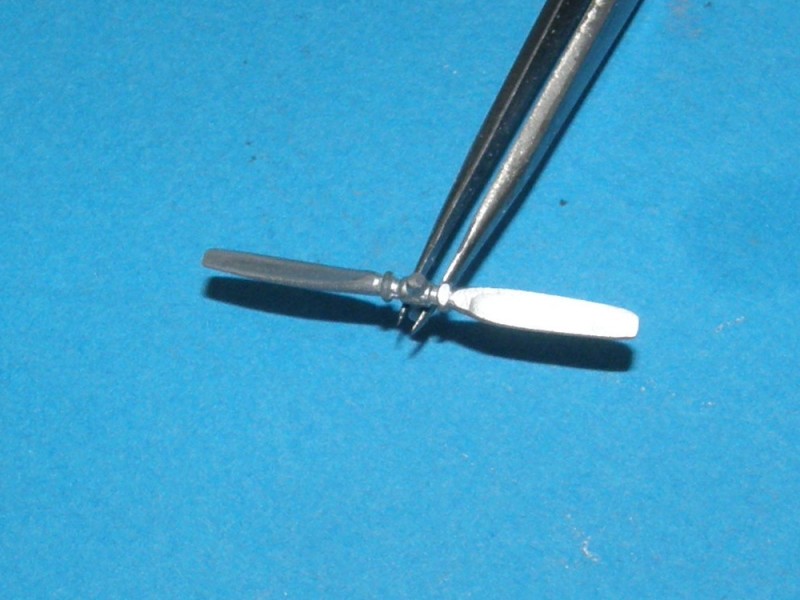
Amodel's moulding does not lend much to calmness. Here's a propeller
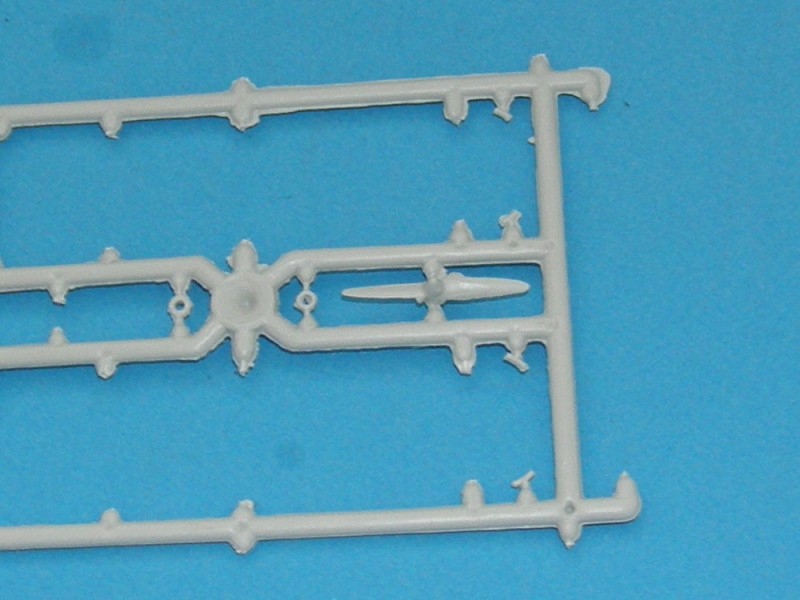
It's supposed to look like
this There's nothing to be done but to get carving
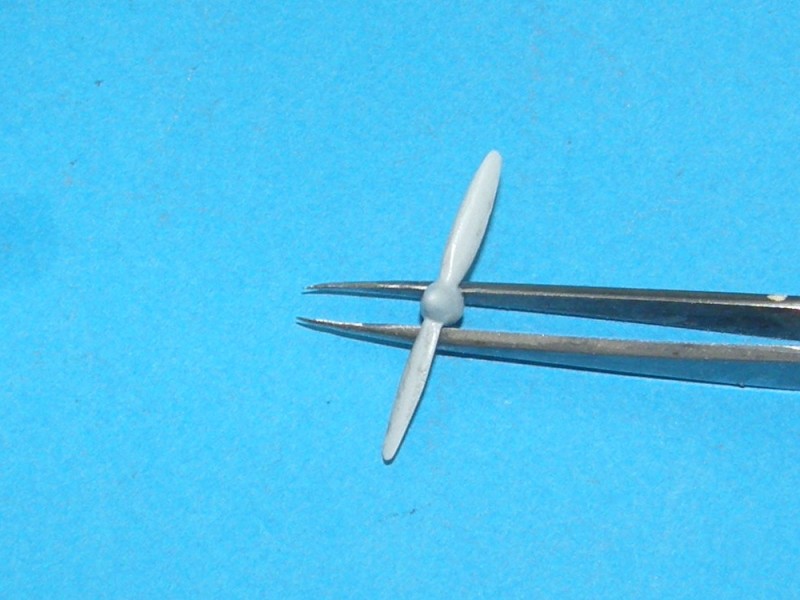
Then ruthlessly chop the blades off and re-install them feathered
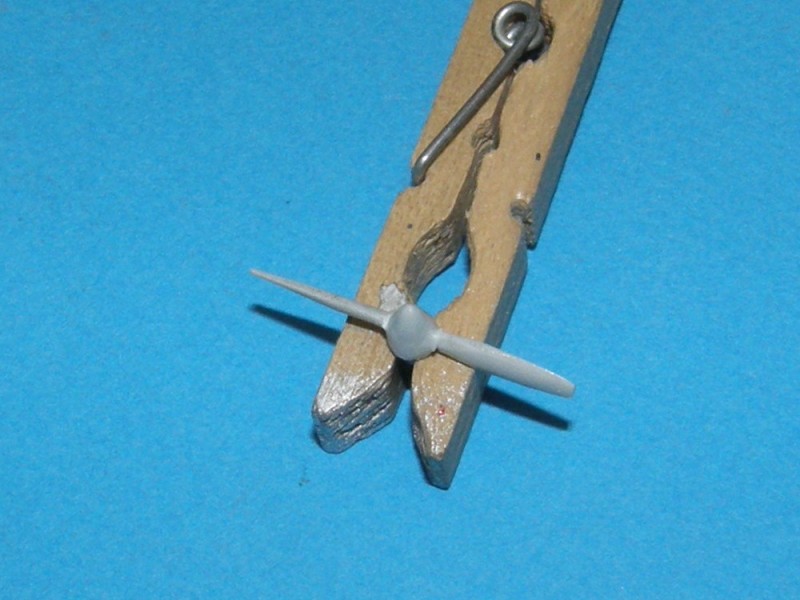
The rear propeller was
completely different so I had to raid the spares box. I ended up re-profiling an old Airfix Ford Trimotor prop
When once you have tasted flight you will walk the Earth with your eyes turned skyward.
For there you have been, and there you will always long to return.
-Leonardo Da Vinci
Ontario, Canada
Joined: February 04, 2008
KitMaker: 2,507 posts
AeroScale: 1,814 posts
Posted: Wednesday, April 10, 2013 - 10:22 AM UTC
Hi Jessica
Nice save with the paint!
Really hard to imagine flying that small craft around the world.
What happened to the web site?

" The Die Hards"
43rd MIDDLESEX REGIMENT
MACHINE GUN CORPS
XXX CORP
The most effective way to do it, is to do it.
- Amelia Earhart
British Columbia, Canada
Joined: September 03, 2009
KitMaker: 6,965 posts
AeroScale: 6,247 posts
Posted: Wednesday, April 10, 2013 - 10:32 AM UTC
Staff_jim says that there was a power outage at the data centre the Kitmaker server lives in. Then once they turned the power back on there were other strange software problems that kept the site offline until Staff_jim did a lot of fiddly work to bring it back.
When once you have tasted flight you will walk the Earth with your eyes turned skyward.
For there you have been, and there you will always long to return.
-Leonardo Da Vinci
Washington, United States
Joined: February 14, 2012
KitMaker: 252 posts
AeroScale: 209 posts
Posted: Wednesday, April 10, 2013 - 11:02 AM UTC
I, for one, give Jim much kudos and ice cream cones. Lord, yesterday I was starting to go through withdrawals

JT
Washington, United States
Joined: February 14, 2012
KitMaker: 252 posts
AeroScale: 209 posts
Posted: Wednesday, April 10, 2013 - 02:57 PM UTC
Hi, all. Some progrss on the X-3. I hope to have all done by this weekend. Is it just me or does this somwhat resemble Wonder Woman's "invisiplane"?

JT

British Columbia, Canada
Joined: September 03, 2009
KitMaker: 6,965 posts
AeroScale: 6,247 posts
Posted: Monday, April 15, 2013 - 07:05 AM UTC
When once you have tasted flight you will walk the Earth with your eyes turned skyward.
For there you have been, and there you will always long to return.
-Leonardo Da Vinci


 The X-3 did pave the way for such aircraft as the F-104 and it proved the theory that given enough power, even a brick can fly.
  Happy Gluig, JT
The X-3 did pave the way for such aircraft as the F-104 and it proved the theory that given enough power, even a brick can fly.
Happy Gluig, JT


 One good thing about the X-3 kit is you have two models- just in case. Just call me Mr. Bumble Fingers, JT


 JT
JT

 JT
JT


