Cold War (1950-1974)
Discuss the aircraft modeling subjects during the Cold War period.
Hosted by Tim Hatton
Academy's 1/48 scale F4B Phantom 11
Joel_W
Staff MemberAssociate Editor
AUTOMODELER
_VISITCOMMUNITY
New York, United States
Joined: December 04, 2010
KitMaker: 11,666 posts
AeroScale: 7,410 posts
Posted: Tuesday, February 18, 2014 - 01:01 PM UTC

Quoted Text

Looking good Joel ! Do you plan on running another wash on the side consoles they seem to have a very dust look hiding the details compared to rest of the cockpit .

Terri


Terri,
Already cleaned up the cockpit bulkheads and did a black wash on the side councils. Closer to the look I want, but not quite where I want it. Will do another black wash, then dry brush the knobs and switches again. Hopefully, it will be about right, and then I'll post an 1 picture update.

Not use to being a jet jockey. Talk about a new learning experience. And I'm actually thinking of doing my 1st ever helicopter.
Joel
Peterpools
_VISITCOMMUNITY
New York, United States
Joined: June 08, 2013
KitMaker: 197 posts
AeroScale: 193 posts
Posted: Wednesday, February 19, 2014 - 04:00 AM UTC
JA
Nice work on the front offcie and I totally agree a black wash and highlighting the knobs and switches will really make them pop. As we discussed, when it comes to factory supplied seat cushions or replacements, most were some shade of olive drab. With combat aircraft, what's available normally takes precedent and sometimes, even pilot choice if need be.
Looking good
Keep 'em coming
Bro
Joel_W
Staff MemberAssociate Editor
AUTOMODELER
_VISITCOMMUNITY
New York, United States
Joined: December 04, 2010
KitMaker: 11,666 posts
AeroScale: 7,410 posts
Posted: Wednesday, February 19, 2014 - 08:20 AM UTC
Thanks Bro for you insight and comments. Much appreciated.

Terri & Pete,

I applied a total of 3 black enamel washes, proceeded to dry brushed the side console panels, looks just like night and day. Then I test fitted the cockpit into the fuselage, and you can barely see the consoles and the side walls are rolled. So I'll take some photos once I finish gluing up the front lower fuselage section to the lower wing section, then glue the fuselage in place. Gotta admit, I'm impressed with the fit and looks of the Academy F4B.

I also mixed my own shade of Light Gull Gray FS16440: Tamiya FX-20 FX-2 @ a 1:1. I then painted the fuselage areas that will be behind the intake splitters, as it looks like a rather difficult area to air brush once the intakes & splitter assemblies are glued into place.

Joel


Joel_W
Staff MemberAssociate Editor
AUTOMODELER
_VISITCOMMUNITY
New York, United States
Joined: December 04, 2010
KitMaker: 11,666 posts
AeroScale: 7,410 posts
Posted: Friday, February 21, 2014 - 07:46 AM UTC
Just wondering if any knows if some additional weight is needed in the nose to keep the F4B on it's gear. I can't find any mention of it one way or the other in any review or build I've found to date.

Joel
Jessie_C
_VISITCOMMUNITY
British Columbia, Canada
Joined: September 03, 2009
KitMaker: 6,965 posts
AeroScale: 6,247 posts
Posted: Friday, February 21, 2014 - 08:08 AM UTC
No Phantom model I've ever built has needed nose weight. The main wheels are far enough back that they usually sit correctly without it.

Try taping the model together and balancing it on a pair of dividers at the main wheel mounts. If it tips then you'll need weight
Joel_W
Staff MemberAssociate Editor
AUTOMODELER
_VISITCOMMUNITY
New York, United States
Joined: December 04, 2010
KitMaker: 11,666 posts
AeroScale: 7,410 posts
Posted: Friday, February 21, 2014 - 08:42 AM UTC

Quoted Text

No Phantom model I've ever built has needed nose weight. The main wheels are far enough back that they usually sit correctly without it.

Try taping the model together and balancing it on a pair of dividers at the main wheel mounts. If it tips then you'll need weight


Thanks Jessica,
I tried balancing it on a round handle just in front of the main wheels. Didn't seem to need any weight, but with my luck, I'd be wrong once again.

Joel
Joel_W
Staff MemberAssociate Editor
AUTOMODELER
_VISITCOMMUNITY
New York, United States
Joined: December 04, 2010
KitMaker: 11,666 posts
AeroScale: 7,410 posts
Posted: Tuesday, February 25, 2014 - 04:42 AM UTC
I've been working on the basic fuselage assembly. The cockpit and front wheel well get glued to a separate front lower fuselage section, not to the fuselage. Interesting concept. Makes for a "No Brainer" in getting the front wheel well properly aligned. That in turn gets glued to the other bottom fuselage section comprised of the full main wing assembly. Test fitting showed a nice joint, but it looks like it would be rather weak, so I added a few pieces of sheet plastic on the top to strengthen the joint.

Here you can see the joint which has been sanded, puttied, and re-sanded.


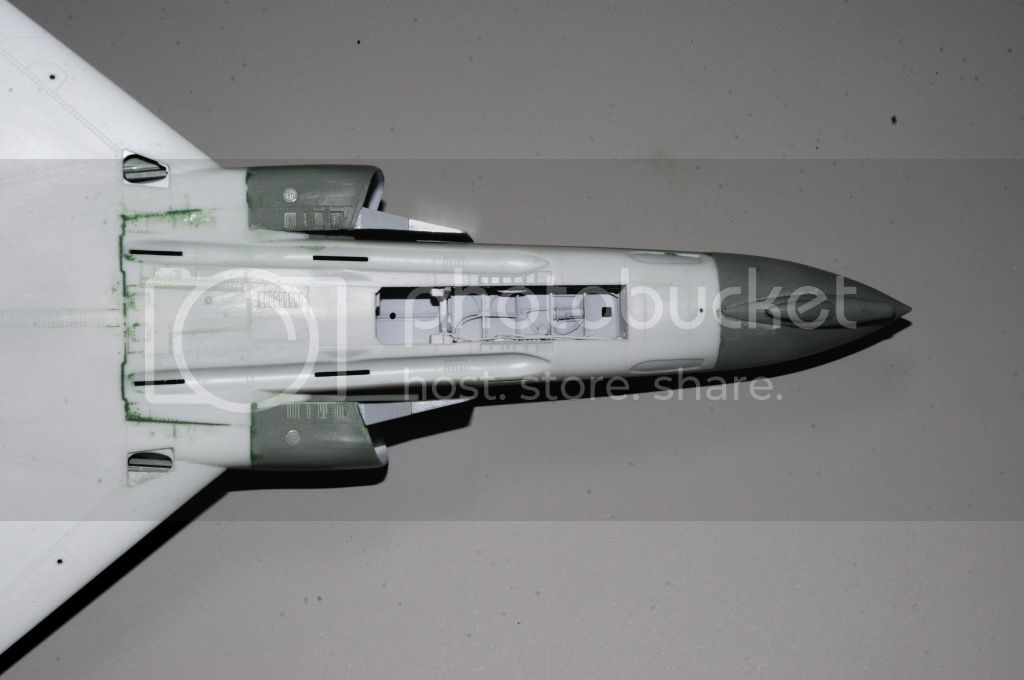
Once that assembly dried. I glued it to the one piece upper fuselage. The fit was next to perfect. Next I test fitted the two intake sub assemblies. They fit ok, but needed a lot of tweaking. I got them the best I could, but they needed sanding, then some Green stuff, then more sanding to get the fit flush and smooth. Also there is a inflight refueling hatch on the top of the fuselage that is not used for the Navy version, but rather a side fuselage unit. Academy gives you both a top receptacle and a blank panel, Once glued in there is a rather large seam line around it. I filled the area with Vallejo filler, then wiped the bead down with some pressure applied. The result is a slight recess panel line.


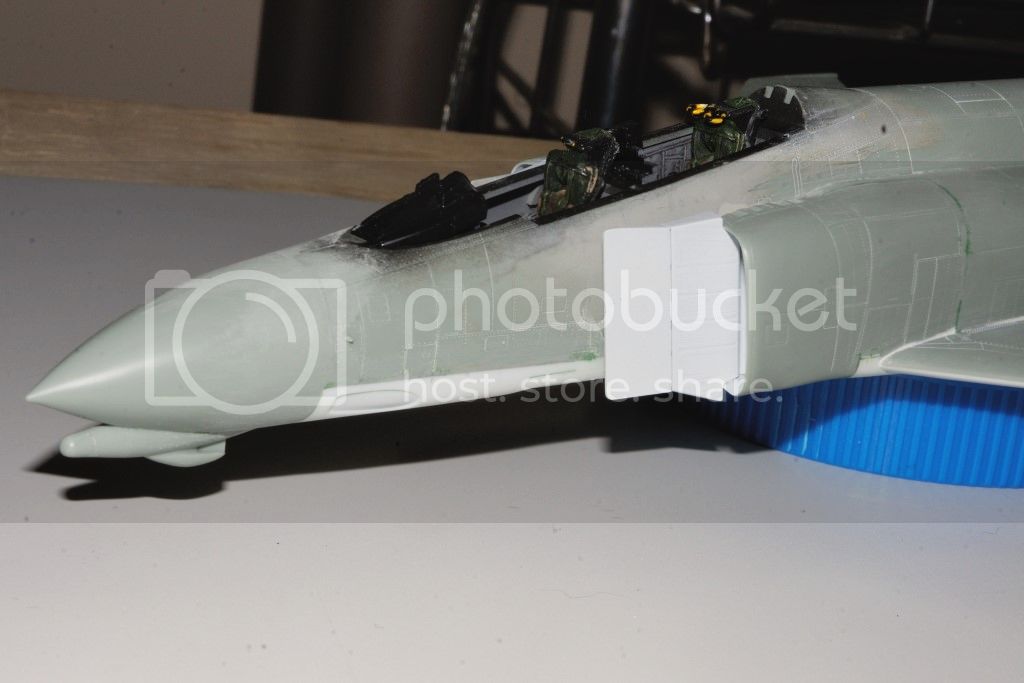
The joint line between the wing and intake needed a little filler on one side only. For this I used Vallejo's white putty, which sure has the feel and look of caulk. I applied a very thin bead, then with a damp Q-tip I smoothed the area. Let it dry, the result was a perfect joint line with no sanding needed.


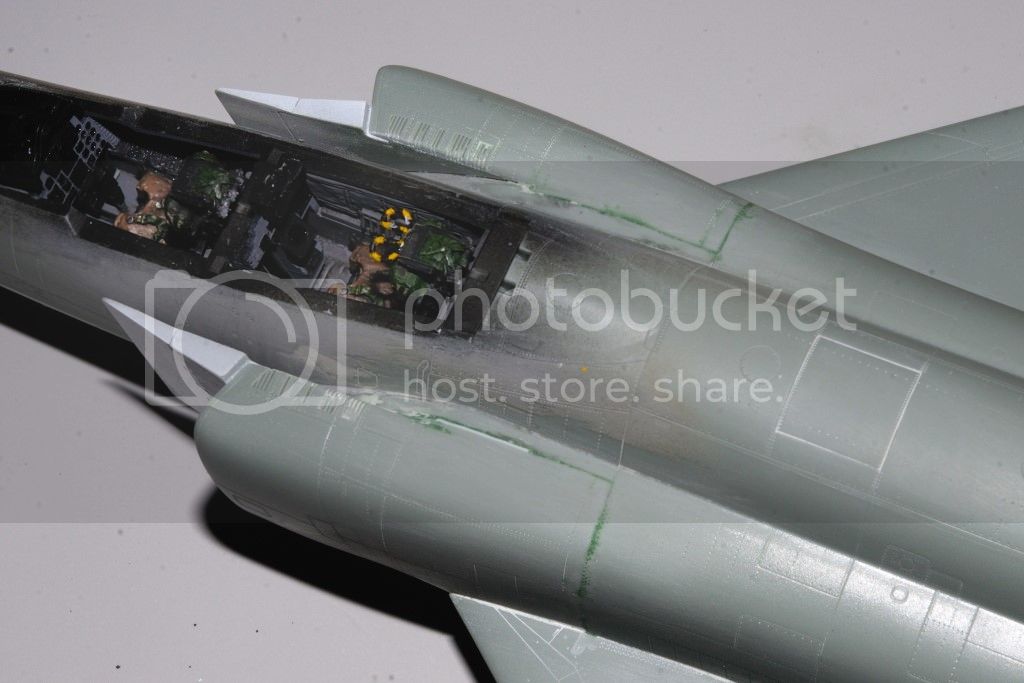
The rear section of that fuselage joint on both sides did need some attention including more green stuff.

The exhaust area has a insert that forms the top of the fuselage section right about the nozzles. It's a weird fit, but actually required just a light bit of sanding to blend right into the fuselage. The rest of the exhaust area had it's issues. the main exhaust area had a slight roll to it that caused a lip on both sides. I added a few small pieces of scrap plastic cut from sprue to help with that issue, but I came up a little short and once again had to sand, putty and sand. There were a few injection pin marks on the arrestor hook that needed attention, but they were very minor.


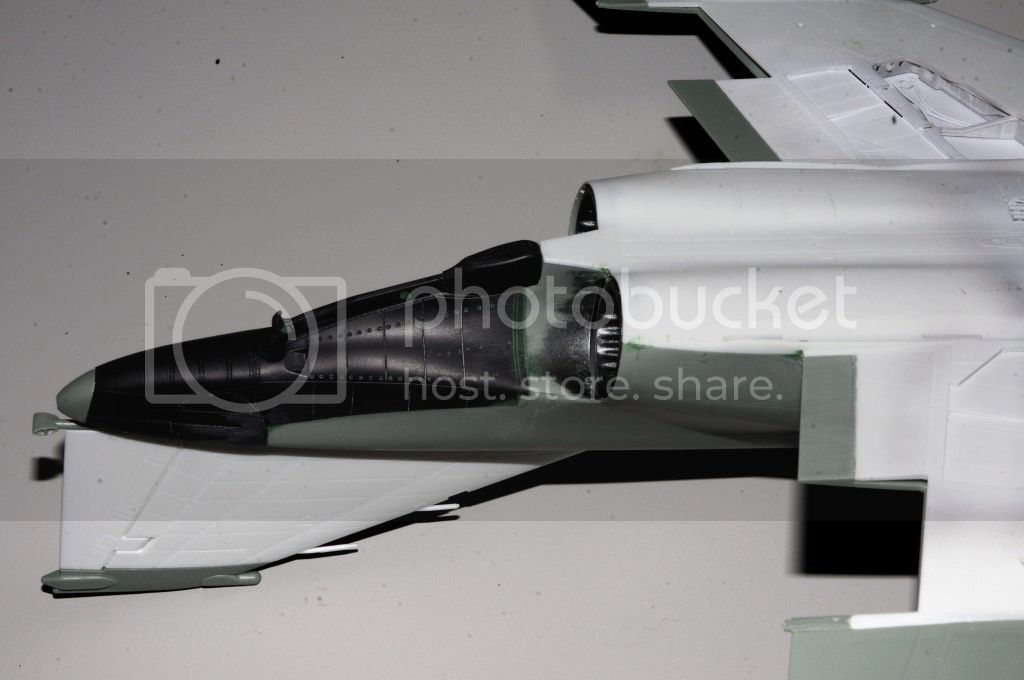
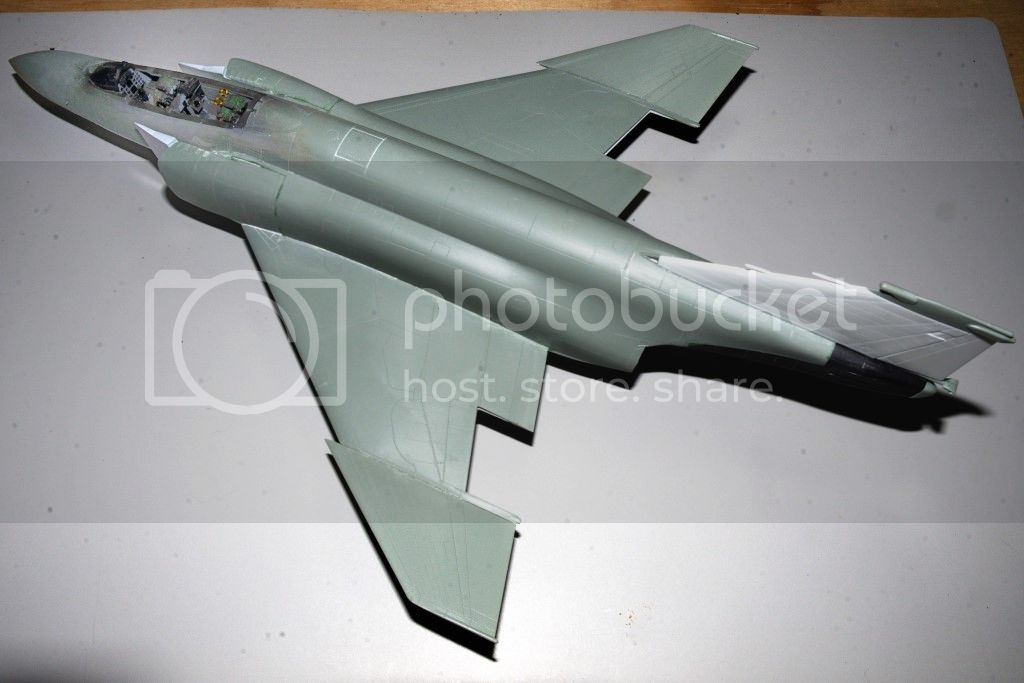
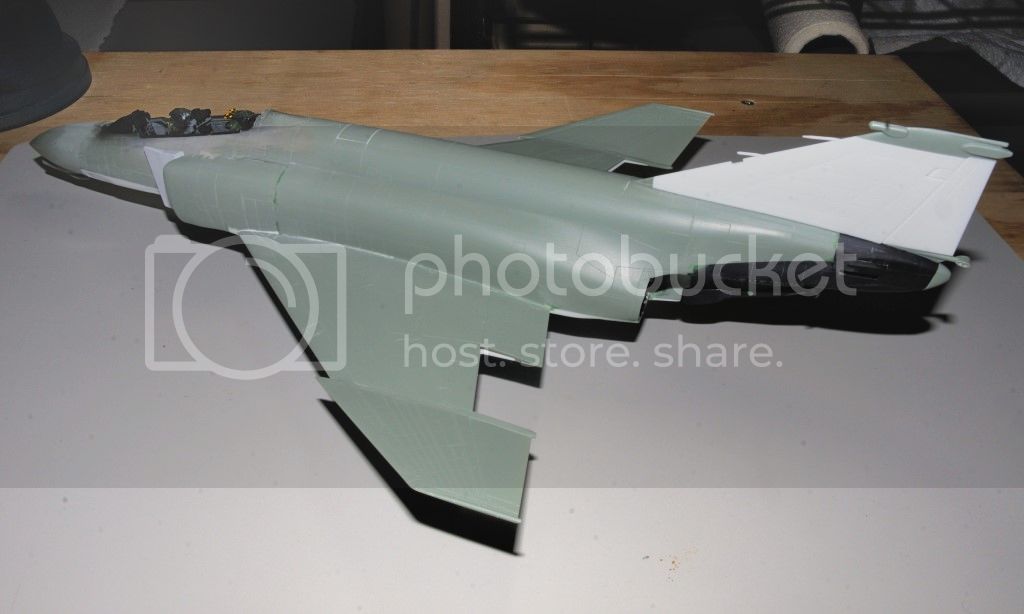
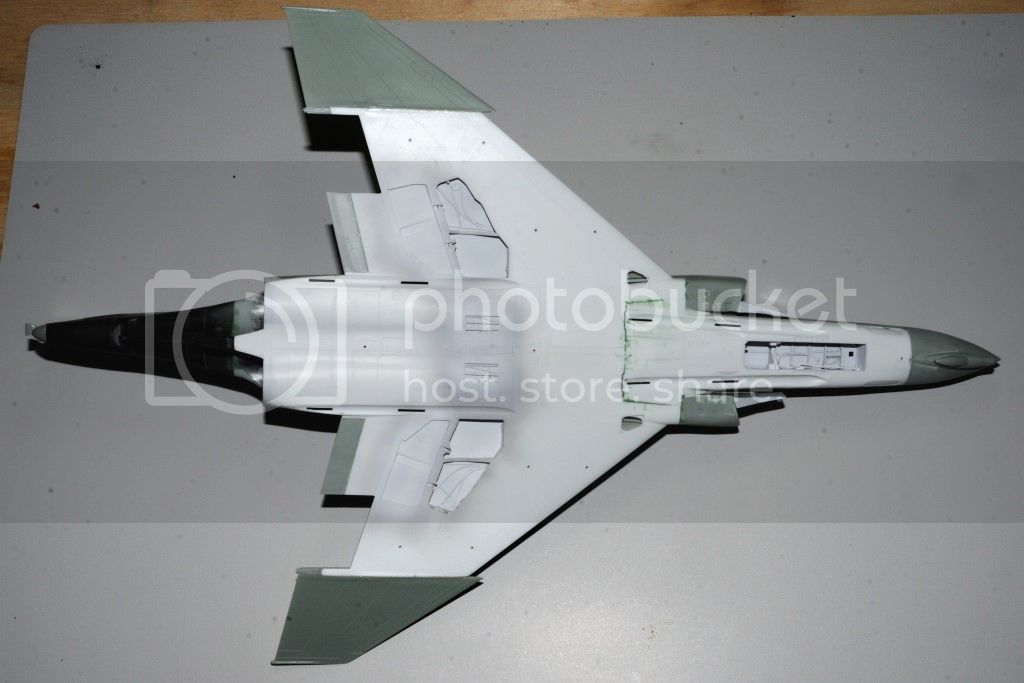
Here's what the basic fuselage looks like:


Right now I'm at a stand still waiting for the Hyperscale stabilizer set & Air Conditioner intakes to arrive. Our own Jessica once again came to my rescue, and has sent me a set of each. I'm really curious to see those resin stabilizers compared to the kit ones. The kit parts do look great. In the meantime my attention will focus on the weapons and stations, as they're a kit unto themselves.

Joel


Holdfast
Staff MemberPresident
IPMS-UK KITMAKER BRANCH
#056
_VISITCOMMUNITY
England - South West, United Kingdom
Joined: September 30, 2002
KitMaker: 8,581 posts
AeroScale: 4,913 posts
Posted: Tuesday, February 25, 2014 - 08:11 PM UTC
Looking really good Joel

Do you mean the "Hypersonic" stabalisers? Sorry I couldn't let it pass, I cut masks for their X-15 range
Joel_W
Staff MemberAssociate Editor
AUTOMODELER
_VISITCOMMUNITY
New York, United States
Joined: December 04, 2010
KitMaker: 11,666 posts
AeroScale: 7,410 posts
Posted: Wednesday, February 26, 2014 - 02:14 AM UTC

Quoted Text

Looking really good Joel

Do you mean the "Hypersonic" stabalisers? Sorry I couldn't let it pass, I cut masks for their X-15 range


Mal, Yep. Well, at least I got the Hypers... correct

Joel
Jessie_C
_VISITCOMMUNITY
British Columbia, Canada
Joined: September 03, 2009
KitMaker: 6,965 posts
AeroScale: 6,247 posts
Posted: Wednesday, February 26, 2014 - 05:07 AM UTC

Quoted Text

I cut masks for their X-15 range


Aha! I thought that those masking instructions looked vaguely familiar
Bigrip74
_VISITCOMMUNITY
Texas, United States
Joined: February 22, 2008
KitMaker: 5,026 posts
AeroScale: 2,811 posts
Posted: Wednesday, February 26, 2014 - 11:42 AM UTC
Joel, I just found this thread and am enjoying this F4 build I may build a jet after watching you with this. I too am a prop person and have been since I thought that is was easier to paint them vs. jets, but maybe your blog will change that.

Bob R
Joel_W
Staff MemberAssociate Editor
AUTOMODELER
_VISITCOMMUNITY
New York, United States
Joined: December 04, 2010
KitMaker: 11,666 posts
AeroScale: 7,410 posts
Posted: Thursday, February 27, 2014 - 05:08 AM UTC

Quoted Text

Joel, I just found this thread and am enjoying this F4 build I may build a jet after watching you with this. I too am a prop person and have been since I thought that is was easier to paint them vs. jets, but maybe your blog will change that.

Bob R


Bob,
Welcome aboard. There certainly seems to be a lot more painting involved with Jets then props, but broken down into it's various color elements, I don't really see any issues other then the time it will take to paint the F4B. What's going to take forever is the million & one stencil decals.
It's a really nice change of pace from prop after prop after prop. I'm even getting into choppers. Always wanted to build them, just never got around to it.
Joel
Bigrip74
_VISITCOMMUNITY
Texas, United States
Joined: February 22, 2008
KitMaker: 5,026 posts
AeroScale: 2,811 posts
Posted: Thursday, February 27, 2014 - 07:49 AM UTC
[quote]I'm even getting into choppers. Always wanted to build them, just never got around to it.[quote]

Joel, the last (3) chopper kits that I purchased for a campaign were sold on ebay since something alwasy got in the way of the build


Bob R
FredrikA
_VISITCOMMUNITY
Uppsala, Sweden
Joined: January 09, 2008
KitMaker: 92 posts
AeroScale: 90 posts
Posted: Thursday, February 27, 2014 - 08:46 AM UTC
Nice work, Joel! Your work with the wheel wells looks fantastic now that they are in their proper places. Looking forward to further updates.

/Fredrik
plastickjunkie
_VISITCOMMUNITY
Florida, United States
Joined: December 31, 2009
KitMaker: 399 posts
AeroScale: 132 posts
Posted: Monday, March 17, 2014 - 12:16 AM UTC
Excellent thread. Just started working on mine so I will be checking up on your progress.
Joel_W
Staff MemberAssociate Editor
AUTOMODELER
_VISITCOMMUNITY
New York, United States
Joined: December 04, 2010
KitMaker: 11,666 posts
AeroScale: 7,410 posts
Posted: Monday, March 17, 2014 - 11:40 AM UTC
Thanks guys,
Been working on my Spitfire IXc, so the F4B work will be slowing down some. I'm just about at the point where I can alternate work sessions.
Joel
thegirl
_VISITCOMMUNITY
Alberta, Canada
Joined: January 19, 2008
KitMaker: 6,743 posts
AeroScale: 6,151 posts
Posted: Tuesday, March 18, 2014 - 12:55 AM UTC
Haven't been by in while so figured I better myself up to date on your progress . Even at a slow down your work on the kit so far is turning out very well . Kinda cool seeing you build a jet ! I have tried Vallejo white putty but never had any luck using it . Never stays in place and doesn't stick to plastic very well .


Terri
Joel_W
Staff MemberAssociate Editor
AUTOMODELER
_VISITCOMMUNITY
New York, United States
Joined: December 04, 2010
KitMaker: 11,666 posts
AeroScale: 7,410 posts
Posted: Tuesday, March 18, 2014 - 12:38 PM UTC

Quoted Text

Haven't been by in while so figured I better myself up to date on your progress . Even at a slow down your work on the kit so far is turning out very well . Kinda cool seeing you build a jet ! I have tried Vallejo white putty but never had any luck using it . Never stays in place and doesn't stick to plastic very well .

Terri


Terri,
Thanks for stopping by. I'm hoping to have the Spitfire about at the same stage as the F4B within a week, then I'll alternate days at the bench. I do miss working on my 1st ever jet.

Just about everything I've read on the Vallejo putty was positive. Didn't know that there was bonding issues. Then again, I only used it in small recesses, and cleaned off the excess within a min or two. Then let it set and harden. A 2nd coat was usually needed. So far I'm pretty happy with the results.
Joel


Joel_W
Staff MemberAssociate Editor
AUTOMODELER
_VISITCOMMUNITY
New York, United States
Joined: December 04, 2010
KitMaker: 11,666 posts
AeroScale: 7,410 posts
Posted: Monday, March 31, 2014 - 07:51 AM UTC
1st update in a while as the Spitfire is on hold. Hope to concentrate on the F4B build now right through completion.

Since the last update, I've painted the bottom of the Phantom Tamiya FX-2 Flat White, then the dive brakes and their recesses in the lower wing Tamiya X-7 Gloss Red.


After a few days to let the White really dry, I decided to mix the Light Gull Gray FS16440 using Tamiya Acrylics. The general conscientious that I found online was XF-20 Medium Gray & XF-2 flat white mixed 1:1. I ended up with a slightly darker base color using 2 parts gray to 1 part white as I wanted a darker base color so I can apply my fading technique of a splotchy random pattern of a lightened Light Gull Gray, which is the next step in my painting process.


I also painted the Vertical stabilizer gloss white for the Sundancer decals.


I keep on looking at those decals, and they're massive. At this point I'm considering cutting them up into smaller, more manageable sections. I still have plenty time to come up with a working game plan.

Next up is all the NMF areas at the rear, and the engine exhaust cans. This is all virgin territory for me. So I'm taking 2 steps forward, then one step back, 2nd guessing myself.

And Yes, I've noticed several areas that need touching up, especially the intakes. The LGG isn't consistent enough.

Joel


Joel_W
Staff MemberAssociate Editor
AUTOMODELER
_VISITCOMMUNITY
New York, United States
Joined: December 04, 2010
KitMaker: 11,666 posts
AeroScale: 7,410 posts
Posted: Sunday, April 06, 2014 - 05:57 AM UTC
Finally it's time to airbrush the exhaust area. I masked out the complete area that will have a natural metal finish. The section above the twin engine area will be Alcad flat Aluminum, while the exhaust area will be a base color of Alcad Steel, followed with Alcad Magnesium.


I started by airbrushing the entire area Alcad Lacquer Gloss Black straight from the bottle at approx. 15 psi. I let this dry for a full 24 hrs. I then applied a coat of Alcad #101 Aluminum @ 10 psi. I let that dry for hour, then using some very de-tacked Tamiya tape I masked off the upper portion, and airbrushed on Alcad #115 Stainless Steel.
I let that dry for a 1/2 hr. or so, then I lightly weathered the Stainless Steel a few mist coats of #111 Magnesium, then streaked it in each of the panels.


The kit exhaust cans received a coat of Alcad Magnesium to start their weathering process.


I also completed painting the Stabilators. I painted the outer half of each Stabilator flat white, then masked it off and painted the inside half Alcad #101 Aluminum,as well as the slates. I then masked off the center section and painted that Alcad #115 Stainless Steel. Finally I masked and painted the Stabilator tips Gloss red.


After everything had a few days to dry, the entire F4B received several coats of Testors Model Master Glosscoat both to protect the finish, and to start the massive decaling process. And I do mean massive, as I've never seen a decal sheet with so many data stencils.

Joel

thegirl
_VISITCOMMUNITY
Alberta, Canada
Joined: January 19, 2008
KitMaker: 6,743 posts
AeroScale: 6,151 posts
Posted: Wednesday, April 16, 2014 - 01:28 PM UTC
Nice job on the metal Joel


Terri
Joel_W
Staff MemberAssociate Editor
AUTOMODELER
_VISITCOMMUNITY
New York, United States
Joined: December 04, 2010
KitMaker: 11,666 posts
AeroScale: 7,410 posts
Posted: Friday, April 18, 2014 - 06:14 AM UTC

Quoted Text

Nice job on the metal Joel

Terri,
Thanks for stopping by and having a look. The NMF was a lot easier then I envisioned.

I'm about to start my 6th decaling session, which is strictly stencils at this point. I'm finally finishing up the right side of the fuselage and wing. The left side has all the decals on minus the dozens and dozens of stencils.
Joel


Terri

bdanie6
_VISITCOMMUNITY
New Hampshire, United States
Joined: November 09, 2008
KitMaker: 615 posts
AeroScale: 459 posts
Posted: Friday, April 18, 2014 - 04:10 PM UTC
Joel,
That NMF looks great! Very impressive work, especially for a first jet.
I'm looking forward to your next installment.

Later
Joel_W
Staff MemberAssociate Editor
AUTOMODELER
_VISITCOMMUNITY
New York, United States
Joined: December 04, 2010
KitMaker: 11,666 posts
AeroScale: 7,410 posts
Posted: Saturday, April 19, 2014 - 02:46 PM UTC

Quoted Text

Joel,
That NMF looks great! Very impressive work, especially for a first jet.
I'm looking forward to your next installment.

Later


Bruce,
Thanks for taking the time to stop by, and have a look at my build. And thanks for your kind words.

I've been decaling for well over a week now, that's 6 multi hour sessions so far. All the decals have been applied to the fuselage upper surfaces and the wing top surfaces. Nothing as been decaled on the bottom, which I'm leaving till I finish the complete topside.

Been steadily plugging away at the massive amount of stencils, and have only finished one fuselage side, and it's corresponding main wing. At the rate I'm going, I can see the decaling easily going way into May.

I don't vary my decal procedures, so I'm sure that it has greatly added to the overall time issue.

Soak decal in warm water
Apply Sol to the Surface
position decal.
Apply Sol to the top of the decal. Position again, and let it soak for a min.
Roll decal to remove trapped air.
Apply Set, and let it do it's thing. Do not touch the decal till it looks dry. Then a 2nd coat as needed. Wrinkles, trapped air bubbles etc. are cut, and more Set is applied.

Like I said, stencils go through the same procedures but haven't needed more then one coat of Set.

Will try to post some pictures of the completed side just to give you an idea of how much detailing effort Academy put into this model.

Joel.
plastickjunkie
_VISITCOMMUNITY
Florida, United States
Joined: December 31, 2009
KitMaker: 399 posts
AeroScale: 132 posts
Posted: Monday, April 21, 2014 - 12:14 PM UTC
Joel

Great job on the NMF, it looks great. I'm doing the same model and I had only two small gaps at the bottom side of the intake parts. The rest of the parts did not need any filler or sanding. Very impressed with the quality of the parts fit so far.