Air Campaigns
Want to start or join a group build? This is where to start.
Want to start or join a group build? This is where to start.
Hosted by Frederick Boucher, Michael Satin
OFFICIAL: Land of the Rising Sun Campaign

Beauslx

Joined: August 28, 2013
KitMaker: 159 posts
AeroScale: 116 posts

Posted: Tuesday, May 20, 2014 - 11:38 AM UTC

JollyRoger

Joined: December 22, 2004
KitMaker: 1,241 posts
AeroScale: 616 posts

Posted: Tuesday, May 20, 2014 - 12:35 PM UTC
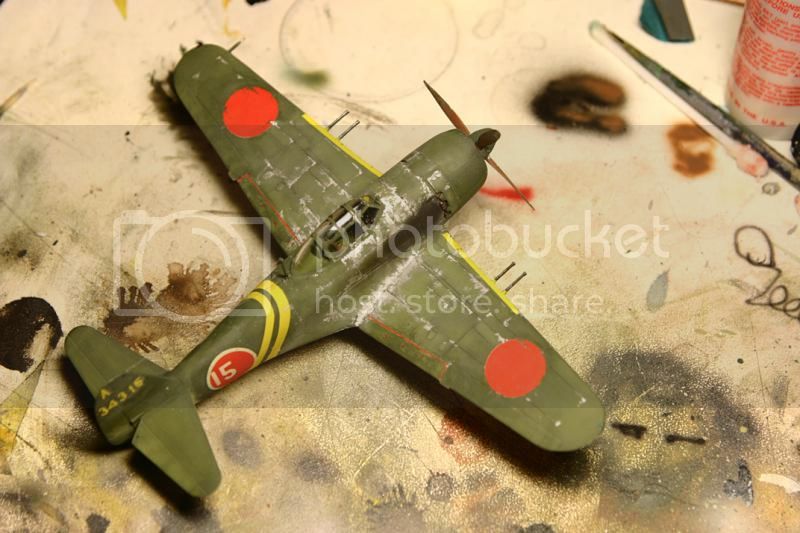
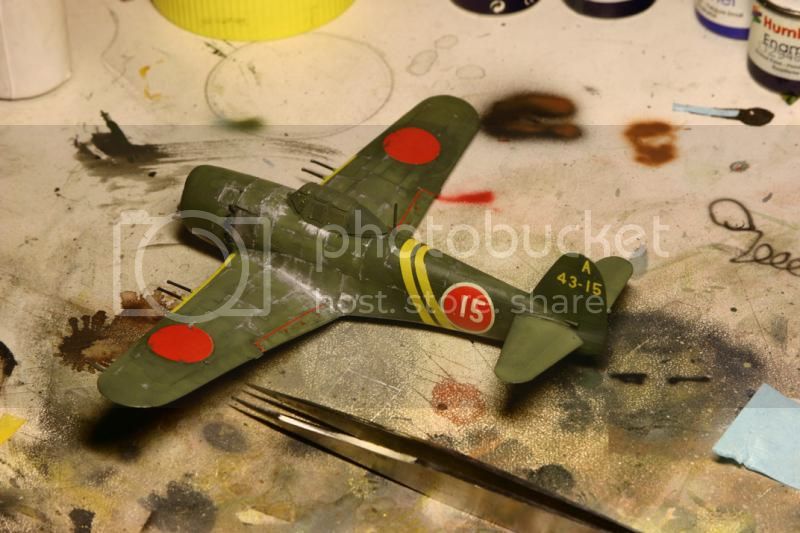
Hi again. I have neglected my duties in the campaigne sorry...or not? I just forgot to upload. This was a few days ago:
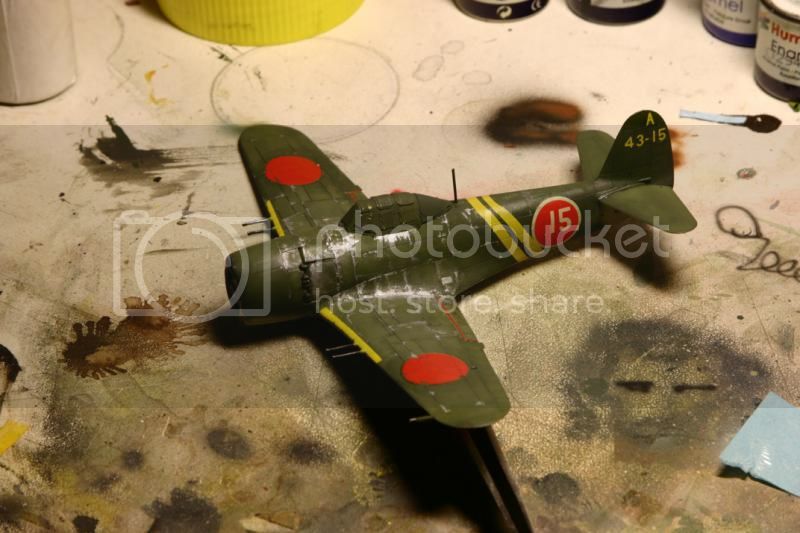
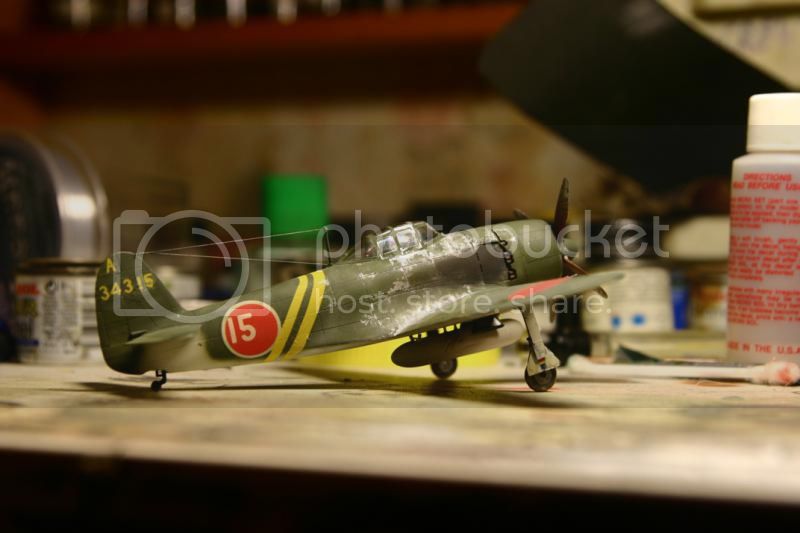
I think I overdone the chipping but I couldn't stop myself, it was sooo much fun. I reversed a little though and I had a little problem with the decals. The 3 on the left side just decided to disentegrate...
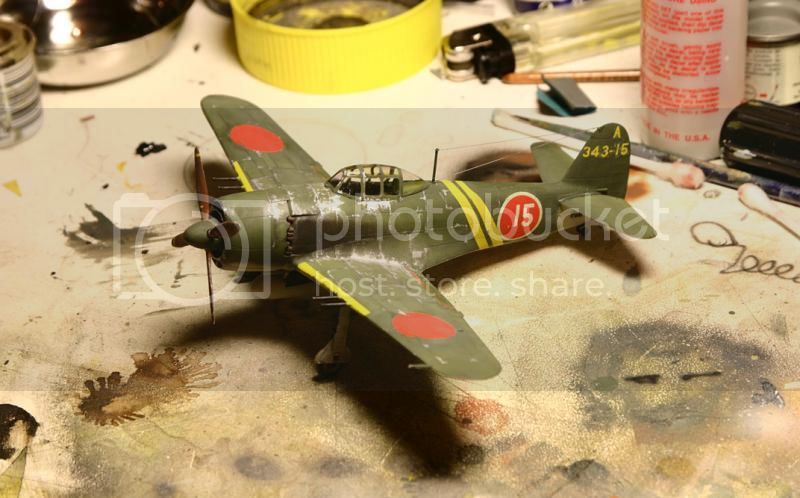
And this is 5 minutes ago...well the reason she is on a bottle is one of the clips decided to hurl itself into my paint shelf then bounce back and take the Shiden to the floor. Thank God I sliped with one broken landing gear...
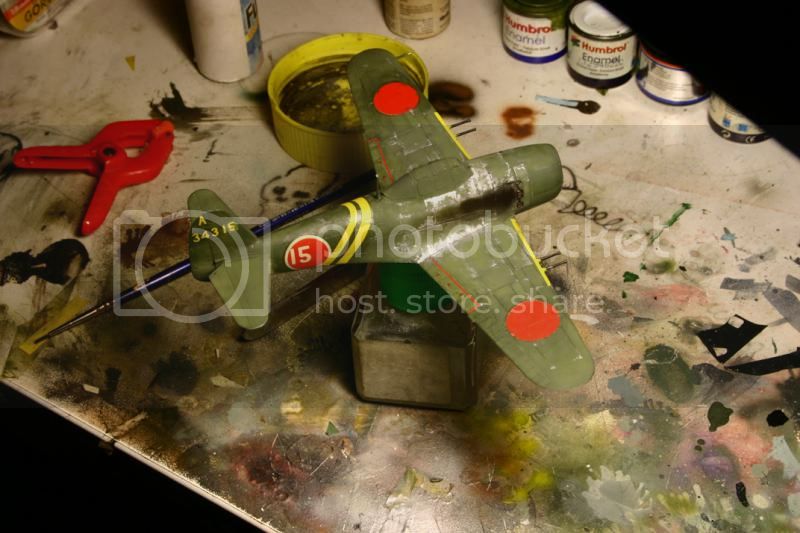
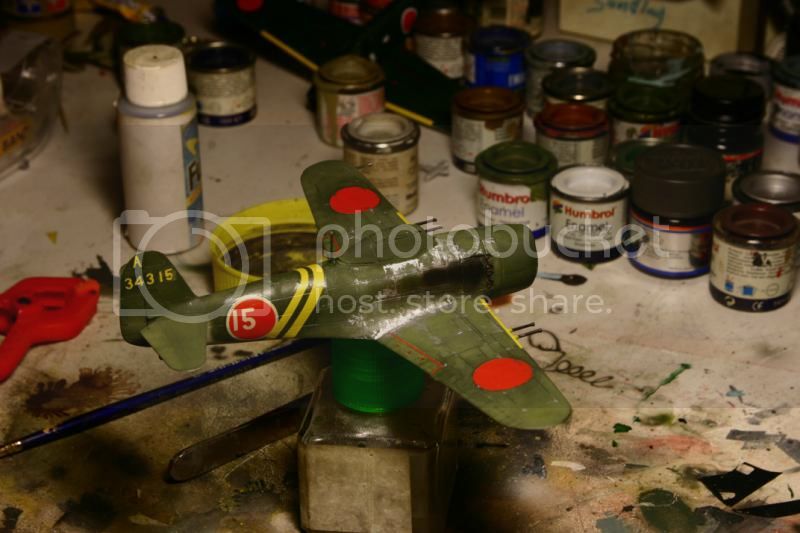
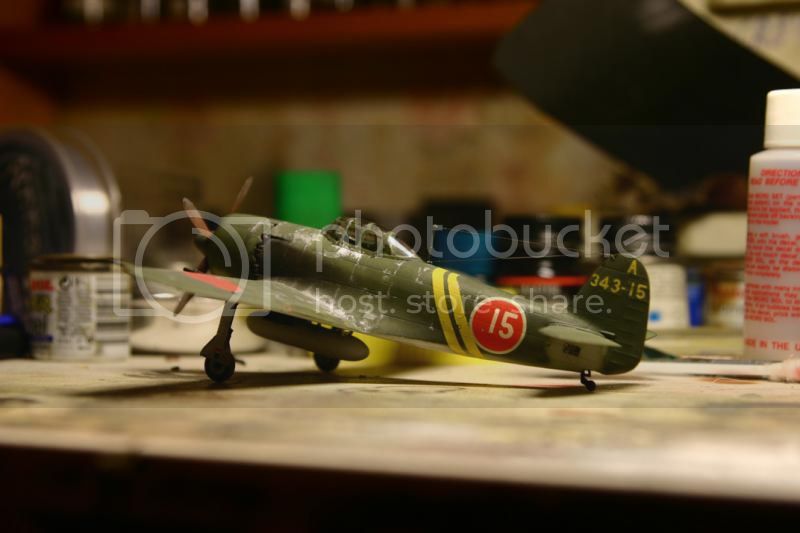
Substituted the lost 3 from a P-51 kit...wasn't a perfect match but it'll make do...admit it you didn't realize until I told you right?
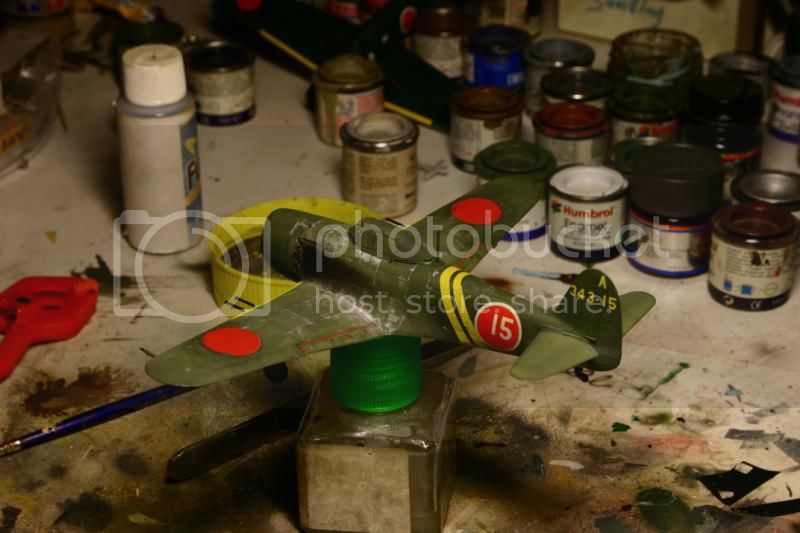
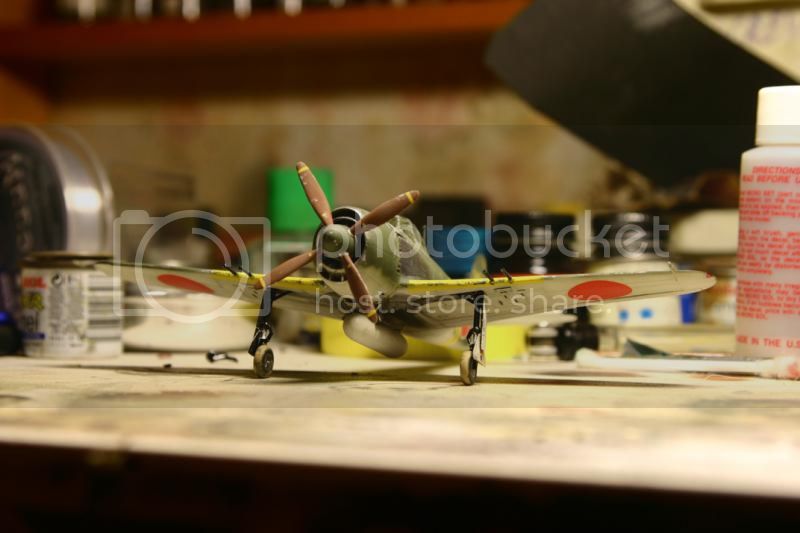
And the prop...
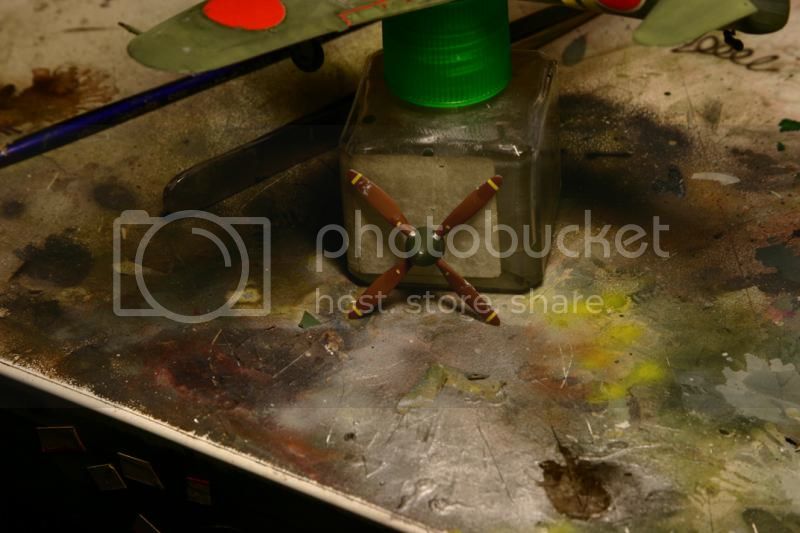
Next stop waiting for the LG to dry, matt cote, masks off, anthennea, fuel tank and then some final dirt and retouches.


I think I overdone the chipping but I couldn't stop myself, it was sooo much fun. I reversed a little though and I had a little problem with the decals. The 3 on the left side just decided to disentegrate...

And this is 5 minutes ago...well the reason she is on a bottle is one of the clips decided to hurl itself into my paint shelf then bounce back and take the Shiden to the floor. Thank God I sliped with one broken landing gear...


Substituted the lost 3 from a P-51 kit...wasn't a perfect match but it'll make do...admit it you didn't realize until I told you right?

And the prop...

Next stop waiting for the LG to dry, matt cote, masks off, anthennea, fuel tank and then some final dirt and retouches.


JollyRoger

Joined: December 22, 2004
KitMaker: 1,241 posts
AeroScale: 616 posts

Posted: Tuesday, May 20, 2014 - 12:37 PM UTC
Nito74

Joined: March 04, 2008
KitMaker: 5,386 posts
AeroScale: 635 posts

Posted: Wednesday, May 21, 2014 - 05:20 AM UTC
My progress,
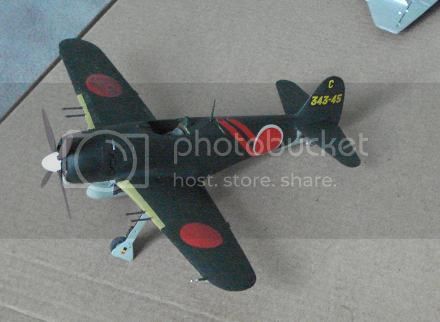
Just missing the canopy, masking and cleaning fingerprints..

Just missing the canopy, masking and cleaning fingerprints..
FirstSergeant

Joined: January 02, 2012
KitMaker: 139 posts
AeroScale: 70 posts

Posted: Wednesday, May 21, 2014 - 08:07 AM UTC
Greetings,
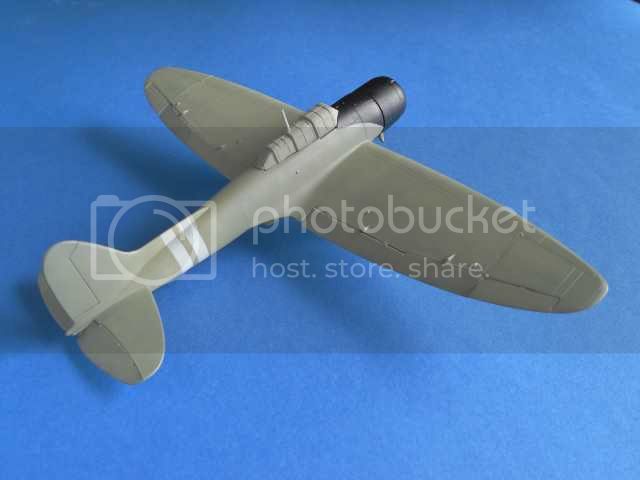
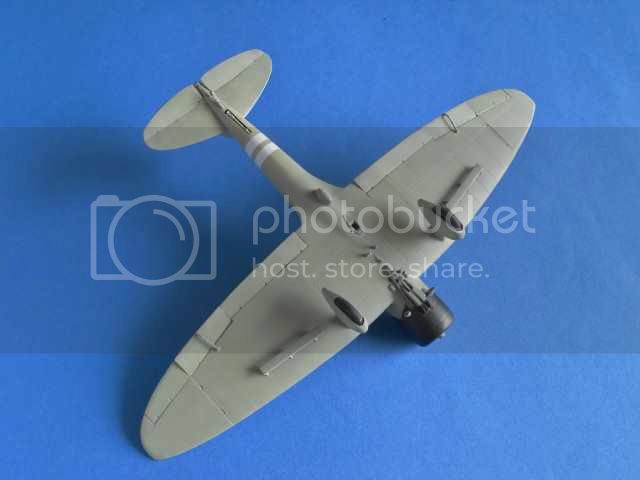
I've been making progress. Filling seams and making smooth. These are photos of my progress.
Regards,
Firstsergeant
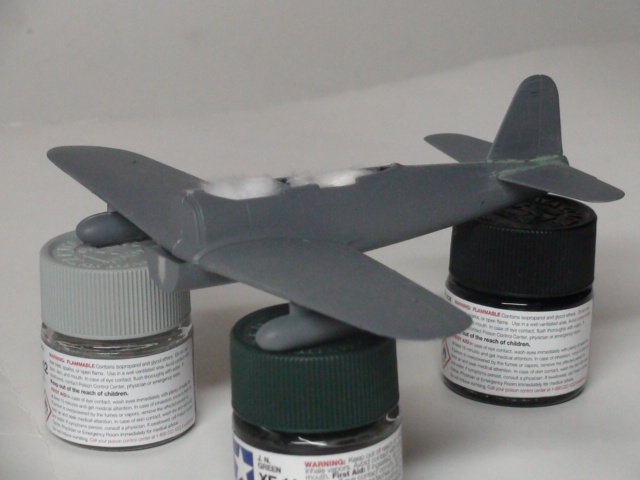
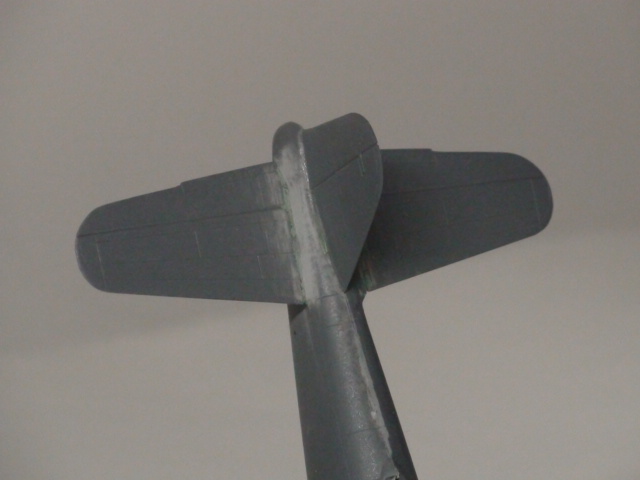
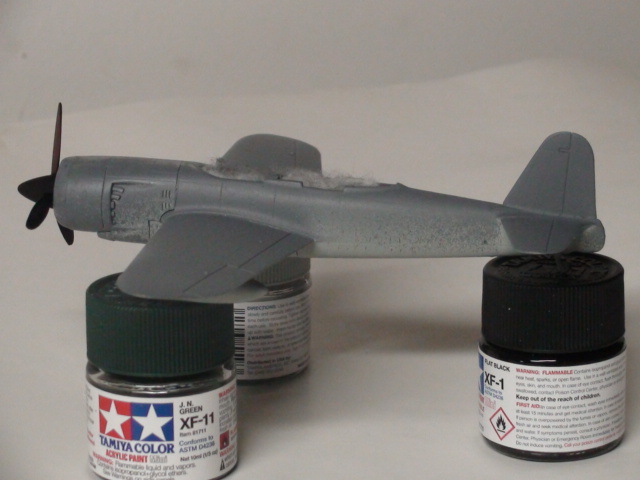
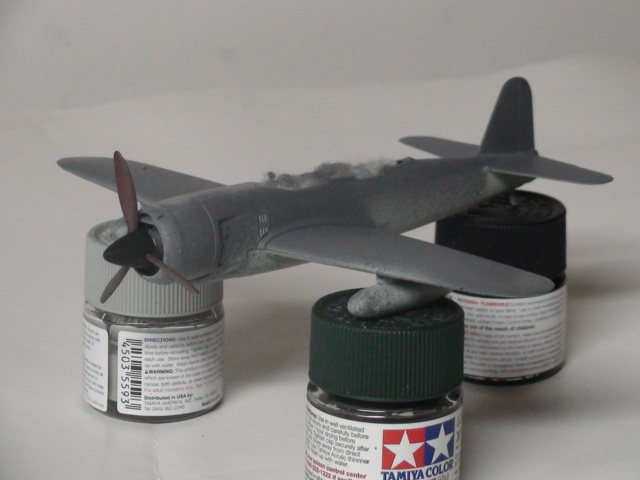
I've been making progress. Filling seams and making smooth. These are photos of my progress.
Regards,
Firstsergeant
This post was removed.
This post was removed.
Posted: Friday, May 23, 2014 - 10:29 AM UTC
Okay... this hopefully fixed the mail problem. Fingers crossed!
Jim
Jim
Nito74

Joined: March 04, 2008
KitMaker: 5,386 posts
AeroScale: 635 posts

Posted: Saturday, May 24, 2014 - 06:40 AM UTC
Ok, last photos. This one is done
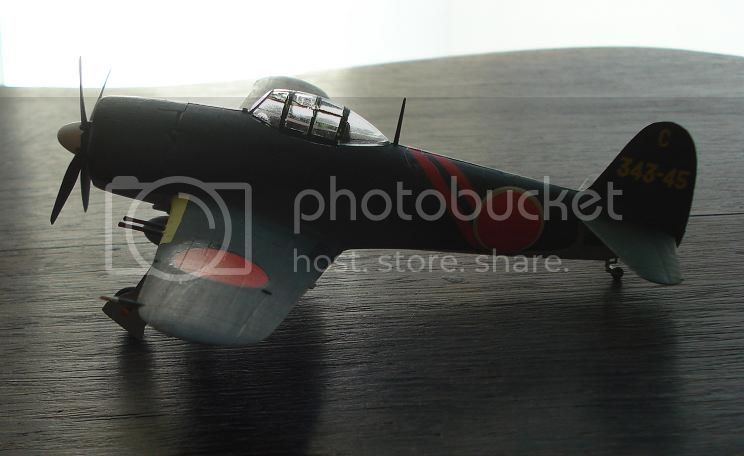
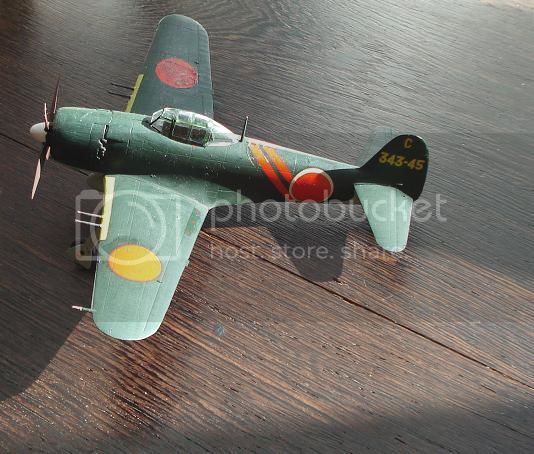
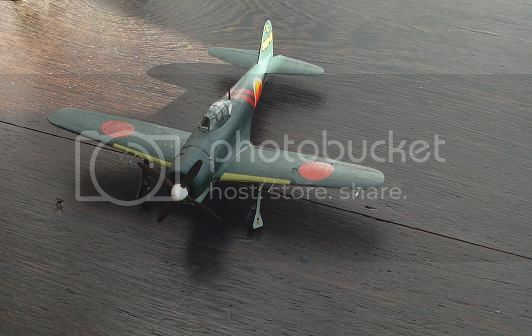
Will post some photos on the Gallery too.


Will post some photos on the Gallery too.

litespeed


Joined: October 15, 2009
KitMaker: 1,976 posts
AeroScale: 1,789 posts

Posted: Sunday, May 25, 2014 - 12:40 AM UTC
Hi all
There are some great build in this campaign. I have a Val dive bomber from Cyber Hobby that I fancy building. Hope you dont mind if I hop on board.
Its a long time since I built a Japanese aircraft; I think the last one was the Airfix Dinah when I was 11-12 years old. I reviewed this kit a while ago and reading the review again I was not too bowled over with it. There is something about the detail and fit that promises a fairly quick build.
tim


litespeed


Joined: October 15, 2009
KitMaker: 1,976 posts
AeroScale: 1,789 posts

Posted: Sunday, May 25, 2014 - 08:27 AM UTC
Hi all
Ooopps I seem to have lost a couple of images above. They are included below. Sorry about that.
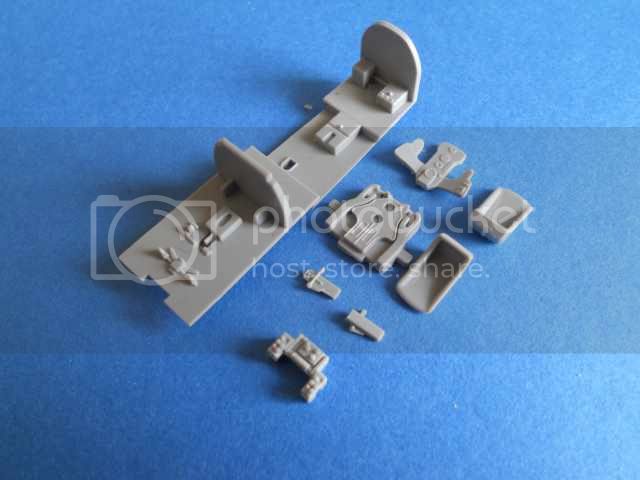
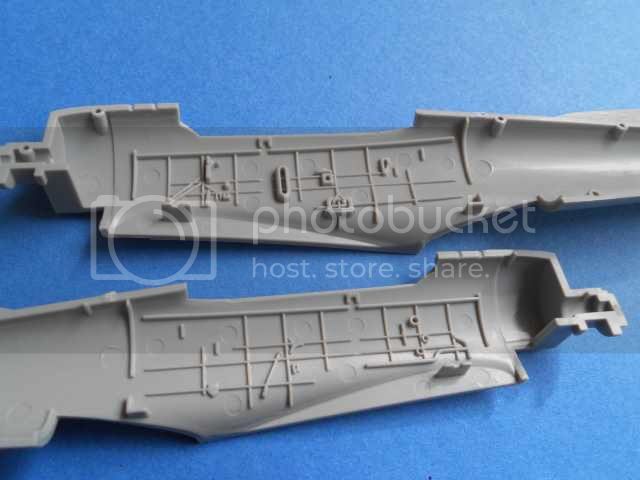
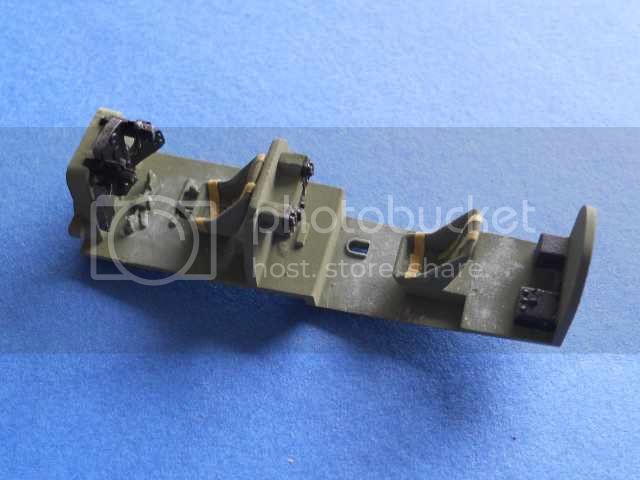
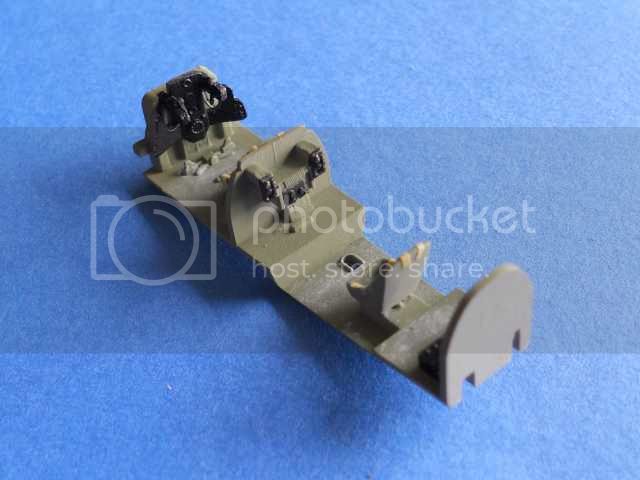
The parts for the cockpit bear no resemblance at all to the instructions. A pity really as the internal detail is quite good. The side walls are peppered with recessed ejector marks though. No control stick is included so a scratch built one will be necessary.
There is no gun for the back seater either. There is a lot locating holes [?] but nothing to place in them.
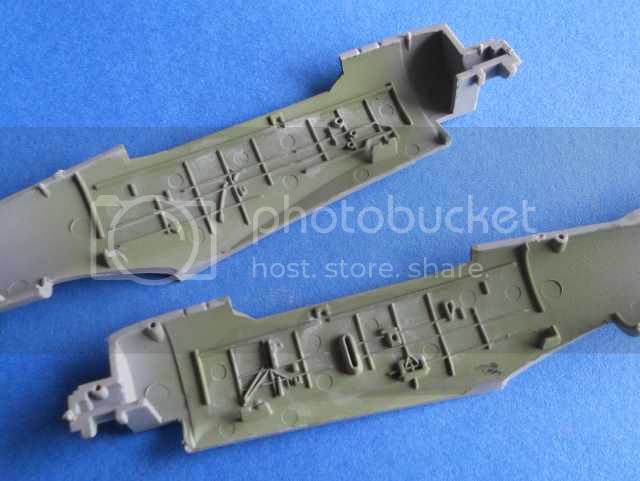
Painted everything internal IJN green [Tamiya XF-71]. I added some harnesses made from Tamiya masking tape. Weathering is a light scrub of Paynes grey oil paint.
You have to smile at the detailed CAD drawing of the instrument panel, but the detail does not translate to the plastic. Fortunately it will not be seen once the fuselage is buttoned up.
To be continued
Tim


litespeed


Joined: October 15, 2009
KitMaker: 1,976 posts
AeroScale: 1,789 posts

Posted: Monday, May 26, 2014 - 10:58 AM UTC
Hi all
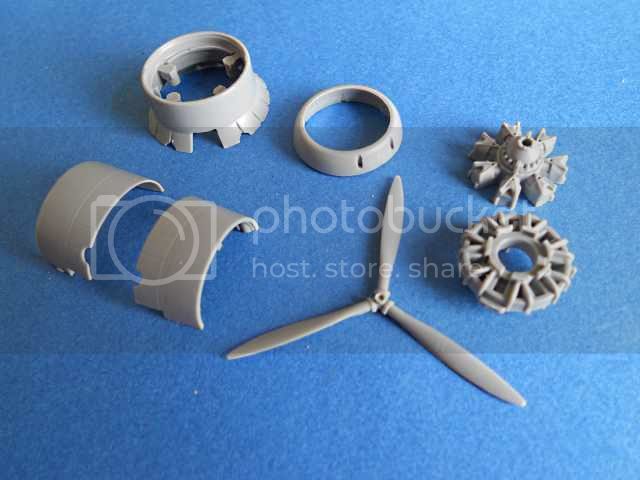
The radial engine does look superb and the exhaust pipes look excellent. Unfortunately there is some damage to the moulded exhaust detail on my sample.
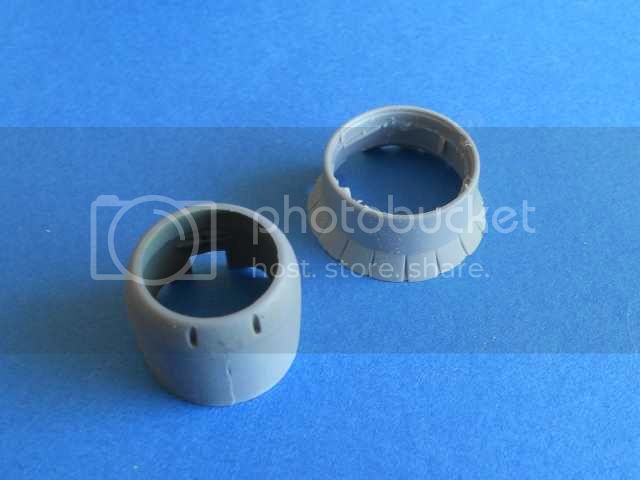
An oddity among a whole raft of oddities with the instructions is there is no indication that there is a choice of two engine nacelles included. One has closed vents and the other has open vents, which is fortunate for me. I can hide the broken exhaust pipes using the nacelle with the closed vents. The instructions just show the nacelle with the open vents.
The suggested building instructions for the engine look incorrect. If you follow the instructions the nacelle will not fit. The instructions also suggest fitting the engine through the completed nacelle, which is impossible.
Not a kit for the novice me thinks!!!
To be continued ..
tim

Nito74

Joined: March 04, 2008
KitMaker: 5,386 posts
AeroScale: 635 posts

Posted: Monday, May 26, 2014 - 11:39 AM UTC
Looking good so far Tim !!!
Nothing like a Dragon instruction sheet to make a modelling evening fun ...
Nothing like a Dragon instruction sheet to make a modelling evening fun ...

raypalmer

Joined: March 29, 2010
KitMaker: 1,151 posts
AeroScale: 985 posts

Posted: Monday, May 26, 2014 - 03:33 PM UTC
There's going to be a really great gallery when this campaign is over. Everyone is doing great works for this underrepresented (at least around here) subject.
litespeed


Joined: October 15, 2009
KitMaker: 1,976 posts
AeroScale: 1,789 posts

Posted: Tuesday, May 27, 2014 - 10:44 AM UTC
Hi all
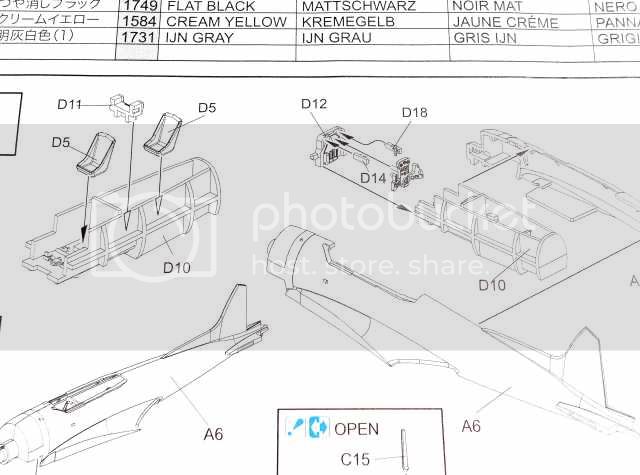
John - Yes the instructions are amazingly odd. The cockpit parts bear no resemblance to the instructions. The cockpit tub [D10] simply does not exist!!
Richard This is a really interesting campaign. This campaign certainly has awakened my interest in Japanese aircraft of WWII. I'm pondering whether to acquire a couple of Japanese aircraft from Sword.
tim


Posted: Wednesday, May 28, 2014 - 06:06 AM UTC
Quoted Text
Ok, last photos. This one is done
Will post some photos on the Gallery too.

Very nice John, your pics are in the gallery too

litespeed


Joined: October 15, 2009
KitMaker: 1,976 posts
AeroScale: 1,789 posts

Posted: Wednesday, May 28, 2014 - 07:13 AM UTC
Hi all
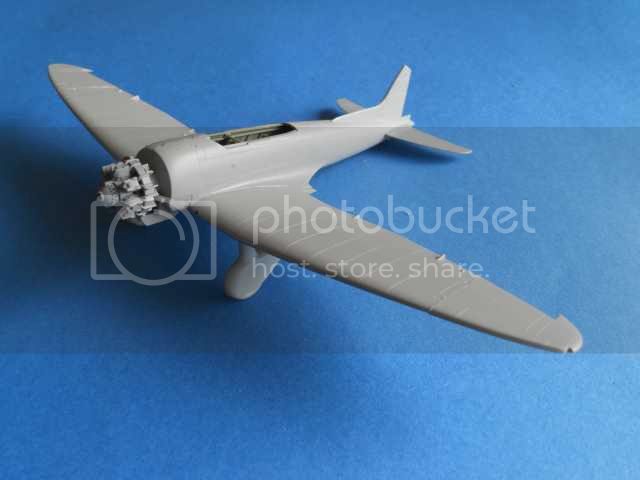
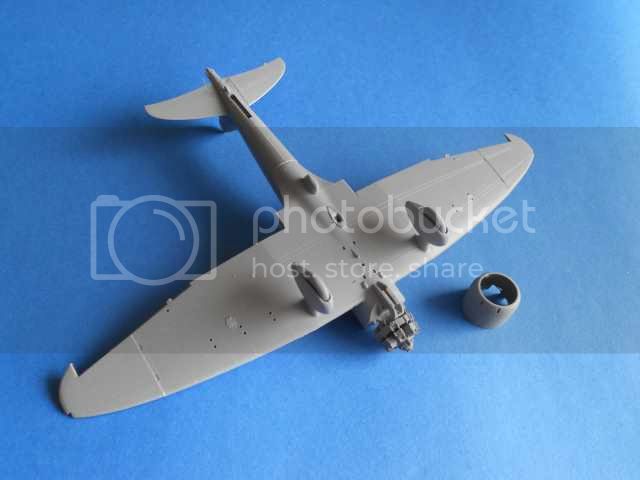
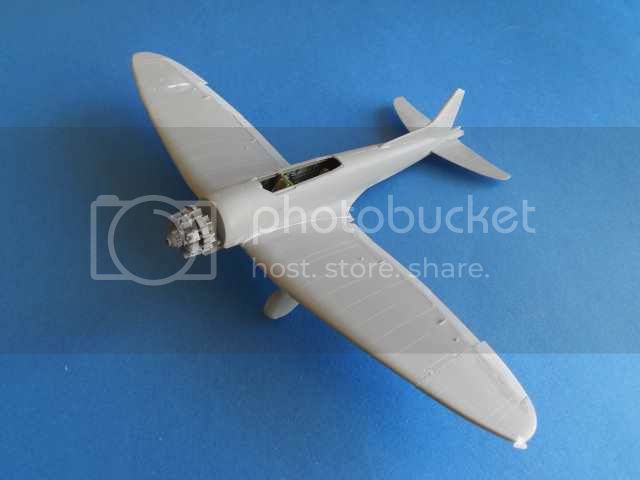
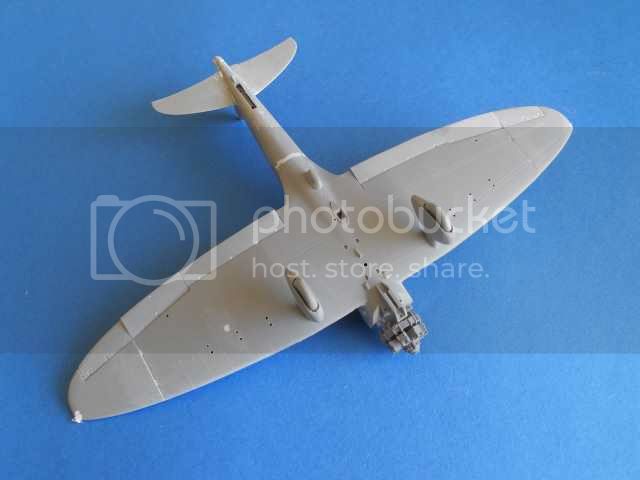
Right moving onto the best parts of the kit: the airframe. The recessed detail and the overall shape look superb. The fit of parts is generally excellent. There is a slight gap between the rear wing and fuselage.
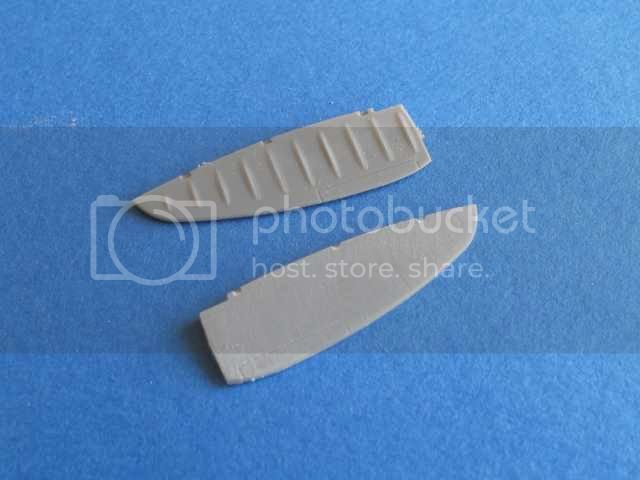
There is the option to display the model with wing tips folded. All the control surfaces are separate parts. Again the instructions are hopeless, the parts number dont tally with the instructions. I did rub down the raised rib detail on the control surfaces.
I went over the joins with some liquid paper, although Im not sure it was really necessary.
The fixed undercarriage wheels can rotate, so you can have hours of fun trundling this kit around your desk.
To be continued
Tim


litespeed


Joined: October 15, 2009
KitMaker: 1,976 posts
AeroScale: 1,789 posts

Posted: Thursday, May 29, 2014 - 10:13 AM UTC
Hi all
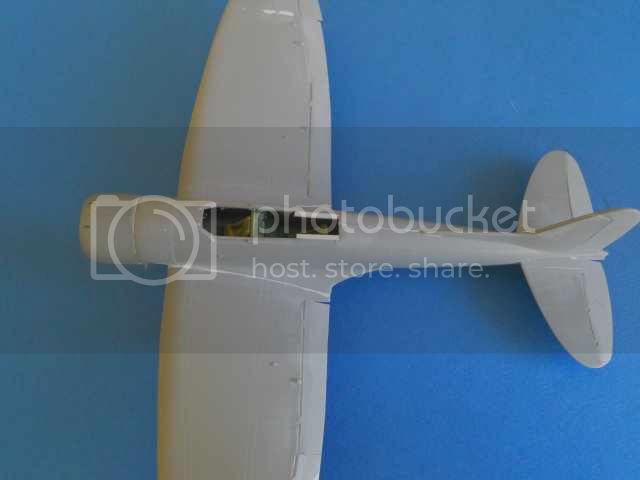
All the control surfaces have been glued on. I have to say overall shape of the completed kit looks very pleasing, particularly the wings. The nacelle fits very nicely indeed.
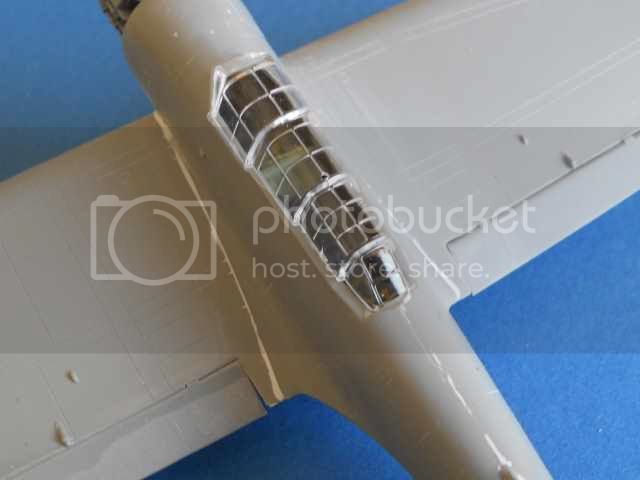
The one piece canopy is a real disappointment. In my opinion the stepped appearance of the canopy is far to pronounced. Also the rear part of the canopy is a very poor fit against the fuselage. I decided to modify the fuselage around the cockpit for a better fit. I just added a couple of strips of plastic along the rear sill. Once dry I will re shape the area.
There are a number of alternative separate canopy parts if you want to display it open.
To be continued
Tim


FirstSergeant

Joined: January 02, 2012
KitMaker: 139 posts
AeroScale: 70 posts

Posted: Friday, May 30, 2014 - 01:52 PM UTC
Greetings,
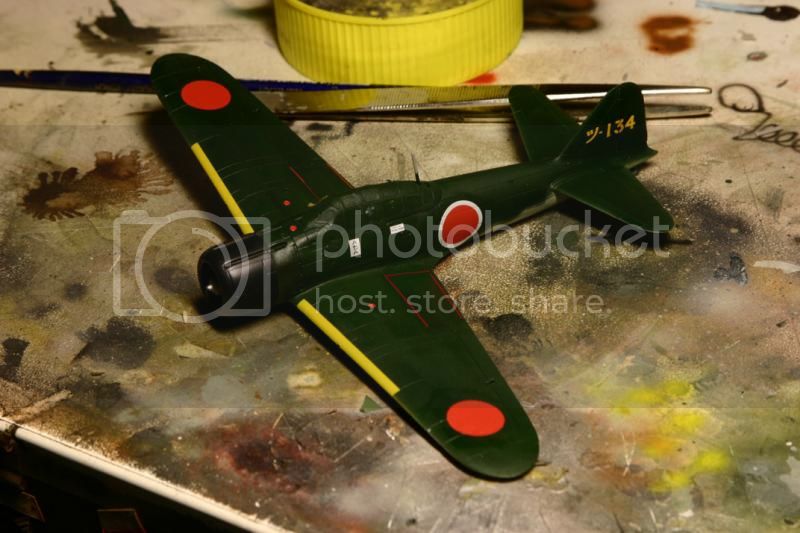
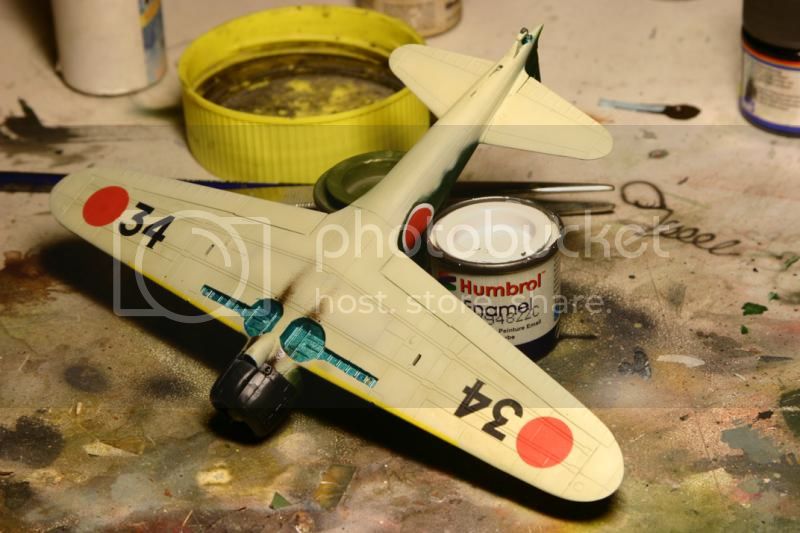
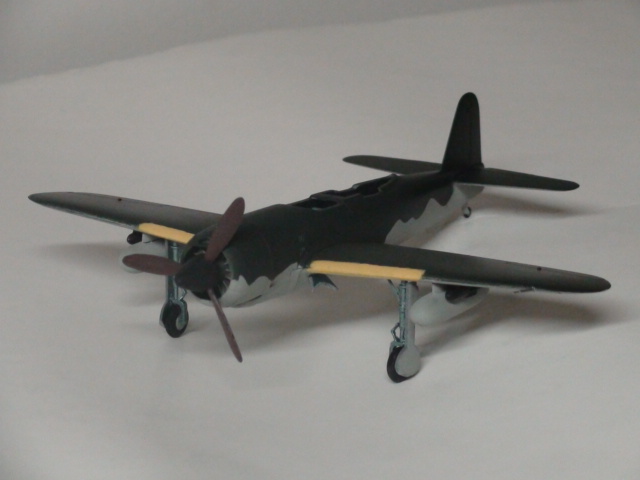
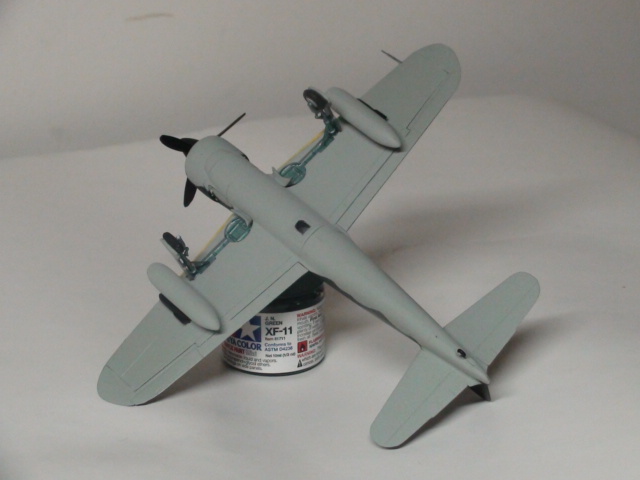
More progress to report. Paint has been applied and more assembly accomplished. More to follow...
Regards,
Firstsergeant
More progress to report. Paint has been applied and more assembly accomplished. More to follow...
Regards,
Firstsergeant

JollyRoger

Joined: December 22, 2004
KitMaker: 1,241 posts
AeroScale: 616 posts

Posted: Saturday, May 31, 2014 - 12:57 AM UTC
heavyjagdpanzer

Joined: February 17, 2013
KitMaker: 173 posts
AeroScale: 108 posts

Posted: Saturday, May 31, 2014 - 03:23 PM UTC
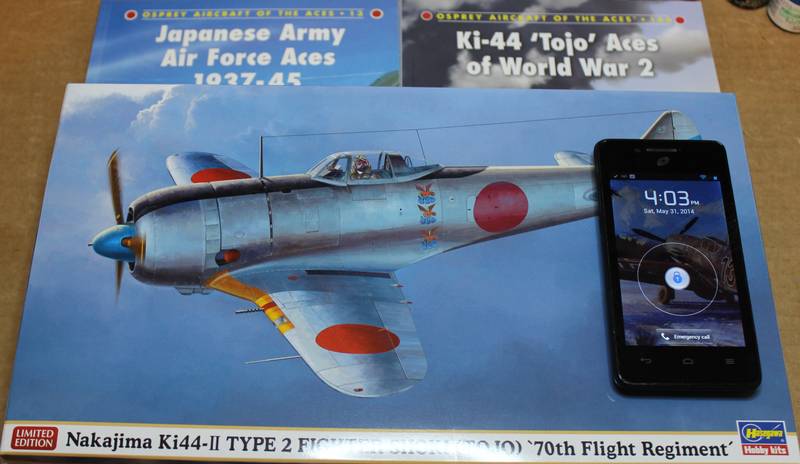
Here is my entry. I guess its better late, LATE than never. I have started a few models but have yet to finish one. I am thinking if I have a hard deadline maybe I will finish one, I have two months, we will see. I dont think I am up to doing a NMF, as per the kit. I will do a standard JAAF green/gray scheme. Revi decal has a set that I may use. Hope to have some progress pictures soon.
Posted: Saturday, May 31, 2014 - 06:50 PM UTC
Some very nice builds here and I must apologies for not posting any replies but I have limited time. I have started my Raiden and there is paint on the cockpit parts, so I should get some pictures posted, well I have one so here it is:
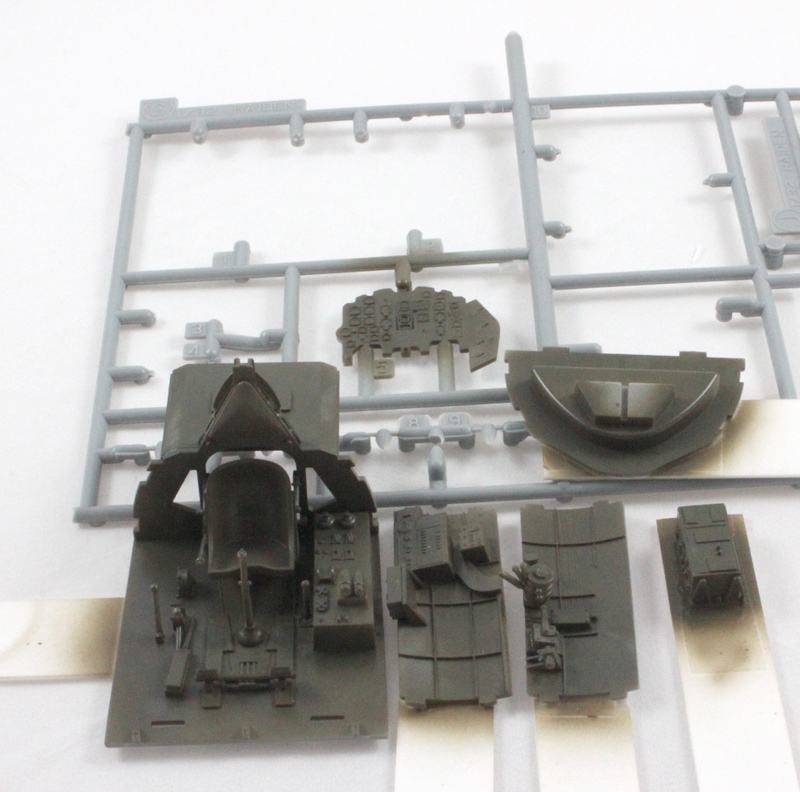
Not much But this is also a trial of some new paints, more when I can get a review together. I have painted the cockpit in RLM83, a late WWII Luftwaffe dark green, the intention is that this will for the basis of "shadows" when I apply the Mitsubishi interior green, we'll see
Bill,
I have finished a few but at the moment I have several on the go and some are unintentionally taking a back seat, like my Raiden, but I do want to get it finished. Eeeek, 2 months you say! I had better get a riddle on

Not much
 But this is also a trial of some new paints, more when I can get a review together. I have painted the cockpit in RLM83, a late WWII Luftwaffe dark green, the intention is that this will for the basis of "shadows" when I apply the Mitsubishi interior green, we'll see
Quoted Text
Here is my entry. I guess its better late, LATE than never. I have started a few models but have yet to finish one. I am thinking if I have a hard deadline maybe I will finish one, I have two months, we will see.
Bill,
I have finished a few but at the moment I have several on the go and some are unintentionally taking a back seat, like my Raiden, but I do want to get it finished. Eeeek, 2 months you say! I had better get a riddle on


heavyjagdpanzer

Joined: February 17, 2013
KitMaker: 173 posts
AeroScale: 108 posts

Posted: Sunday, June 01, 2014 - 12:07 AM UTC
Hay wait! I miscalculated. I have almost three months till the dead line. Thats better! 

litespeed


Joined: October 15, 2009
KitMaker: 1,976 posts
AeroScale: 1,789 posts

Posted: Sunday, June 01, 2014 - 05:47 AM UTC
FirstSergeant

Joined: January 02, 2012
KitMaker: 139 posts
AeroScale: 70 posts

Posted: Tuesday, June 03, 2014 - 12:08 PM UTC
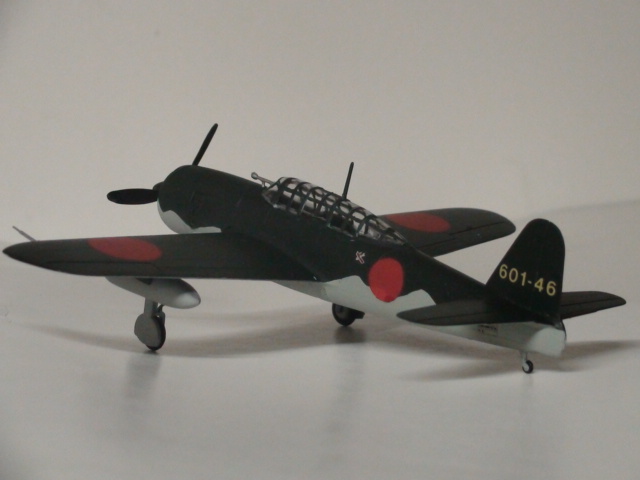
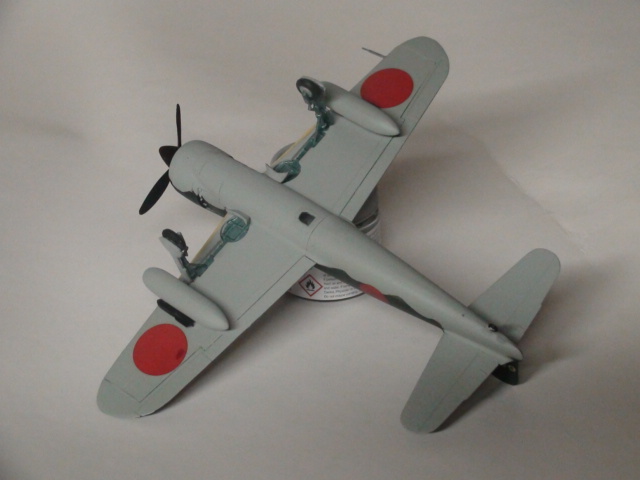
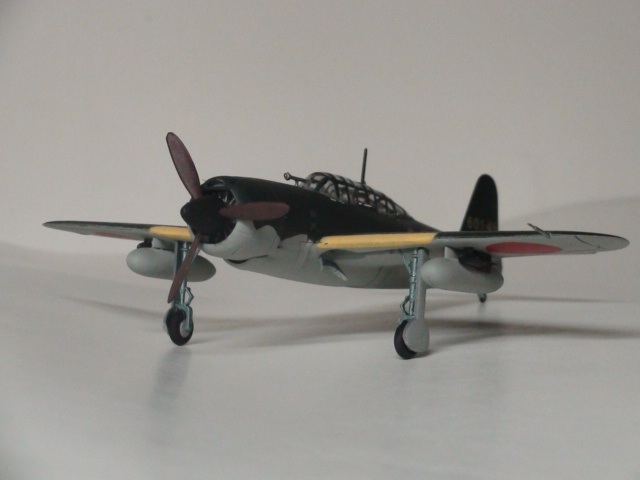
Greetings,
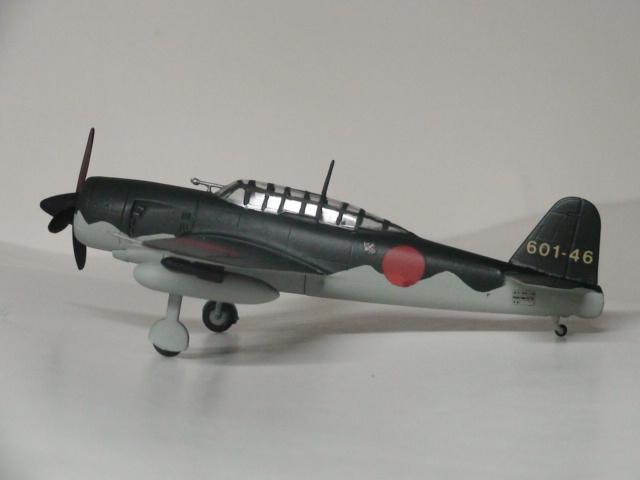
I've applied decals and final assembly. I'm going to call this one done. I've uploaded photos to the Campaign Gallery.
Regards,
Firstsergeant
I've applied decals and final assembly. I'm going to call this one done. I've uploaded photos to the Campaign Gallery.
Regards,
Firstsergeant

 |


