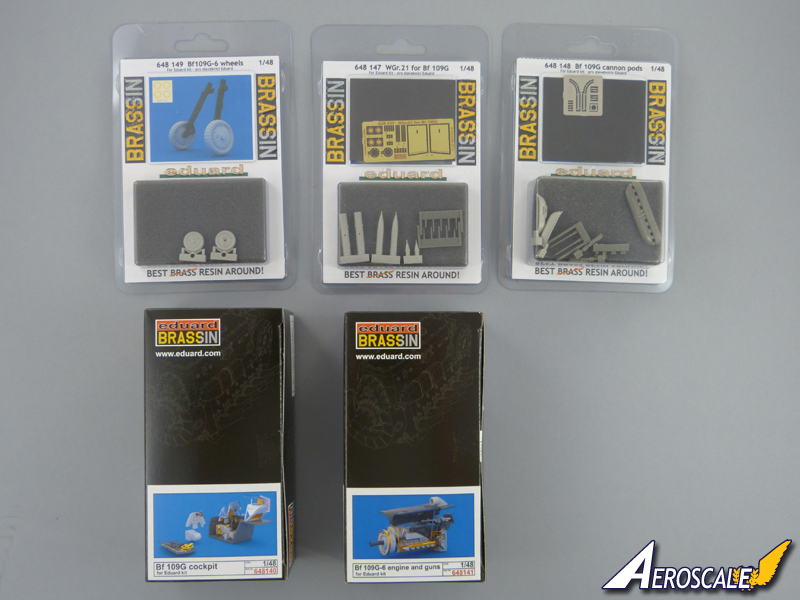
The second instalment of two sets of test sprues and accessories has just landed from Eduard. One sprue still to go, plus Brassin parts, but more than enough to get started on this beauty. Jean-Luc and Steffen will also have the same packages, so this can be a great chance to share our experiences of this kit.
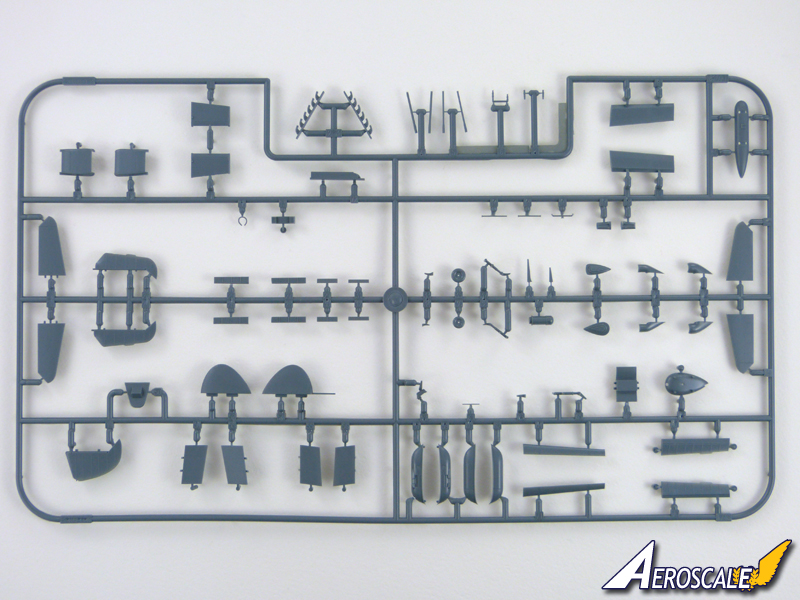
I'll kick off with a look at the parts. Eduard are keen to stress that they were still making final adjustments to the moulds when these test-shots were shipped to us, but the quality on first inspection looks superb!

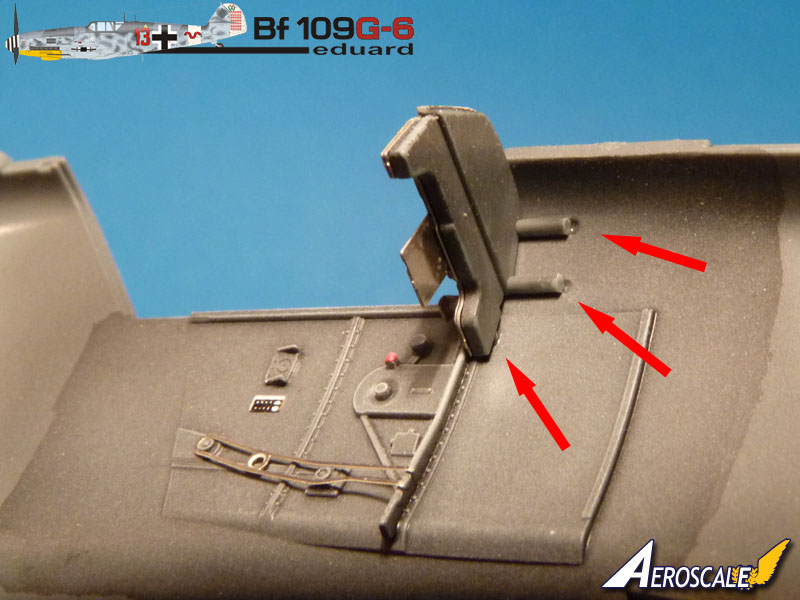
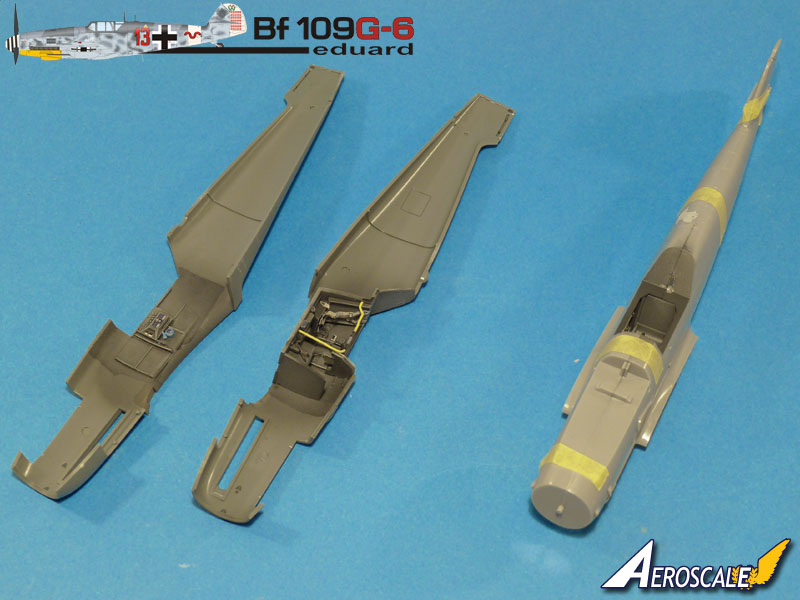
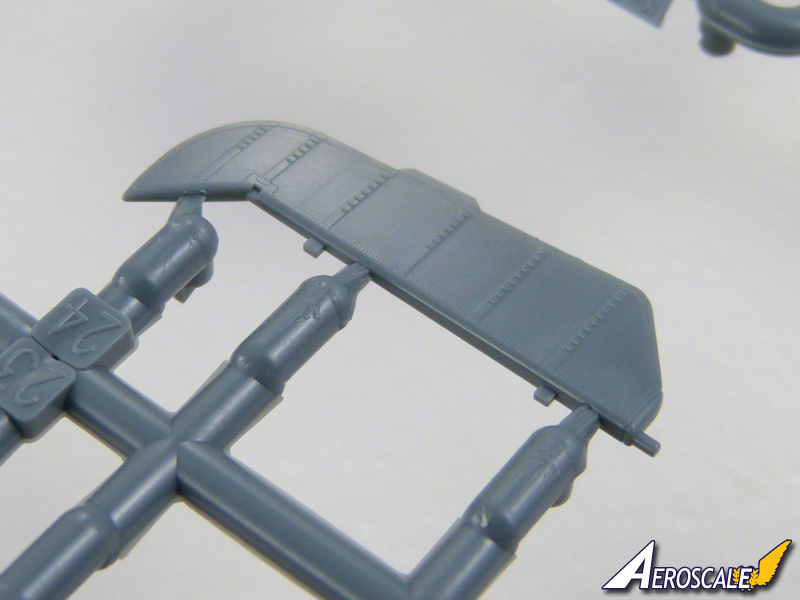
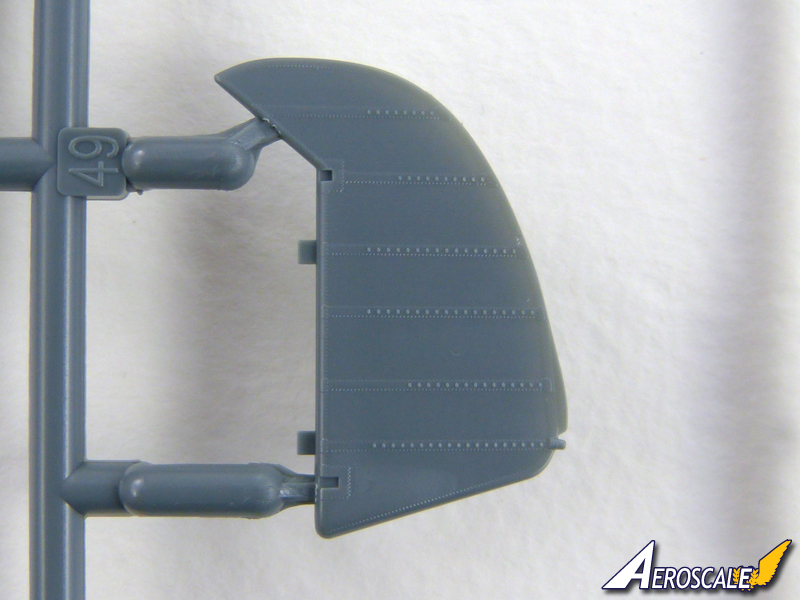
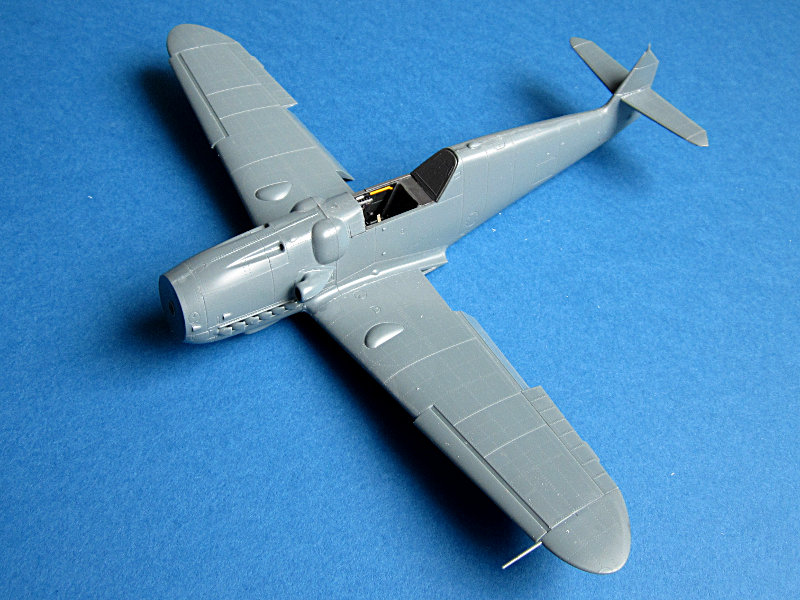
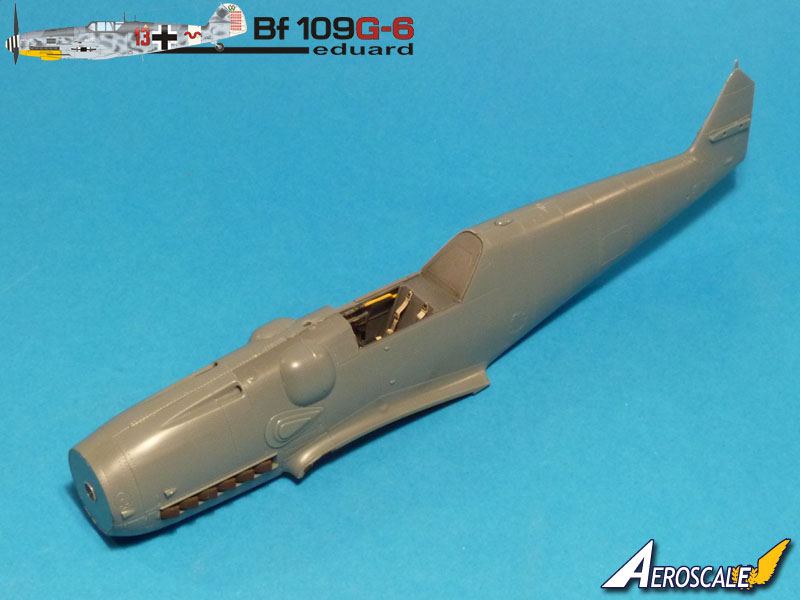
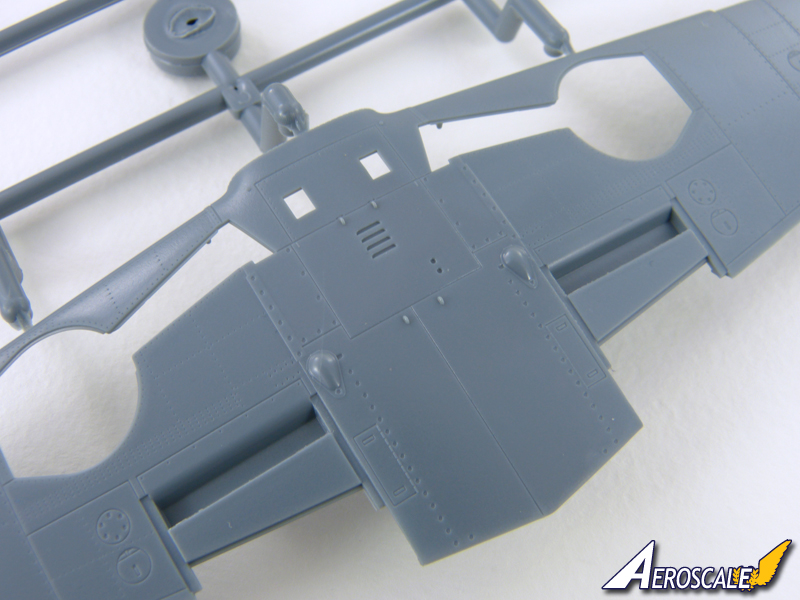
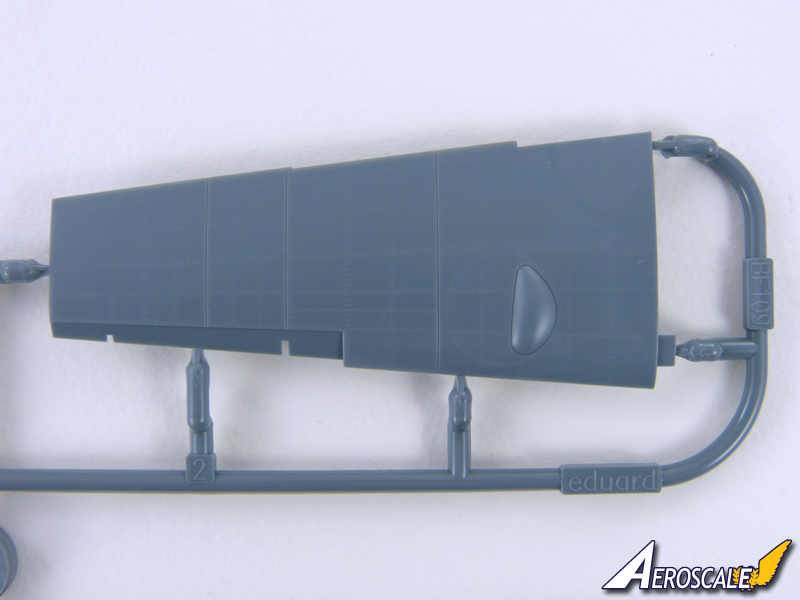
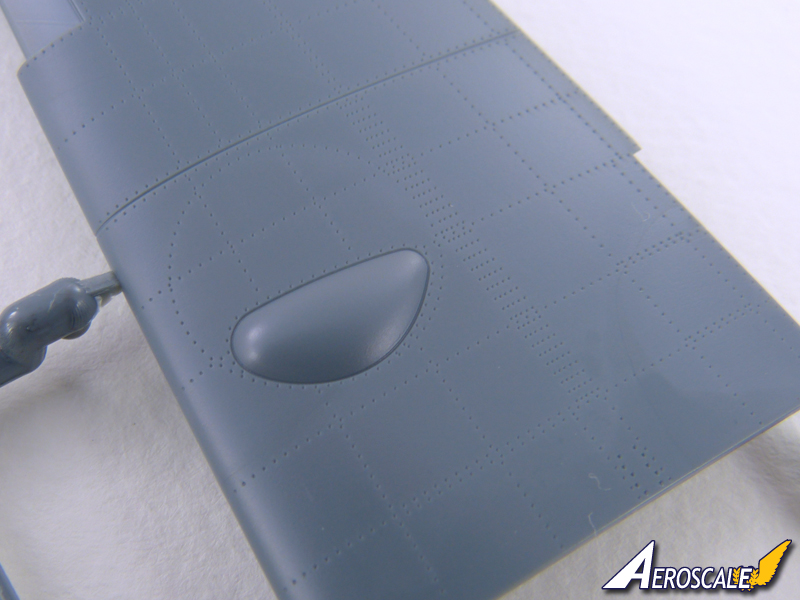
Surface detail:

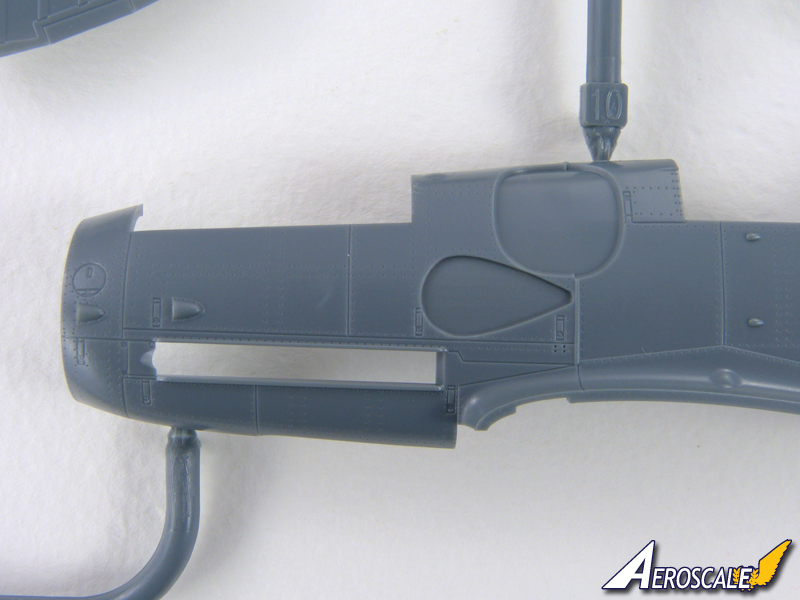
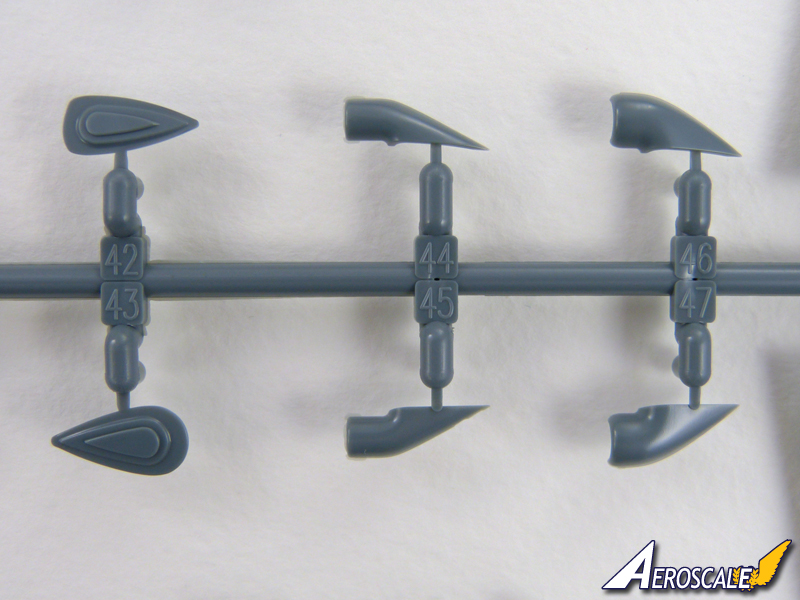
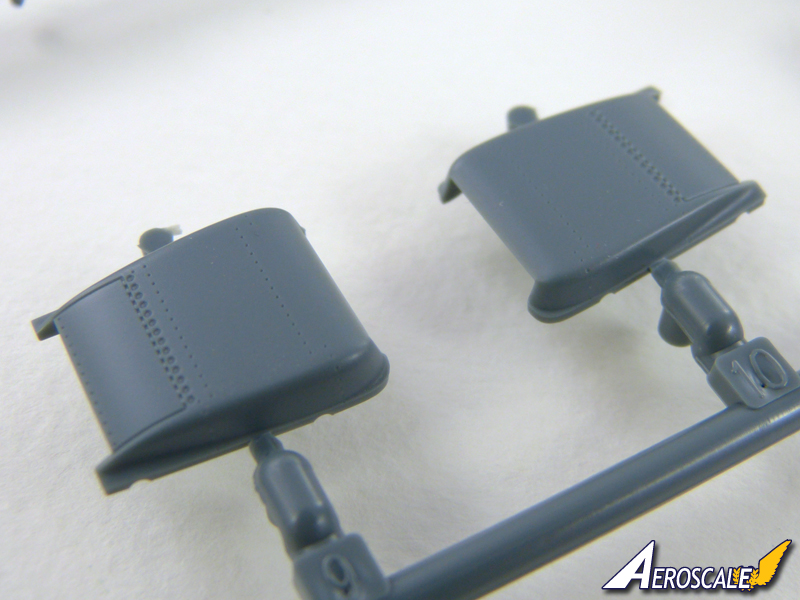
Beule and undercarriage builges:

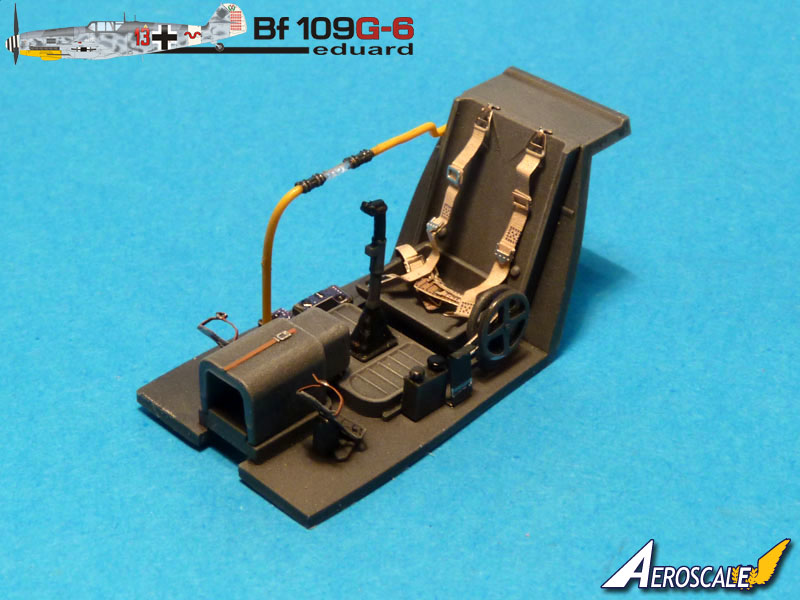
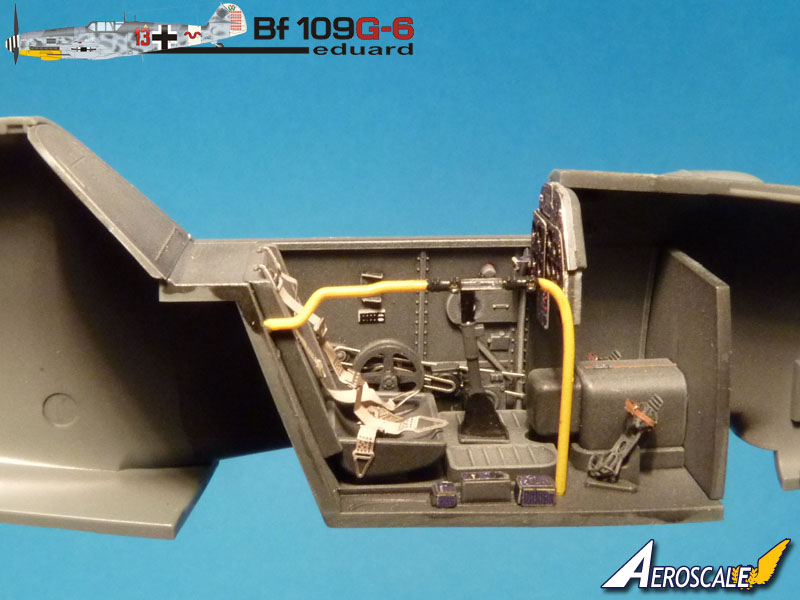
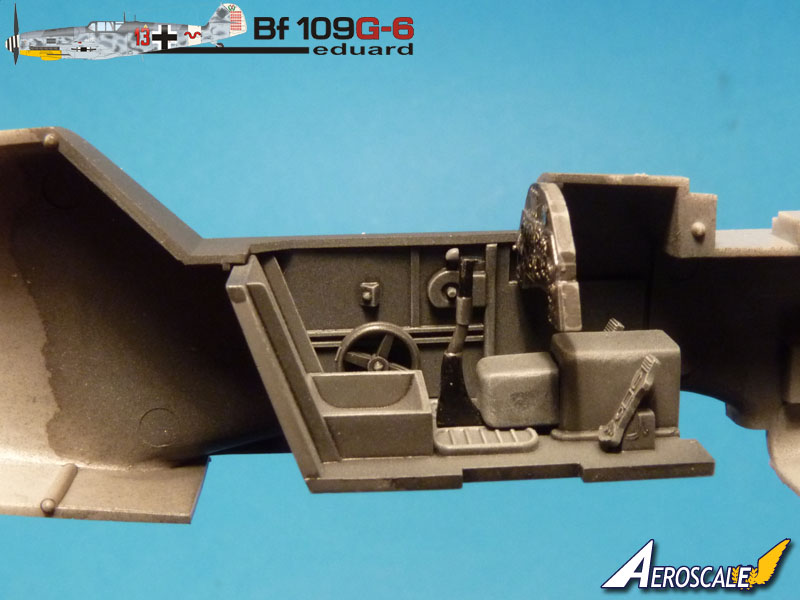
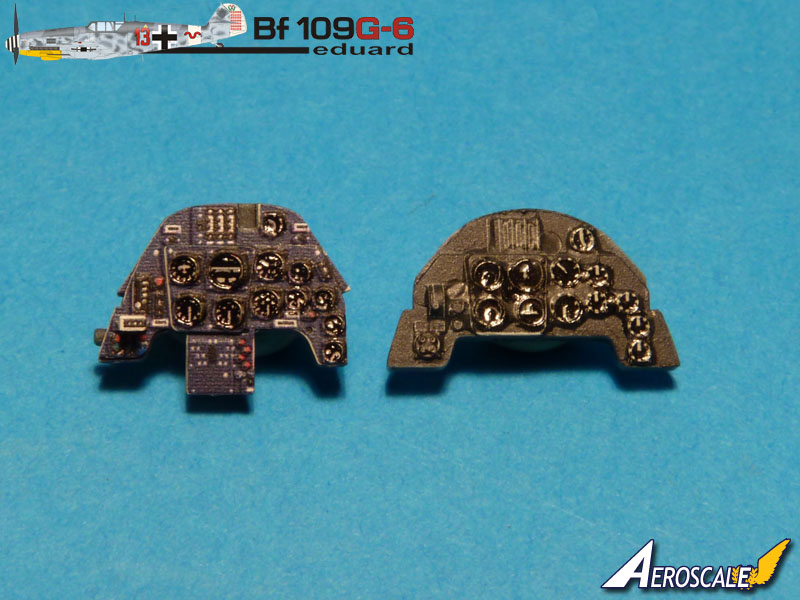
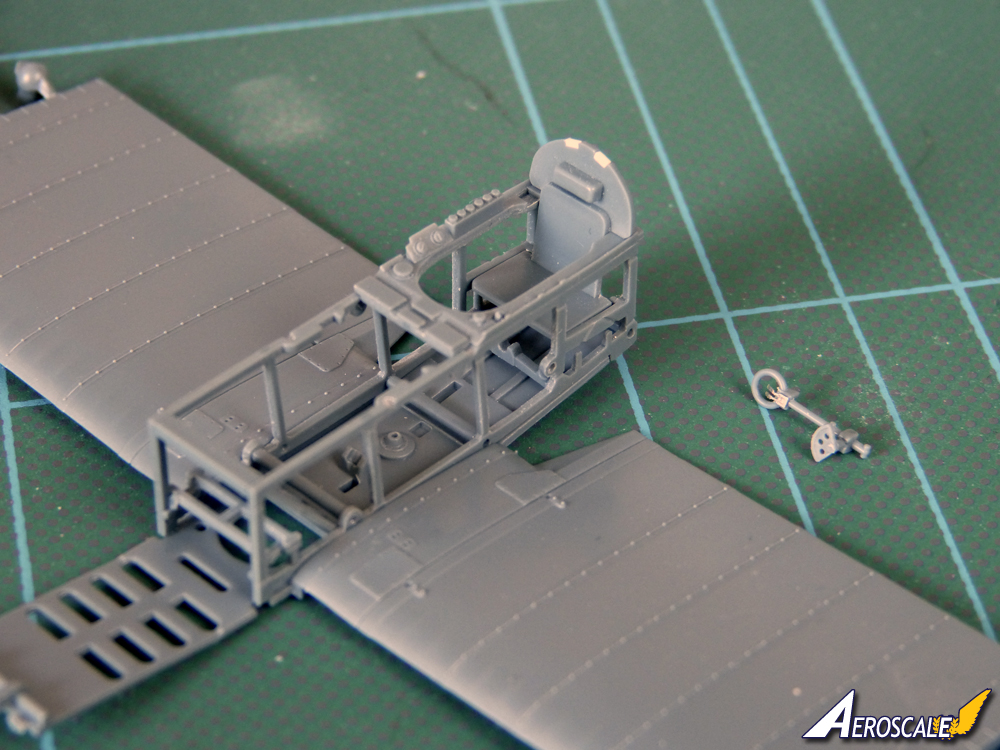
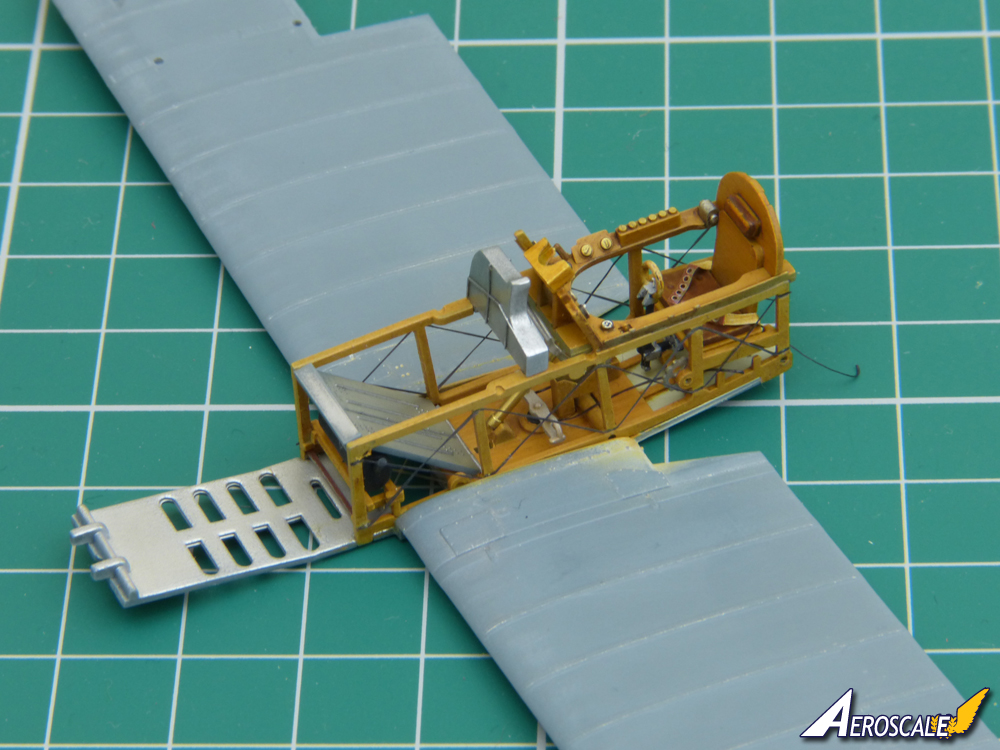
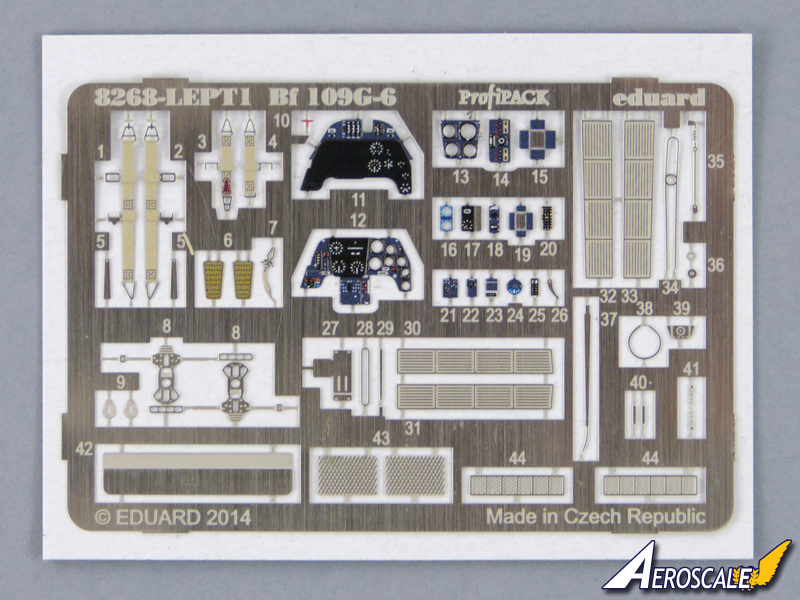
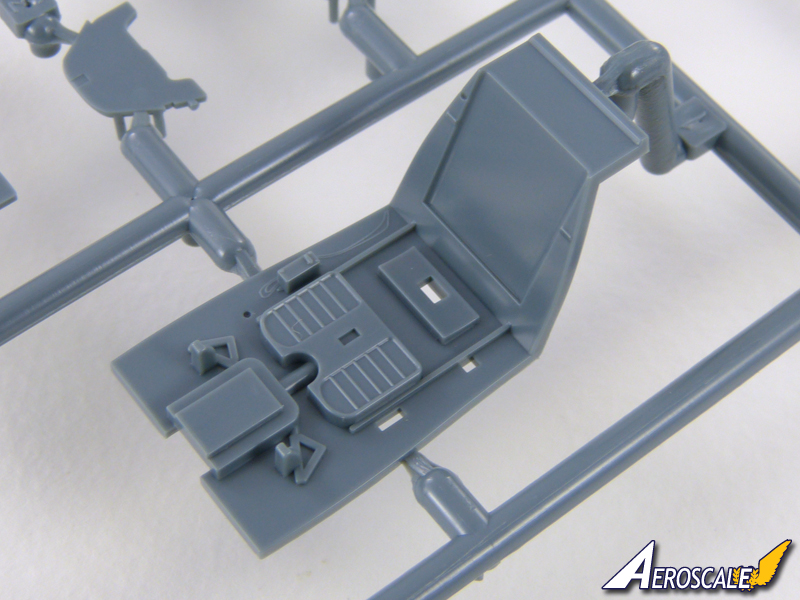
Cockpit details:


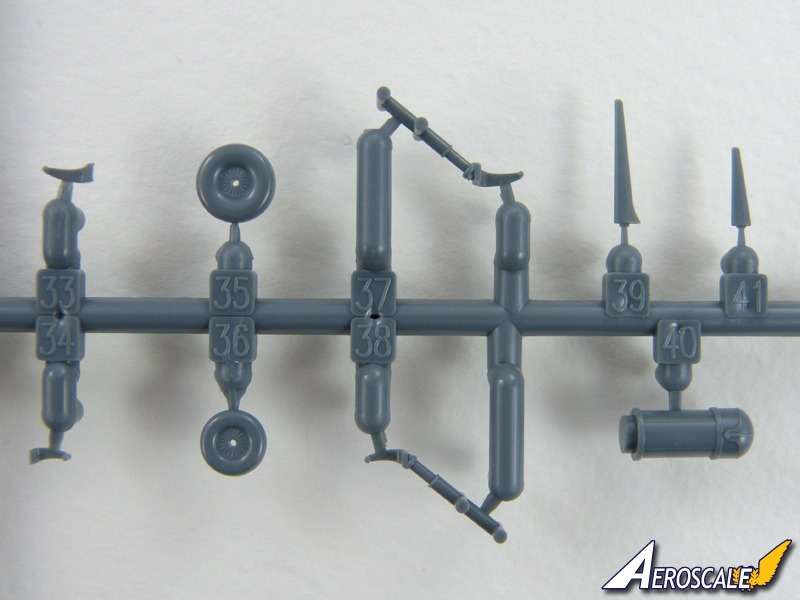
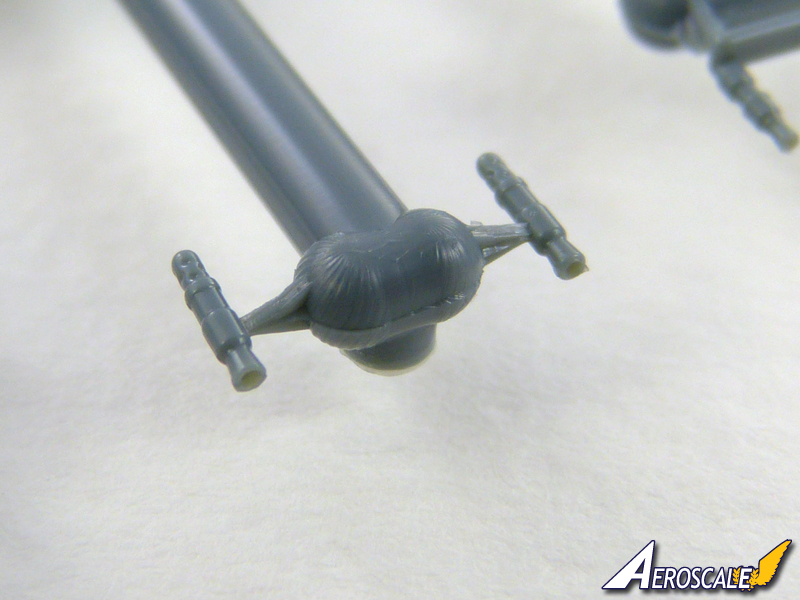
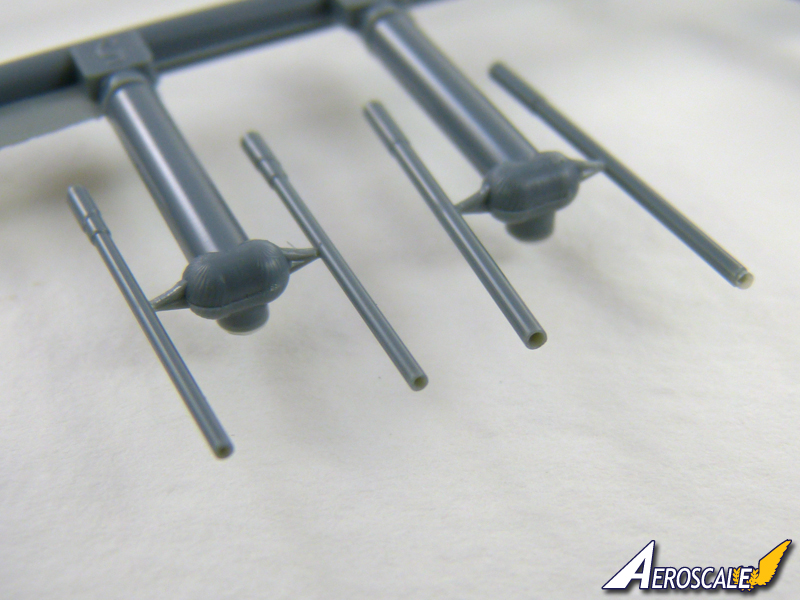
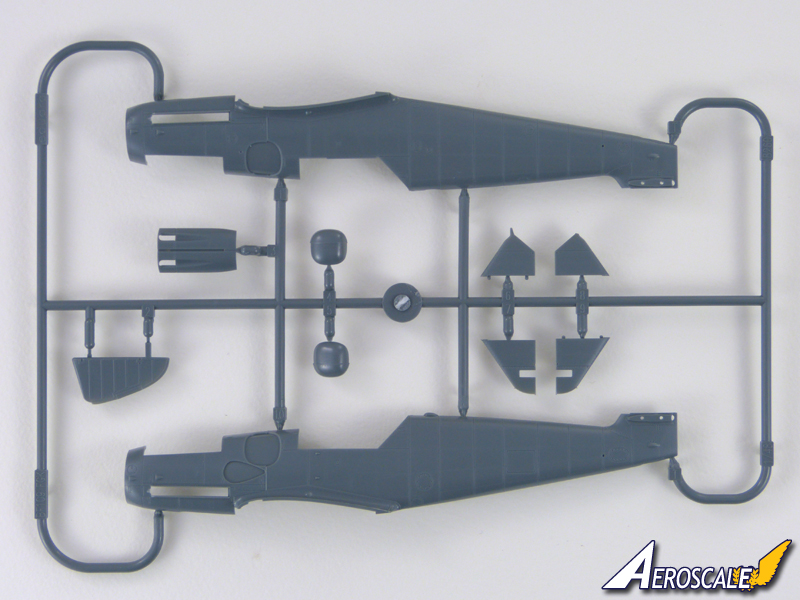
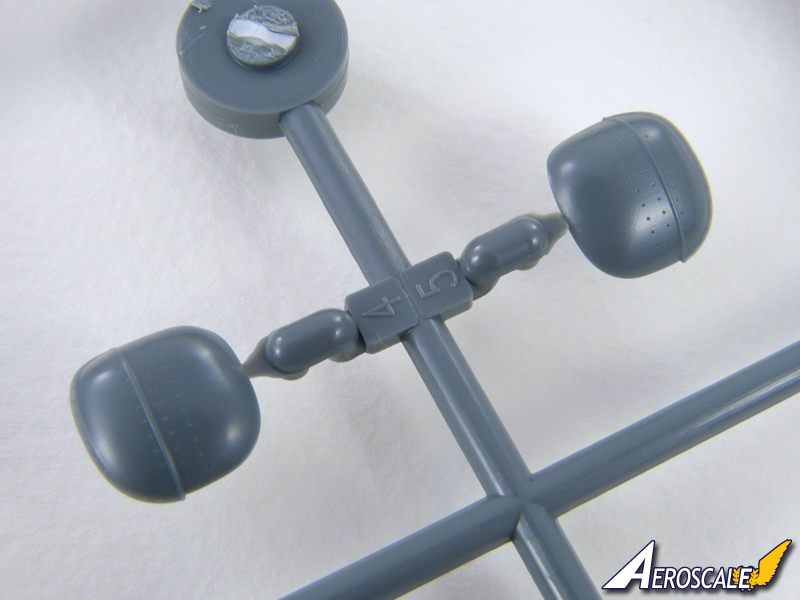
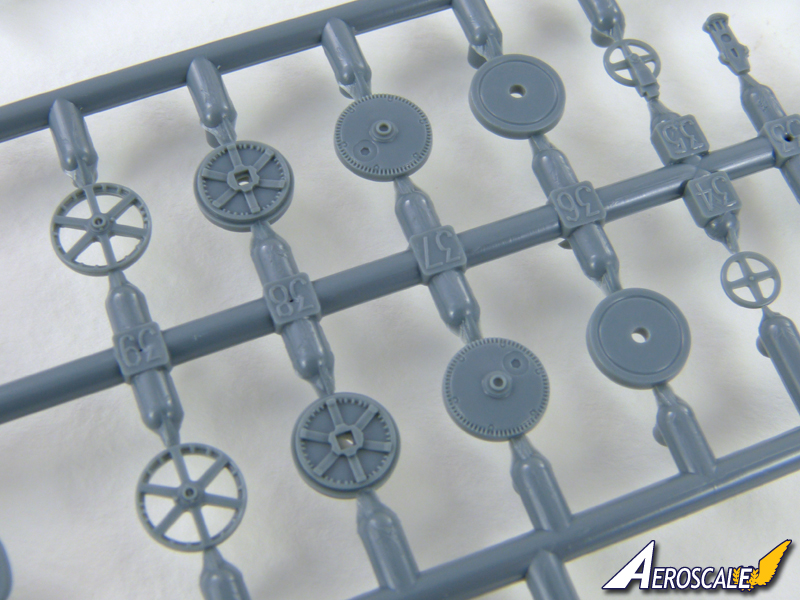
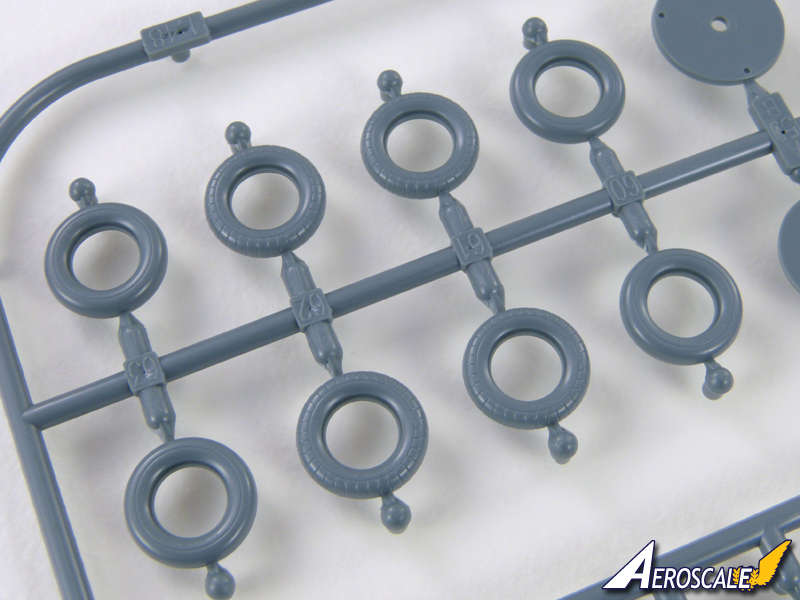
Undercarriage:


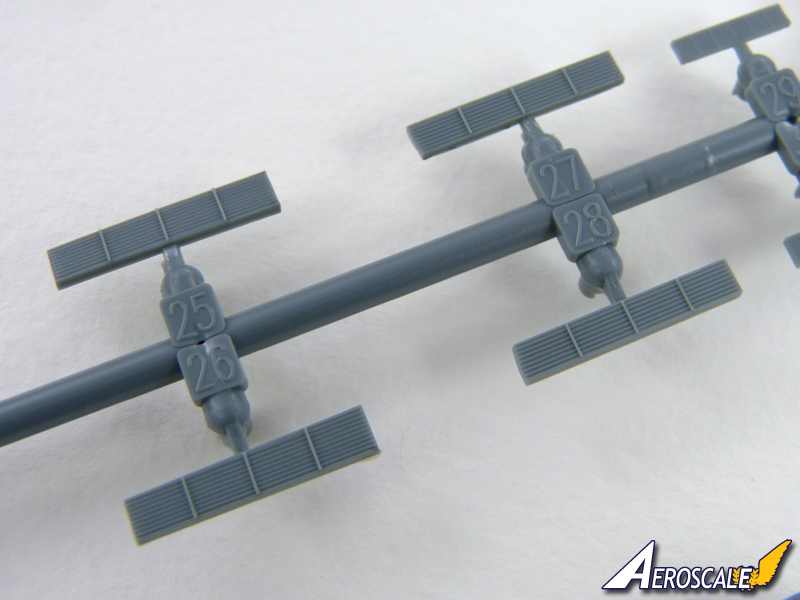
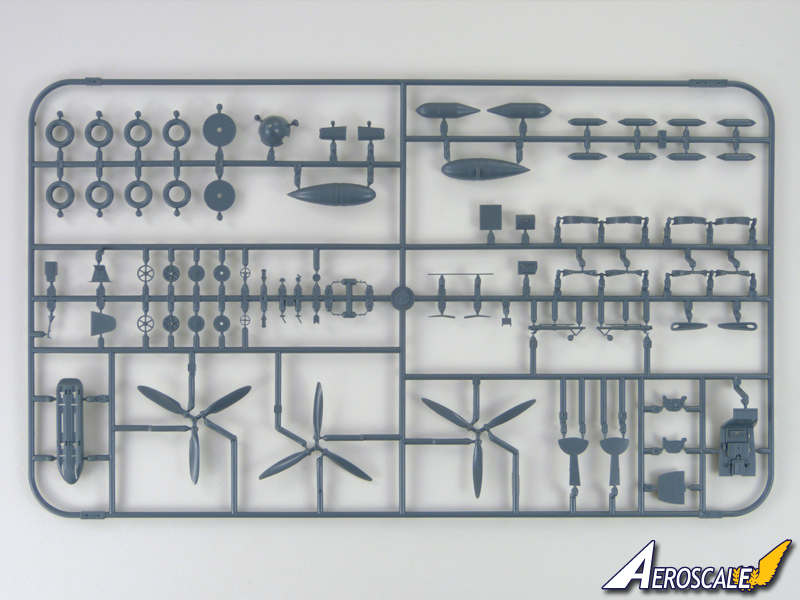
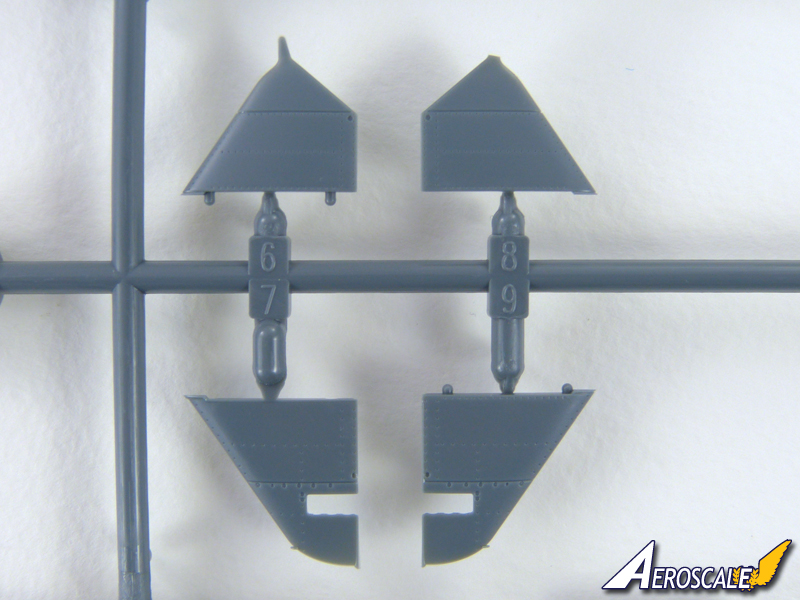
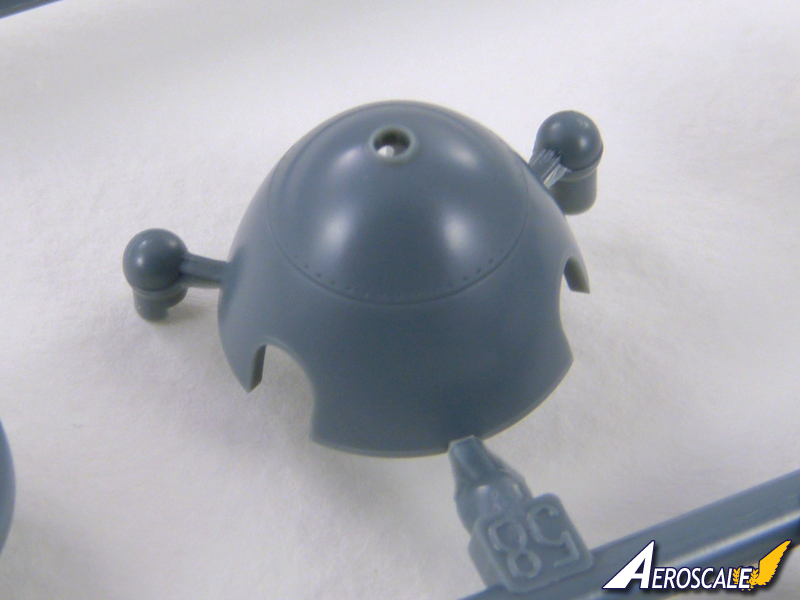
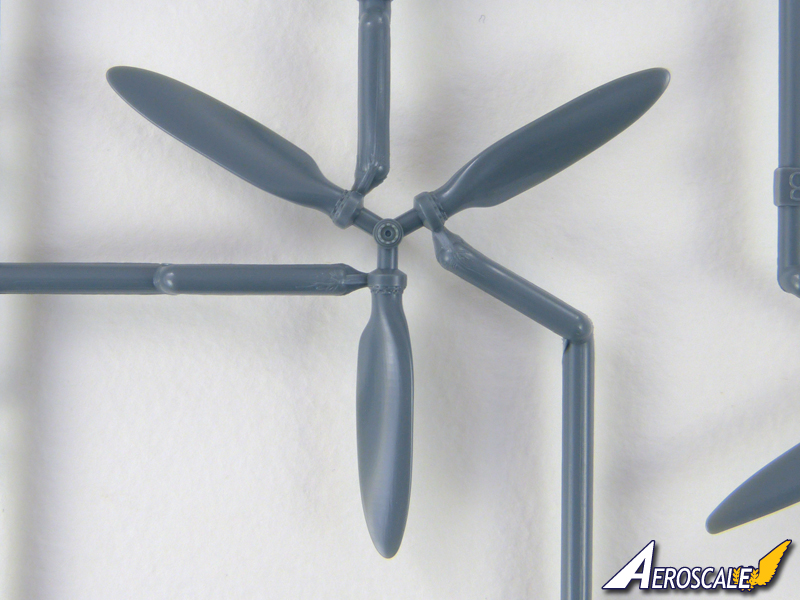
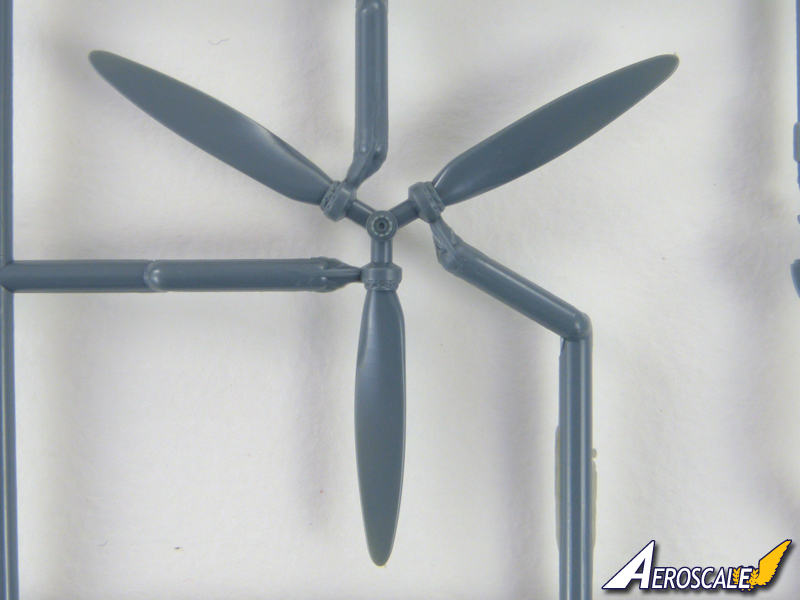
Spinner and a choice of propellers for different variants:

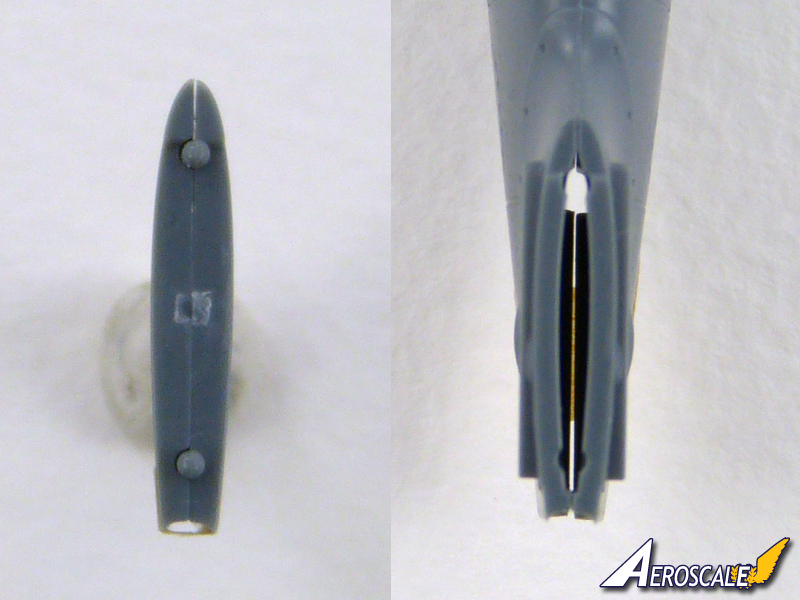
Drop tank and bomb:

I'll add photos of the remaining parts as they arrive - and, in the meantime, get started on the build!
Much more to come.
All the best
Rowan