OFFICIAL: Big Bad Bombers Campaign
England - South East, United Kingdom
Joined: August 15, 2012
KitMaker: 408 posts
AeroScale: 365 posts
Posted: Saturday, August 09, 2014 - 10:30 PM UTC
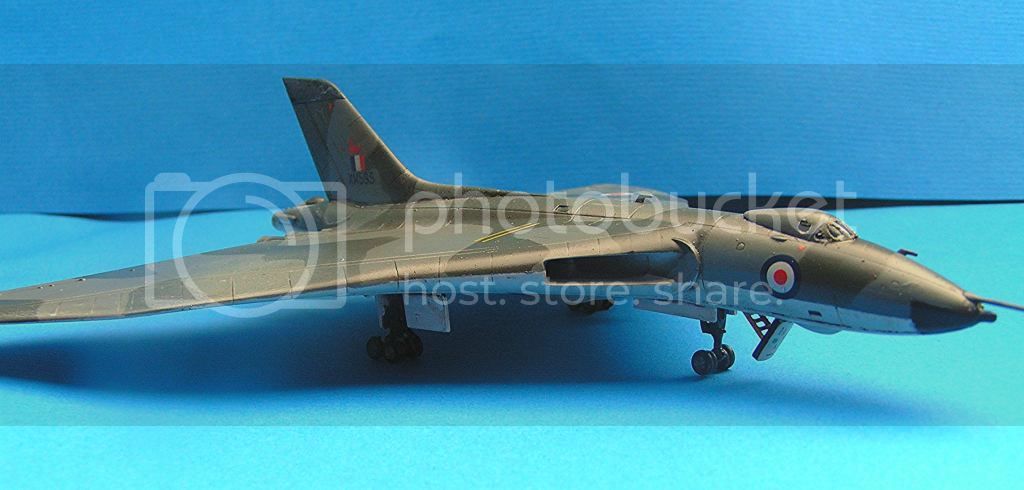
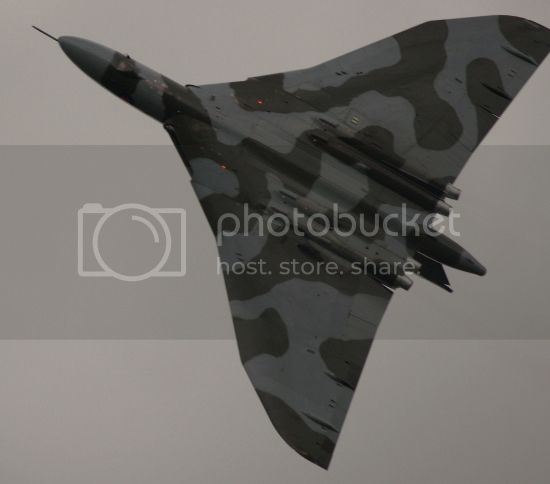
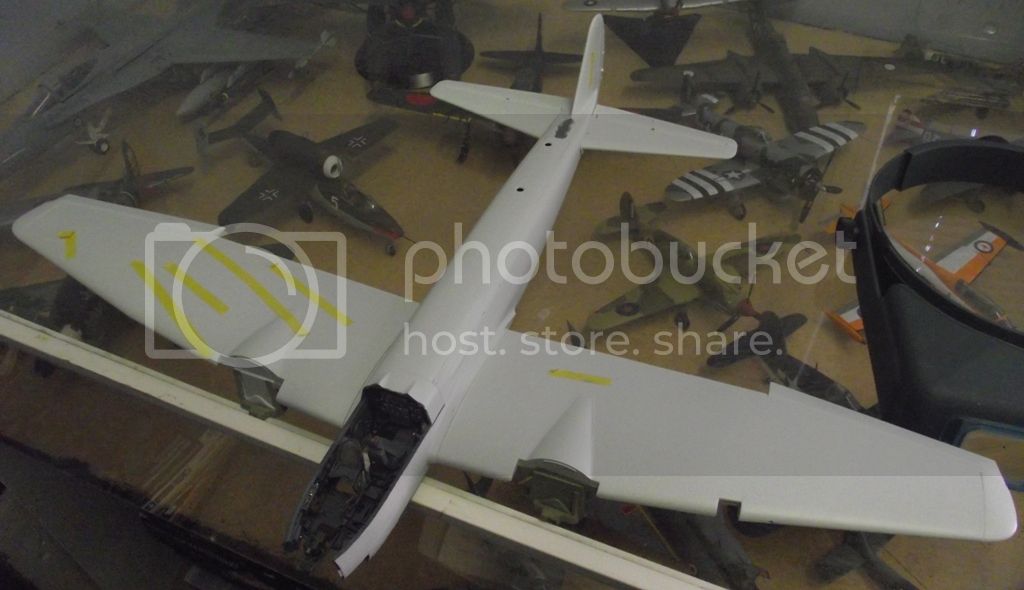
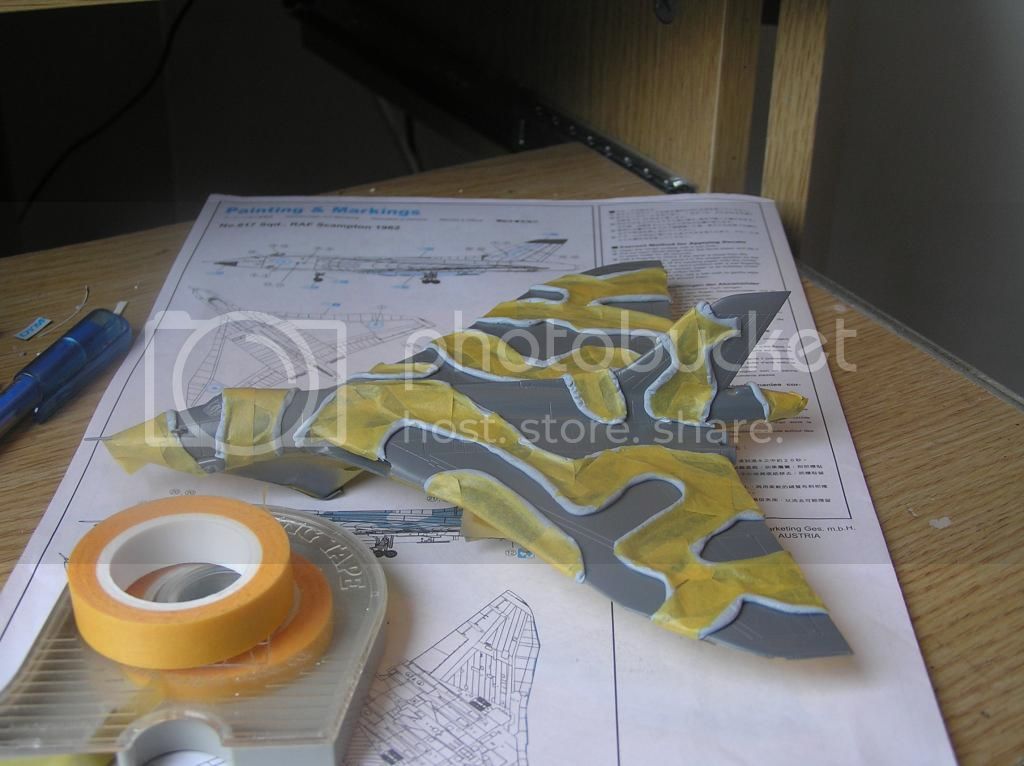
So, the underside is sprayed white, the topside is medium sea grey, and I've just finished masking the camouflage pattern. This has to be the smallest scale pattern I have ever masked. The blu tack snakes are tiny!
Cheers Everybody!

On the workbench
National Pride - 1/72 BAe Nimrod MR2.P
Tiger Meet! - 1/72 Panavia Tornado ECR (Luftwaffe)
Airfix III - 1/72 Hawker Hunter FGA.9
Hairy Brush - 1/72 P-51D Mustang
Mustang 75 - 1/72 P-51D "Ferocious Frankie"

#523
Idaho, United States
Joined: February 28, 2014
KitMaker: 342 posts
AeroScale: 250 posts
Posted: Monday, August 11, 2014 - 05:38 AM UTC
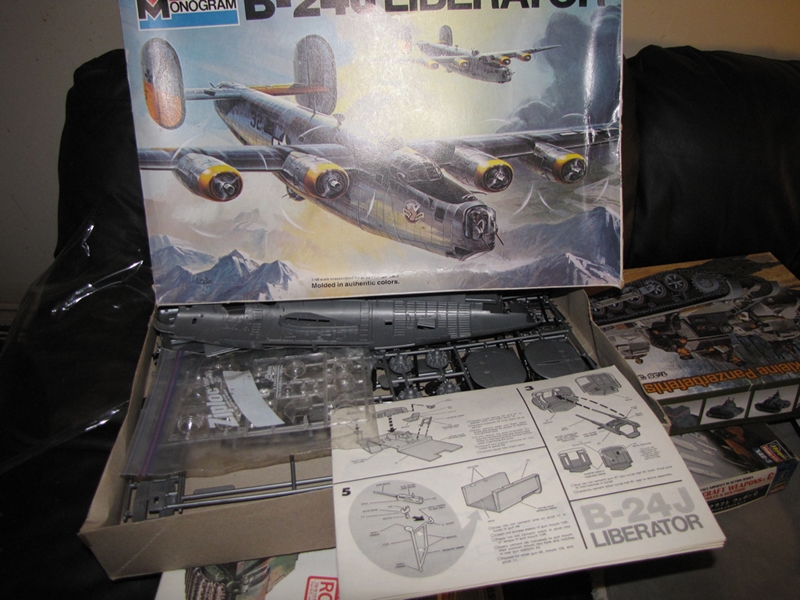
Hello, Here is my contribution to the Big Bad Bombers campaign. I tend to like Italian AC and I have had this kit for quite a long time and just never got around to building it. I have also just started to try my hand at some home-made photo etch and will use some on this AC.(I know there is already PE sets for it, But I am cheap and like to try a bunch of different things ) I did by the decals though

to use on the multiple Italian AC kits I have.


England - West Midlands, United Kingdom
Joined: August 01, 2012
KitMaker: 960 posts
AeroScale: 391 posts
Posted: Monday, August 11, 2014 - 10:42 AM UTC
Hello, my entry for the Big Bad Bombers Campaign is a Tamiya 1/100 IL28 Beagle. I've had this one on the shelf for a while and the Beagle, though understated possesses a certain Cold War cool factor. The Beagle was long lived and it was used by several air forces and though never used in the role it could go "loud" if the mission required.

England - West Midlands, United Kingdom
Joined: August 01, 2012
KitMaker: 960 posts
AeroScale: 391 posts
Posted: Monday, August 11, 2014 - 11:36 AM UTC
Quoted Text
Hello, my entry for the Big Bad Bombers Campaign is a Tamiya 1/100 IL28 Beagle. I've had this one on the shelf for a while and the Beagle, though understated possesses a certain Cold War cool factor. The Beagle was long lived and it was used by several air forces and though never used in the role it could go "loud" if the mission required.
I could hardly keep my hands off this hound and I glued a good part of it together during our thunder storms. I'm still debating what air force to do; presently the Air Force of the USSR is the leading contender.

#226
British Columbia, Canada
Joined: February 20, 2012
KitMaker: 1,909 posts
AeroScale: 508 posts
Posted: Saturday, August 16, 2014 - 06:11 PM UTC
Anything without guns is a target!
27 completed campaigns and counting :)
England - South East, United Kingdom
Joined: August 15, 2012
KitMaker: 408 posts
AeroScale: 365 posts
Posted: Sunday, August 17, 2014 - 03:47 AM UTC
On the workbench
National Pride - 1/72 BAe Nimrod MR2.P
Tiger Meet! - 1/72 Panavia Tornado ECR (Luftwaffe)
Airfix III - 1/72 Hawker Hunter FGA.9
Hairy Brush - 1/72 P-51D Mustang
Mustang 75 - 1/72 P-51D "Ferocious Frankie"
England - East Midlands, United Kingdom
Joined: April 27, 2013
KitMaker: 450 posts
AeroScale: 387 posts
Posted: Sunday, August 17, 2014 - 07:54 AM UTC
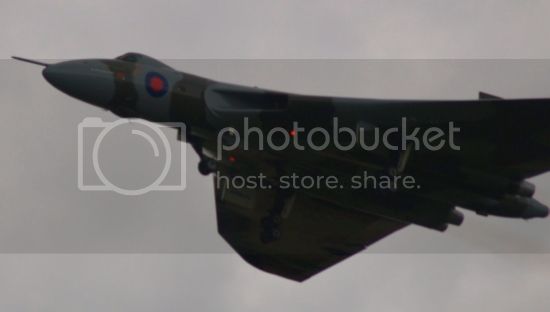
Nice job on the Vulcan

England - East Midlands, United Kingdom
Joined: April 27, 2013
KitMaker: 450 posts
AeroScale: 387 posts
Posted: Tuesday, August 19, 2014 - 09:43 AM UTC
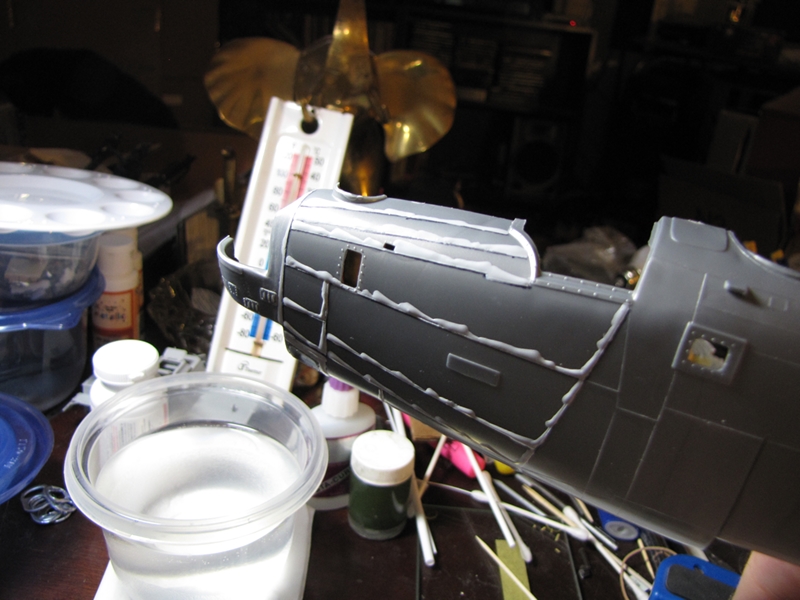
I have actually managed to put on the first primer coat, Humbrol Matt White primer from a rattle can. It has shown up a few blemishes but considering the fit of parts that is expected.


not brilliant but I only had my ancient mobile handy
#523
Idaho, United States
Joined: February 28, 2014
KitMaker: 342 posts
AeroScale: 250 posts
Posted: Wednesday, August 20, 2014 - 02:07 PM UTC
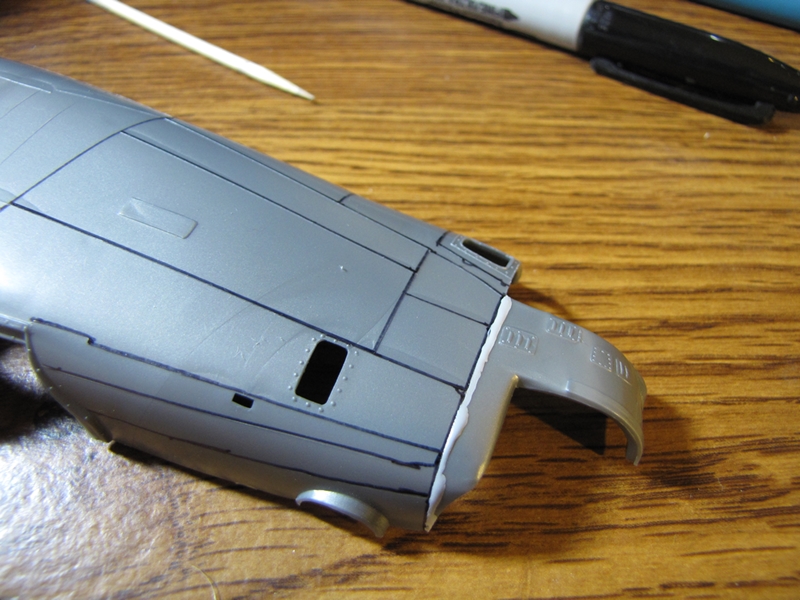
Here are some of the first pics of my build.
I have added framing to the inside of fuselage and inside the wheel wells. The interior is started with some home made PE and styrene parts.
The PE is modeled after some Eduard and CRC 1/72 & 1/48 and specifically scaled to this 1/72 AC.

England - North East, United Kingdom
Joined: April 26, 2014
KitMaker: 51 posts
AeroScale: 11 posts
Posted: Saturday, August 23, 2014 - 01:30 AM UTC
Hi All, here is my submission - sorry for late start.

as you can see its the Airfix blenny - not sure about there new styrene though seems a but soft and grannie with the man texture. but this is aircraft is the only resion I would ever think of getting one of there kits.

England - East Midlands, United Kingdom
Joined: April 27, 2013
KitMaker: 450 posts
AeroScale: 387 posts
Posted: Saturday, August 23, 2014 - 09:22 AM UTC
For reference purposes there is a build going on elsewhere in these forums. There are a few errors with the Airfix Blenheim, the most obvious being the projections in the lower front of the engines which only come later in the series. It appears in the Word war II section. It looks a great kit and I have one in my stash.
Me? I am at the painting stage with the Vulcan, a couple of rattle can coats already, one more should be sufficient before a coat of gloss, decalling, semi-gloss coat and weathering before mounting on a suitable base.
#306
Victoria, Australia
Joined: June 27, 2010
KitMaker: 3,959 posts
AeroScale: 598 posts
Posted: Saturday, August 23, 2014 - 11:49 PM UTC
Quoted Text
Hi All, here is my submission - sorry for late start.
as you can see its the Airfix blenny - not sure about there new styrene though seems a but soft and grannie with the man texture. but this is aircraft is the only resion I would ever think of getting one of there kits.
Hi Chris!

hopefully this kit changes your opinion of the new tool kits from Airfix

Stay home and build models!
In 1/72
Gloster Gladiator MkII for the Bi-planes Campaign
In 1/350
Airfix 1:350 Type 45 Destroyer
New York, United States
Joined: March 08, 2010
KitMaker: 3,662 posts
AeroScale: 174 posts
Posted: Sunday, August 24, 2014 - 04:49 AM UTC
Active Campaigns on the bench:
Operation Fall Gelb - Pz.Kpfw. IV Ausf. C
Engineering the Future - M-26 Recovery Vehicle
115 Campaigns completed
#226
British Columbia, Canada
Joined: February 20, 2012
KitMaker: 1,909 posts
AeroScale: 508 posts
Posted: Sunday, August 24, 2014 - 10:06 PM UTC
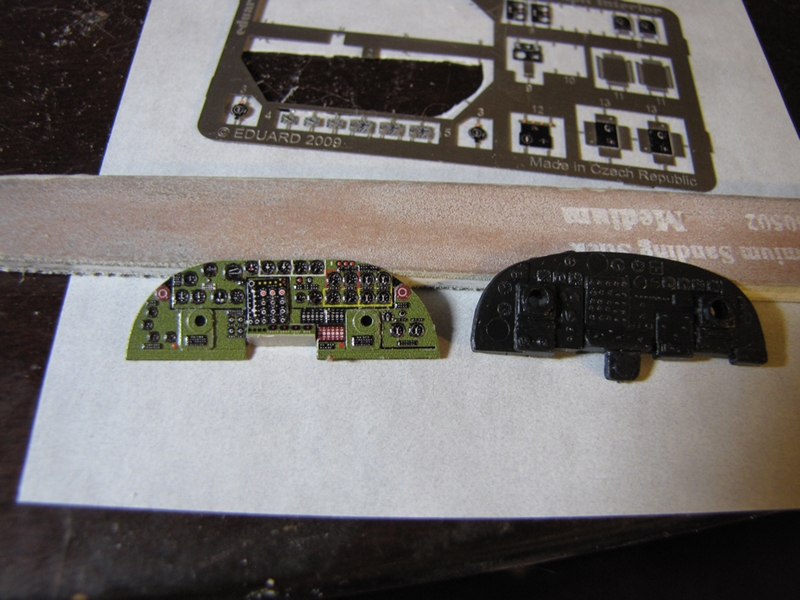
Slowly making some progress on the B-24, I like how the Eduard instrument panel looks the same can not be said of how it fits.

that will take some work.

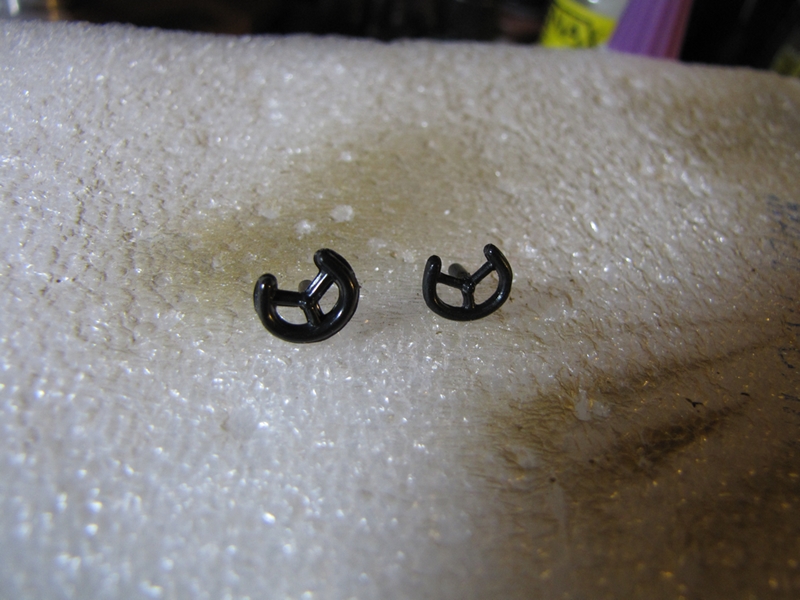
I have trimmed down one of the control columns they are quite thick.
Cheers Rob.
Anything without guns is a target!
27 completed campaigns and counting :)
Indre-et-Loire, France
Joined: May 23, 2011
KitMaker: 651 posts
AeroScale: 181 posts
Posted: Monday, August 25, 2014 - 07:19 PM UTC
Hi all,
there are good jobs around here and some pretty oldies and well done Lee James for your one !
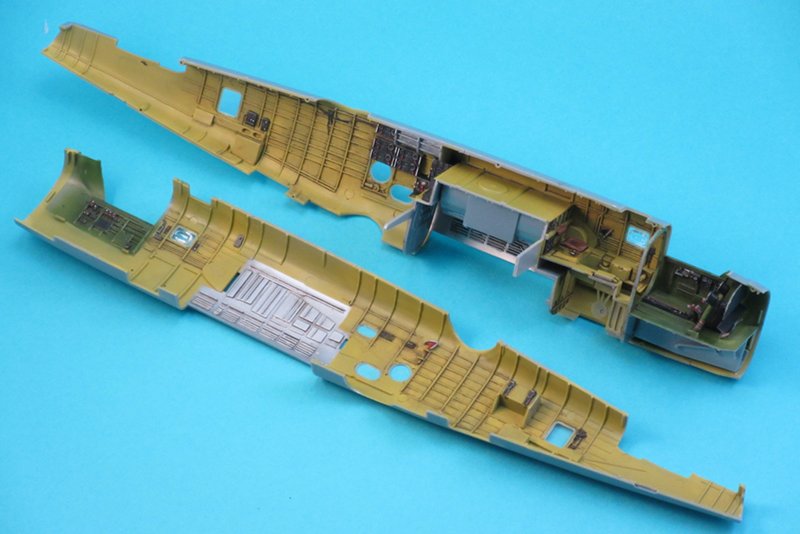
Here are my progress with some scratch builds of the interior :


And after Tamiya Primer (sorry for the first photo low quality)


Cheers
nico
England - East Midlands, United Kingdom
Joined: April 27, 2013
KitMaker: 450 posts
AeroScale: 387 posts
Posted: Tuesday, August 26, 2014 - 11:17 AM UTC
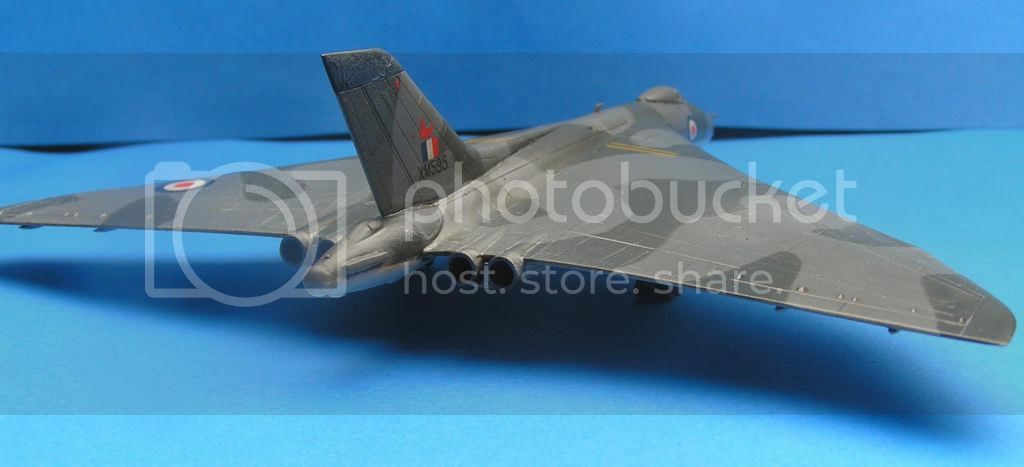
Progress with ye Vulcan


Once again taken with my ancient Nokia

Next step, gloss varnishing, and building a display base
#523
Idaho, United States
Joined: February 28, 2014
KitMaker: 342 posts
AeroScale: 250 posts
Posted: Tuesday, August 26, 2014 - 11:54 AM UTC
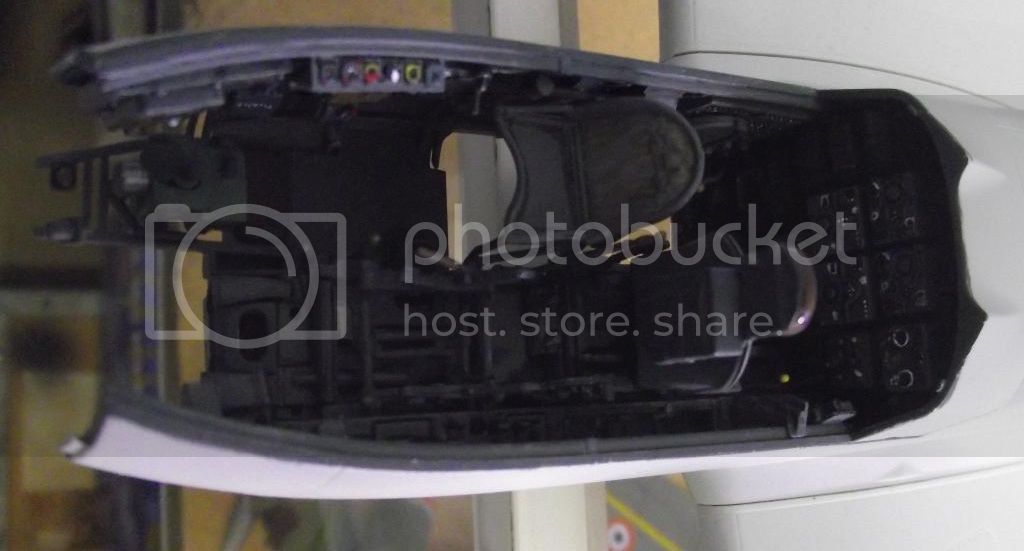
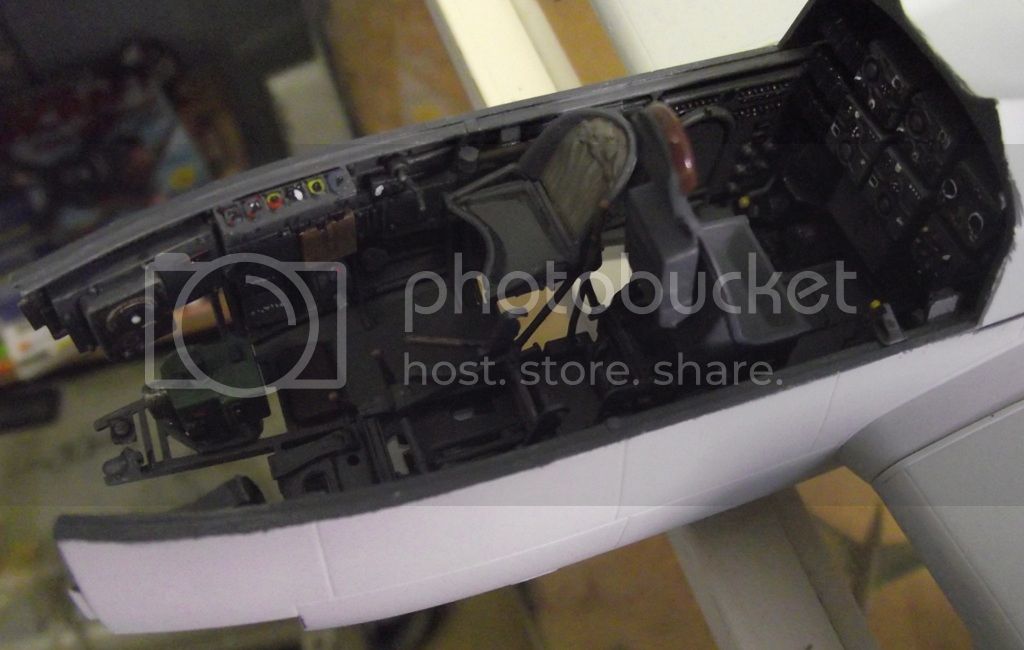
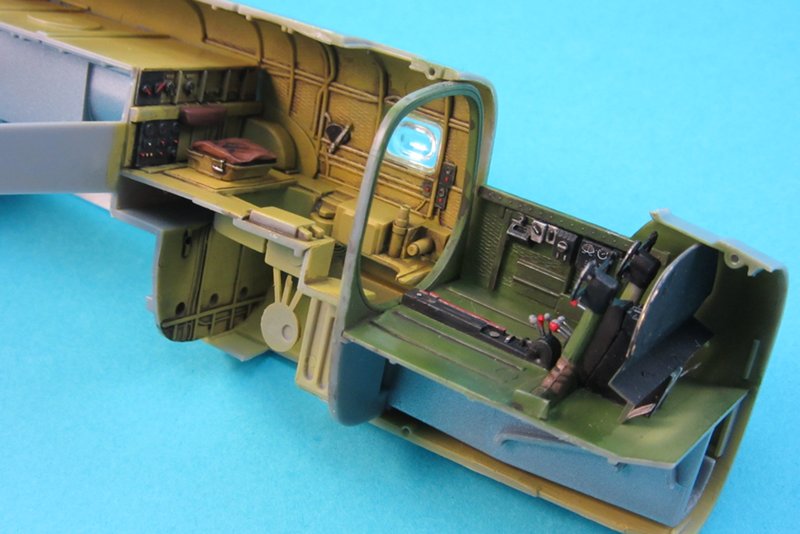
Alright I finished up the main area of the cockpit and most of the interior. (You ever wonder why we work on interiors just to button it all up and see maybe 1/10th of what you have done?)
Anyway.
Here is Cockpit section and the Drop gunner space. The gun is not complete for that. If I put sites and stuff on it I'll just break before needed anyway.

England - East Midlands, United Kingdom
Joined: April 27, 2013
KitMaker: 450 posts
AeroScale: 387 posts
Posted: Friday, August 29, 2014 - 11:52 AM UTC
Reminder to self, chunky fingers do not help with 1/200 scale models.
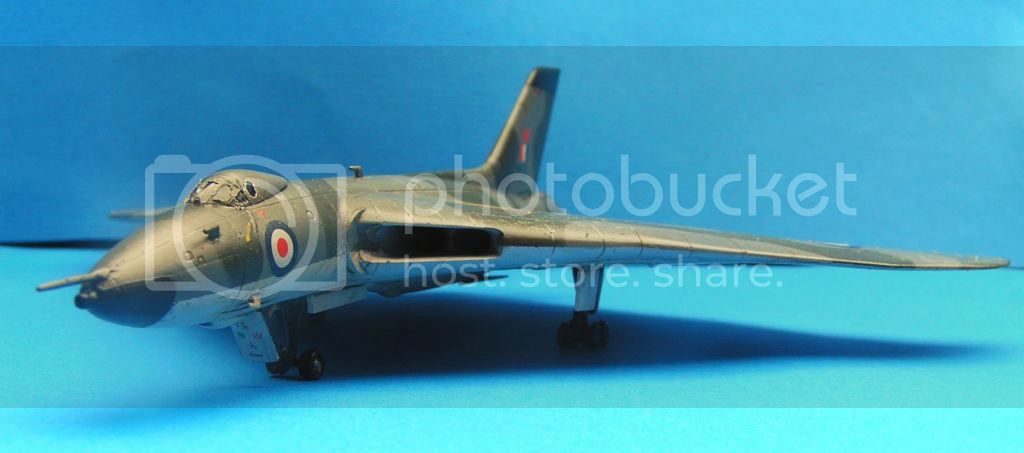
Every kit I build I feel is an exploration into better techniques, with the Vulcan i am trying a new (to me) method. I wanted to enhance the panel lines but not use a dark wash so, as the overall aircraft is White then I used a 2H pencil in the panel lines which thankfully are well defined.


To my eye this looks a bit on the heavy side but I shall persevere. It's never over till it's over
#363
Pennsylvania, United States
Joined: January 08, 2014
KitMaker: 425 posts
AeroScale: 401 posts
Posted: Sunday, August 31, 2014 - 07:52 AM UTC
1/48 Accurate Miniatures PBJ-1D conversion, VMB-611I finished all of the painting / weathering for both sides of the fuselage and all of the interior sub-assemblies. I need to trim and fit the vac canopies next so I can button her up.
I spent extra time on the front offices which should be visible through the thin vac canopy.
On the Bench:
The Big Three: Eduard 1:48 Bf 109G-2 Trop
Radial Fighters: Hasegawa 1:48 Ki84 Frank
The Mighty Eighth: Eduard 1:48 P-51D-10
England - South East, United Kingdom
Joined: August 15, 2012
KitMaker: 408 posts
AeroScale: 365 posts
Posted: Monday, September 01, 2014 - 06:53 PM UTC
On the workbench
National Pride - 1/72 BAe Nimrod MR2.P
Tiger Meet! - 1/72 Panavia Tornado ECR (Luftwaffe)
Airfix III - 1/72 Hawker Hunter FGA.9
Hairy Brush - 1/72 P-51D Mustang
Mustang 75 - 1/72 P-51D "Ferocious Frankie"
#523
Idaho, United States
Joined: February 28, 2014
KitMaker: 342 posts
AeroScale: 250 posts
Posted: Wednesday, September 03, 2014 - 08:54 AM UTC
Good thing Angelo from SPECTRE was flying this day

It may have ended up in the Bahamas................
#439
Washington, United States
Joined: November 05, 2005
KitMaker: 4,950 posts
AeroScale: 3,192 posts
Posted: Wednesday, September 03, 2014 - 09:43 AM UTC
Great work folks!
You've intimidated me, I may just leave the B-1A in the box till next time.

Nicolas, tell us more. I assume the yellowish circles are disks that you used to fill ejector pins. Are the ribs and stringers just plain old styrene strips? How did you align them so well? What sort of wires dis you use for the 'plumbing'?

Hanger Queens in Waiting:
Monogram 1/72 F8F-1
Corsair the Sky Pirate - 1/72 Ace A-7D
Century Series - Airfix 1/72 F-105G
Anti Shipping - Academy 1/72 PBJ-1D
Academy 1/72 F-84E
#330
Queensland, Australia
Joined: July 15, 2011
KitMaker: 175 posts
AeroScale: 103 posts
Posted: Saturday, September 06, 2014 - 02:22 PM UTC
Indre-et-Loire, France
Joined: May 23, 2011
KitMaker: 651 posts
AeroScale: 181 posts
Posted: Tuesday, September 09, 2014 - 02:56 AM UTC
Quoted Text
Nicolas, tell us more. I assume the yellowish circles are disks that you used to fill ejector pins. Are the ribs and stringers just plain old styrene strips? How did you align them so well? What sort of wires dis you use for the 'plumbing'?
Hi,
Mark: Sorry for the lack of information.
You're right, the yellowish circles fill the ejector pins, i used Mr Hobby putty (white/light grey but i guess the photo light makes it looks like yellow...)
For the ribs and stringers i sliced thin rods from 0.5mm styren sheets and i made marks with pencil on the plane sides before to glue them, not a really difficult task, just a long long one...
And for the plumbings, i just used wires from an old electrical cable (the one with several thin copper wires in it) and fusible (or fuse ? not sure of the english word).
For the scratched panels on the right side i used styren sheets (i forgot if it was 0.5 or 1 mm wide) and a little bit of food aluminium for parts of the maps/documents wallet.
Hope i was clear enough
cheers
nico
England - East Midlands, United Kingdom
Joined: April 27, 2013
KitMaker: 450 posts
AeroScale: 387 posts
Posted: Sunday, September 14, 2014 - 09:17 AM UTC
I have just spent a frustrating couple of hours applying decals (in my youth we called them transfers). Being a 1/200 scale model they ain't exactly suitable for my clunky fingers but, I did it.

You may be able to see that something is missing, the serials, bit of a disaster there, they were on my bench and got wet due to some careless action by me and consequently one of them folded in on itself and try as I might I couldn't rectify the situation. Ah well, all experience.
Next stage is the final varnish coat and a suitable base.