Hi all
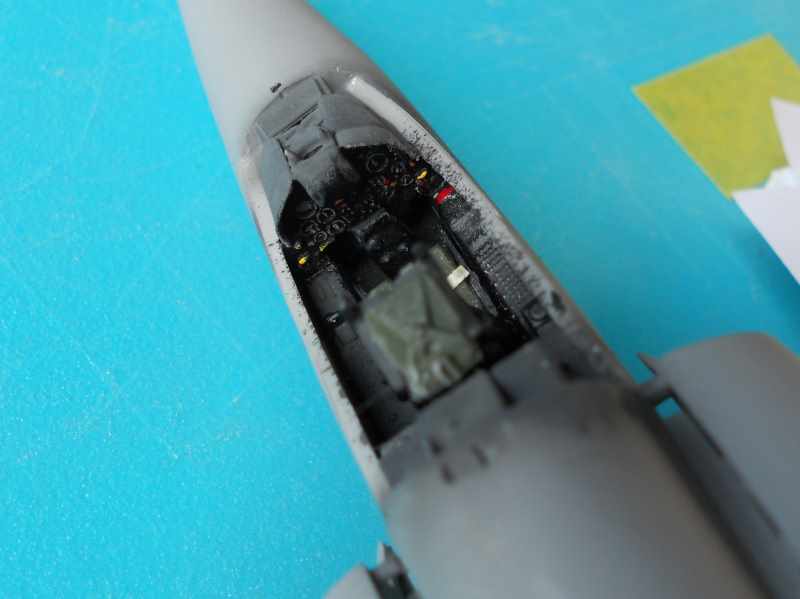
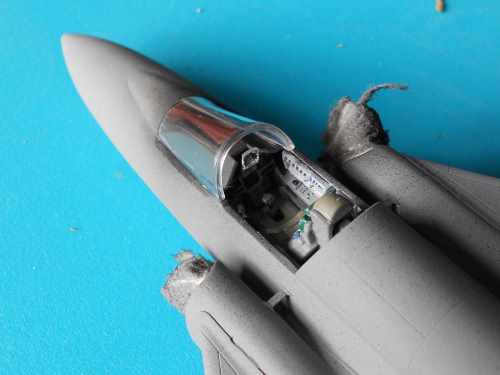
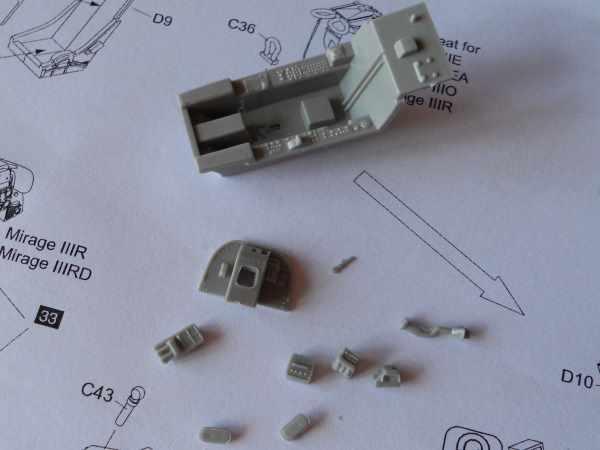
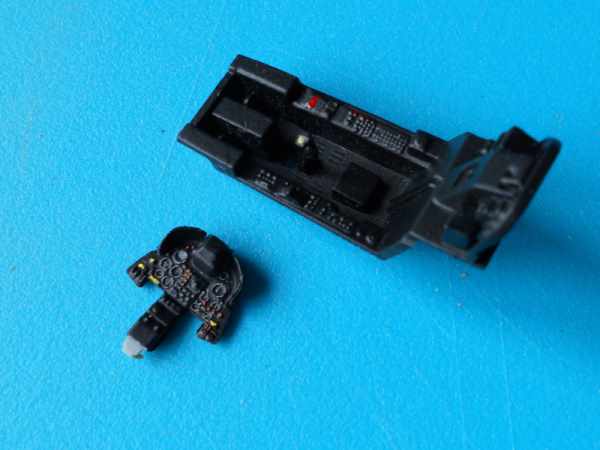
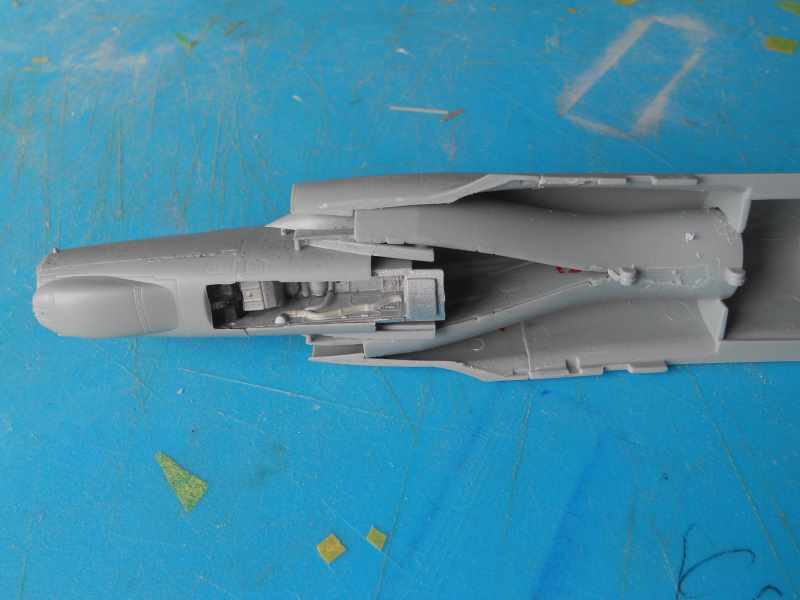
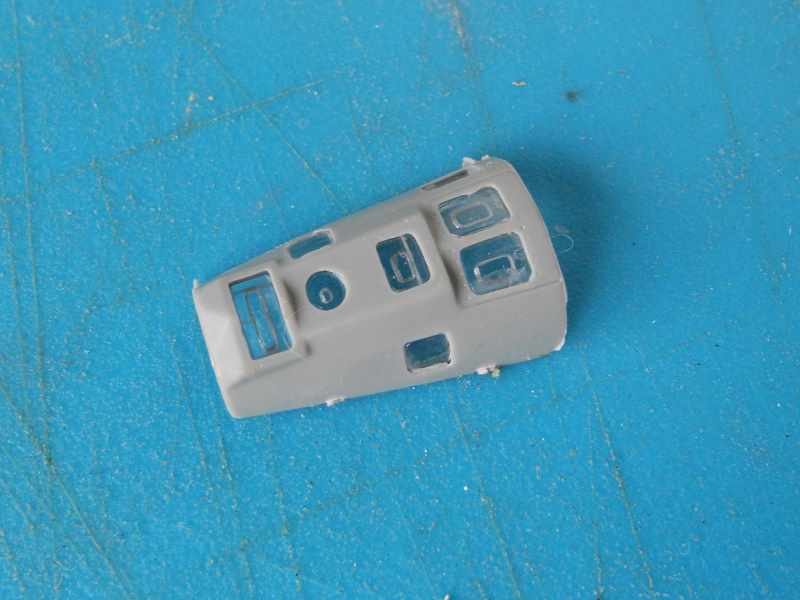
The cockpit is made up from quite a few parts and looks good once built up. The raised detail is fine, but does disappear in parts. As with most combat aircraft of this era, the inside of the cockpit is mostly black in colour. Some of the switches and instruments were highlighted with some colour. I used reference images from the internet as there are no details in the instructions. The hardest parts to install were the rudder pedals. Boy the air was blue after umpteen tries to get them looking right with some tweezers! I ended up using a cocktail stick with a tiny blob of blue tack on the end and the rudder pedals went into their positions first time. The seat will be built later.

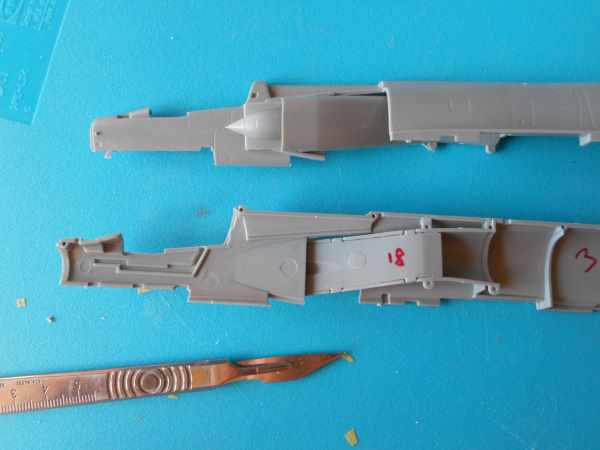
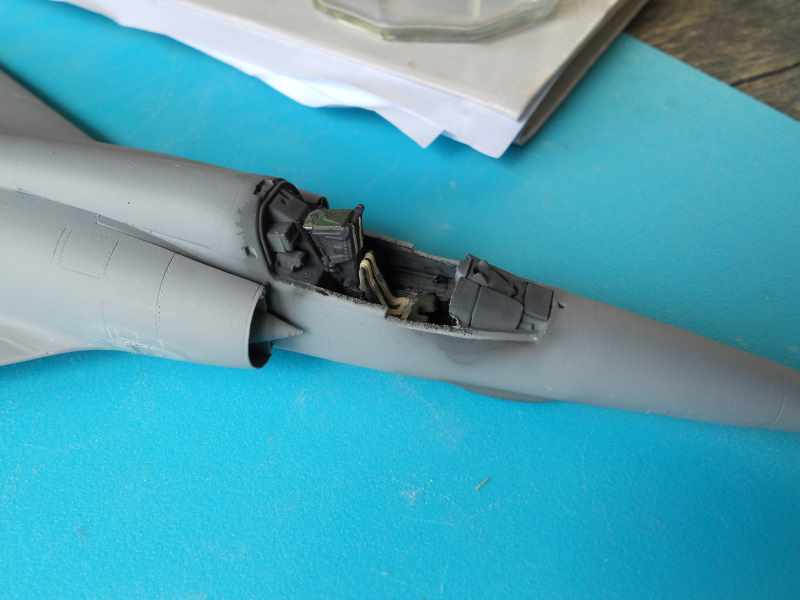
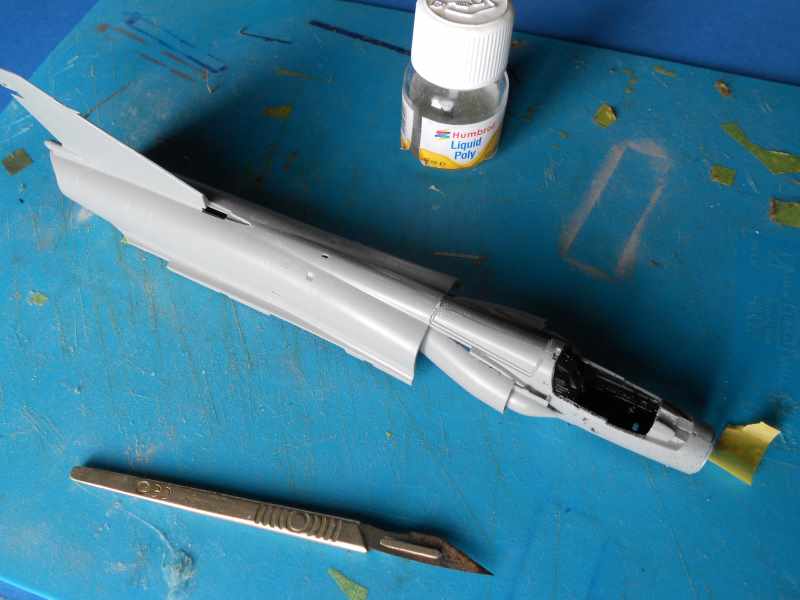
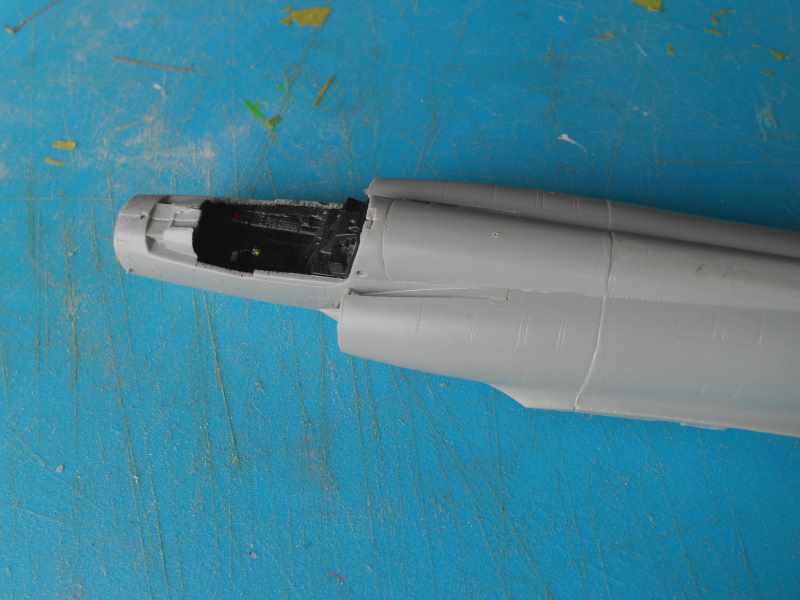
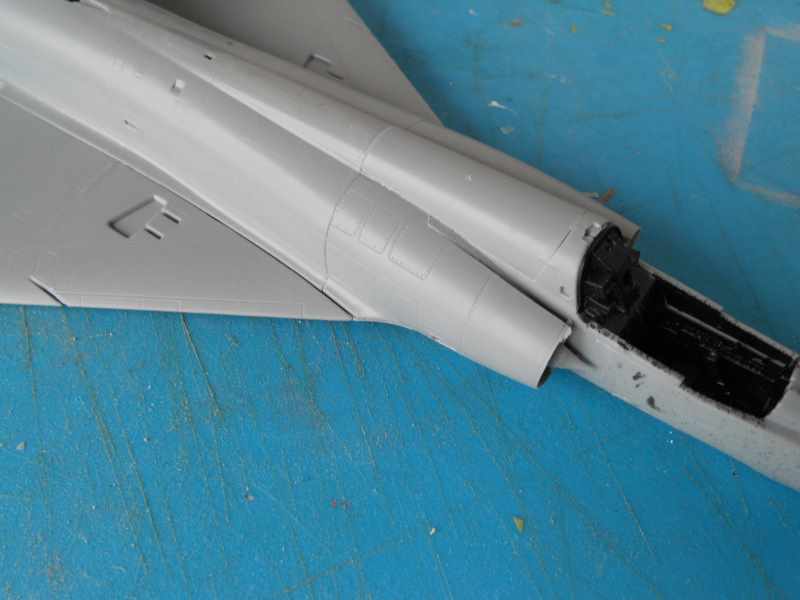
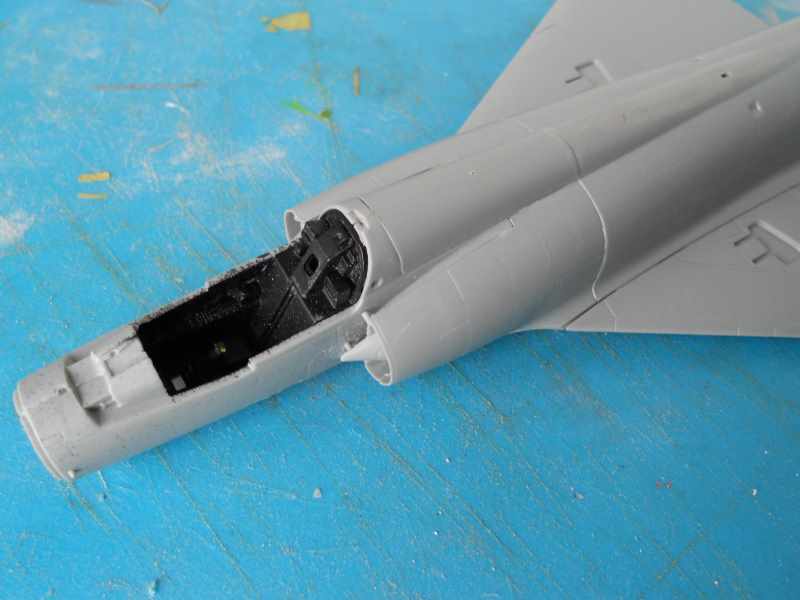
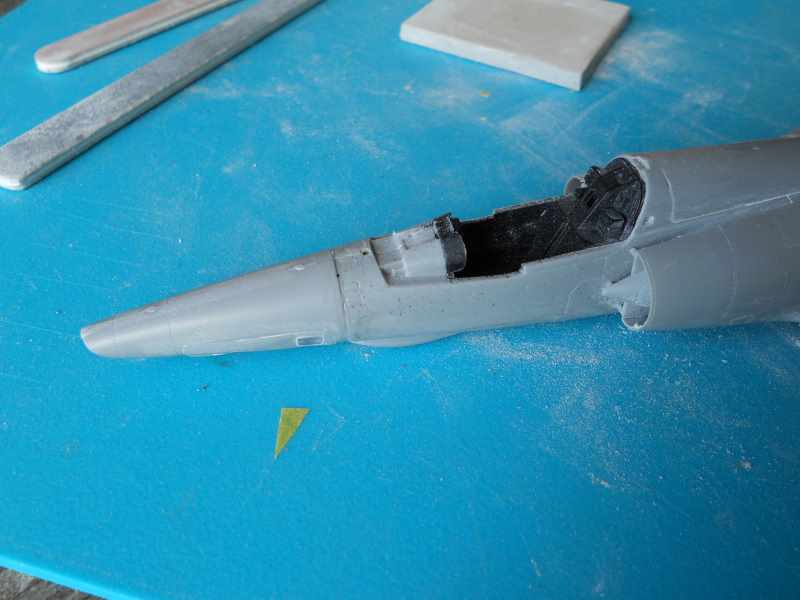
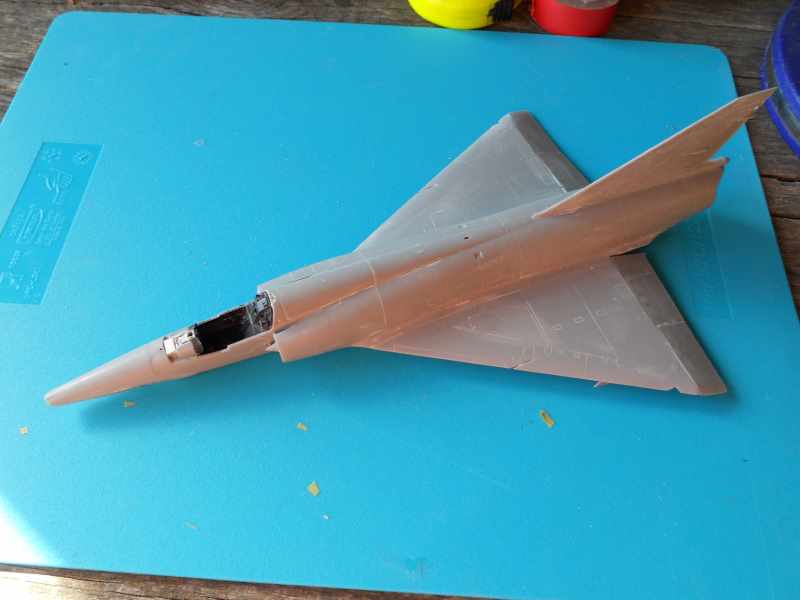
The cockpit was installed minus the seat. The fuselage halves were joined but some work was needed on the mating surfaces of the fuselage as the join was not very good. There were a few gaps that just would not close up. Also the design of the fuselage makes it difficult to clamp the halves together. I ended up using small spots of super glue along the spine and held the two halves together while the glue set. Then I reinforced the join with liquid glue.
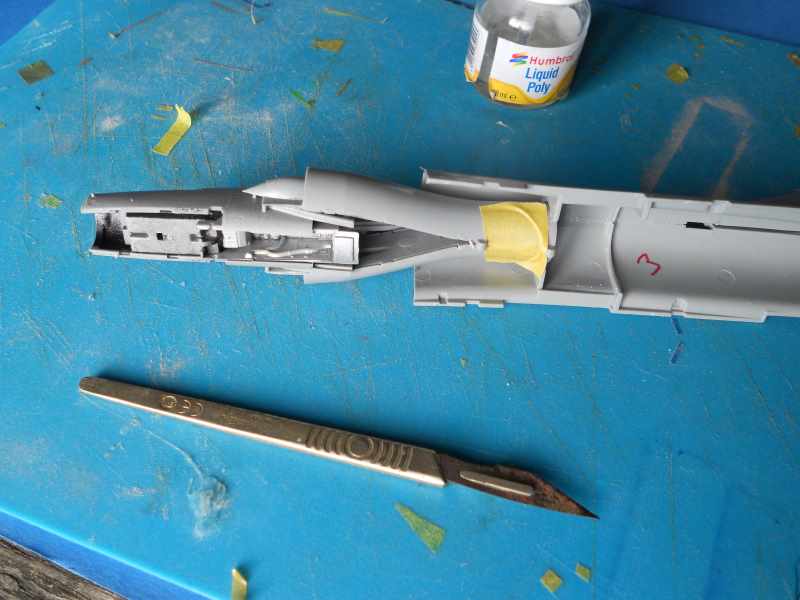
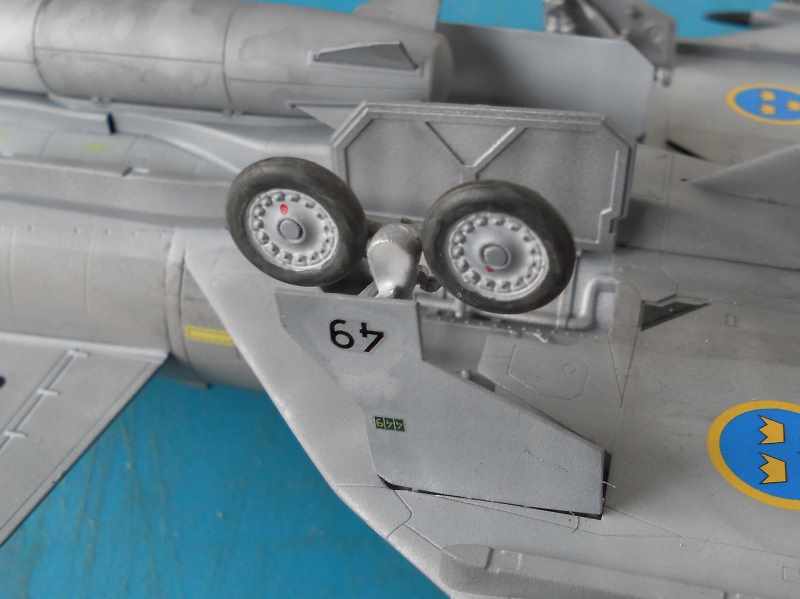
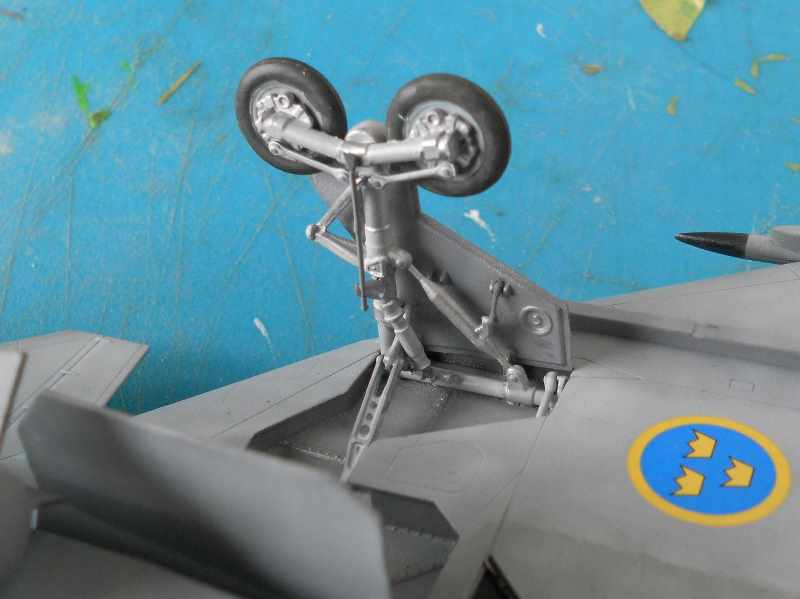
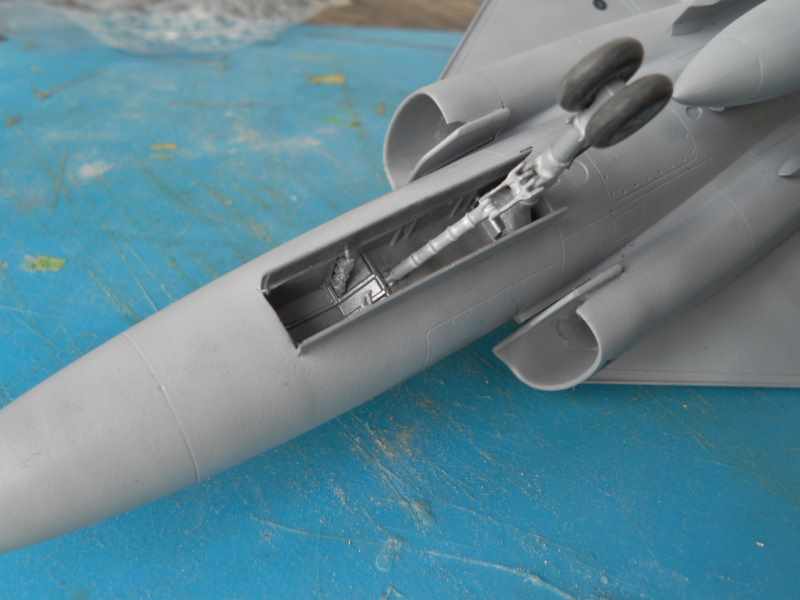
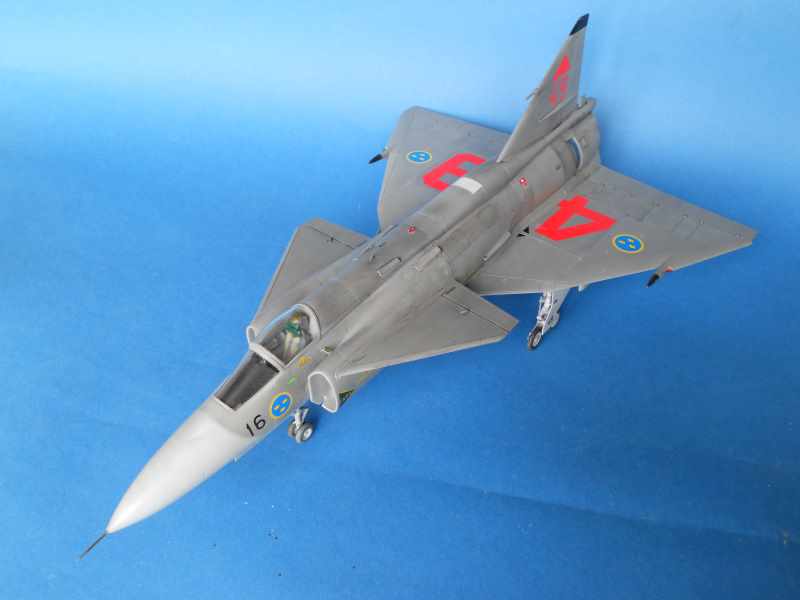
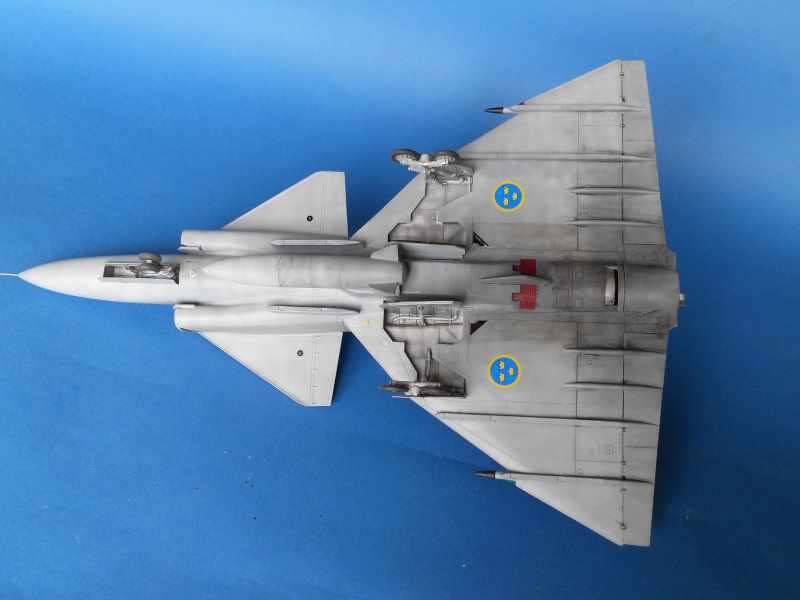
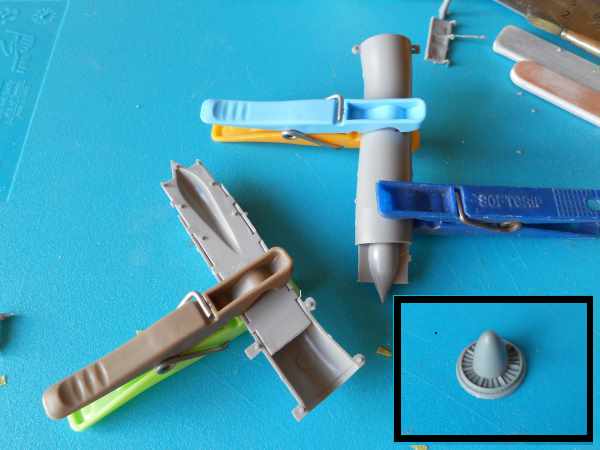
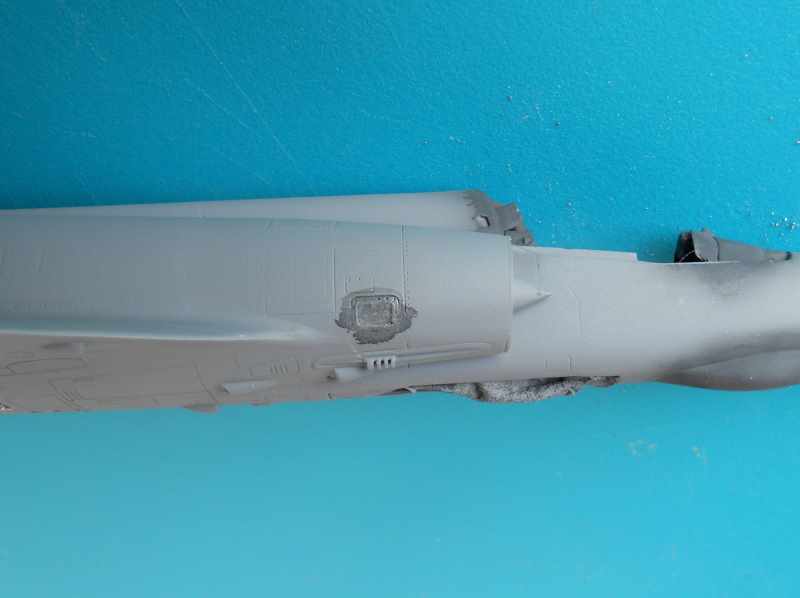
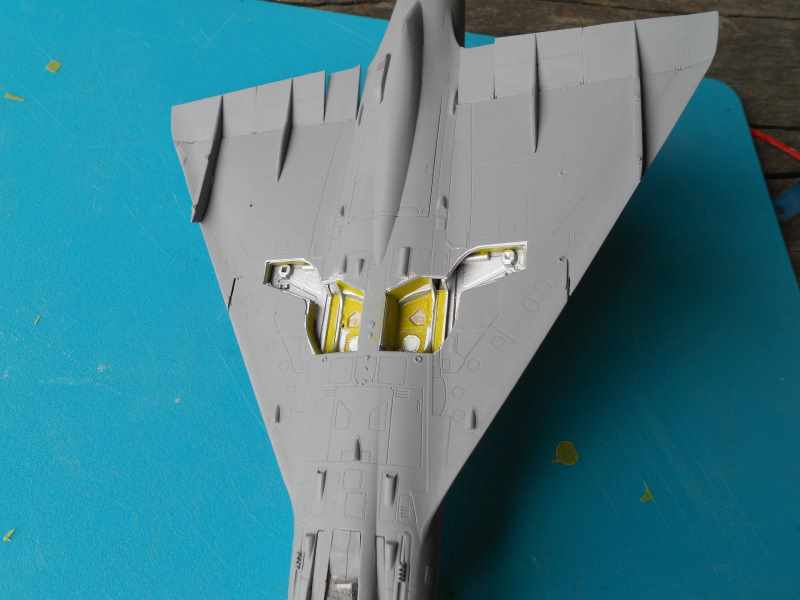
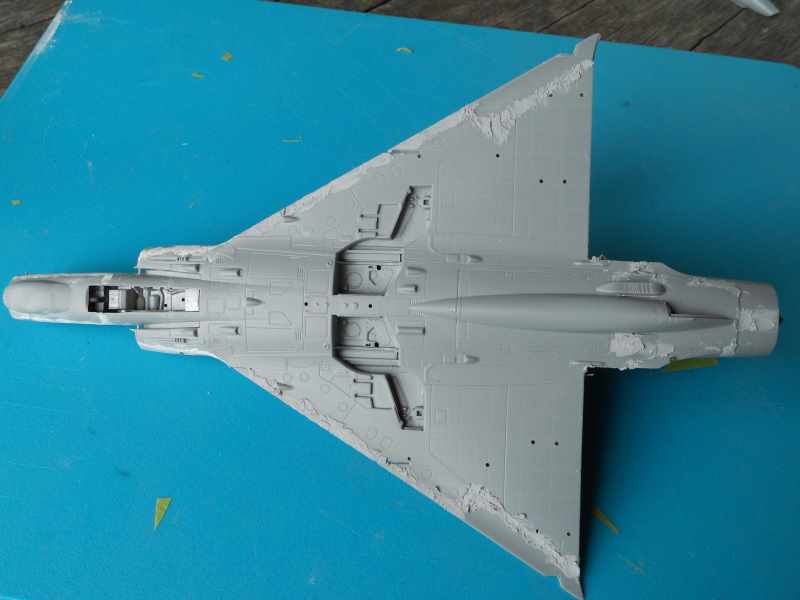
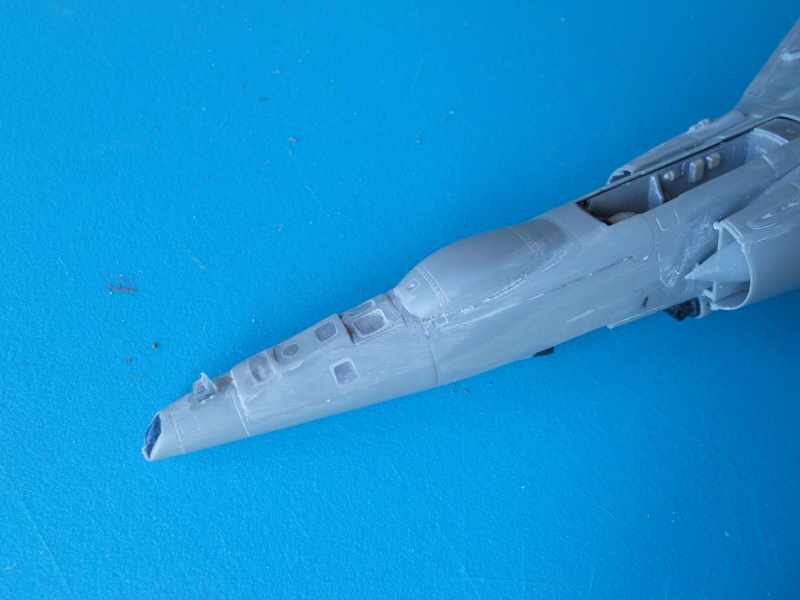
Part of the air intake and the spine behind the cockpit has been added. The joins are reasonable, but they certainly do not look like a panel lines. They will need some filling, a bit of sanding and blending. I also added the distinctive Doppler radar housing under the nose. Again the join is less than perfect. You can see the detail in front undercarriage bay is pretty good. I did pick out some of the detail with various shades of grey and aluminium, but its not obvious from this photo.
I have tried to be very careful with the joins, but the joins look more akin to welded tank plates! Hopefully I will be able to clean them up. I do laugh at some of the model companies claims that the joins fall on the panel lines on the actual aircraft. Yes they might, but the joins rarely look like the finely recessed panel lines on modern kits.
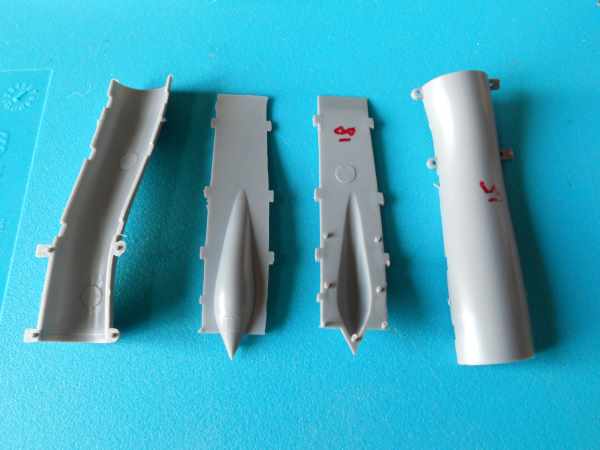
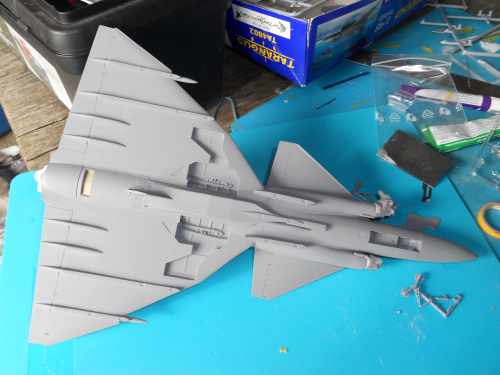
The wings were built, but I did have problems with the locating pins. They seemed to be very slightly misaligned. So I cut a couple of the locating pins off and the wings fitted together fine.
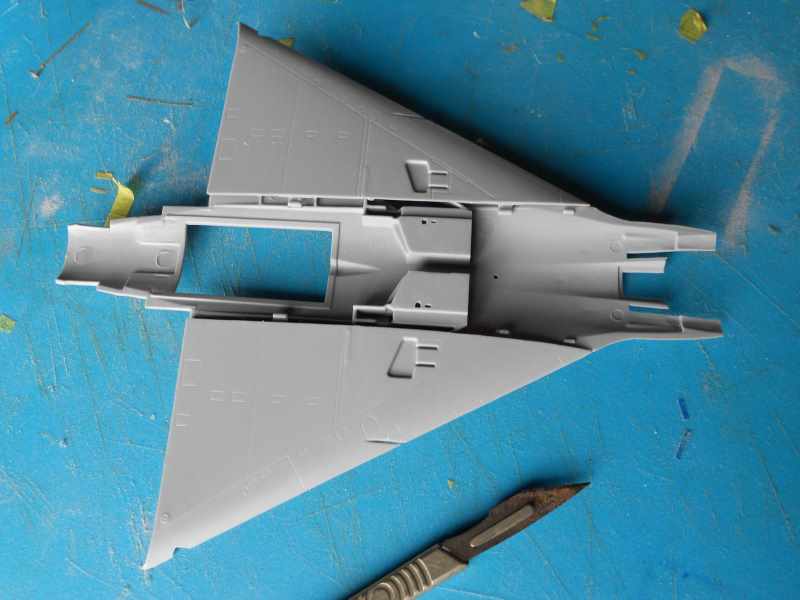
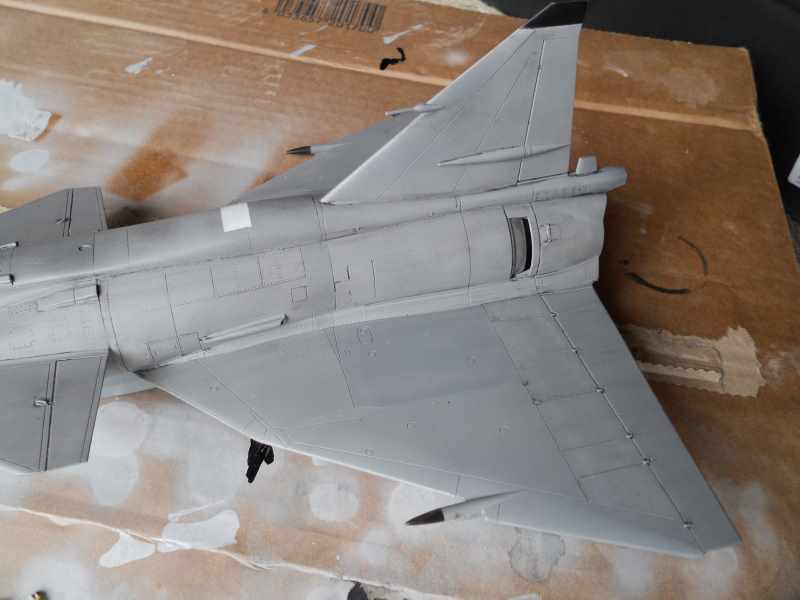
I attached the wings to the fuselage, but boy was it a struggle. The problem is trying to squeeze together the part of the intake on the wing to the intake on the fuselage. I tried clamping, taping and elastic bands, but no joy. In the end I resorted to applying spots of super glue and holding the parts in place till the glue set. I reinforced the join with some liquid glue.

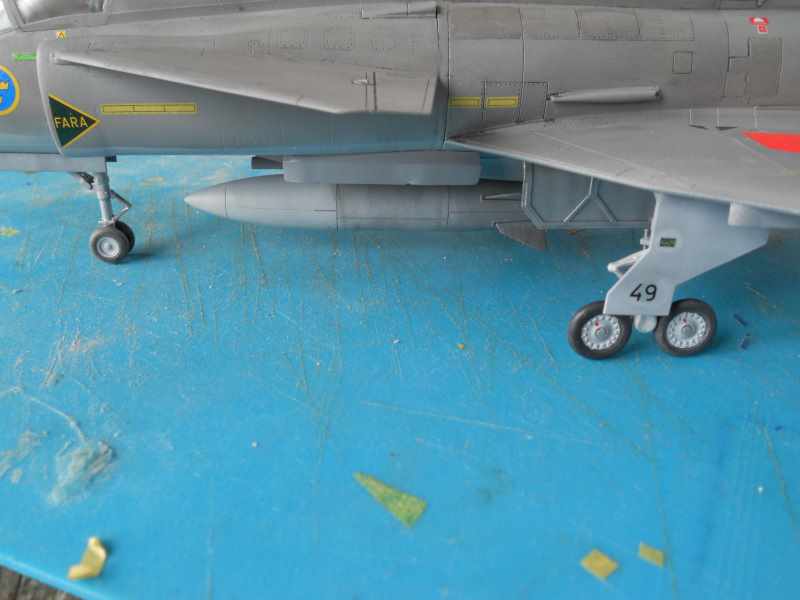
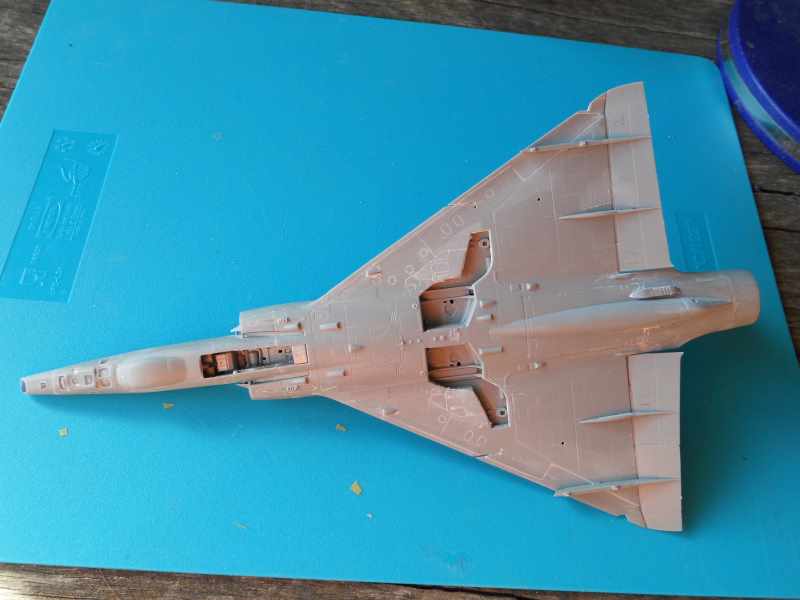
There is a sizable gap to fill along the fuselage/wing join. Hopefully this will be easily done with some stretched sprue. The rear end of the fuselage attached to the lower wing needed a small amount of plastic removing with a sanding stick. One part that does fit very well is the fuel tank underneath the rear fuselage.

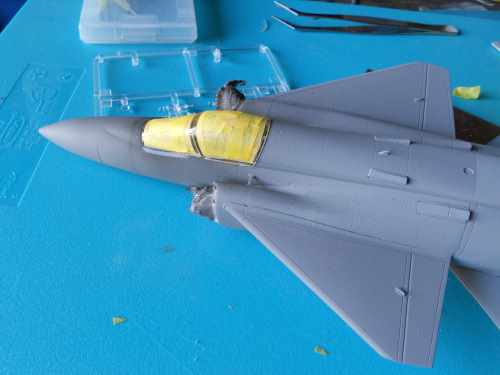
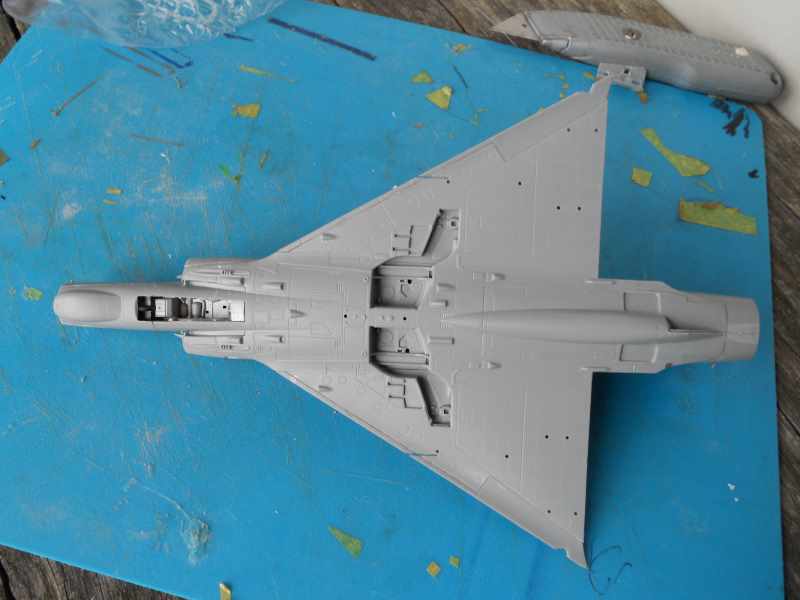
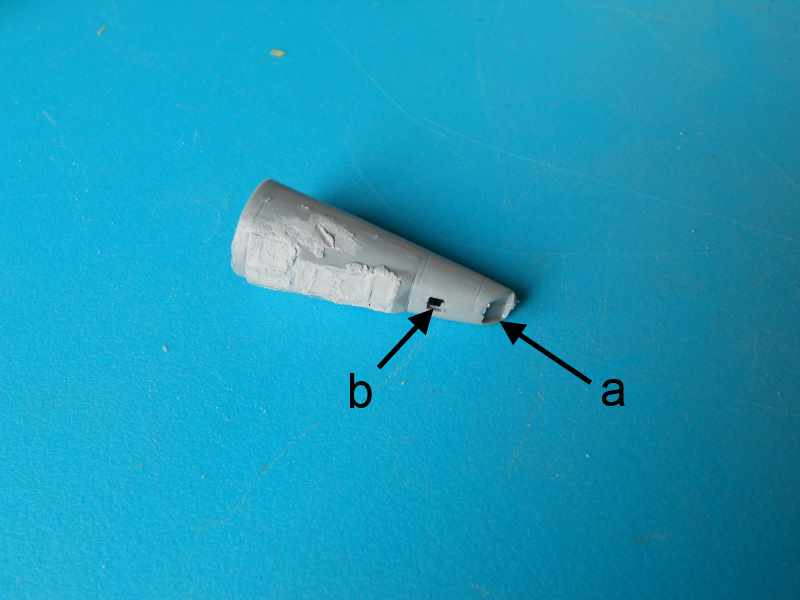
The fit of the single clear plastic which represents the windows for the cameras is not great. Some filler and cleaning up will be necessary. The instructions do not mention the transparent covers for the camera [A] in the tip of the nose and the camera [B] behind. I scratch built the camera cover [B] using a section of clear sprue which I filed four sides onto. I thought occurred to me that the parts might be included on the sprue. Sure enough there they are. So I will use my improvised cover for [B] and use the kit part for [A]. As you can see from the image I have filled the slight gaps around the clear camera cover. I will sand this down later and buff up the clear parts with micromesh polishing cloths.
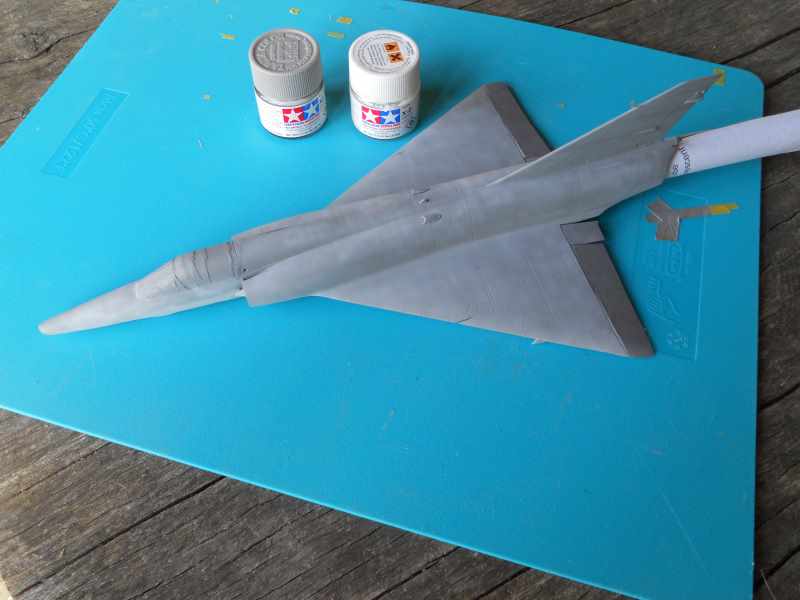
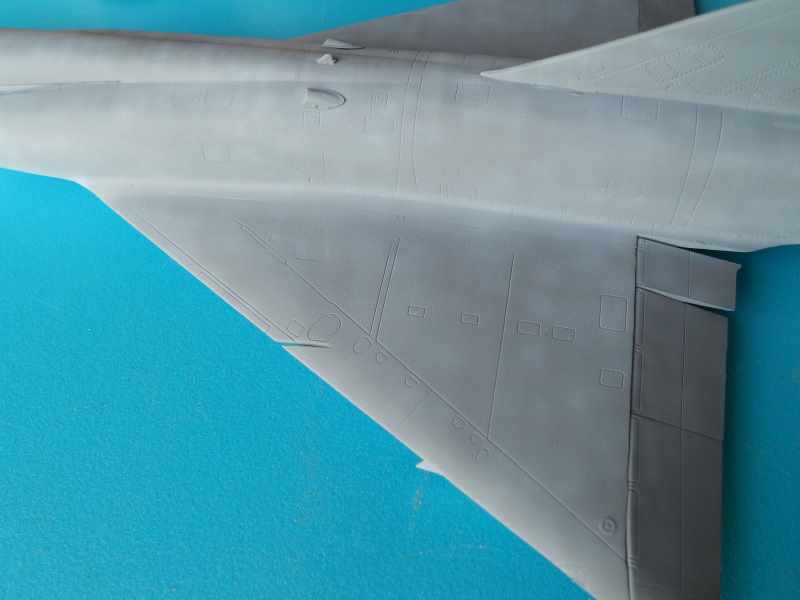
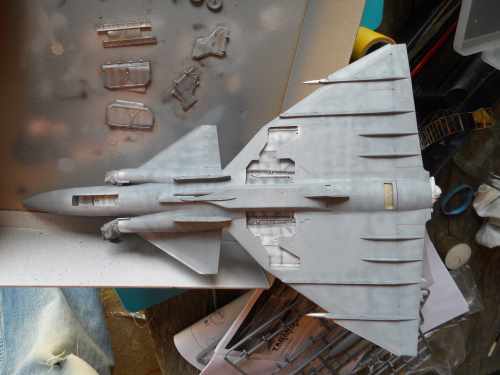
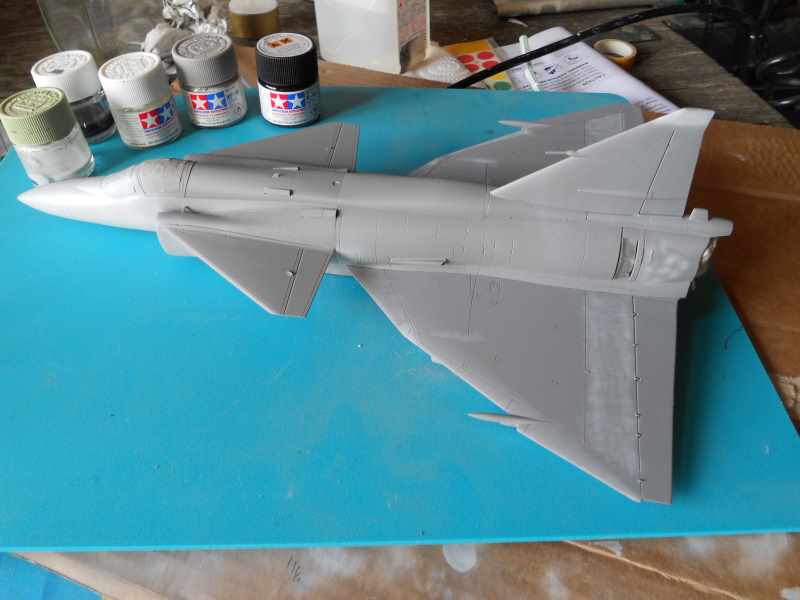
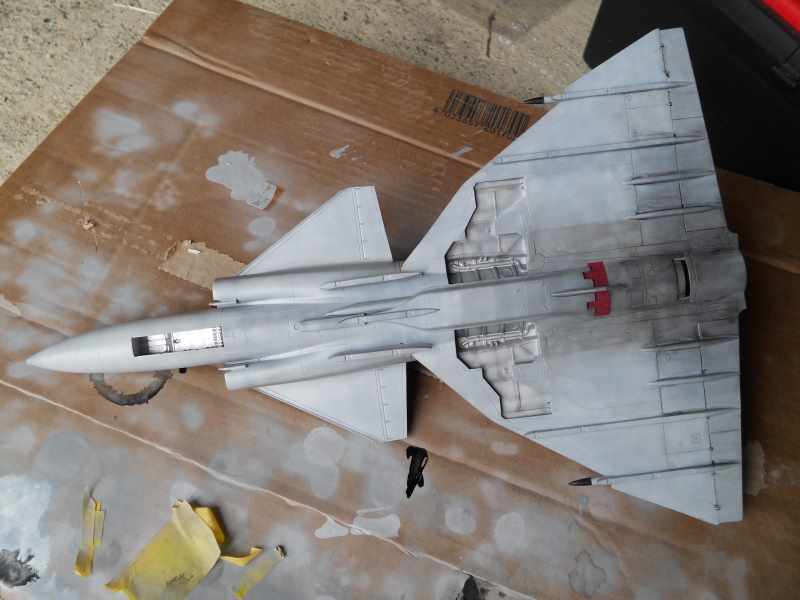
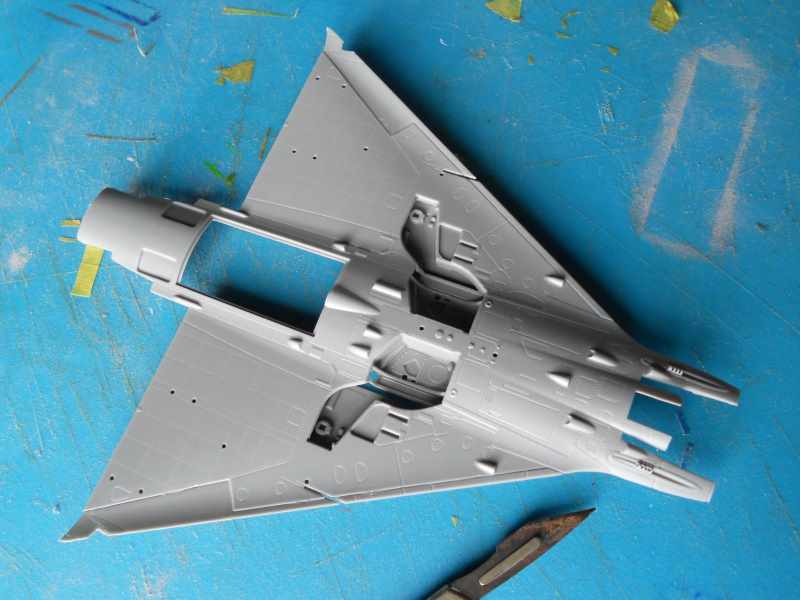
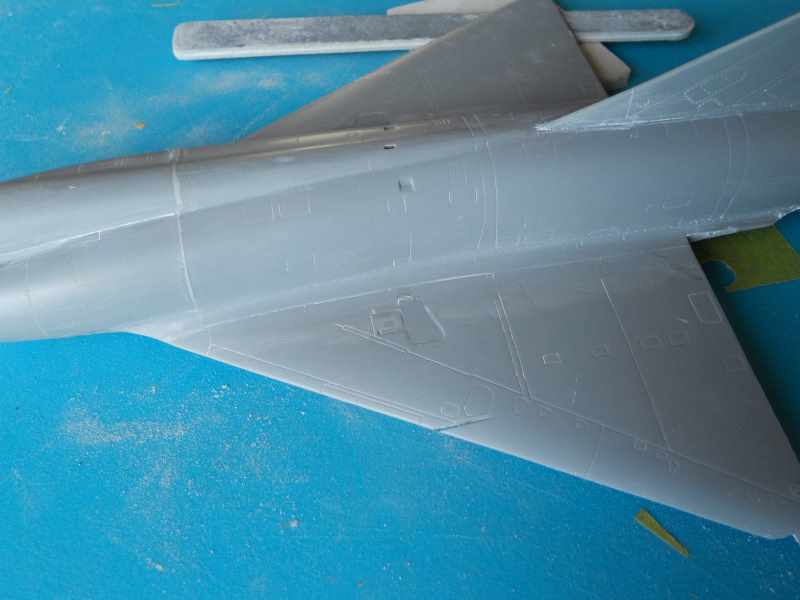
I have started filling in all of the obvious seams on this kit. I used stretched sprue on the wing root, Humbrol filler on most of the other joins and super glue and talc on the seam on the air intakes.
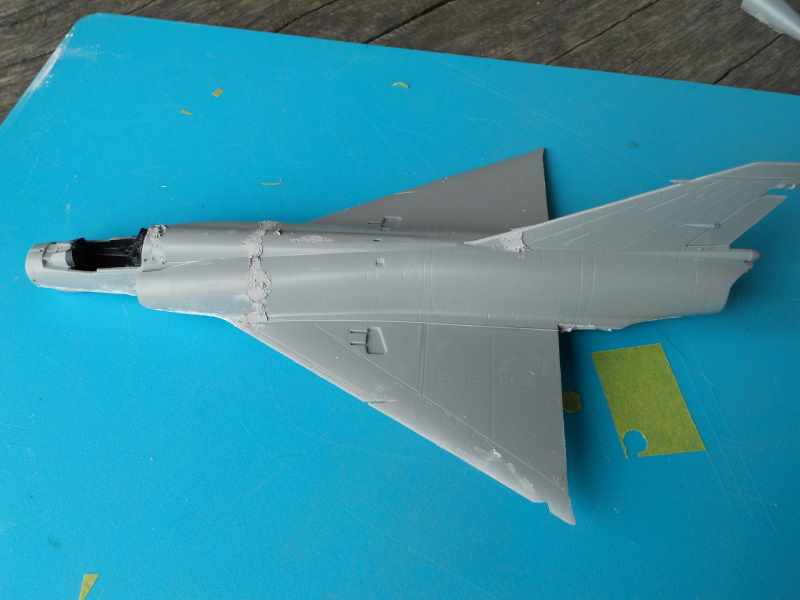
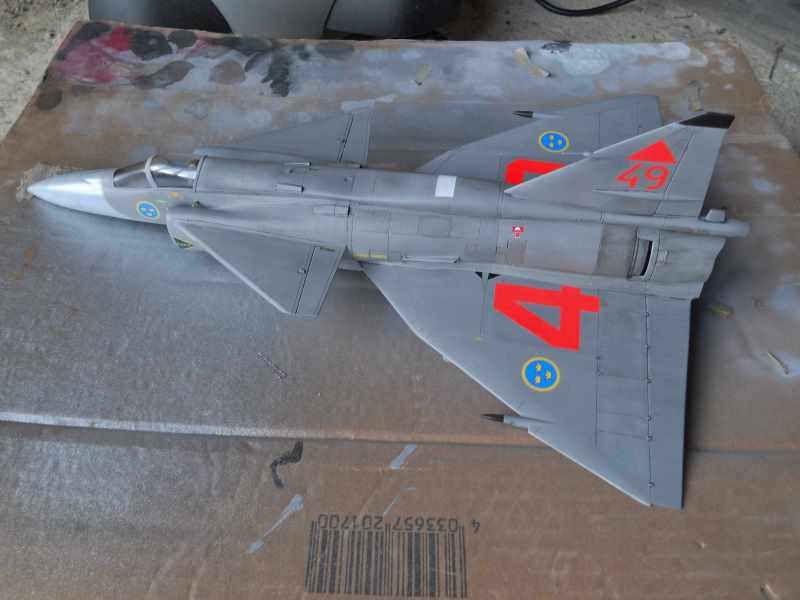
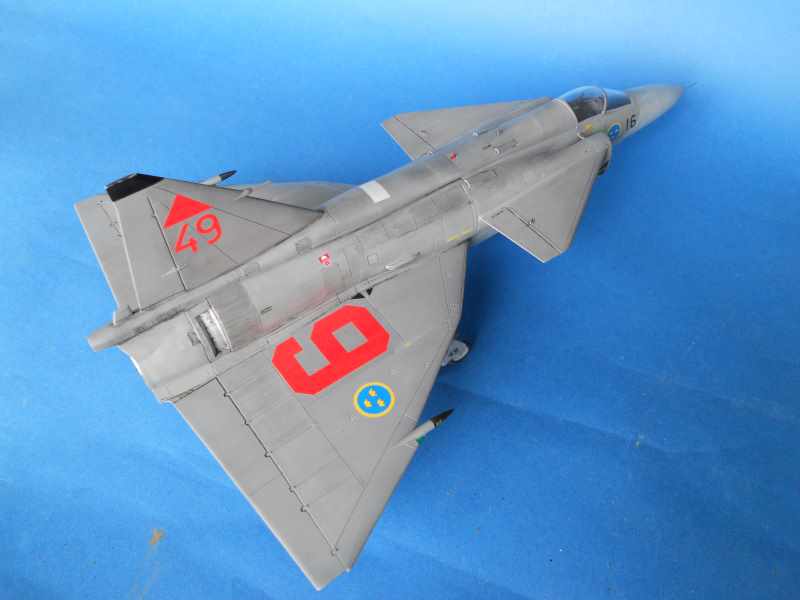
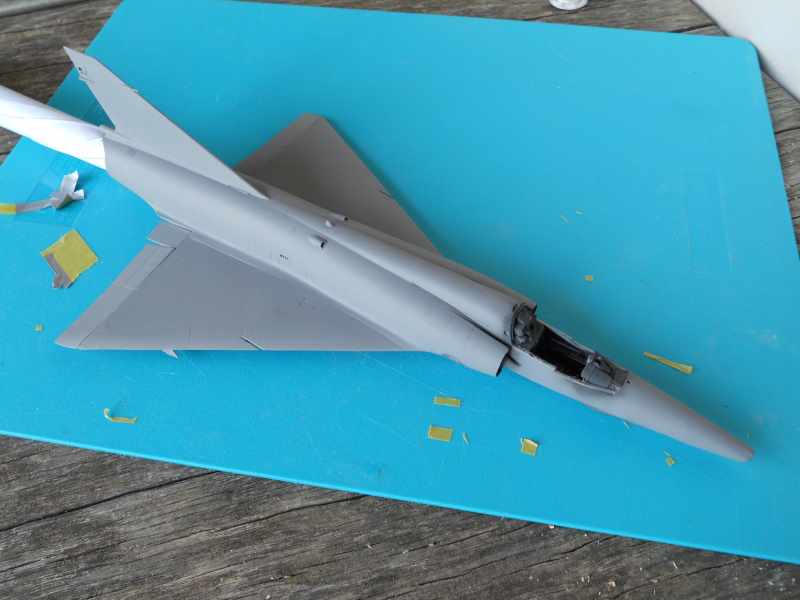
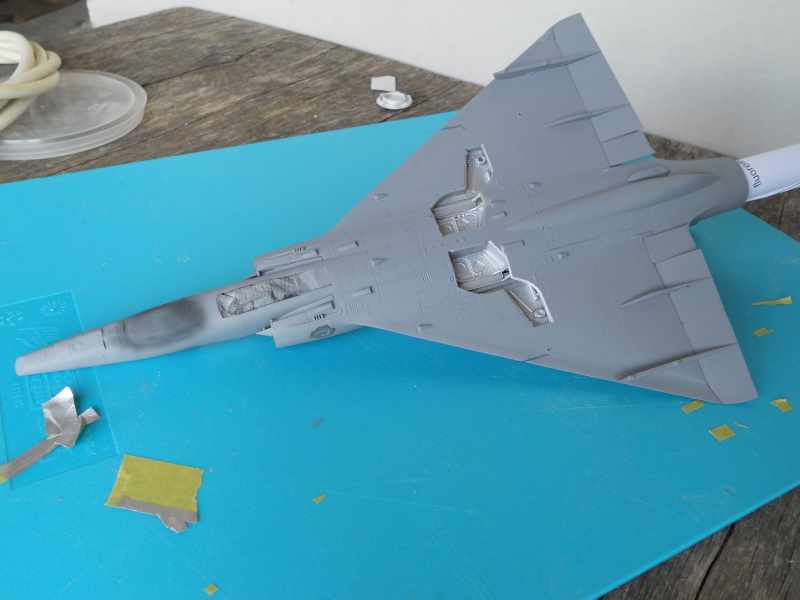
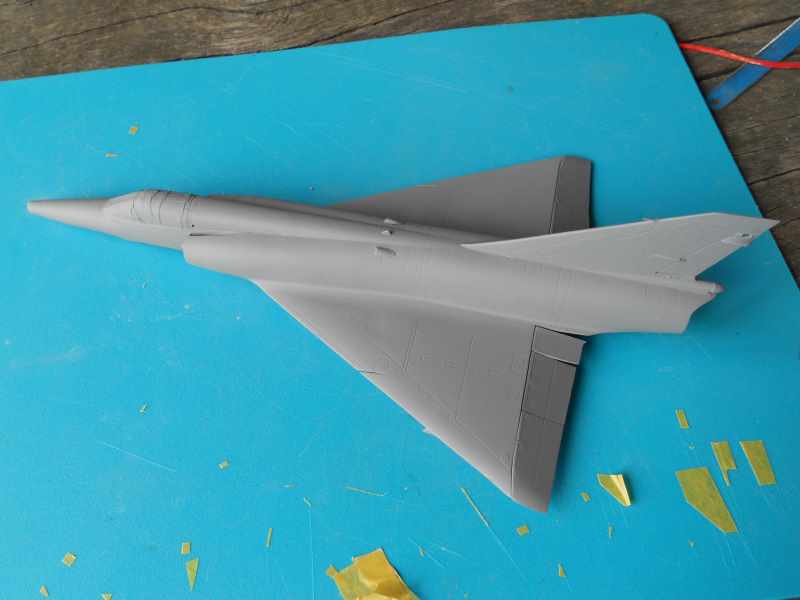
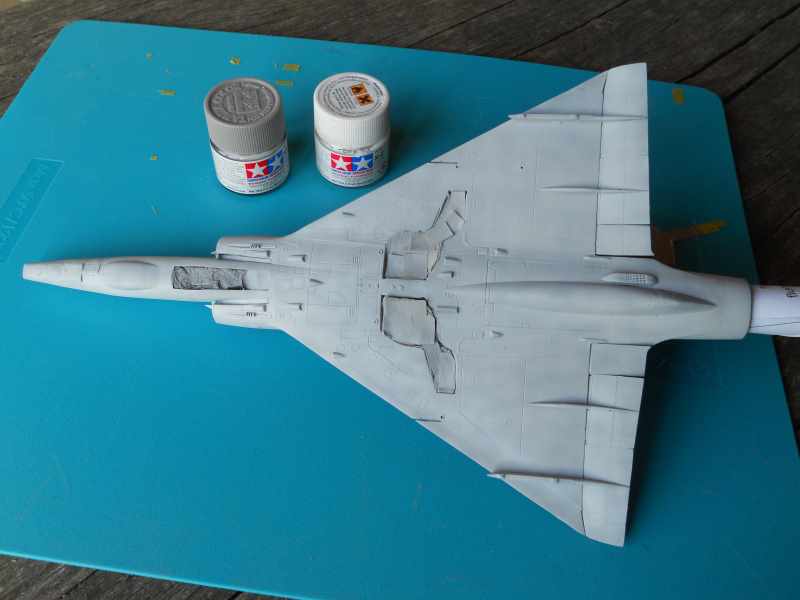
Despite the work I am really enjoying this build particularly now the gorgeous lines of the Mirage III are taking shape. I have been comparing the kit to some images and I have to say Kinetic have captured the shape nicely. The shape of the wing with the slight anhedral and the shape around the wing tips and leading edge look very good.
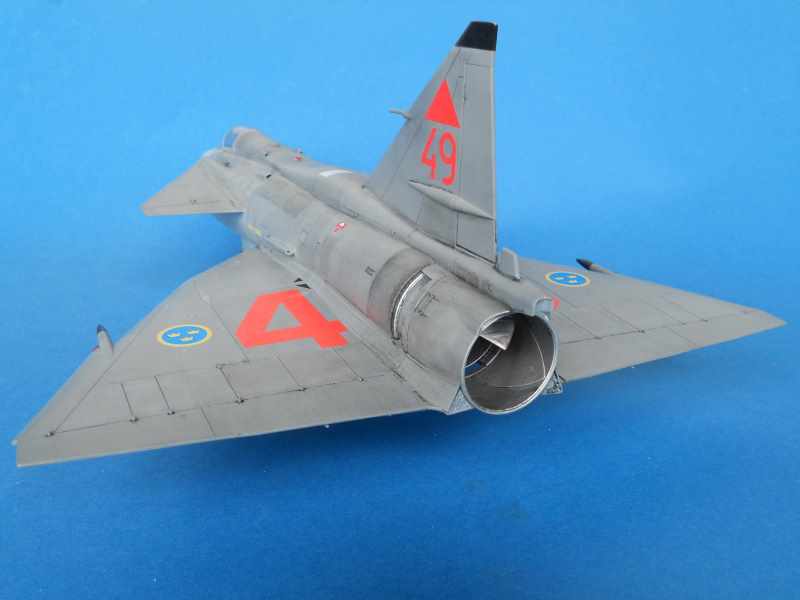
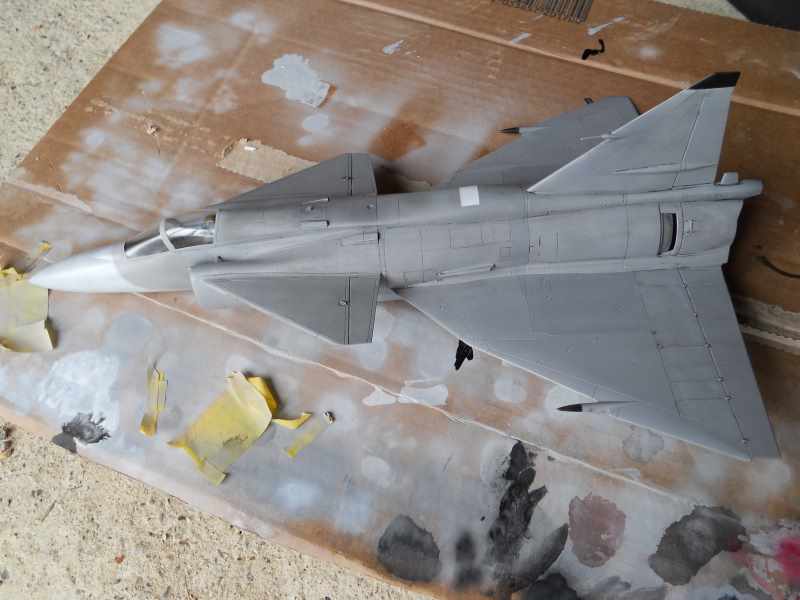
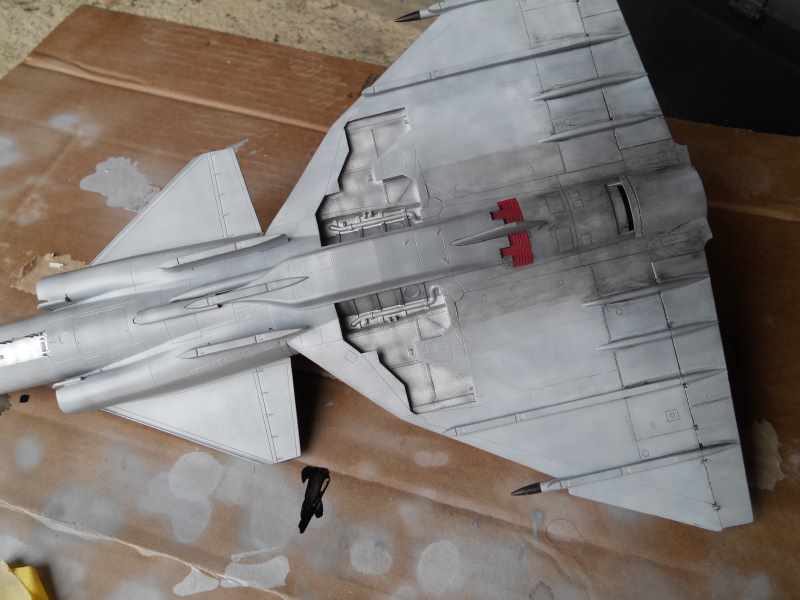
The fit of the nose to the fuselage is not great, so some work is needed to blend the nose into the fuselage. I have started cleaning up the various filled areas. One of the poorest areas for fit of parts is under the rear tail cone. The inserts either side of the fuel tank is poor by any standards. The application of the filler makes the joints look worse than they really are particularly on the under surfaces of the wing. I tend to use plenty of filler in the eternal hope that all the seams will be flawless on the first pass with the sanding sticks and sponges.
Isnt this fun!!!!
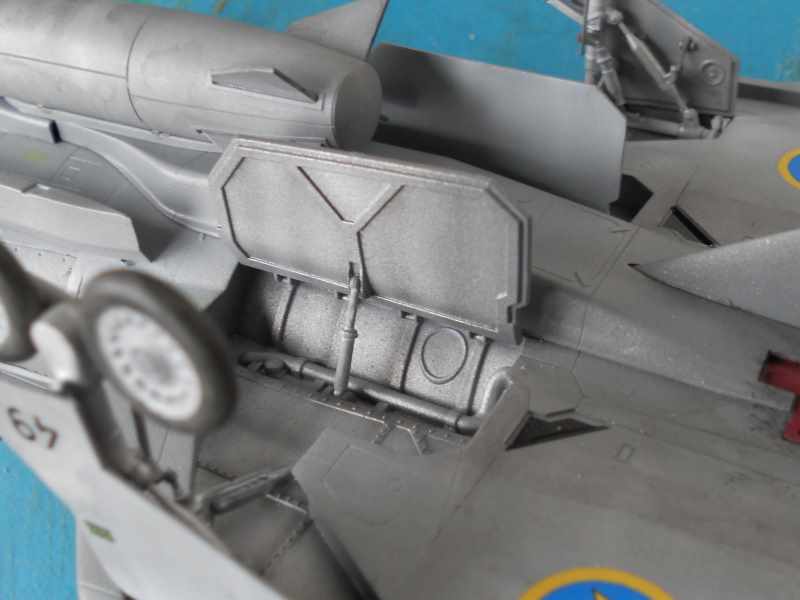
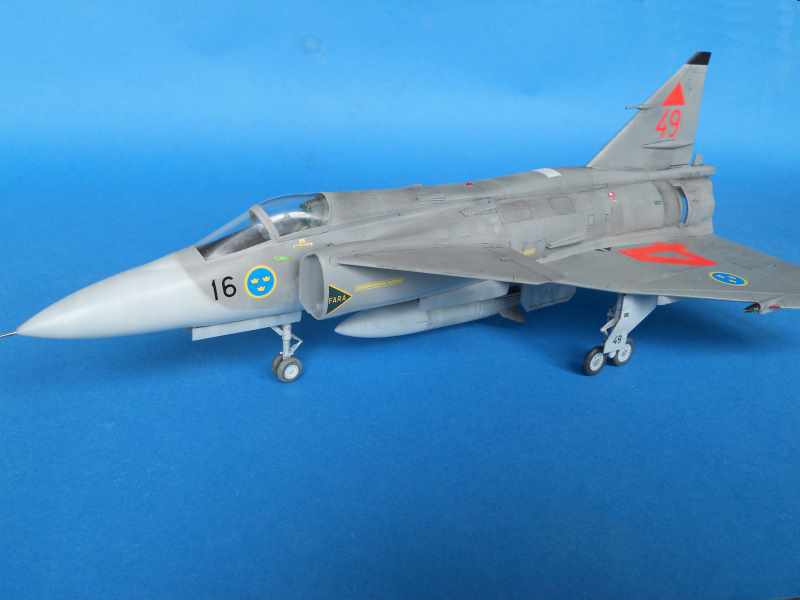
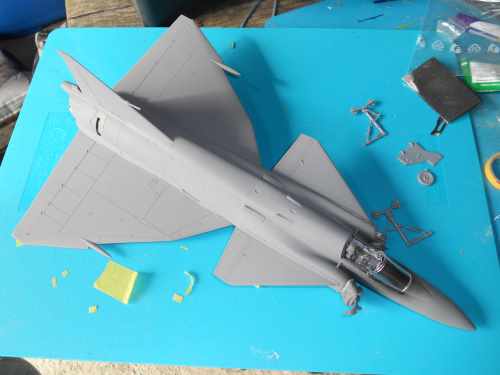
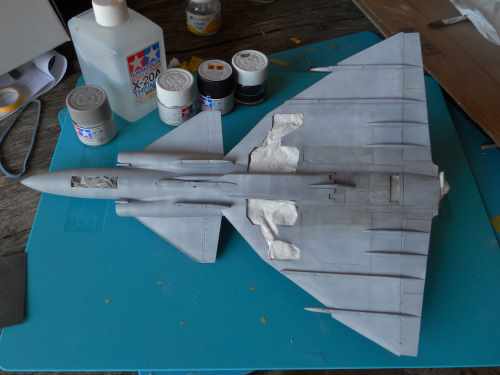
I have fitted the actuator housing and the control surfaces for the wing. No dramas here.
To be continued
.