

This next bit is for Joel
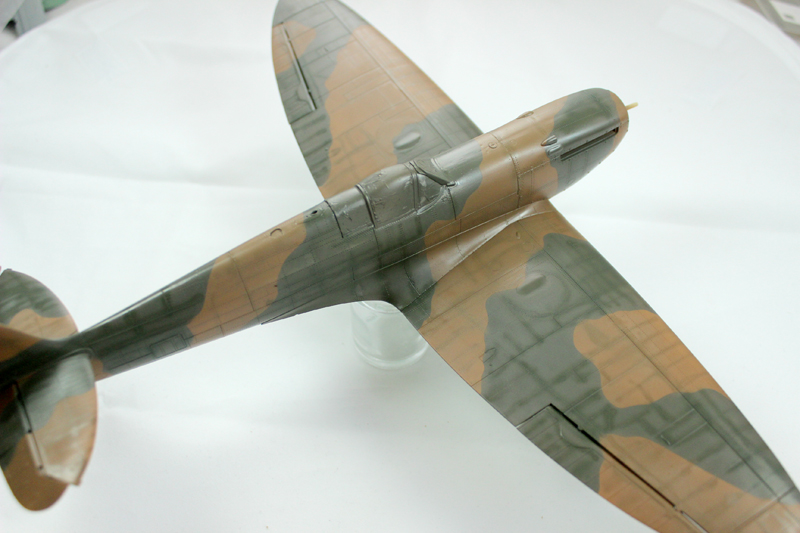
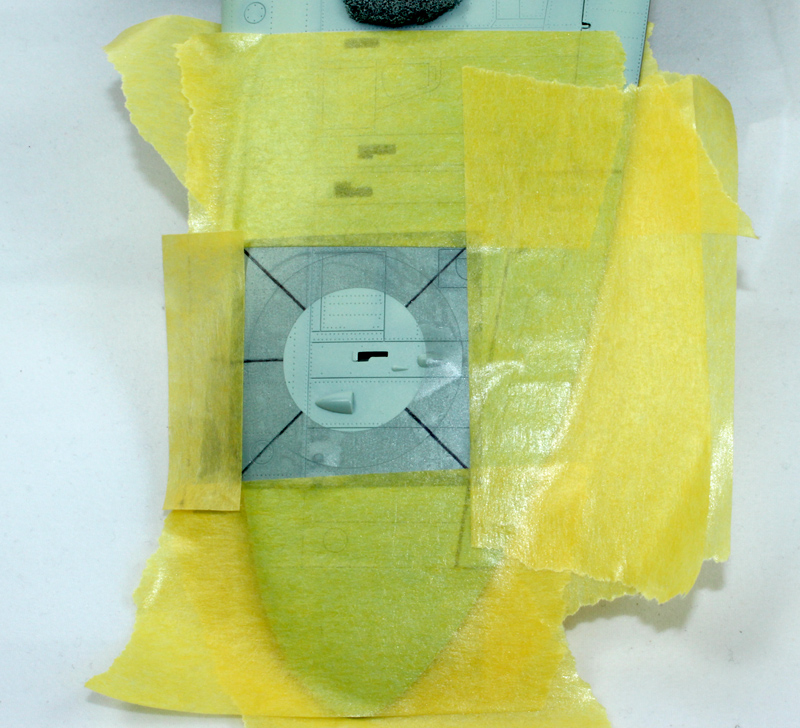
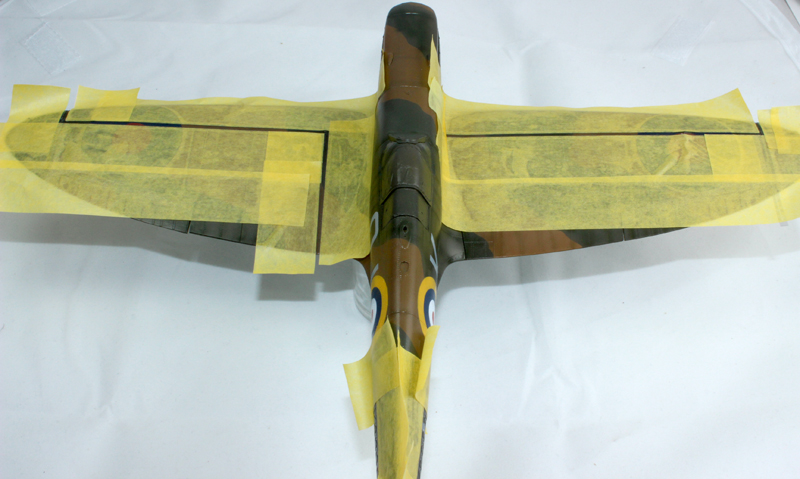
 I applied my camouflage masks and painted the exposed areas dark green. I used Mr Paint RAF colours.
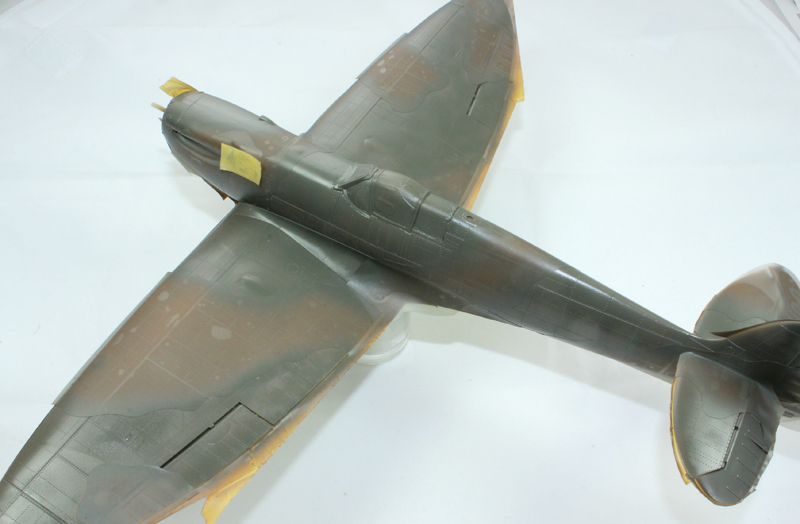
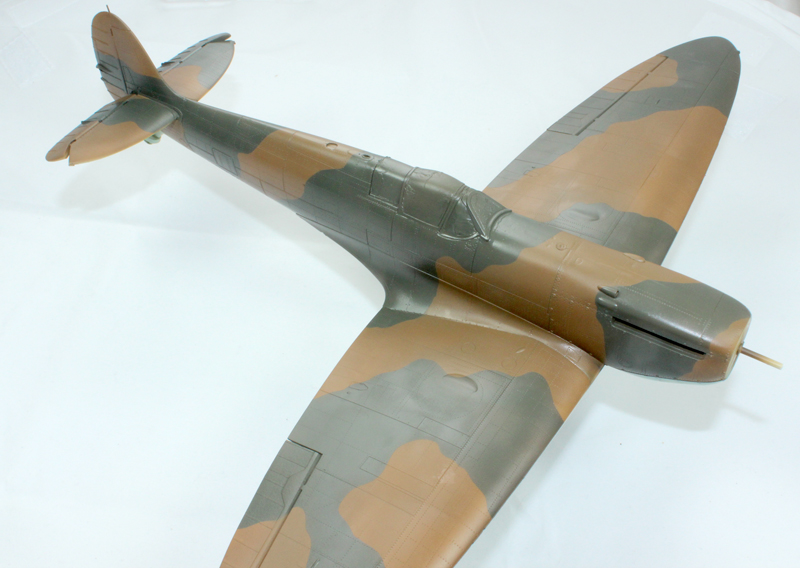
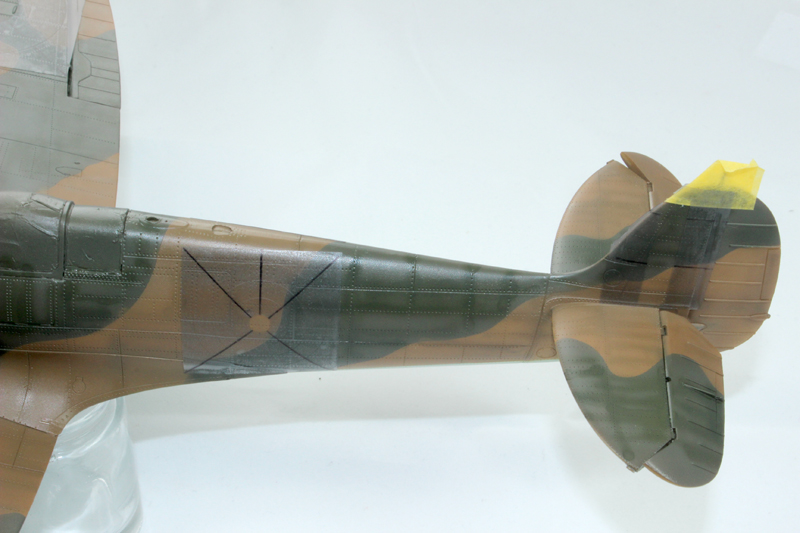
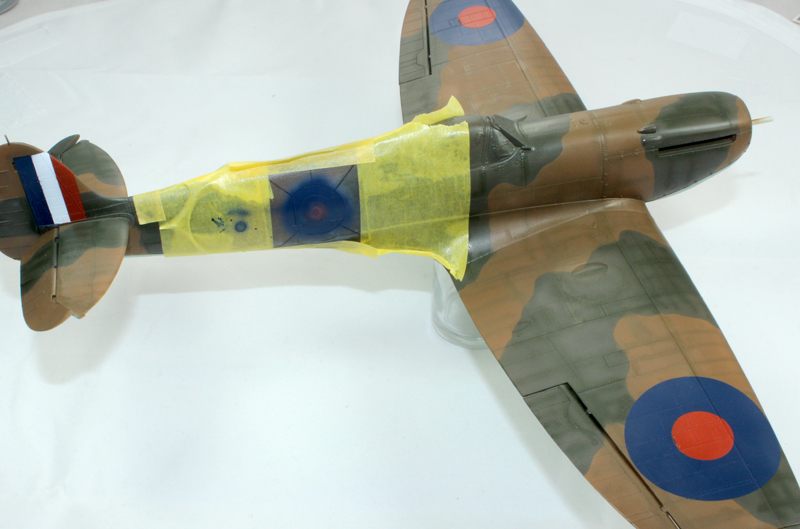
The camo masks and underside masking removed:


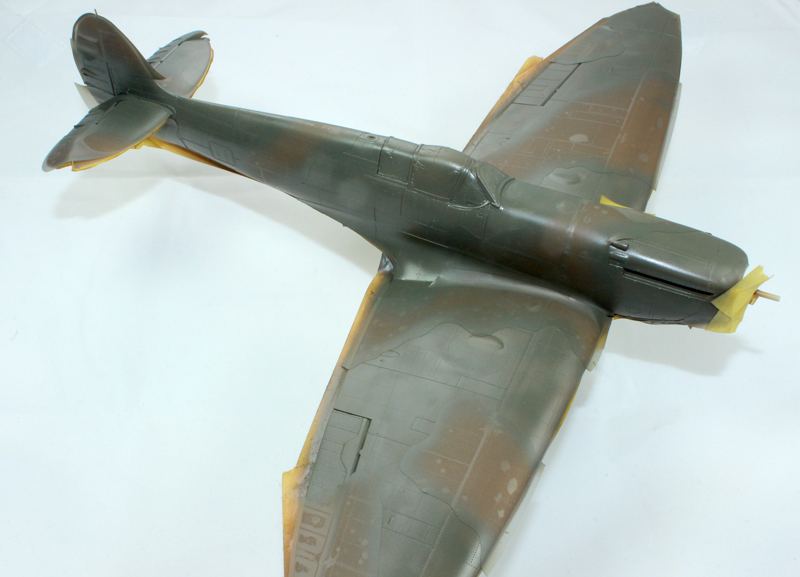
 I applied my camouflage masks and painted the exposed areas dark green. I used Mr Paint RAF colours.


Nice going Mal
I was hoping to do something for the Battle of Britain Campaign too, but I'm wary of starting anything that'll distract me from the AEG.
All the best
Rowan
 I really ought to do something for it You are right to build the AEG, that is really necessary
 Looks great Mal
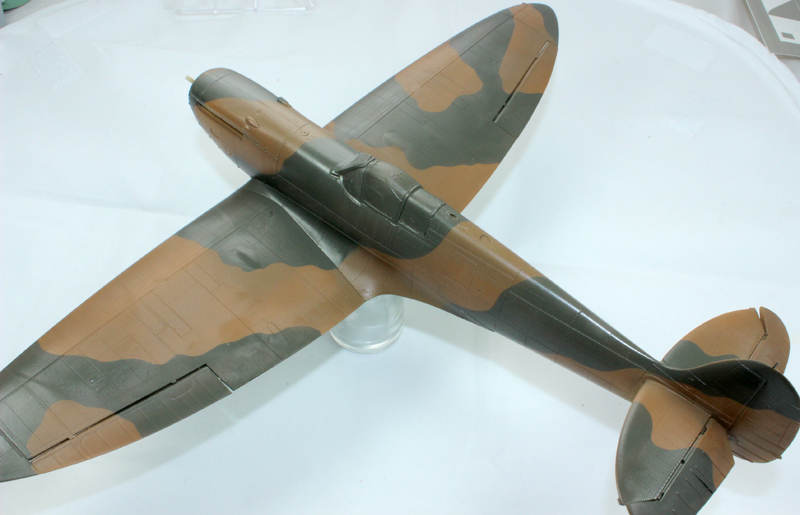
 So back to the paint both to try my hand at post shading
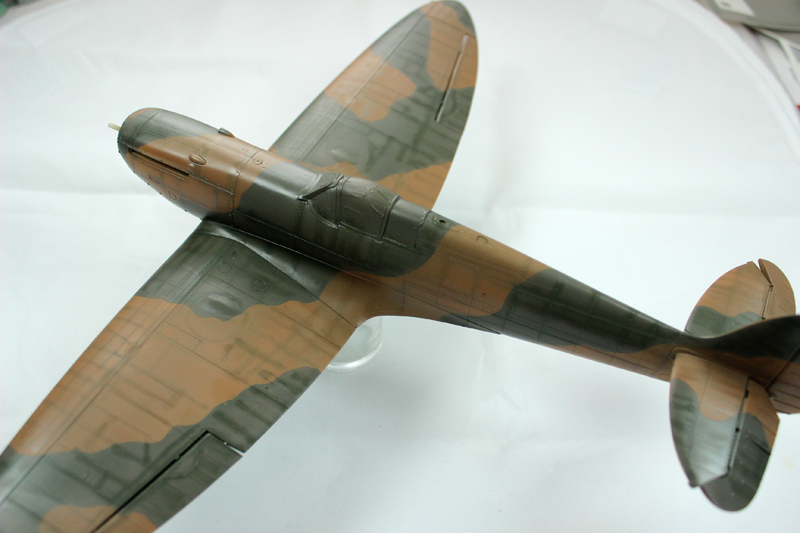
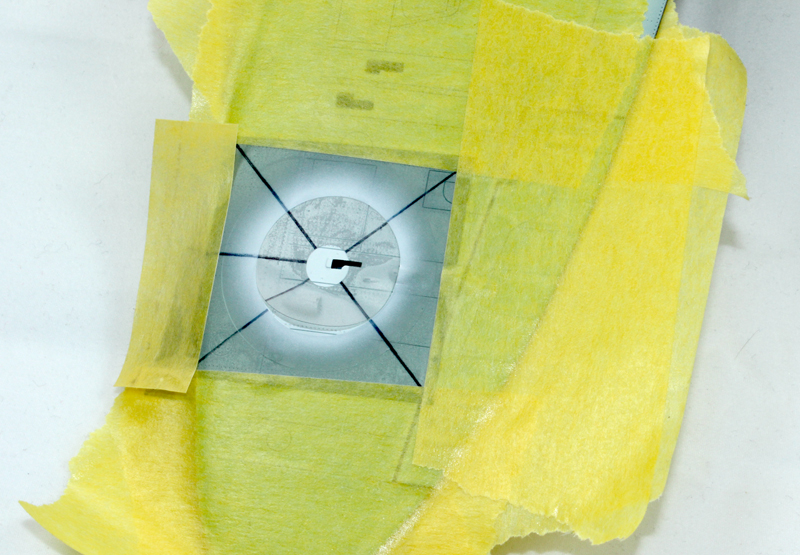
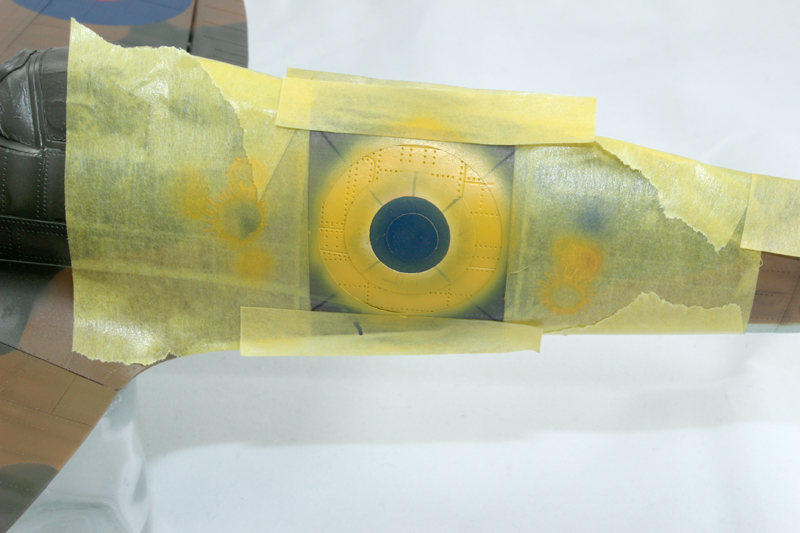
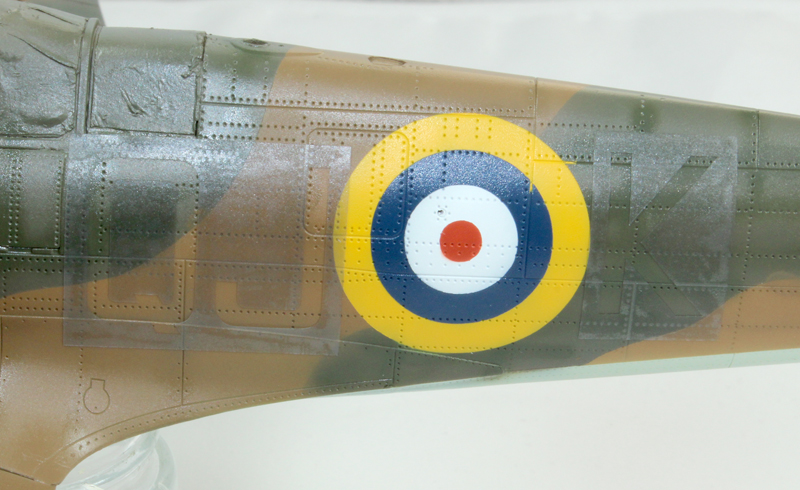
 So today I will start adding the masks for the markings. I would like to make a video of this but so far my attempts have failed miserably!
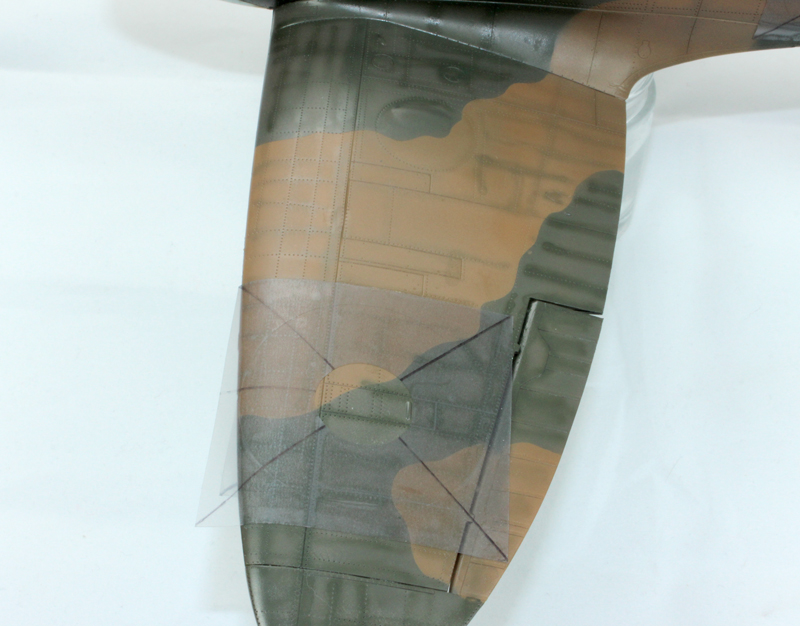
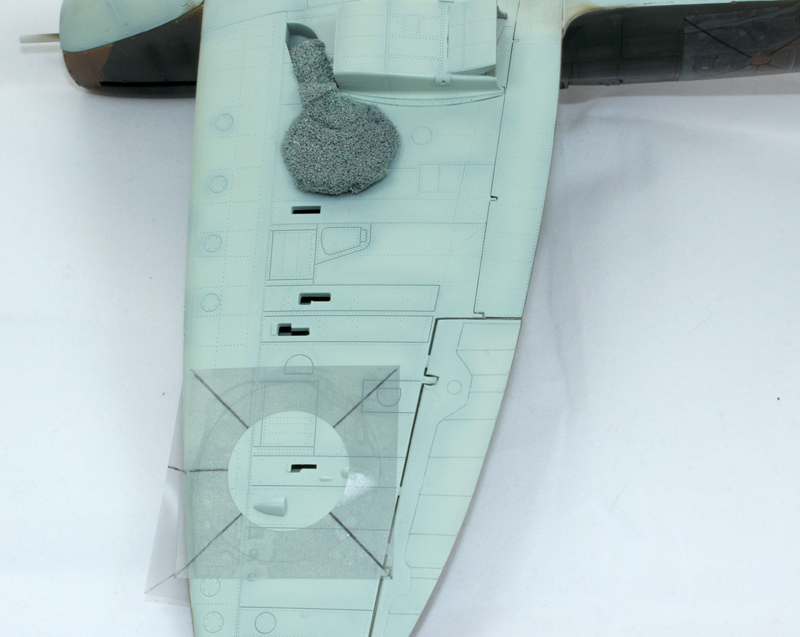

 It was after jamie Hago popped in for lunch and a chat when he was down at RNAS Culdrose for a week end that I decided to try pre-shading. He "hates" pre-shading and we talked mostly about the technique. Although I like the effect of pre-shading it is very difficult to make it work worth dark camo colours. It will work but it is so easy to apply just a fraction too much paint over it and the affect is lost or just too subtle and is then lost after further weathering! Anyway the post shading affect has grown on me and I will experiment more. Something else that Jamie mentioned is that he never bothers with primer coats and that used to be the case with me, but I gravitated to white primer to enhance the pre-shading that I applied. On this model I didn't apply a primer coat so, to check the seams, I painted them with the cockpit green when I painted the internal colour on the outside of the canopy. I noticed that when I applied the dark earth I could have allowed the interior green colour to show a slightly darker shade of the dark earth because the MR Paint is so thin. This is something that I am planning on exploiting in future builds
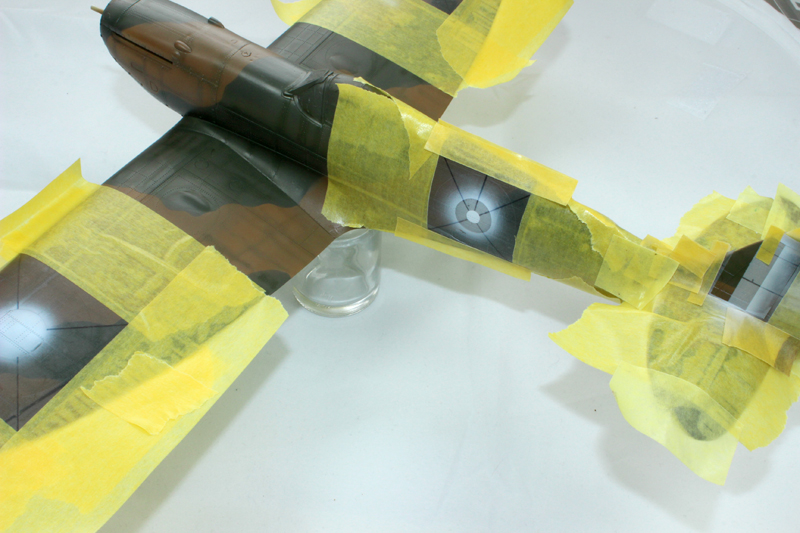
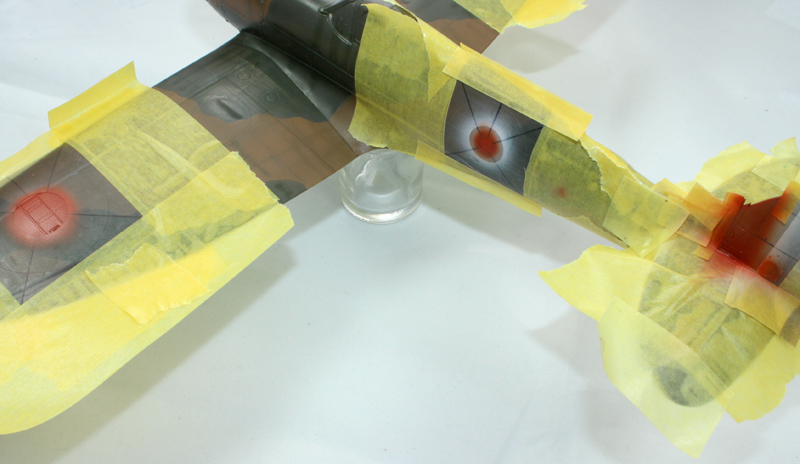
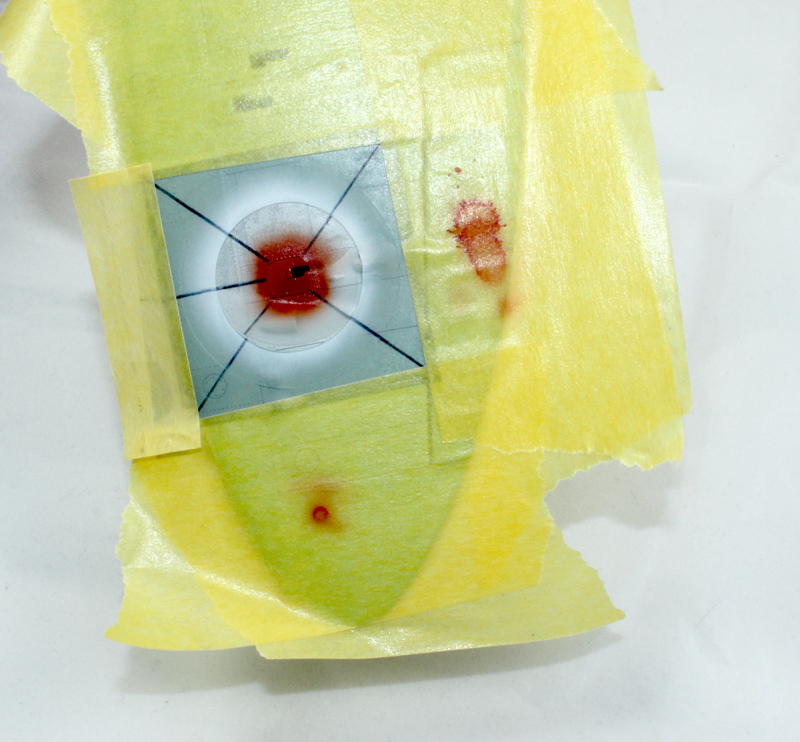
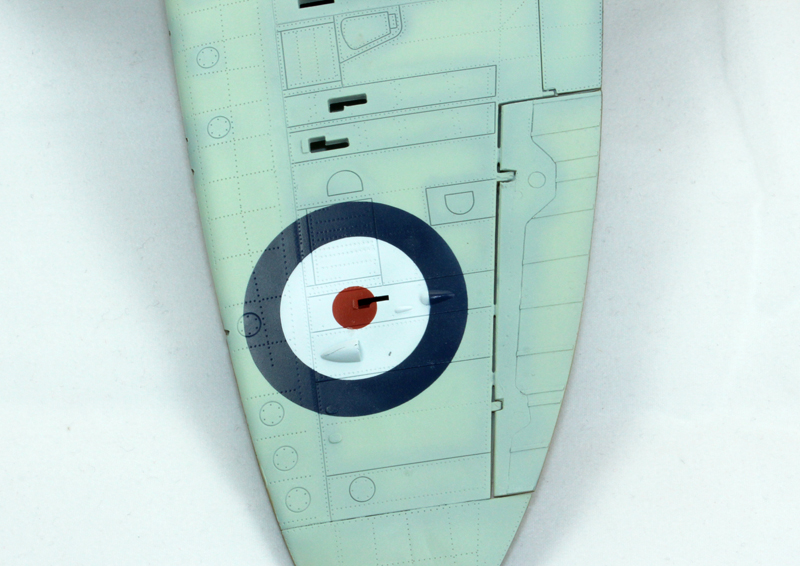

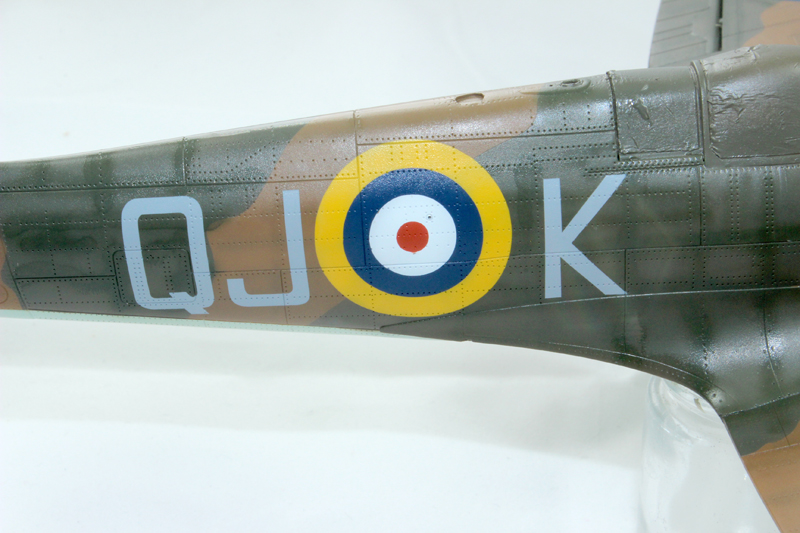
I'm just having a coffee then I'll be painting the blue
It was a loooong coffee. You must be using a very big mug. Anyway, it's good to see the blue painted on.
however my point was that I am able to paint the blue not long after painting the red. I am using MR Paint wihich is an acrylic, akin to Tamiya paint but very like Alclad II! I didn't take the pics until the following day. When using enamels I would leave the paint to cure for at least 24 hours.


Your stenciling as always is just amazing to someone like me.
Using paint masks is just a matter of aquiring the skill set and knowing what you are doing; the reason that my instructions are very comprehensive. If you think about it applying decals also required that you aquired the knowledge of how to do it correctly and now that you know its easy. One of the differences between masks and decals is that the method of using paint masks doesn't change but with decals you have to take into account the different paper, inks, glue and therefore the different setting solutions that need to be used, so esentially new decals need to be tested! On that score, and others, decals are much harder to use than masks, its just that you have already aquired the skills As for priming, I use to prime every model when I painted with Model Master enamels so the paint had a good surface to bite into. Naturally, checking for errors is also the job for a good primer, but I only air brushed it on over seams and trouble spots.
With acrylics I only prime when laying on a base coat of a light color. Just seams to take less paint that way.
I see your point with the undercoat of interior green darkening the color coat. I do that as post shading by darkening up the base colors as needed. Unfortunately, that often takes more skill and patience then I have these days.
Looking forward to your next update.
Joel
Mal,
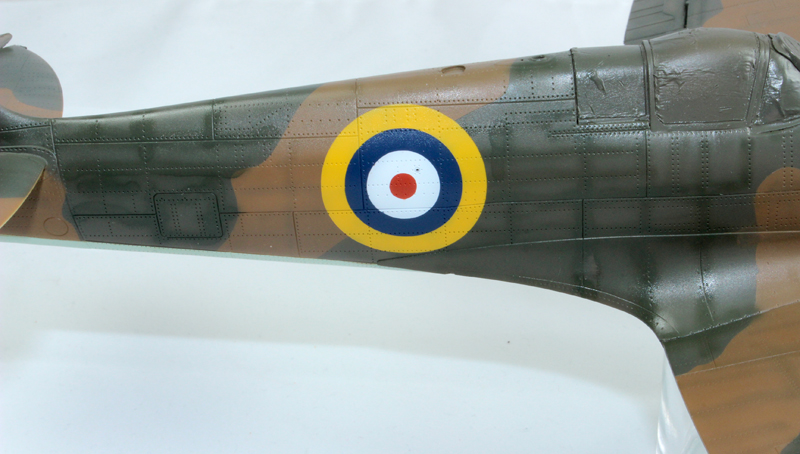
The post shading you did was just right IMHO, without any markings or other weathering effects the post shading can sometimes look way too strong but after markings, weathering, and the final flat clear coat are sprayed on what was once feared to be too bold turns out to be just fine.
Matrixone
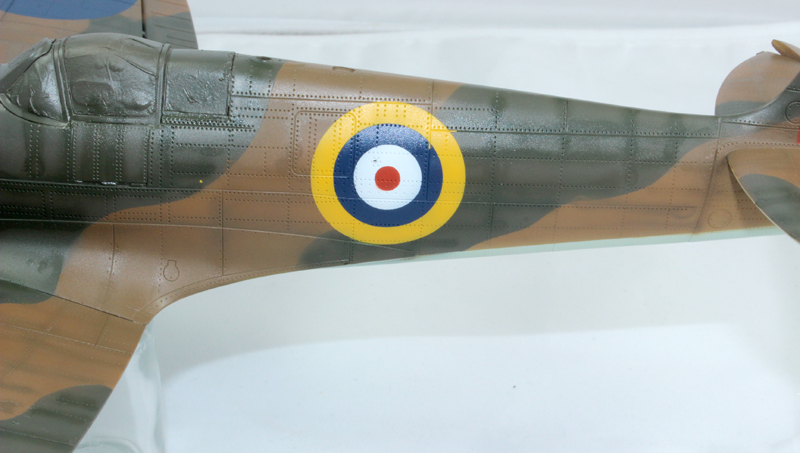
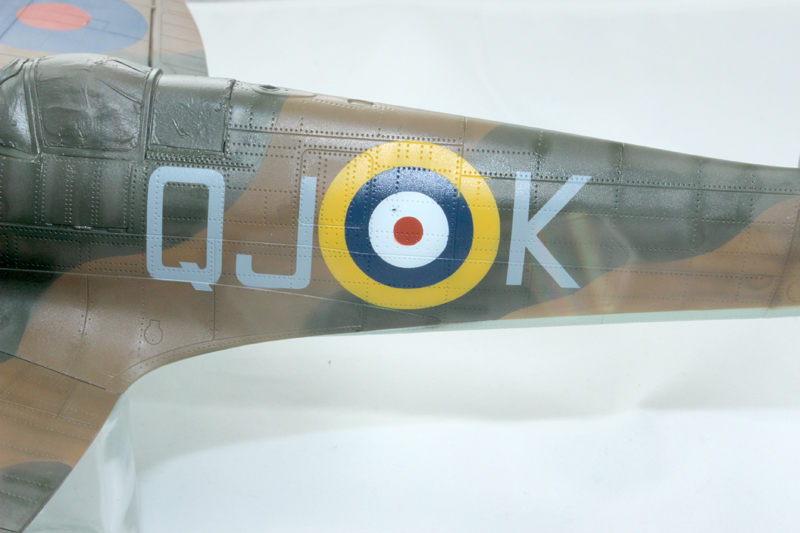


Great work on the insignias with your masks, Mal! I must admit it looks far better than decals.
Torsten

Mal,
your wing walkways really do look good painted on, rather then applied via a decal.
Joel
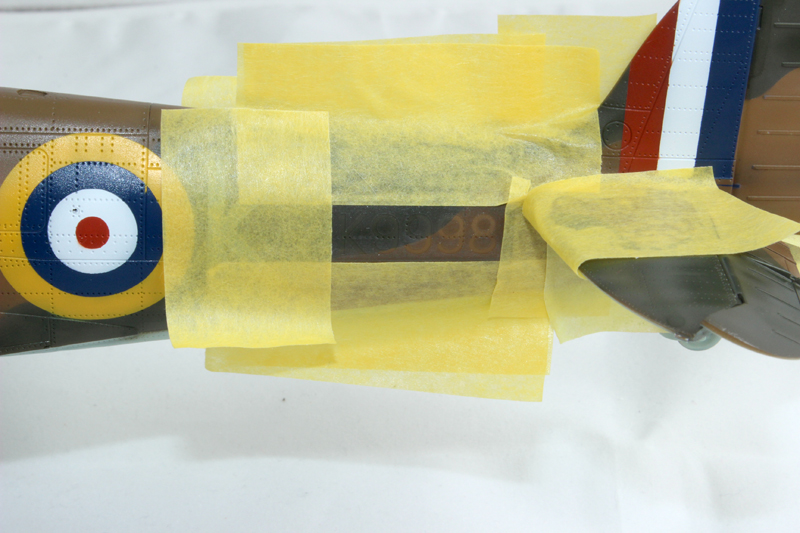
I just went to load the pictiures and realised that I haven't taken a photo of the wing walks! here are the ones of the serial numbers though 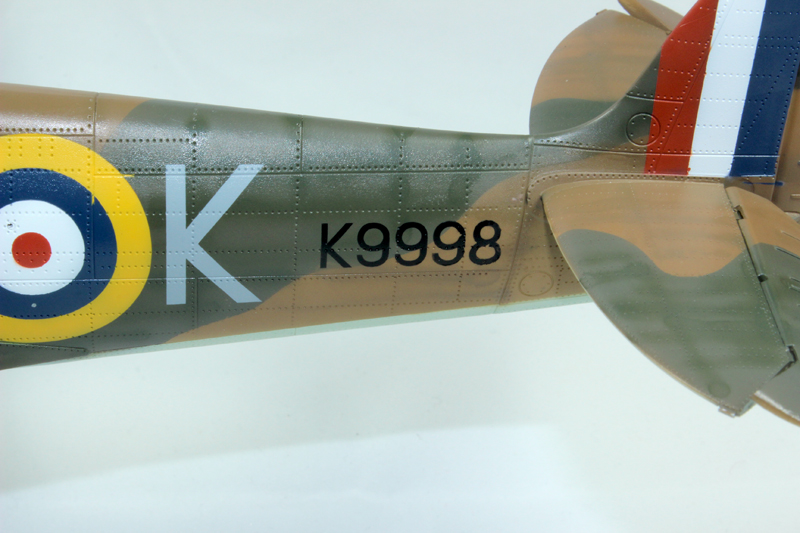

 |


