Thanks guys!
I really do love this scale, yes it's bigger and takes up more room, but I also spend a lot more time building them, so in the end the difference is the same (in my mind at least)
Joel - you're bet we're glad. I suspect Chuck is probably pretty glad himself to get some time back in at the table.
Ernest, thanks man. You likely don't give yourself enough credit. I found that doing these blogs made me a far better modeller, in part because you take a photo of something so small and post it here in such a large format that it quickly leads to your find your weaknesses and correct them. Plus the feedback from you guys is invaluable and it keeps me building.
Sorry for the delay folks, the work was done and the photos were taken - it was just a hectic weekend.
The cockpits are finally - and officially complete and assembled!
First, in the spirit of keeping this a SBS build blog, the technique -
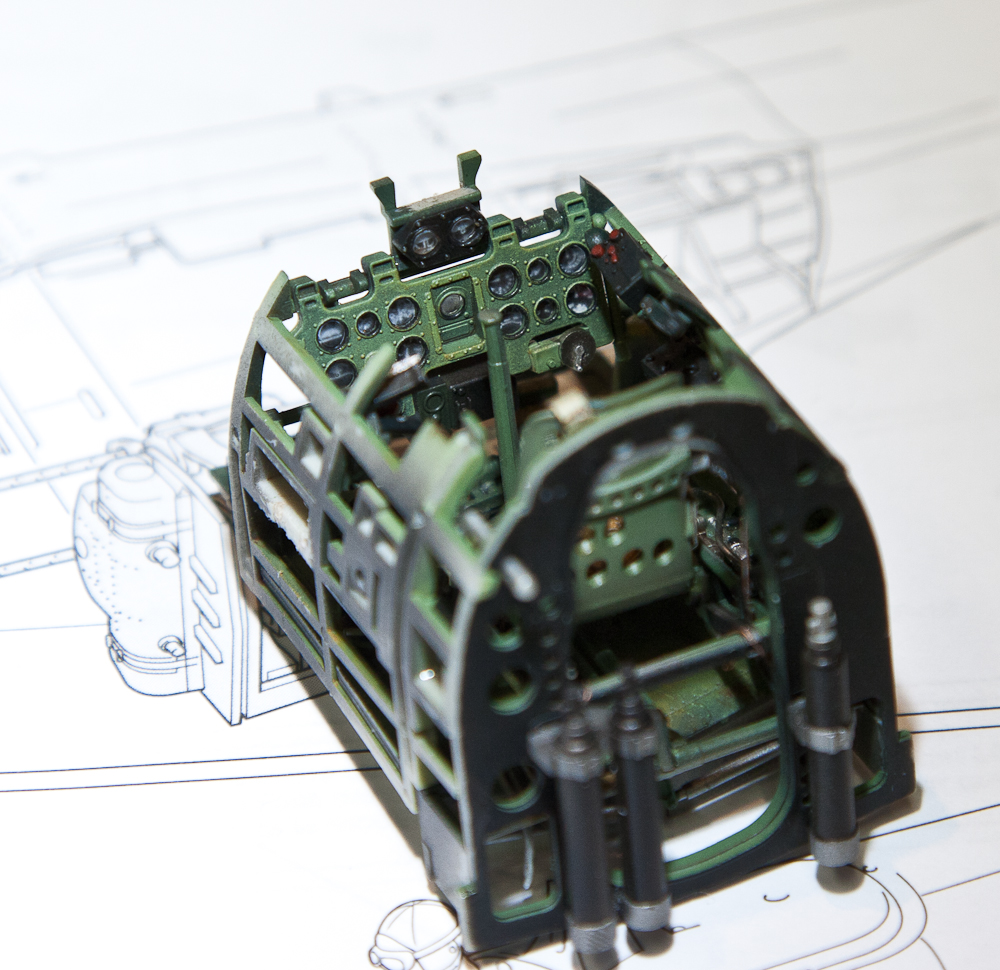
1) - As you saw earlier, I start with a black base. Then I use the Zenithal technique, spraying from the direction of a lightsource, leaving black paint where there are naturally shadows. This works on details as small as buttons on a radio, to large details like the cockpit air tube on the right side of the cockpit.
2) - Next, I spray a lightened coat of the base colour in the larger areas in much the same way as you would exterior paint when post-shading. Literally the same technique.
3) - Then I drybrush the raised detail - I'll use either a light grey or a lighter colour than in the past two steps. I pick one, if I don't like it [this is the best thing about painting] I'll just paint over it [drybrushing in this case] until I get the look I want. In this case I just lightened the base colour - to about the same shade as the post shading done in the last step.
4) - Then I use Tamiya Smoke (yes, yes, I know - it's 1997 all over again) and spray all of the interior parts. This one single step accomplishes several things - 1)It's our gloss coat which we would normally apply as a step unto itself. This protects the current paintwork from any enamel based washes and allows us to decal on a smoothe surface. 2)It works the same way as a traditional black 'wash', but I prefer this method because when you apply this colour and leave the parts in the orientation that they're supposed to be in (ie vertical for bulkheads) the paint naturally moves to create shadow thanks to our good friend gravity. 3) and this is the big bonus - it acts as a filter, which is actually the opposite of a wash, it unites all of the colours. It creates extra contrast, but merges all the colours by giving them something in common. 4) you can let it/make it puddle a little to imply a grime or stain.
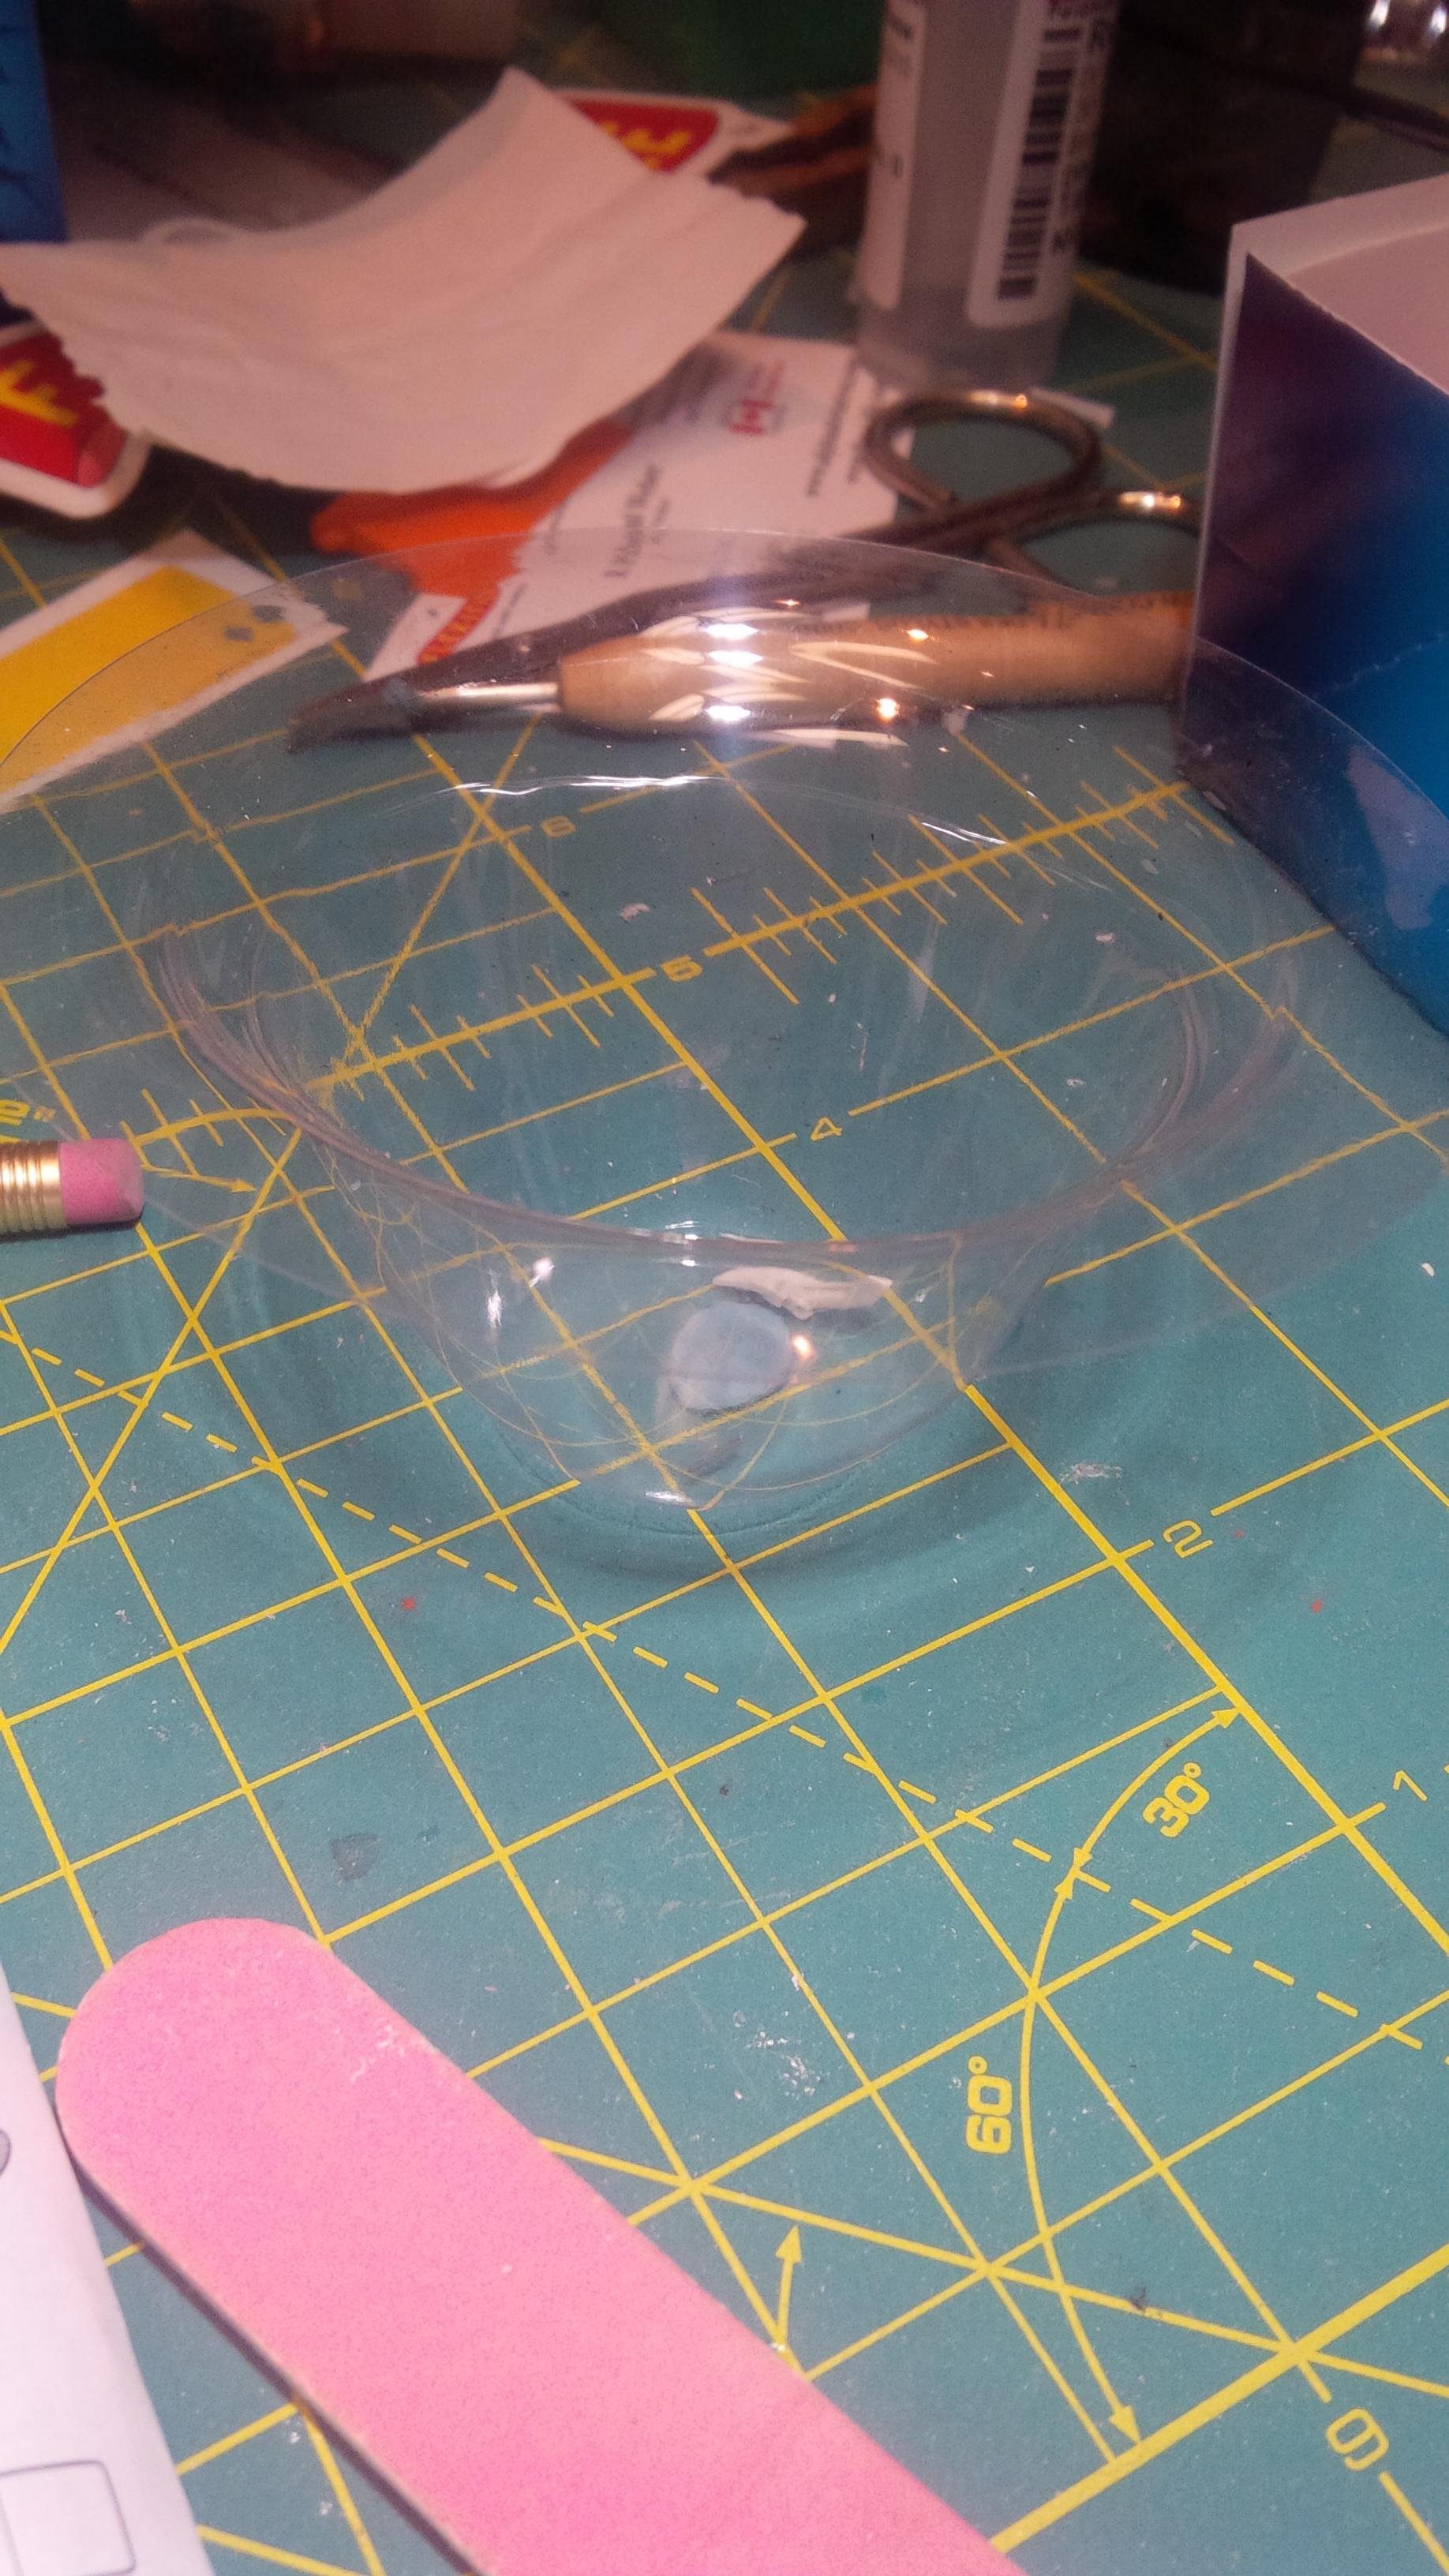
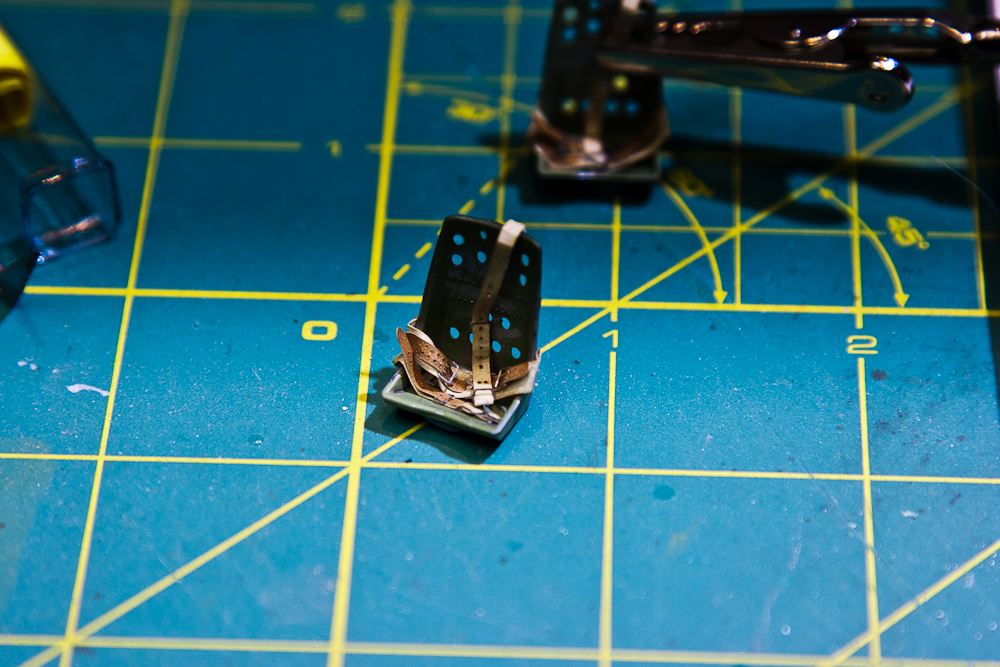
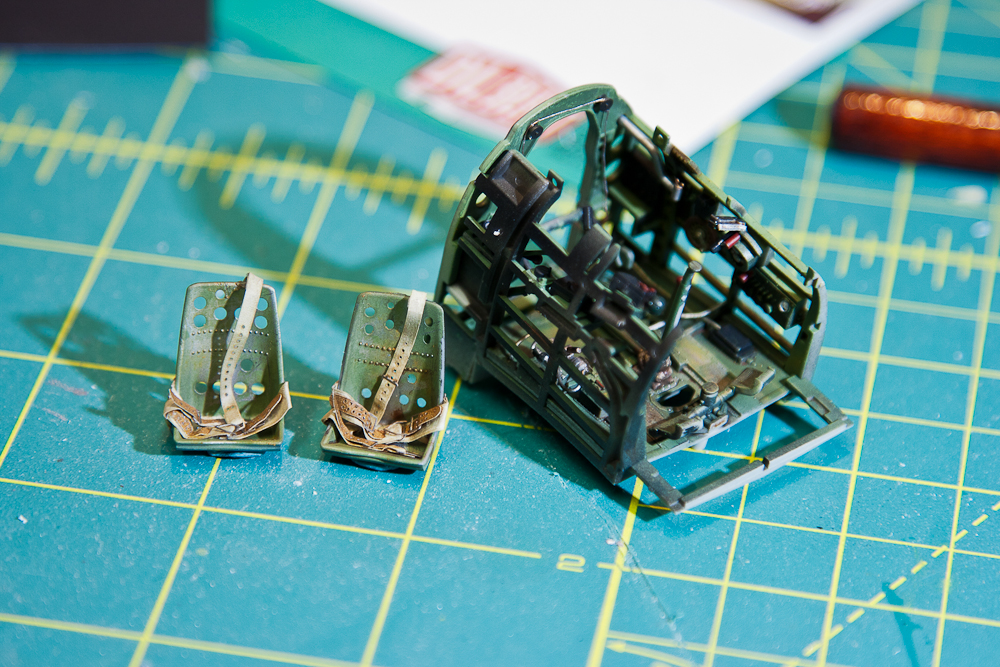
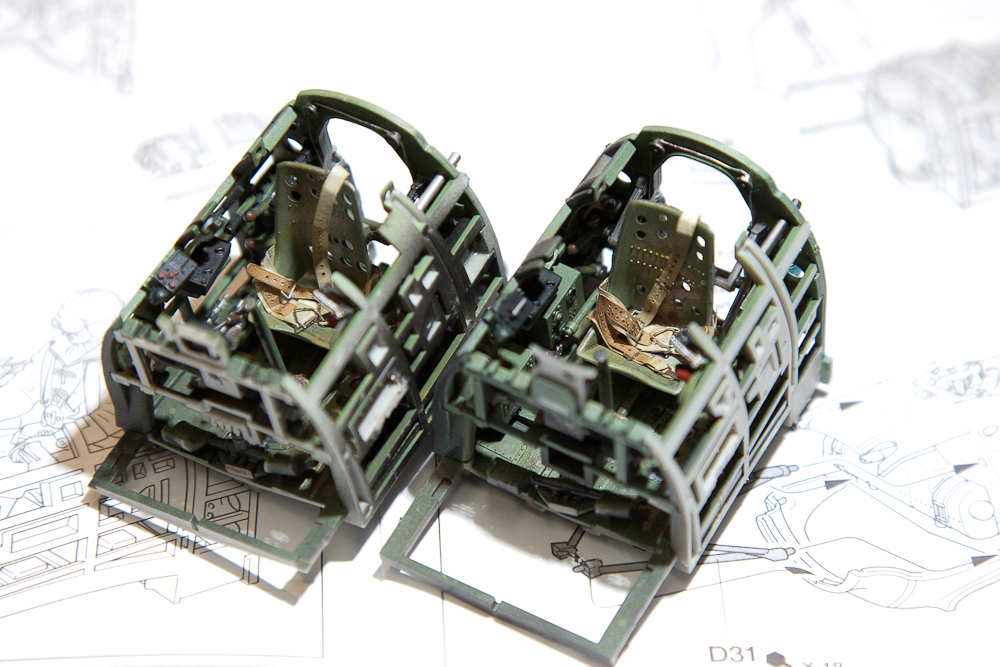
I've tried to demonstrate that with this photo - the top half has a crude black filter applied, you can see the yellow lines on the mat are much brighter and the tan belt doesn't stand out so much on the seat.
5) - This is new to me, but I try to blend some oil paints into the larger surfaces, ochre and brown or grey. I'm still working on this part and this is only the second time I've tried this, but I like where it's going. You may have noticed in the previous post that some of the areas appeared pretty stark - in the event that this happens, I'll apply a thinned spot layer of the base colour of the cockpit to tone it down a bit. ****I do this at this point because it only works on a gloss base, and if I applied the Tamiya smoke now, the contrast would be outrageous.
6) - Matt coat. I have heard great things about the Vallejo matt and gloss so I tried the matt, and I loved it. Easy to work with and came out perfectly flat.
Enough of the chat - on with the photos!
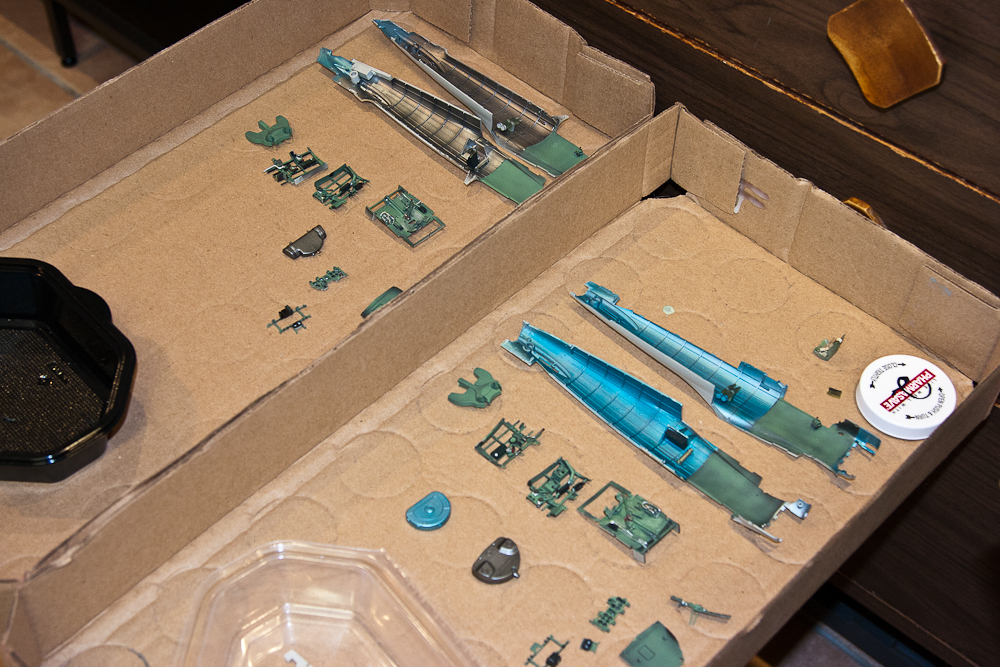
The parts laid out and sorted for steps 4, 5 & 6 above. Sorted for the A6M5 and A6M2N to reduce the chances of stupids
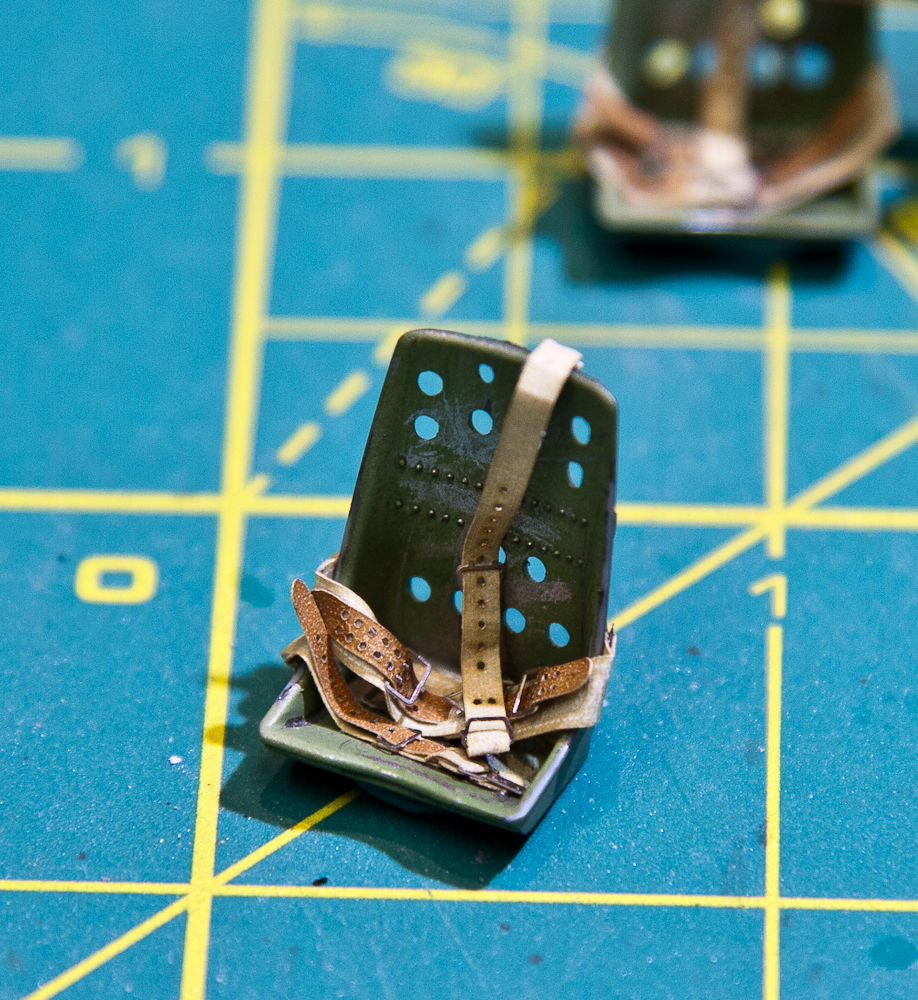
The coat of smoke is subtle, but it's there - look to the rivets on the seatback and the holes in the belt for proof. It has also toned down the metal buckles for a better scale appearance.
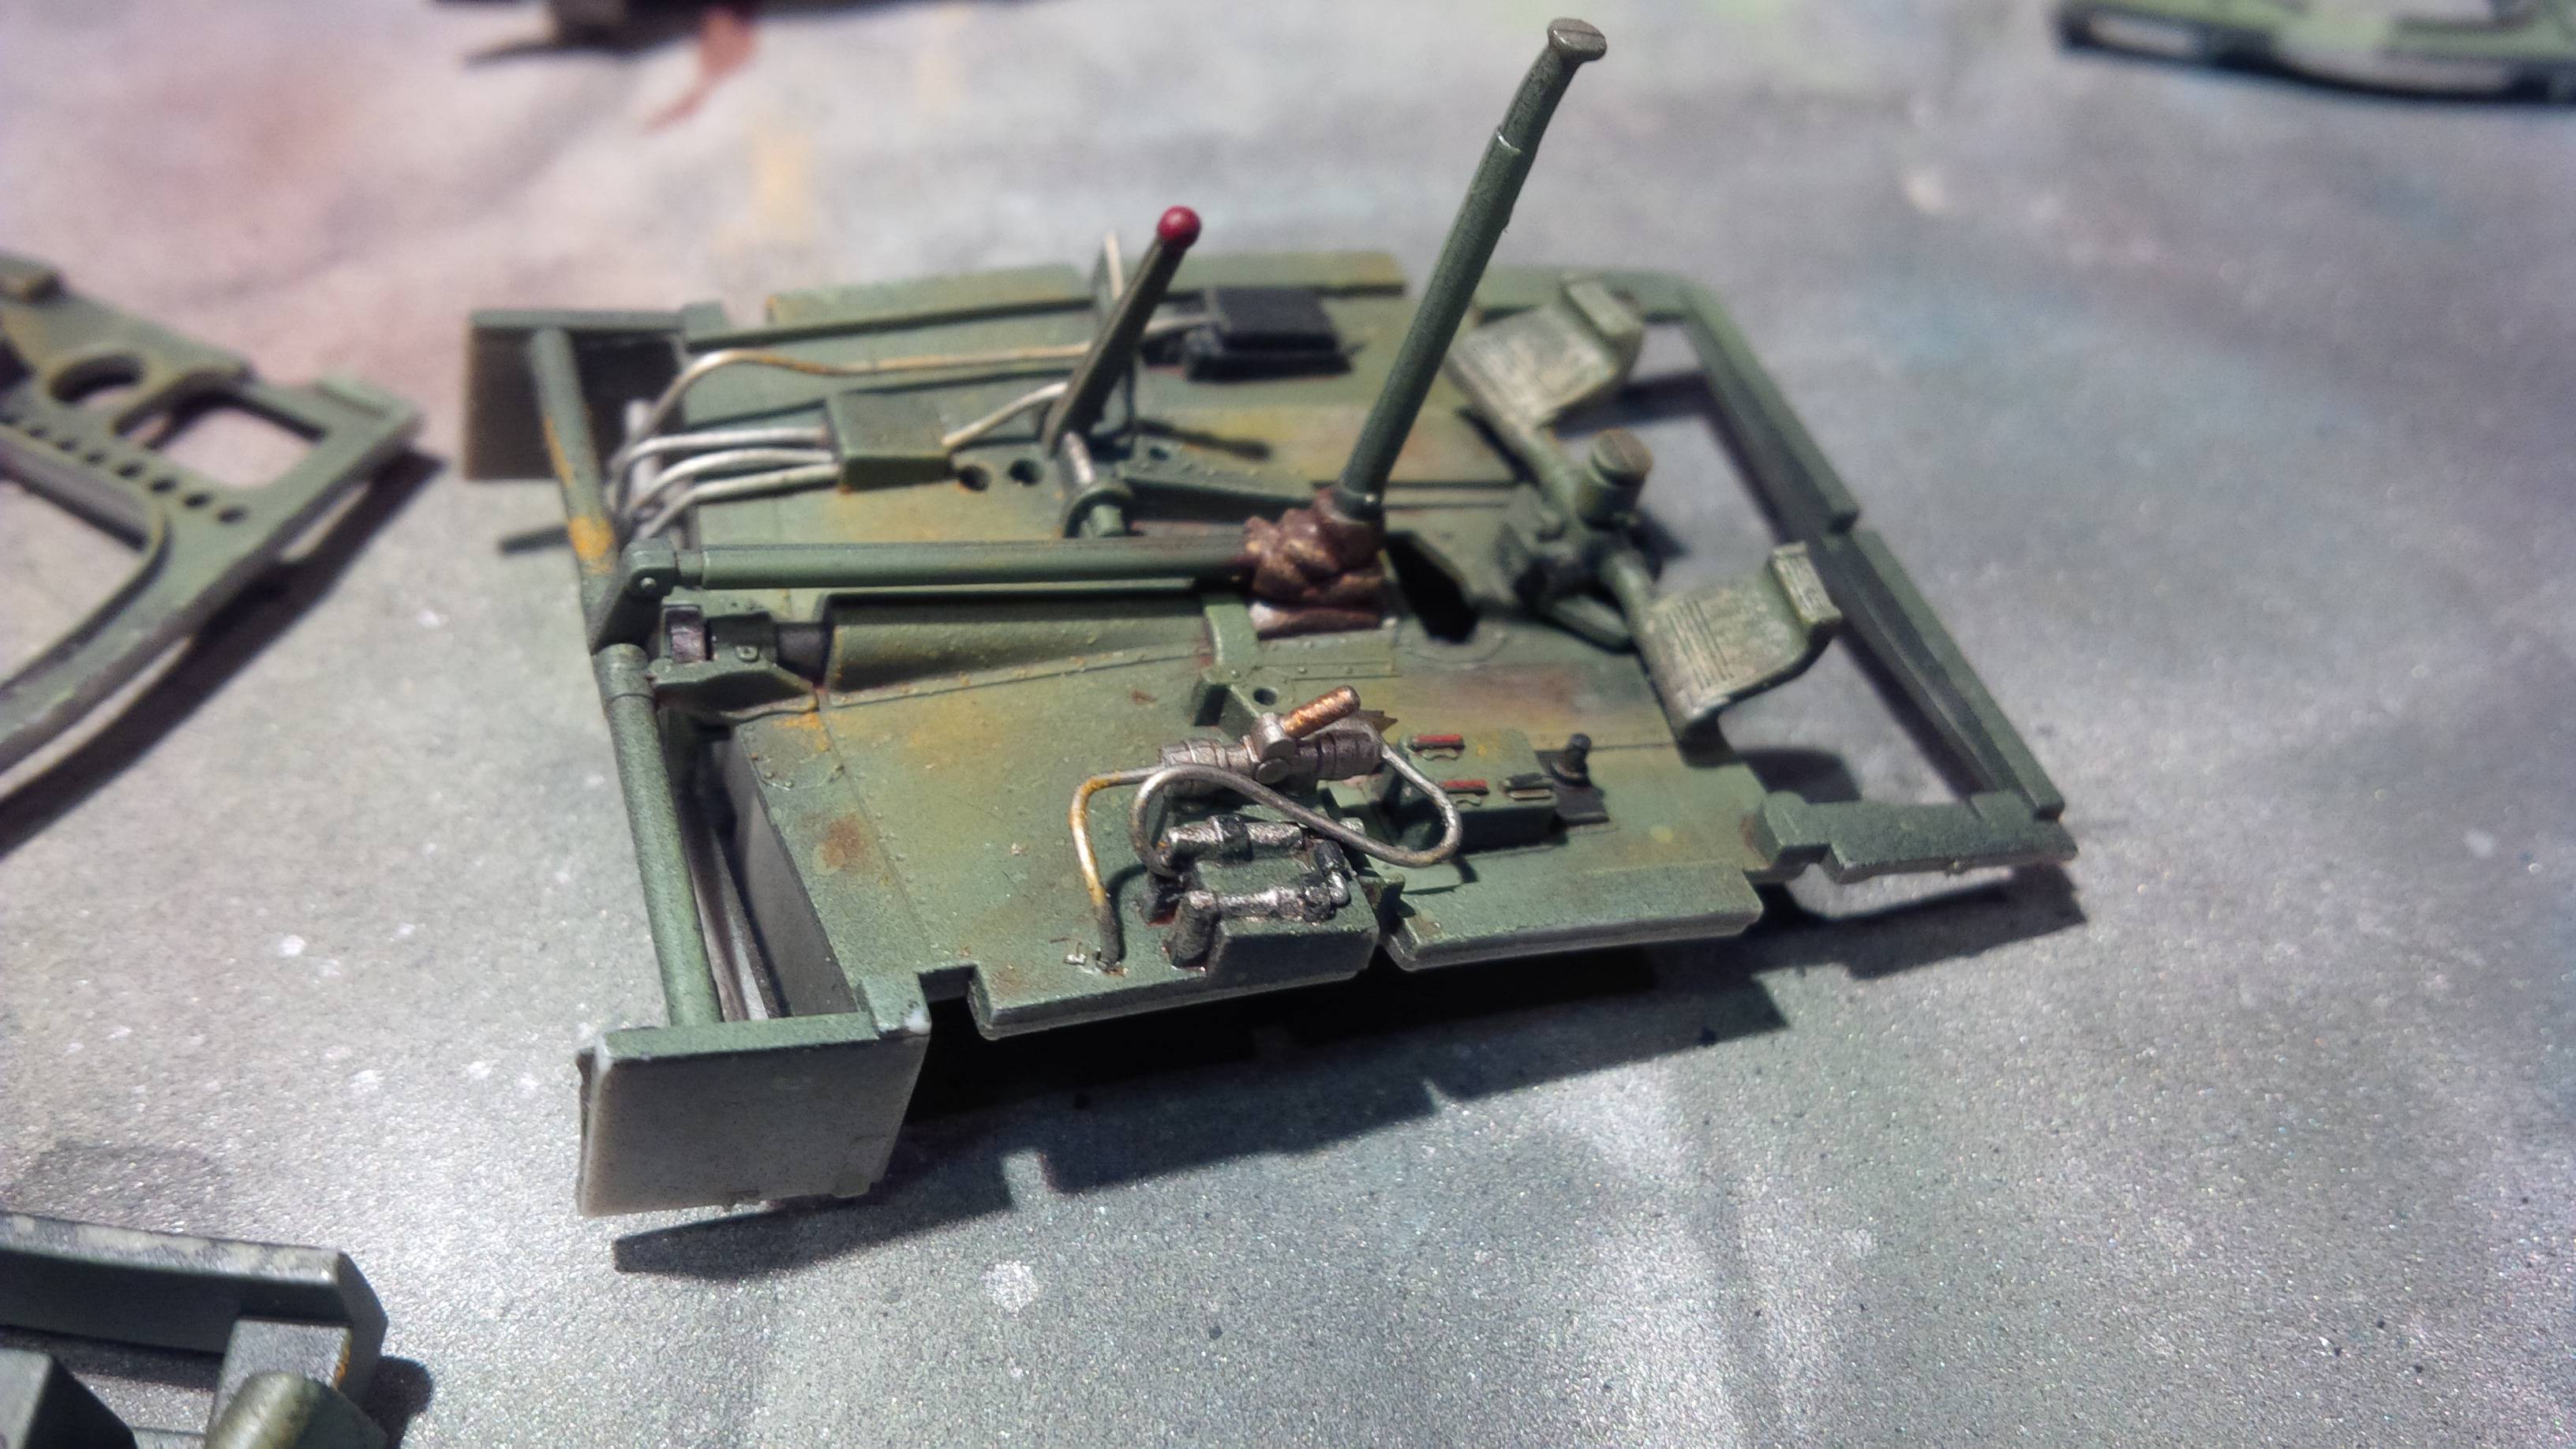
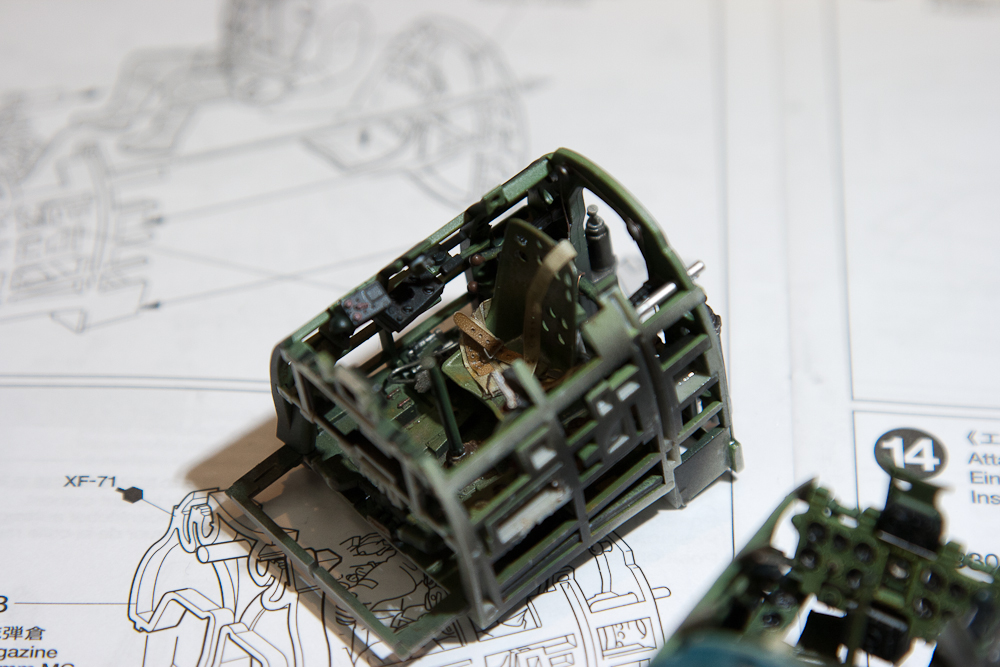
The fit is just as good as ever. Look what the smoke has done to the boot at the base of the control column. I love this stuff.
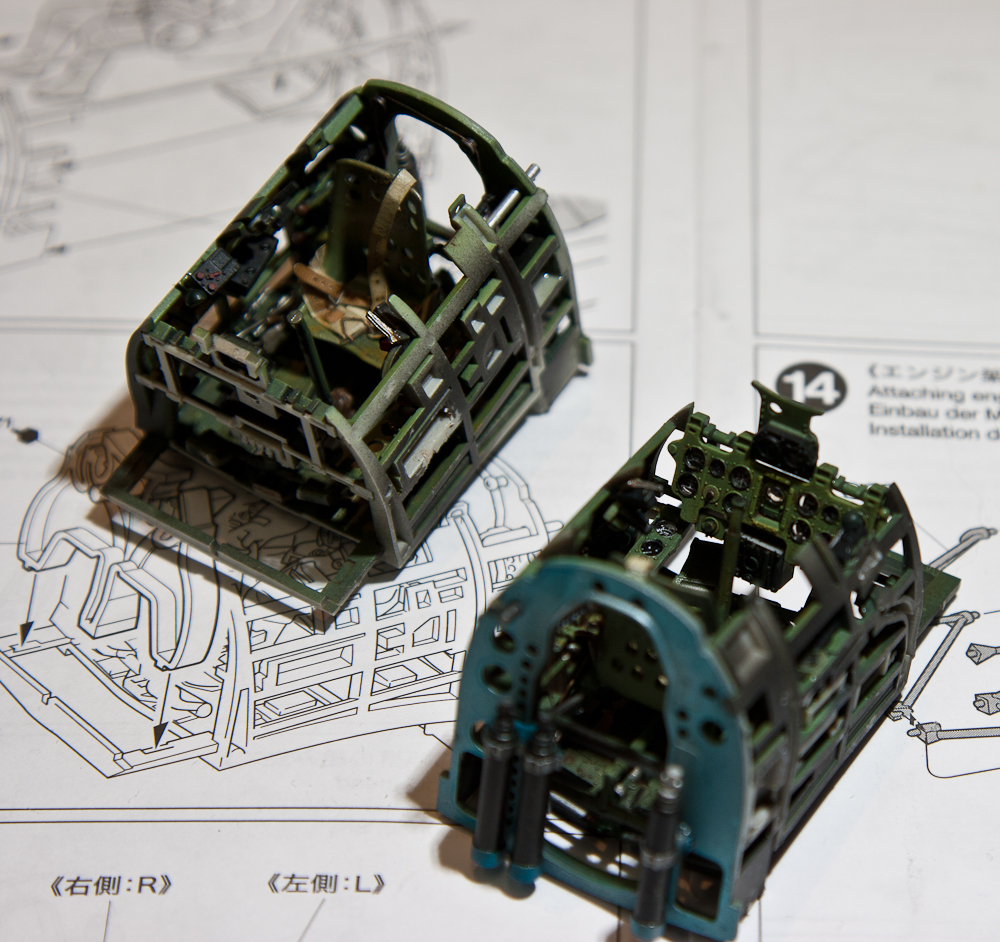
The best seat is going in the Rufe because the A6M5 will likely be displayed on its stand (but all the parts will be installed so I can put it on its gear whenever I want)
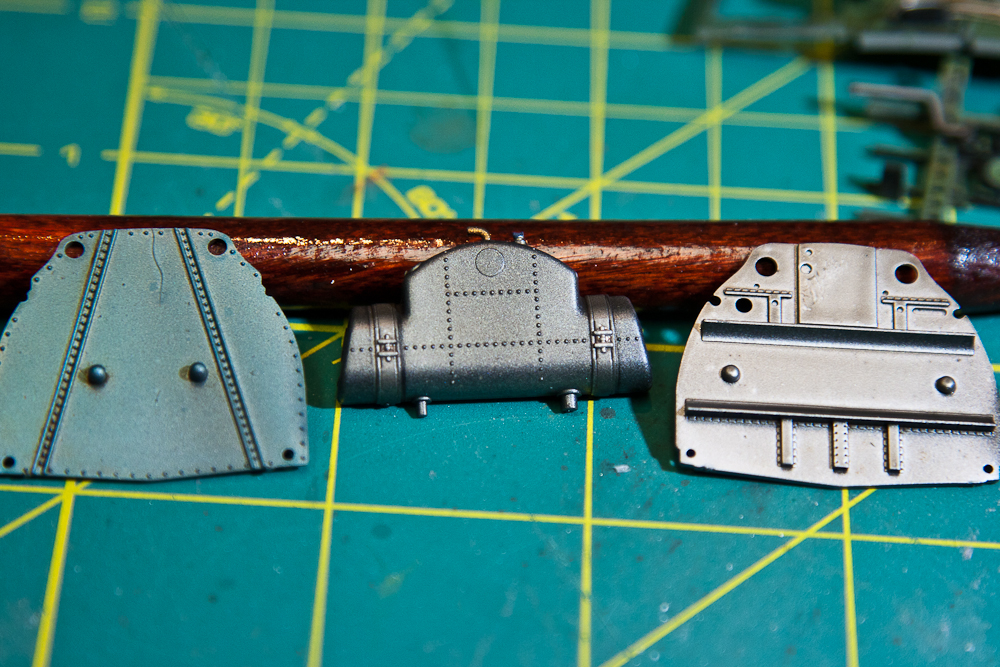
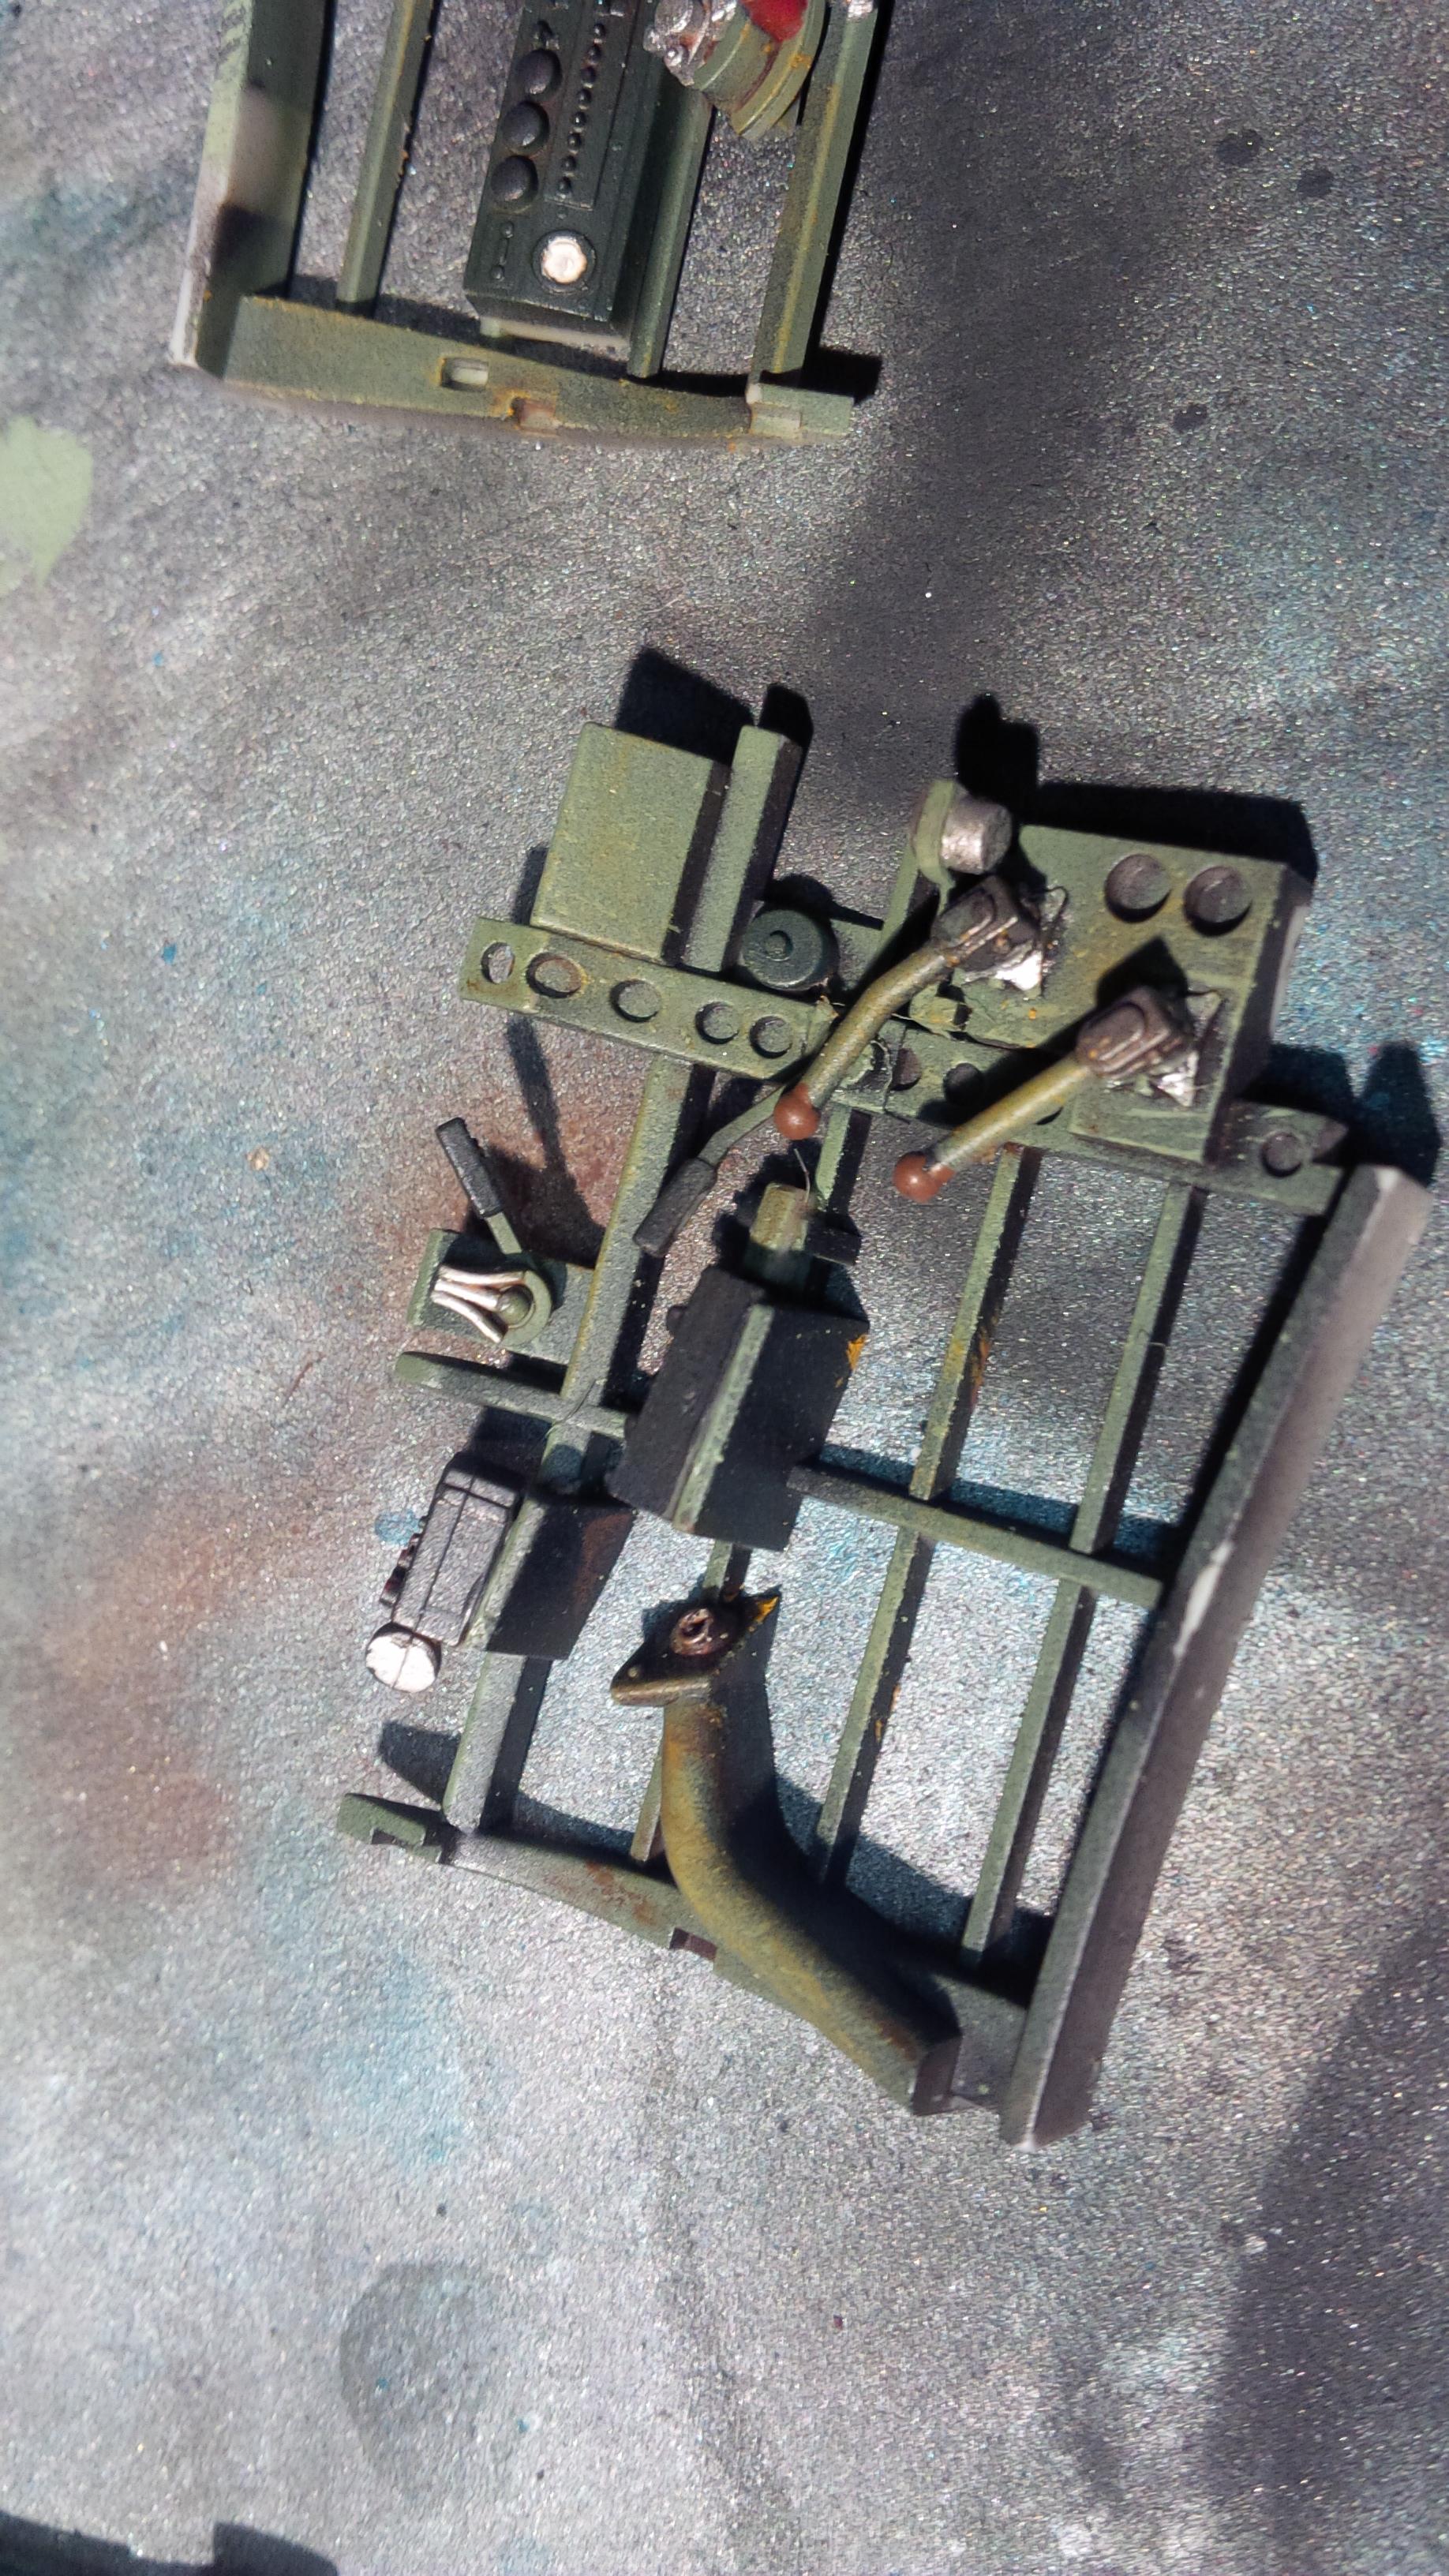
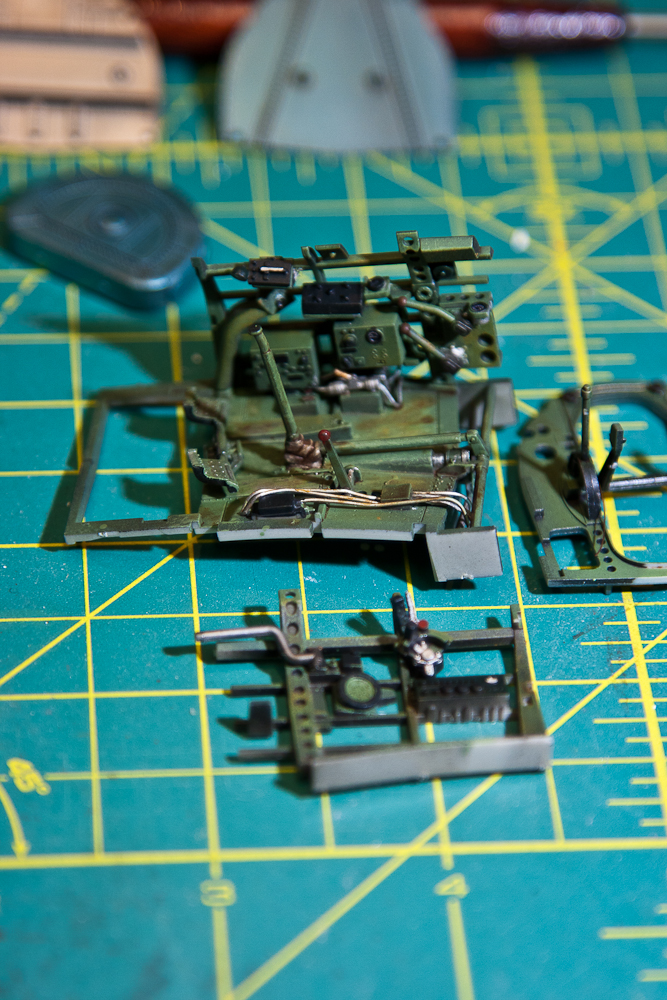
Smoke applied - you can see I let it puddle on the A6M5 firewall. The tank in the middle is actually three shades of metal, all tied together now by the filter. The tank, straps and the fasteners that tighten the straps are each a different colour. It's more pronounced than the photo would lead you to believe.
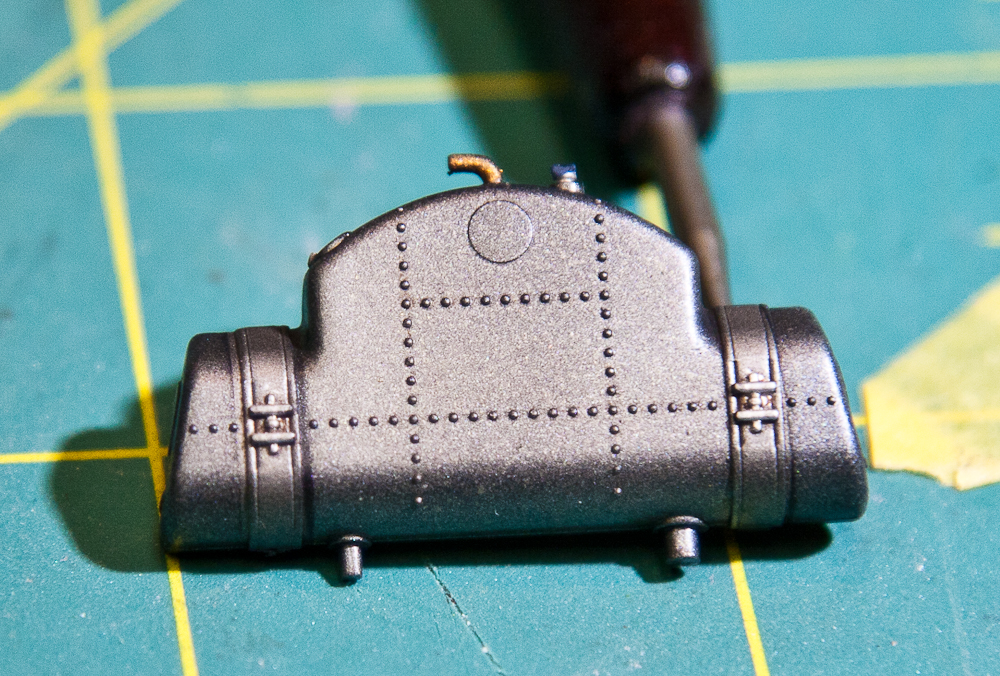
Like so. Note the 'wash' effect from the Tamiya smoke. The circle is raised - it's not an ejector pin marking, but rather an actual detail on the real tanks.
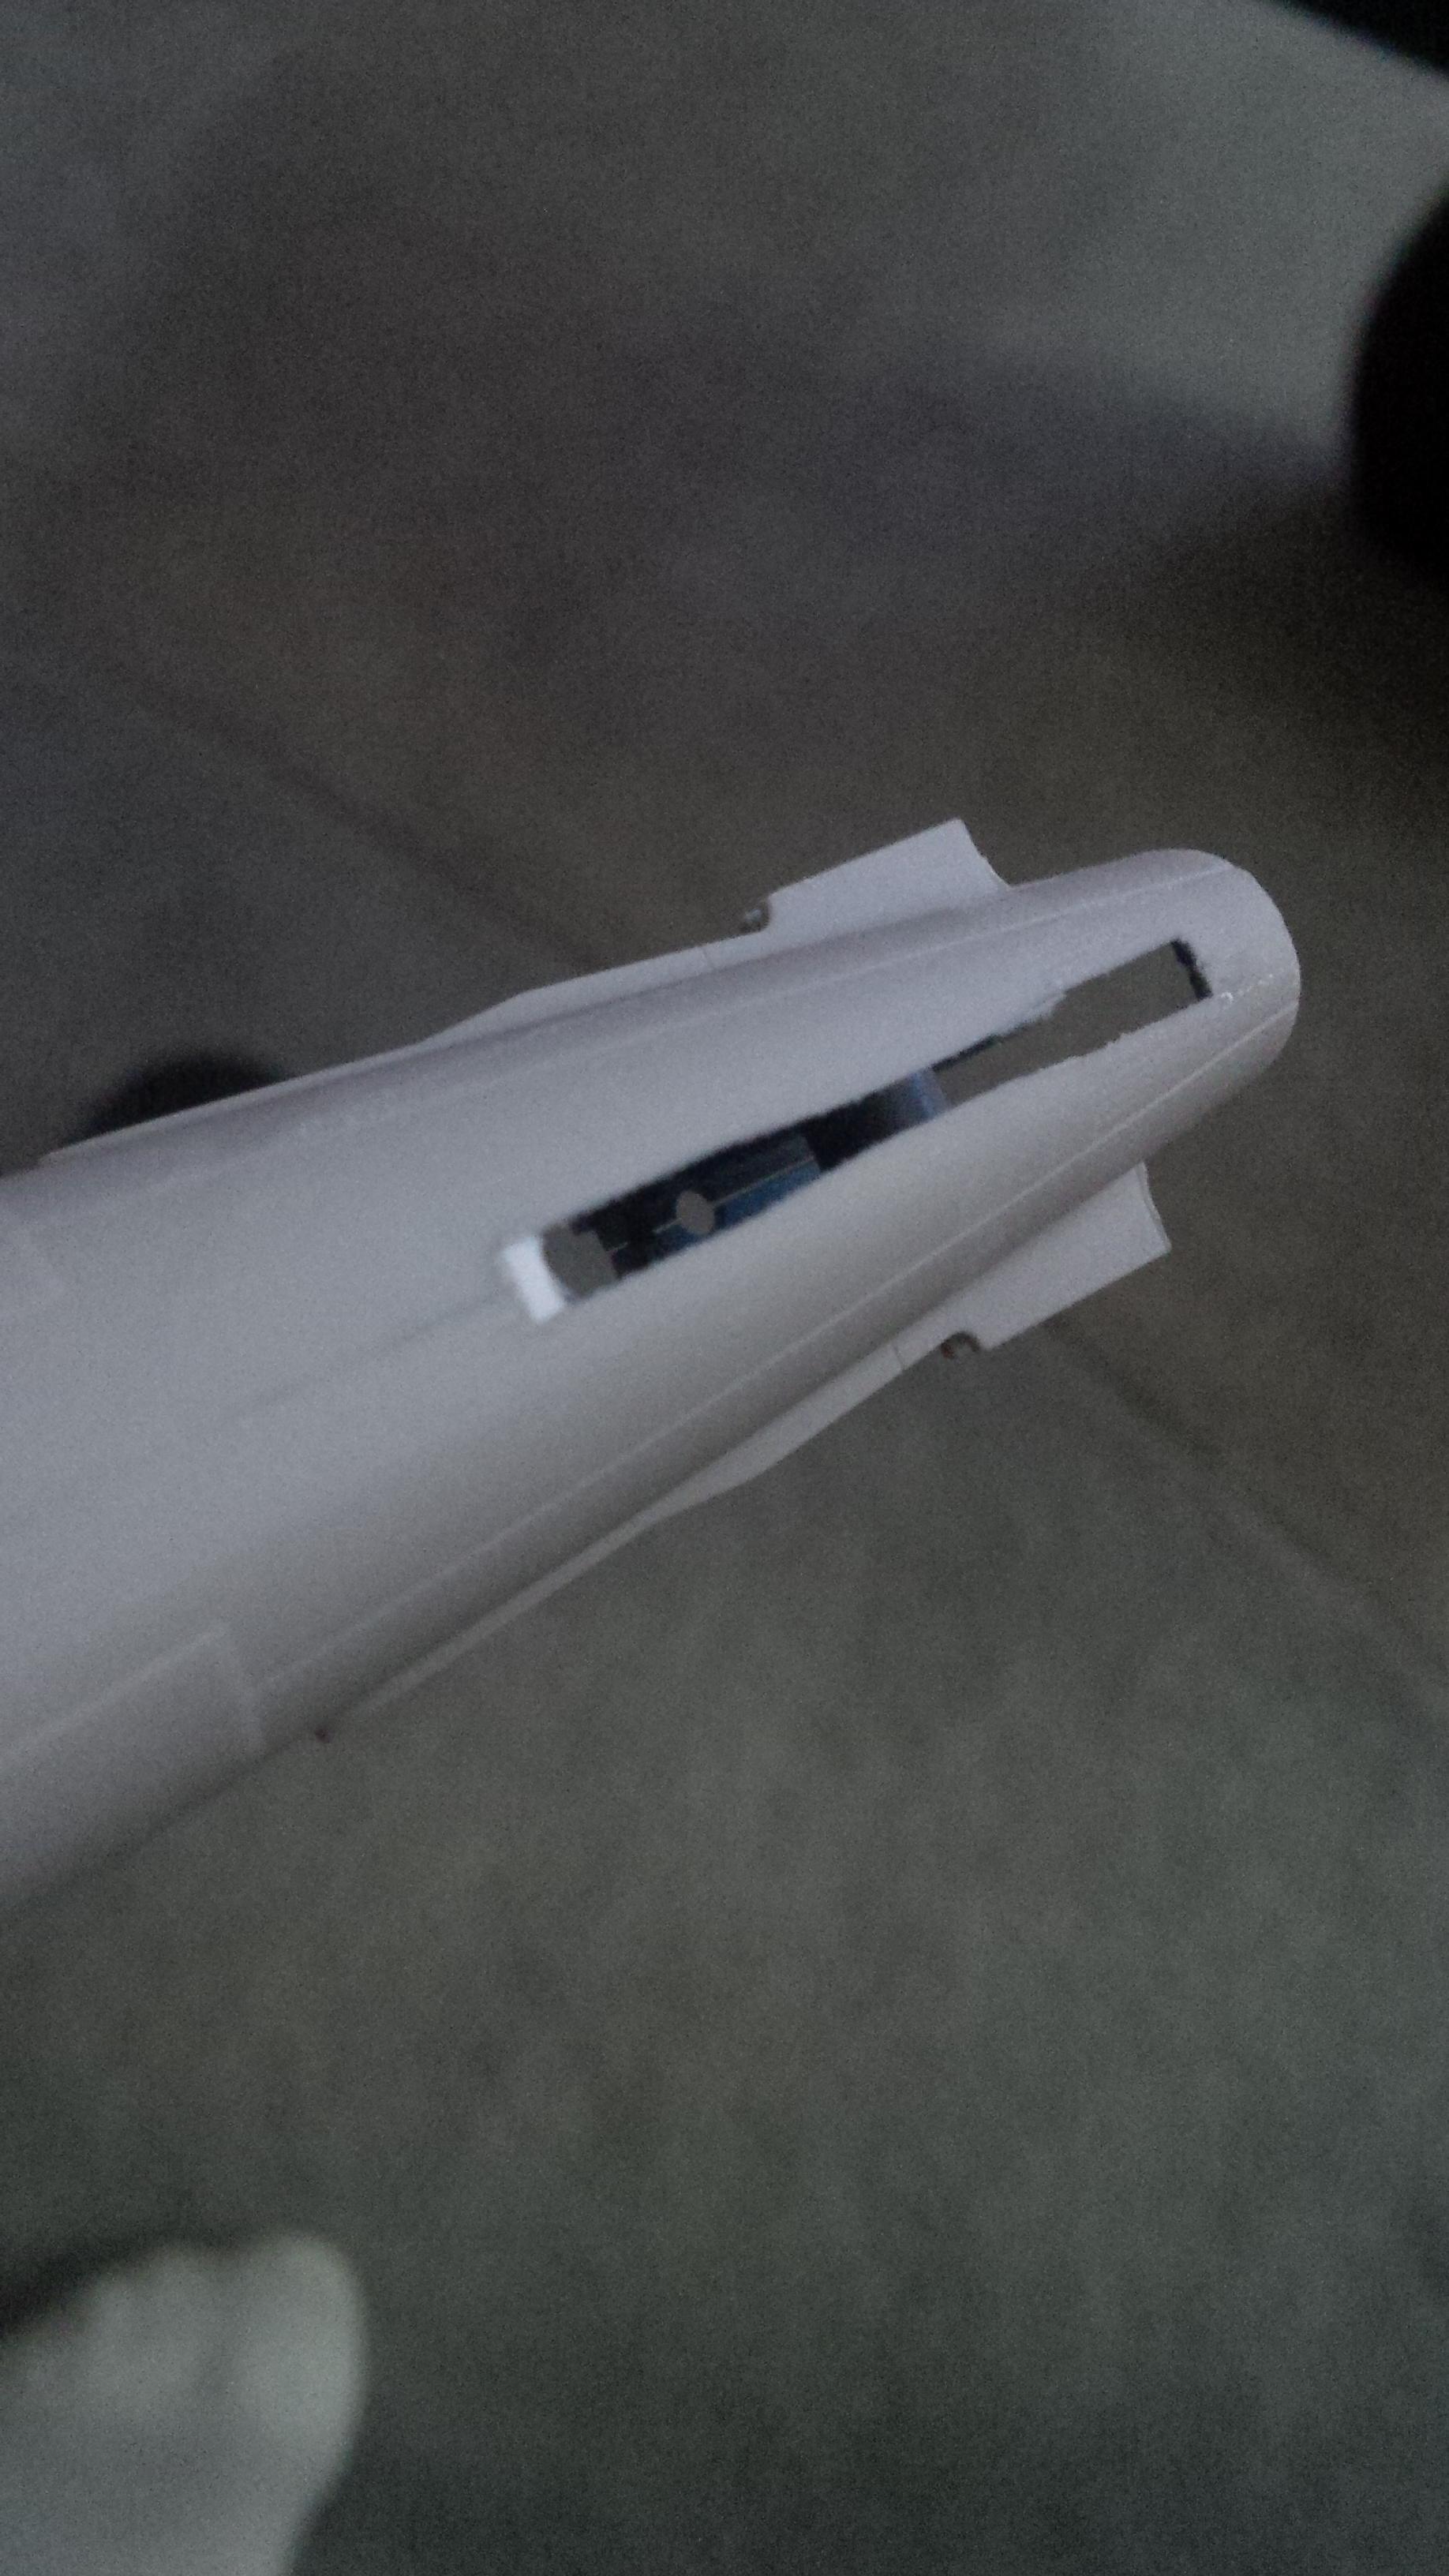
Finally! We're building in three dimensions! I have real parts!

The different paints used on the tank are much more apparent here.
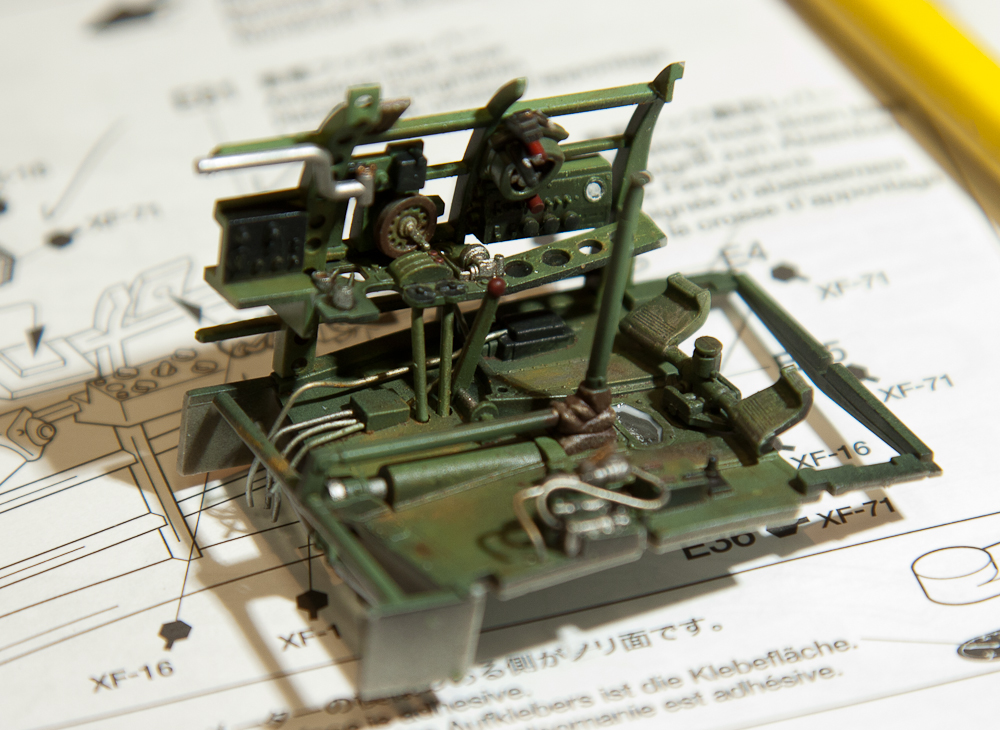
Here are the rest of the photos, scroll through them, then look at them a second time and pick out the areas where you can see the smoke wash/filter, the oil highlighting/wear and some metal chipping (hairspray technique). A place for everything and everything in its place.
Thanks as always for all of your support folks! I've started to make up a jig for the Rufe, that's another new experience for me. Fun fun.