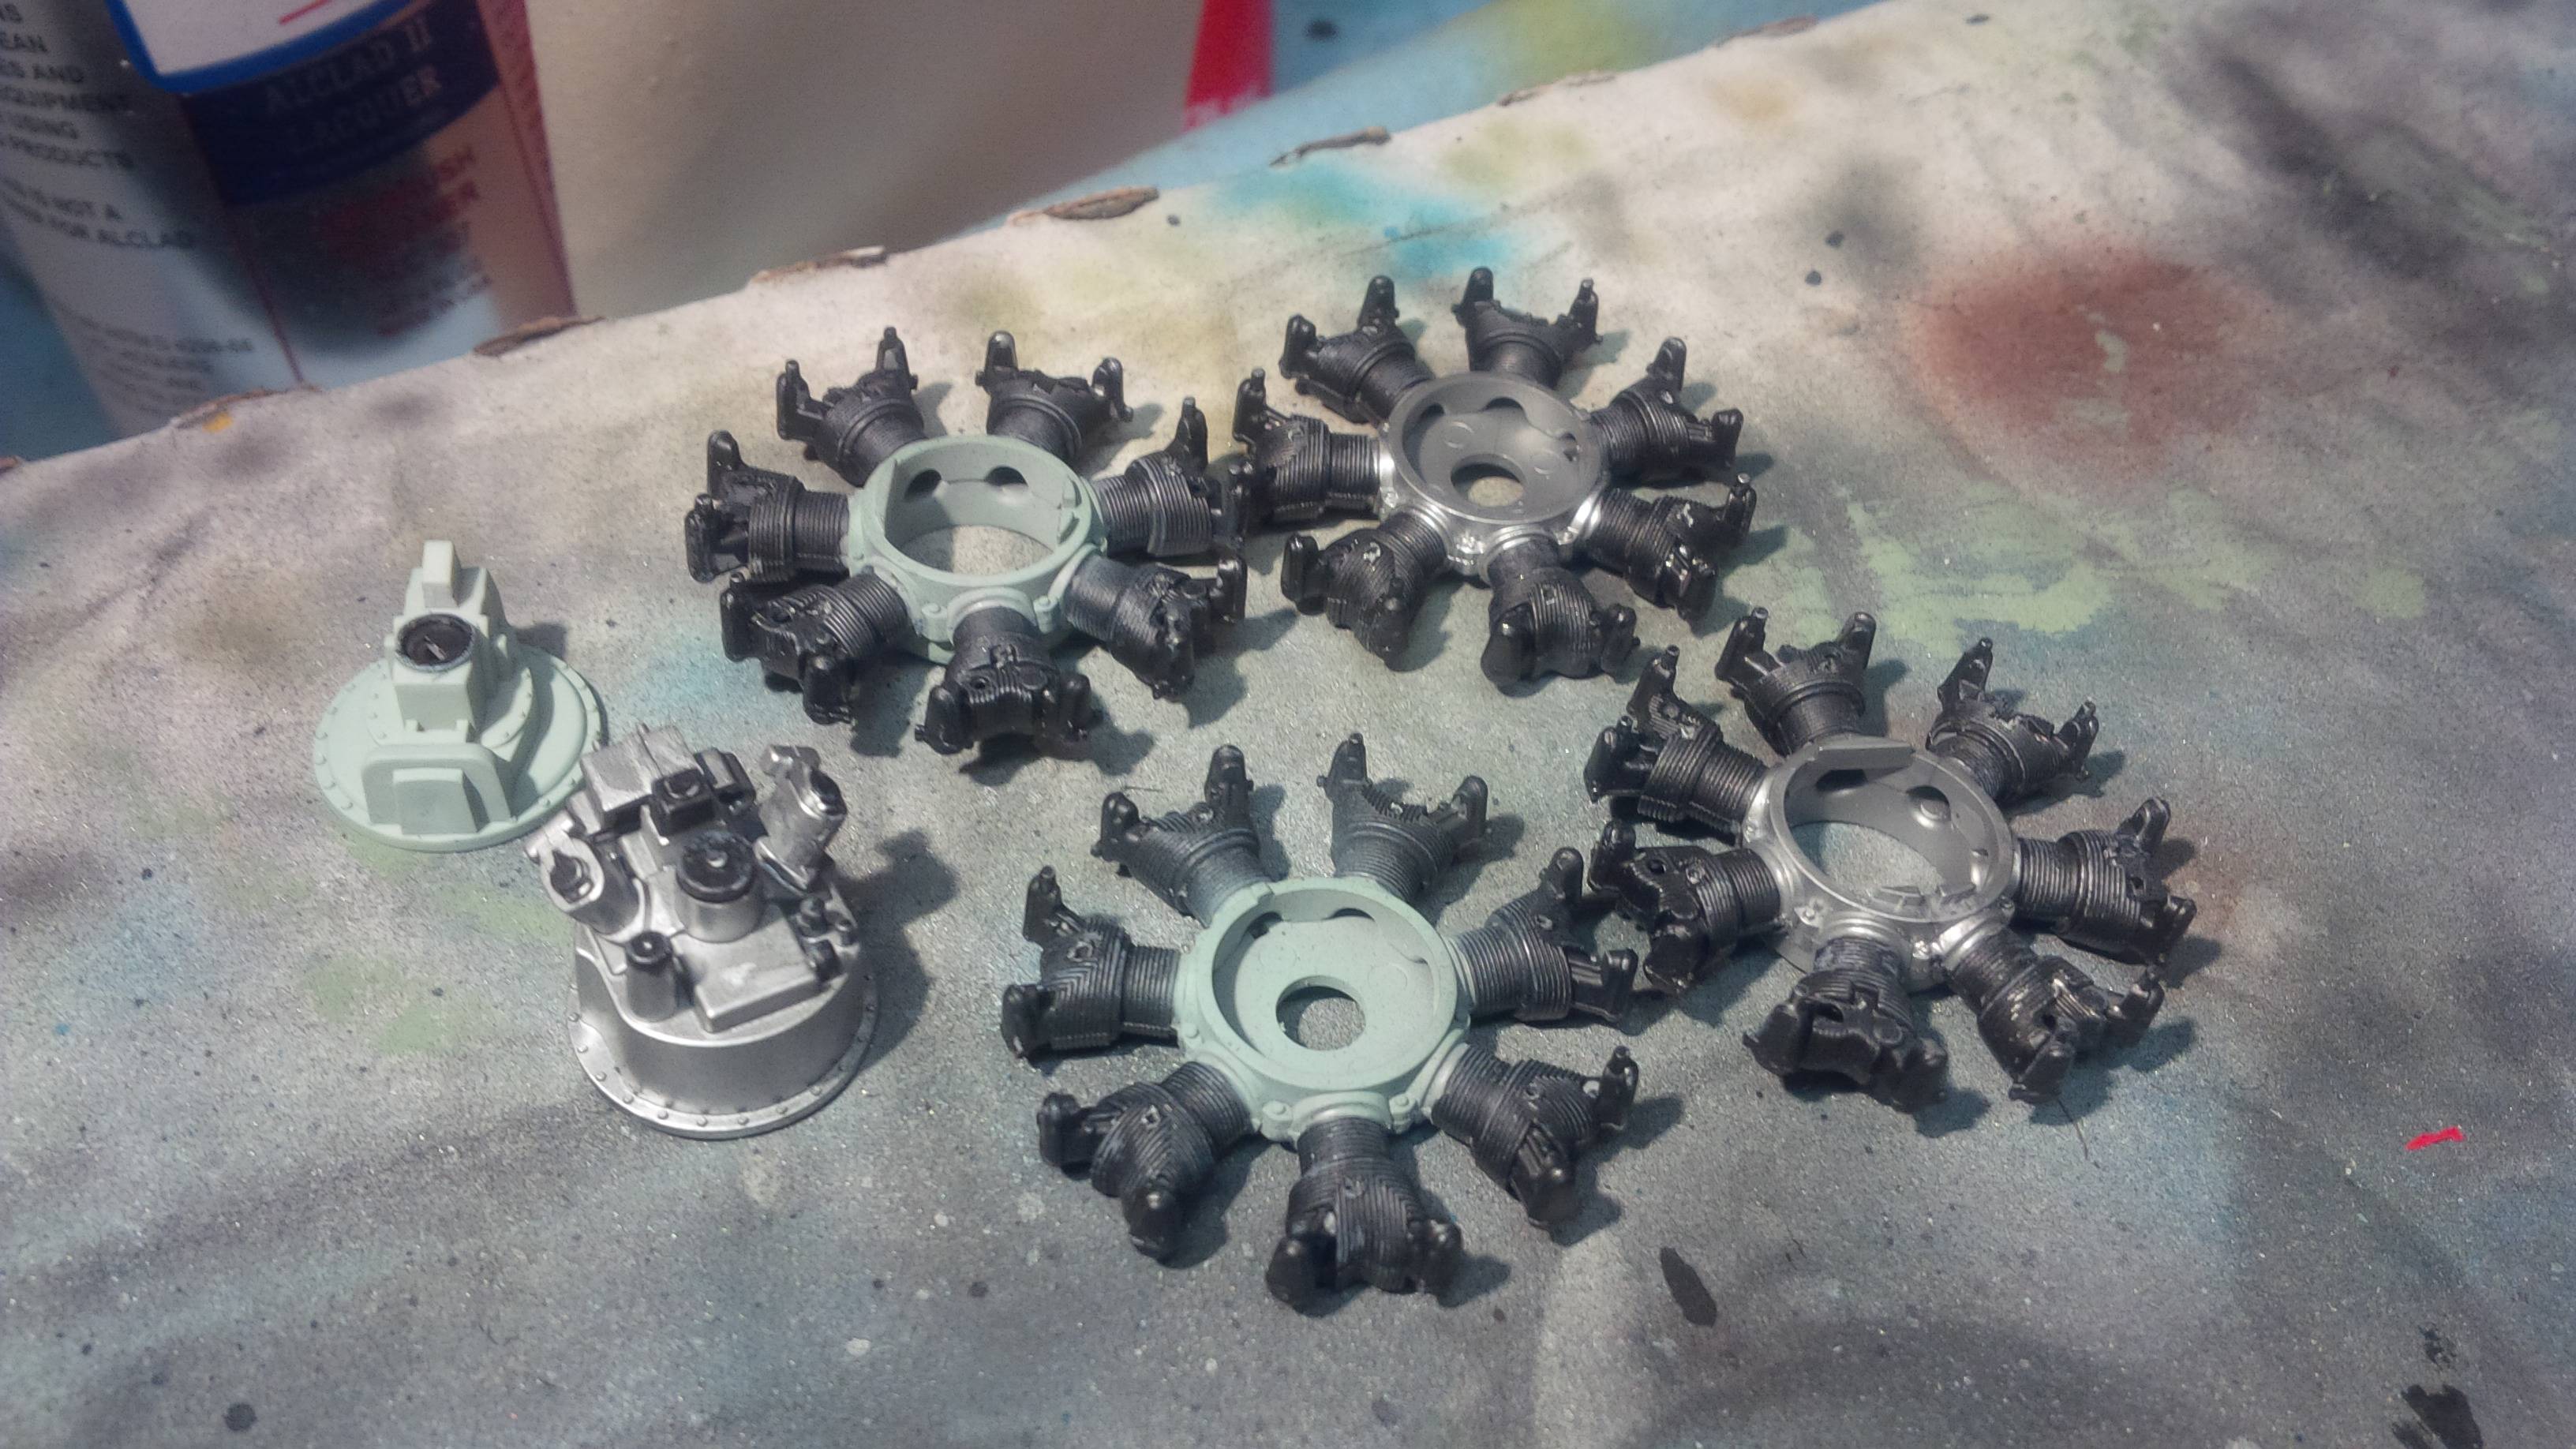
Dub-dub-double post update!
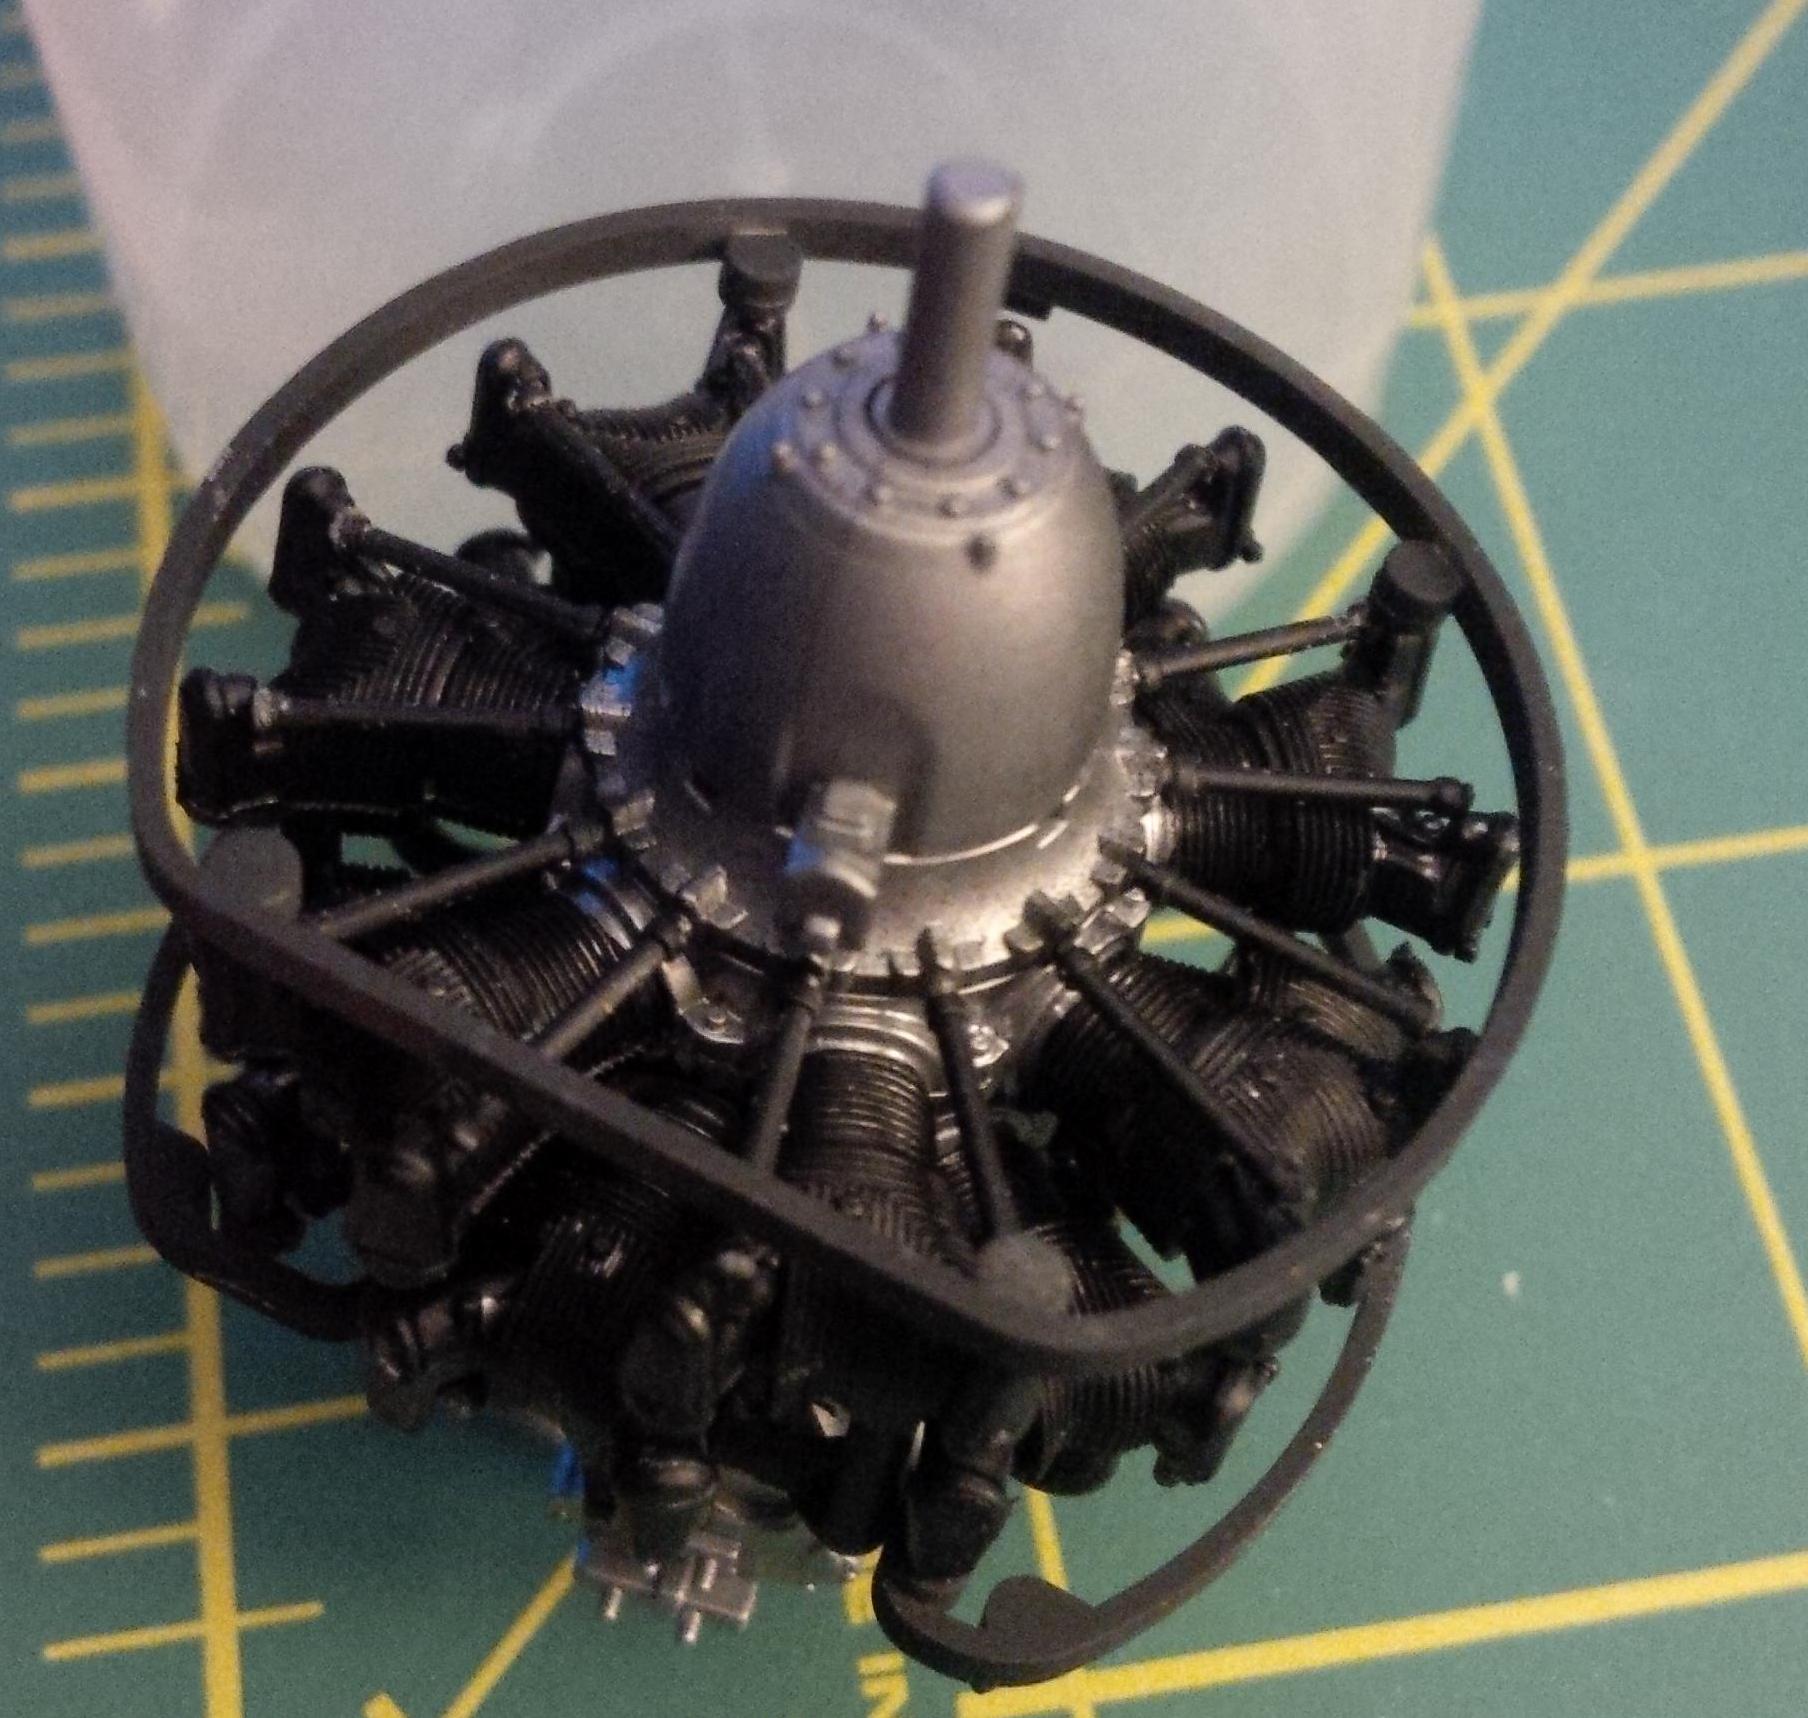
Making up the ignition wiring.
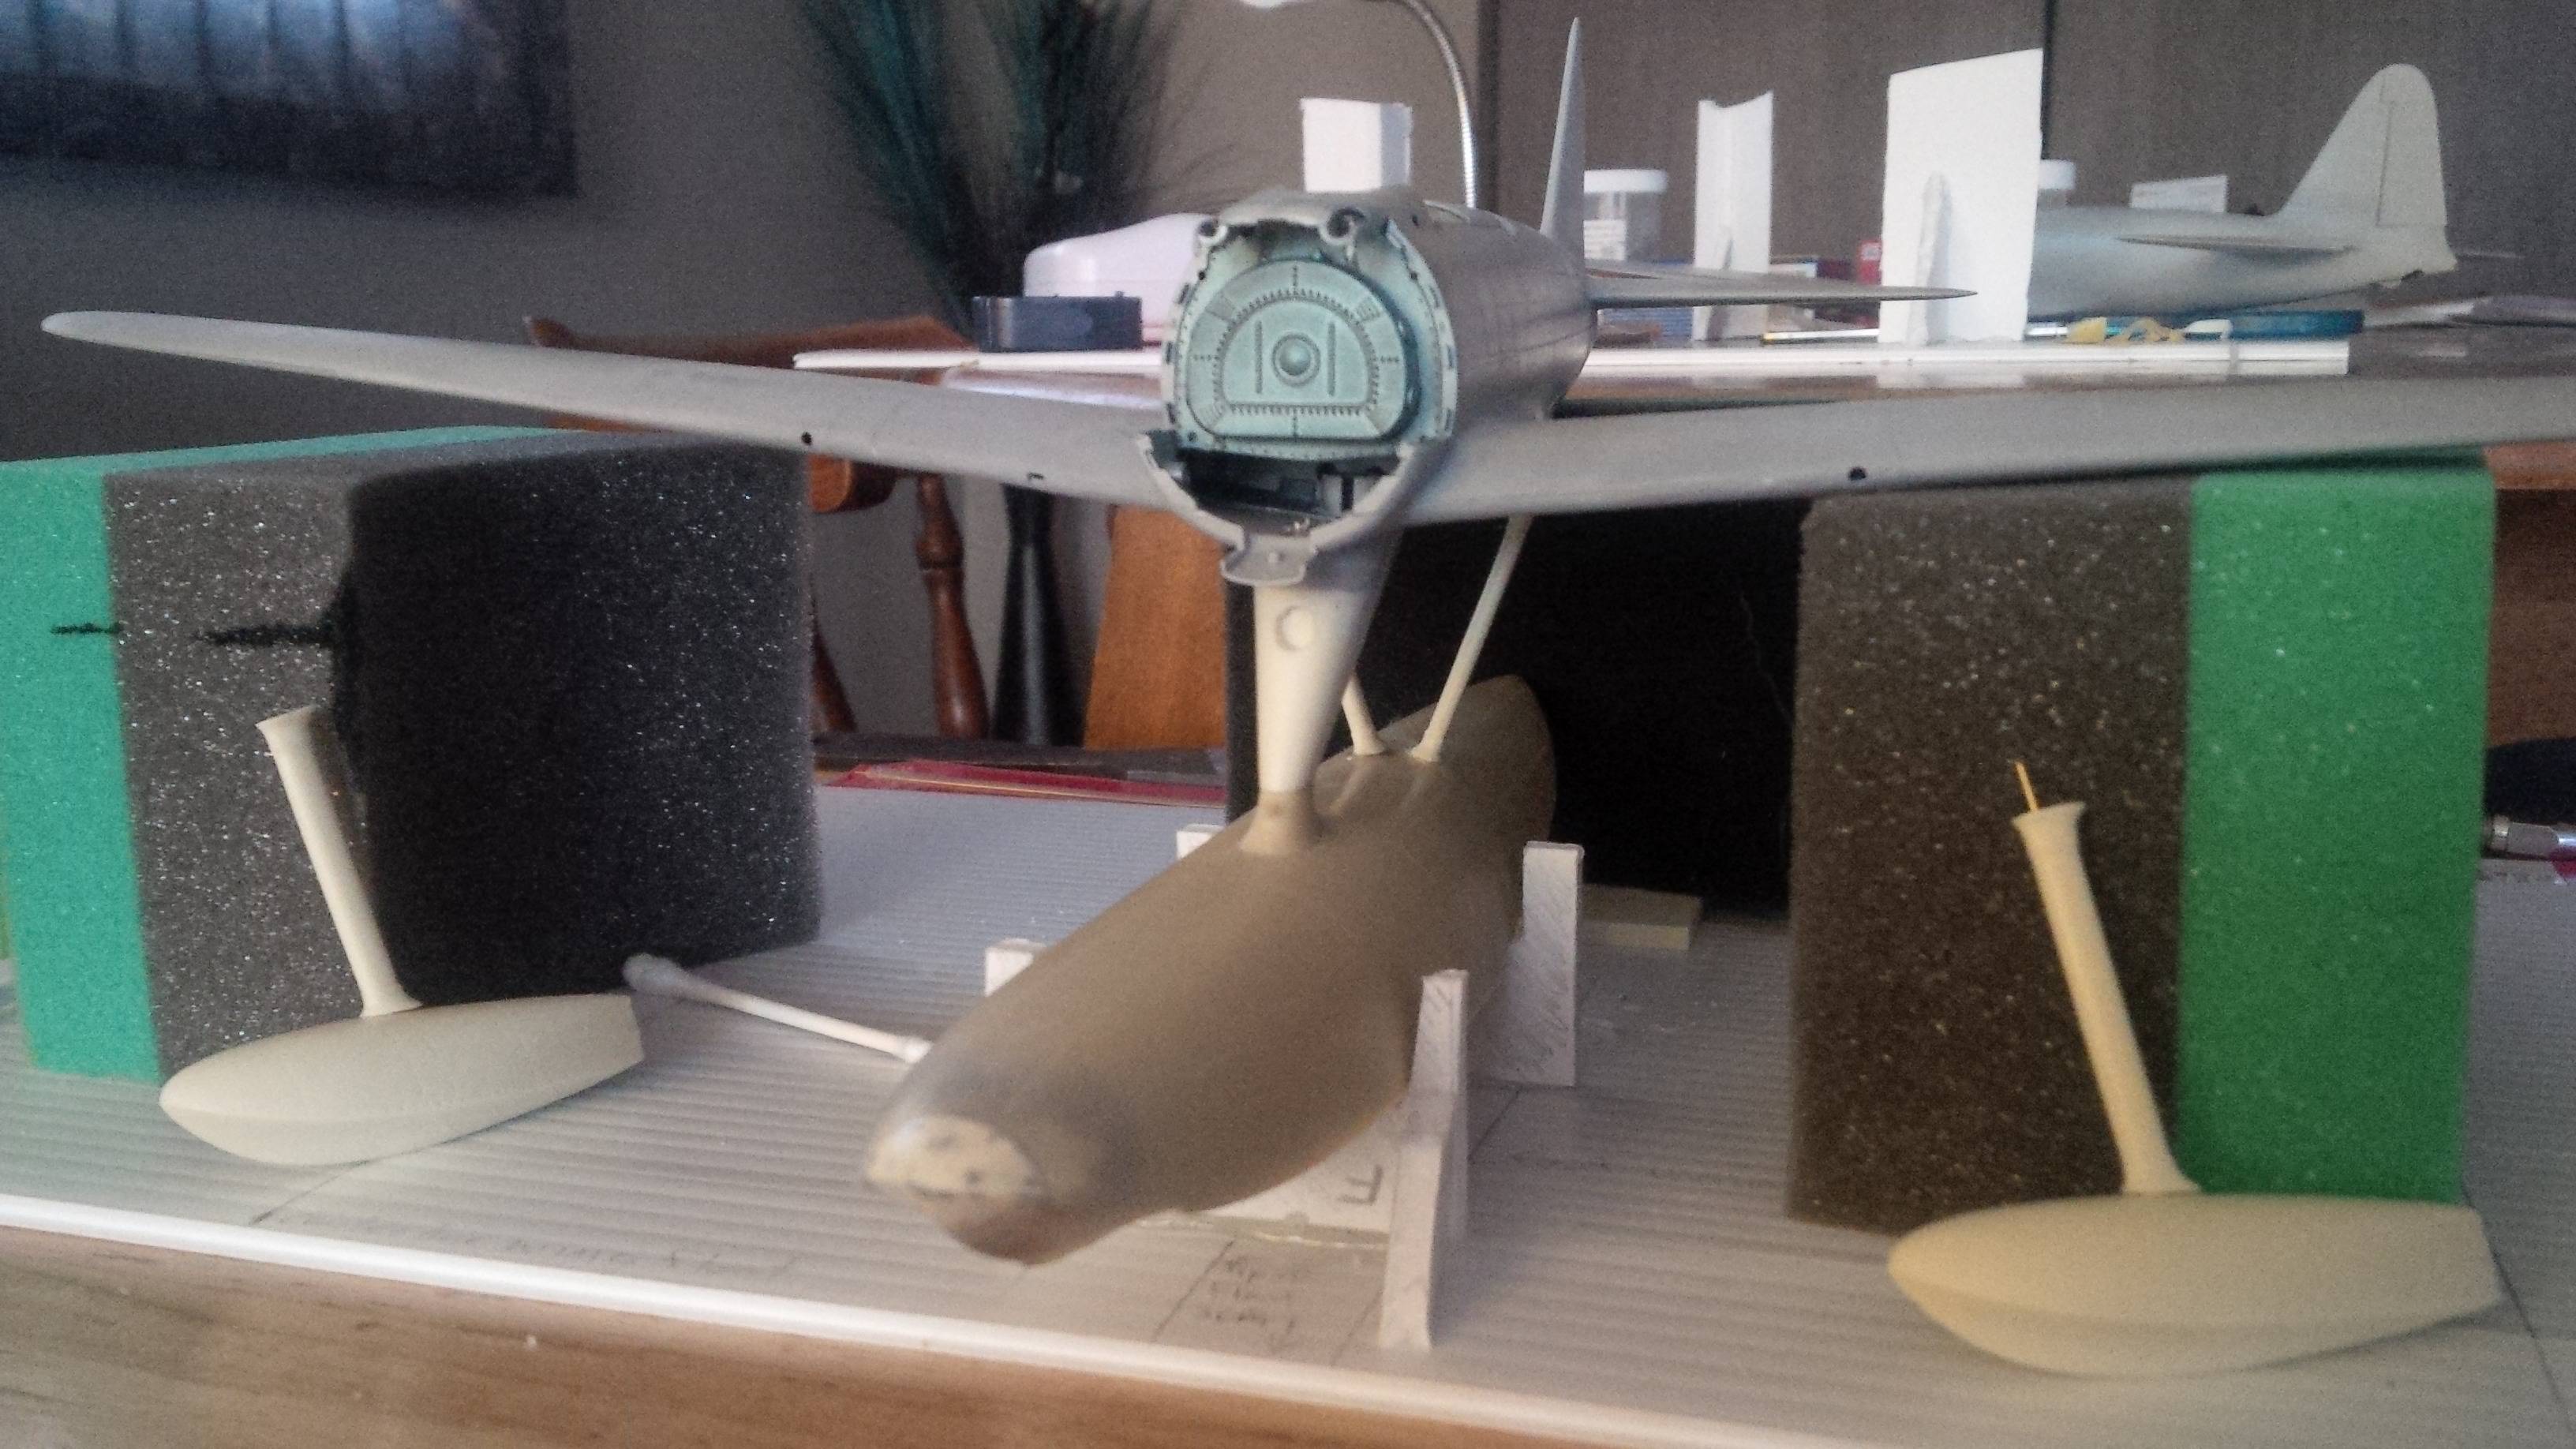
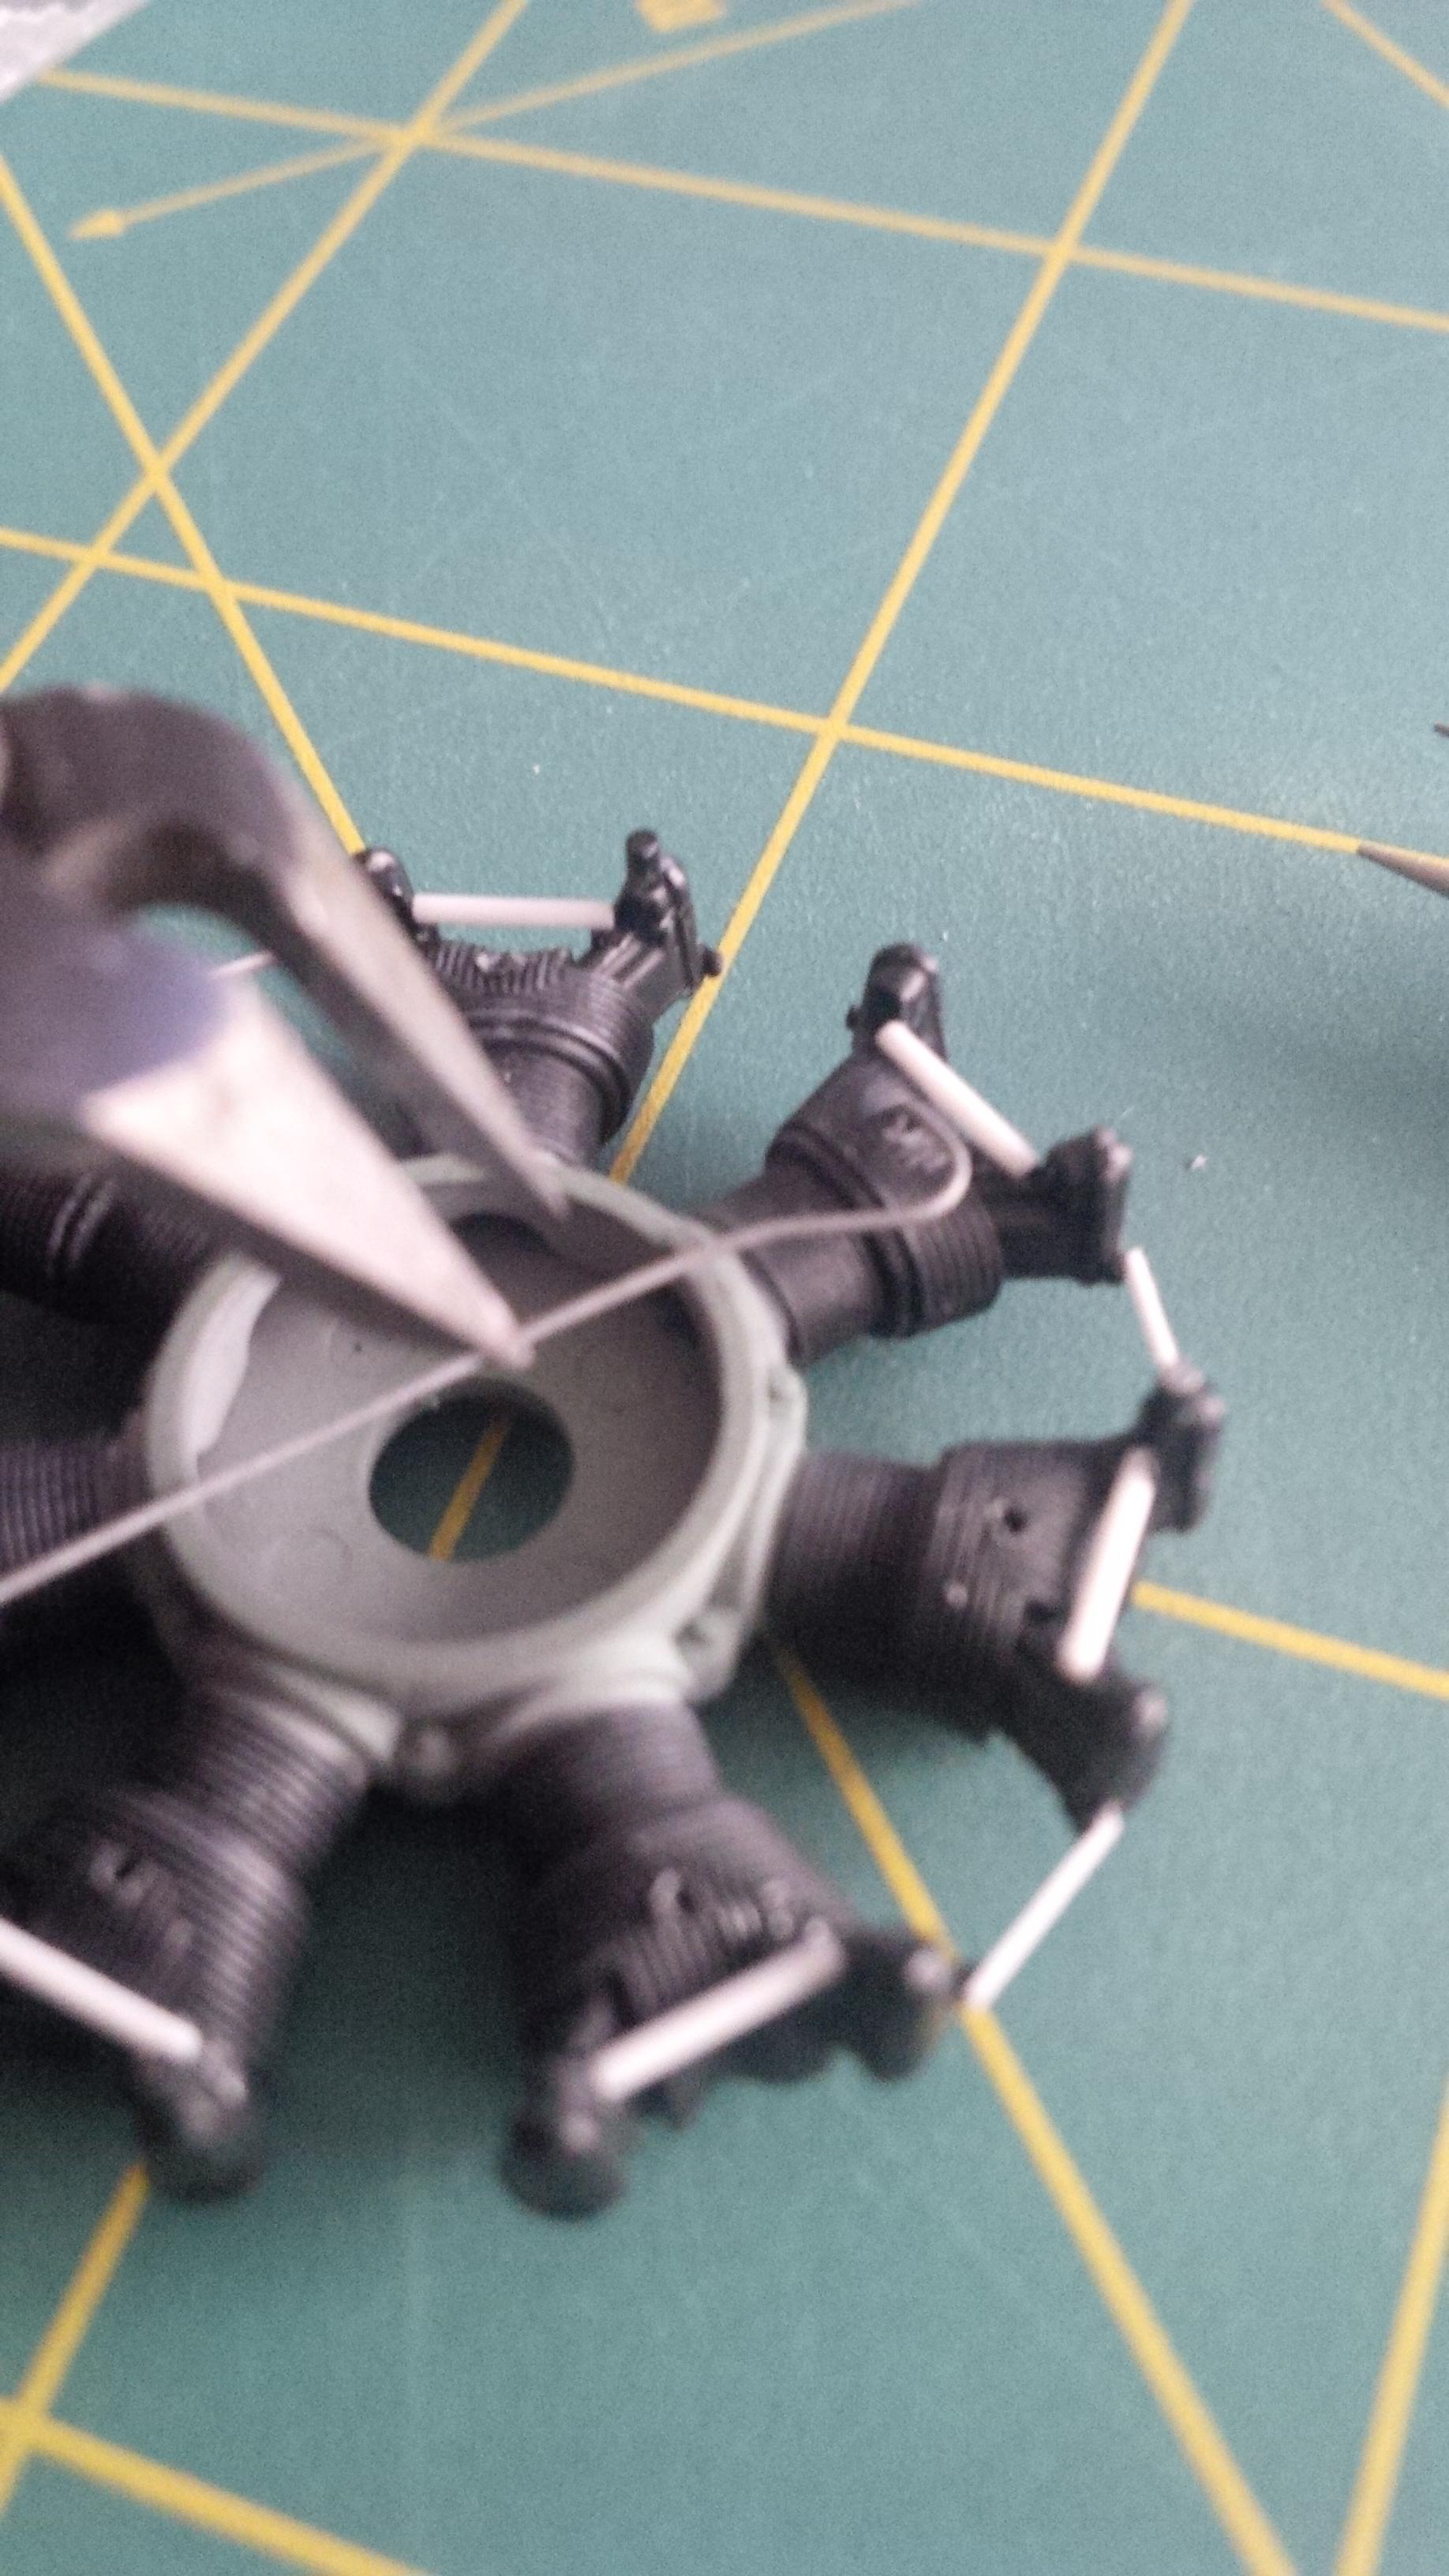
The reference photos I'm using are from the NASM's Gekko (as it uses the same engine). The drawings - even in the Aero Detail book! - are hard to decipher as far as where the wiring goes.
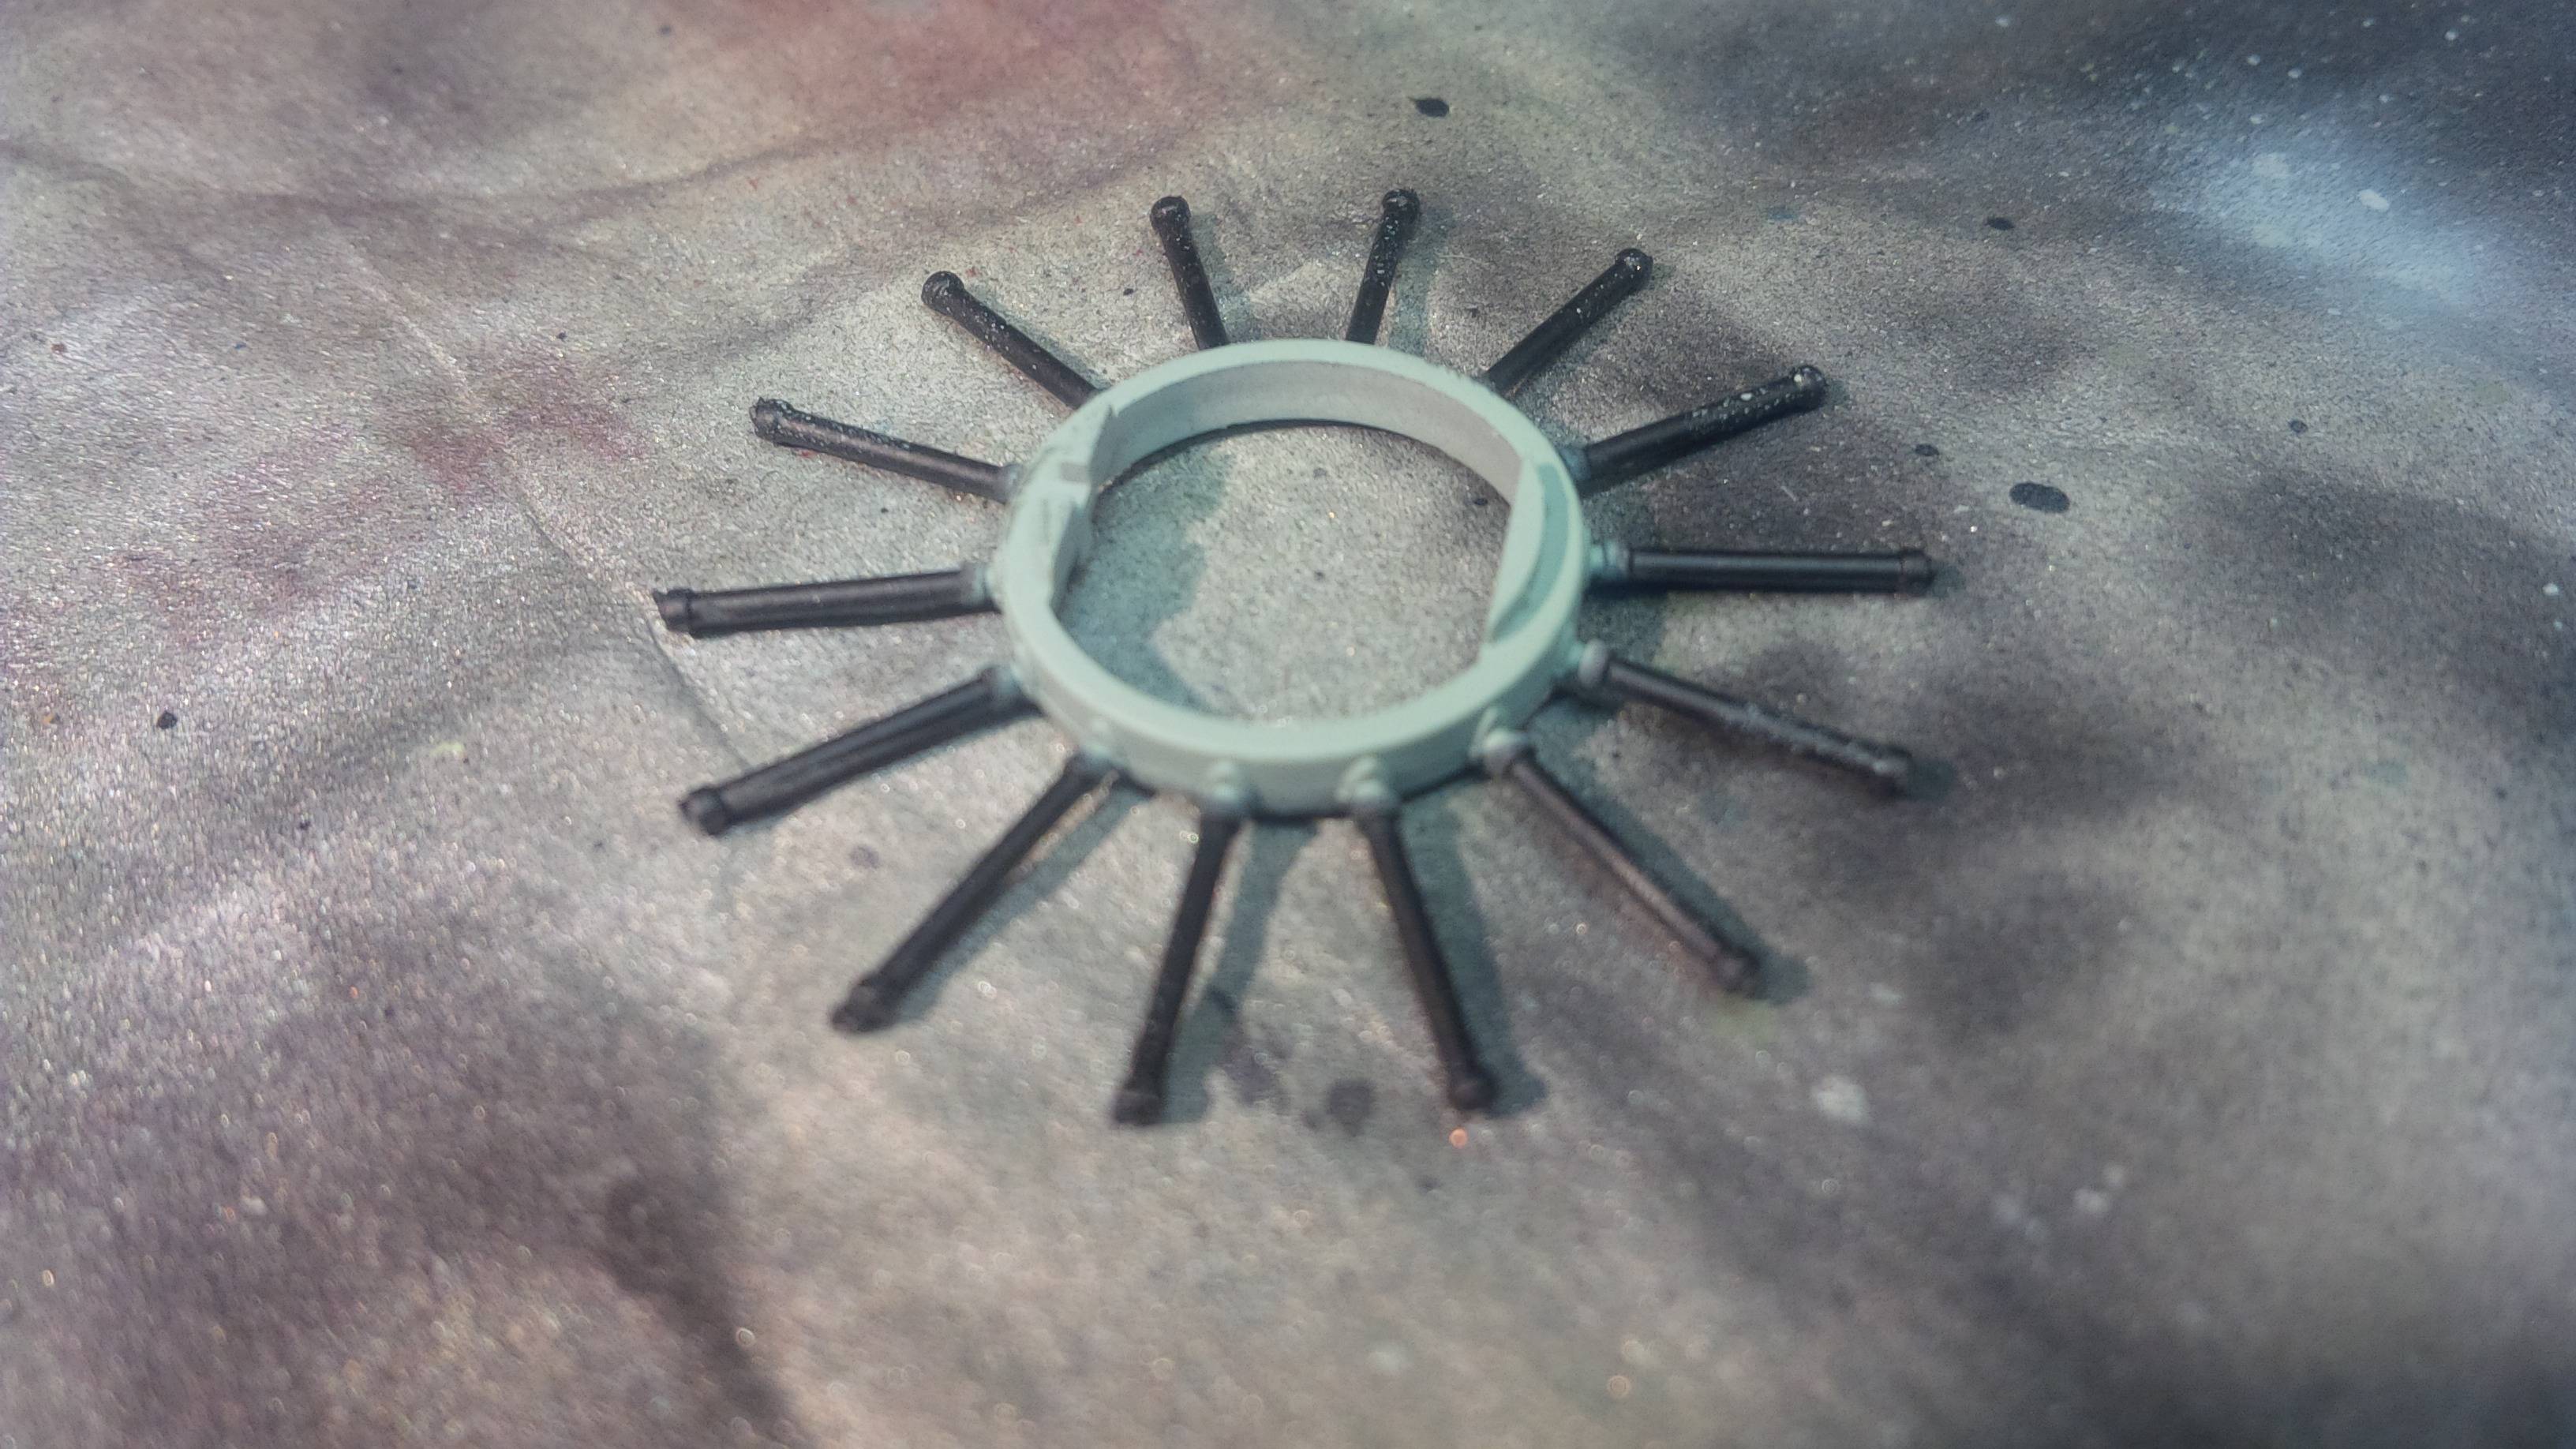
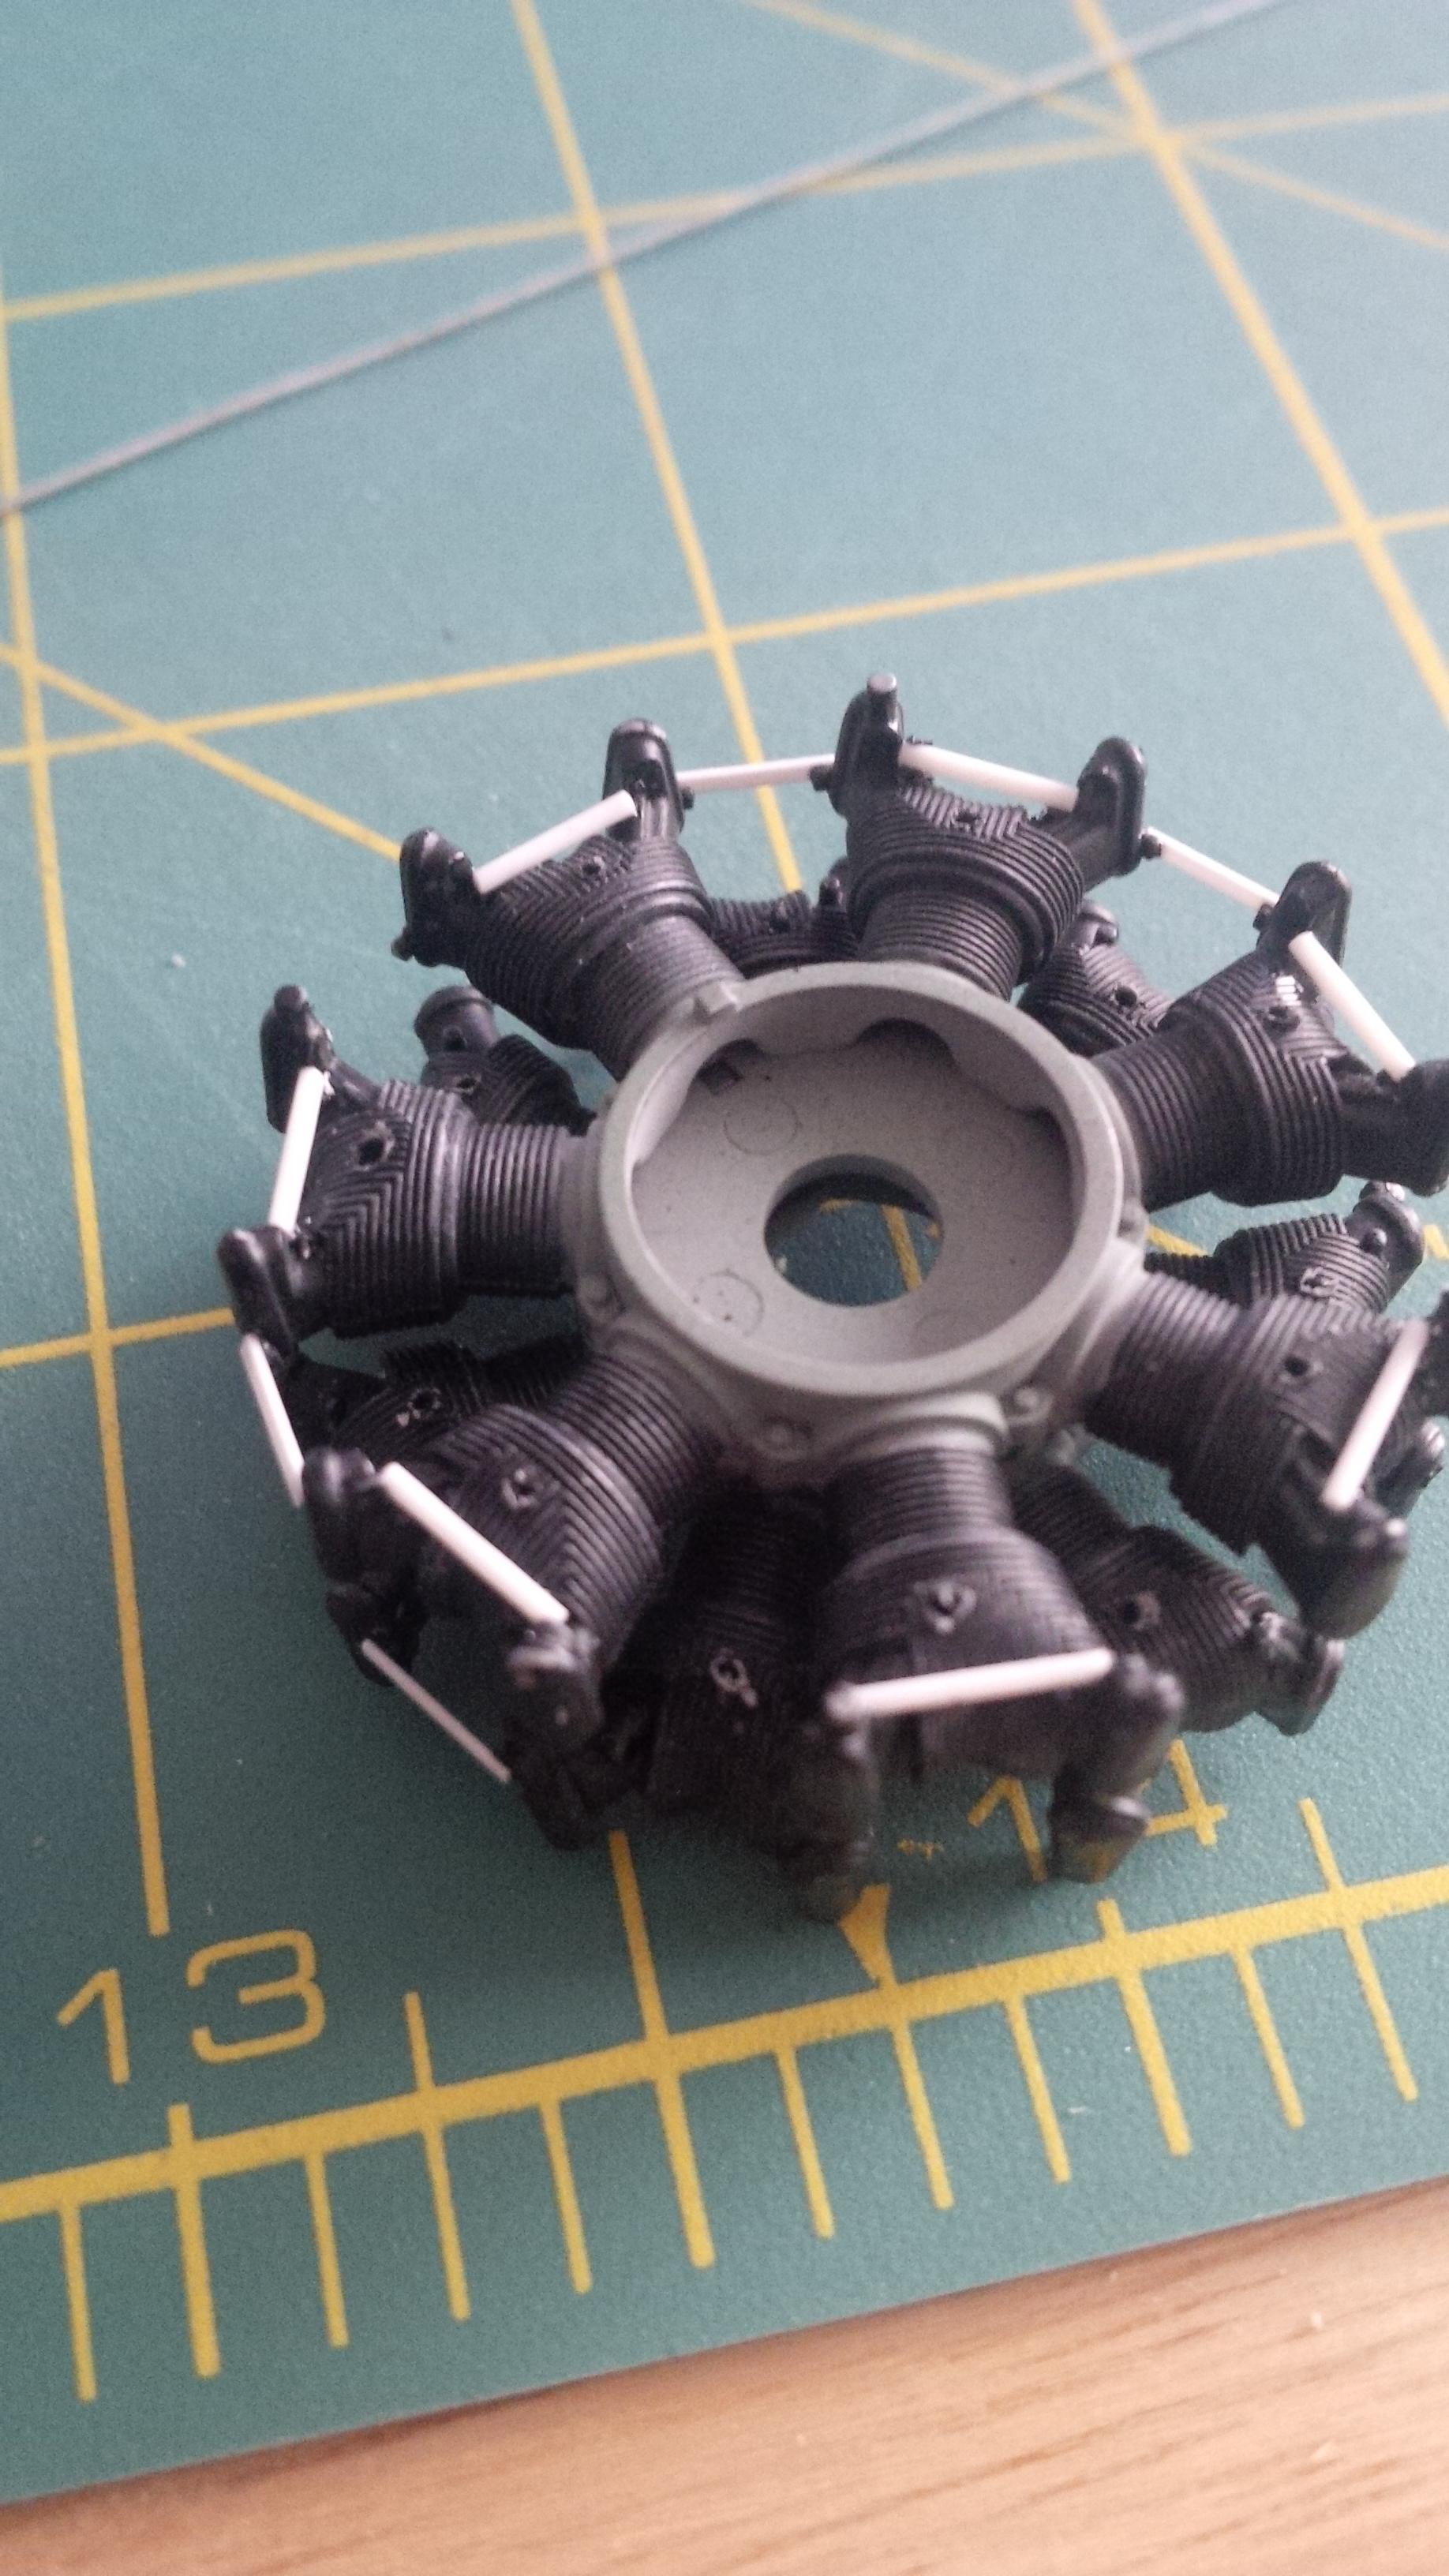
Basically as far as I can tell, in front of each pushrod, there are a pair of wires - one in the shape of a ? and another one that is bundled to it. The question mark shaped wire goes to the spark plug on the front cylinder, the other wire runs over the head of the front cylinder and terminates at the spark plug of the rear cylinder.
For me - the trick with wires like this, is that they should all look about the same, but I don't want them to be identical. For this reason I don't use a jig or a template, but I bend each one by hand.
Much like painting - I straighten the wire (as above) because I want to start off with the base for each part being the same. (in painting, either primer or plain plastic, so the underlying colour effects the overlying paint the same way - if that makes sense).
I take the straight wire, and bend the cure of the wire around something with the radius I want - drill bits are great for this! Now I can use this tool for each of the 14 wires I have to make up (two engines) keeping the radius of the curve about the same. Note that to the left of my thumb (left in the photo) I have left a straight portion, which I will bend 90 degrees to insert into the head.
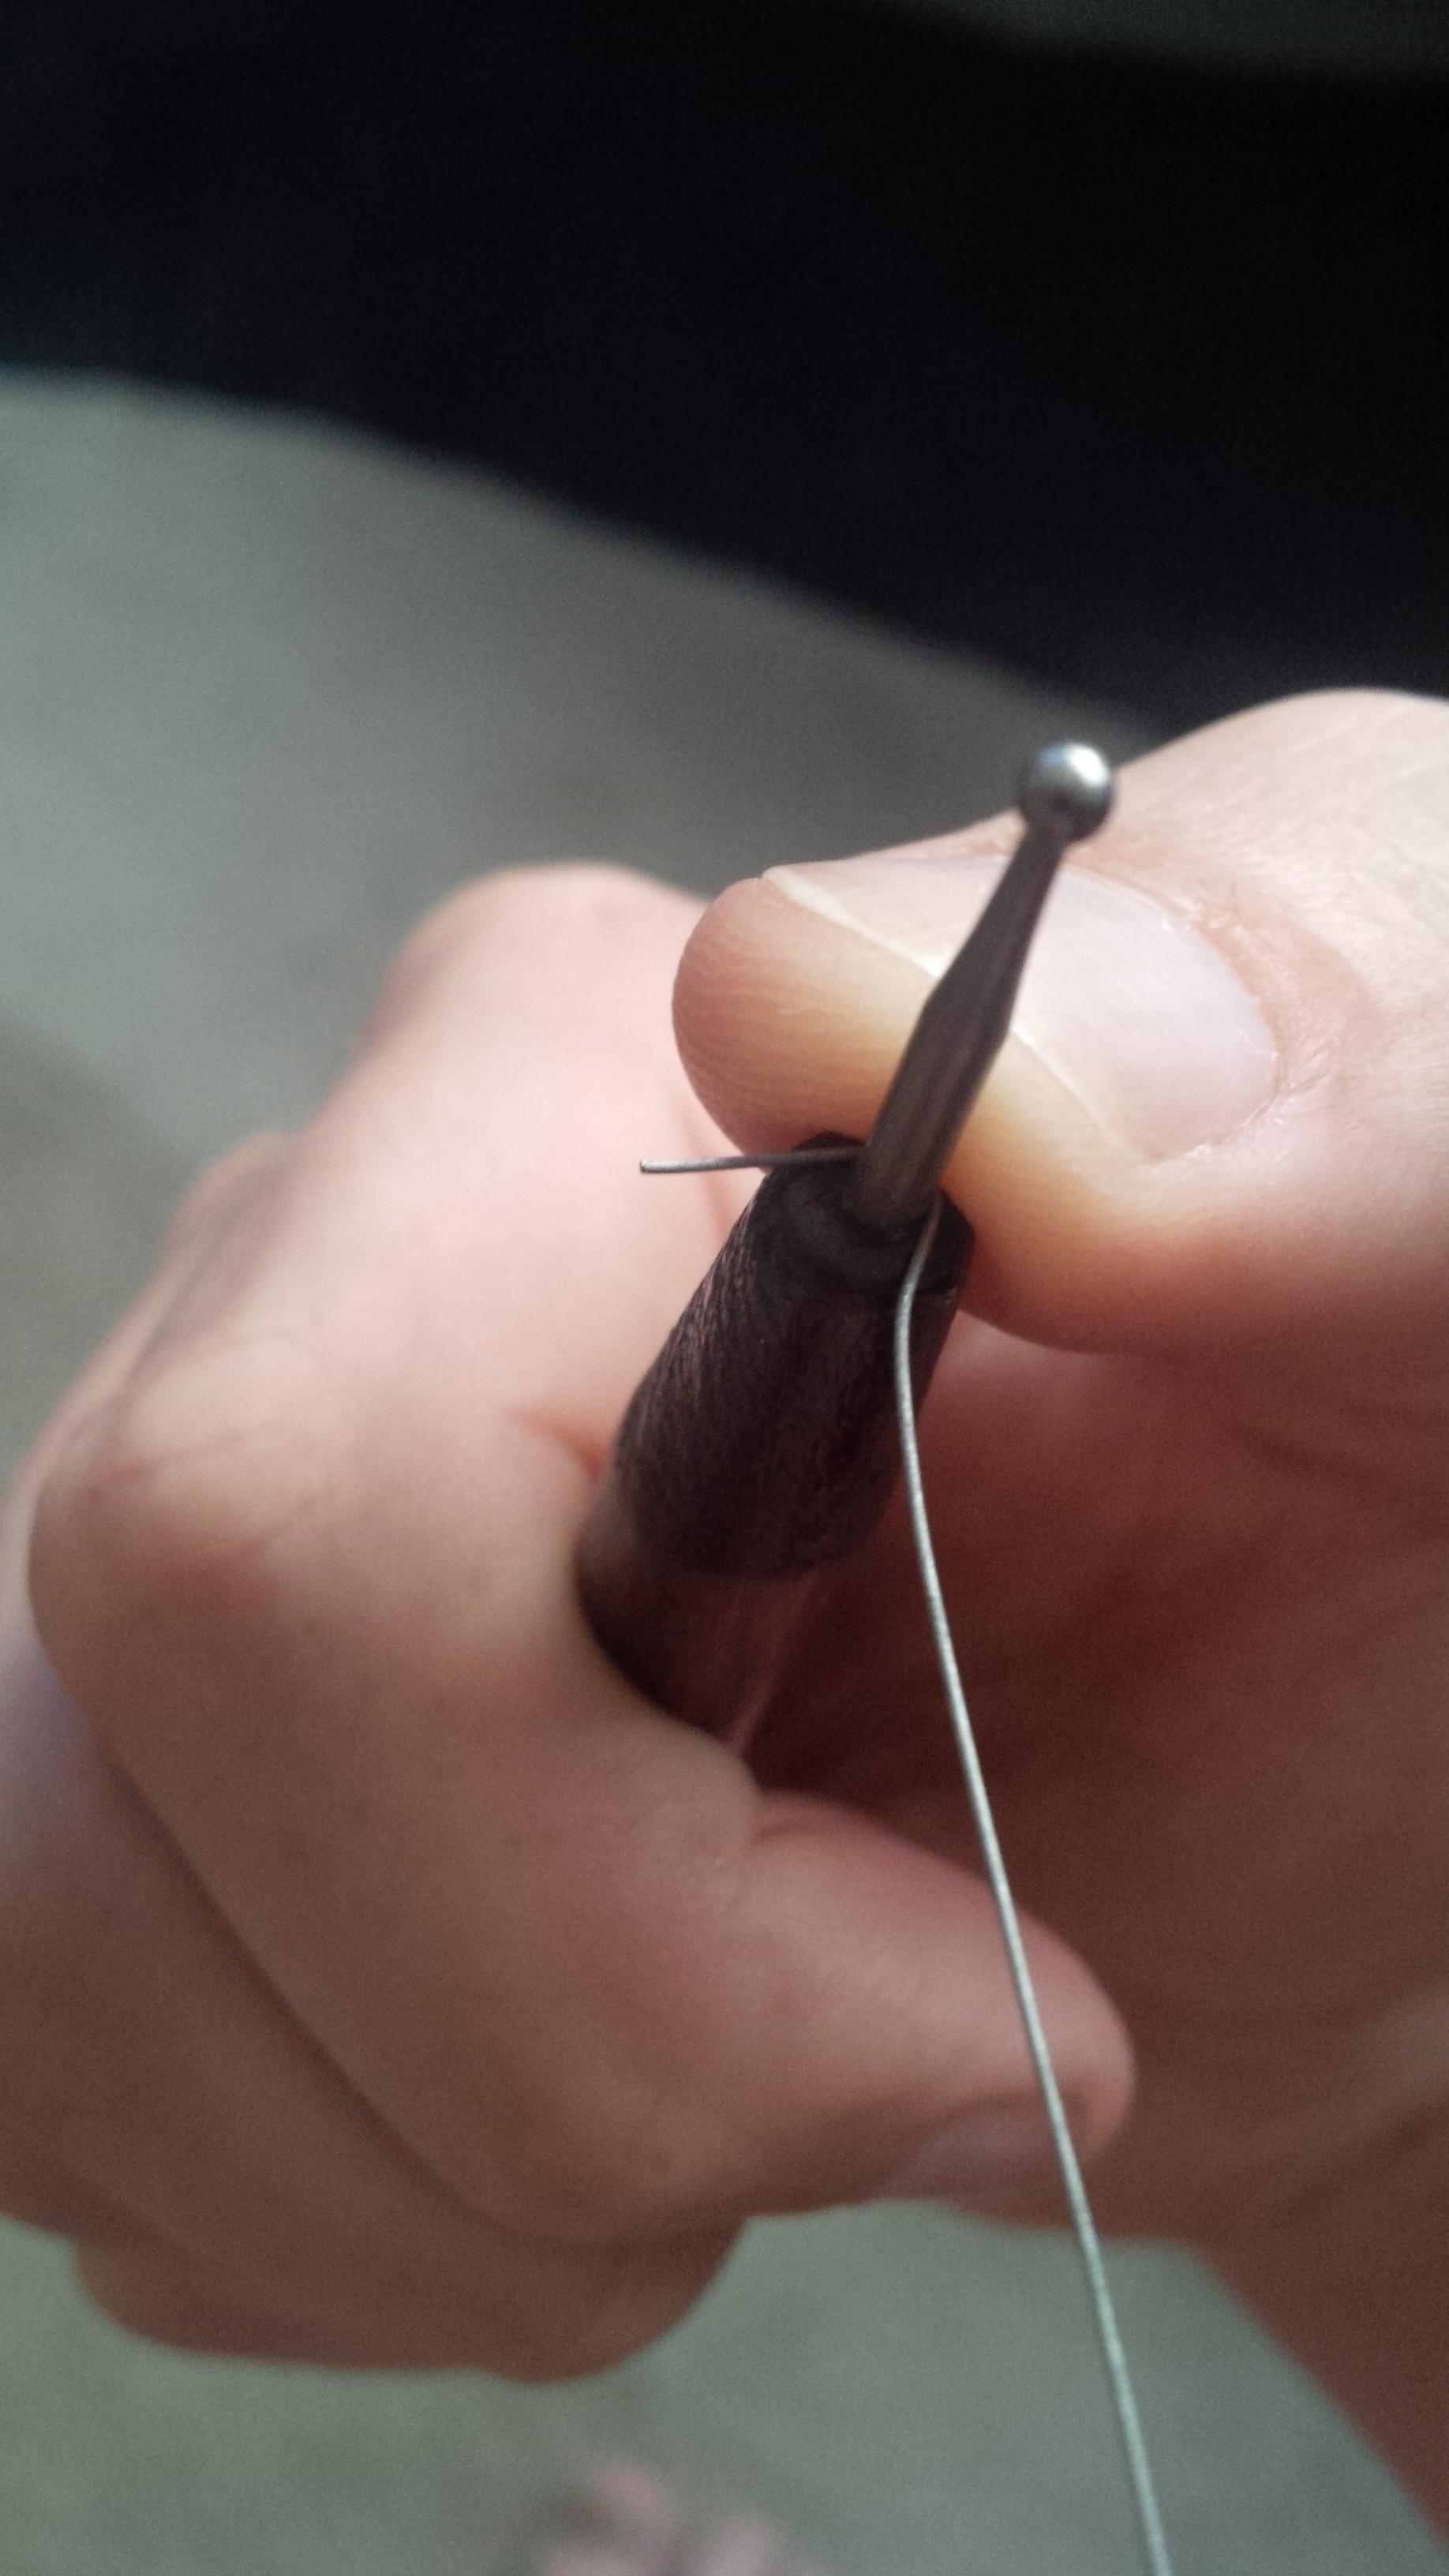
Now I lay the wire flat on my cutting mat (made easier by the use of a wire rolled flat to begin with!) I have made a mark on my tweezers (a piece of tape on the backside in this case) so that I can bend the 90 degree stretch to the same width on each one (because the tweezers get wider as you go back) I bend the wire 90 degrees as best I can, rotate the pliers 90 degrees horizontally and make sure that the wire is bent 90 degrees in that plane as well (i.e. perfectly straight up.)

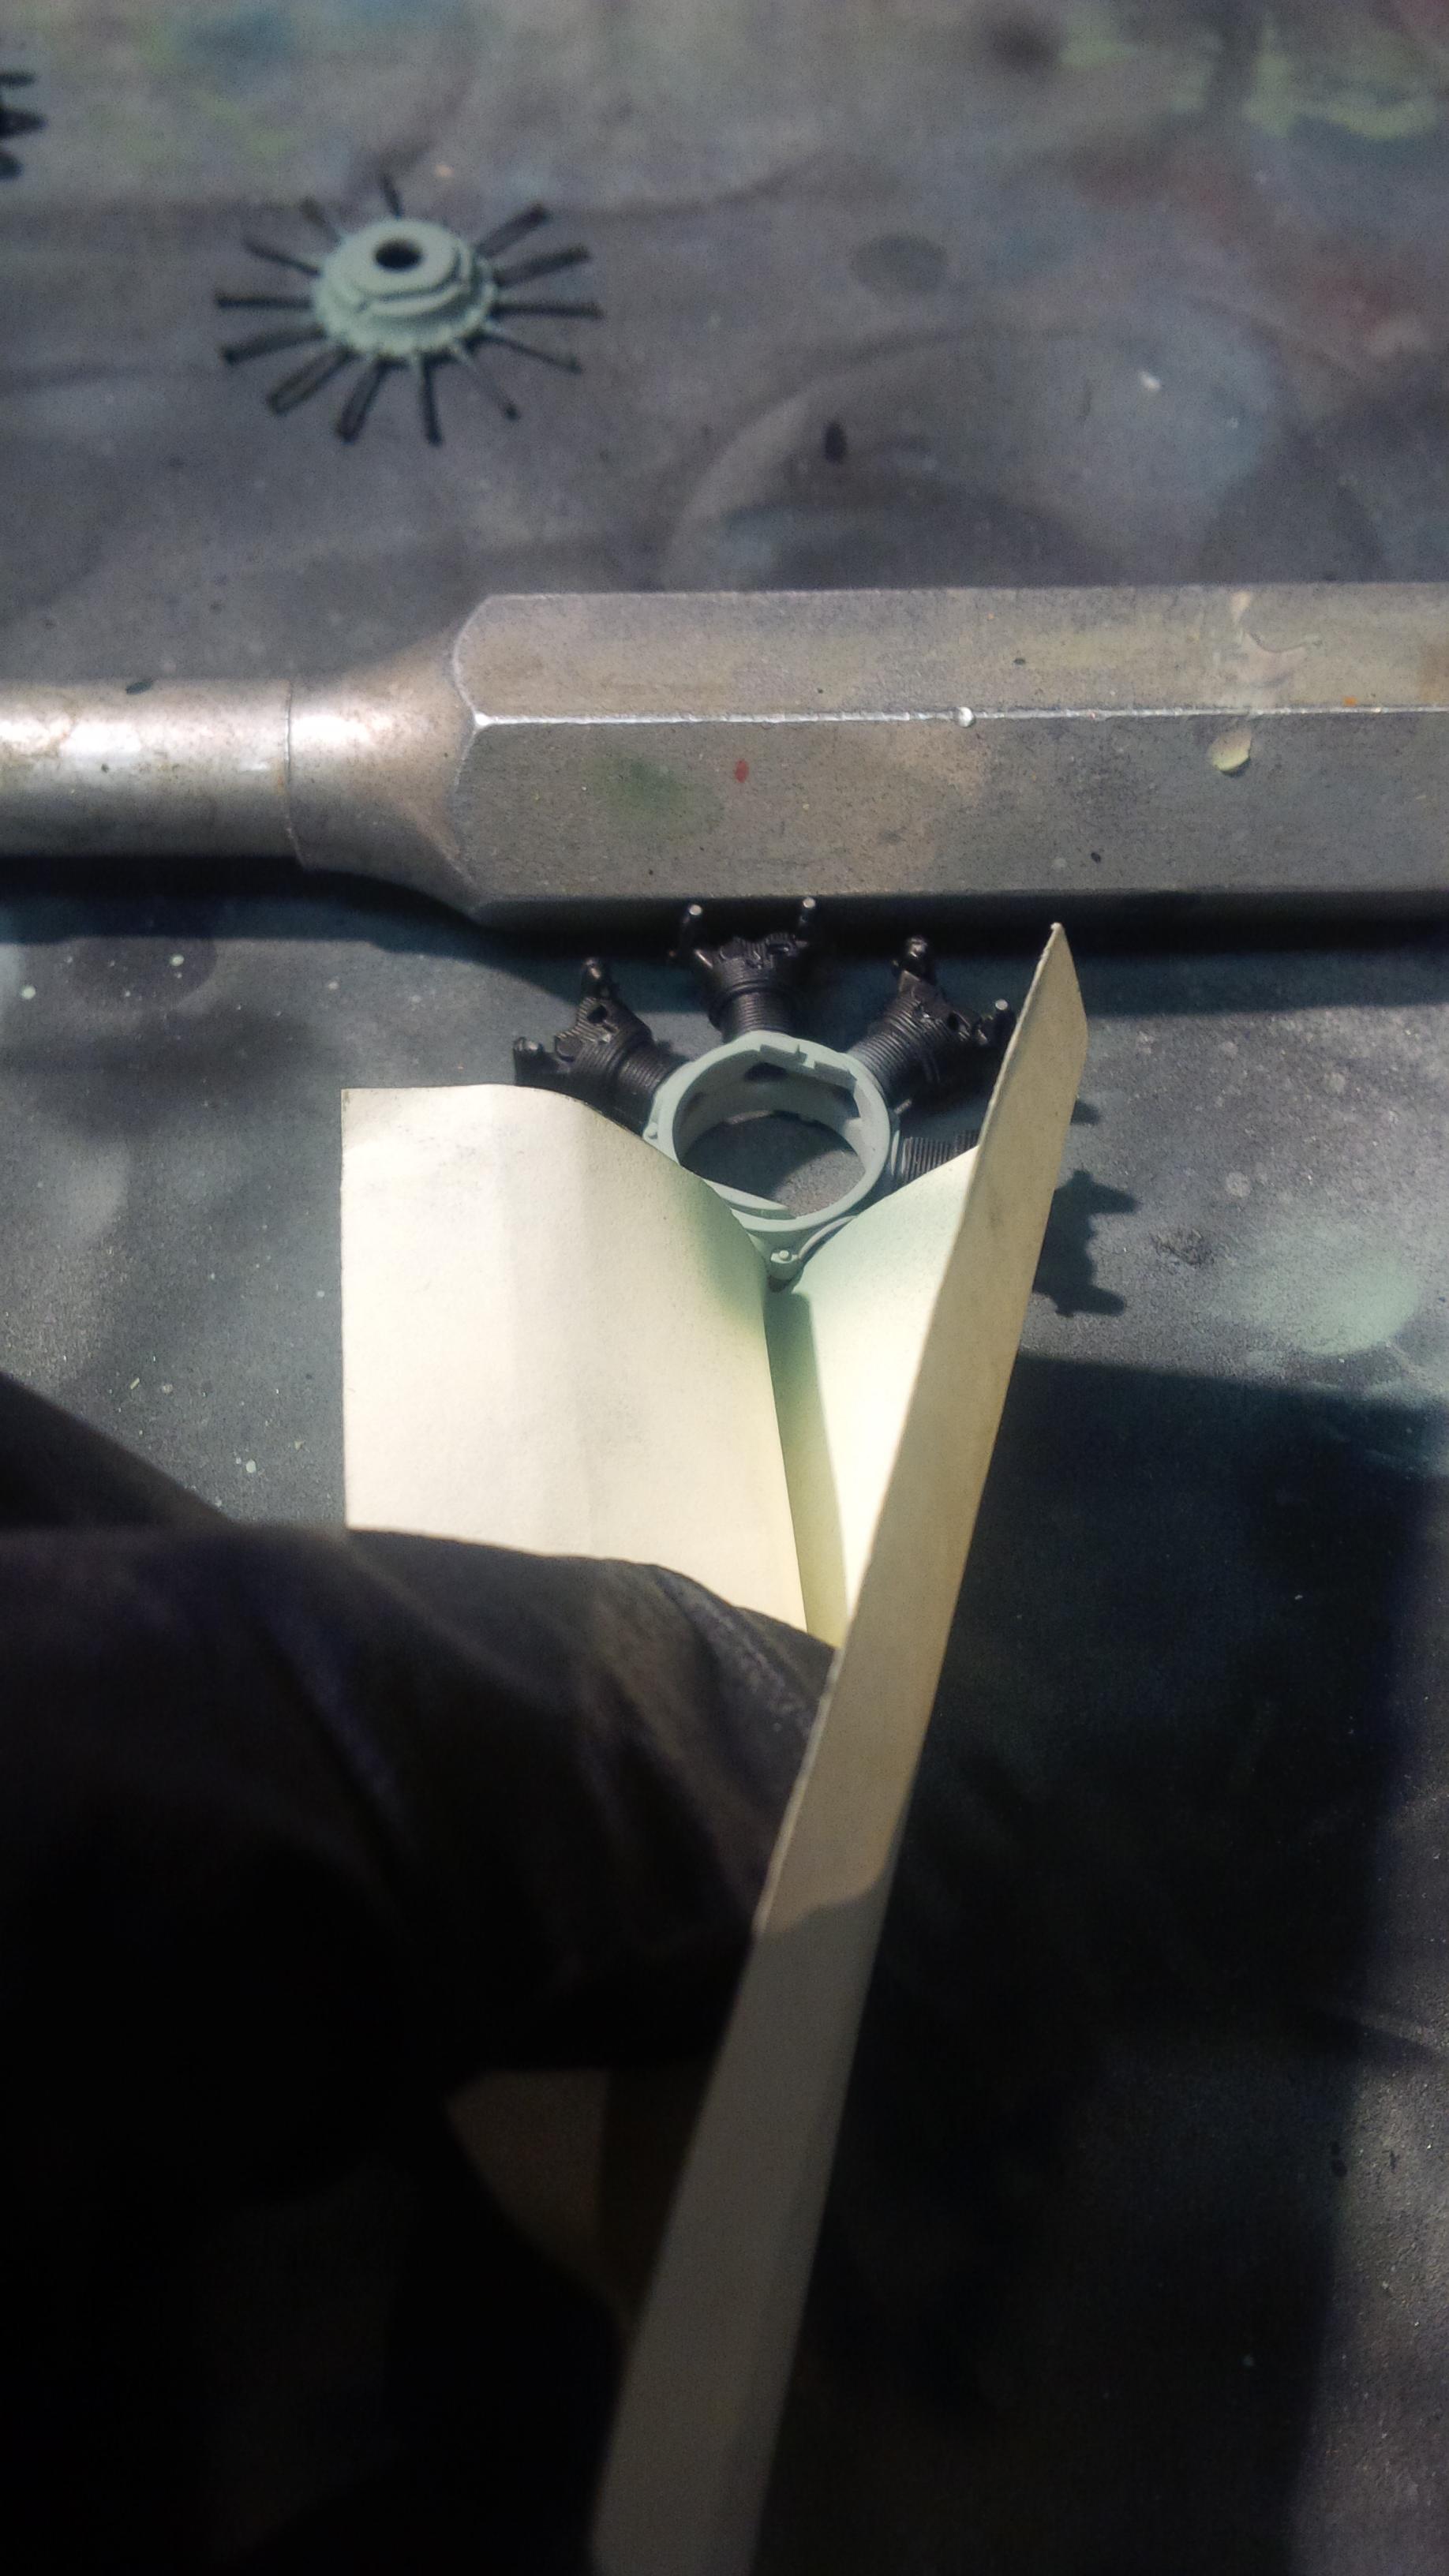
Then I insert the wire into the hole I drilled out where the spark plug was molded on. I can change the general look of the wire by holding that end in the cylinder head and pulling the other end towards the center of the engine.
Keeping in mind this wire is still part of the section that I straightened out (6" or so). I cut the excess off using sprue cutters, leaving a little extra so that once the engine is entirely assembled I have some room to play.


 I'm here all week, folks!