
Air Campaigns
Want to start or join a group build? This is where to start.
Want to start or join a group build? This is where to start.
Hosted by Frederick Boucher, Michael Satin
OFFICIAL: Airfix IV Campaign
Posted: Tuesday, August 01, 2017 - 03:03 PM UTC
great start on the Stuka Gazza 

Posted: Tuesday, August 01, 2017 - 03:19 PM UTC
Thanks, Russell!
pylwagl

Joined: January 04, 2015
KitMaker: 32 posts
AeroScale: 29 posts
Posted: Saturday, August 05, 2017 - 05:51 PM UTC
so...got some lovely looking decals from Kora. However, after application, I realised the white stripes were translucent so off they came. I had used (very) lowtack tape to hold the discs in place but this pulled off part of the decal - they are that fragile. Grrr. ended up painting the lot. oh yeah, and I snapped off the aerial mast just to be sure.
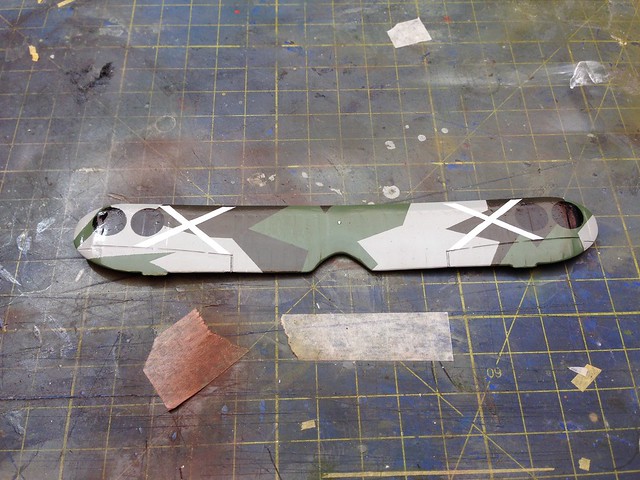
all done now though
cheers
stu

all done now though

cheers
stu
GlueFinger

Joined: June 04, 2017
KitMaker: 19 posts
AeroScale: 19 posts
Posted: Saturday, August 12, 2017 - 08:54 PM UTC
You guys are having way too much fun here, so I thought I'd weigh back into the fray again with this:
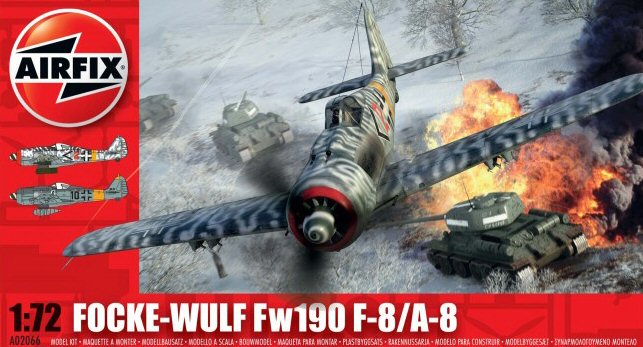
Cheers

Cheers
GlueFinger

Joined: June 04, 2017
KitMaker: 19 posts
AeroScale: 19 posts
Posted: Saturday, August 19, 2017 - 06:28 PM UTC
This kit has the usual 'soapy' plastic that Airfix seems to use nowadays, but goes together quite quickly.


The kit builds to either the ground attack version or fighter versions, so I opted for the F8 ground attack version.
I find that the fuselage fit on these new 190s to be a little tricky around the nose - with a fair amount dry fitting paying dividends later.
Cheers


The kit builds to either the ground attack version or fighter versions, so I opted for the F8 ground attack version.
I find that the fuselage fit on these new 190s to be a little tricky around the nose - with a fair amount dry fitting paying dividends later.
Cheers
Posted: Tuesday, August 22, 2017 - 03:27 PM UTC
Nice work, Richard!
Posted: Tuesday, August 22, 2017 - 03:35 PM UTC
I've been working on my Stuka.
Today I primed it with a very thin layer of Tamiya white primer.


It went together easily. I only puttied a little. The kit gives the options of flaps down or up, elevators up. down, or centered. You can also use Jericho Trumpets or the faired over tubes, or without the tubes. The spats are made to be fully extended for an in-flight setting, or easily chopped for a landed setting. The tires, too.
After looking for pictures of StG 77 Stukas in France, I decided that they must have not used the Jericho Trumpets. So I've gone trumpets off, flaps down, and elevators centered.
Now I gotta try to mix the right RLM colors for the job...
Thanks fer looking.
Gaz
Today I primed it with a very thin layer of Tamiya white primer.


It went together easily. I only puttied a little. The kit gives the options of flaps down or up, elevators up. down, or centered. You can also use Jericho Trumpets or the faired over tubes, or without the tubes. The spats are made to be fully extended for an in-flight setting, or easily chopped for a landed setting. The tires, too.
After looking for pictures of StG 77 Stukas in France, I decided that they must have not used the Jericho Trumpets. So I've gone trumpets off, flaps down, and elevators centered.
Now I gotta try to mix the right RLM colors for the job...
Thanks fer looking.
Gaz
Posted: Wednesday, August 23, 2017 - 04:25 AM UTC
Your Stuka looks great Gaz 
how has your first Airfix experience been so far?

how has your first Airfix experience been so far?

Posted: Wednesday, August 23, 2017 - 10:20 AM UTC
Russell,
Thanks! Well...my Airfix experience... The truth, the whole truth, and nothing but the truth:
First of course, was the missing sprue. They sent me a new sprue cut into four pieces so that it would fit in a small box. But they only wrapped the mass of four parts in a single, loose sleeve of bubble wrap. This caused many of the fragile activator arms on the flaps and ailerons to become bent or broken. As the "flaps down" set was damaged least, I stole pieces from the "Flaps up" parts to make a complete set. I imagine I could have complained again, but I didn't want to go through it.
Fit: Exemplary except for the pilot's windscreen and canopy cover. If you look closely at that area you can see that the canopy cover is too big at the top. I could have sanded it, but I've had a lot of canopy related dramas in other kits lately so I let it slide. Also, the landing light cover is too small. I should have dry-fitted and built up the colored plastic area in the wings to make it level.
There is a bit of droop on both sides of the vertical stabilizers. It's only very small, but can be noticed. As I'm not that hardcore and because fixing it seemed like more trouble than it's worth, I left it.
Ejector pin marks: Only bad in the cockpit. But since I have it closed up, I wasn't overly bothered.
Overall, I really like the kit. As I wrote earlier, the way the wings and fuselage came together gets and A+. The most surface details look crisp.
Sink holes: A lot in the landing gear spats and three prominent ones in the fuselage.
I'll have to build the Tamiya B2 to compare someday.
Cheers,
Gaz
Posted: Thursday, August 24, 2017 - 03:16 PM UTC
Well, it sounds like overall a positive experience, mate. Hopefully there'll be a few more red box items finding a place on your bench in the future... 
I've finally decided what I'm gonna do for this campaign: Airfix's 1/72 Typhoon!
Hope to get this to the bench in within a couple of weeks

I've finally decided what I'm gonna do for this campaign: Airfix's 1/72 Typhoon!
Hope to get this to the bench in within a couple of weeks

Posted: Friday, August 25, 2017 - 02:14 AM UTC
Nice! Love the Tiffie...but hate the scale.
Posted: Friday, August 25, 2017 - 02:37 PM UTC
Small amounts of progress the canopy and side windows are masked now for a little paint! And some filling before applying the camo scheme.
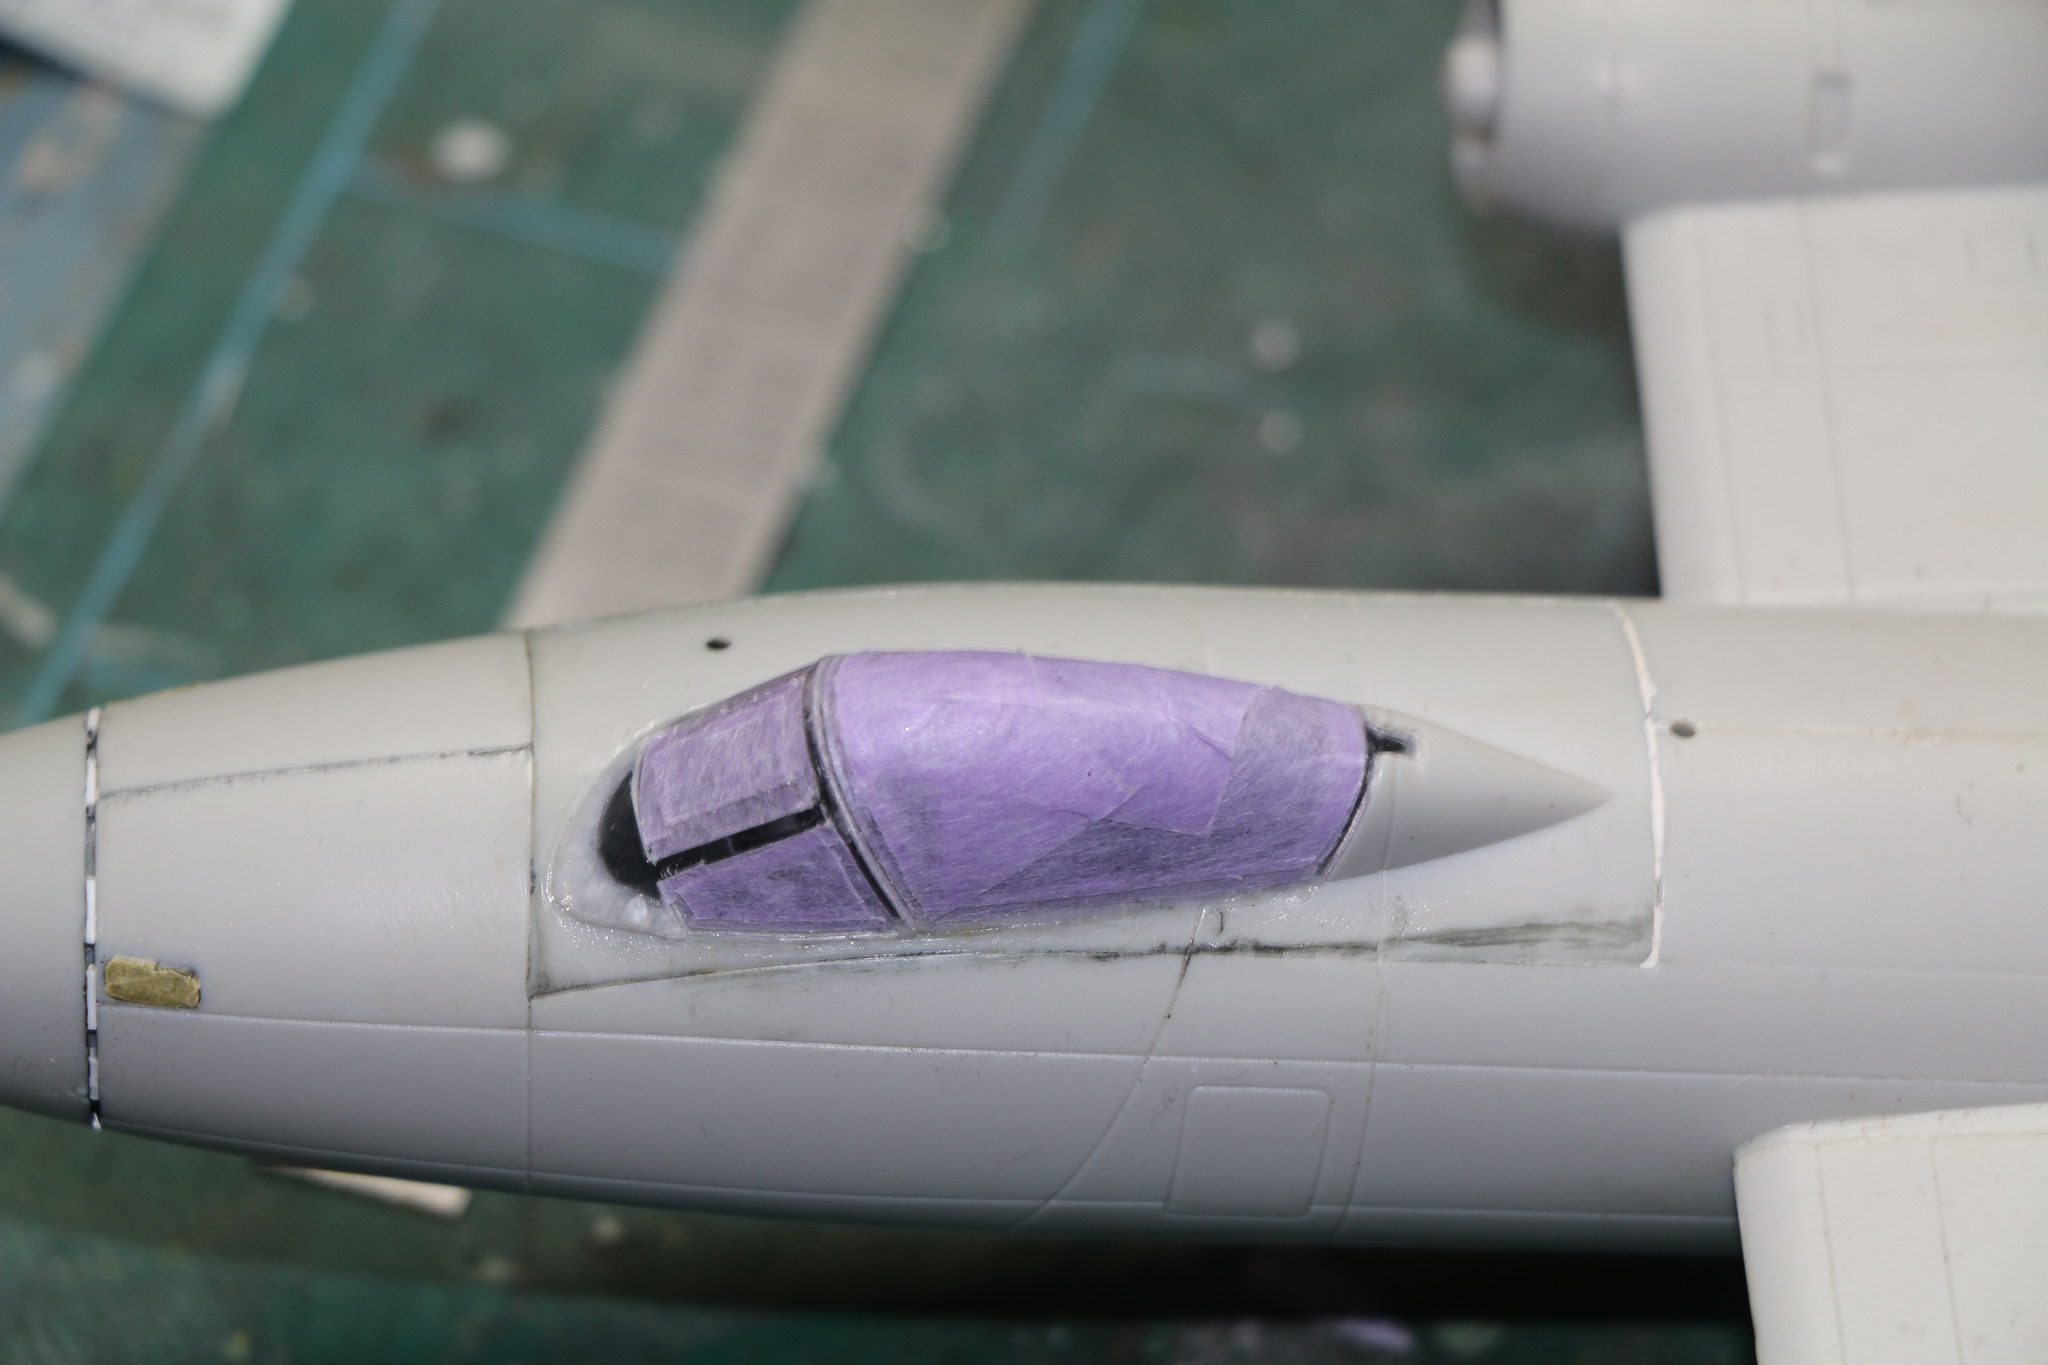 IMG_1631 by Chris WIlson, on Flickr
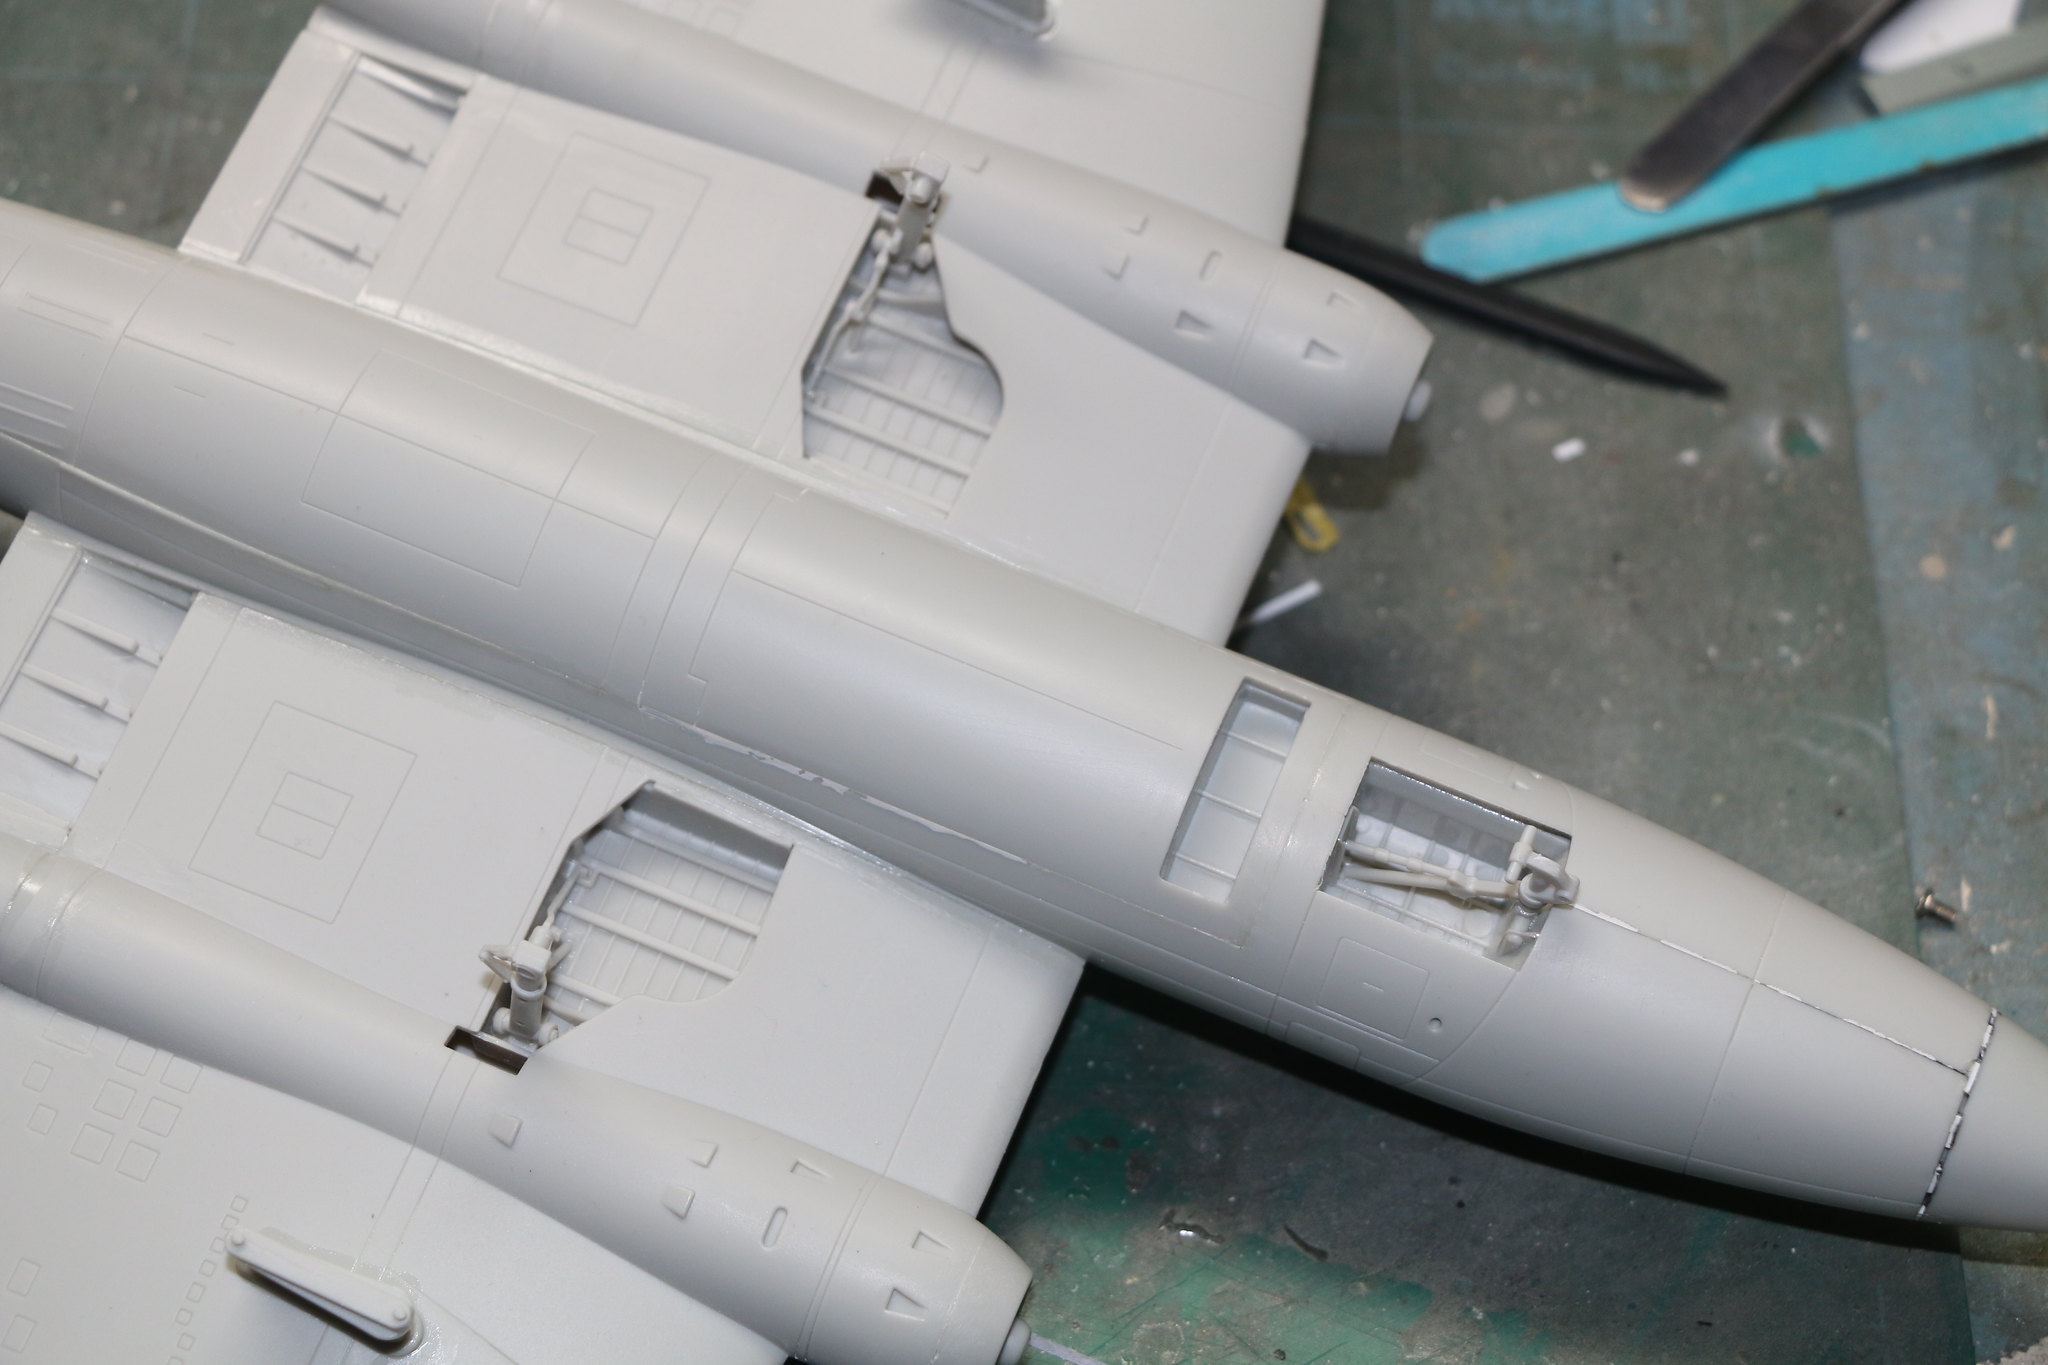 IMG_1632 by Chris WIlson, on Flickr
 IMG_1631 by Chris WIlson, on Flickr
 IMG_1632 by Chris WIlson, on Flickr
KingOfTheDesert

Joined: June 01, 2017
KitMaker: 8 posts
AeroScale: 7 posts

Posted: Saturday, August 26, 2017 - 02:21 AM UTC
A lot of good looking winged things in here.
Not enough tracks or large-caliber guns for my taste though...
Speaking of which, some more progress on the Warrior. I may or may not have forgotten to take any photos in between, so you'll just have to imagine a lot of chopping, gluing and painting...
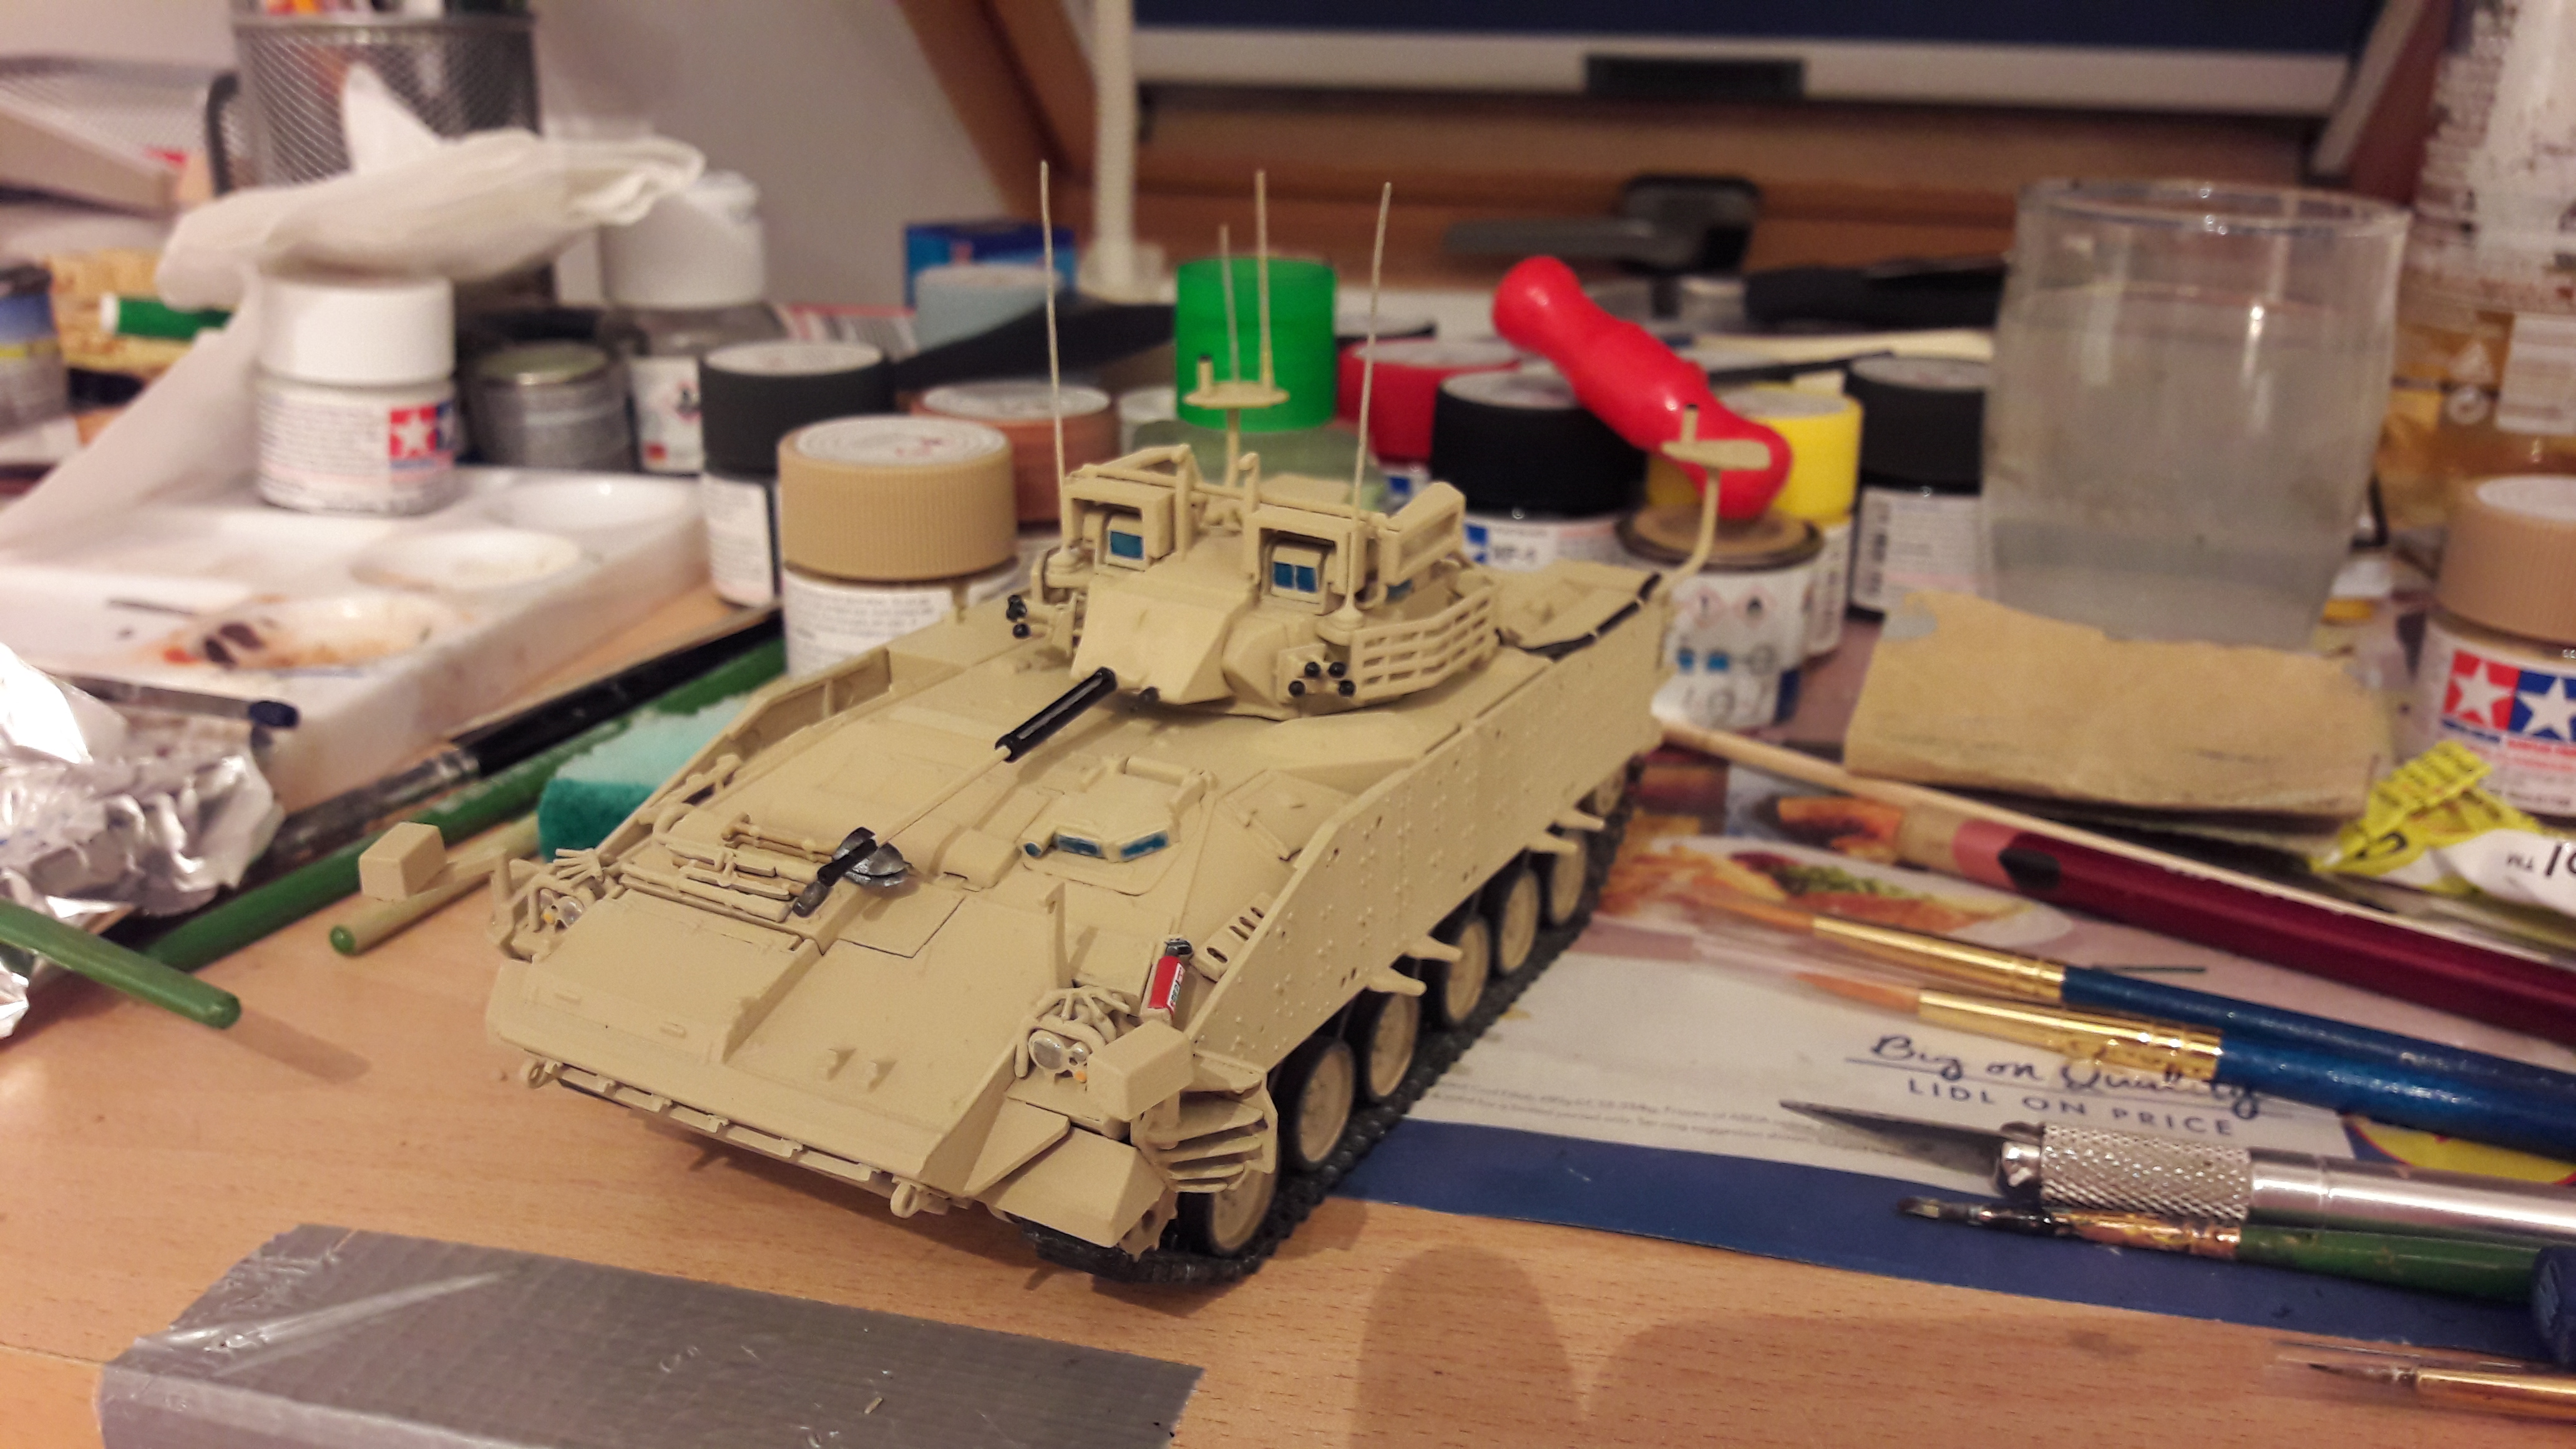
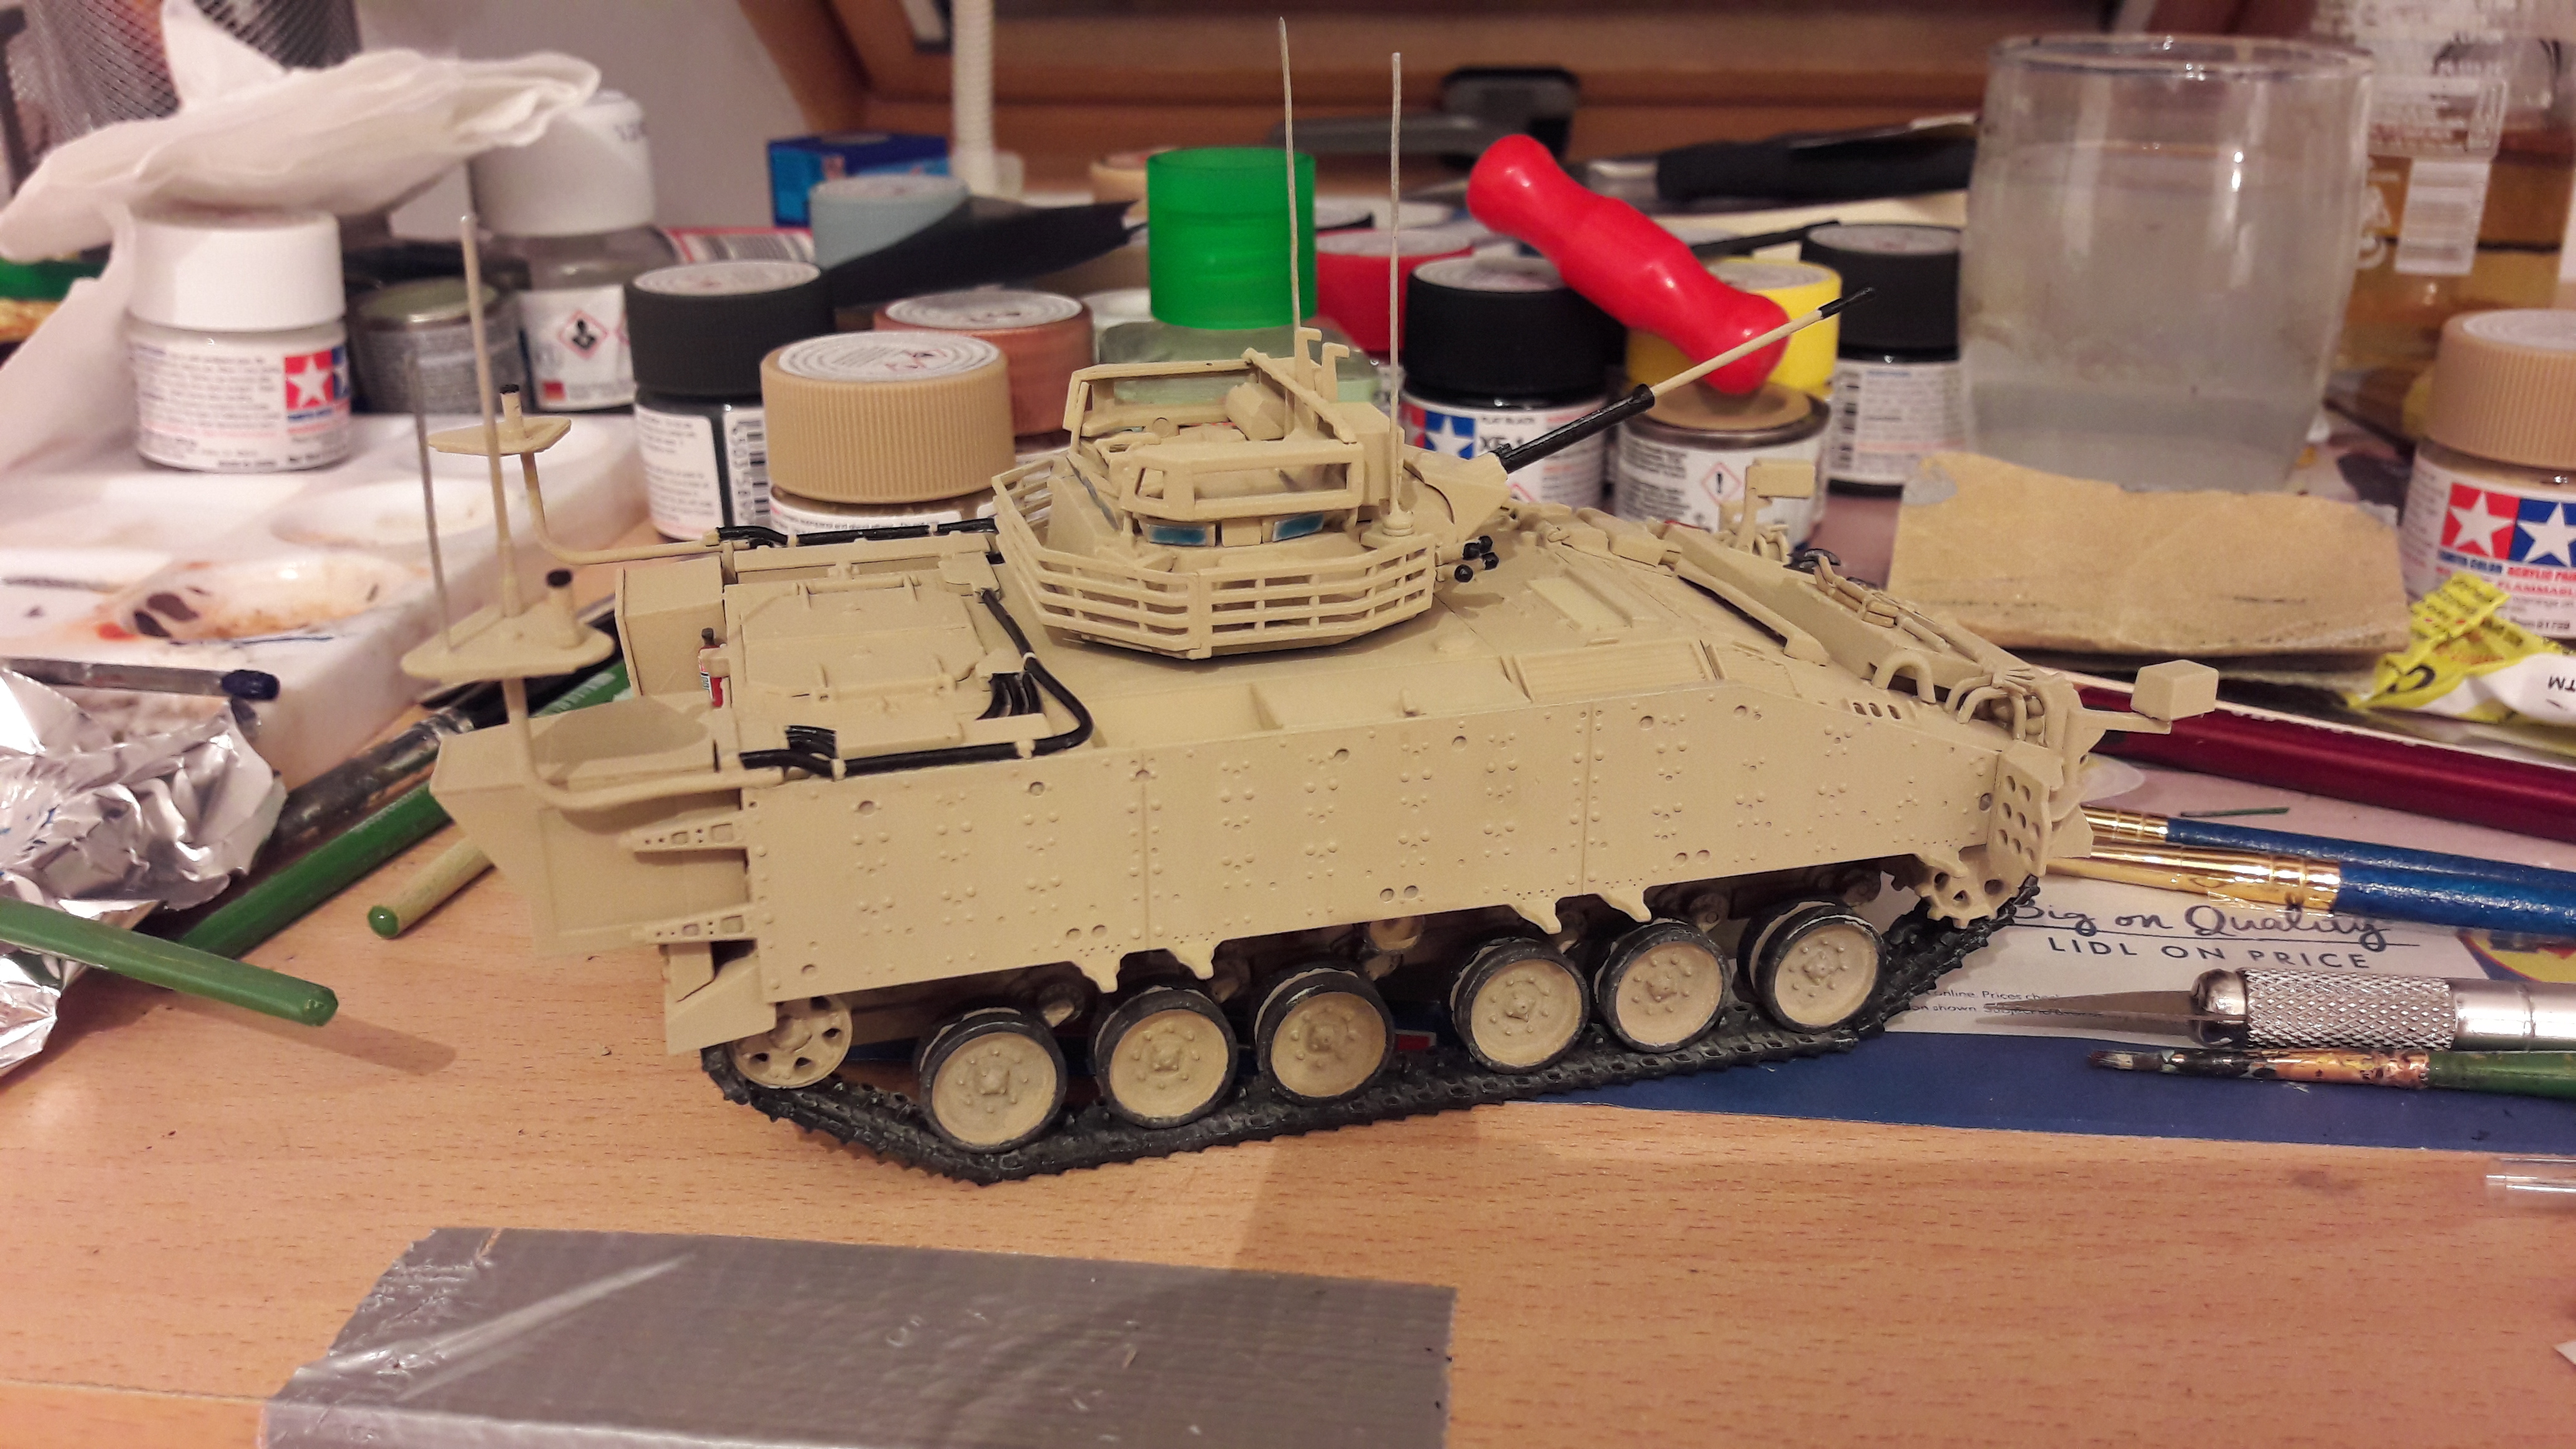
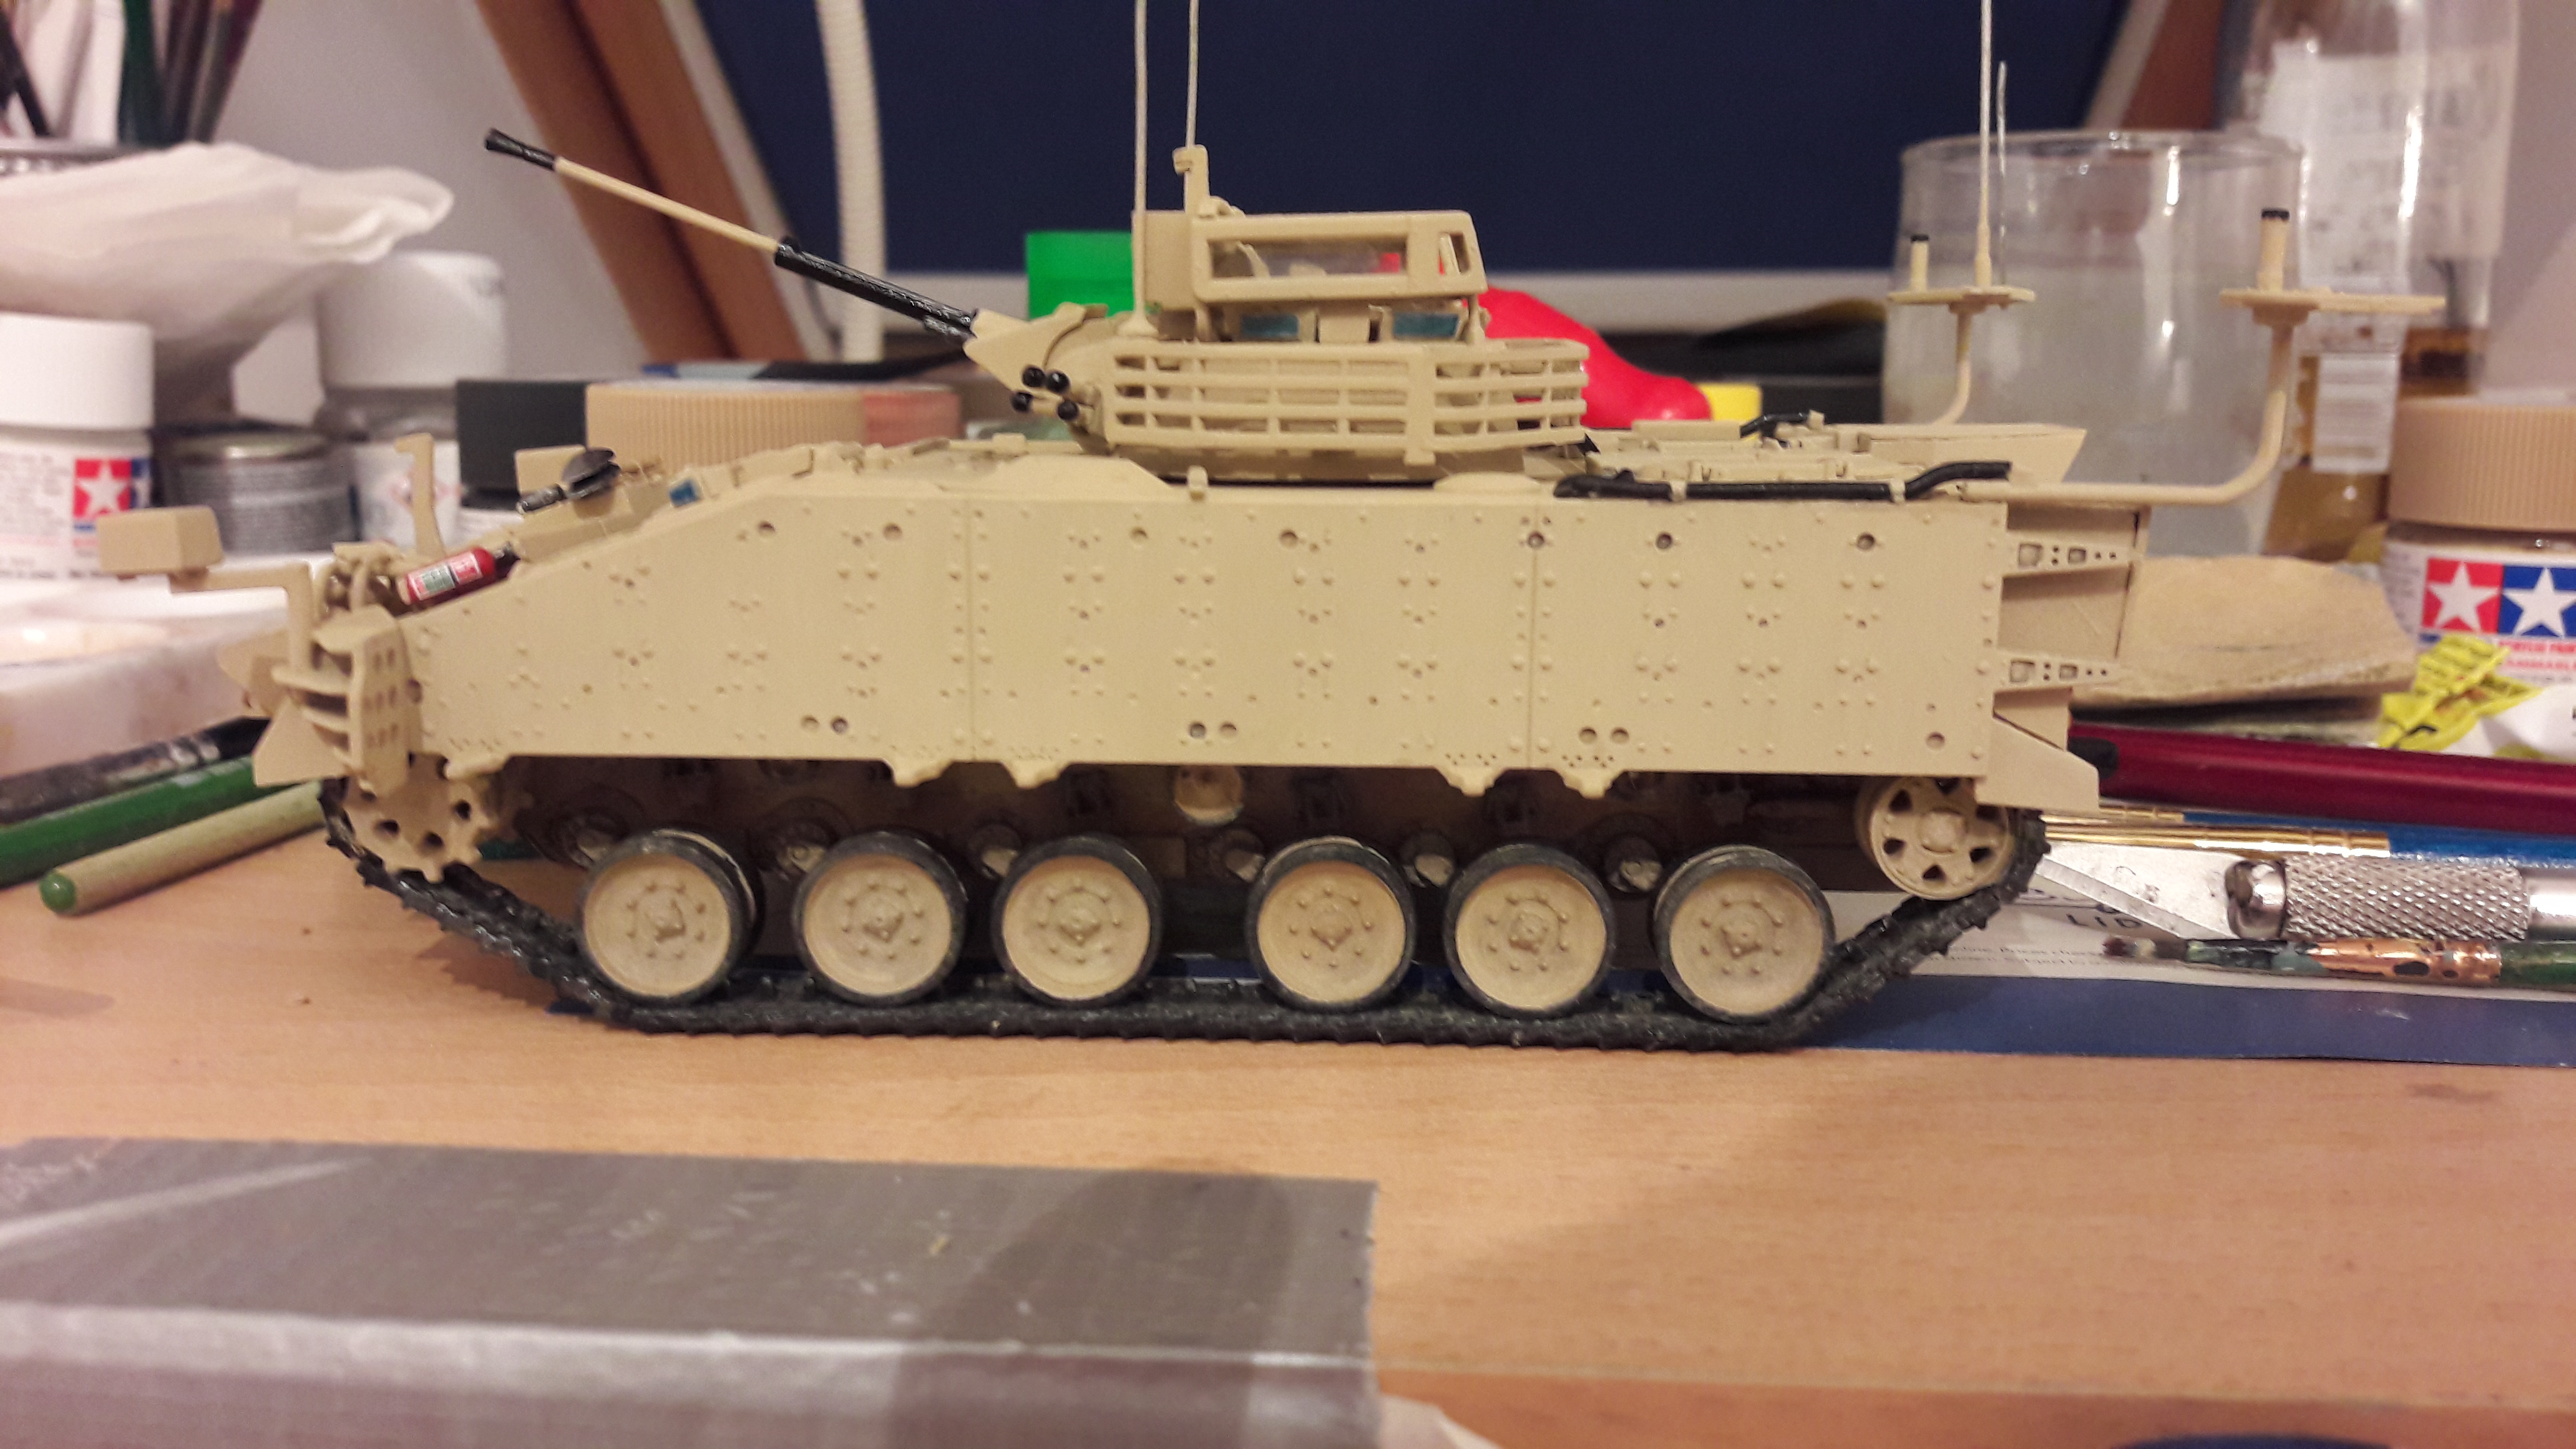
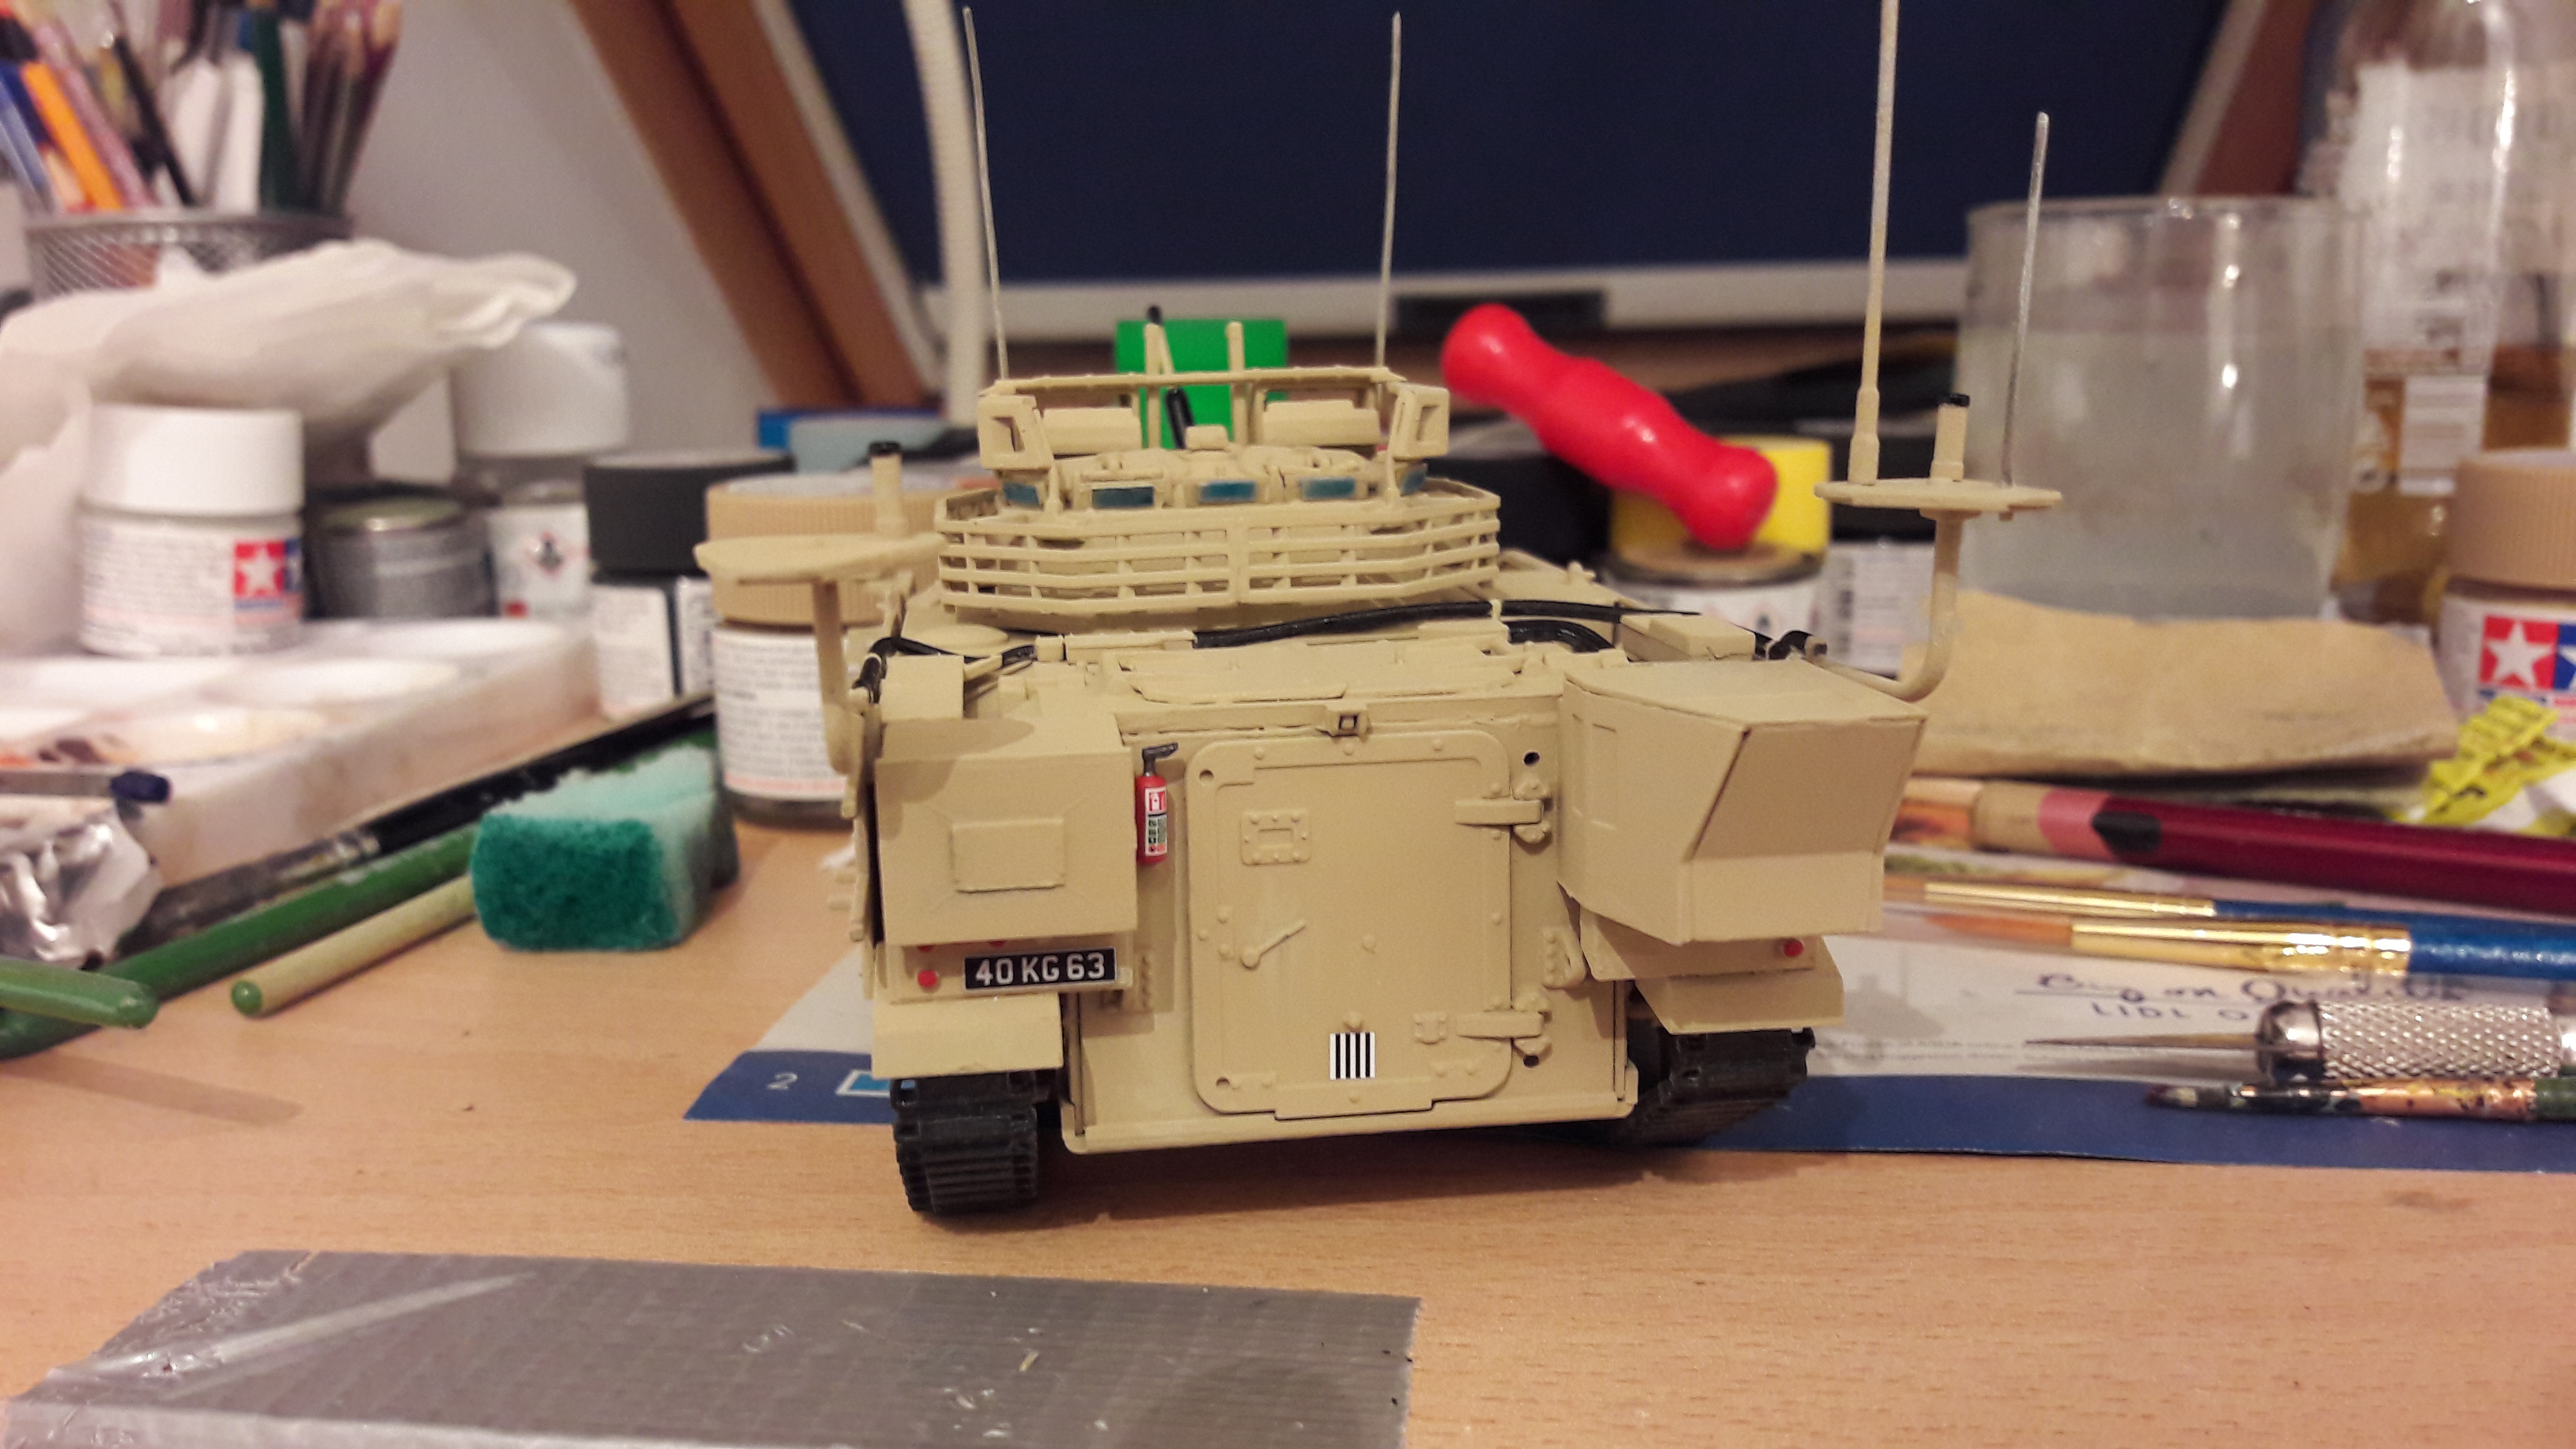
The suspension and tracks went on just fine, as did the turret parts. However, a lot of the hull additions (such as the front ECM units, rear antennae, headlamps) took a fair bit of filing to get a good fit. The headlamp cages won't even fit over the headlamps; the part is just too small.
Very frustrating, especially when the rest of the kit is quite well designed.
Now to get on with weathering and detailing.
Not enough tracks or large-caliber guns for my taste though...

Speaking of which, some more progress on the Warrior. I may or may not have forgotten to take any photos in between, so you'll just have to imagine a lot of chopping, gluing and painting...


The suspension and tracks went on just fine, as did the turret parts. However, a lot of the hull additions (such as the front ECM units, rear antennae, headlamps) took a fair bit of filing to get a good fit. The headlamp cages won't even fit over the headlamps; the part is just too small.
Very frustrating, especially when the rest of the kit is quite well designed.
Now to get on with weathering and detailing.
Posted: Saturday, August 26, 2017 - 02:41 AM UTC
Looks very nice, Connor.

Bigrip74

Joined: February 22, 2008
KitMaker: 5,026 posts
AeroScale: 2,811 posts

Posted: Saturday, August 26, 2017 - 04:38 AM UTC
Chris, I am enjoying your build progress on the Canberra.
Bob
Bob
Posted: Sunday, August 27, 2017 - 08:32 AM UTC
Gaz
I have his big brother in 1/24 in the stash but somehow I reckon I won't finish that in time for the campaign deadline
Chris
great progress on your Canberra-look forward to seeing your chosen camo scheme
Connor
nice, tight work on the warrior-will be interested to see the weathering/detailing
Quoted Text
Nice! Love the Tiffie...but hate the scale.
I have his big brother in 1/24 in the stash but somehow I reckon I won't finish that in time for the campaign deadline

Chris
great progress on your Canberra-look forward to seeing your chosen camo scheme
Connor
nice, tight work on the warrior-will be interested to see the weathering/detailing

GlueFinger

Joined: June 04, 2017
KitMaker: 19 posts
AeroScale: 19 posts
Posted: Tuesday, August 29, 2017 - 12:31 AM UTC
And just a little more work with the 190 gets me to this stage.
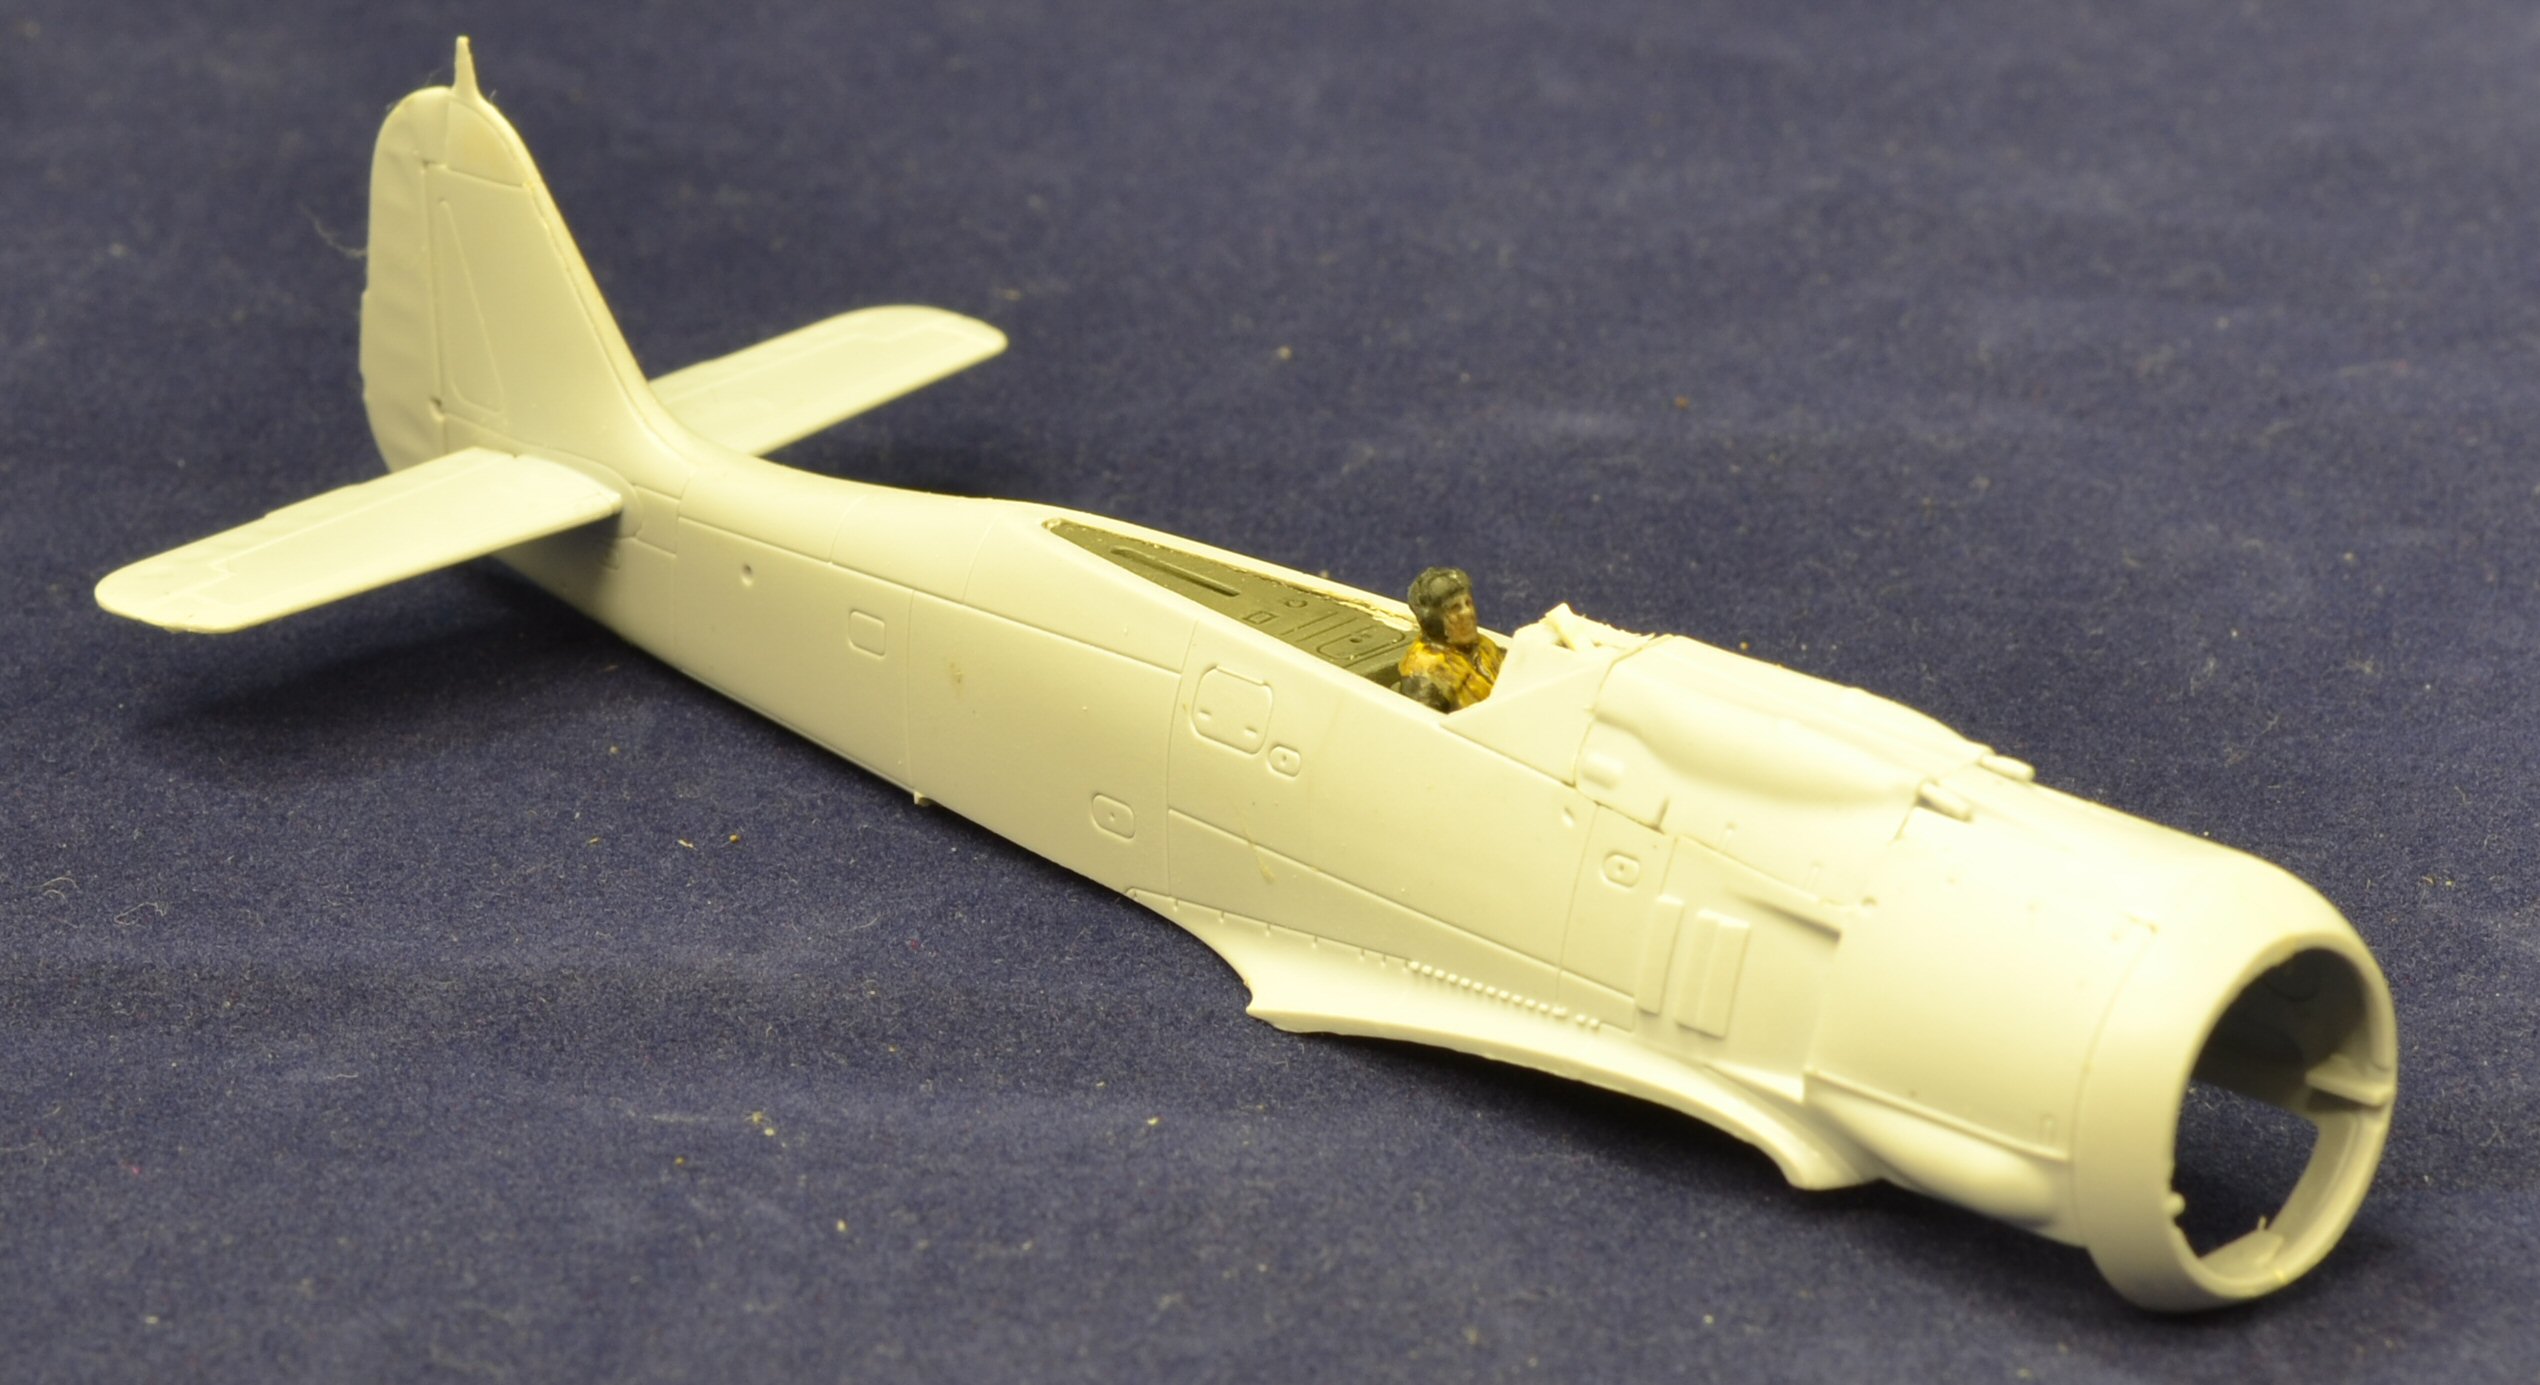
and only a little bit more got me to here: &
& 
Most of this assembly went smoothly apart from gaps at each wing root - but nothing that a little Milliput couldn't sort out!
I opted to cut back on the wheel spats - as was done in muddy conditions.
Cheers

and only a little bit more got me to here:
 &
& 
Most of this assembly went smoothly apart from gaps at each wing root - but nothing that a little Milliput couldn't sort out!
I opted to cut back on the wheel spats - as was done in muddy conditions.
Cheers
Posted: Tuesday, August 29, 2017 - 02:00 PM UTC
nice!
Posted: Thursday, August 31, 2017 - 12:13 PM UTC
Hi Guys,
Been in the paint booth (my verandah) (un-enclosed) working on this Stuka. Got the 70/71/65 down and modulated it some with faded and tinted colors.


Cheers,
Gaz
Been in the paint booth (my verandah) (un-enclosed) working on this Stuka. Got the 70/71/65 down and modulated it some with faded and tinted colors.


Cheers,
Gaz
KelticKnot

Joined: May 11, 2015
KitMaker: 768 posts
AeroScale: 656 posts

Posted: Thursday, August 31, 2017 - 12:31 PM UTC
Nice work on the Stuka colouring Gaz !

Bigrip74

Joined: February 22, 2008
KitMaker: 5,026 posts
AeroScale: 2,811 posts

Posted: Thursday, August 31, 2017 - 08:22 PM UTC
Richard, the FW is combing along nicely.
Gaz. the Stuka looks great with camo on it.
Bob
Gaz. the Stuka looks great with camo on it.
Bob
GlueFinger

Joined: June 04, 2017
KitMaker: 19 posts
AeroScale: 19 posts
Posted: Friday, September 01, 2017 - 12:26 AM UTC
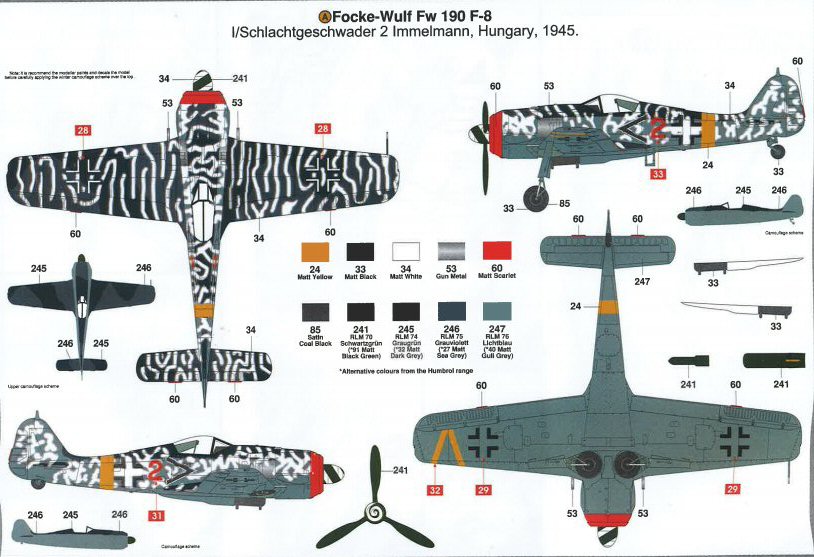
The Airfix 190 kit offers two schemes for the plane:
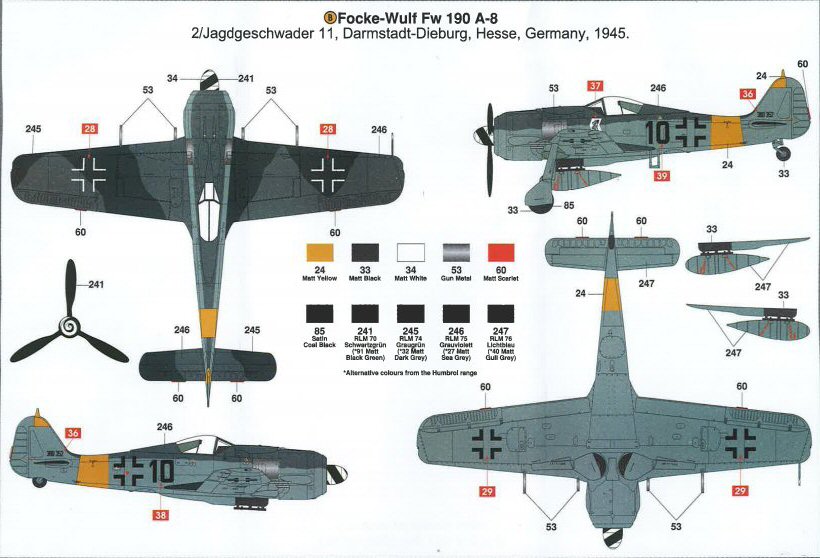 &
& 
However, having a Eduard weekend edition 190 F8 on hand gave me some more interesting options, of which I chose this one:
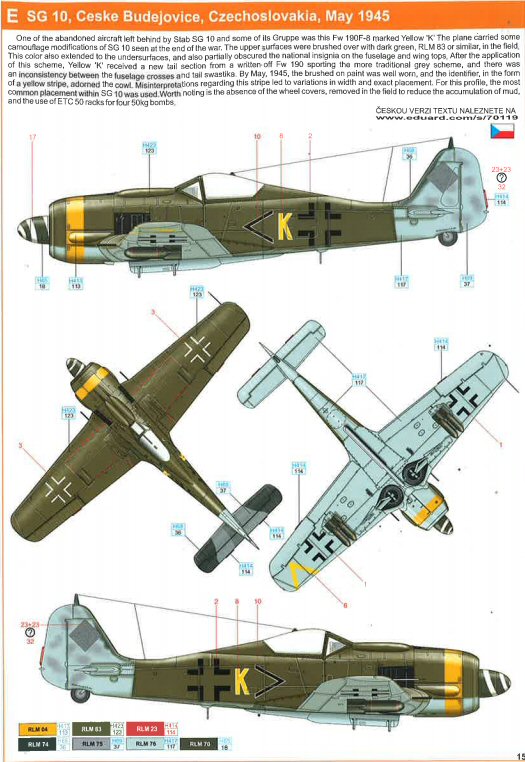
We'll see how it turns out!
 &
& 
However, having a Eduard weekend edition 190 F8 on hand gave me some more interesting options, of which I chose this one:

We'll see how it turns out!
Posted: Friday, September 01, 2017 - 02:05 AM UTC
Guys,
THank you!
Chris,
Looking forward to seeing what you do with that bird.
Richard,
Interesting scheme.
Gaz
THank you!
Chris,
Looking forward to seeing what you do with that bird.
Richard,
Interesting scheme.
Gaz
GlueFinger

Joined: June 04, 2017
KitMaker: 19 posts
AeroScale: 19 posts
Posted: Friday, September 01, 2017 - 07:27 PM UTC
A few coats of Extracolor and we get to this:
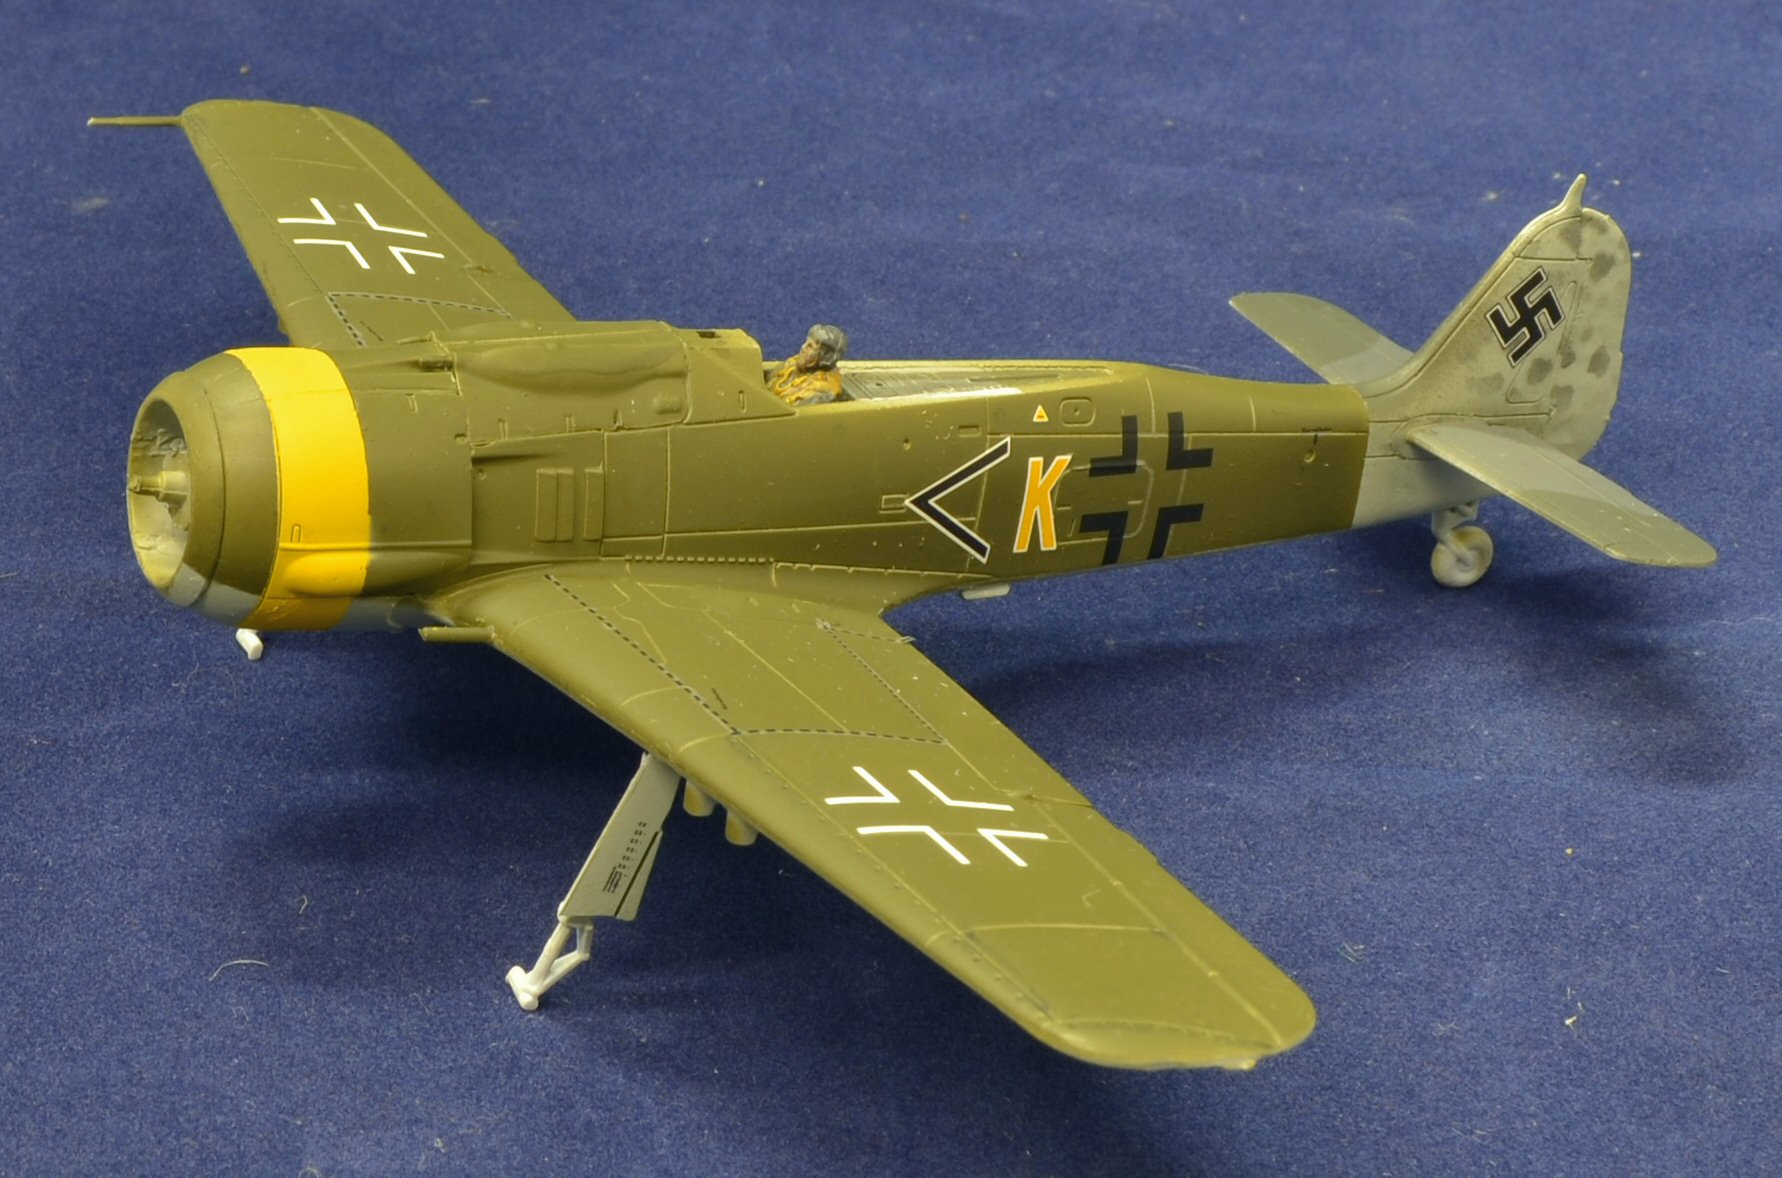
Obviously, there is still some way to go yet.

Obviously, there is still some way to go yet.

Shrimpman

Joined: August 14, 2016
KitMaker: 148 posts
AeroScale: 123 posts

Posted: Friday, September 01, 2017 - 11:58 PM UTC
Gluefinger - That really is an interesting paint scheme. That tail cannibalised from a different machine adds a lot of character.
Gazza - fantastic work on the camo. It already looks stunning. I can't wait to see the finished model.
Gazza - fantastic work on the camo. It already looks stunning. I can't wait to see the finished model.
 |


