Richard,
That FW looks great! Exceptional finish!
Mark,
Holy Ejector pin marks!
Gaz
Air Campaigns
Want to start or join a group build? This is where to start.
Want to start or join a group build? This is where to start.
Hosted by Frederick Boucher, Michael Satin
OFFICIAL: Airfix IV Campaign
Posted: Tuesday, September 19, 2017 - 12:12 PM UTC
Posted: Tuesday, September 19, 2017 - 12:24 PM UTC
Hi Guys,
I couldn't find a gallery for this campaign.
But here is my completed Airfix Ju87 B-1 with NG Models decals and MG15 ring site added by me from spares.


I dirtied up the underside because the few pictures of Stukas taken directly from underneath show a lot of oil and dirt. A couple light washes up top, and some regrettable disasters to the canopy glazing.
A great kit, anyway. Thanks Michael for running a great campaign.
Gaz
I couldn't find a gallery for this campaign.
But here is my completed Airfix Ju87 B-1 with NG Models decals and MG15 ring site added by me from spares.


I dirtied up the underside because the few pictures of Stukas taken directly from underneath show a lot of oil and dirt. A couple light washes up top, and some regrettable disasters to the canopy glazing.
A great kit, anyway. Thanks Michael for running a great campaign.
Gaz
GlueFinger

Joined: June 04, 2017
KitMaker: 19 posts
AeroScale: 19 posts
Posted: Friday, September 22, 2017 - 09:01 PM UTC
Lovely bit of work on the Stuka!
Posted: Saturday, September 23, 2017 - 05:41 AM UTC
Thank you Richard!
KelticKnot

Joined: May 11, 2015
KitMaker: 768 posts
AeroScale: 656 posts

Posted: Saturday, September 23, 2017 - 06:10 PM UTC
Great Stuka Gaz, did they really get that dirty underneath? wow!
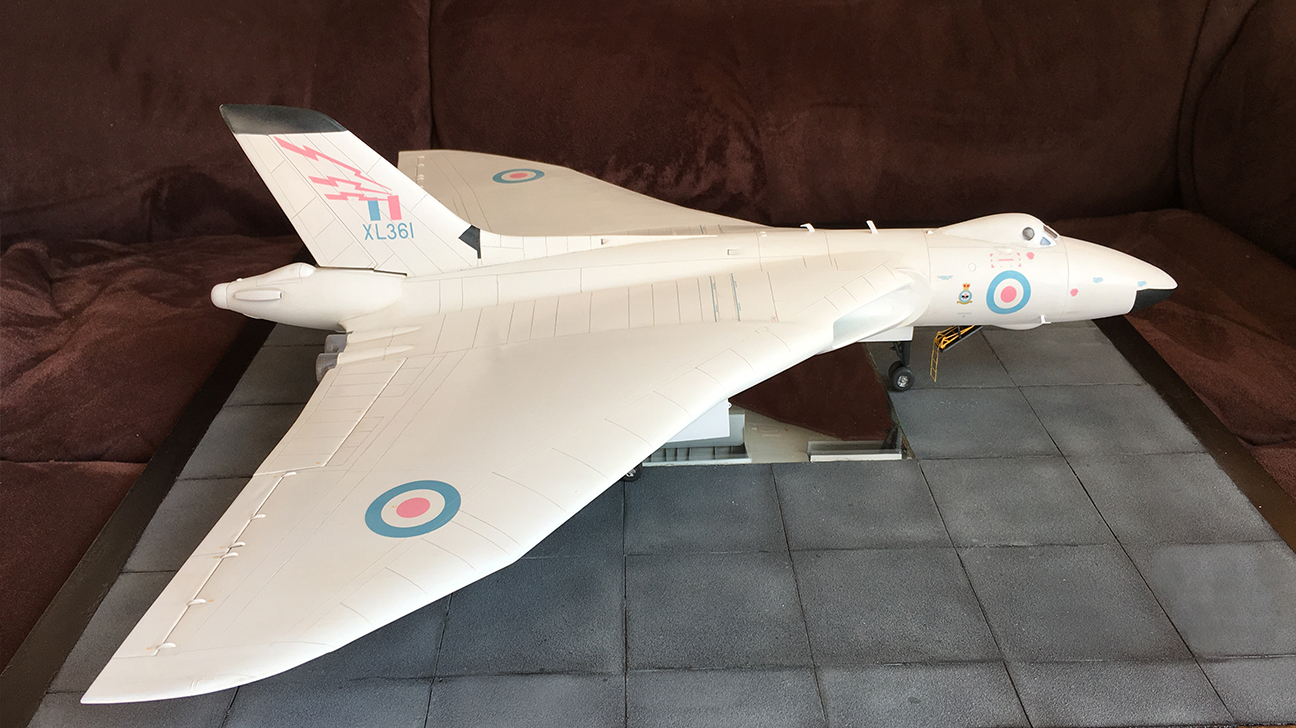
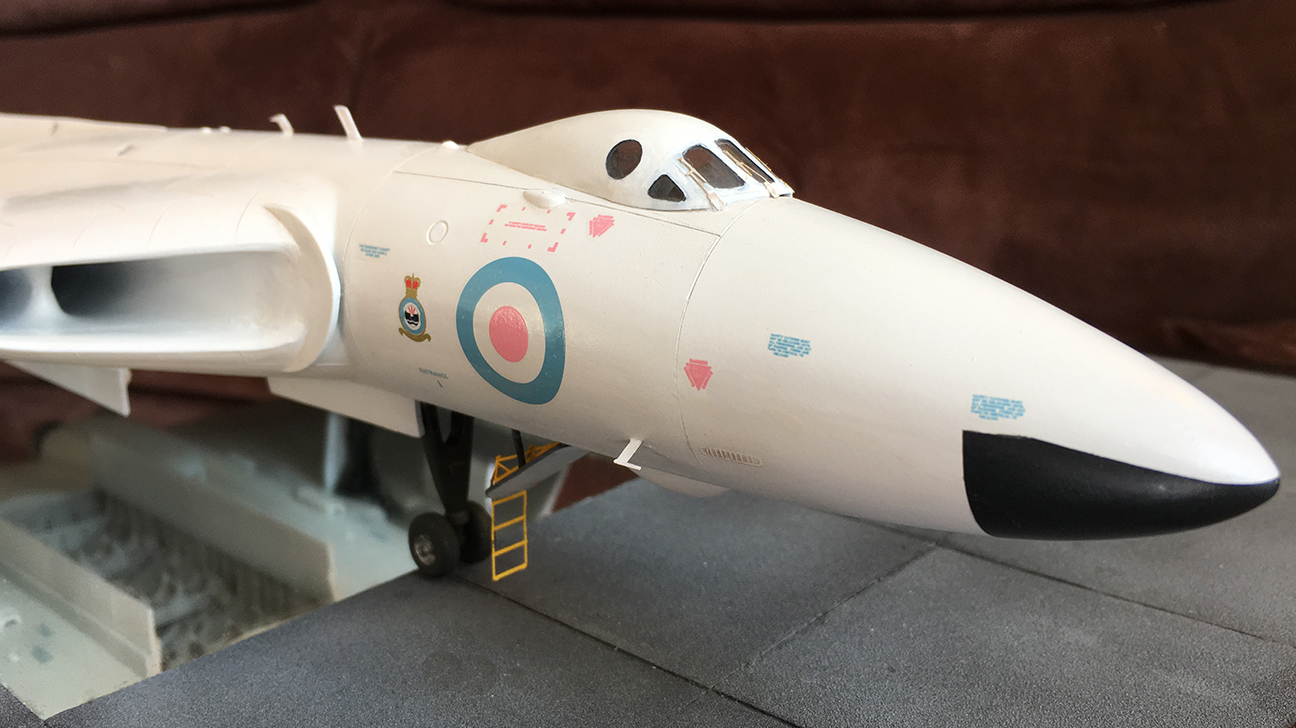
I've had to keep quiet on my entry to the campaign as it was a birthday gift for my father-in-law. He followed my Lancaster build closely and my other models after that so I couldn't risk mentioning it until it was done! Thankfully he received it this weekend so it's no longer top secret.
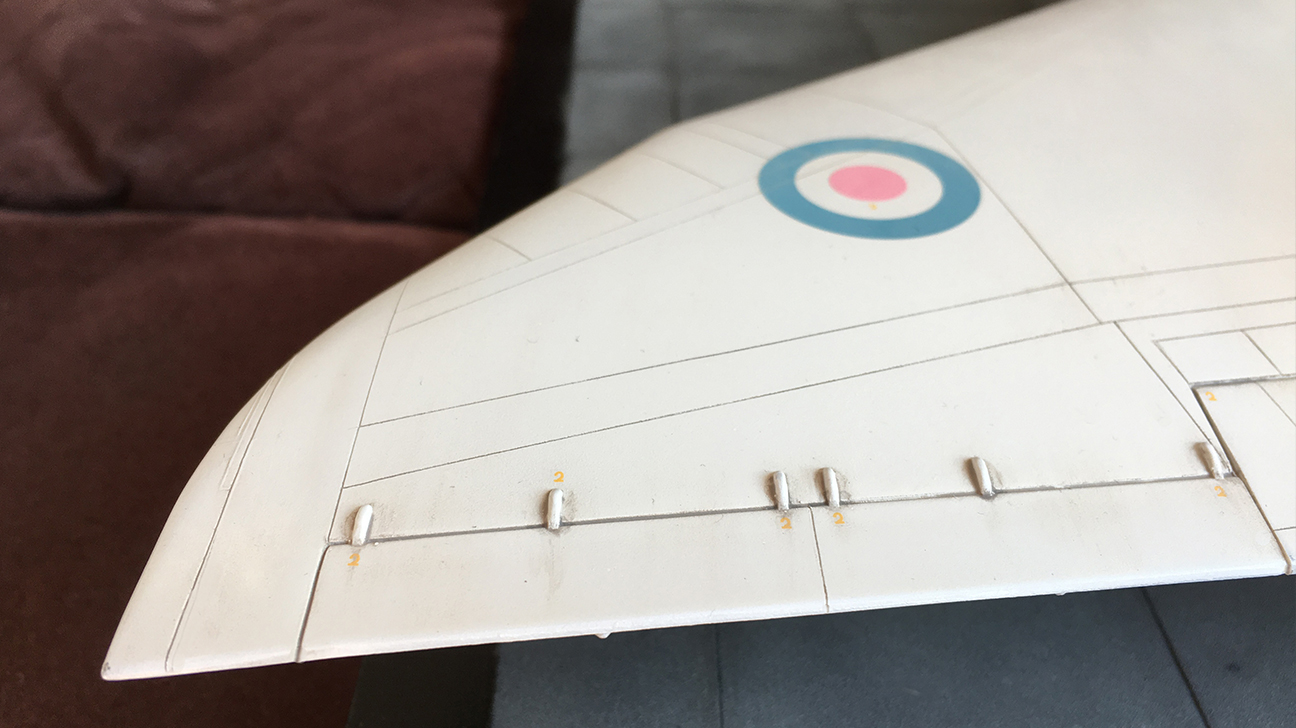
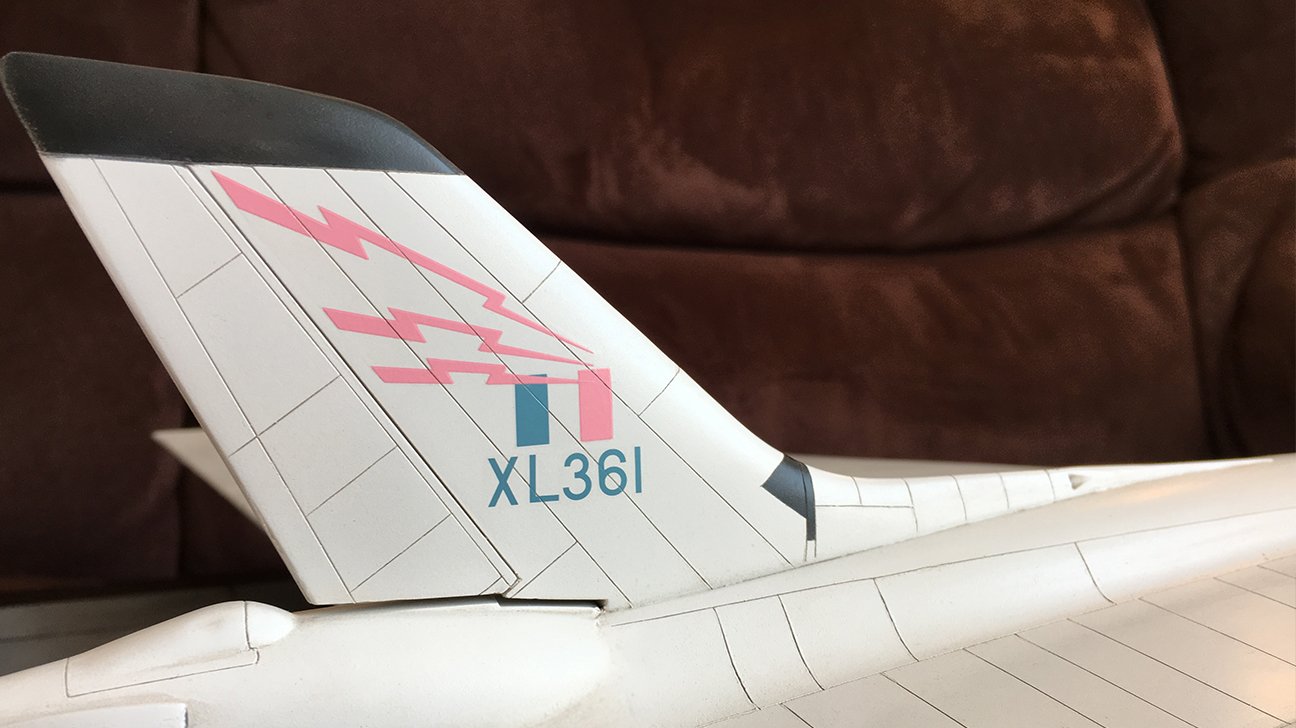
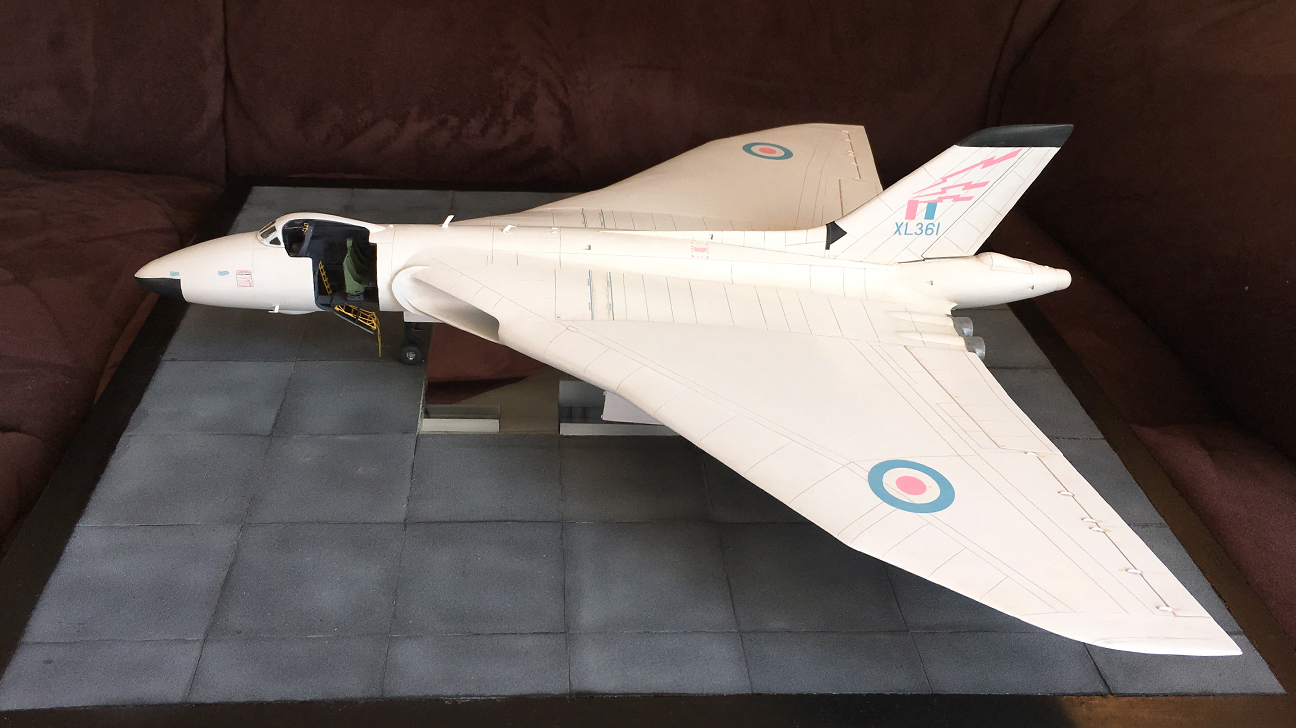
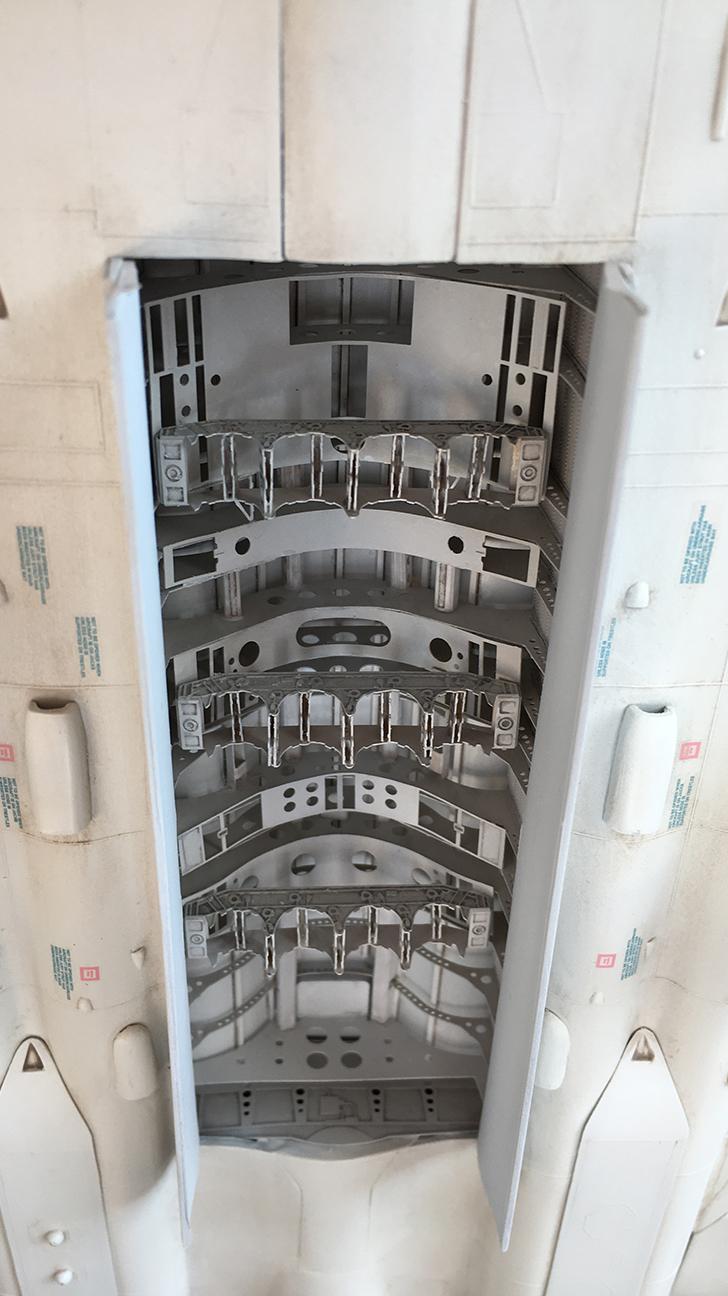
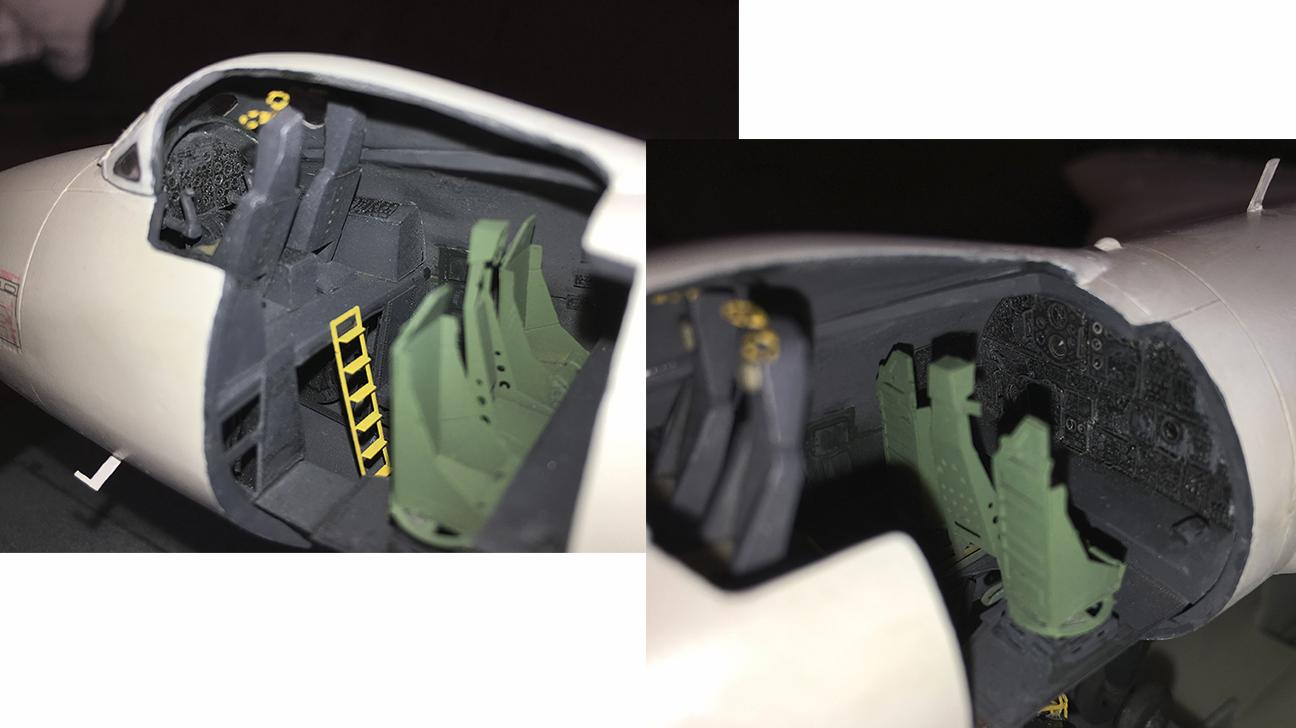
The idea was to build an all-the bells-and-whistles early anti-flash vulcan with detailed interior and bomb bay from White ensign models (excellent etch kit btw)
(As a bit of a rules stickler I messaged Richard with my starting image back when the campaign started as a proof.)
Here's a selection of photos of the wip...

An idea of the flash on all the parts!

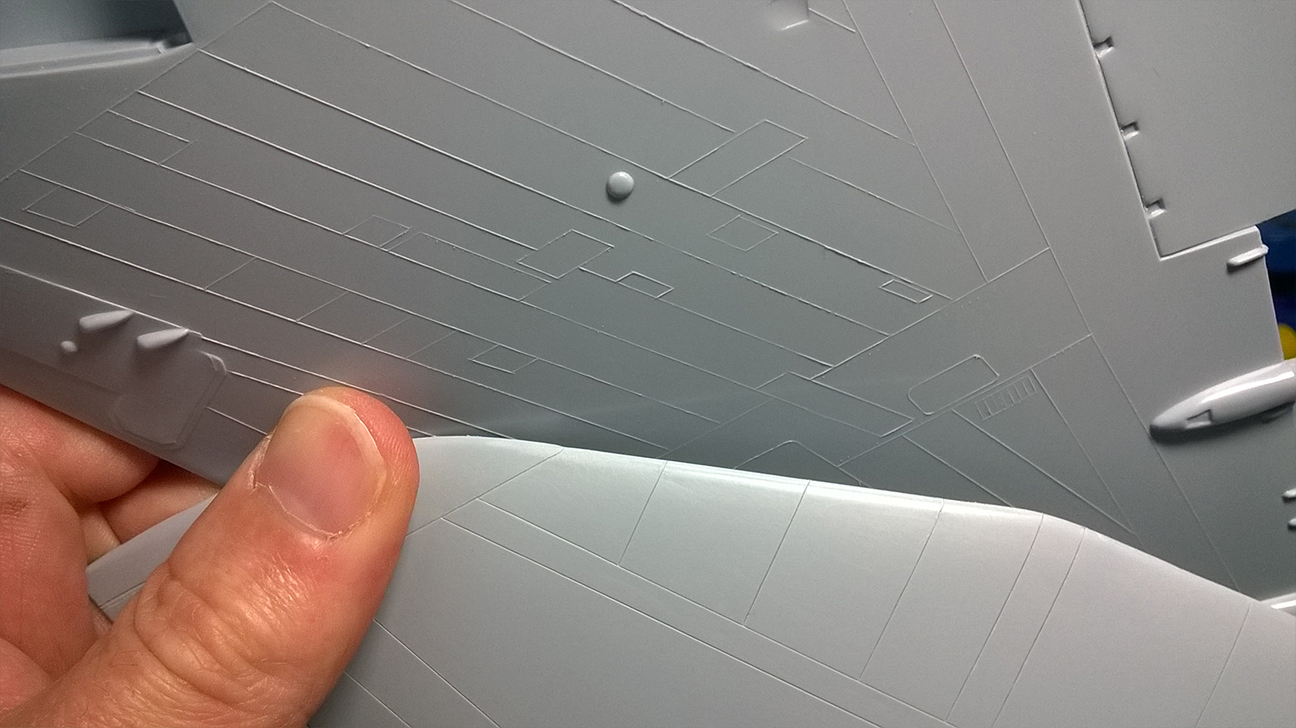
A total rescribe of the top surfaces which was a new thing for me. The underside is rarely seen, has many more panel lines and would have taken forever!
The low-vis decal sheet used.

A small bit of scratch work to create an extra layer of depth in the bomb bay.
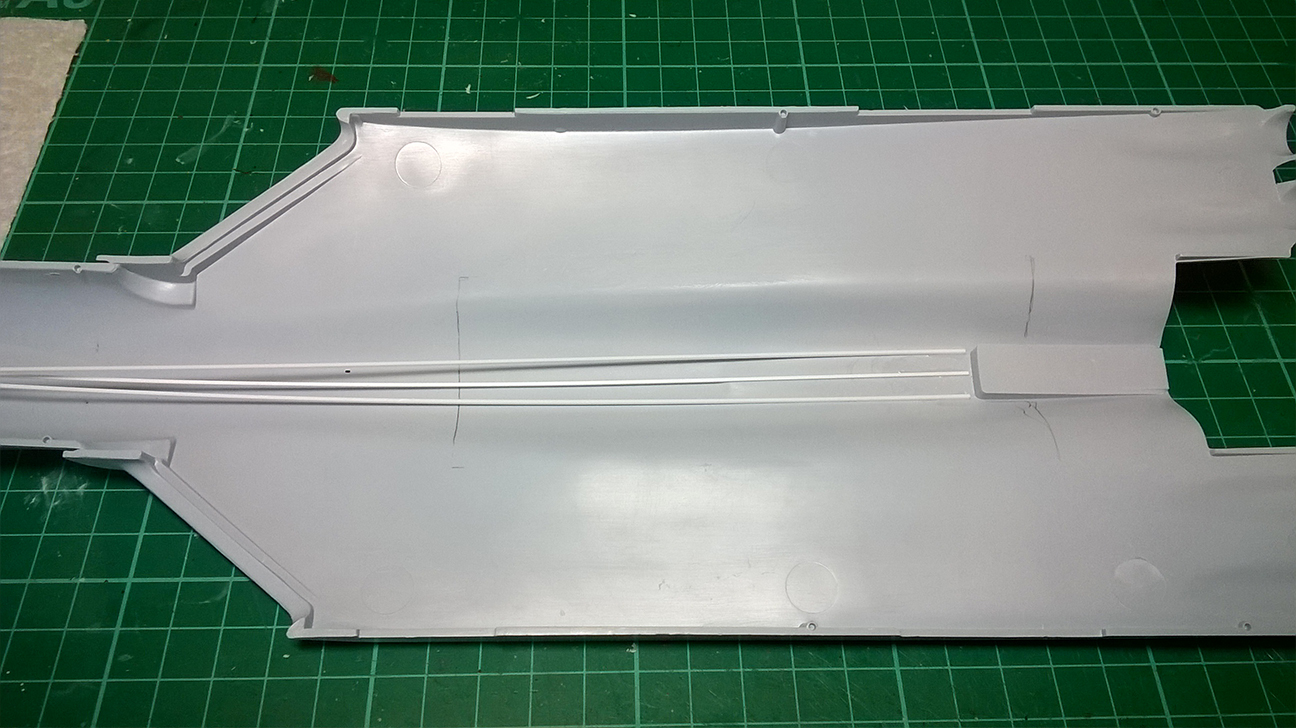
Lots of dry fits and painting in stages...

Completed bomb-bay....
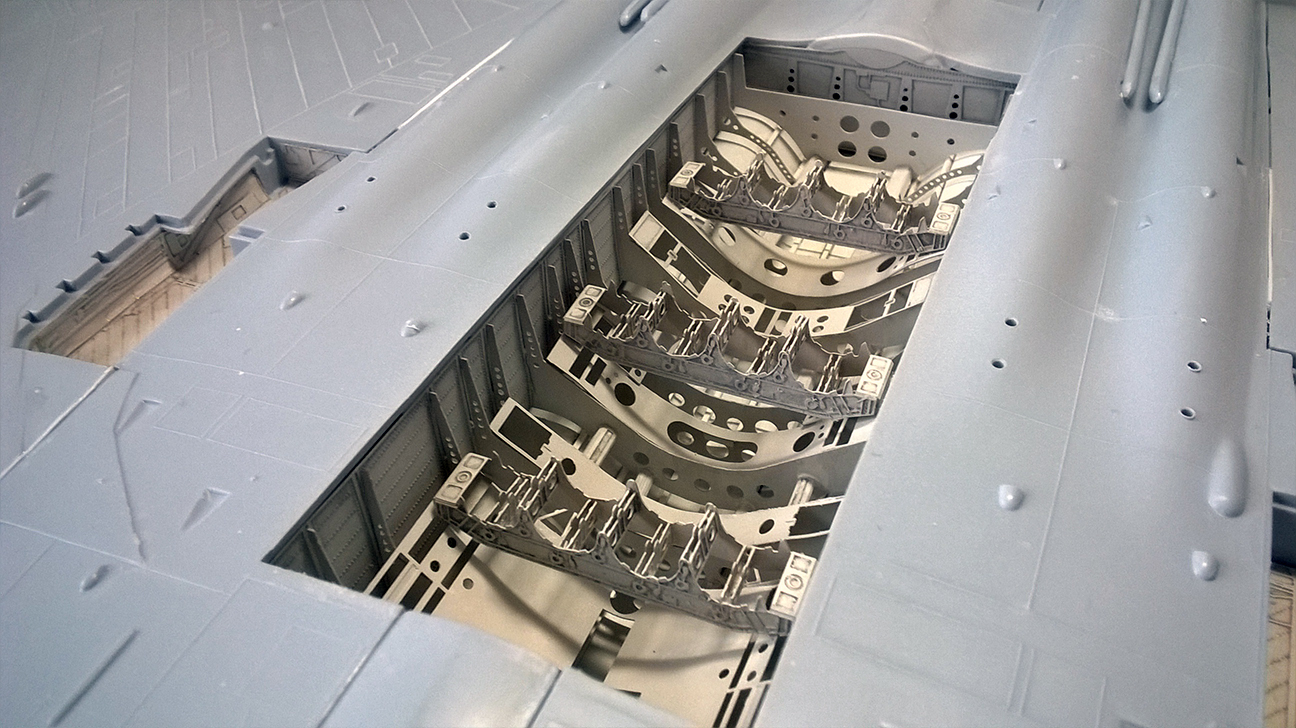
and wheel wells....

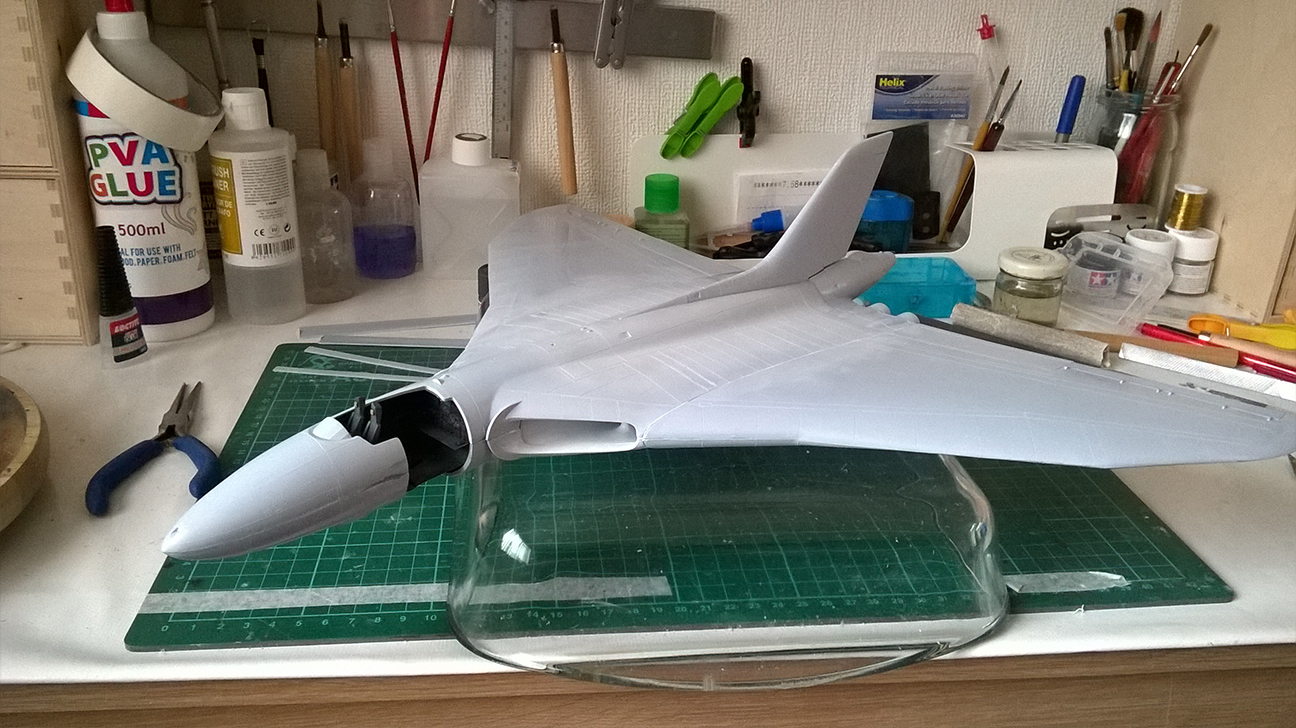
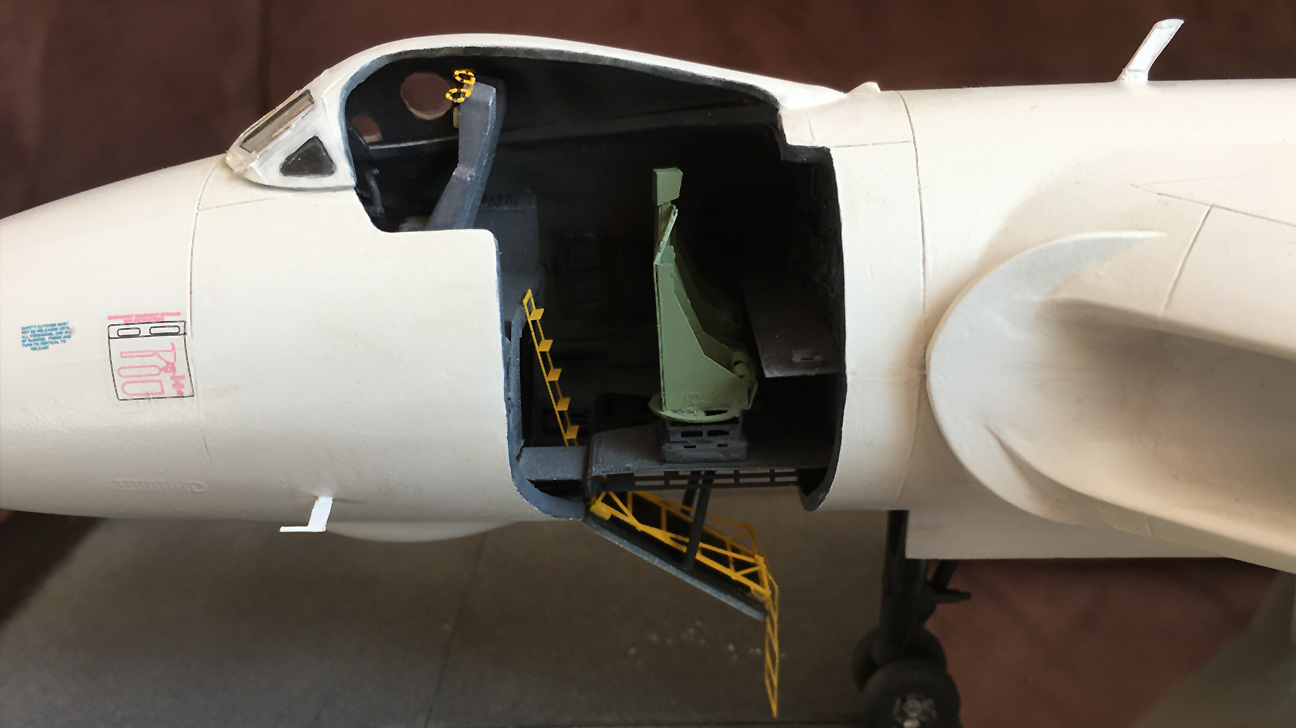
The cutaway to show the interior.... note also the removal of the square section on the top of the tail and the refueling probe and bulged radar on the tip of the nose to "backdate" the model somewhat.
I've had to keep quiet on my entry to the campaign as it was a birthday gift for my father-in-law. He followed my Lancaster build closely and my other models after that so I couldn't risk mentioning it until it was done! Thankfully he received it this weekend so it's no longer top secret.

The idea was to build an all-the bells-and-whistles early anti-flash vulcan with detailed interior and bomb bay from White ensign models (excellent etch kit btw)
(As a bit of a rules stickler
 I messaged Richard with my starting image back when the campaign started as a proof.)
Here's a selection of photos of the wip...

An idea of the flash on all the parts!

A total rescribe of the top surfaces which was a new thing for me. The underside is rarely seen, has many more panel lines and would have taken forever!

The low-vis decal sheet used.

A small bit of scratch work to create an extra layer of depth in the bomb bay.

Lots of dry fits and painting in stages...

Completed bomb-bay....

and wheel wells....

The cutaway to show the interior.... note also the removal of the square section on the top of the tail and the refueling probe and bulged radar on the tip of the nose to "backdate" the model somewhat.

KelticKnot

Joined: May 11, 2015
KitMaker: 768 posts
AeroScale: 656 posts

Posted: Saturday, September 23, 2017 - 06:14 PM UTC
And the finished piece....



MichaelSatin


Joined: January 19, 2008
KitMaker: 3,909 posts
AeroScale: 2,904 posts

Posted: Saturday, September 23, 2017 - 07:10 PM UTC
Seriously nice work here!!
It's been suggested that the gallery is hard to find. Since people seem to be finishing up, I'm reposting the link. The gallery can be found here.
Keep up the great builds!
Michael
It's been suggested that the gallery is hard to find. Since people seem to be finishing up, I'm reposting the link. The gallery can be found here.
Keep up the great builds!
Michael

Posted: Sunday, September 24, 2017 - 02:20 AM UTC
Gary, your Stuka has turned out a real treat! Lovely work! 
Paul, a great secret to keep indeed! And a great job on what many consider to be a less than perfect kit I'm sure your father in law will love it!

Paul, a great secret to keep indeed! And a great job on what many consider to be a less than perfect kit
 I'm sure your father in law will love it!
Posted: Sunday, September 24, 2017 - 06:49 AM UTC
Hi Guys,
Paul, thank you and yes, the Stuka did get filthy underneath. I've known the Daimler Benz engines were heavy leakers of oil. But until I started trying to find underside photos of the Stuka, I had no idea.

Photo for discussion only
A lot of side-ish view photos hinted at how much oil the JuMo Engine leaked, but there are very few full angle views of the Stuka's underside.
It does make me curious about other aircraft that carried the Junkers motors.
Paul, awesome work! You've really put some excellent detail into that giant. Your Father in Law will be verhy pleased, I'm guessing.
Russell,
Thank you!
Gaz
Paul, thank you and yes, the Stuka did get filthy underneath. I've known the Daimler Benz engines were heavy leakers of oil. But until I started trying to find underside photos of the Stuka, I had no idea.

Photo for discussion only
A lot of side-ish view photos hinted at how much oil the JuMo Engine leaked, but there are very few full angle views of the Stuka's underside.
It does make me curious about other aircraft that carried the Junkers motors.
Paul, awesome work! You've really put some excellent detail into that giant. Your Father in Law will be verhy pleased, I'm guessing.
Russell,
Thank you!
Gaz
Removed by original poster on 09/25/17 - 04:52:54 (GMT).
Removed by original poster on 09/25/17 - 04:58:27 (GMT).
Posted: Sunday, September 24, 2017 - 10:01 AM UTC
Time to say goodbye to this aircrew, I'm almost ready to close up the fuselage.
 http://gallery3.kitmaker.net/data/500/thumbs/Airfix_1-72M_crew.jpg " BORDER="0">


Posted: Sunday, September 24, 2017 - 10:03 AM UTC
Maybe I can get the photo to stick this time. 

http://gallery3.kitmaker.net/showphoto.php/photo/455937/ppuser/11541


http://gallery3.kitmaker.net/showphoto.php/photo/455937/ppuser/11541


Bigrip74

Joined: February 22, 2008
KitMaker: 5,026 posts
AeroScale: 2,811 posts

Posted: Sunday, September 24, 2017 - 11:03 AM UTC
Paul: fantastic job on the Vulcan.
Gaz: the Stuka came out great.
Mark: I can see a TBF.
Bob
Gaz: the Stuka came out great.
Mark: I can see a TBF.
Bob
Posted: Monday, September 25, 2017 - 12:51 AM UTC
Yes, but it should be right there, shouldn't have to click on a link....


this one worked, from the same gallery
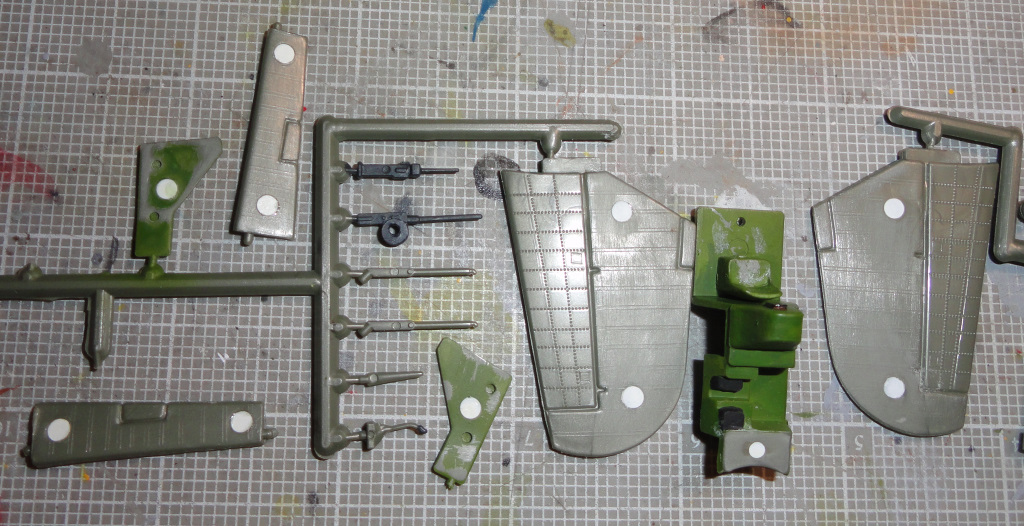


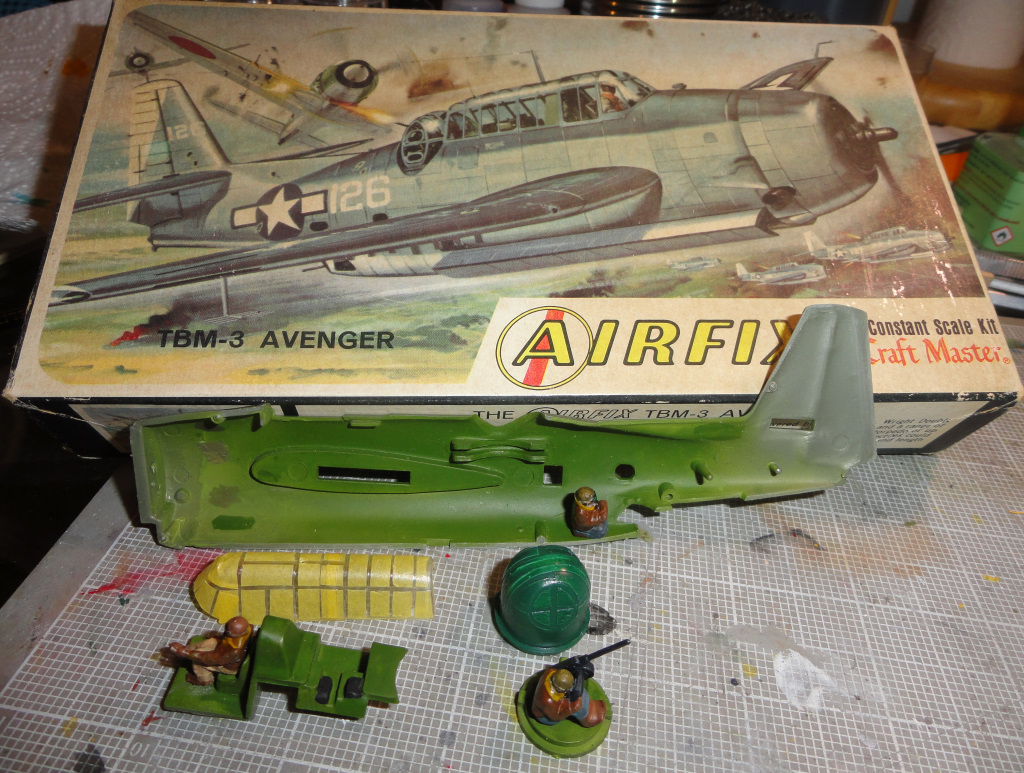
At least 5 tries later, I don't know if it's an issue with Airfix or 1-72. But there's the picture....


this one worked, from the same gallery


At least 5 tries later, I don't know if it's an issue with Airfix or 1-72. But there's the picture....
panzerman1

Joined: September 30, 2010
KitMaker: 430 posts
AeroScale: 75 posts

Posted: Tuesday, October 03, 2017 - 12:58 PM UTC
Some terrific work being done here in the Airfix campaign. Love these vintage kits.....great memories from my youth. Wonderfully inspiring work fellow modelers.
Bill
Bill
panzerman1

Joined: September 30, 2010
KitMaker: 430 posts
AeroScale: 75 posts

Posted: Tuesday, October 03, 2017 - 01:22 PM UTC
Alright, I couldn't resist. I'm on board for some of this Airfix fun.
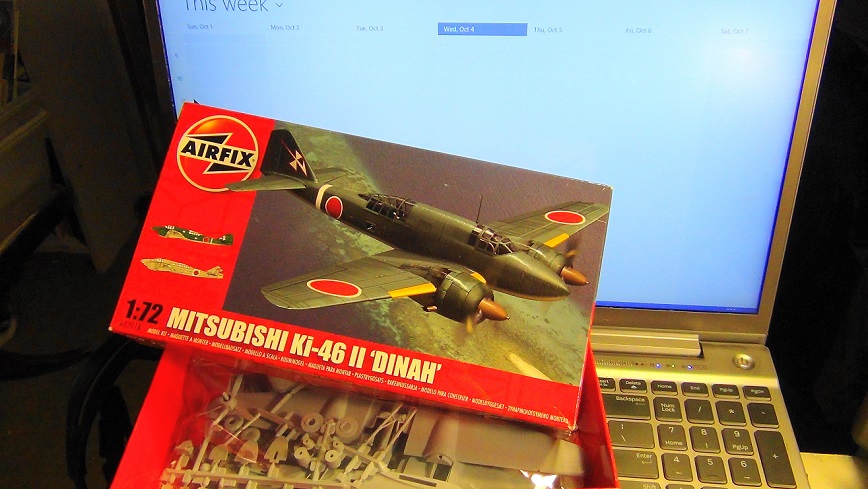
Typical, old school Airfix kit. All the parts come sandwiched together in one bag. Rattle. Rattle.
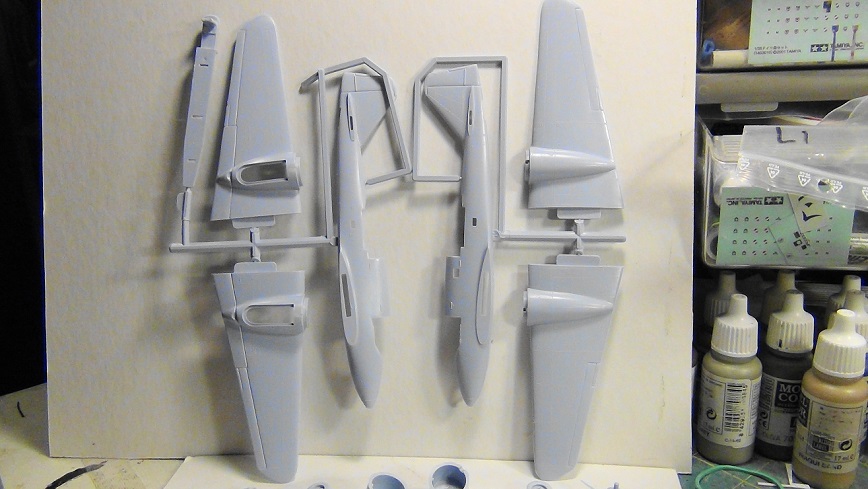
Molding quality is to be expected from the age of the kit. Raised panel lines, heavy seams, and the occasional flash were all present.
Hhhm! Got to love the nostalgia.

Hey, the clear parts are safely poly bagged. Pfew! The decal sheet looks to be in good register. Pfew!
The plan is to do a little converting on this build. I'm turning this Ki-46 Dinah into the armed variant. Going to add 2 20mm canons in the nose and a 37mm canon(shrage musik) along the dorsal spine.
I'm looking forward to a fun campaign. Let's model on, fellows!
Bill

Typical, old school Airfix kit. All the parts come sandwiched together in one bag. Rattle. Rattle.

Molding quality is to be expected from the age of the kit. Raised panel lines, heavy seams, and the occasional flash were all present.
Hhhm! Got to love the nostalgia.

Hey, the clear parts are safely poly bagged. Pfew! The decal sheet looks to be in good register. Pfew!
The plan is to do a little converting on this build. I'm turning this Ki-46 Dinah into the armed variant. Going to add 2 20mm canons in the nose and a 37mm canon(shrage musik) along the dorsal spine.
I'm looking forward to a fun campaign. Let's model on, fellows!
Bill
Posted: Tuesday, October 03, 2017 - 10:49 PM UTC
Paul and Gaz: Excellent work of both of you! 
I took a deep dive into my stash and came out with that "Great White Hope" , the BAC TSR.2.
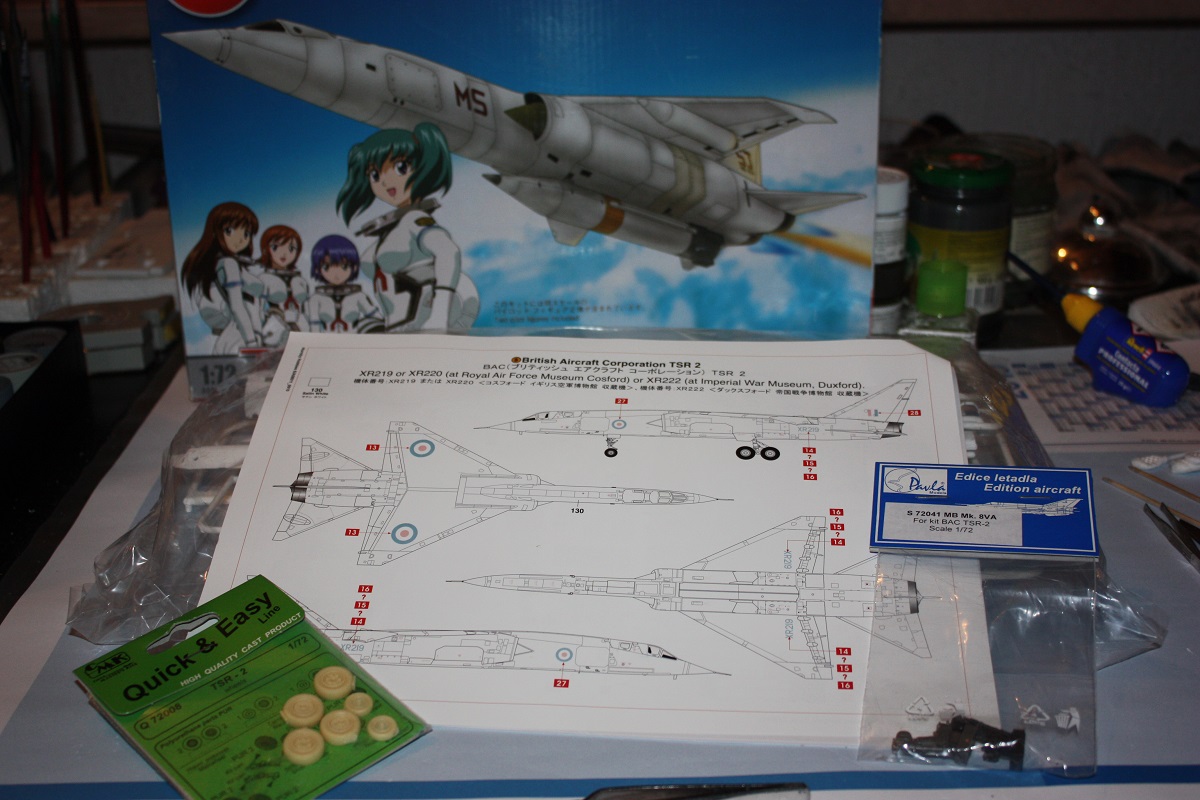
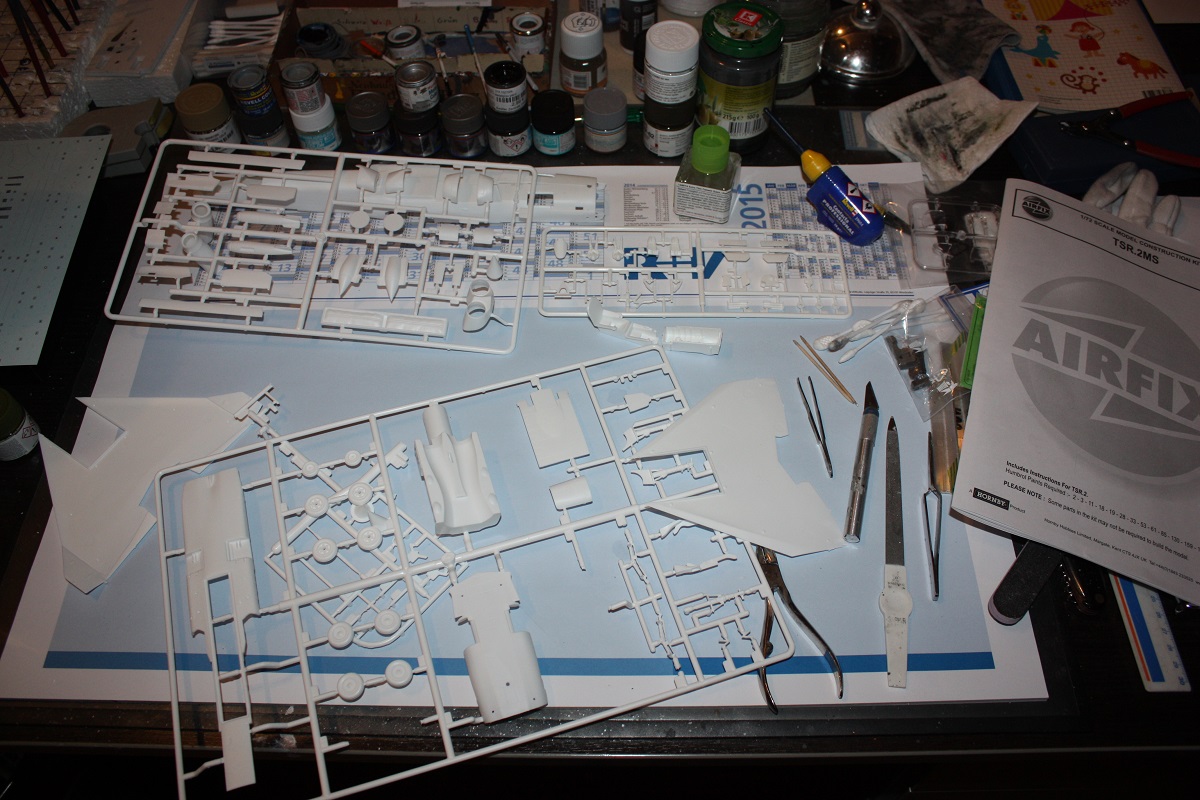
The kit resembles an aircraft of a Japanese comic series and has some extra parts(p.e. a mighty missile to destroy meteorites and an additional rocketmotor), but gladly you can build the original prototype for the RAF, too, with correct decals and cockpit included.
I'll throw in resin bang seats and wheels, let's see how it works out.
Finally I'm starting that kit, thanks to this campaign

I took a deep dive into my stash and came out with that "Great White Hope"
 , the BAC TSR.2.
The kit resembles an aircraft of a Japanese comic series and has some extra parts(p.e. a mighty missile to destroy meteorites and an additional rocketmotor), but gladly you can build the original prototype for the RAF, too, with correct decals and cockpit included.
I'll throw in resin bang seats and wheels, let's see how it works out.
Finally I'm starting that kit, thanks to this campaign

Posted: Tuesday, October 03, 2017 - 11:07 PM UTC
William: Nice choice and great idea of a conversion!
I will follow your build
I will follow your build

panzerman1

Joined: September 30, 2010
KitMaker: 430 posts
AeroScale: 75 posts

Posted: Tuesday, October 03, 2017 - 11:30 PM UTC
Thanks b17-peter. I like the Sci-fi theme of your entry model. Don't see a lot of these being made. Rare is cool.
Love the Vulcan build Paul. That amazingly detailed bomb bay and cut a way of the cockpit are brilliant.
Love the Vulcan build Paul. That amazingly detailed bomb bay and cut a way of the cockpit are brilliant.
Posted: Wednesday, October 04, 2017 - 11:29 AM UTC
Thanks guys!
Some great choices you've made to build.
Gaz
Some great choices you've made to build.
Gaz
panzerman1

Joined: September 30, 2010
KitMaker: 430 posts
AeroScale: 75 posts

Posted: Friday, October 06, 2017 - 09:03 AM UTC
Update on Ki-46, armed variant.
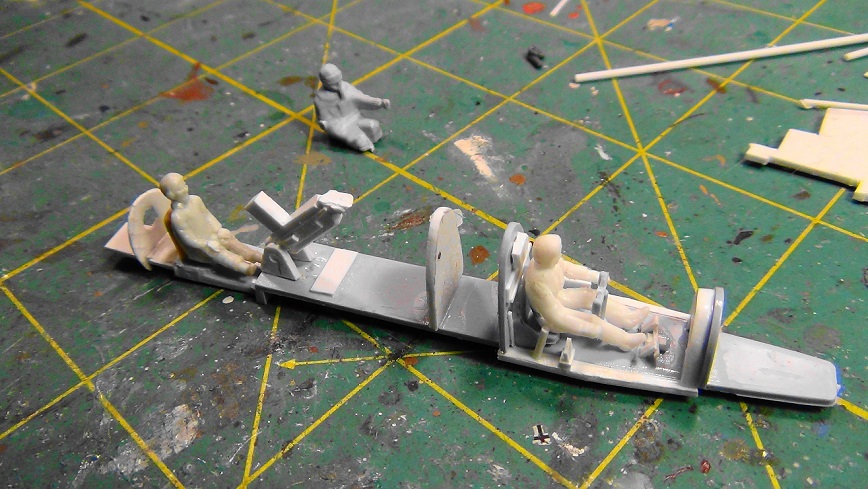
Used reference images, build logs, etc. from the Web to add missing details to the interior. Scratchbuilt details include the 37mm canon(Schrange Musik). Also converted some spare figures to make the Dinah crew. Kit crew figures were horrid.
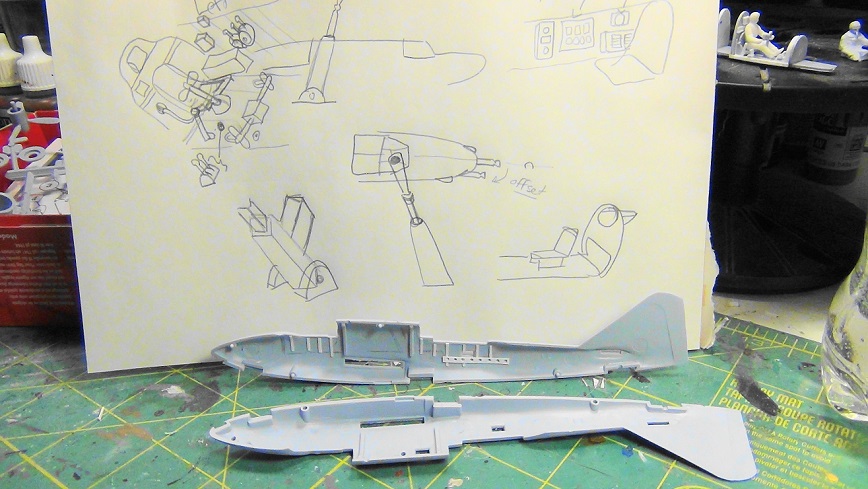
Working on adding side wall details here. Enjoying this project immensely.
Thanks for watching. Till next time, Happy Modeling! Bill

Used reference images, build logs, etc. from the Web to add missing details to the interior. Scratchbuilt details include the 37mm canon(Schrange Musik). Also converted some spare figures to make the Dinah crew. Kit crew figures were horrid.

Working on adding side wall details here. Enjoying this project immensely.
Thanks for watching. Till next time, Happy Modeling! Bill
Posted: Friday, October 06, 2017 - 11:10 AM UTC
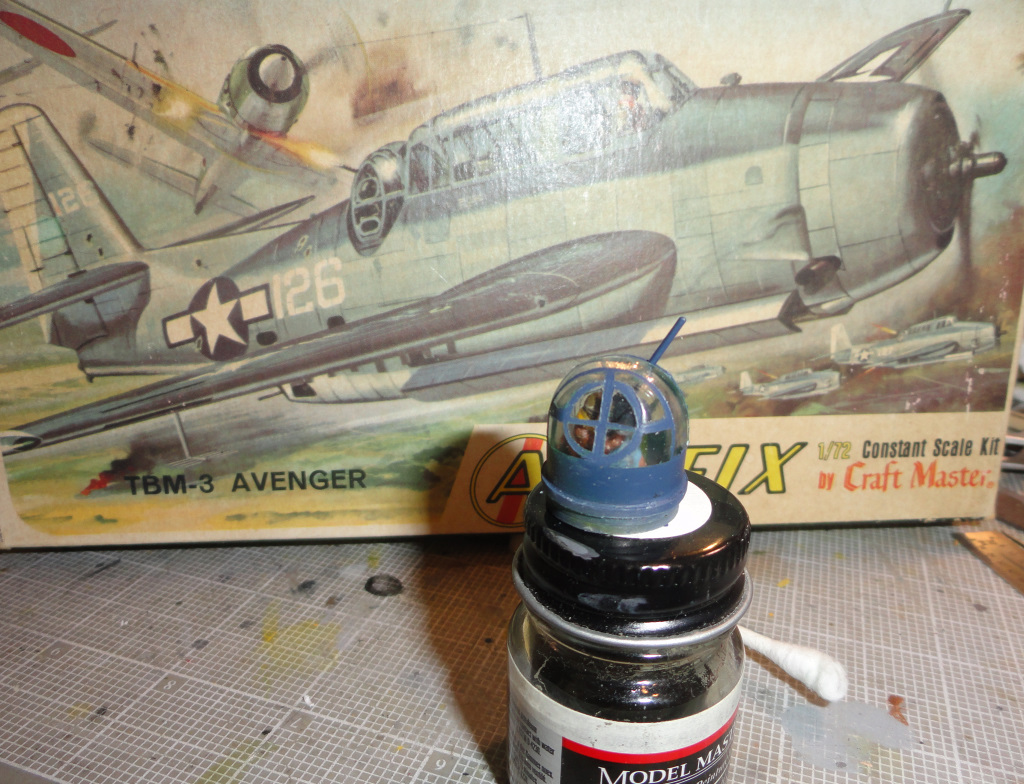
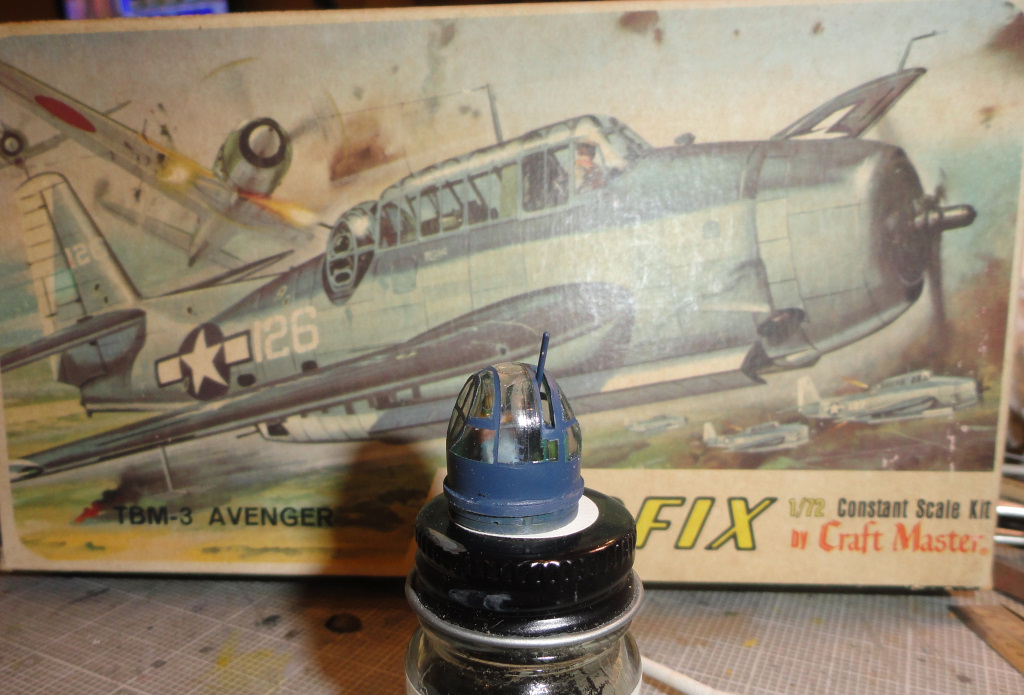
Well one of my aircrew makes a return appearance. The turret is painted and ready to install.


panzerman1

Joined: September 30, 2010
KitMaker: 430 posts
AeroScale: 75 posts

Posted: Friday, October 06, 2017 - 12:02 PM UTC
Mark, at least your figure doppleganger has his legs...hahahaha.
Good job on the turret painting. KUTGW. Bill
Good job on the turret painting. KUTGW. Bill
panzerman1

Joined: September 30, 2010
KitMaker: 430 posts
AeroScale: 75 posts

Posted: Friday, October 06, 2017 - 12:05 PM UTC
Update #2.

Interior detailing complete. Painting of the interior and crewmen are next. Thanks for watching. Bill

Interior detailing complete. Painting of the interior and crewmen are next. Thanks for watching. Bill
 |


