Mark, good job. Closing up the fuselage is always a hallmark in a build. Masking of the canopy looks nice. That's a skill I was never proficient at, so I free hand paint the frames. Keep having fun.
Bill
Air Campaigns
Want to start or join a group build? This is where to start.
Want to start or join a group build? This is where to start.
Hosted by Frederick Boucher, Michael Satin
OFFICIAL: Airfix IV Campaign
panzerman1

Joined: September 30, 2010
KitMaker: 430 posts
AeroScale: 75 posts

Posted: Wednesday, October 25, 2017 - 04:01 PM UTC
Removed by original poster on 10/26/17 - 11:08:17 (GMT).
panzerman1

Joined: September 30, 2010
KitMaker: 430 posts
AeroScale: 75 posts

Posted: Wednesday, October 25, 2017 - 04:12 PM UTC
Update on my Ki-46 armed variant.
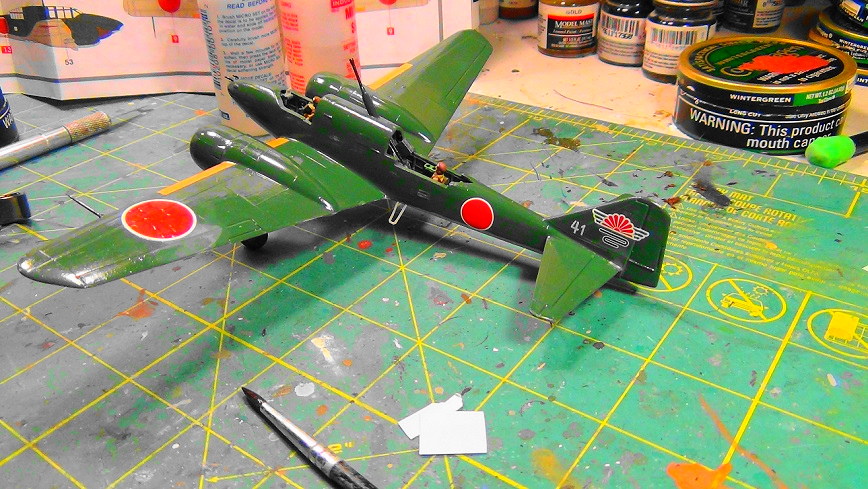
Gloss coated the Dinah, and started decal work. The kit decals are pretty nice. They have a thin carrier film and are in good register.
Thanks for viewing. Enjoy your projects everyone. Bill

Gloss coated the Dinah, and started decal work. The kit decals are pretty nice. They have a thin carrier film and are in good register.
Thanks for viewing. Enjoy your projects everyone. Bill

Kanguroo

Joined: May 07, 2006
KitMaker: 416 posts
AeroScale: 89 posts

Posted: Thursday, October 26, 2017 - 06:56 PM UTC
Hello,
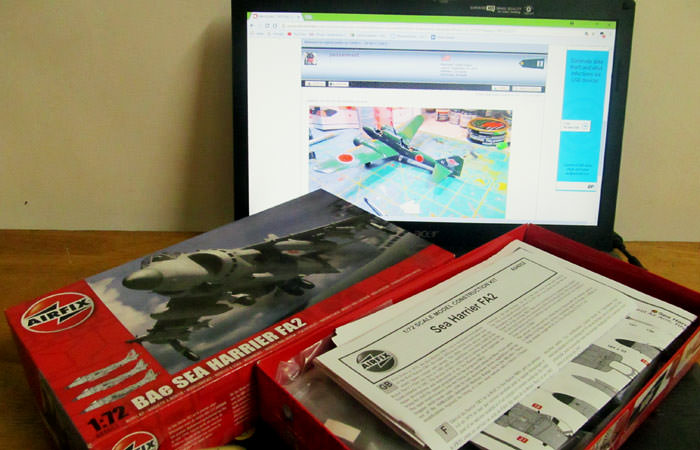
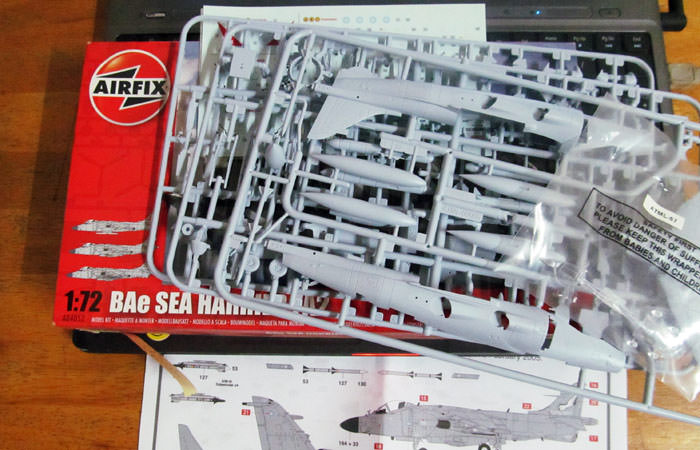
I try to finish this in one month.
Regards,
K.
I try to finish this in one month.


Regards,
K.
panzerman1

Joined: September 30, 2010
KitMaker: 430 posts
AeroScale: 75 posts

Posted: Thursday, October 26, 2017 - 07:52 PM UTC
K, good luck with the project. Is this one of the new tool kits?
Bill
Bill
Posted: Thursday, October 26, 2017 - 08:35 PM UTC
@ William, It was easier to master framing than freehand painting the frames for me. 

panzerman1

Joined: September 30, 2010
KitMaker: 430 posts
AeroScale: 75 posts

Posted: Thursday, November 02, 2017 - 09:42 PM UTC
@Mark, I understand. Frame masking will be a skill to master down the road. As long as my eyes hold out and my hands stay steady, I'll keep painting those canopy frames. Thanks. Bill
panzerman1

Joined: September 30, 2010
KitMaker: 430 posts
AeroScale: 75 posts

Posted: Thursday, November 02, 2017 - 09:48 PM UTC
Update on my Ki-46 armed variant.
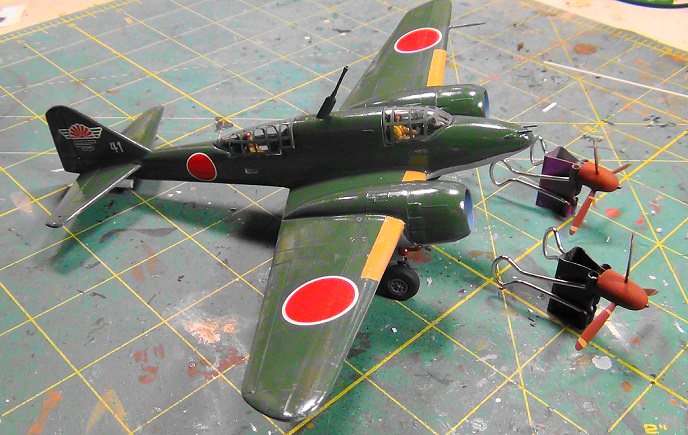
Decal work is complete. Canopy frames are all painted up. Weathering is up next.

I am really pleased with how clear the canopy plastic turned out. A thorough dipping in Future acrylic wax did the trick.
Thanks for viewing. Till next time, Happy Modeling everyone!
Bill

Decal work is complete. Canopy frames are all painted up. Weathering is up next.

I am really pleased with how clear the canopy plastic turned out. A thorough dipping in Future acrylic wax did the trick.
Thanks for viewing. Till next time, Happy Modeling everyone!
Bill
Posted: Friday, November 03, 2017 - 03:51 AM UTC
William,
Thqt looks great!
Gaz
Thqt looks great!
Gaz
Posted: Saturday, November 04, 2017 - 10:49 AM UTC
it's got wings!!! 
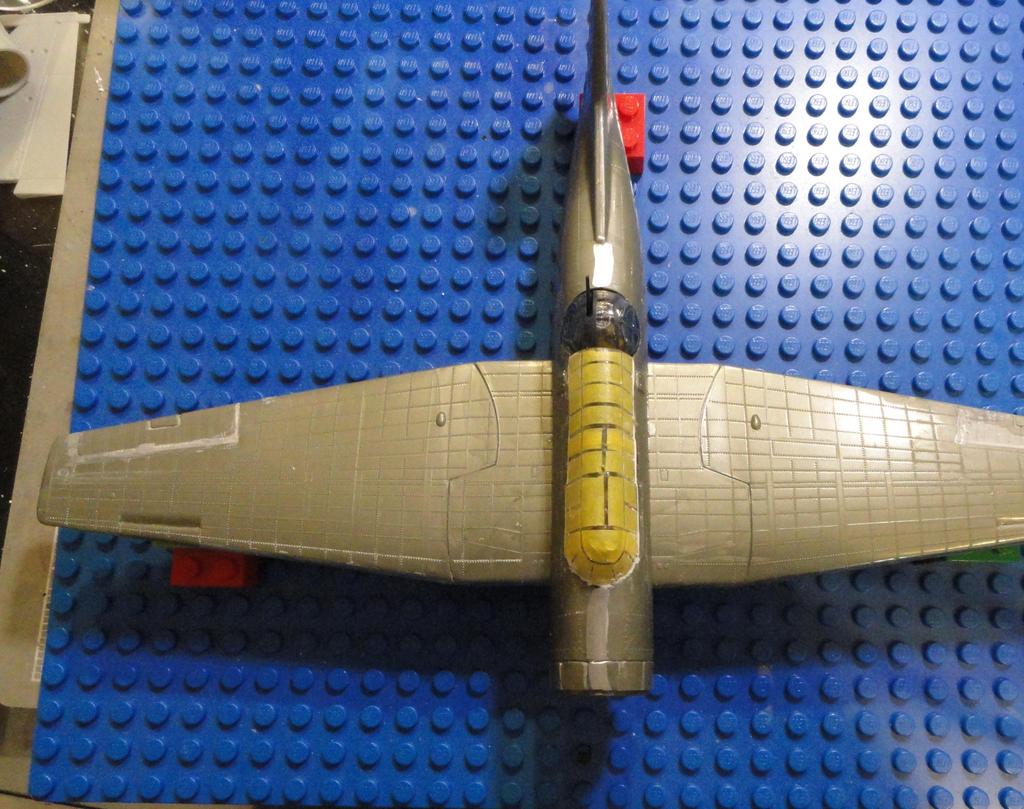
Starting to look like an airplane.
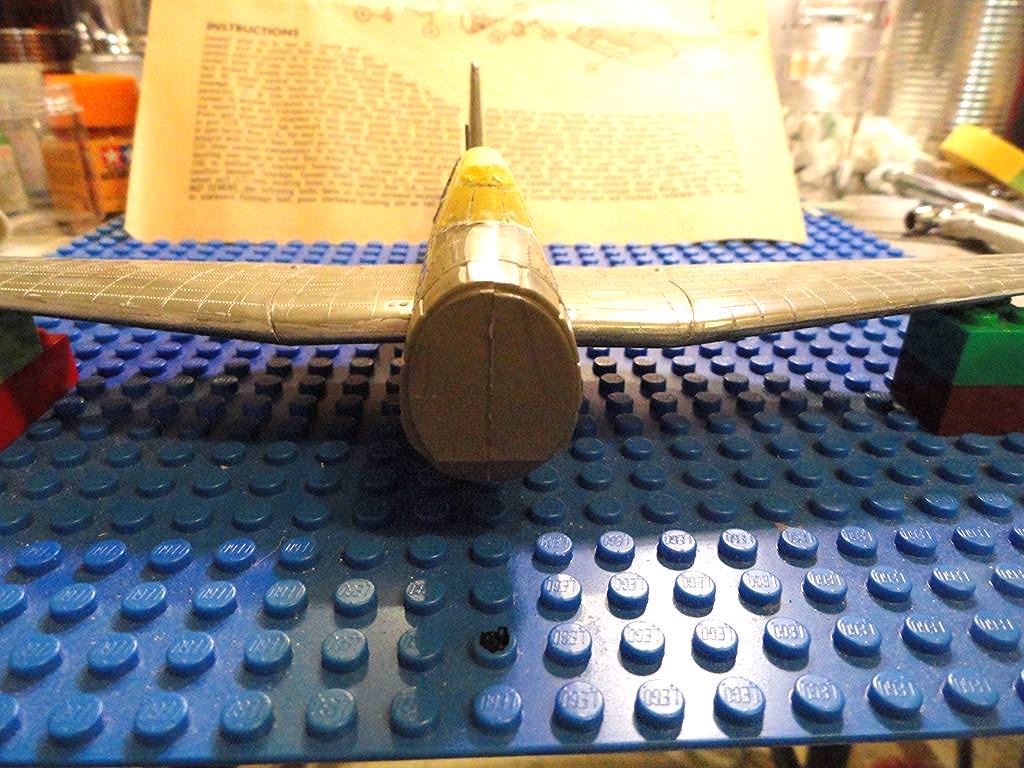


Starting to look like an airplane.


Posted: Saturday, November 04, 2017 - 12:53 PM UTC
Good job! I hate trying to align folded wings.
panzerman1

Joined: September 30, 2010
KitMaker: 430 posts
AeroScale: 75 posts

Posted: Sunday, November 05, 2017 - 04:10 PM UTC
Looking good, Mark. Your TBM Avenger past a build milestone. When the wings and stabilizers go on, it's looking like a plane now. Good luck with the rest of the project. Bill
Posted: Sunday, November 05, 2017 - 10:22 PM UTC
Thanks guys. I'm not sure where to go next, gill the wing root gaps or go the the tail fins.
The wings are solid, no folds to align, so I avoided that step.
The wings are solid, no folds to align, so I avoided that step.

Posted: Monday, November 06, 2017 - 03:55 PM UTC
Really great and inspiring work going on here.
Well, better show what I've been up to then
1/72 Hawker Typhoon
this kit's been a joy to put together. That's not to say I haven't had to fettle and scrape here and there to get an optimal fit, because I have, but nothing too serious or difficult and the moldings are overall nice and tidy. The pilot is oversized and I've had to omit him, even though I'd normally add a pilot to give a sense of scale to the viewer.
On with the pics...
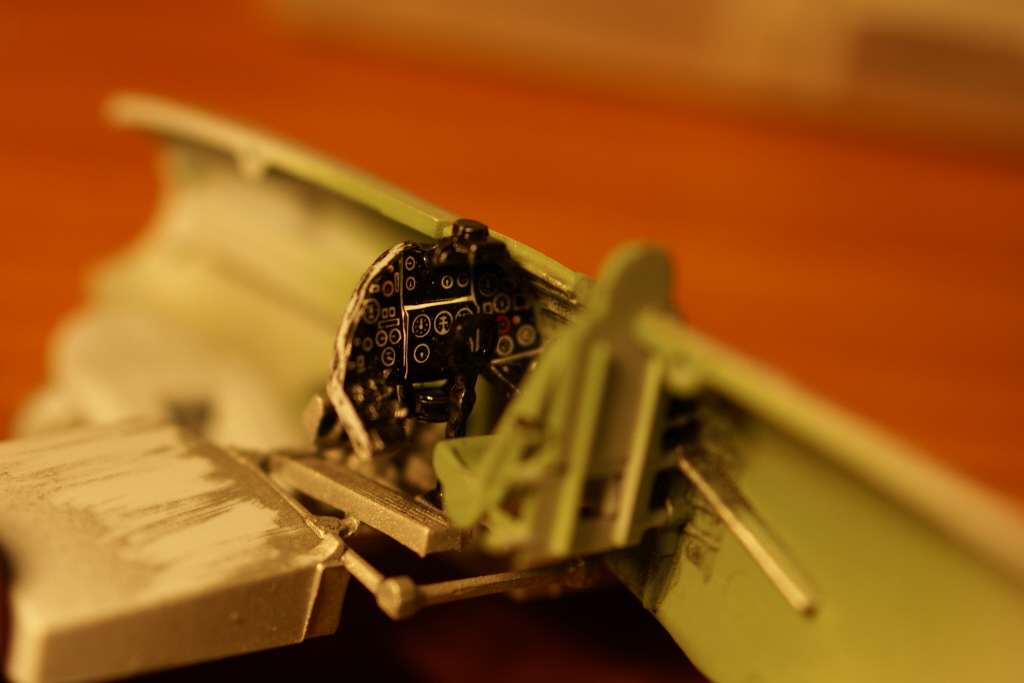
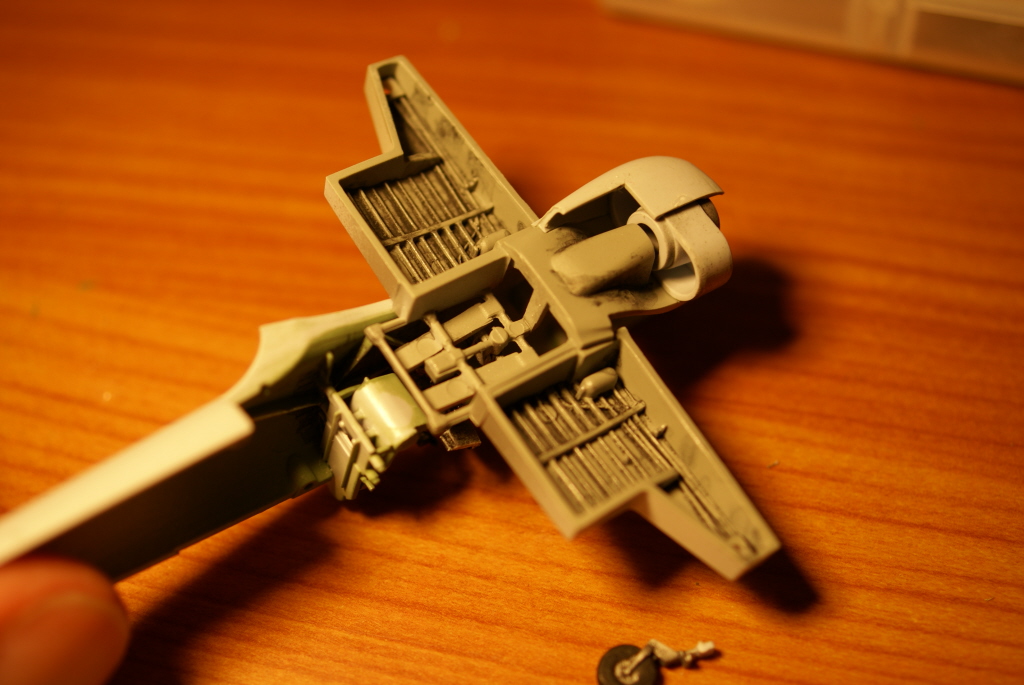
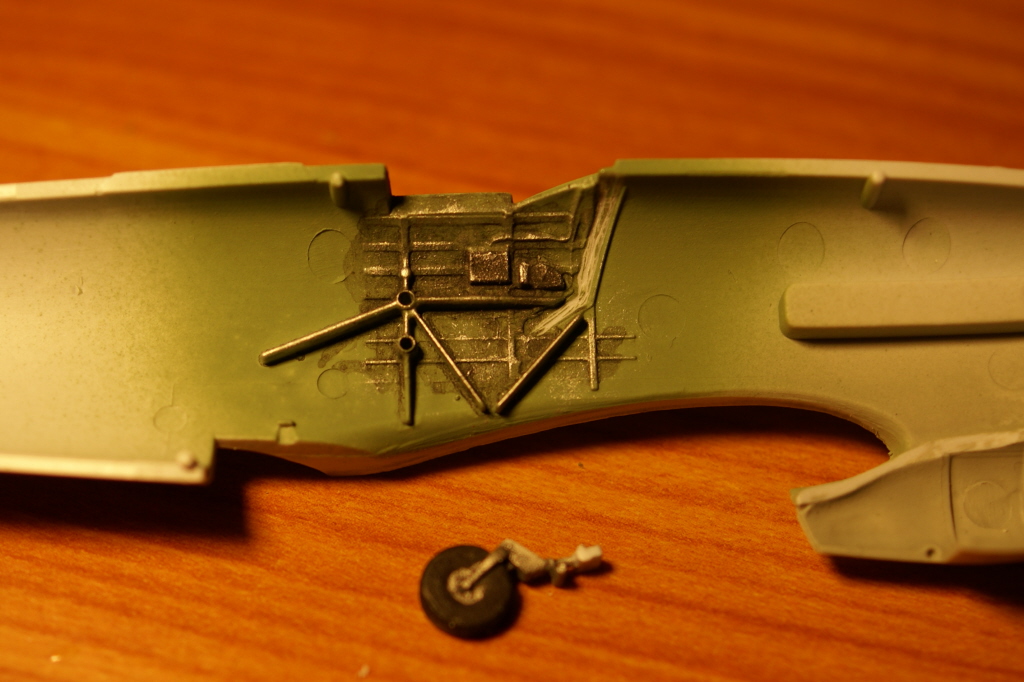
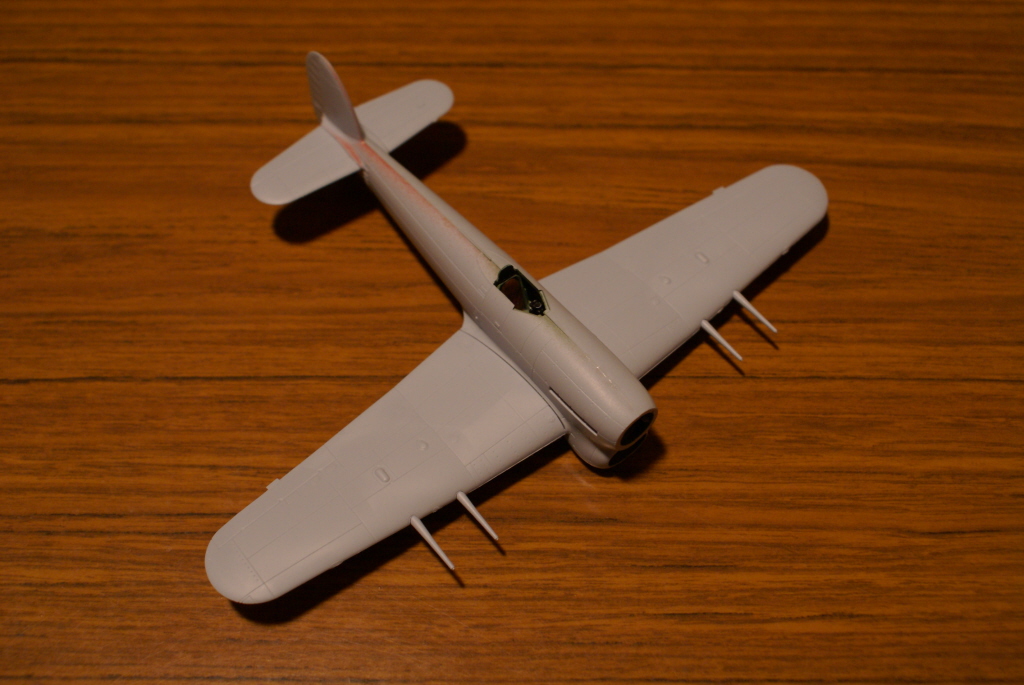
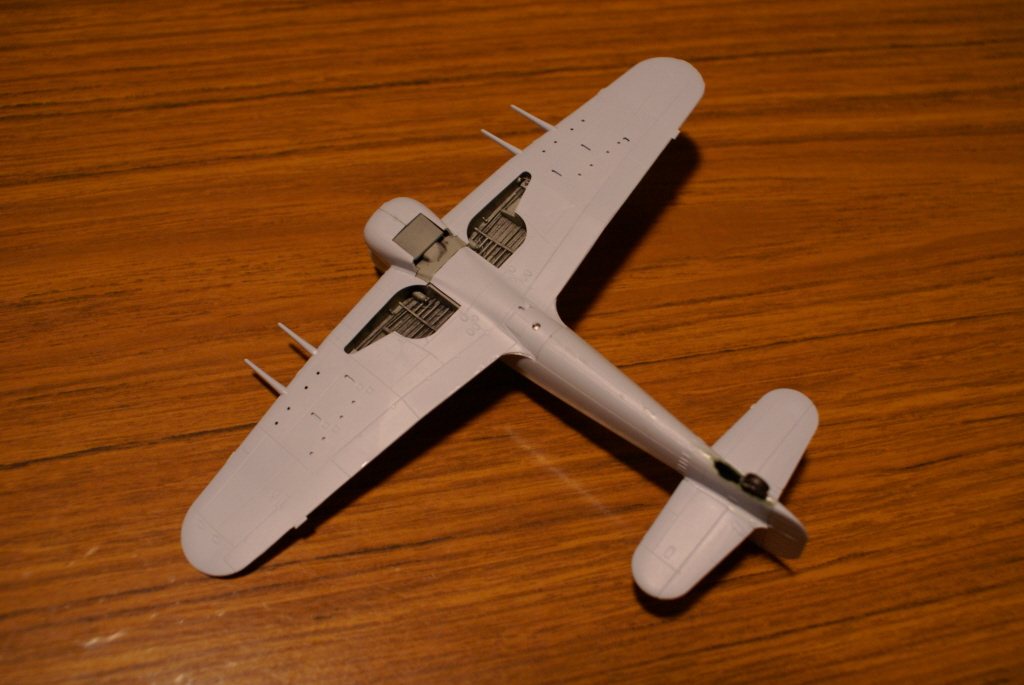
I think I got a bit heavy handed with the weathering in the wheel wells, so I'll re-spray them and tone it down a bit when I paint the underside...
Well, better show what I've been up to then
1/72 Hawker Typhoon
this kit's been a joy to put together. That's not to say I haven't had to fettle and scrape here and there to get an optimal fit, because I have, but nothing too serious or difficult and the moldings are overall nice and tidy. The pilot is oversized and I've had to omit him, even though I'd normally add a pilot to give a sense of scale to the viewer.
On with the pics...
I think I got a bit heavy handed with the weathering in the wheel wells, so I'll re-spray them and tone it down a bit when I paint the underside...

Posted: Monday, November 06, 2017 - 11:49 PM UTC
Russell,
Looking good. I'm impressed you get such detail in that scale.
Gaz
Looking good. I'm impressed you get such detail in that scale.
Gaz
Posted: Tuesday, November 07, 2017 - 03:52 AM UTC
Quoted Text
Russell,
Looking good. I'm impressed you get such detail in that scale.
Gaz
Cheers, Gaz

yup-these new gen kits are a real boon to those of us with space limitations... All of my "air force" is 1/72 with one exception: Airfix's 1/24 Typhoon (Much to 'her indoors' befuddlement). Actually I am hoping Airfix re-tool some of their classic 1/24 range in near future....

Posted: Tuesday, November 07, 2017 - 10:51 AM UTC
Here it is, kinda looks like an Avenger. Just needs the cowling and then it's ready for the paint shop.


Posted: Friday, November 10, 2017 - 06:50 AM UTC
Progress update, 1/72 Tiger I ready to paint. 


panzerman1

Joined: September 30, 2010
KitMaker: 430 posts
AeroScale: 75 posts

Posted: Saturday, November 11, 2017 - 05:30 AM UTC
Lap Man, Cool, old kit. What paint scheme are you going for?
Posted: Saturday, November 11, 2017 - 11:55 PM UTC
@Mark Tremendous masking job on your Avenger 
After spraying layer after layer of white from the rattle can onto my TSR2 I made some progress today with the undercarriage and some wheelbay covers. Had made a bad mistake earlier when I glued the belly part before the main wheel legs which then didn't fit in
Had to cut away a little plastic to fix it. But fortunately it went quite well
Here is the actual photo while the parts getting some rest to settle


After spraying layer after layer of white from the rattle can onto my TSR2 I made some progress today with the undercarriage and some wheelbay covers. Had made a bad mistake earlier when I glued the belly part before the main wheel legs which then didn't fit in

Had to cut away a little plastic to fix it. But fortunately it went quite well

Here is the actual photo while the parts getting some rest to settle
panzerman1

Joined: September 30, 2010
KitMaker: 430 posts
AeroScale: 75 posts

Posted: Wednesday, November 15, 2017 - 02:28 PM UTC
Peter, the epic battle of getting those landing gear to fit was worth the struggle. They look awesome in place. Your TSR2 is taking shape nicely. KUTGW. Bill
panzerman1

Joined: September 30, 2010
KitMaker: 430 posts
AeroScale: 75 posts

Posted: Thursday, November 16, 2017 - 02:16 PM UTC
Update on my Ki-46 armed variant.
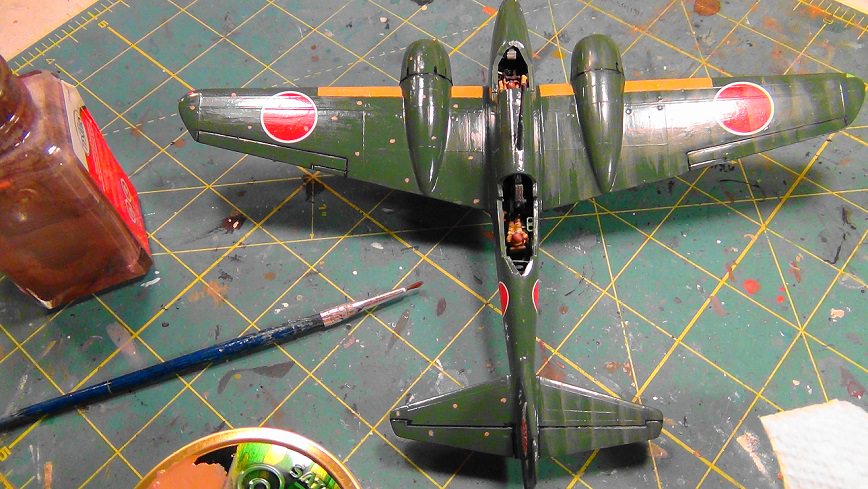
Applied a dot filter. This adds tonal variety to the one color paint scheme.
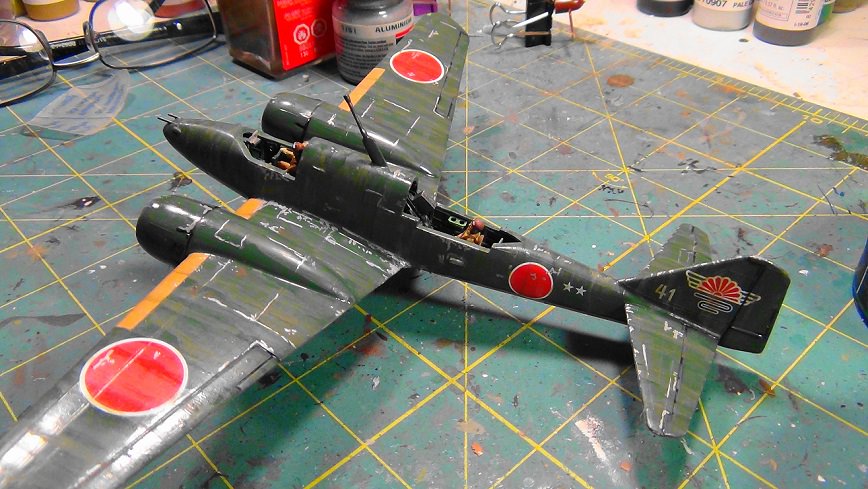
Added a heavy chipping effect. Whether 100% accurate or not, I've always liked the trend to make Japanese war planes heavily weathered.
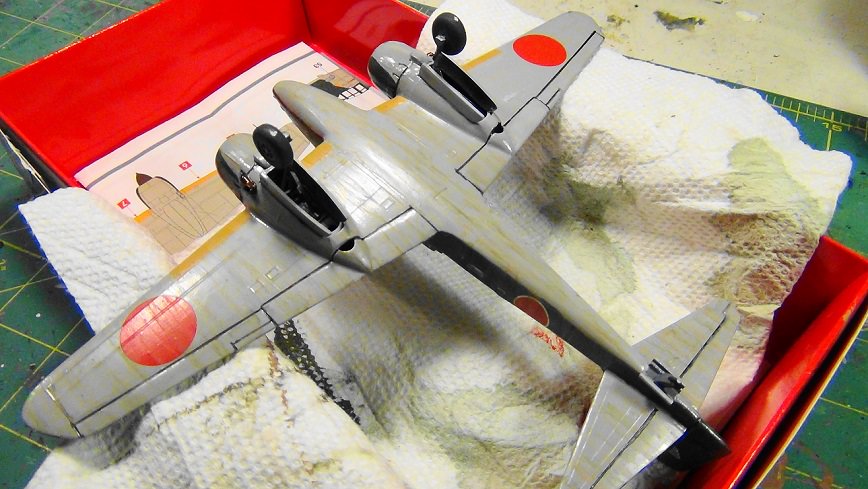
Continuing the dot filter on the ventral side.
The overall finish appears rough here. A matte coat will even out the dull effects with the gloss coat.
Thanks for viewing. Good luck everyone with the deadline approaching. Bill

Applied a dot filter. This adds tonal variety to the one color paint scheme.

Added a heavy chipping effect. Whether 100% accurate or not, I've always liked the trend to make Japanese war planes heavily weathered.

Continuing the dot filter on the ventral side.
The overall finish appears rough here. A matte coat will even out the dull effects with the gloss coat.
Thanks for viewing. Good luck everyone with the deadline approaching. Bill
Posted: Saturday, November 18, 2017 - 09:07 PM UTC
Great job on your Dinah, Bill. I like the weathering very much! 

Posted: Saturday, November 18, 2017 - 09:10 PM UTC
Getting closer to the finish line with my TSR.2 here.
Mounted the main wheels (and the meanwhile broken starboard stabiliser:-( )today and did some minor painting here and there.
Starting with the decals soon
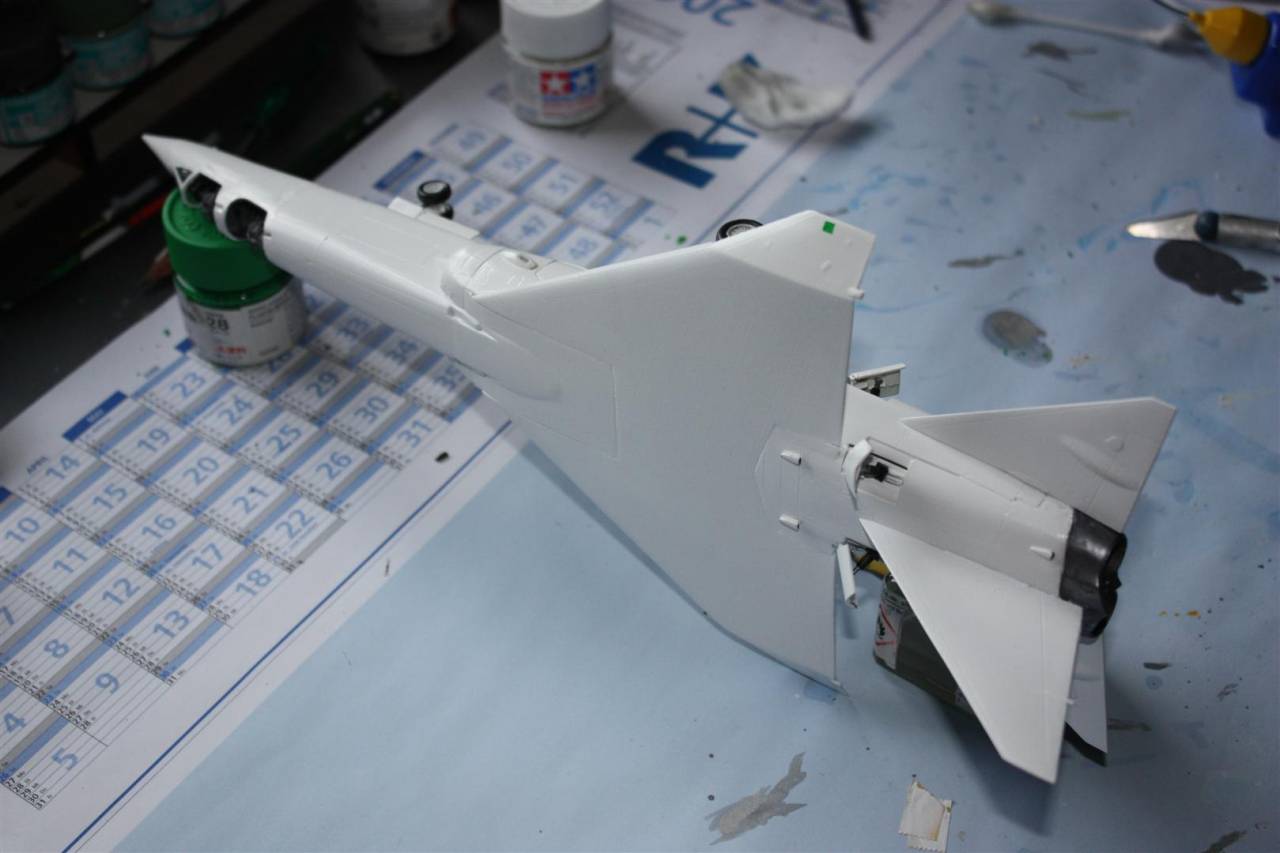

Good luck to everybody with your builds!
Peter
Mounted the main wheels (and the meanwhile broken starboard stabiliser:-( )today and did some minor painting here and there.
Starting with the decals soon

Good luck to everybody with your builds!

Peter
panzerman1

Joined: September 30, 2010
KitMaker: 430 posts
AeroScale: 75 posts

Posted: Sunday, November 19, 2017 - 04:22 AM UTC
Thanks Peter.
Your TSR is looking great. I like the appearance of the landing gear. She's a futuristic plane, for sure.
Happy modeling. Bill
Your TSR is looking great. I like the appearance of the landing gear. She's a futuristic plane, for sure.
Happy modeling. Bill
 |


