Cold War (1950-1974)
Discuss the aircraft modeling subjects during the Cold War period.
Hosted by Tim Hatton
Best Starfighter Ever?
magnusf
_VISITCOMMUNITY
Stockholm, Sweden
Joined: May 02, 2006
KitMaker: 1,953 posts
AeroScale: 1,902 posts
Posted: Monday, October 14, 2019 - 08:16 PM UTC
Steve! Beautiful work, it is a bit like Brian's B-17: even if I never would have the stamina to pull through such a project there is lots of things both to learn and enjoy!

In a few days you're hitting two years with this build...


Magnus
SteveAndrews
_VISITCOMMUNITY
England - South East, United Kingdom
Joined: August 16, 2010
KitMaker: 693 posts
AeroScale: 551 posts
Posted: Sunday, November 03, 2019 - 09:30 AM UTC
Hi Magnus,

Oh my gawd. Two years? No wonder my stash keeps calling to me. I don't know about my best build ever but this is my longest.

Thanks for keeping me company. I'm happy you're enjoying it and learning as I am too.

Happy modelling,

Steve.
SteveAndrews
_VISITCOMMUNITY
England - South East, United Kingdom
Joined: August 16, 2010
KitMaker: 693 posts
AeroScale: 551 posts
Posted: Sunday, November 03, 2019 - 09:31 AM UTC
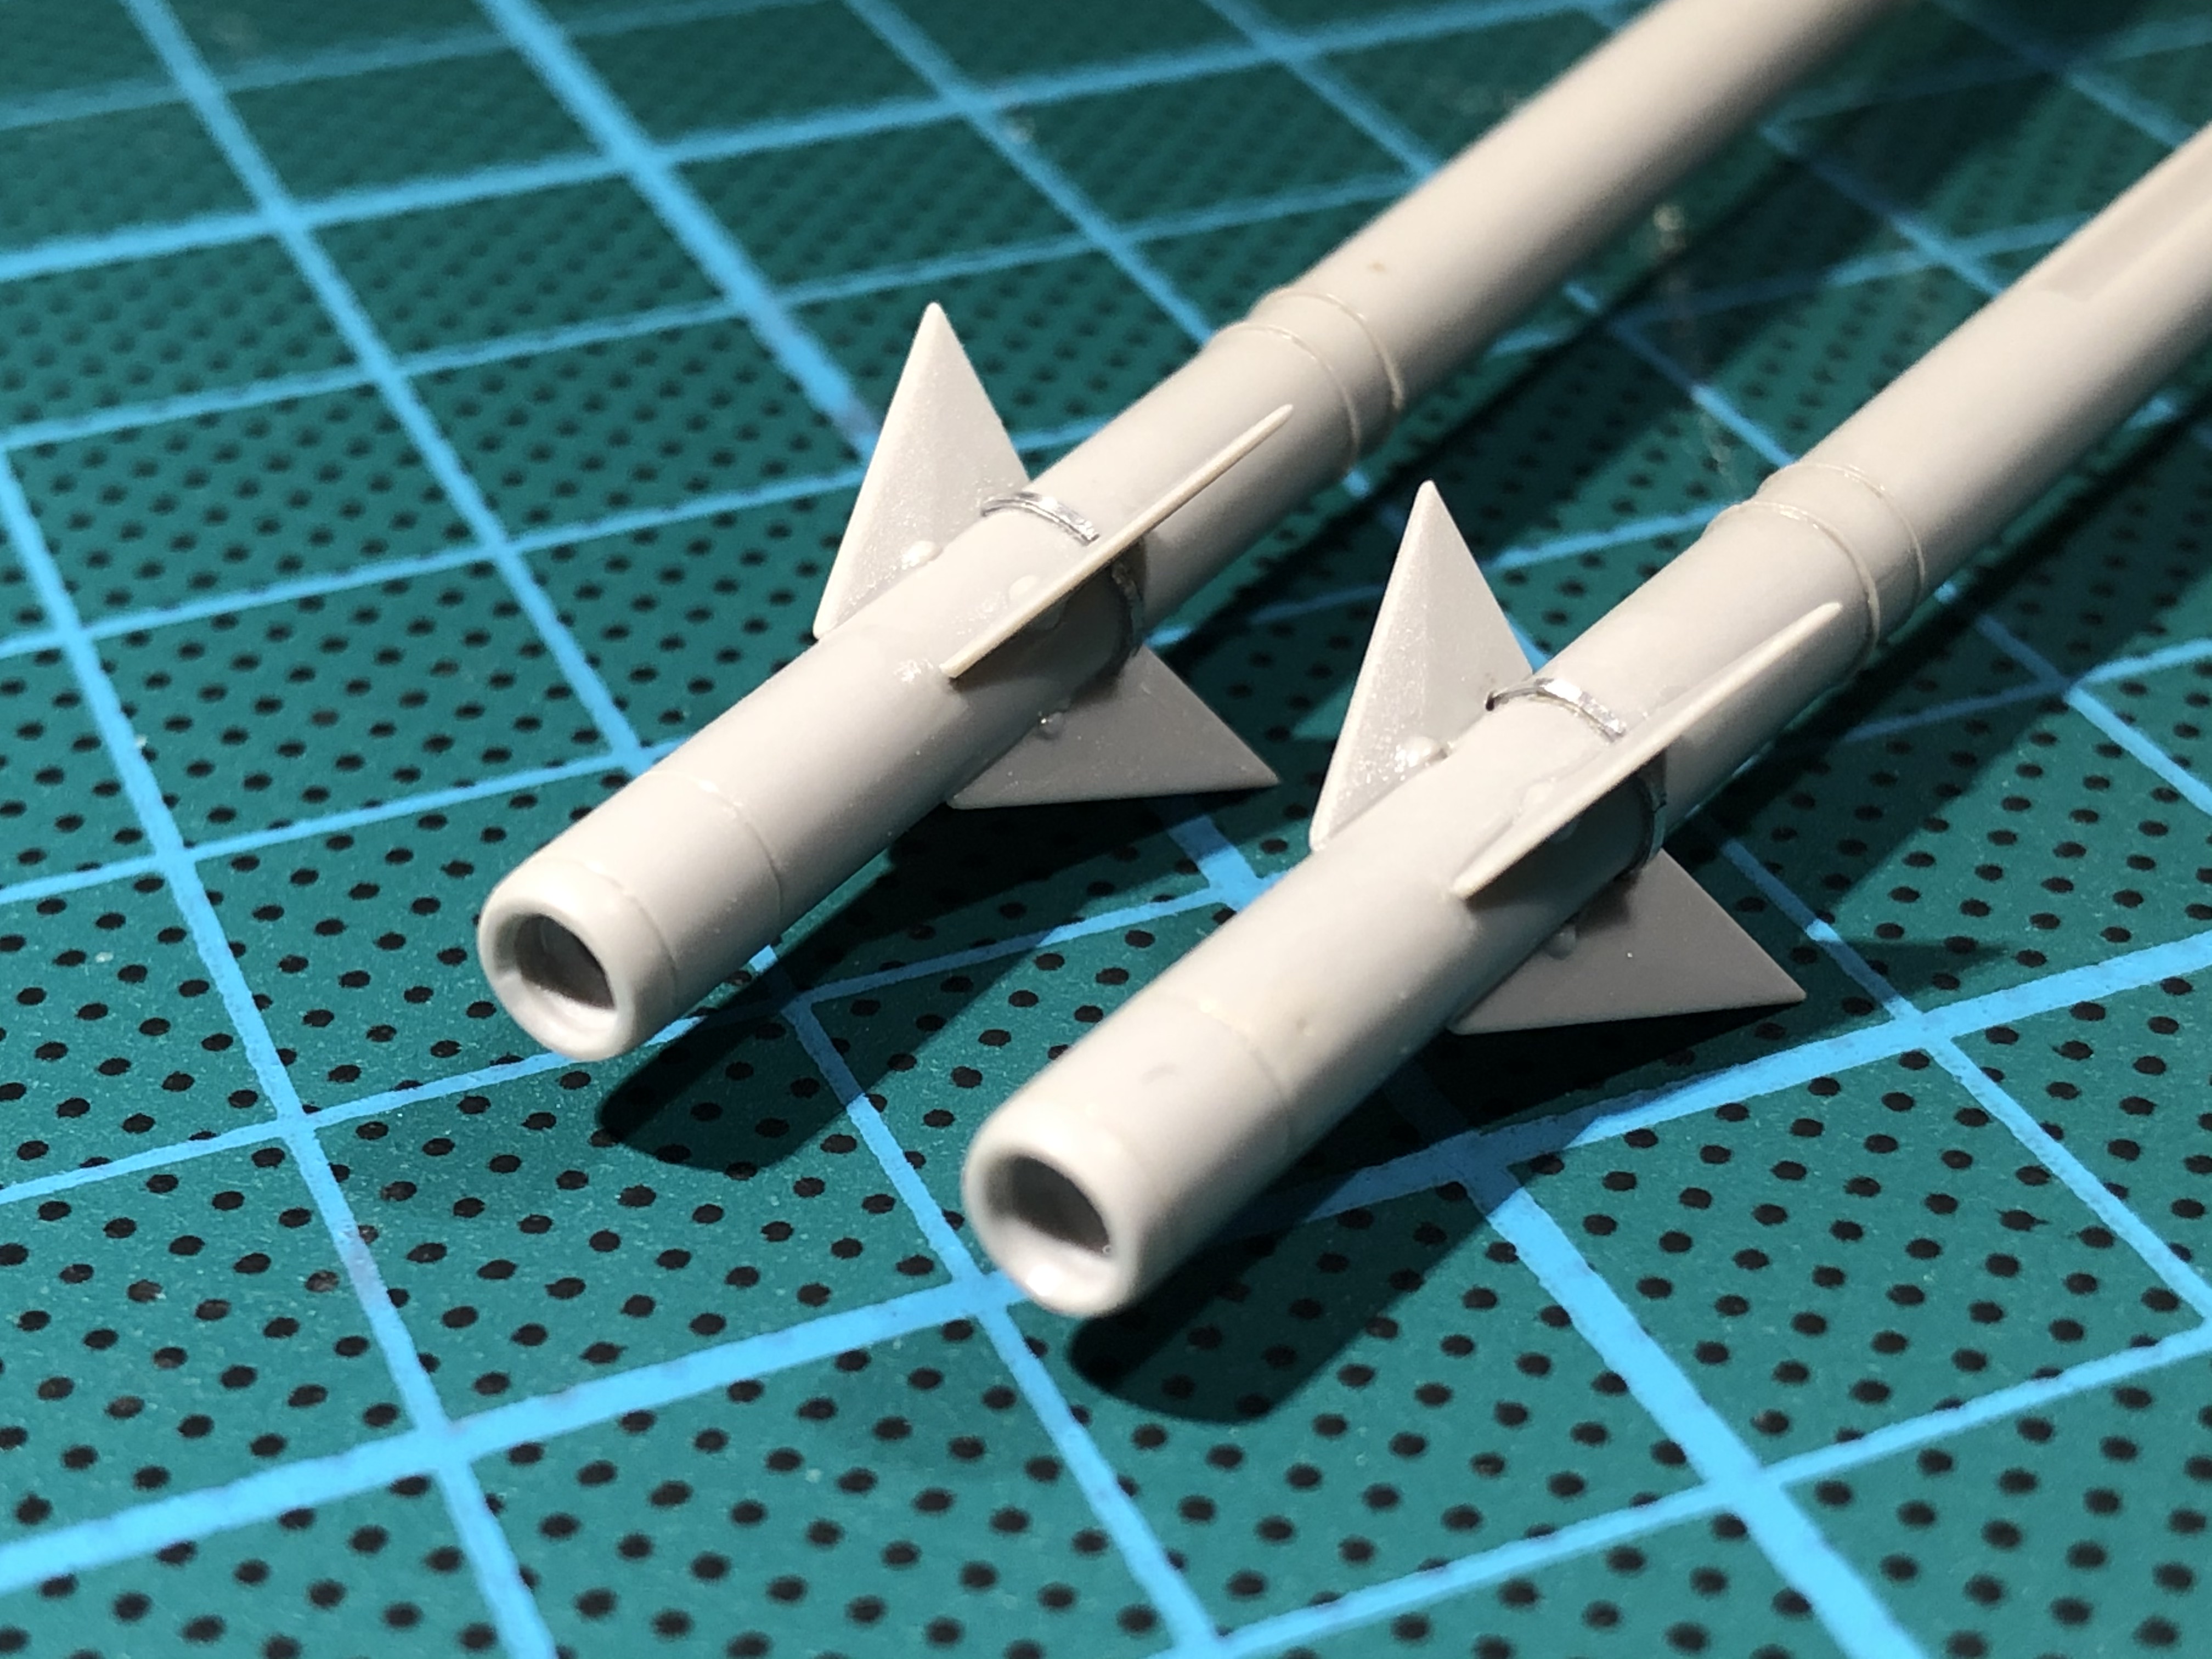
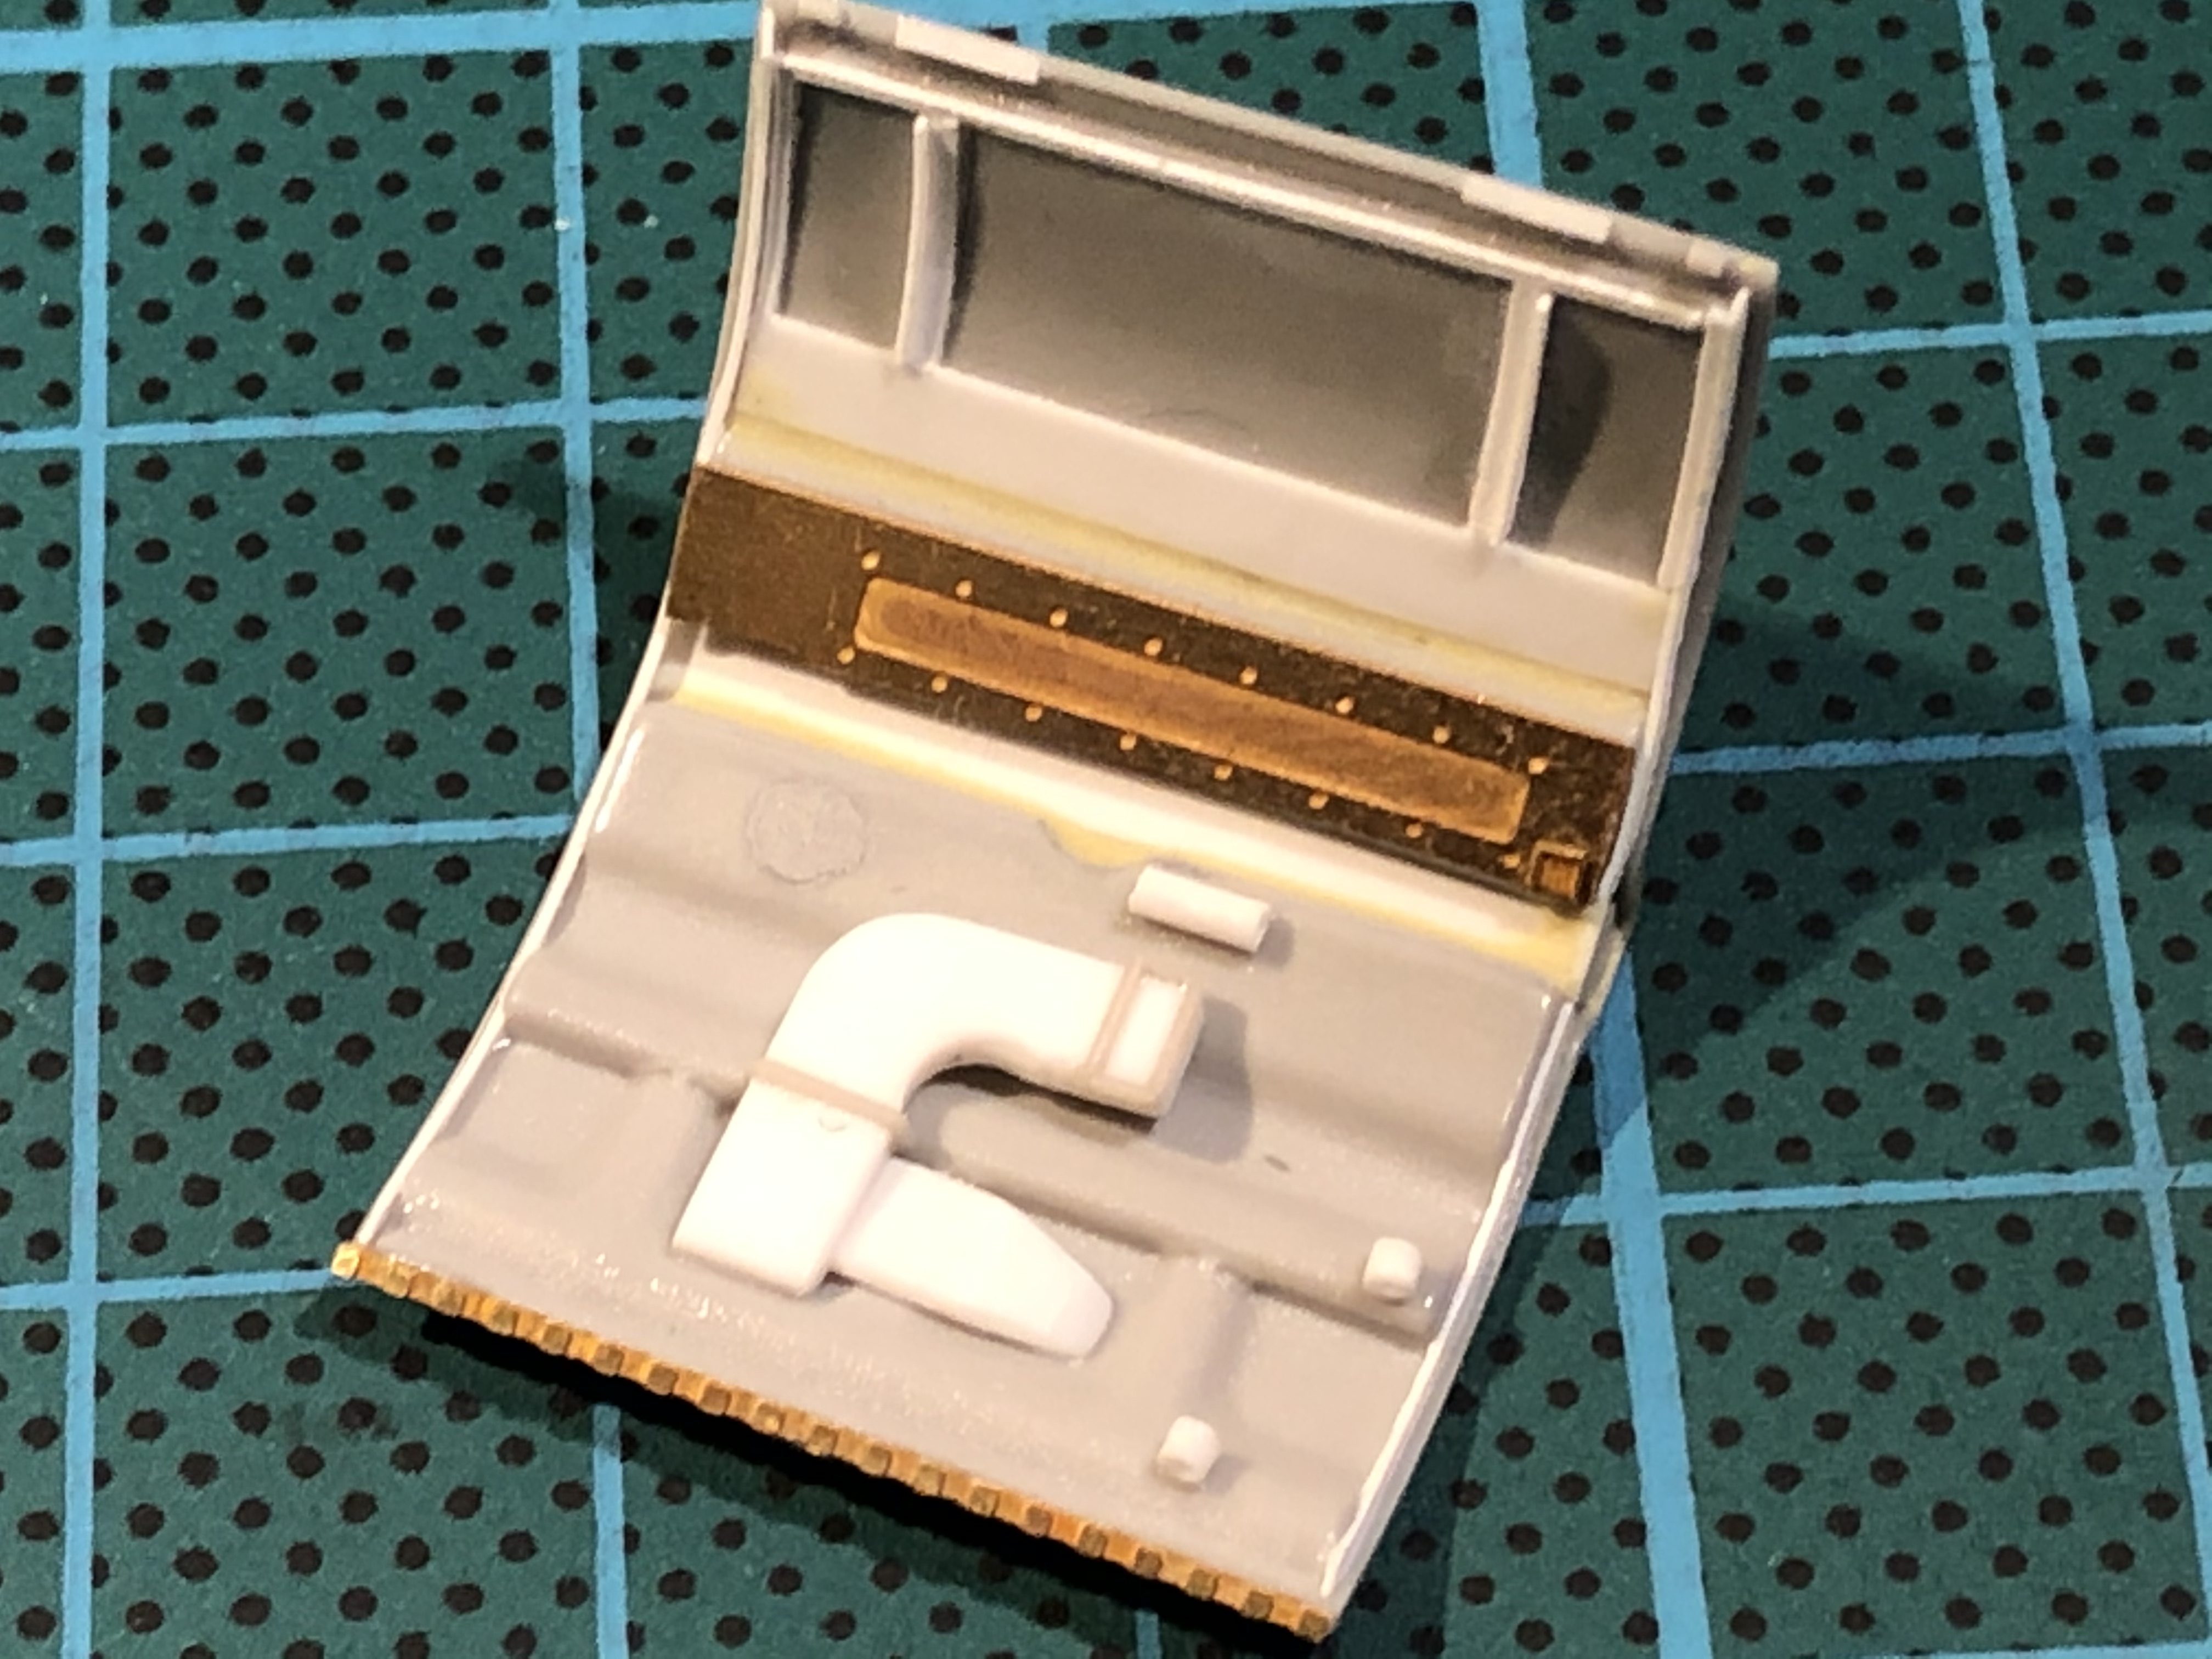
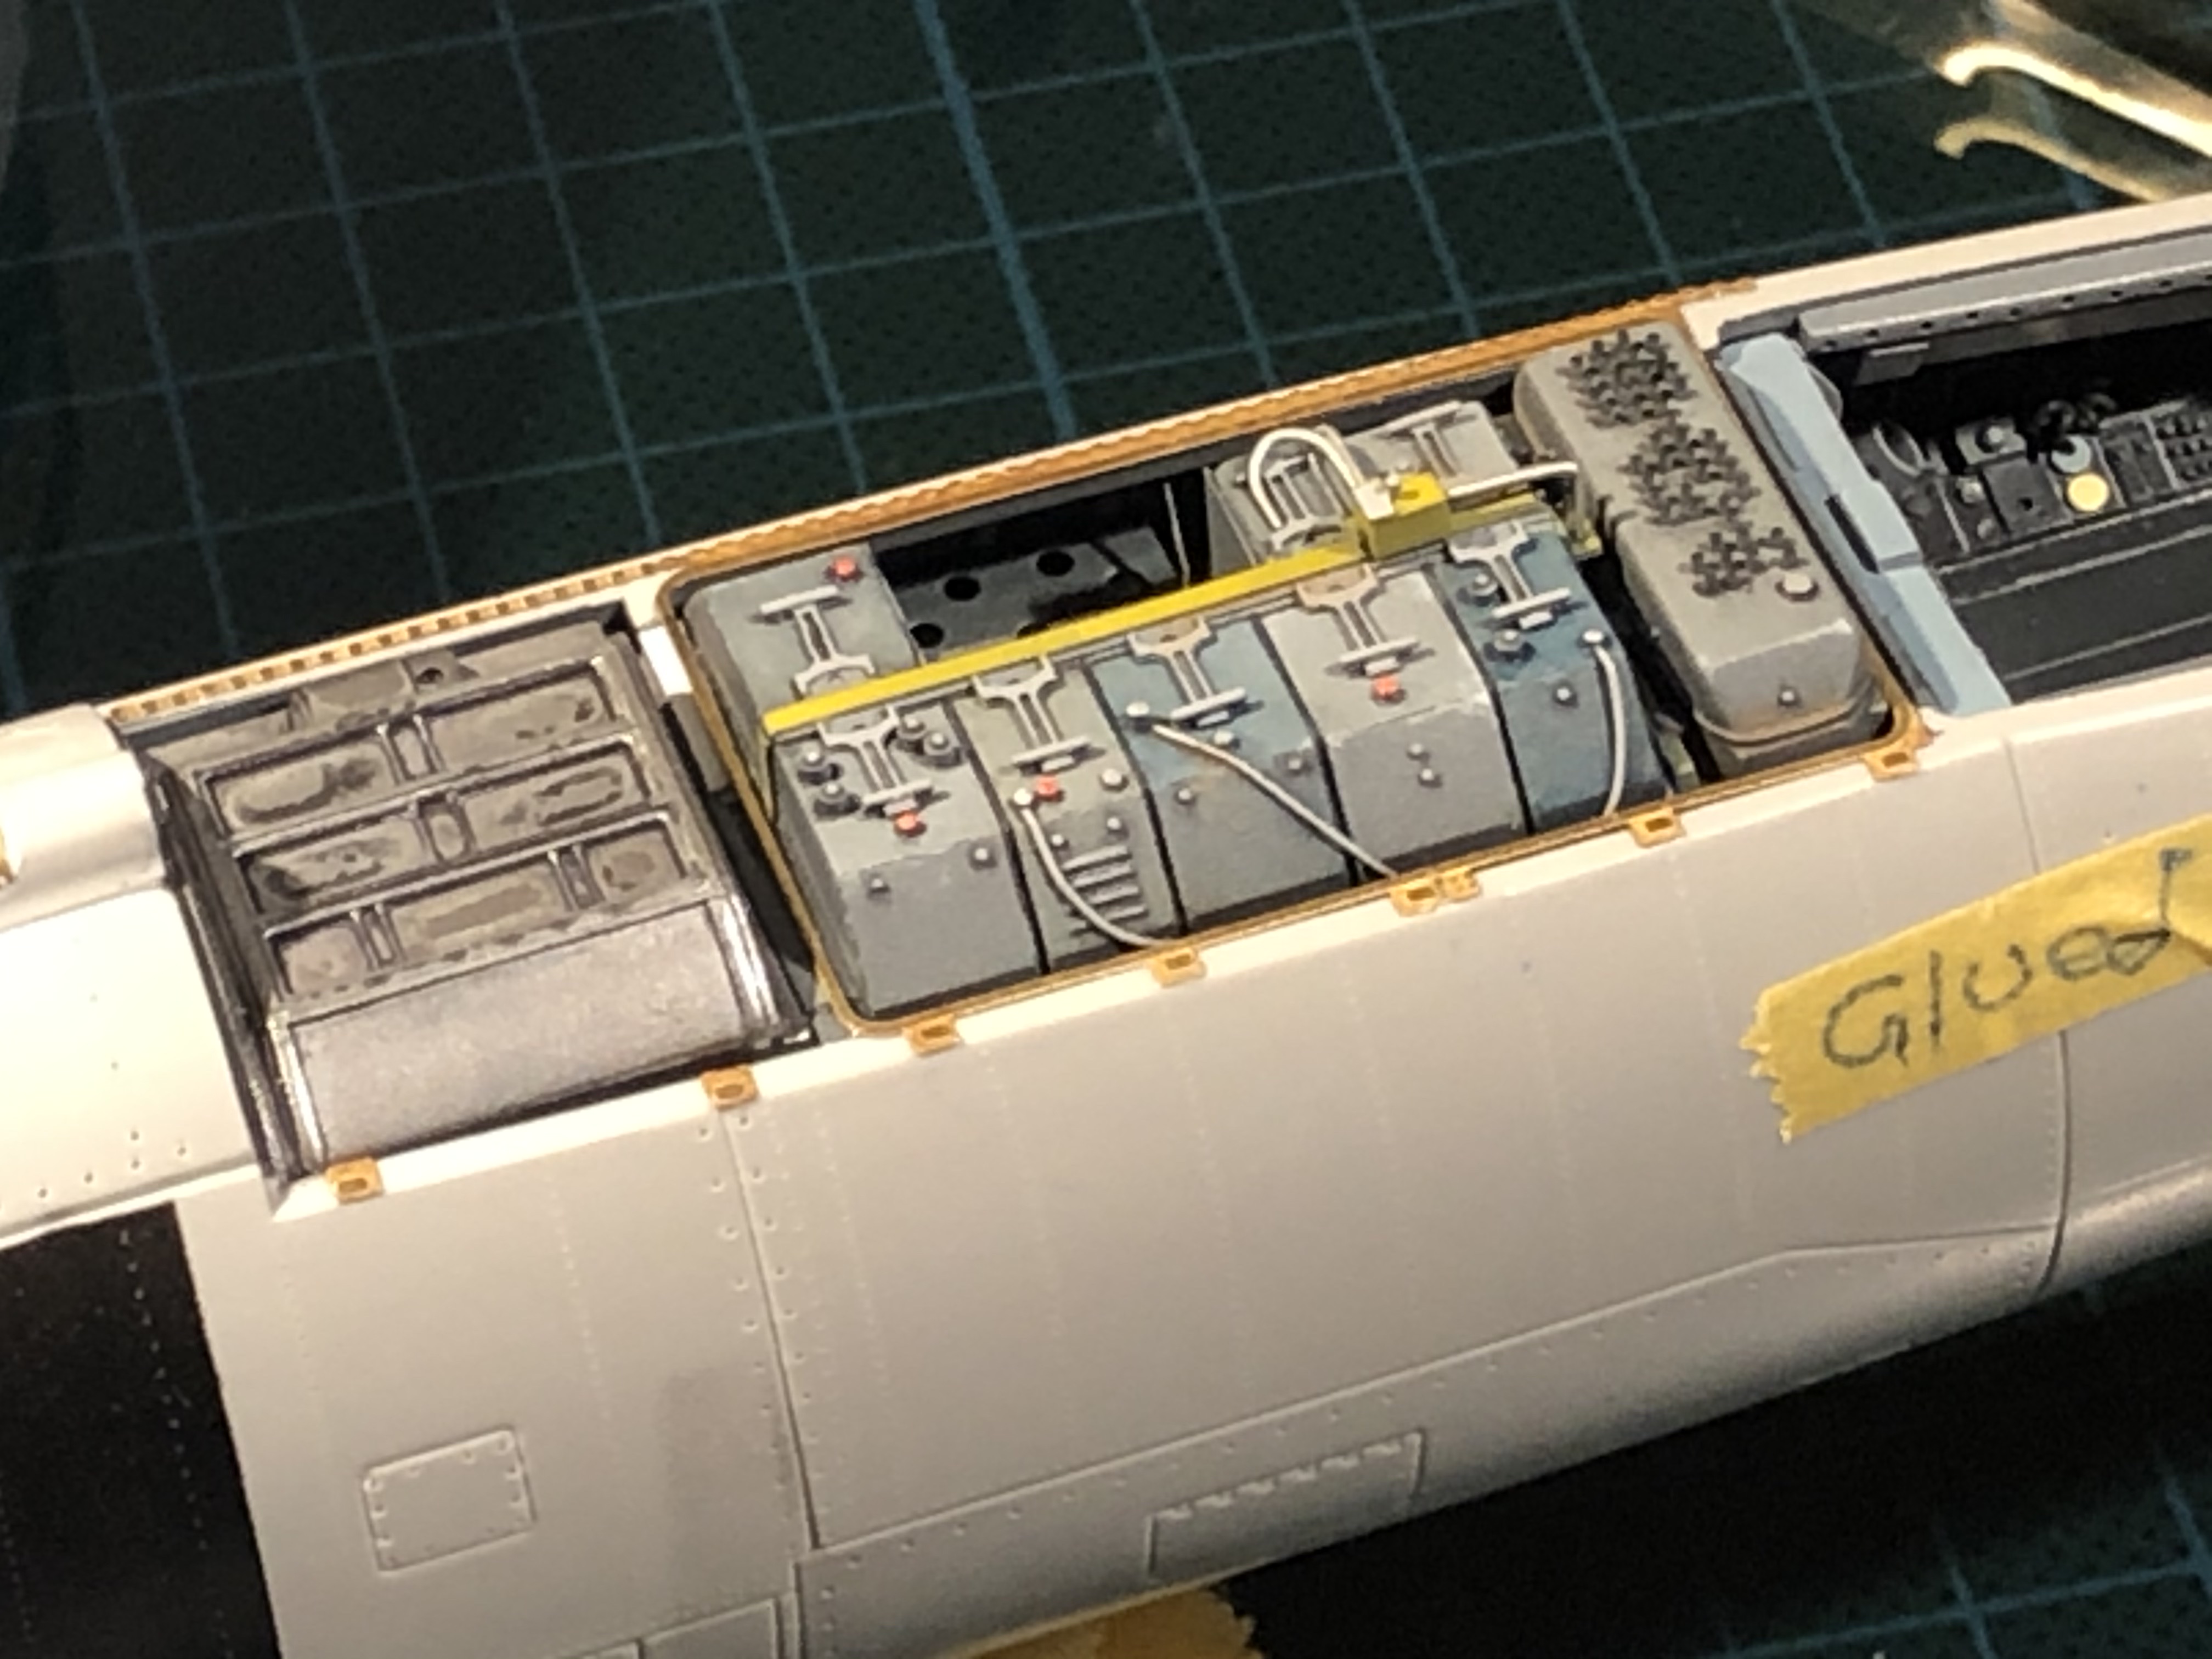
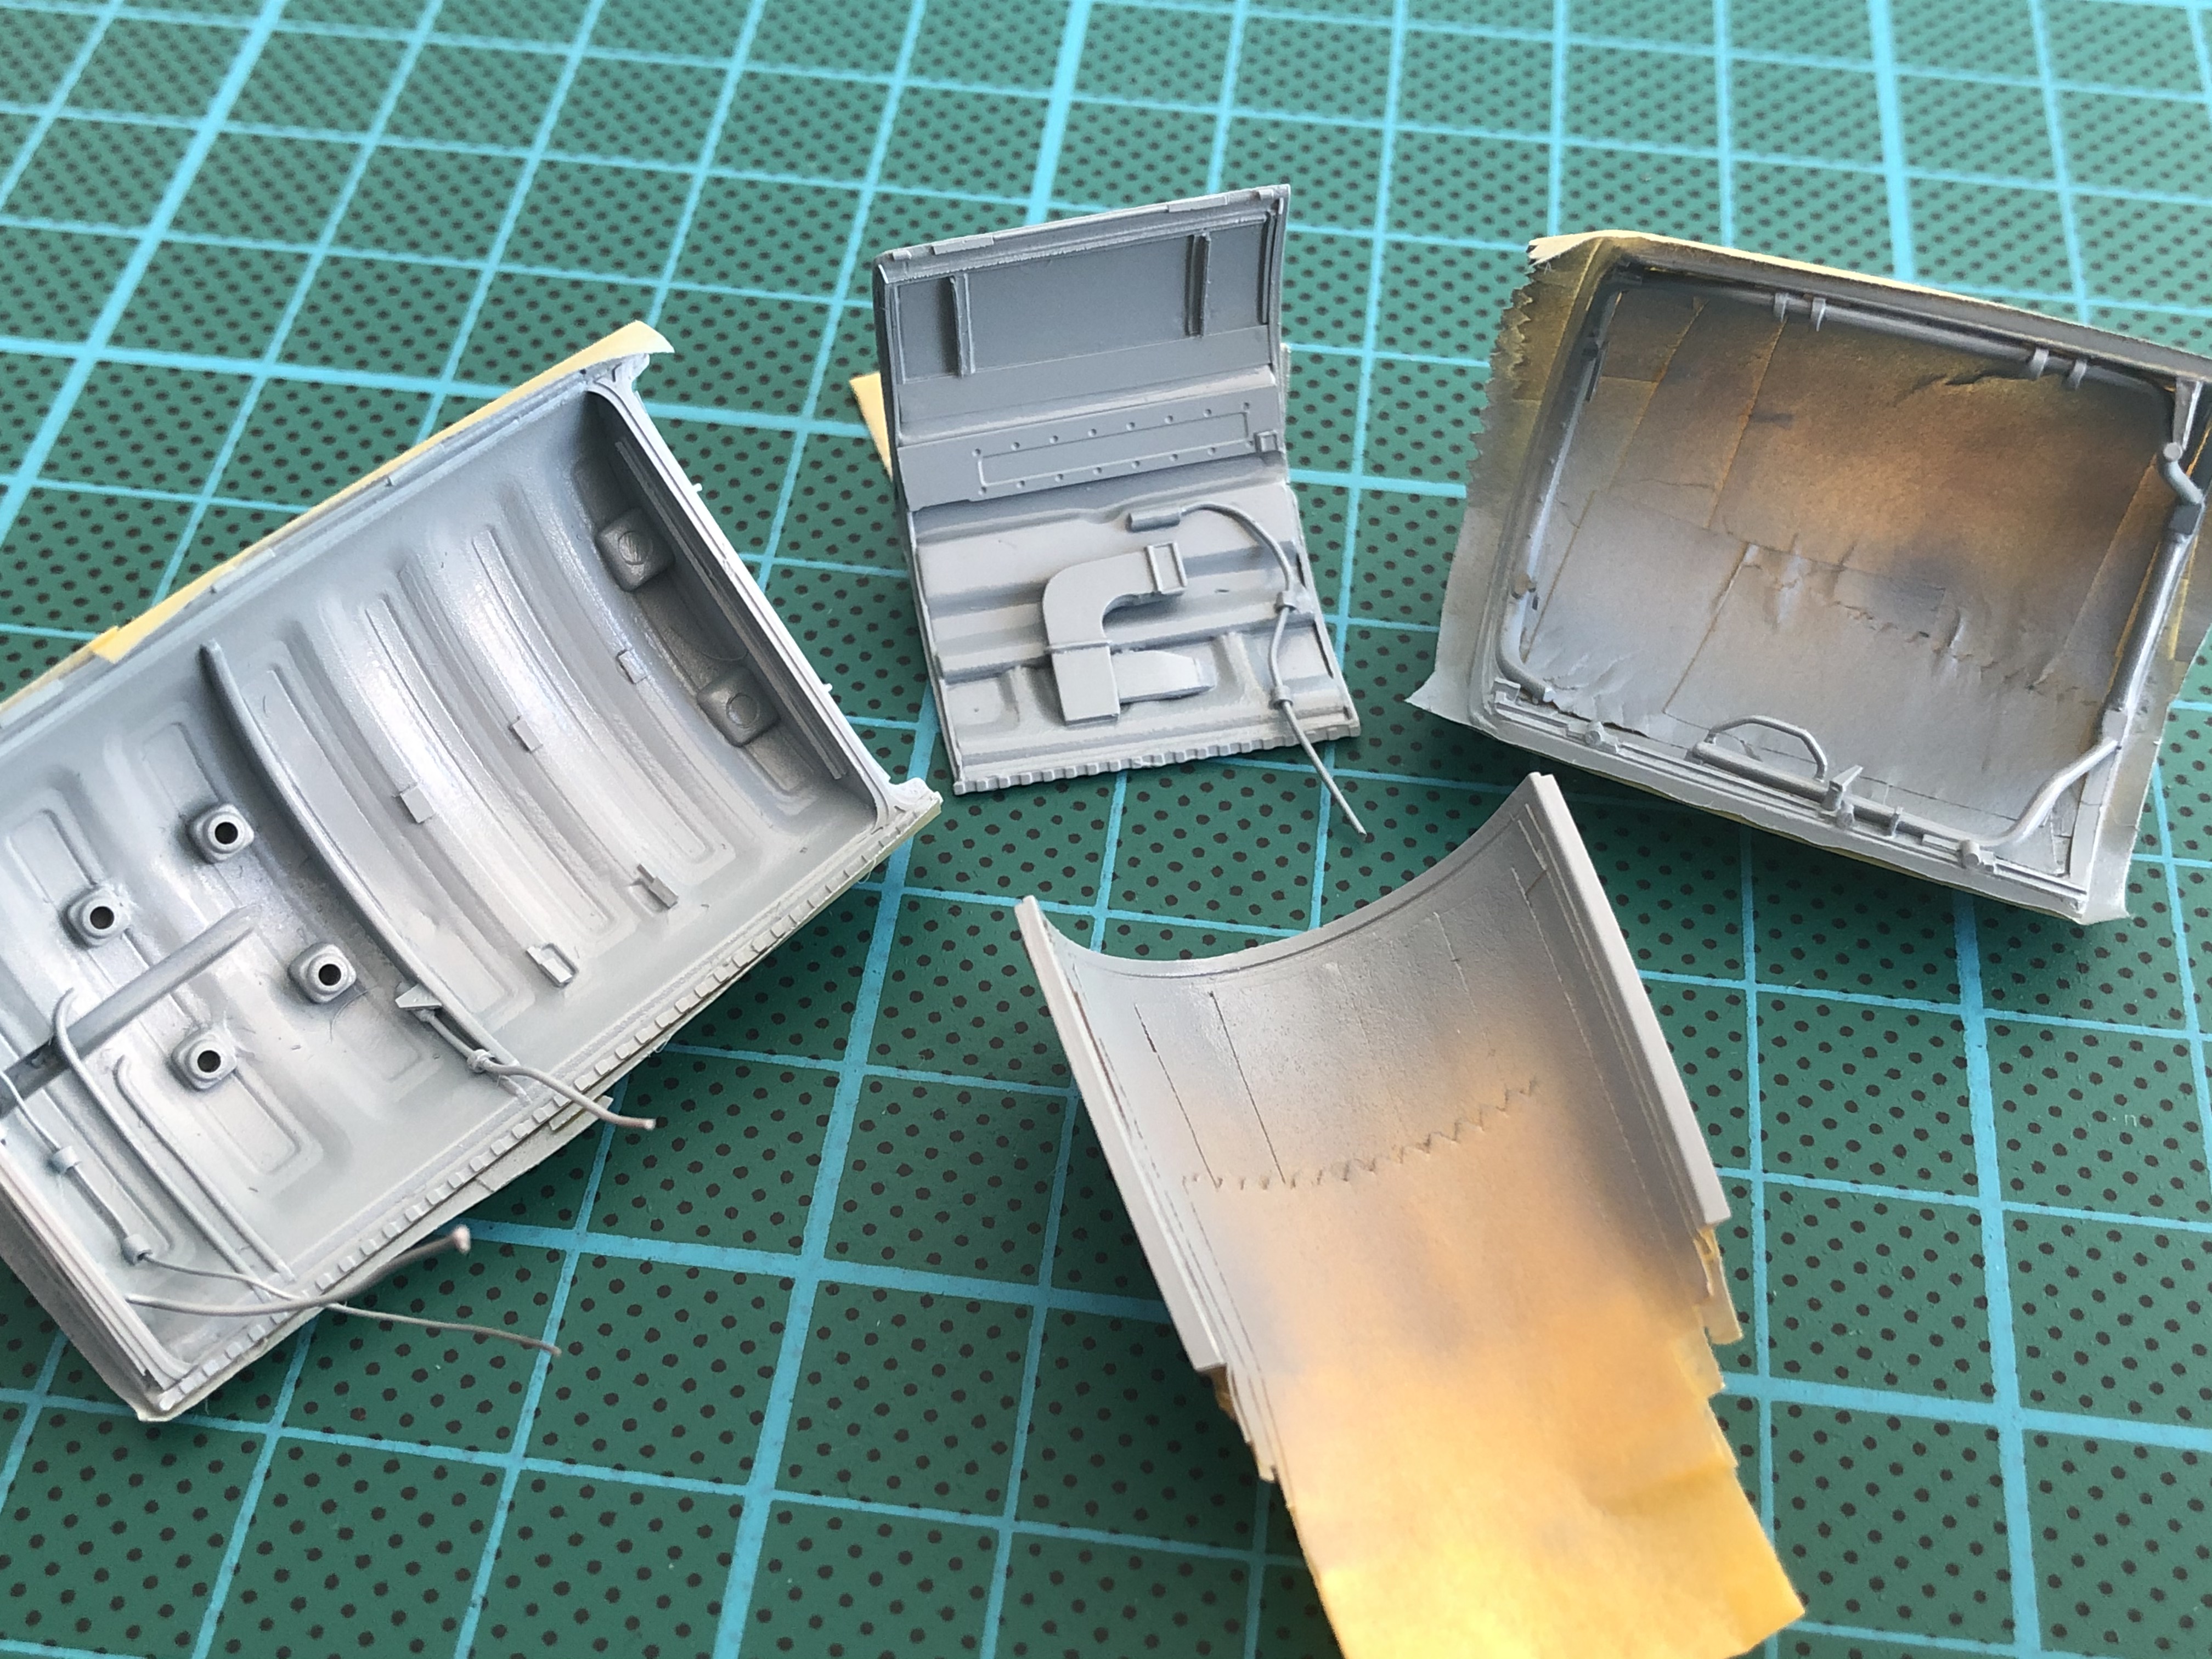
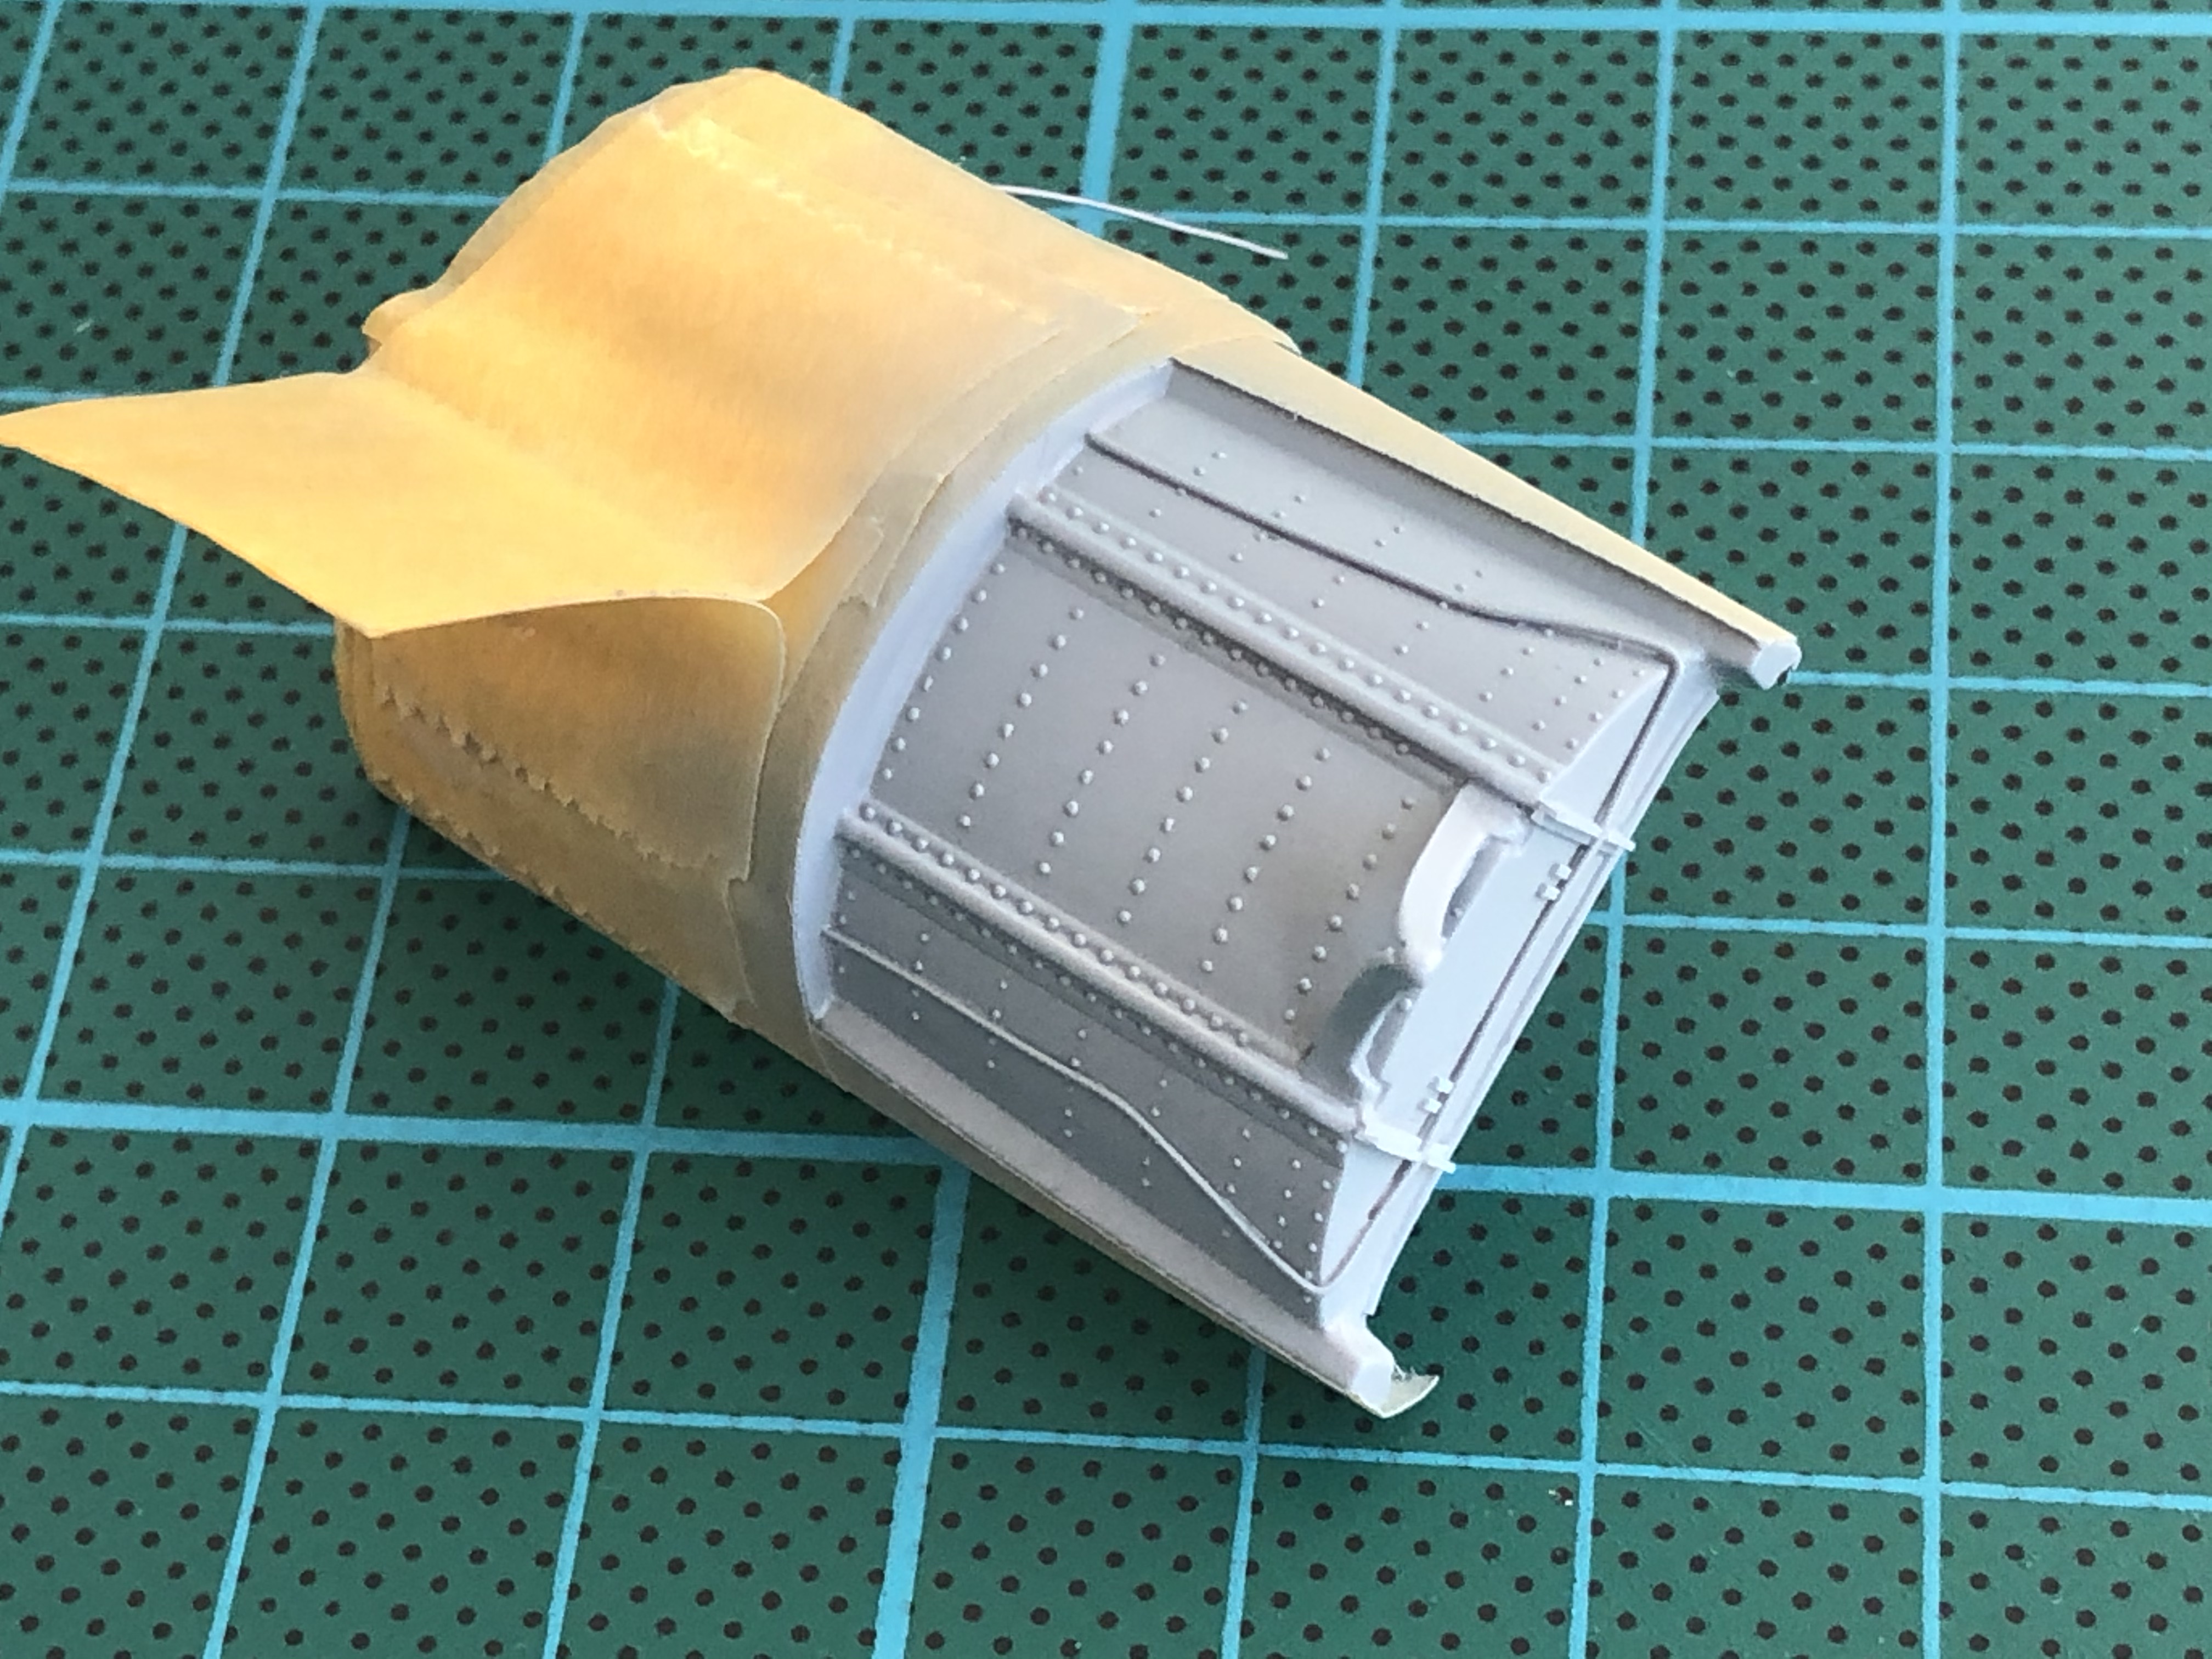
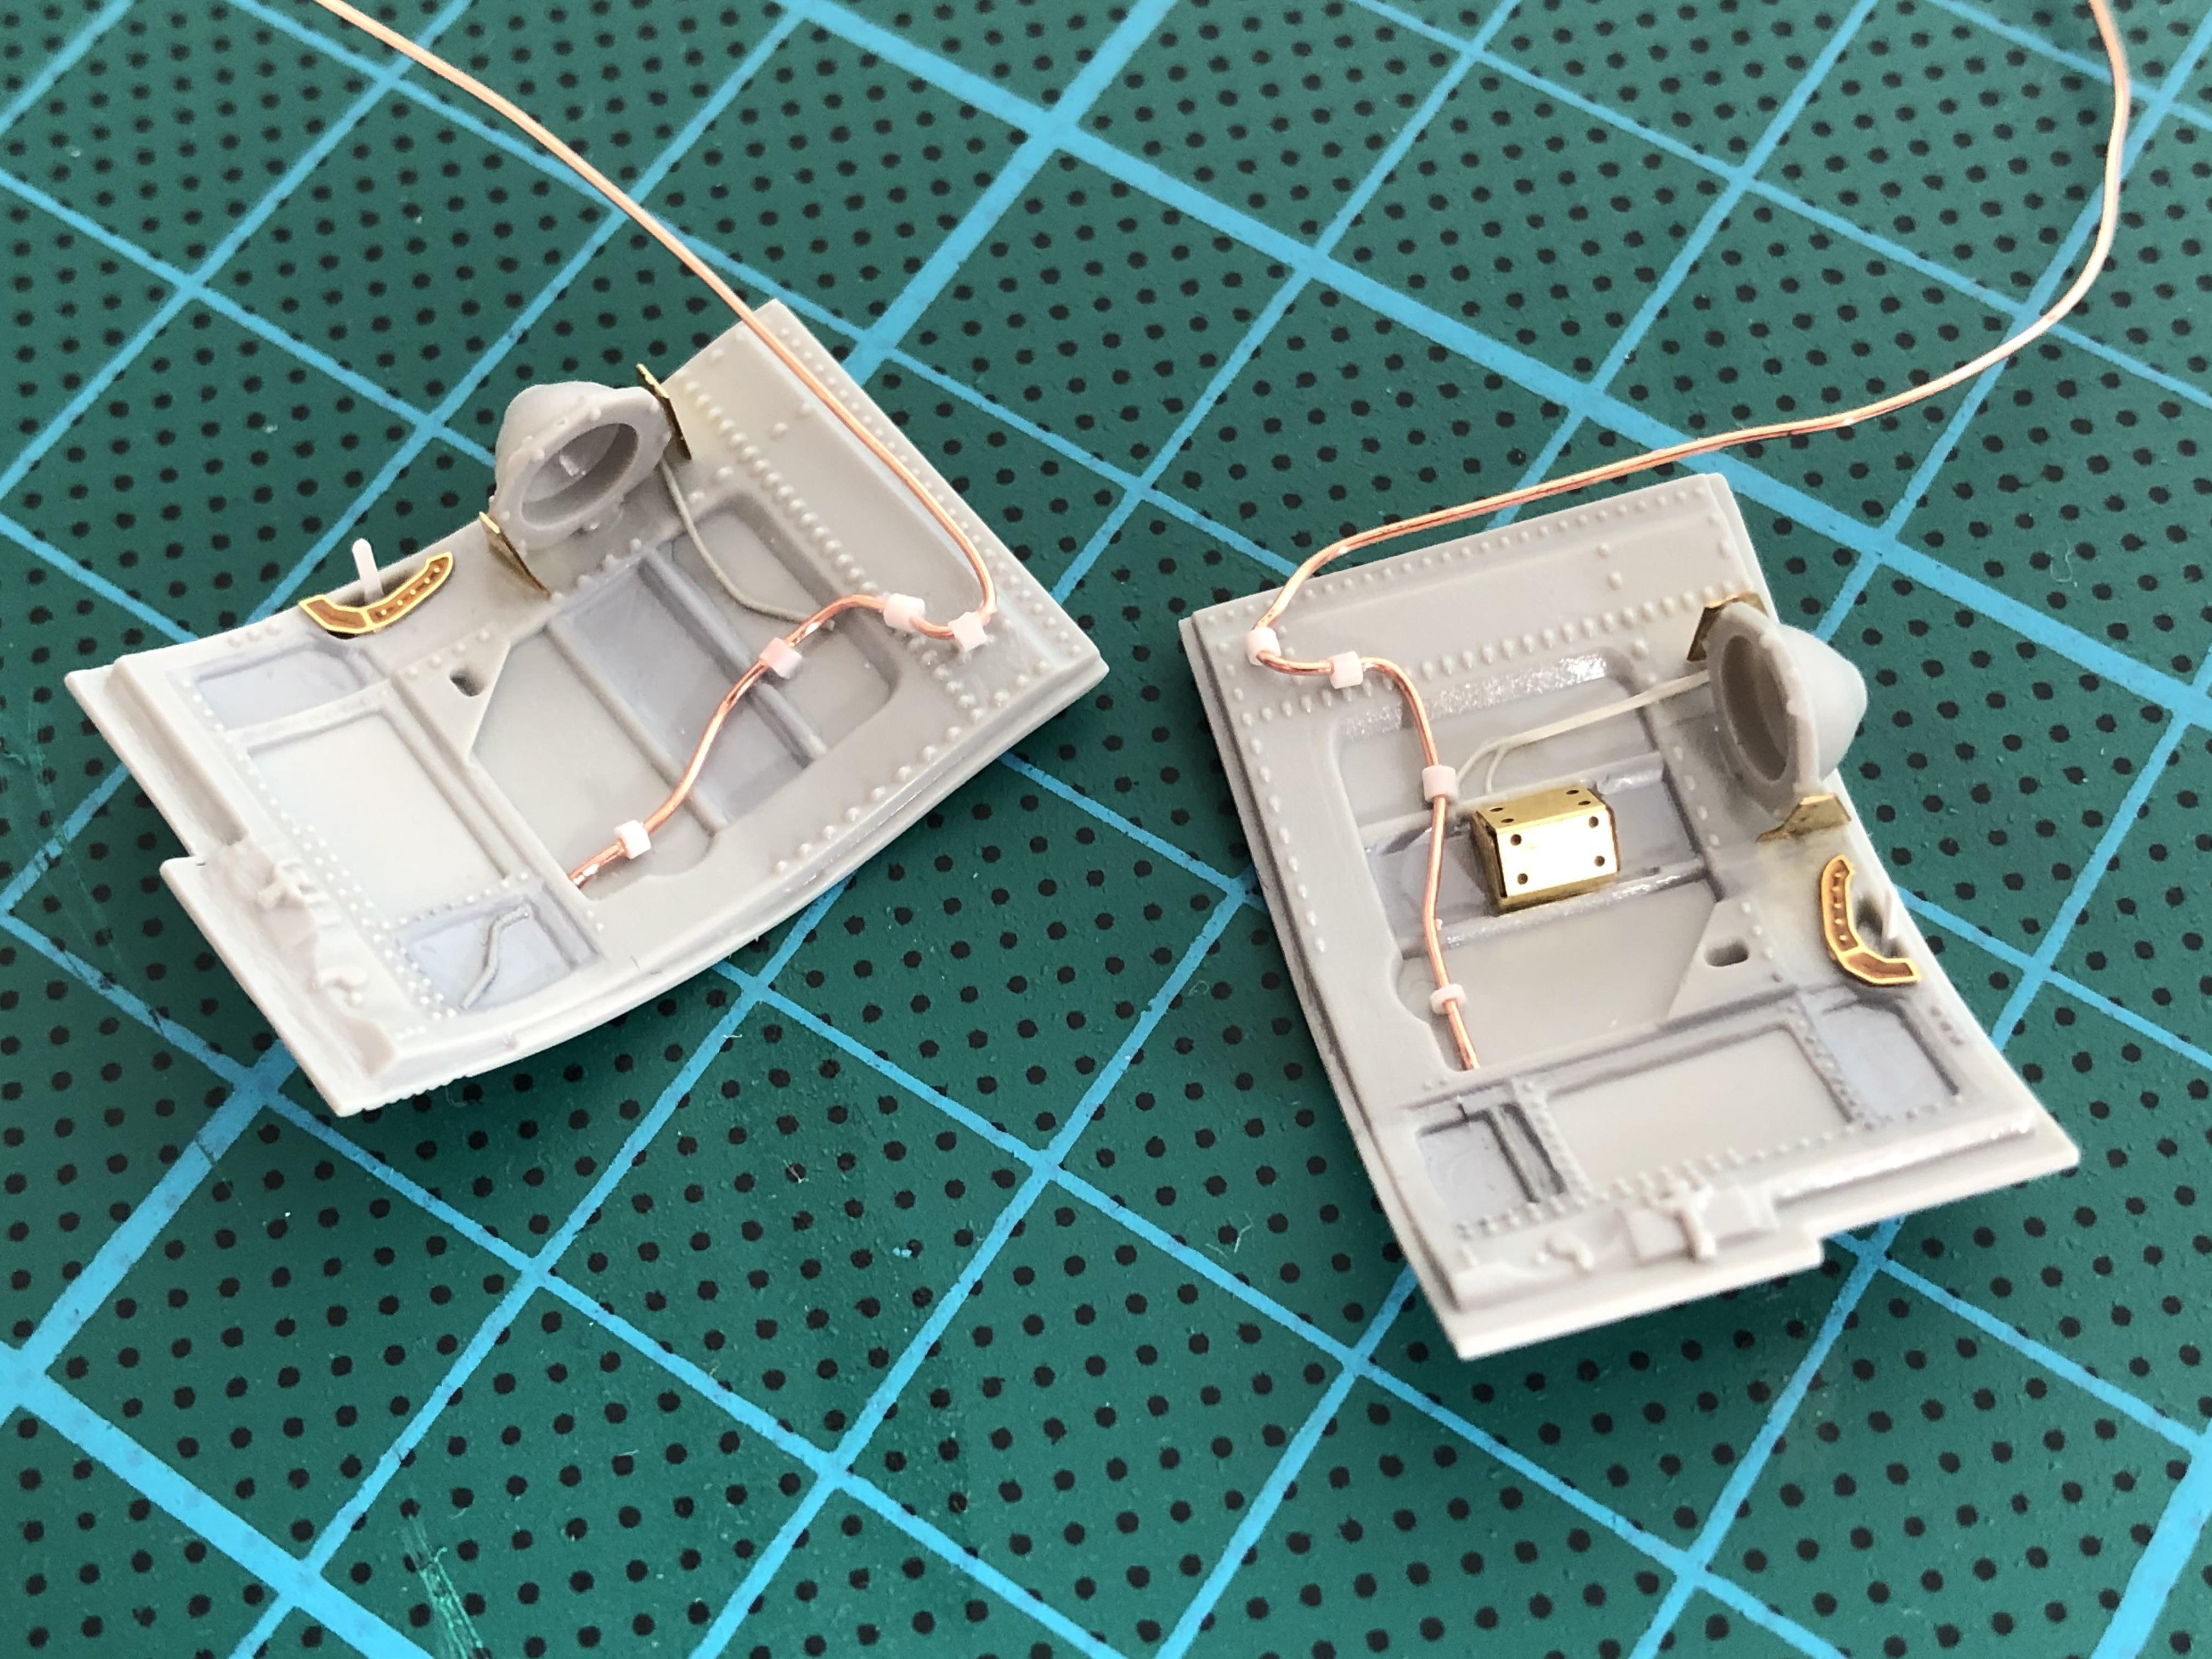
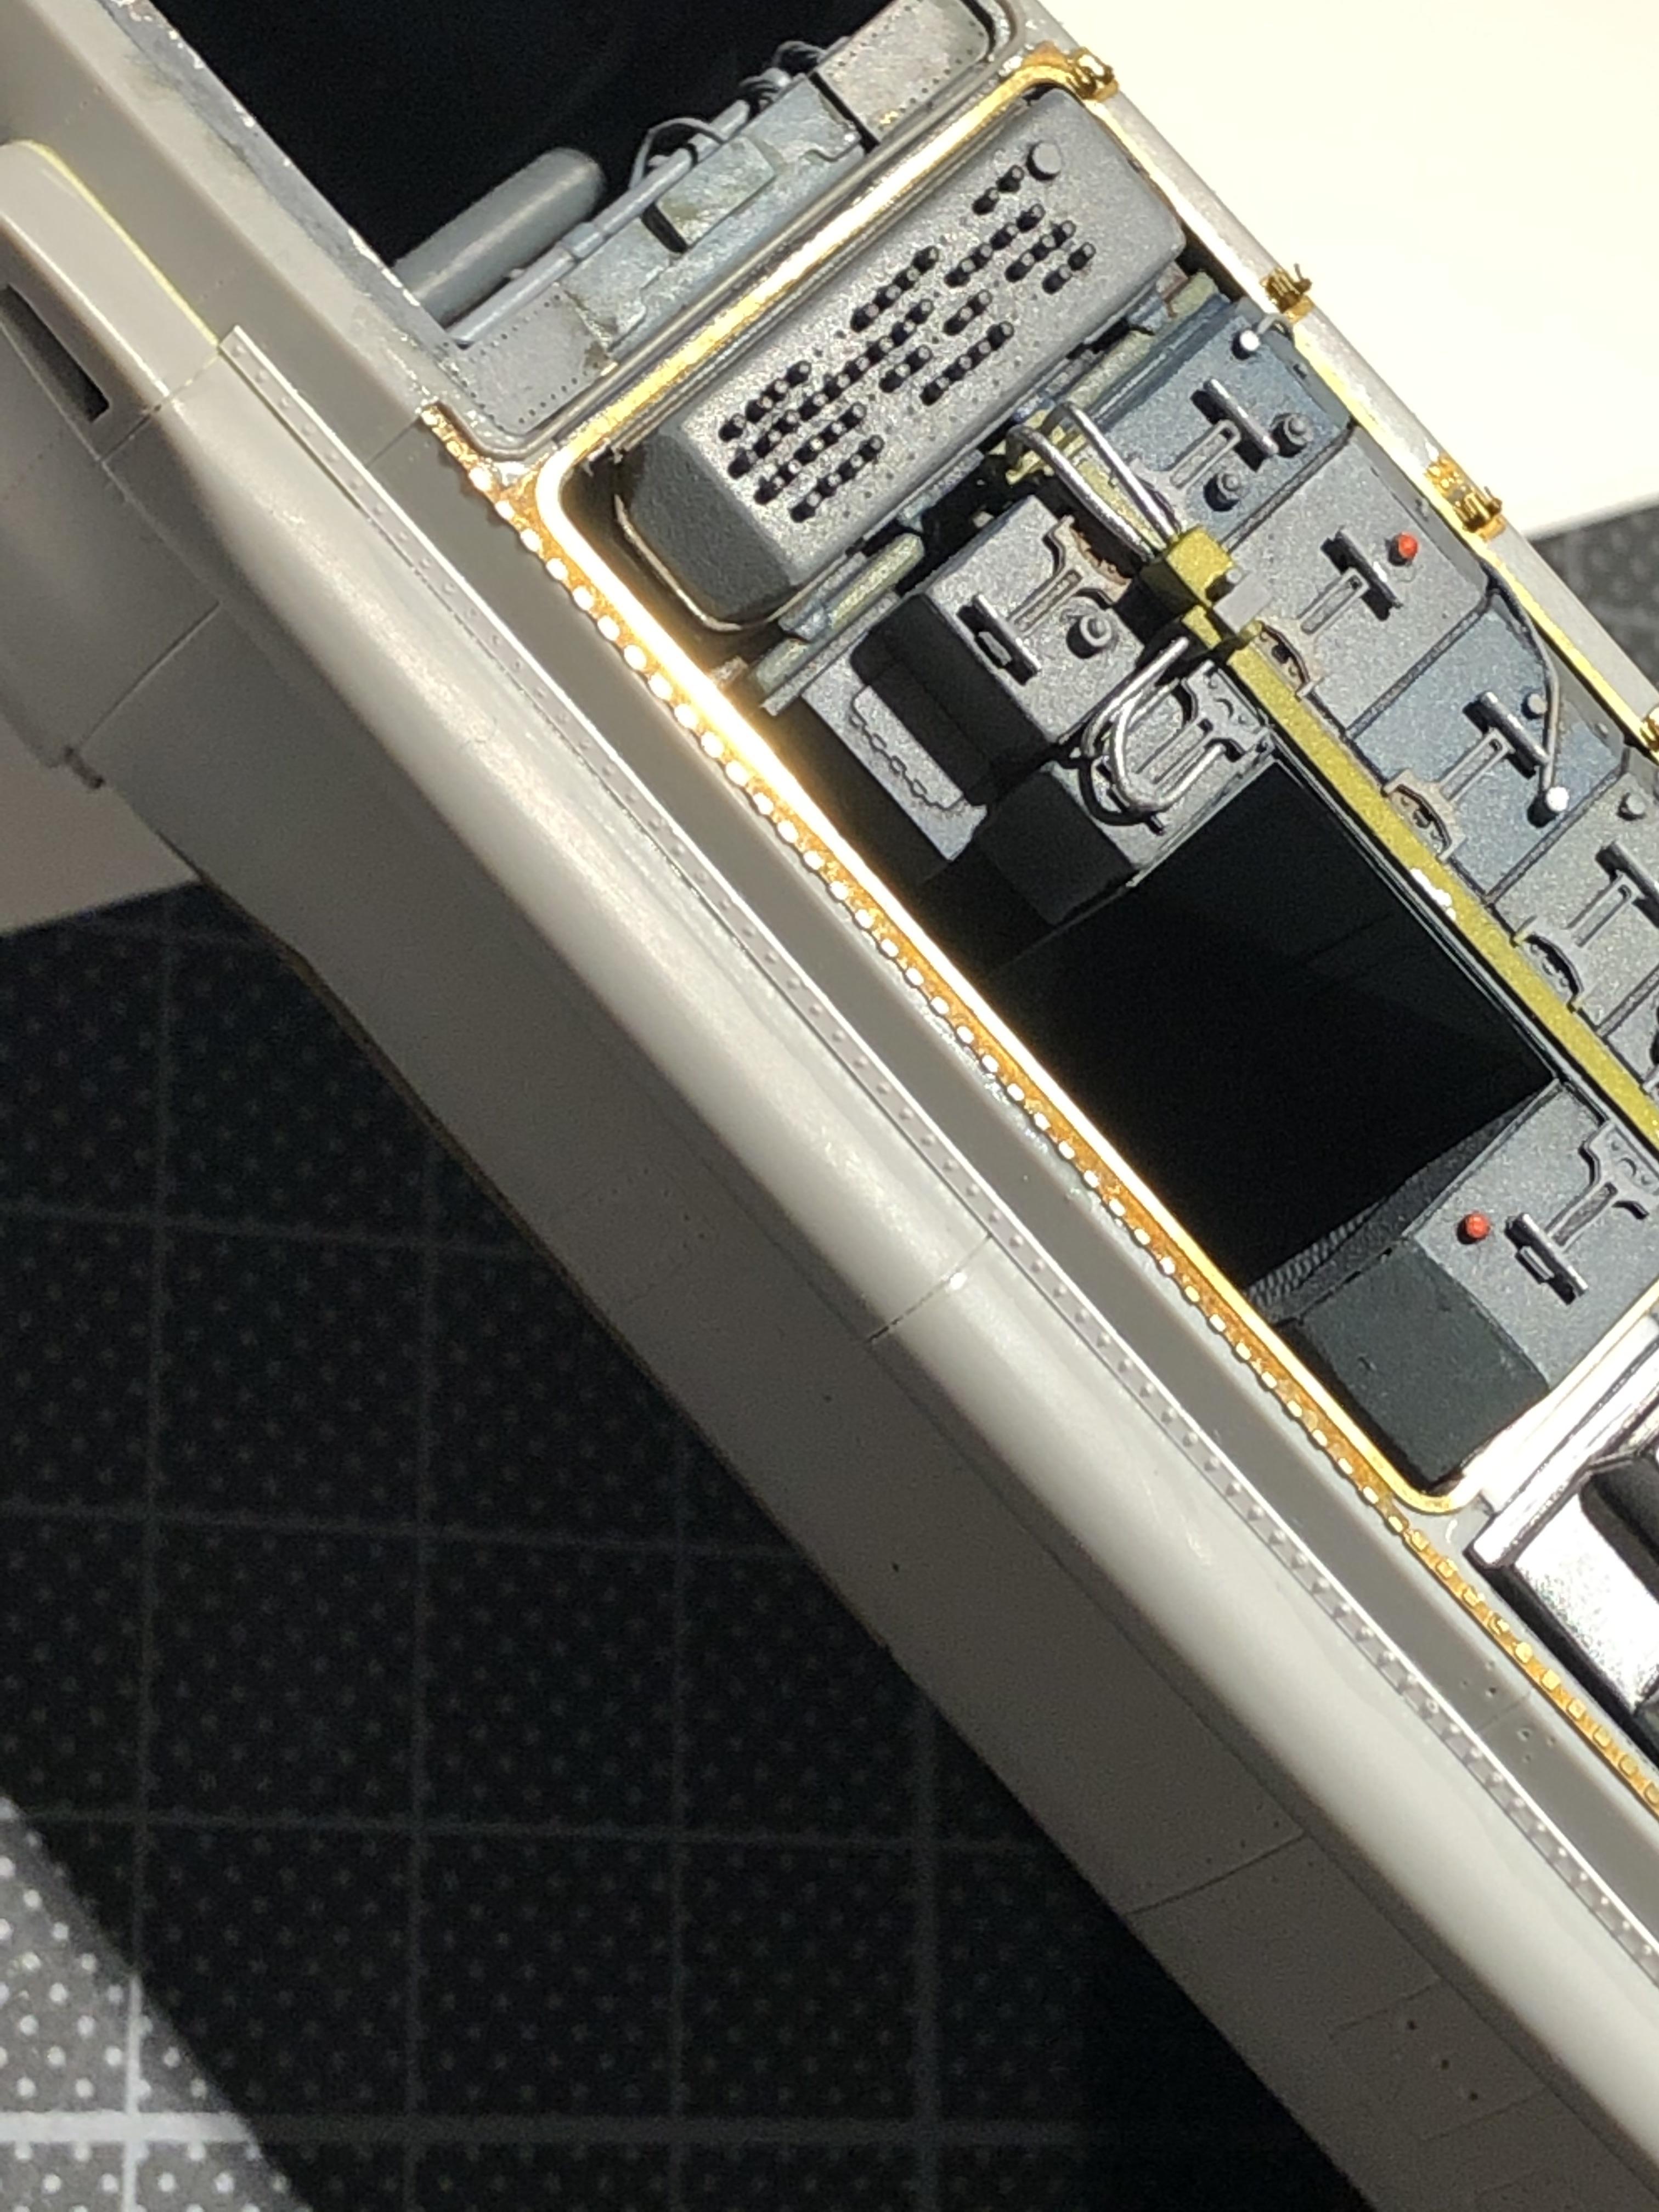
When I was a kid a film called ‘The Land that Time Forgot’ grabbed my attention. These days it’s more a case of the detail that manufacturers forgot. I spent some happy and not-so-happy hours replicating the details inside the avionics bay lids, and I’m nearly done. I finally managed to find the right size drill bit to drill out the ends of the sidewinders too. I’ll make some clear seeker heads later. It all looks like this.


Oh, and that film

https://www.youtube.com/watch?v=d0K97czqecQ
SteveAndrews
_VISITCOMMUNITY
England - South East, United Kingdom
Joined: August 16, 2010
KitMaker: 693 posts
AeroScale: 551 posts
Posted: Sunday, November 10, 2019 - 09:03 AM UTC
There’s a story about a massive engineering project. The aim was to build a highway through a mountain. The best engineers with the best equipment were sent to do the task. Even so the start was slow as the team formed and they learnt about the equipment. But as the days went by progress became faster. Everyone got to know each other and their tools. Soon everything was working at peak efficiency and the team smashed all records for their work rate. Finally, after weeks of effort the big day came and they broke through to the other side of the mountain. The champagne was readied and everyone felt proud. But just as the corks were about to pop a lone voice was heard at the back of the crowd.

‘Wait!’ He said. ‘That was the wrong maintain.’

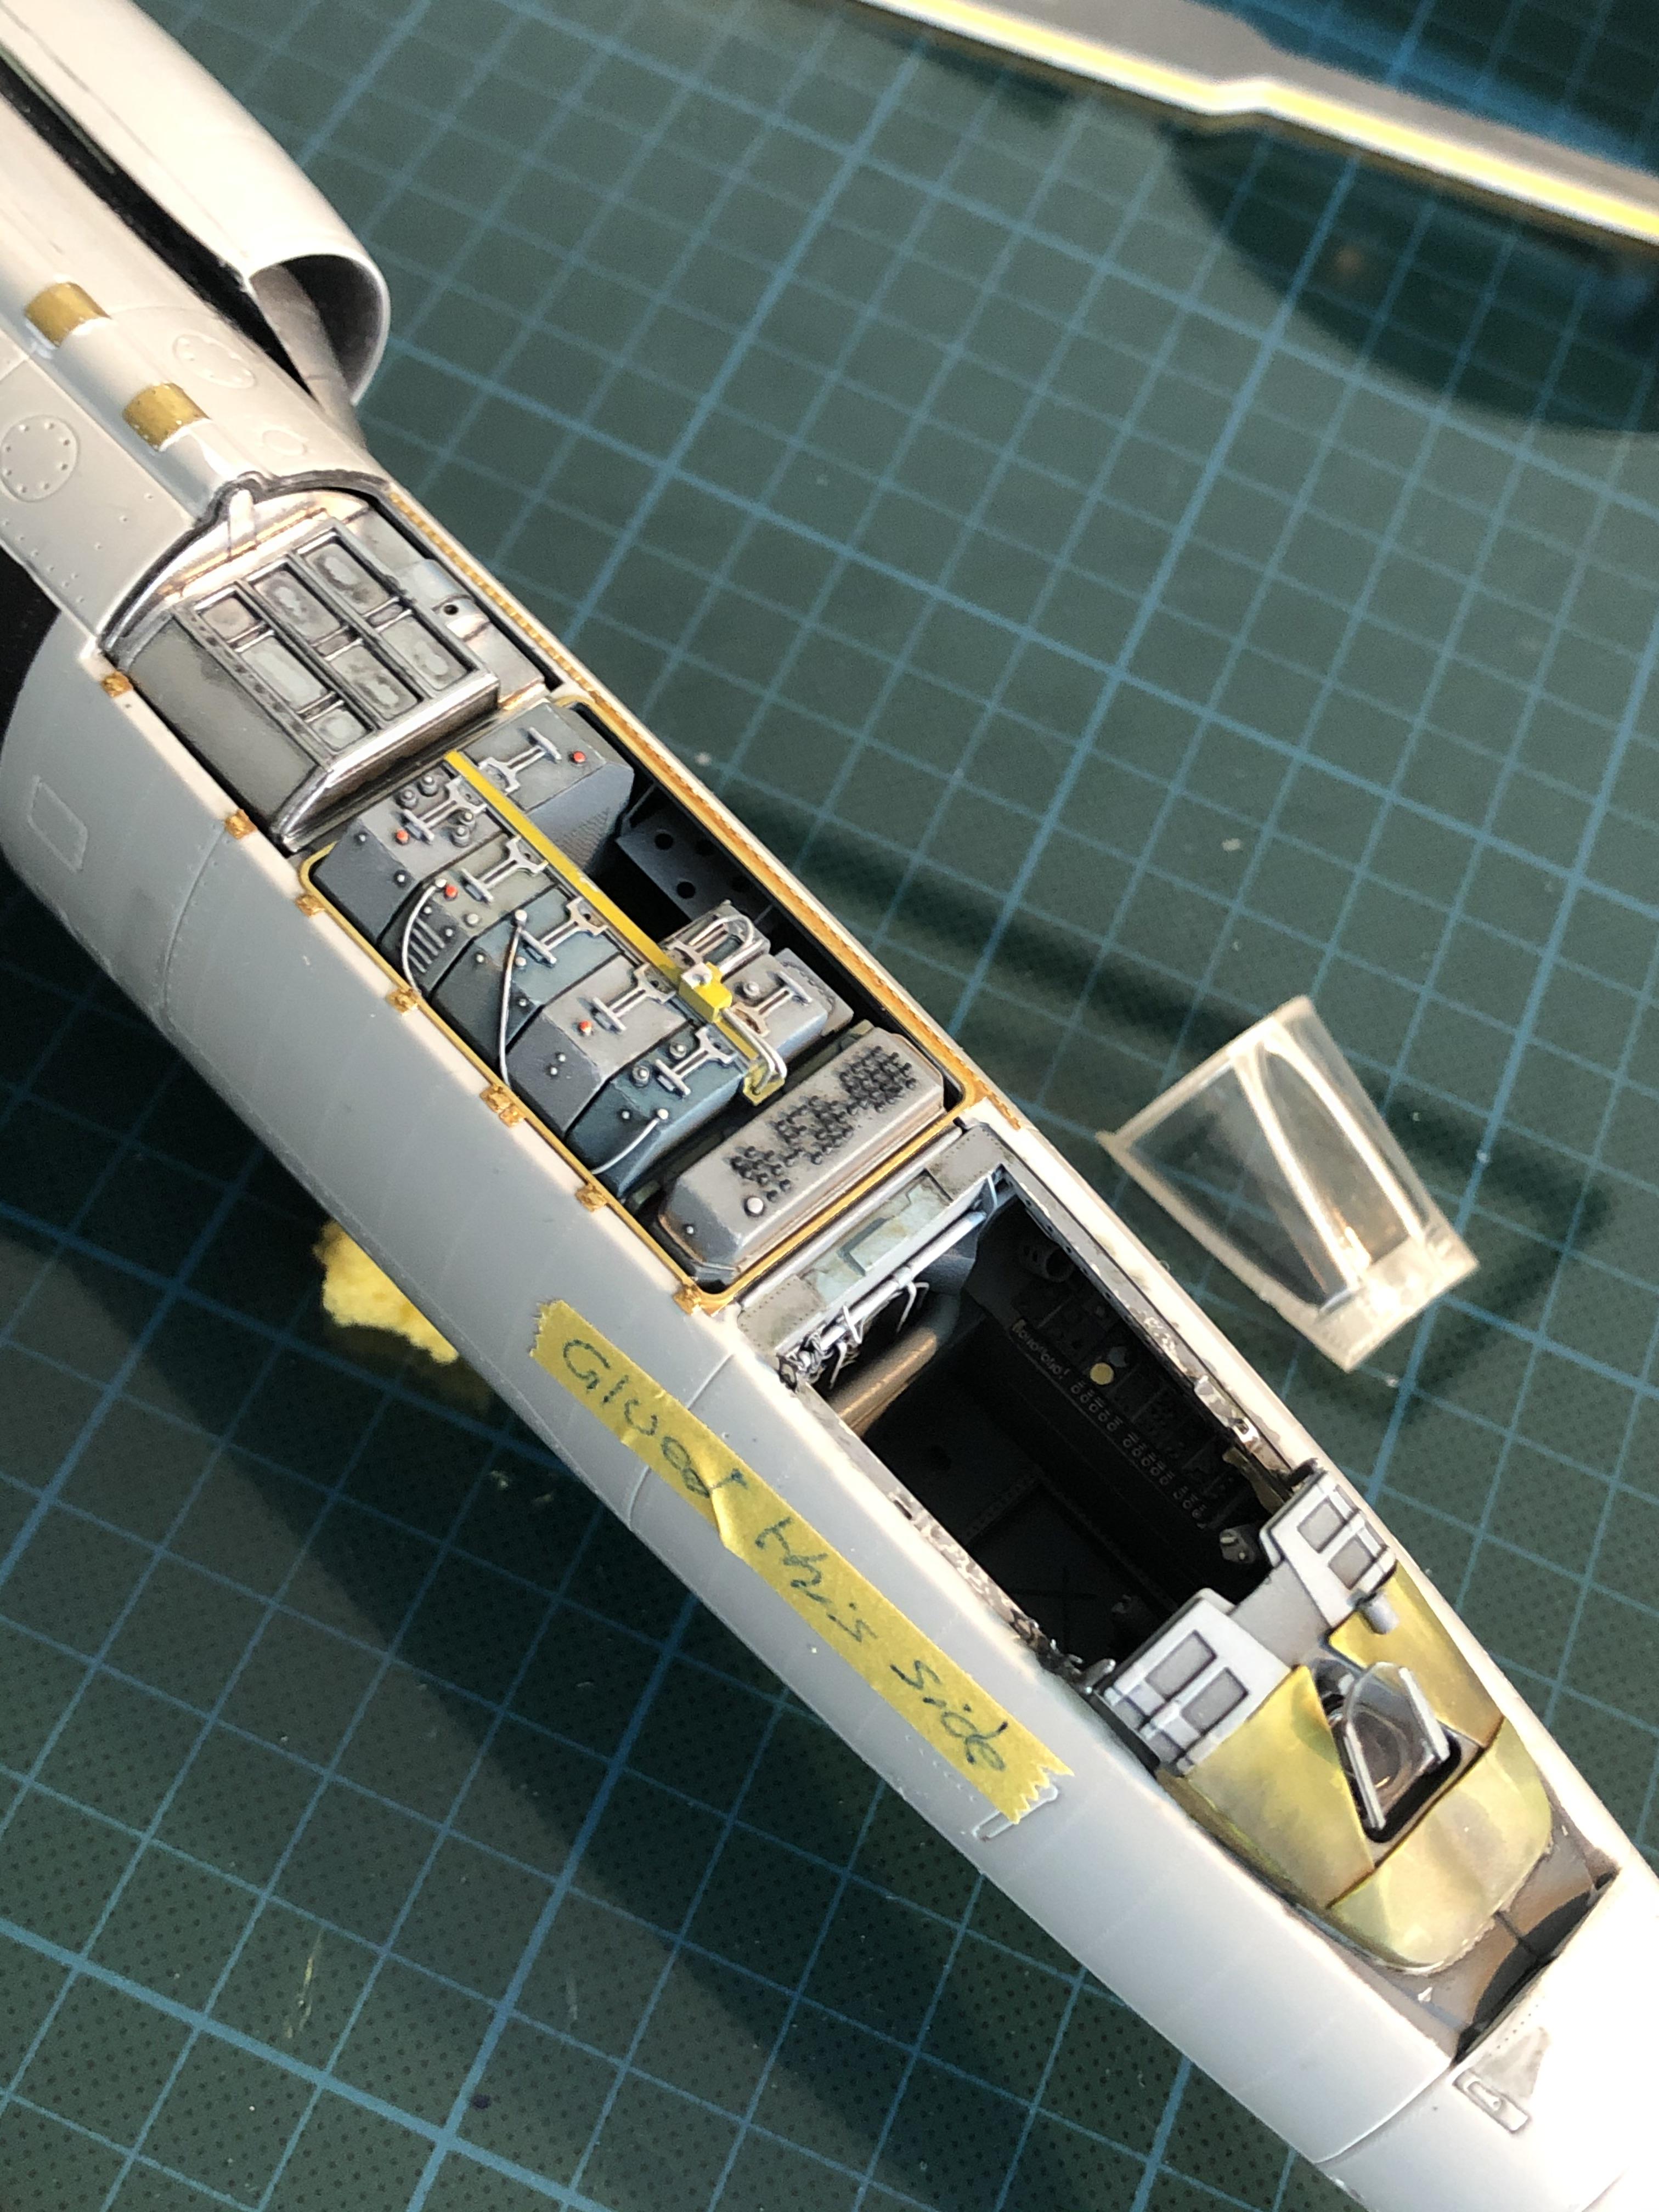
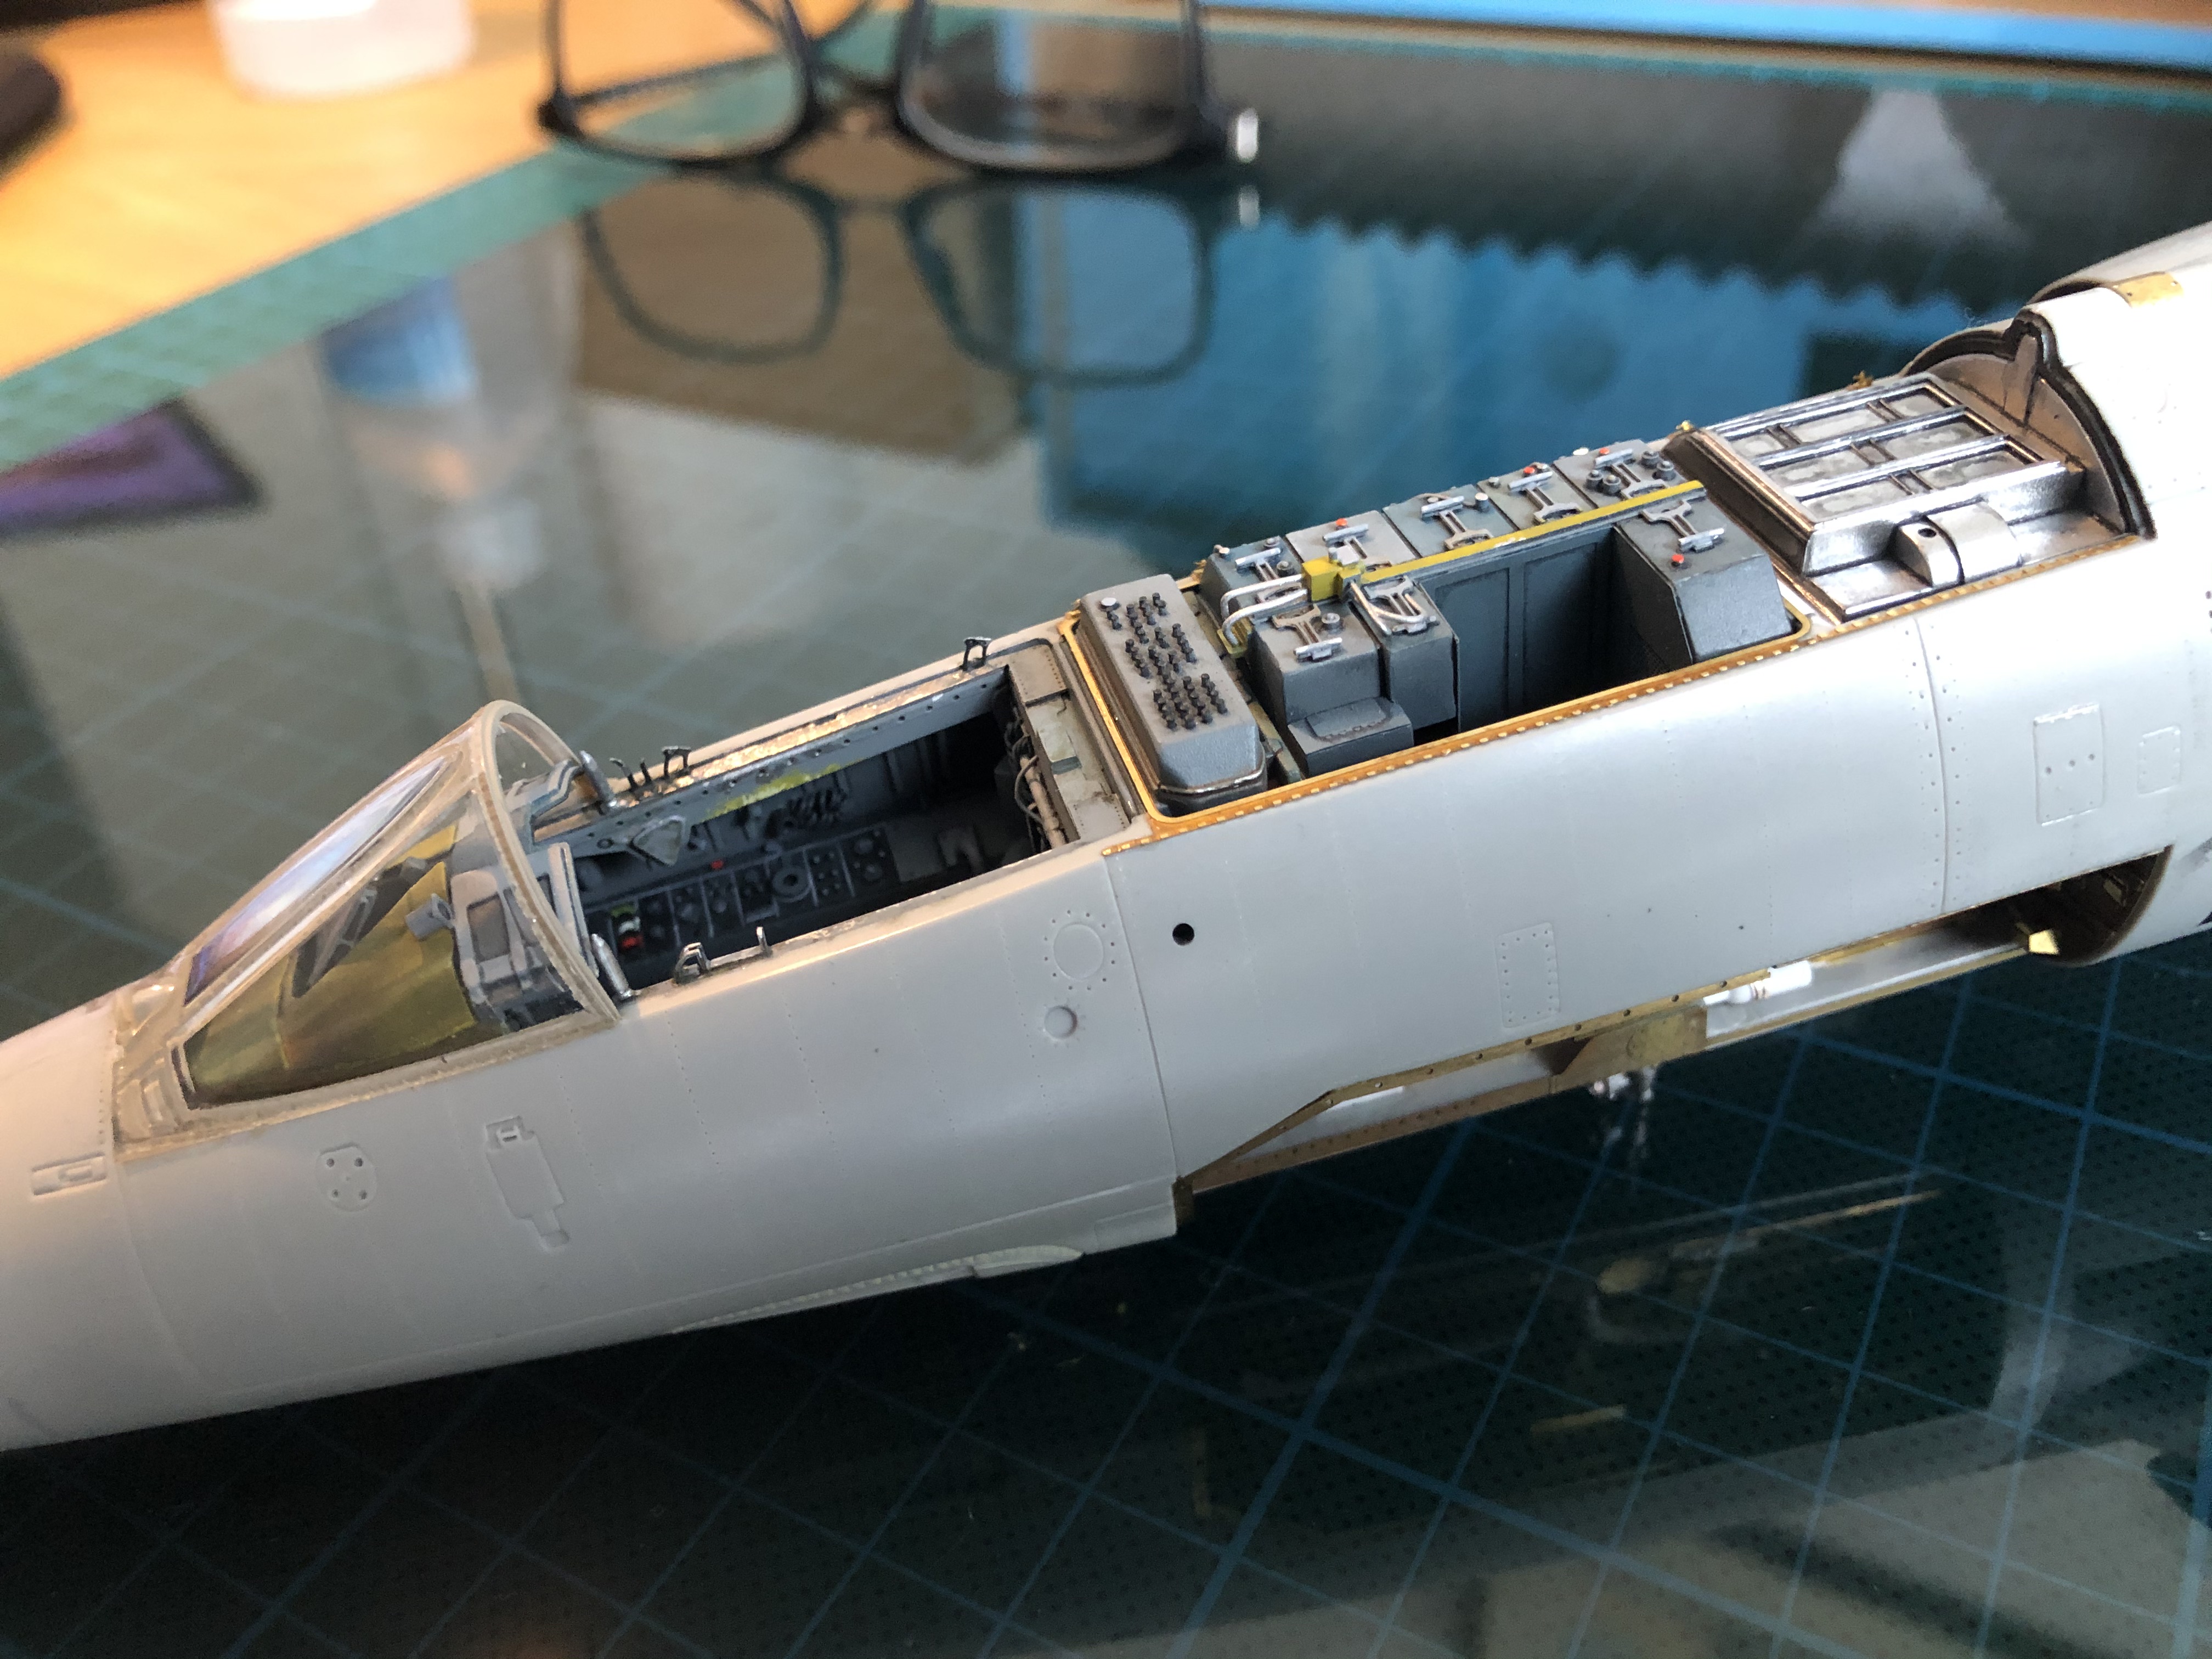
The moral of the story? Pride comes before fall, or maybe don’t get so engrossed in a task that you lose sight of the big picture. Wish I’d remembered that before I glued the nose on and forgot to weight it. I’ve been so focused on minute details that I forgot something basic. Luckily I managed to manoeuvre a big blob of white glue into the space behind the instrument panel and pour in Deluxe Miniatures Liquid Gravity. It seems to have done the trick.

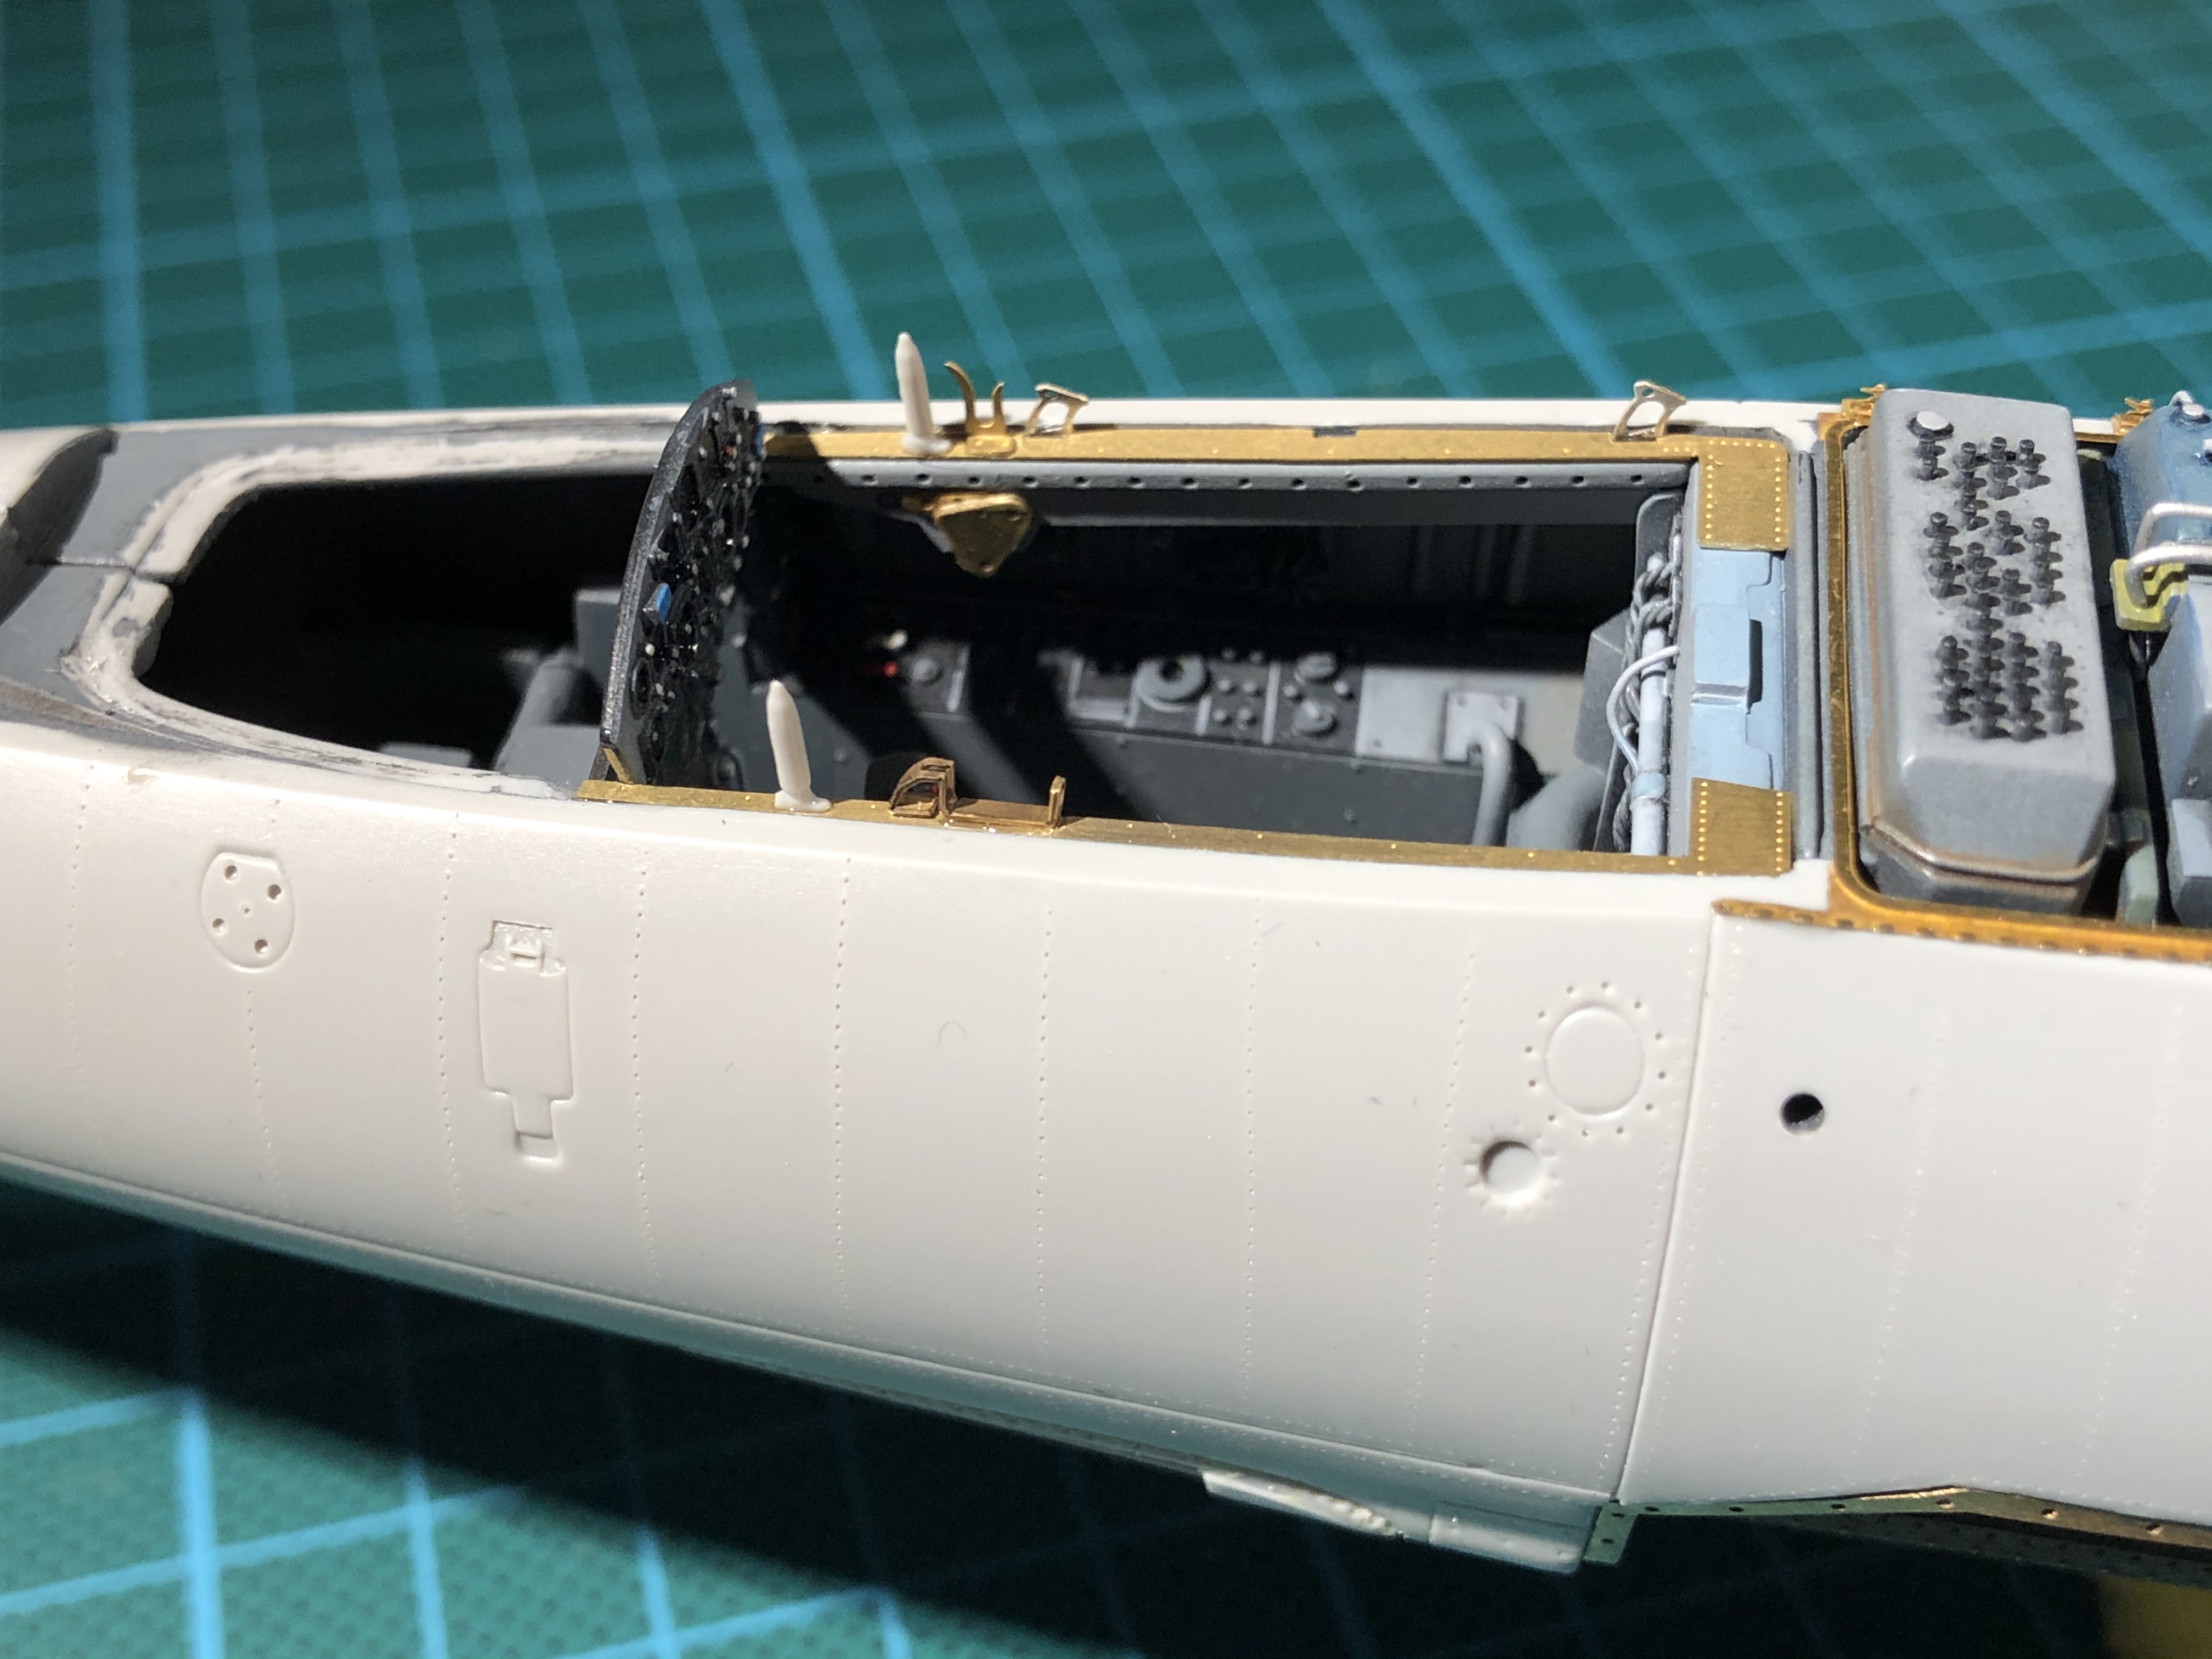
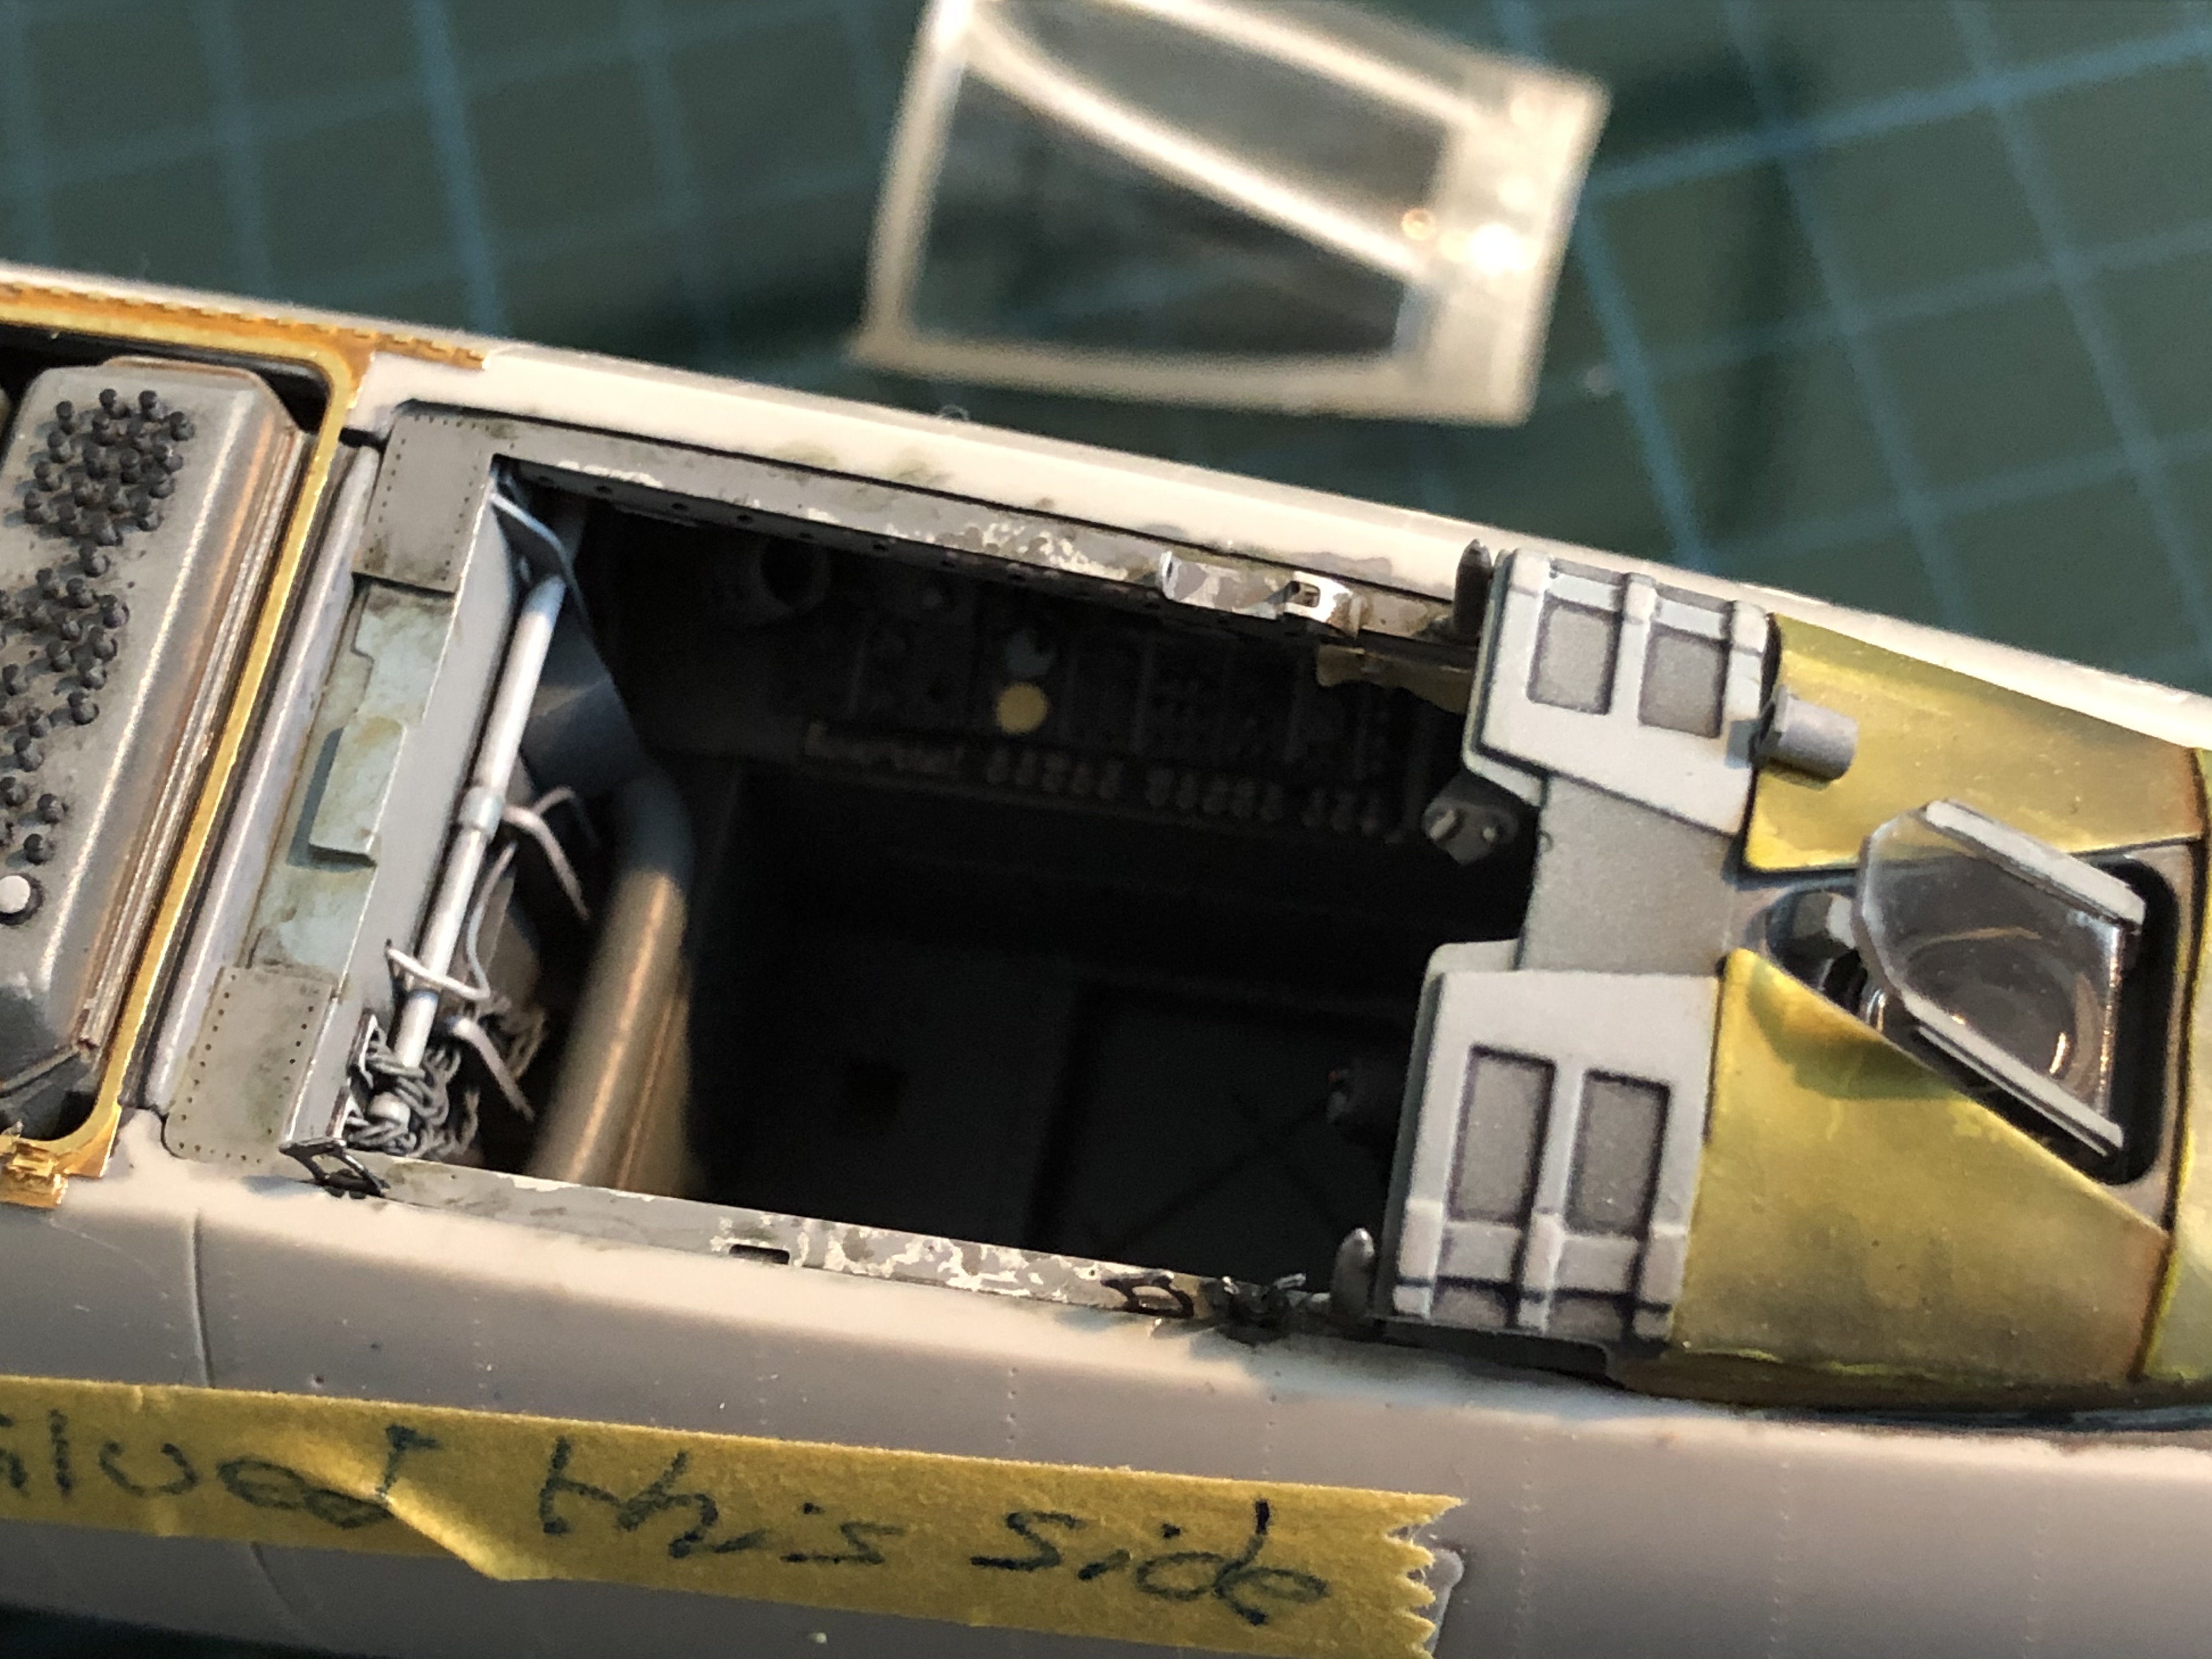
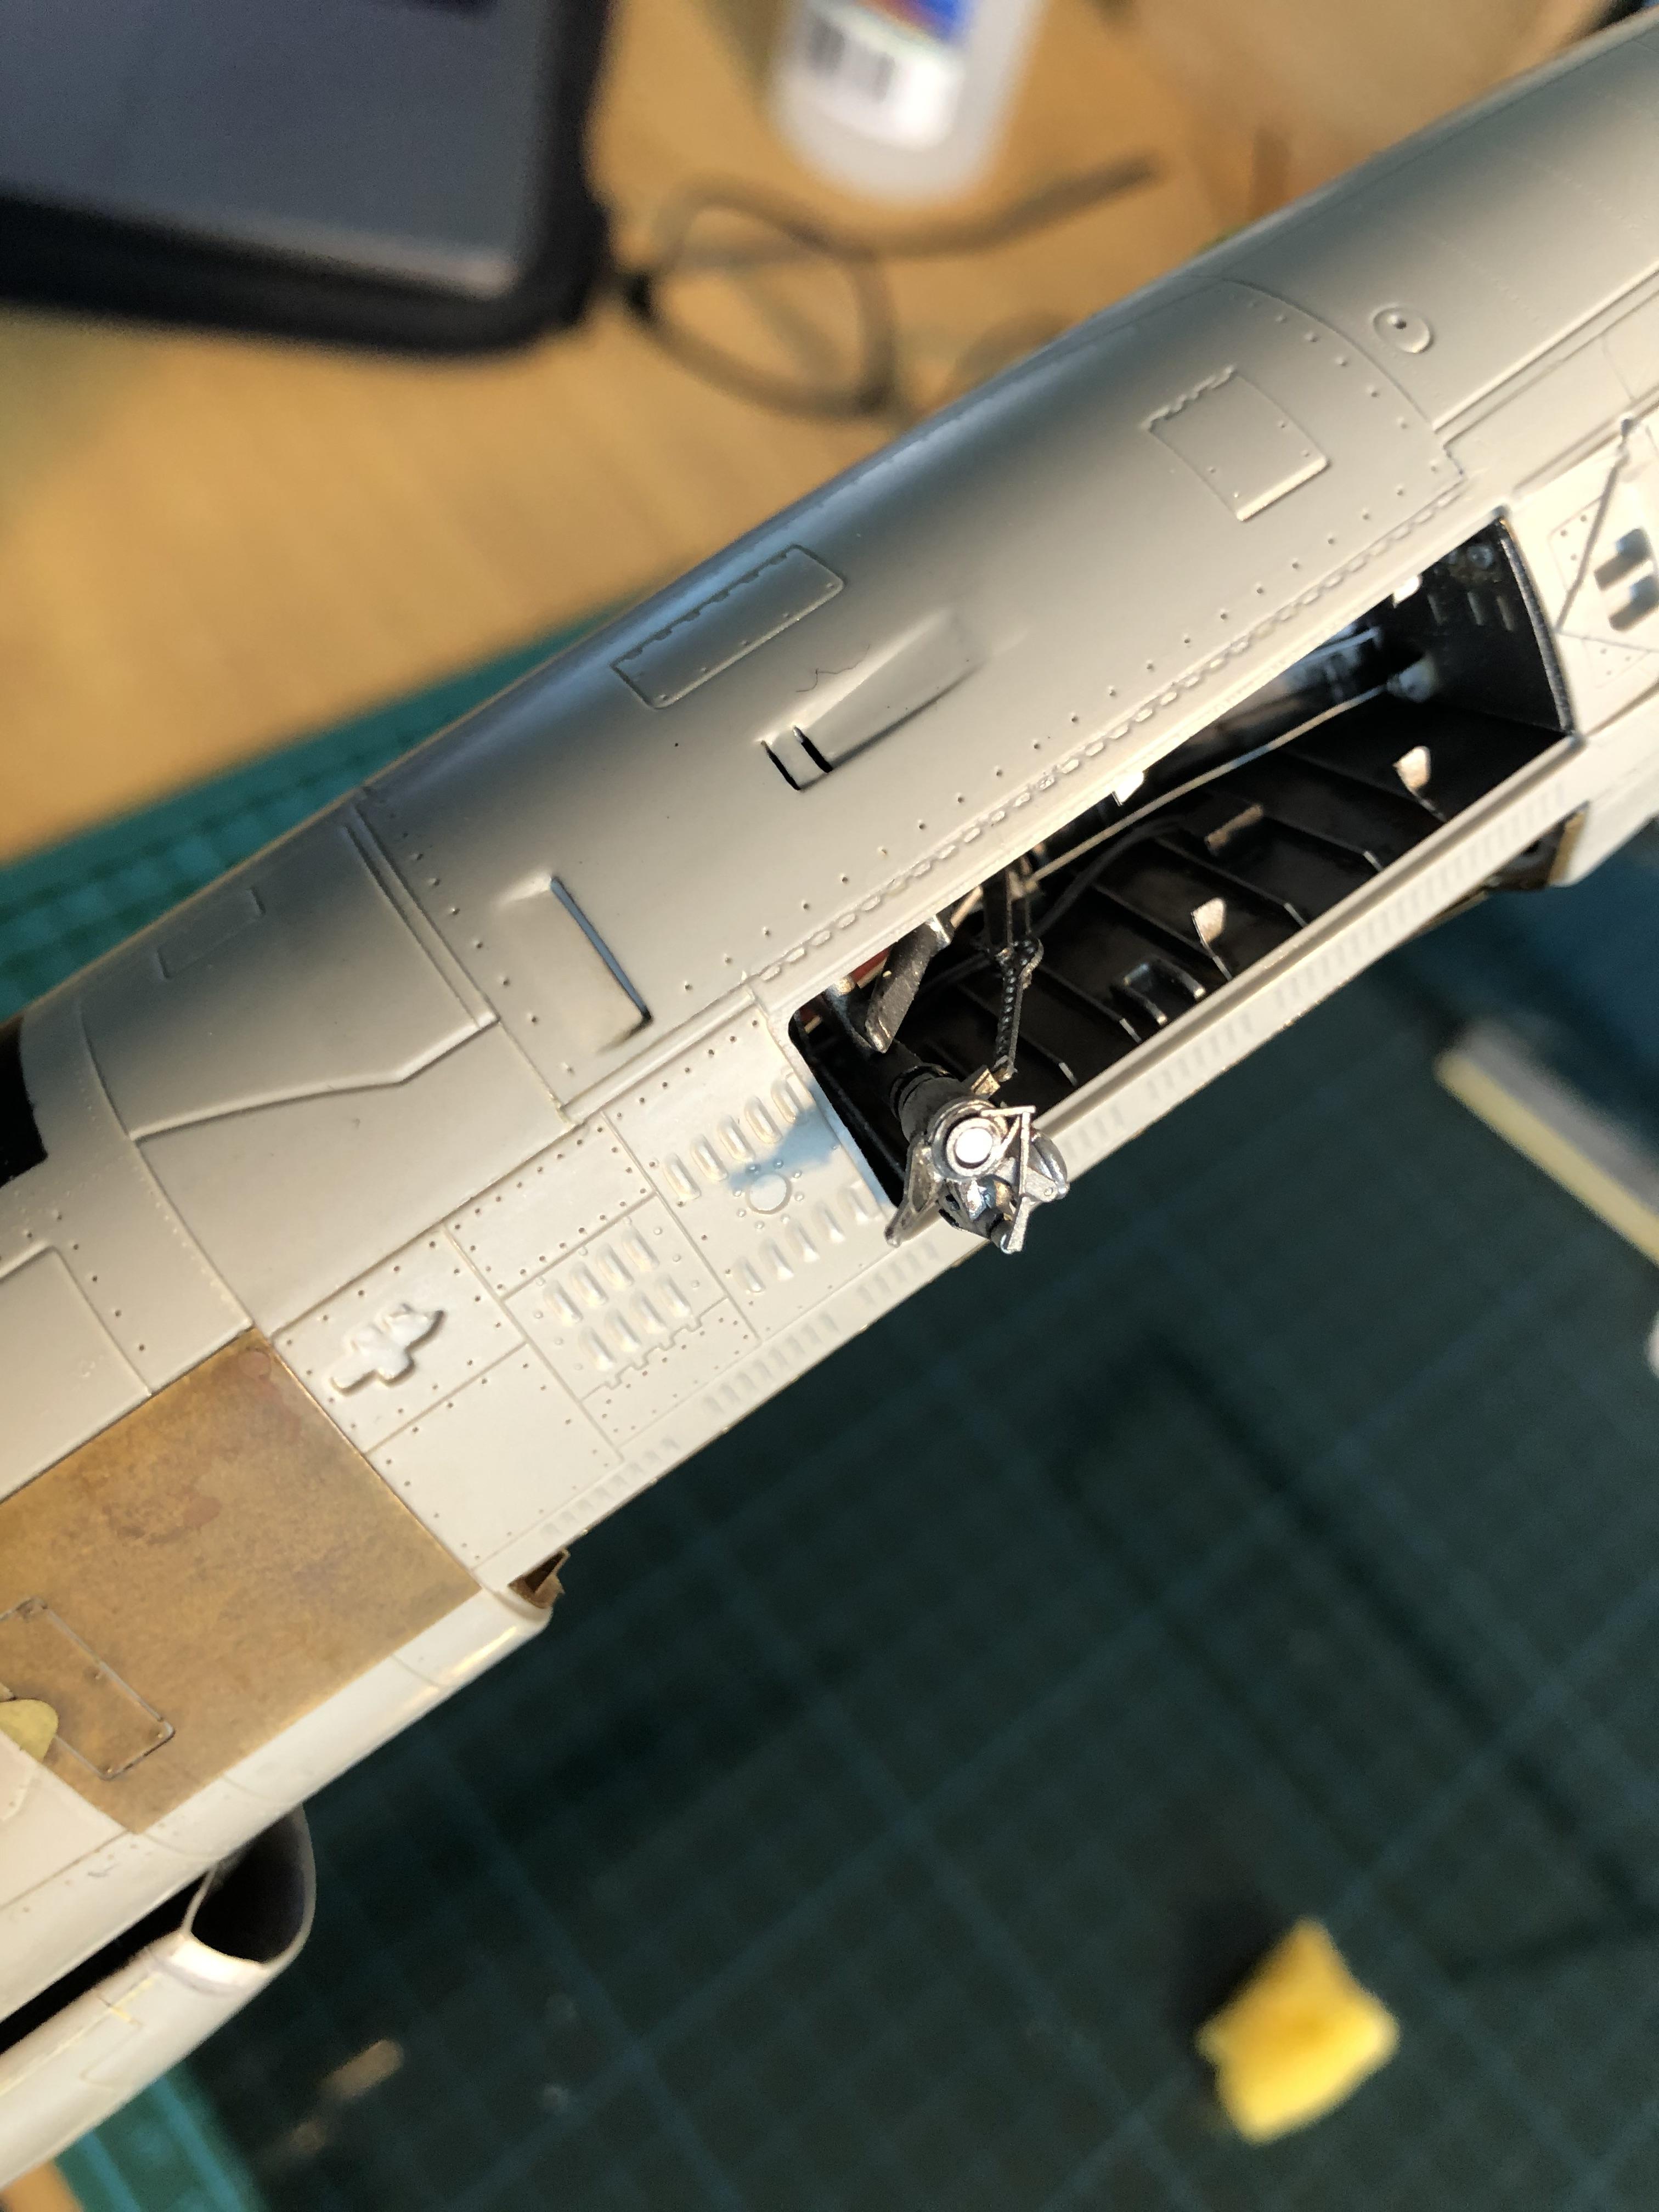
Back at the detailing I’ve been adding PE parts to the fuselage around the electronic bays and also test fitting the front of the cockpit. I’m glad I did that before gluing the inside area with the HUD in place because the fit is very tight. I can’t get everything aligned. Maybe it’s my fault, but I think sanding the edges back a little and then repainting them will be needed. It might actually be the multiple layers of paint I put on in the first place that is causing the problem. There’s PE to go in too, which will be a squeeze. The photo shows the interior stuck inside the canopy part. It’s not glued.

Slowly but surely we’re edging towards a finished kit. Maybe we’ll be ready for paint by Christmas??


Happy modelling guys.
SteveAndrews
_VISITCOMMUNITY
England - South East, United Kingdom
Joined: August 16, 2010
KitMaker: 693 posts
AeroScale: 551 posts
Posted: Sunday, November 17, 2019 - 06:59 AM UTC
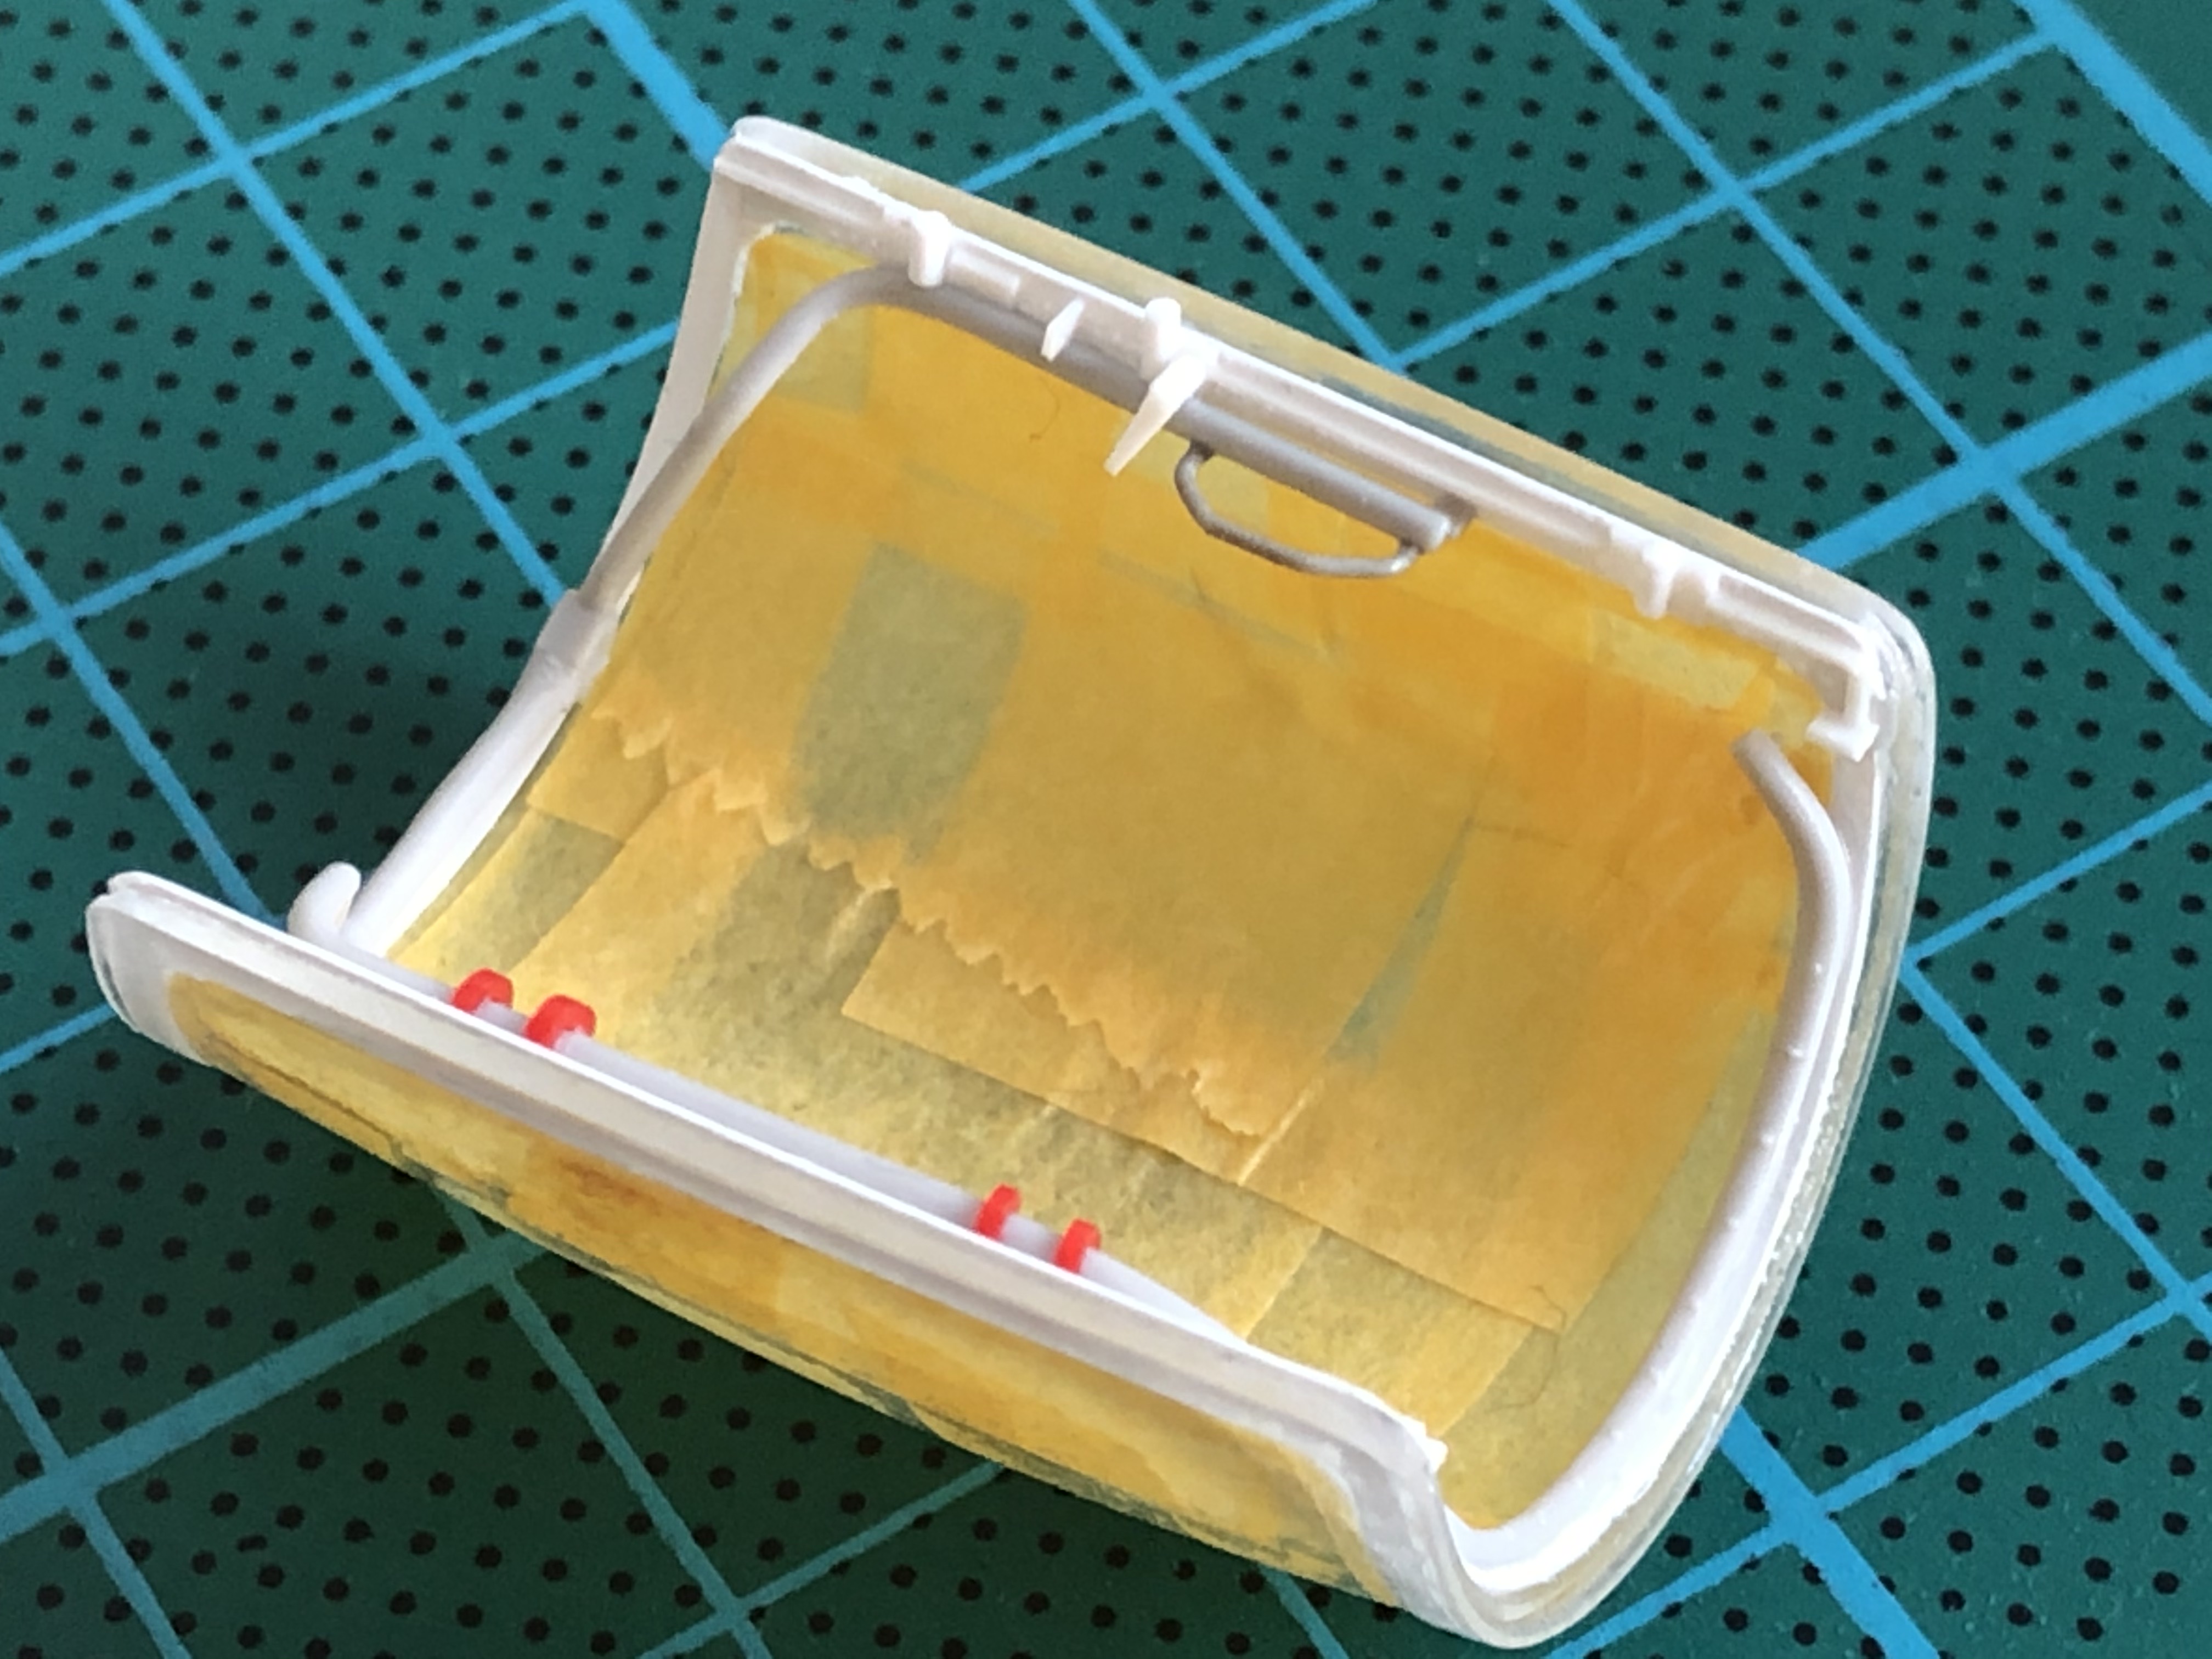
Cold, wet Sundays: I love ‘em. Mr Blue Sky isn’t around to tempt me out, so the very best thing to do is get some serious work done on the F-104. Today that meant detailing up the cockpit edges and adding a few simple scratch built details inside the front of the canopy. There are some extras provided in the Eduard PE set but they are so thin and flimsy I opted for plastic card instead. I even managed to get some paint on. Crikey!

Here are pics and mood music.


https://www.youtube.com/watch?v=VMtarj8Ua0s
SteveAndrews
_VISITCOMMUNITY
England - South East, United Kingdom
Joined: August 16, 2010
KitMaker: 693 posts
AeroScale: 551 posts
Posted: Sunday, December 01, 2019 - 09:31 AM UTC
I spend a lot of my time with magnifying glasses on. They are - of course - great for detail work but lousy for peripheral vision. I blame them entirely for a clumsy swipe that sent the F-104 sliding across my desk, which in turn broke the front landing gear. Damn, damn and more damn. It seems like I have a crisis in every build. Last time I managed to split the windshield on a Mirage and spill glue all over the wing.

After a few moments of disbelief and then frustration I took a look at the damage. Luckily the part broke neatly and I can repair it. I’ll remove the piston between the upper and lower strut, drill out both parts and put a new piston in from plastic rod. Hopefully that will make a strong new link.

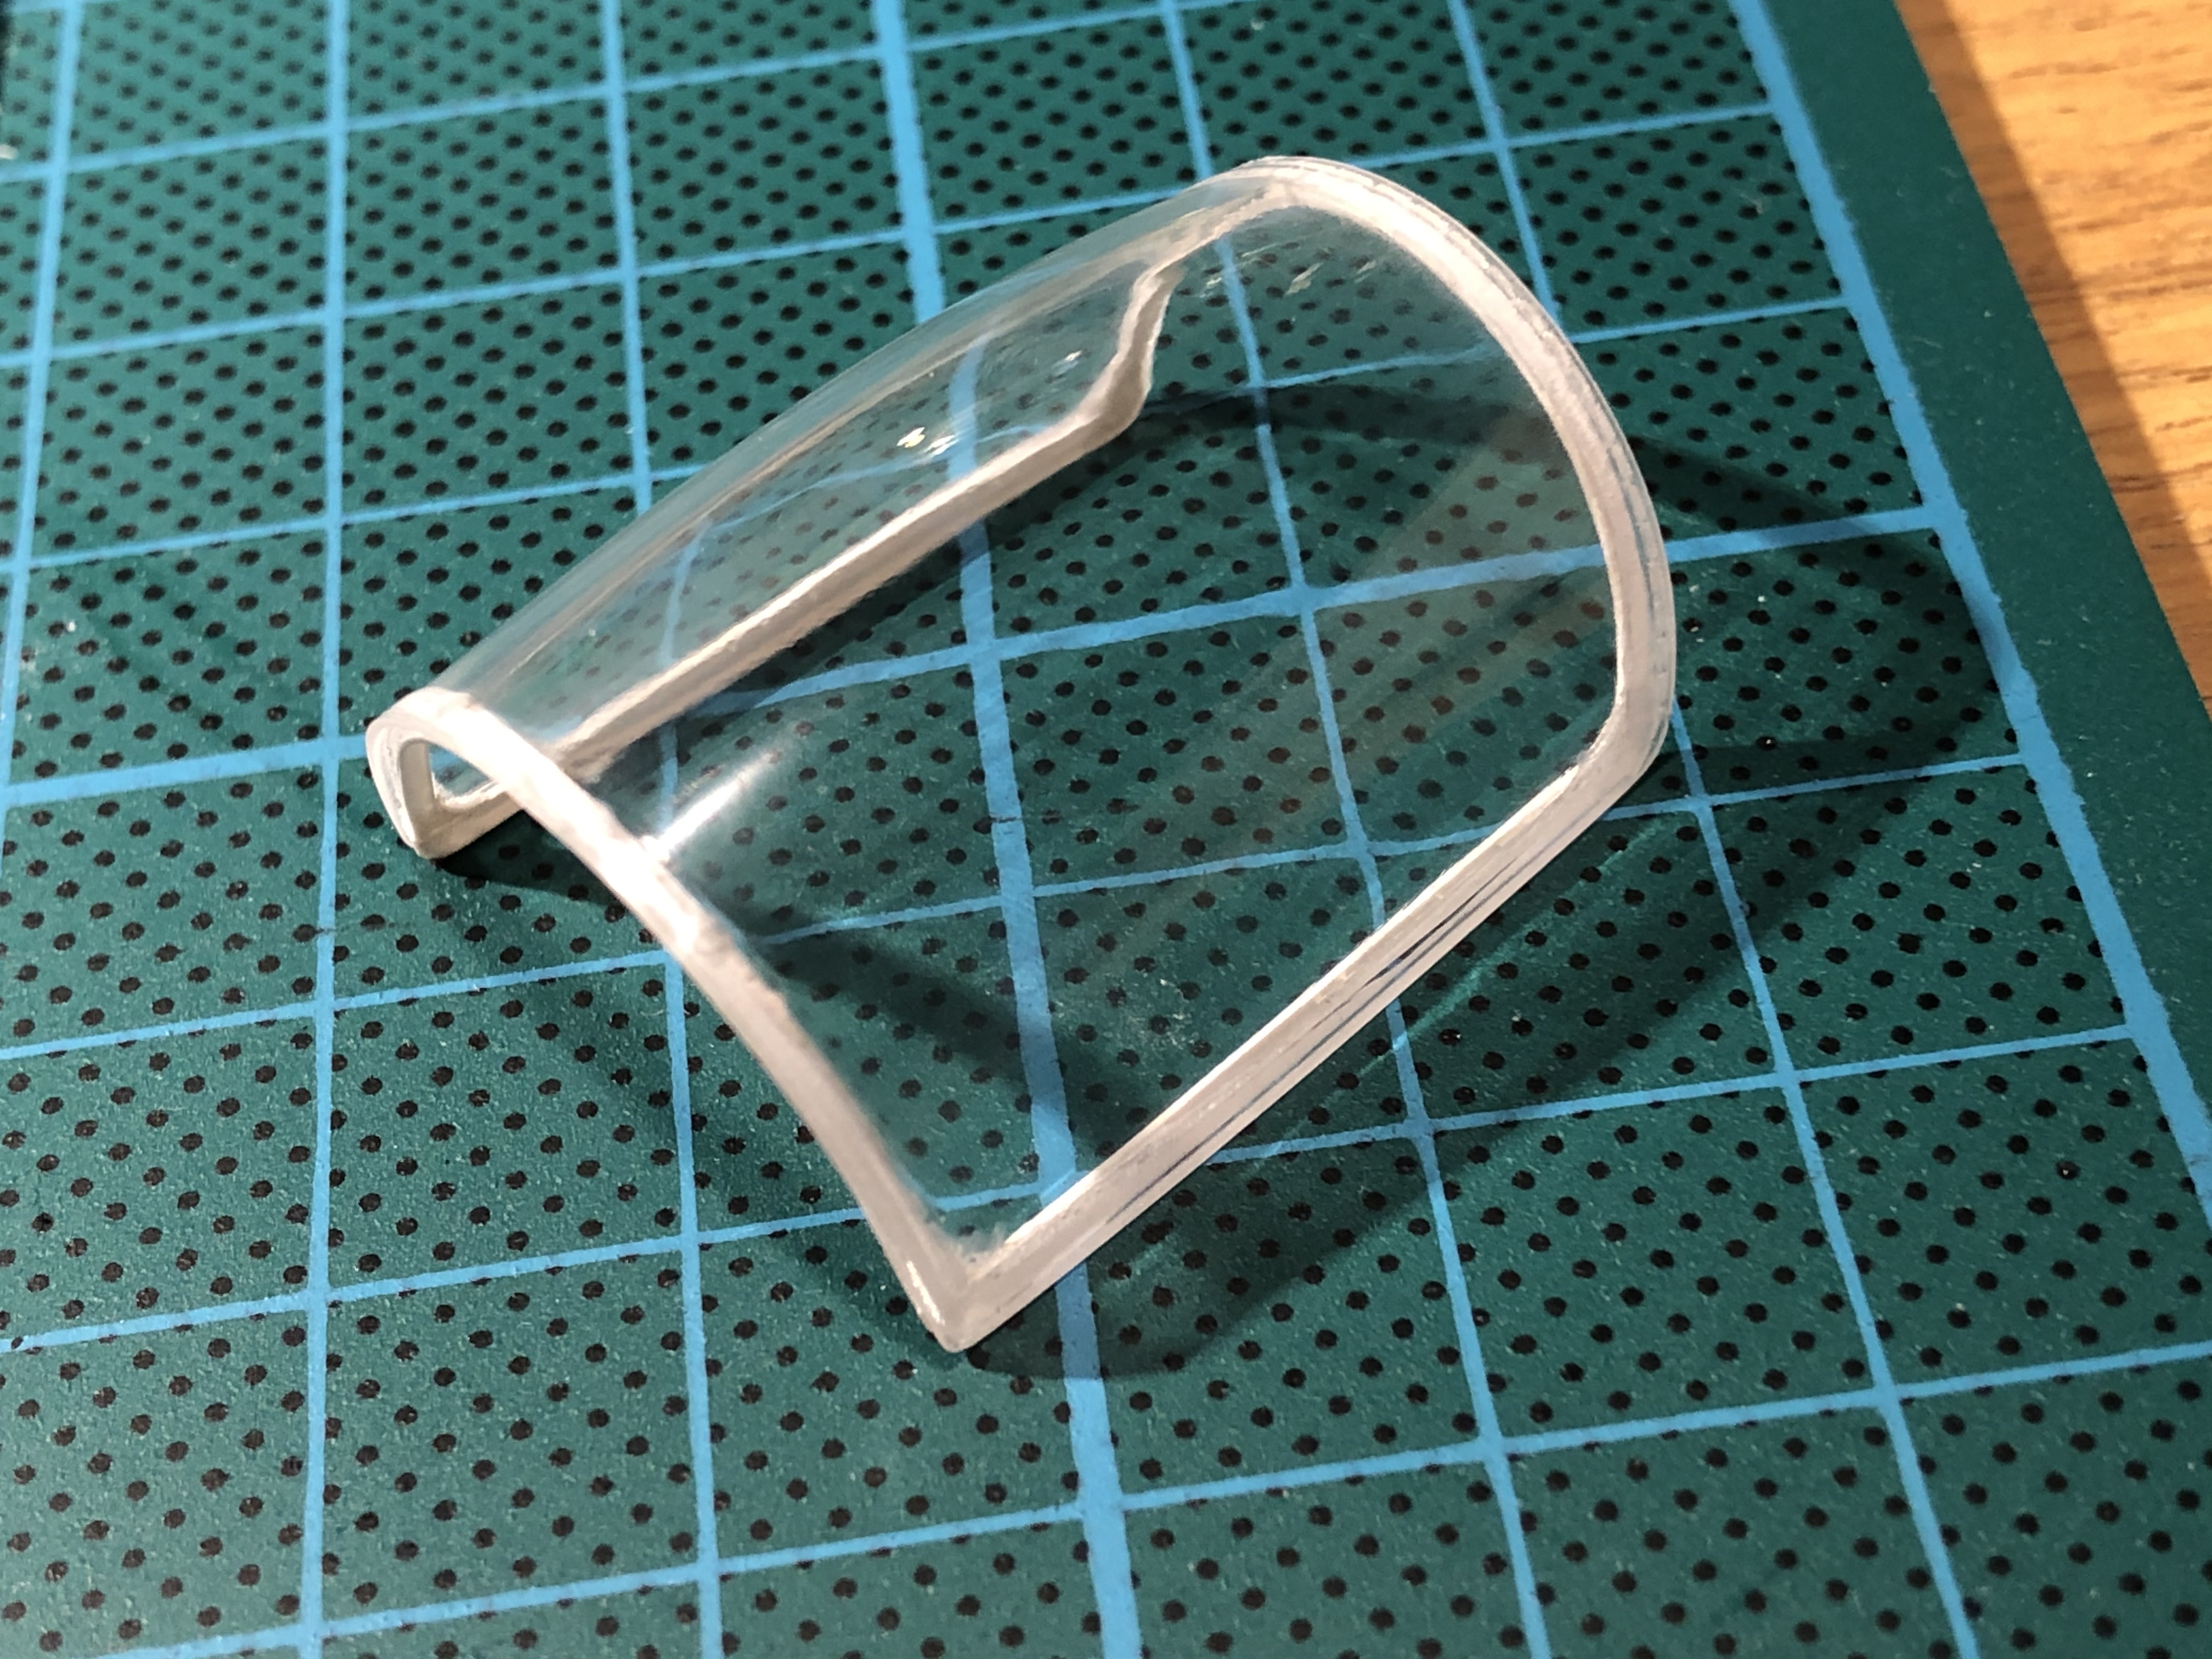
Al that happened just as I was feeling good about finalising the cockpit details and getting the windshield (carefully) glued in place. A little brush painting and weathering got the area ready. It was hard to figure out where the interior grey stops but in the end references helped and there’s a lip that makes the perfect line of demarcation.

Here is the progress and first stage repair (damn, damn and damn):


Happy modelling guys.
GazzaS
#424
_VISITCOMMUNITY
Queensland, Australia
Joined: April 23, 2015
KitMaker: 4,648 posts
AeroScale: 1,938 posts
Posted: Sunday, December 01, 2019 - 10:27 AM UTC
Keep up the good work, Steve. Your efforts are paying off. We all have crisis points. Just this weekend, on the verge of completing my ICM Dornier Do 217 night fighter an act of clumsiness cost me all four of my new Gaspatch FuG 212 radar aerials. They couldn’t be salvaged. Fortunately I bought 3 sets.

Gaz
SteveAndrews
_VISITCOMMUNITY
England - South East, United Kingdom
Joined: August 16, 2010
KitMaker: 693 posts
AeroScale: 551 posts
Posted: Monday, December 02, 2019 - 12:23 AM UTC
Hey Gaz,

Thanks for the encouragement, and I'm sorry to read about your Dornier. You are a sensible man for buying extras!

Maybe there's room for a section here on fixes and crisis management :-)

Bye for now,

Steve.
Stickframe
#362
_VISITCOMMUNITY
California, United States
Joined: December 01, 2013
KitMaker: 1,661 posts
AeroScale: 4 posts
Posted: Saturday, December 07, 2019 - 03:32 PM UTC
Hi Steve,

I enjoy dropping in from time to time to see your progress - really something else to see - really nice work. This time tho - I’m glad that you report your periodic disasters - not to mean I’m glad they happen, but because it reminds us that we’re not alone with them!

Just before reading this I spent the afternoon working with white metal, metal rods, and turned metal parts and springs on the rear end of a 1/24 Porsche 908/3 race car....the parts were not agreeing to go together, at all - when, the white metal lower control arm snapped. Perfect. A clean snap at the chassis....automatically, broken suspension.... So, I tore that side of the suspension apart, made a clean cut at the break, drilled out both of what were one piece, and inserted a small metal rod and rebuilt it....and now, I’m going for a beer - need to de-stress from a day at the hobby!

Thanks for posting - I really enjoy seeing your work

Cheers
Nick
AussieReg
Staff MemberAssociate Editor
AUTOMODELER
#007
_VISITCOMMUNITY
Victoria, Australia
Joined: June 09, 2009
KitMaker: 8,156 posts
AeroScale: 3,756 posts
Posted: Sunday, December 08, 2019 - 12:13 AM UTC

Quoted Text

Maybe there's room for a section here on fixes and crisis management


Not enough bandwidth to cope with the torrent of posts on that subject matter Steve!

I'm still sticking my head in to have a look here from time to time, loving the work you've been doing and the effort you put in to display it all here is very much appreciated.

Nick, I thought you would be enjoying this build, it's a louder, pointier version of the work you have been doing over on Automodeler.

Cheers, D
SteveAndrews
_VISITCOMMUNITY
England - South East, United Kingdom
Joined: August 16, 2010
KitMaker: 693 posts
AeroScale: 551 posts
Posted: Tuesday, December 24, 2019 - 06:44 AM UTC
Hi Nick and Damien,

First of all, I'm sorry it has taken me a while to reply. Work and family life has kept me away from doing anything but lurking for a wile. I must admit, I'm a mood modeller. If I'm in the mood I do, and if I'm not I don't.

Nick, I feel your pain. I hope everything looks good in the cold light of another day and with a beer to help dull the pain.

Damien, it's a pleasure to be here, and I like your description of the F-104.

Thanks for looking in guys, and now a tiny Christmas present...
SteveAndrews
_VISITCOMMUNITY
England - South East, United Kingdom
Joined: August 16, 2010
KitMaker: 693 posts
AeroScale: 551 posts
Posted: Tuesday, December 24, 2019 - 06:46 AM UTC
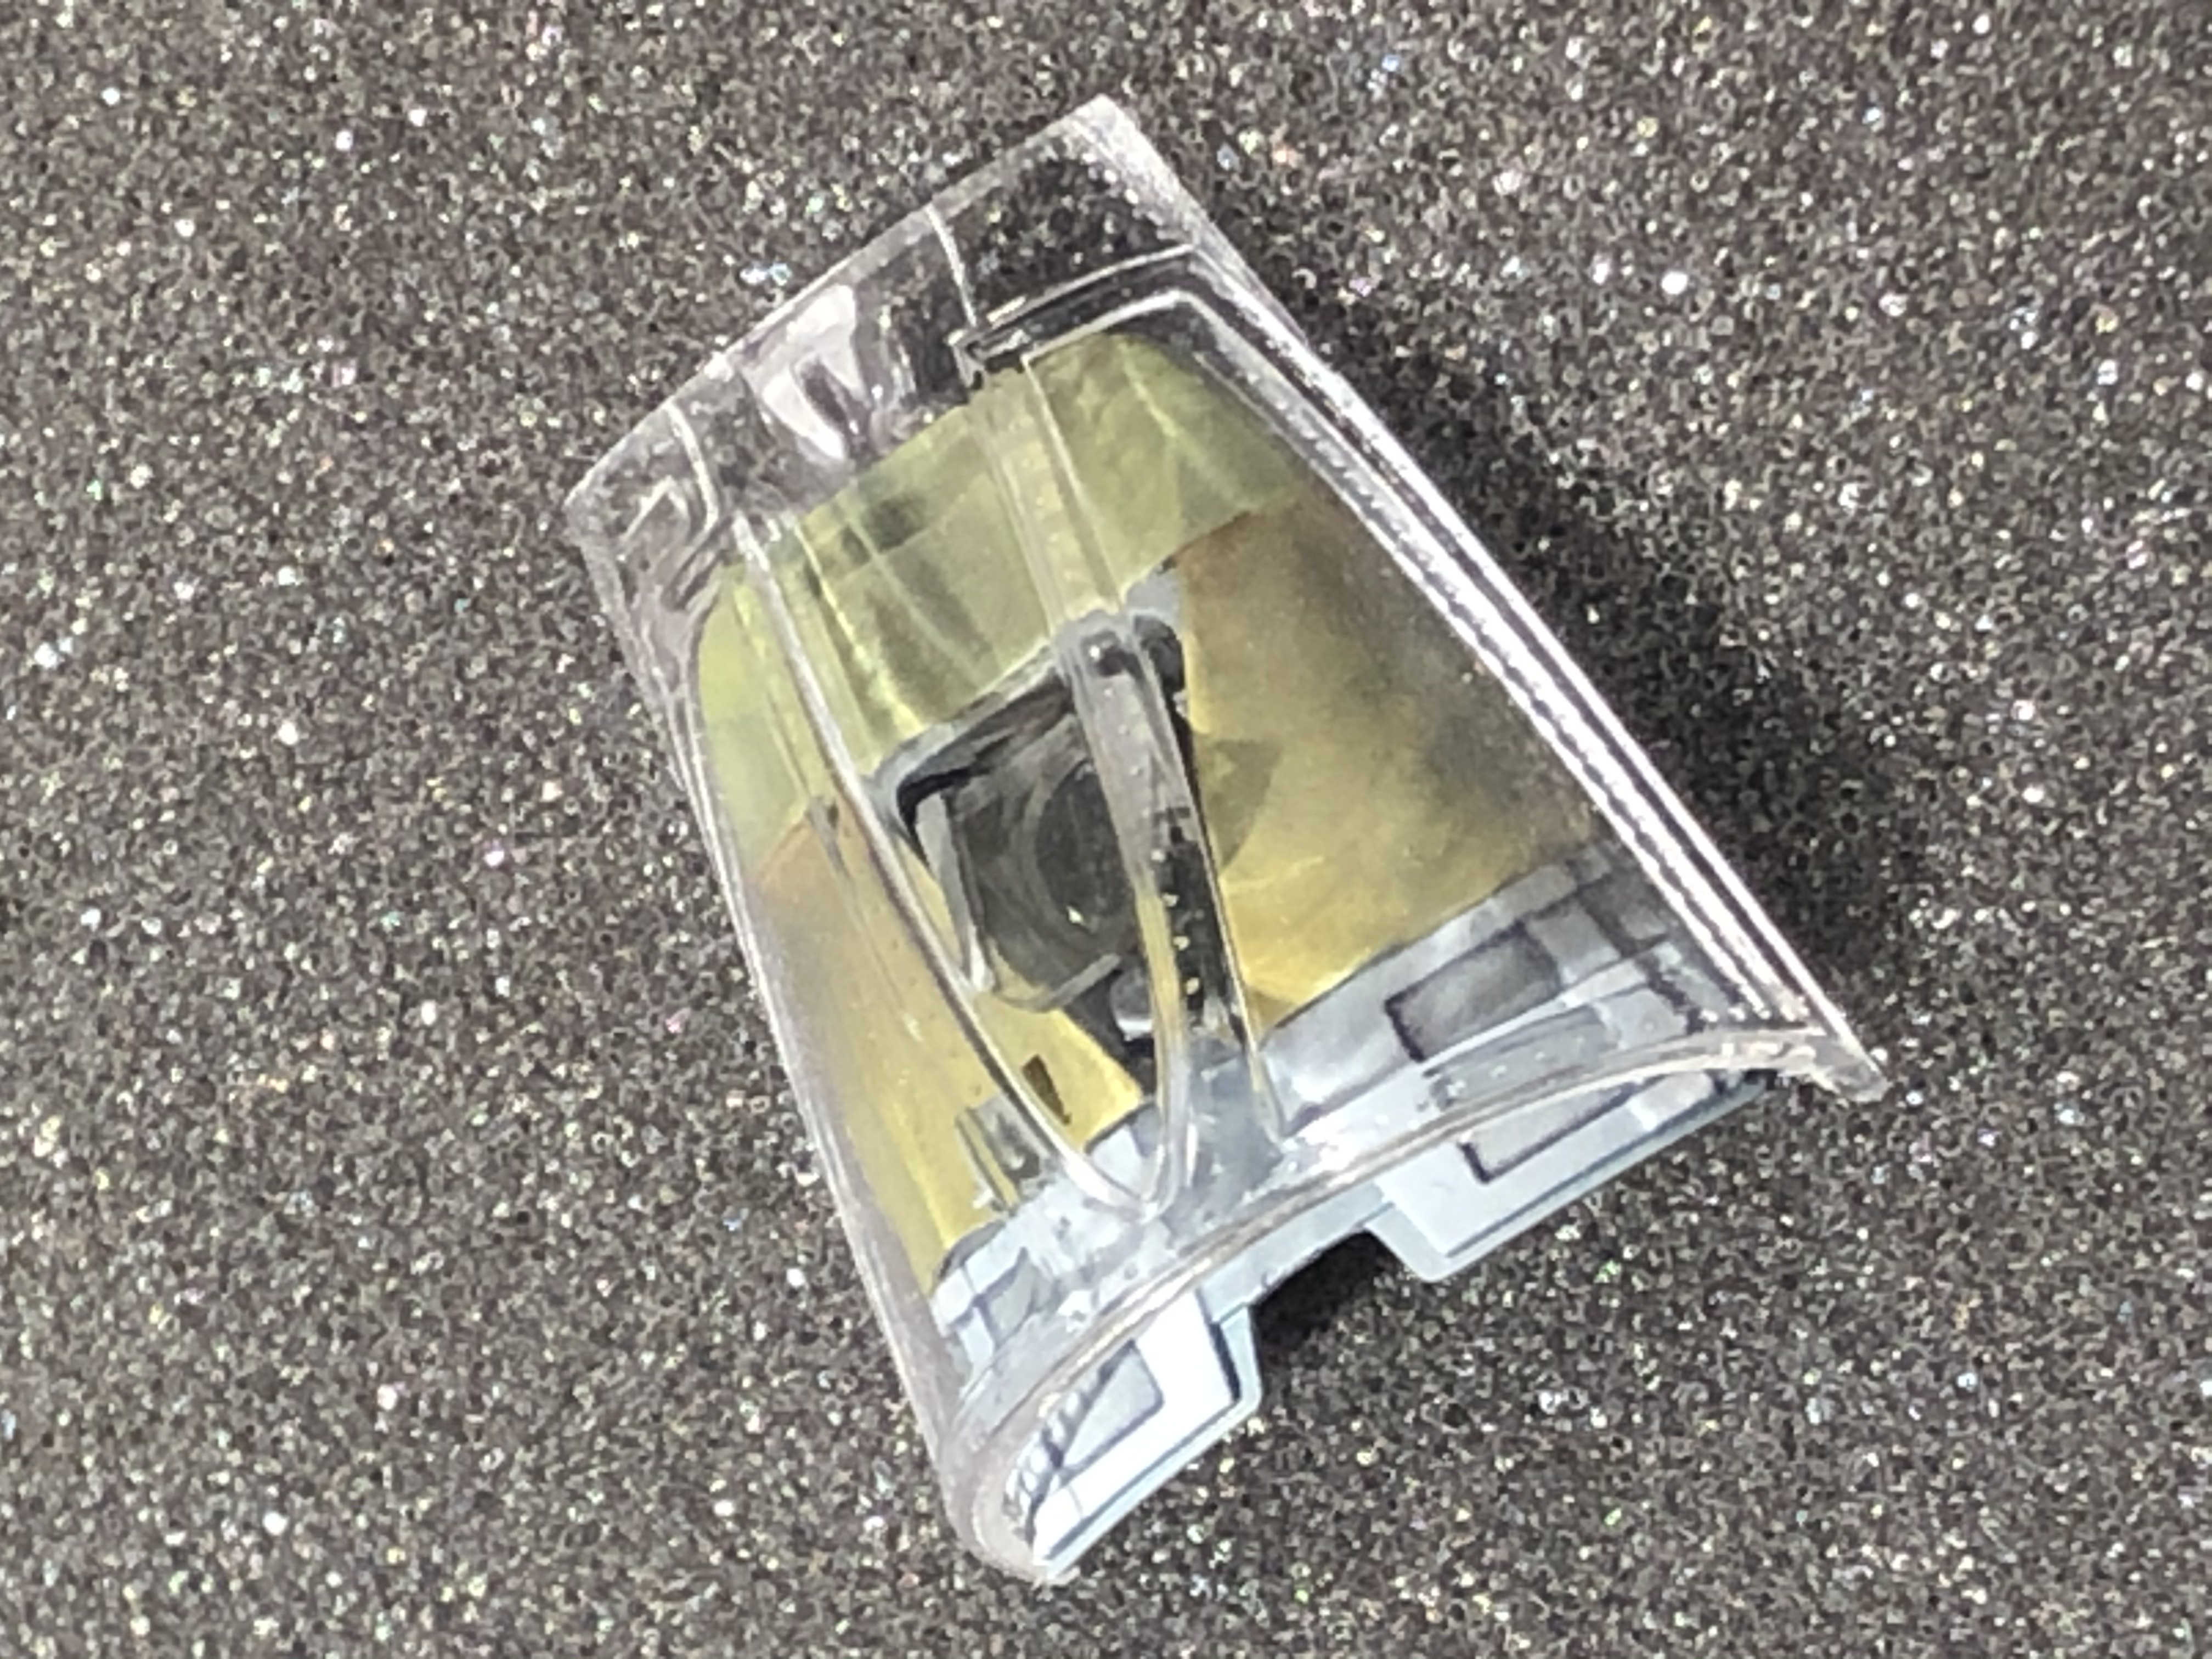
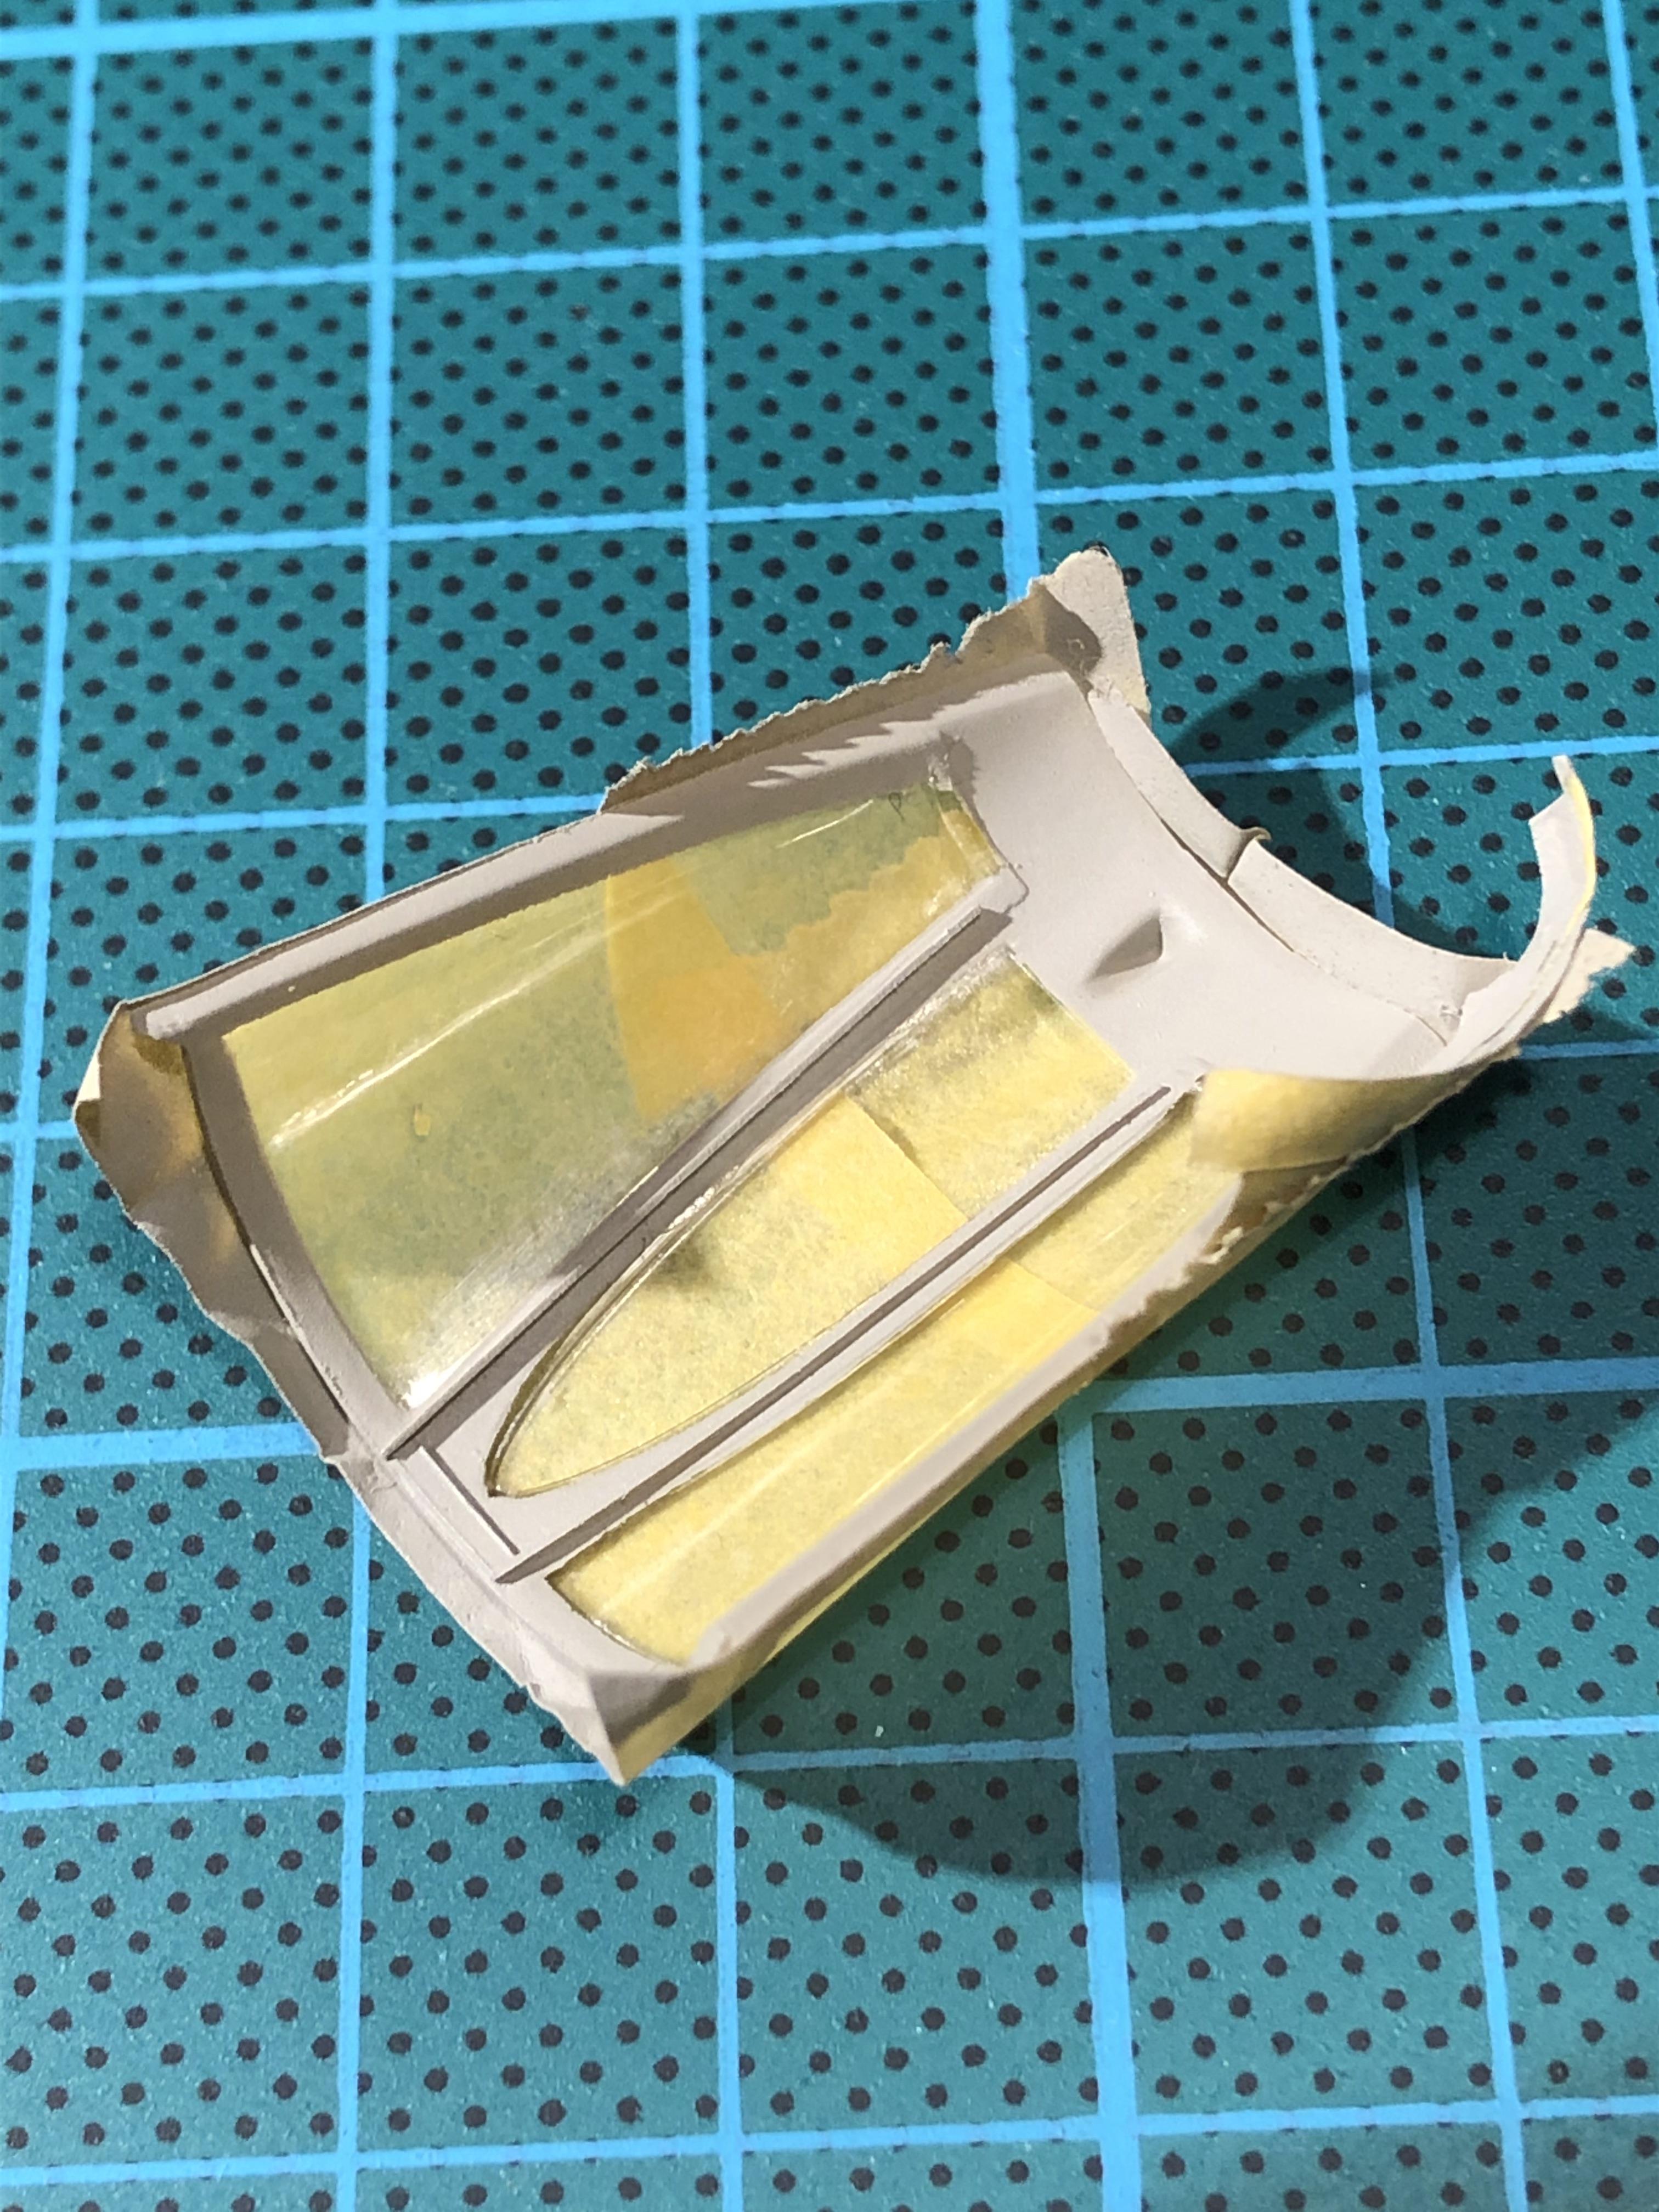
It was the night before Christmas and all through the house nothing was stirring not even a mouse. Actually, that’s not true. In my house at least a pot of Tamiya Extra Thin has been stirred and used to stick various bits of tiny plastic into the canopy of the F-104. I decided on this scratch building route rather than using the option of photo etch because it gives a more three dimensional look.

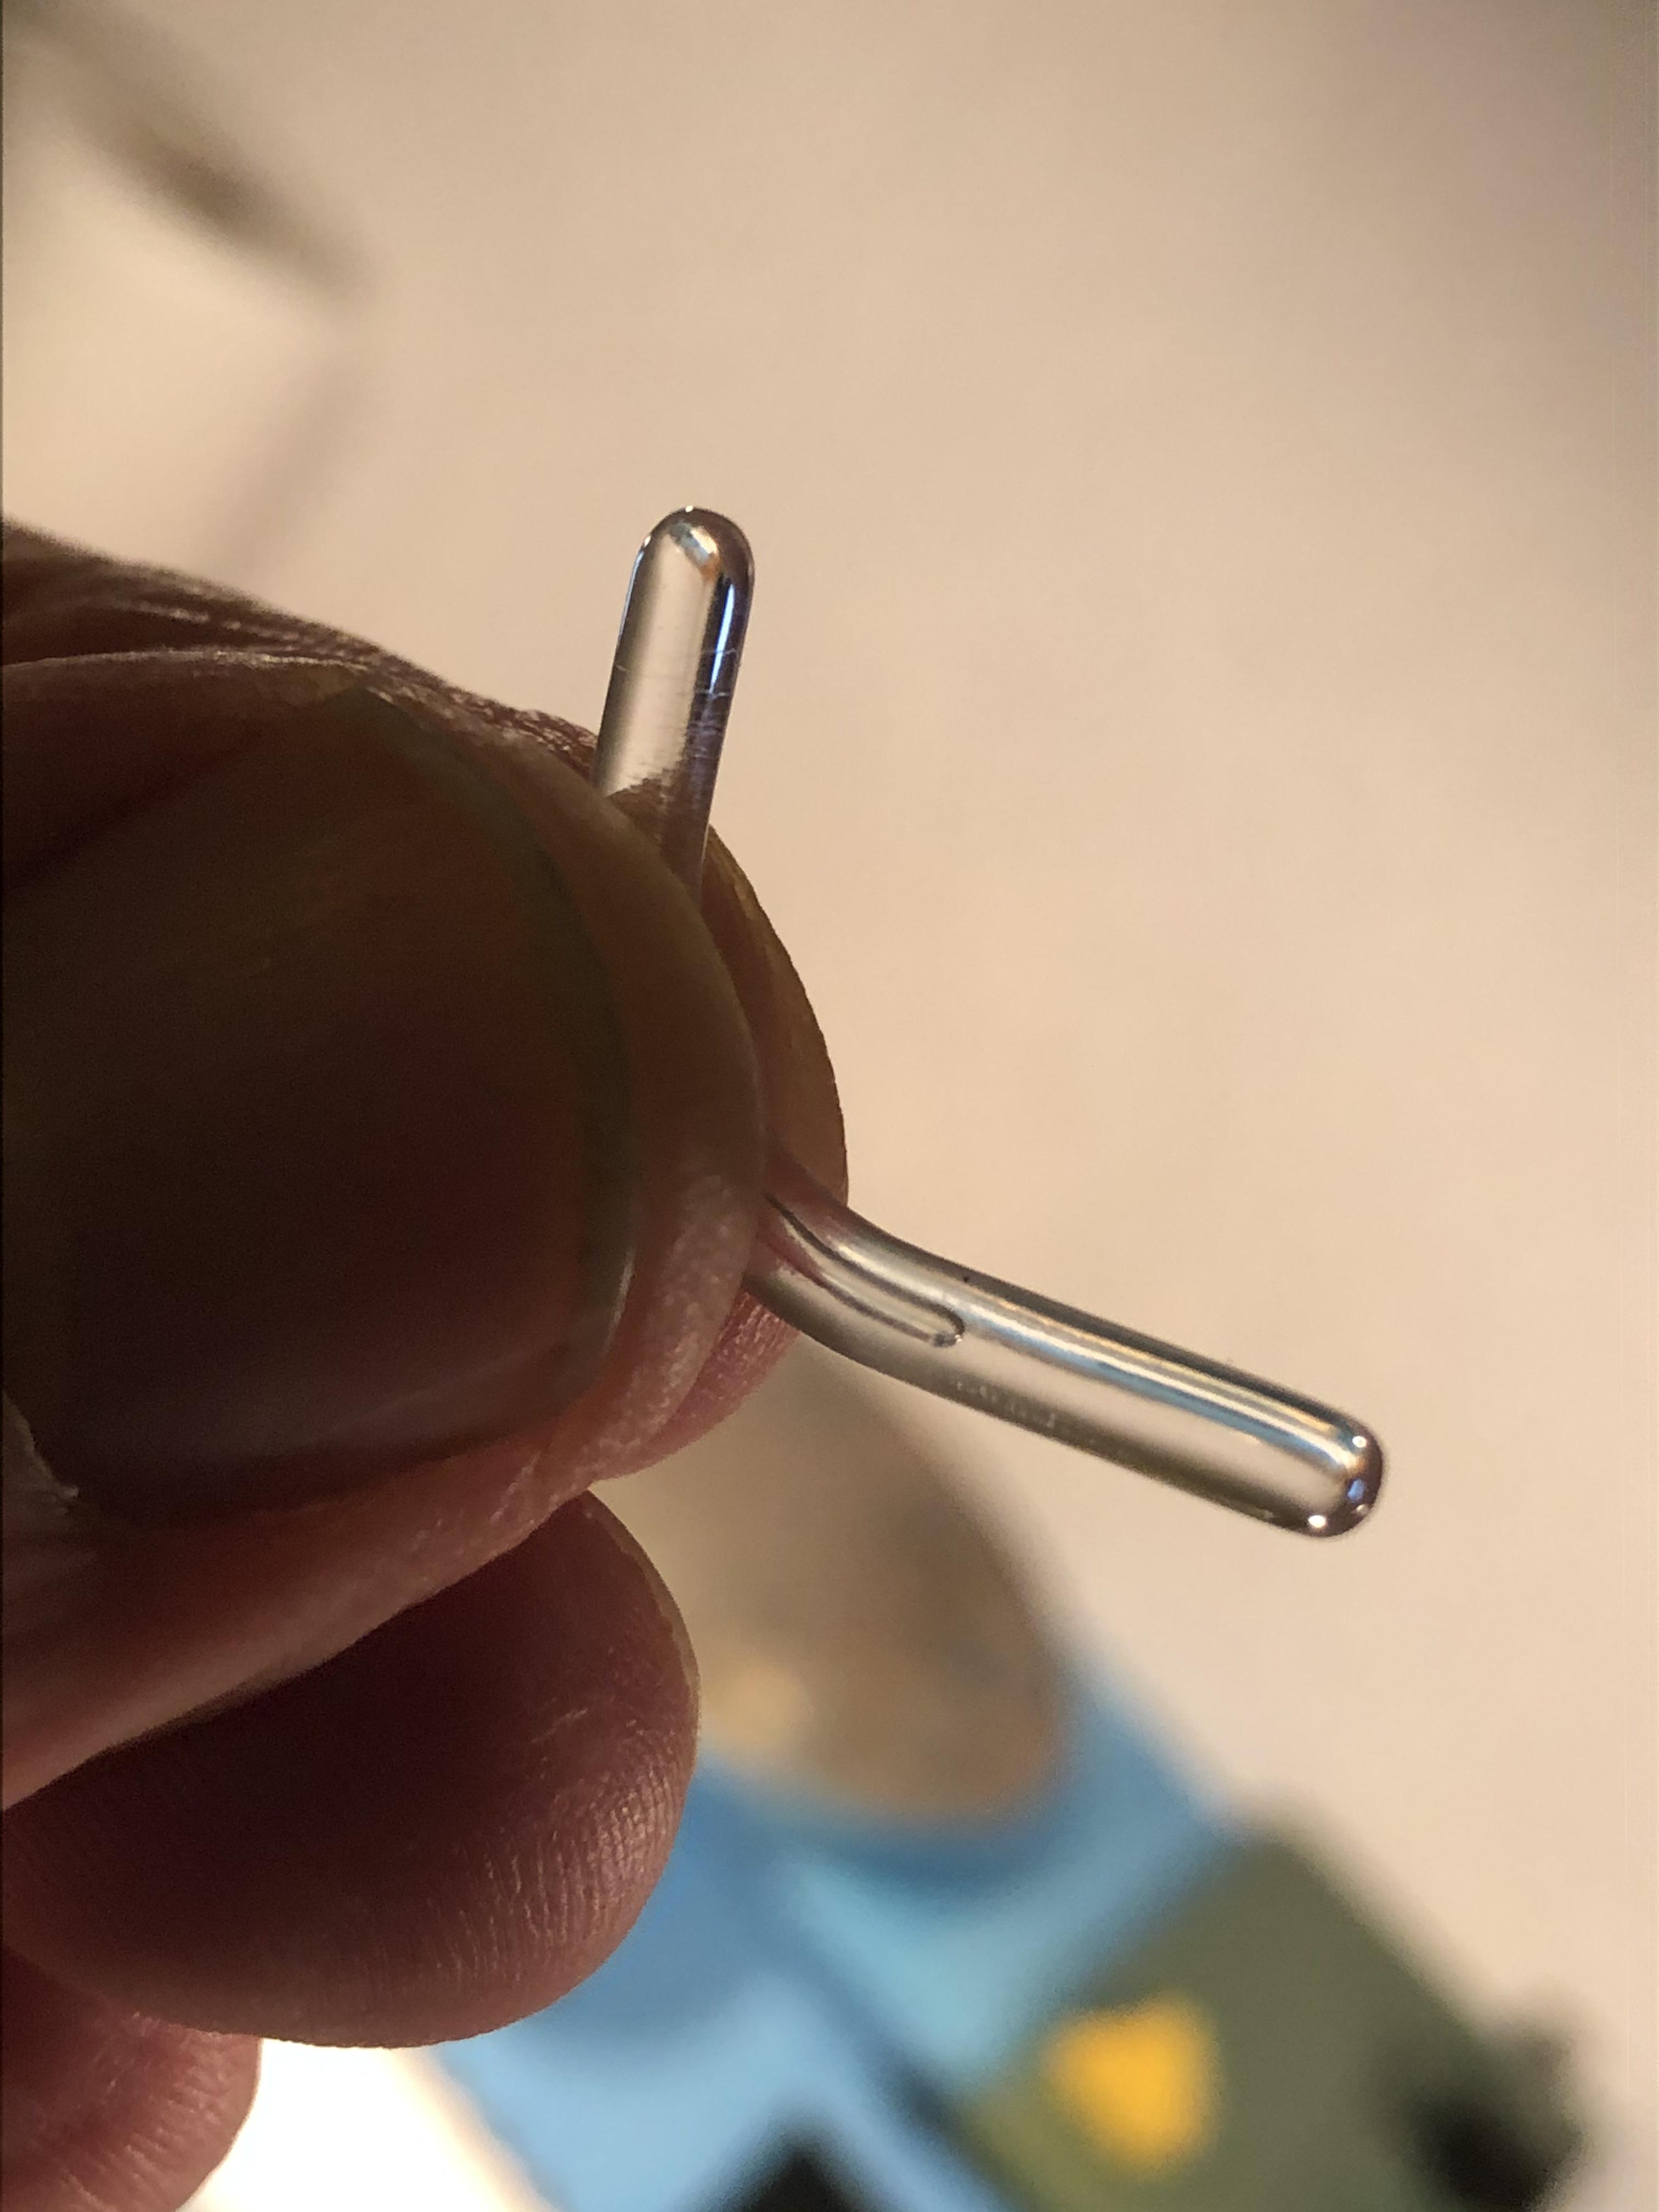
Earlier I decide to experiment with making the seeker heads for the Sidewinders. After some thought - and the realisation that I hadn’t ordered any products to help me - I opted to sand down clear sprue. I also had to fettle the holes drilled in the missile body to get the right diameter.

Here we go with visuals:


I hope you have a very merry Christmas if you are celebrating, and if you’re not then simply enjoy your modelling. Maybe you’ll enjoy these guys too.

https://www.youtube.com/watch?v=fCya1_jvPgo&list=PLnUYR9dekiKeAj0OMDHUh_RQwx6jWDiHZ&index=12

See you in 2020.

Steve.
GazzaS
#424
_VISITCOMMUNITY
Queensland, Australia
Joined: April 23, 2015
KitMaker: 4,648 posts
AeroScale: 1,938 posts
Posted: Tuesday, December 24, 2019 - 08:57 AM UTC
Nice work, Steve! Merry Christmas!
SteveAndrews
_VISITCOMMUNITY
England - South East, United Kingdom
Joined: August 16, 2010
KitMaker: 693 posts
AeroScale: 551 posts
Posted: Sunday, January 05, 2020 - 08:19 AM UTC
Happy 2020 Gaz, and everyone following along or just dropping in from time to time. I hope you had a great holiday and that the return to work and/or normal life is a good one.

At some earlier stage I made a glib comment about getting paint on by Christmas. This was sort of tongue in cheek - like all those politicians and generals who promise the latest war will be over by Christmas. I also hoped that it might be true (possibly like all those politicians and generals too). Well, I got some paint on some parts. OK, it’s not the biggest parts, but it is paint on parts (case for the defence rests).

At this point I have a confession. I absolutely hate putting down gloss coats. Instead, I tend to add a good deal of Tamiya Clear or satin varnish to my paint so I end up with a finish that is good for washes and decals. Sometimes I forget and end up clear coating anyway, but my preferred option is shiny paint. I might be delusional but I feel like that gives me more control over the surface texture and the thickness of the coverage. Anyhow, each person has their own approach, and this is mine. I make absolutely no claims that it is better than any other approach. It just sits well with my preferences.

Here we have the canopy and avionics bay lids airbrushed in Tamiya acrylics which are thinned about 50% with levelling thinner.


Happy modelling guys.
GazzaS
#424
_VISITCOMMUNITY
Queensland, Australia
Joined: April 23, 2015
KitMaker: 4,648 posts
AeroScale: 1,938 posts
Posted: Sunday, January 05, 2020 - 10:44 AM UTC
Hi Steve, happy new year! I’m glad to see your excellent work progress.

I find your reticence to apply clear coats interesting. More so as I have been working on the problem of paint smoothness for other reasons. I have been using either micro mesh sanding cloth between 4000 and 12000 grit wetsanding for smoother finishes. If I want finer abrasive I use liquid buffing compounds and microfibre cloth, especially if there is raised details nearby as there is less chance of damaging the paint on them. One thing to mention is that these buffing compounds often have petroleum distillates in them, so they can’t be used with enamels.

Keep up the great work!
SteveAndrews
_VISITCOMMUNITY
England - South East, United Kingdom
Joined: August 16, 2010
KitMaker: 693 posts
AeroScale: 551 posts
Posted: Monday, January 06, 2020 - 07:29 AM UTC
Hi Gaz,

Thanks as always for the encouragement.

I guess smoothly applied paint without any loss of detail is the Holy Grail of airbrushing. Personally, I find it very hard to get a smooth finish with matt paint. The properties that make it matt - a microscopic lumpiness to the surface, apparently - work against it.

I guess you are working on something super shiny like a vehicle body? In fact I think I remember you writing that at some point. Your approach pays off I'm sure.

For what its worth I've found that Tamiya acrylics diluted with Mr Colour Levelling Thinners are quite forgiving and dry with a smooth surface. I spray at a low air pressure - around 15-20 p.s.i - and work close to the subject. I also try and make neat passes, building up thin layers in the classic way. Having said that, I did a test once and just blasted my mix at an old kit; the results were surprisingly good even after a thick layer of paint.

My preferred combination gets me a good result most times, even if it takes a while to cover large areas. Of course, I can and do matt coat at the end if the kit needs it but usually I go for a satin finish and let weathering tone down the shine.

Anyone else got some good techniques for a smooth finish?

By the way, what are you working on?

Have a great day,

Steve.


GazzaS
#424
_VISITCOMMUNITY
Queensland, Australia
Joined: April 23, 2015
KitMaker: 4,648 posts
AeroScale: 1,938 posts
Posted: Tuesday, January 07, 2020 - 06:12 PM UTC
HI Steve,
I'm just at the beginning of a couple of kits, a 1/32 Hasegawa 109 and a Trumpeter Sturer Emil. I haven't done much more than slap plastic on either.

But to get back to the topic of paint smoothing, I'd like to show some pics of a recent 1/48 ICM build where it took polishing the paint to keep the desired camoflage from being lost in a sea of overspray:

ICM Dornier Do 217 N2/r22

While the larger markings were done with masks, the stencils and stuff were decals which I didn't clear coat before applying.

Gaz

Gaz
Joel_W
Staff MemberAssociate Editor
AUTOMODELER
_VISITCOMMUNITY
New York, United States
Joined: December 04, 2010
KitMaker: 11,666 posts
AeroScale: 7,410 posts
Posted: Wednesday, January 08, 2020 - 02:25 AM UTC
Steve,
Happy Holidays my friend. While I don't post very often these days on your incredible build, I do follow it through everyone of your updates.

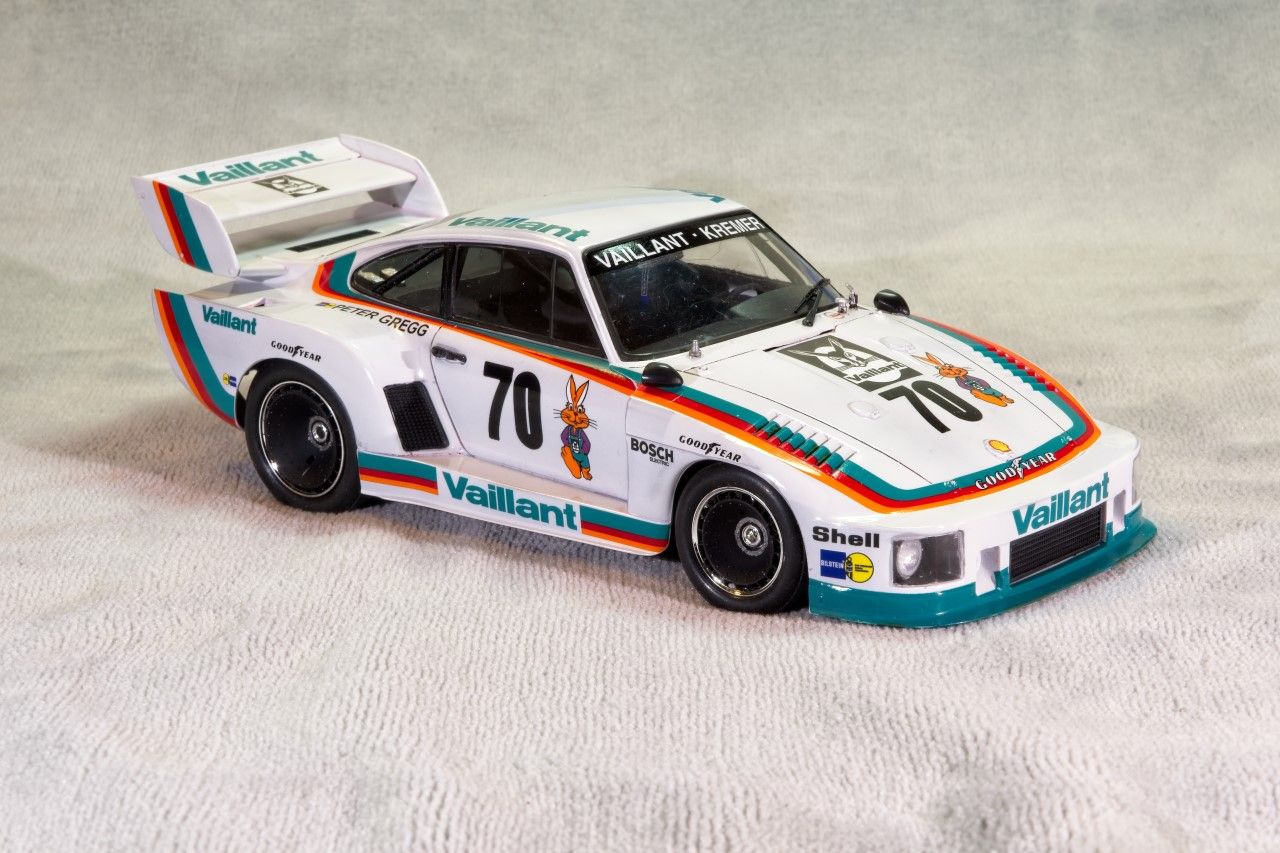
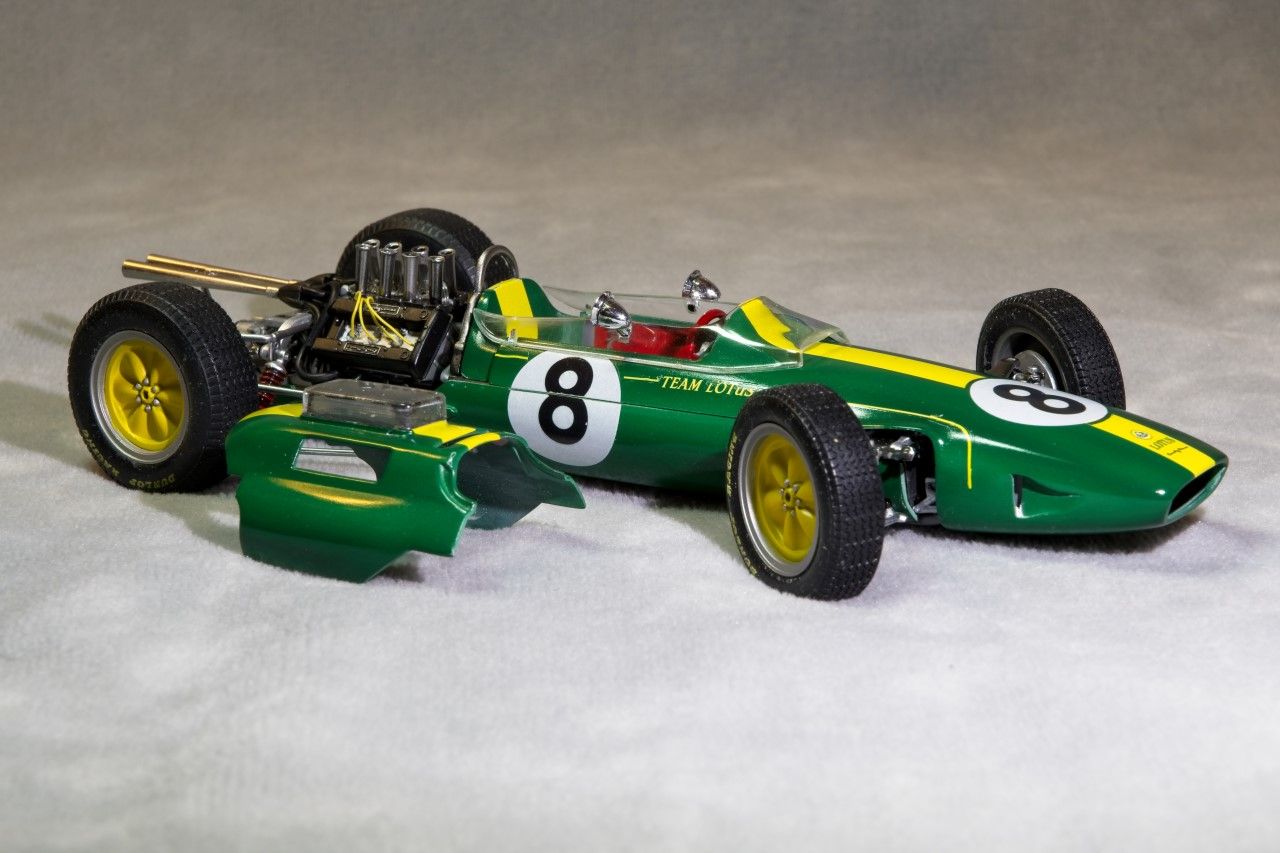
Being a full time race car/classic road car modeler for the past several years, gloss finishes both for final appearance and for the decaling stage is super critical. Many of my techniques I've learned, adopted, or just plain stolen from Paul Budzik, so you can be sure that they do indeed work.

a smooth painted surface for decaling starts with the raw plastic, so prep work is super important. It's like the foundation of a house. All the various stages of the paint process are air brushed in lite, even coats.

Primer which is Mr. Color 1,500 Grey or Black is 1st, thinned 50:50 with their self leveling thinner which is just a retarder that is added. Like you, my flow rate is between 14-20 psi. I never stop a pass nor even slow down. Just add coats 3 min apart till I've got what I like. I let this dry and cure for 24 hrs. Then a lite polishing with 3,000 grit. It's now smooth as silk, which is the goal.

Up next is my color coats. I generally use pre-thinned paints by Gravity or Zero, but I've used Mr. Color or even Tamiya that I've thinned 2 parts paint to 3 parts thinner, which is applied exactly as the primer was. Any Orange Peel or imperfections is rubbed out with 6,000, 8,000, & 12,000 Micro papers or pads. Again, smooth as silk.

Now I decal right over the paint without any clear gloss coat as none is needed. Since you've knocked down any peaks, buffed out the valleys, there is no silvering nor flash.

Clearcoat for blending in the decal to the paint as usual.

As for Gloss colors, for smaller areas just thin lite coats same as always. Gloss paints take longer to setup, so go 5 min between coats.

Here's just two examples of that technique.

Joel


SteveAndrews
_VISITCOMMUNITY
England - South East, United Kingdom
Joined: August 16, 2010
KitMaker: 693 posts
AeroScale: 551 posts
Posted: Saturday, January 18, 2020 - 10:06 PM UTC
Good morning Joel and Gaz (well, morning here),

It's really interesting how two very different techniques get such impressive results. Joel, your cars look smoother than a samba at sunset, and Gaz yours has a lovely authentic look. Thanks both for adding to the discussion and sharing your techniques. One day (he said) I'll tackle the Valentino Rossi race bike I have in my stash, then I'll really need those glossy finishes.

In the meantime, it's back to work on the detailing.

Thanks again for dropping in. It's always a pleasure.

Have a great day,

Steve.

SteveAndrews
_VISITCOMMUNITY
England - South East, United Kingdom
Joined: August 16, 2010
KitMaker: 693 posts
AeroScale: 551 posts
Posted: Saturday, January 18, 2020 - 10:08 PM UTC
I’m slowly working my way around all the doors and flaps. The same techniques described earlier got me here with the small main landing gear doors.


The last parts on my list are the speed brakes. They presented a dilemma. The kit parts are basic and the moulding is the usual inexplicable mix of fine detail and vague blobs of plastic. On the other hand the Eduard replacement offerings require some very delicate work and precision bending of multiple parts. Frankly, the potential to mess these up and my doubts about the final strength of the mounting points made me think twice. In the end I decided on a hybrid approach. I’ll use the kit parts and enhance them with a bit of kit bashing using adapted Eduard parts. I’m a bit nervous about this as the Eduard replacements are not designed to work with kit parts - they are complete replacements. Let’s see how it goes.

Happy modelling guys.
SteveAndrews
_VISITCOMMUNITY
England - South East, United Kingdom
Joined: August 16, 2010
KitMaker: 693 posts
AeroScale: 551 posts
Posted: Sunday, January 26, 2020 - 07:49 AM UTC
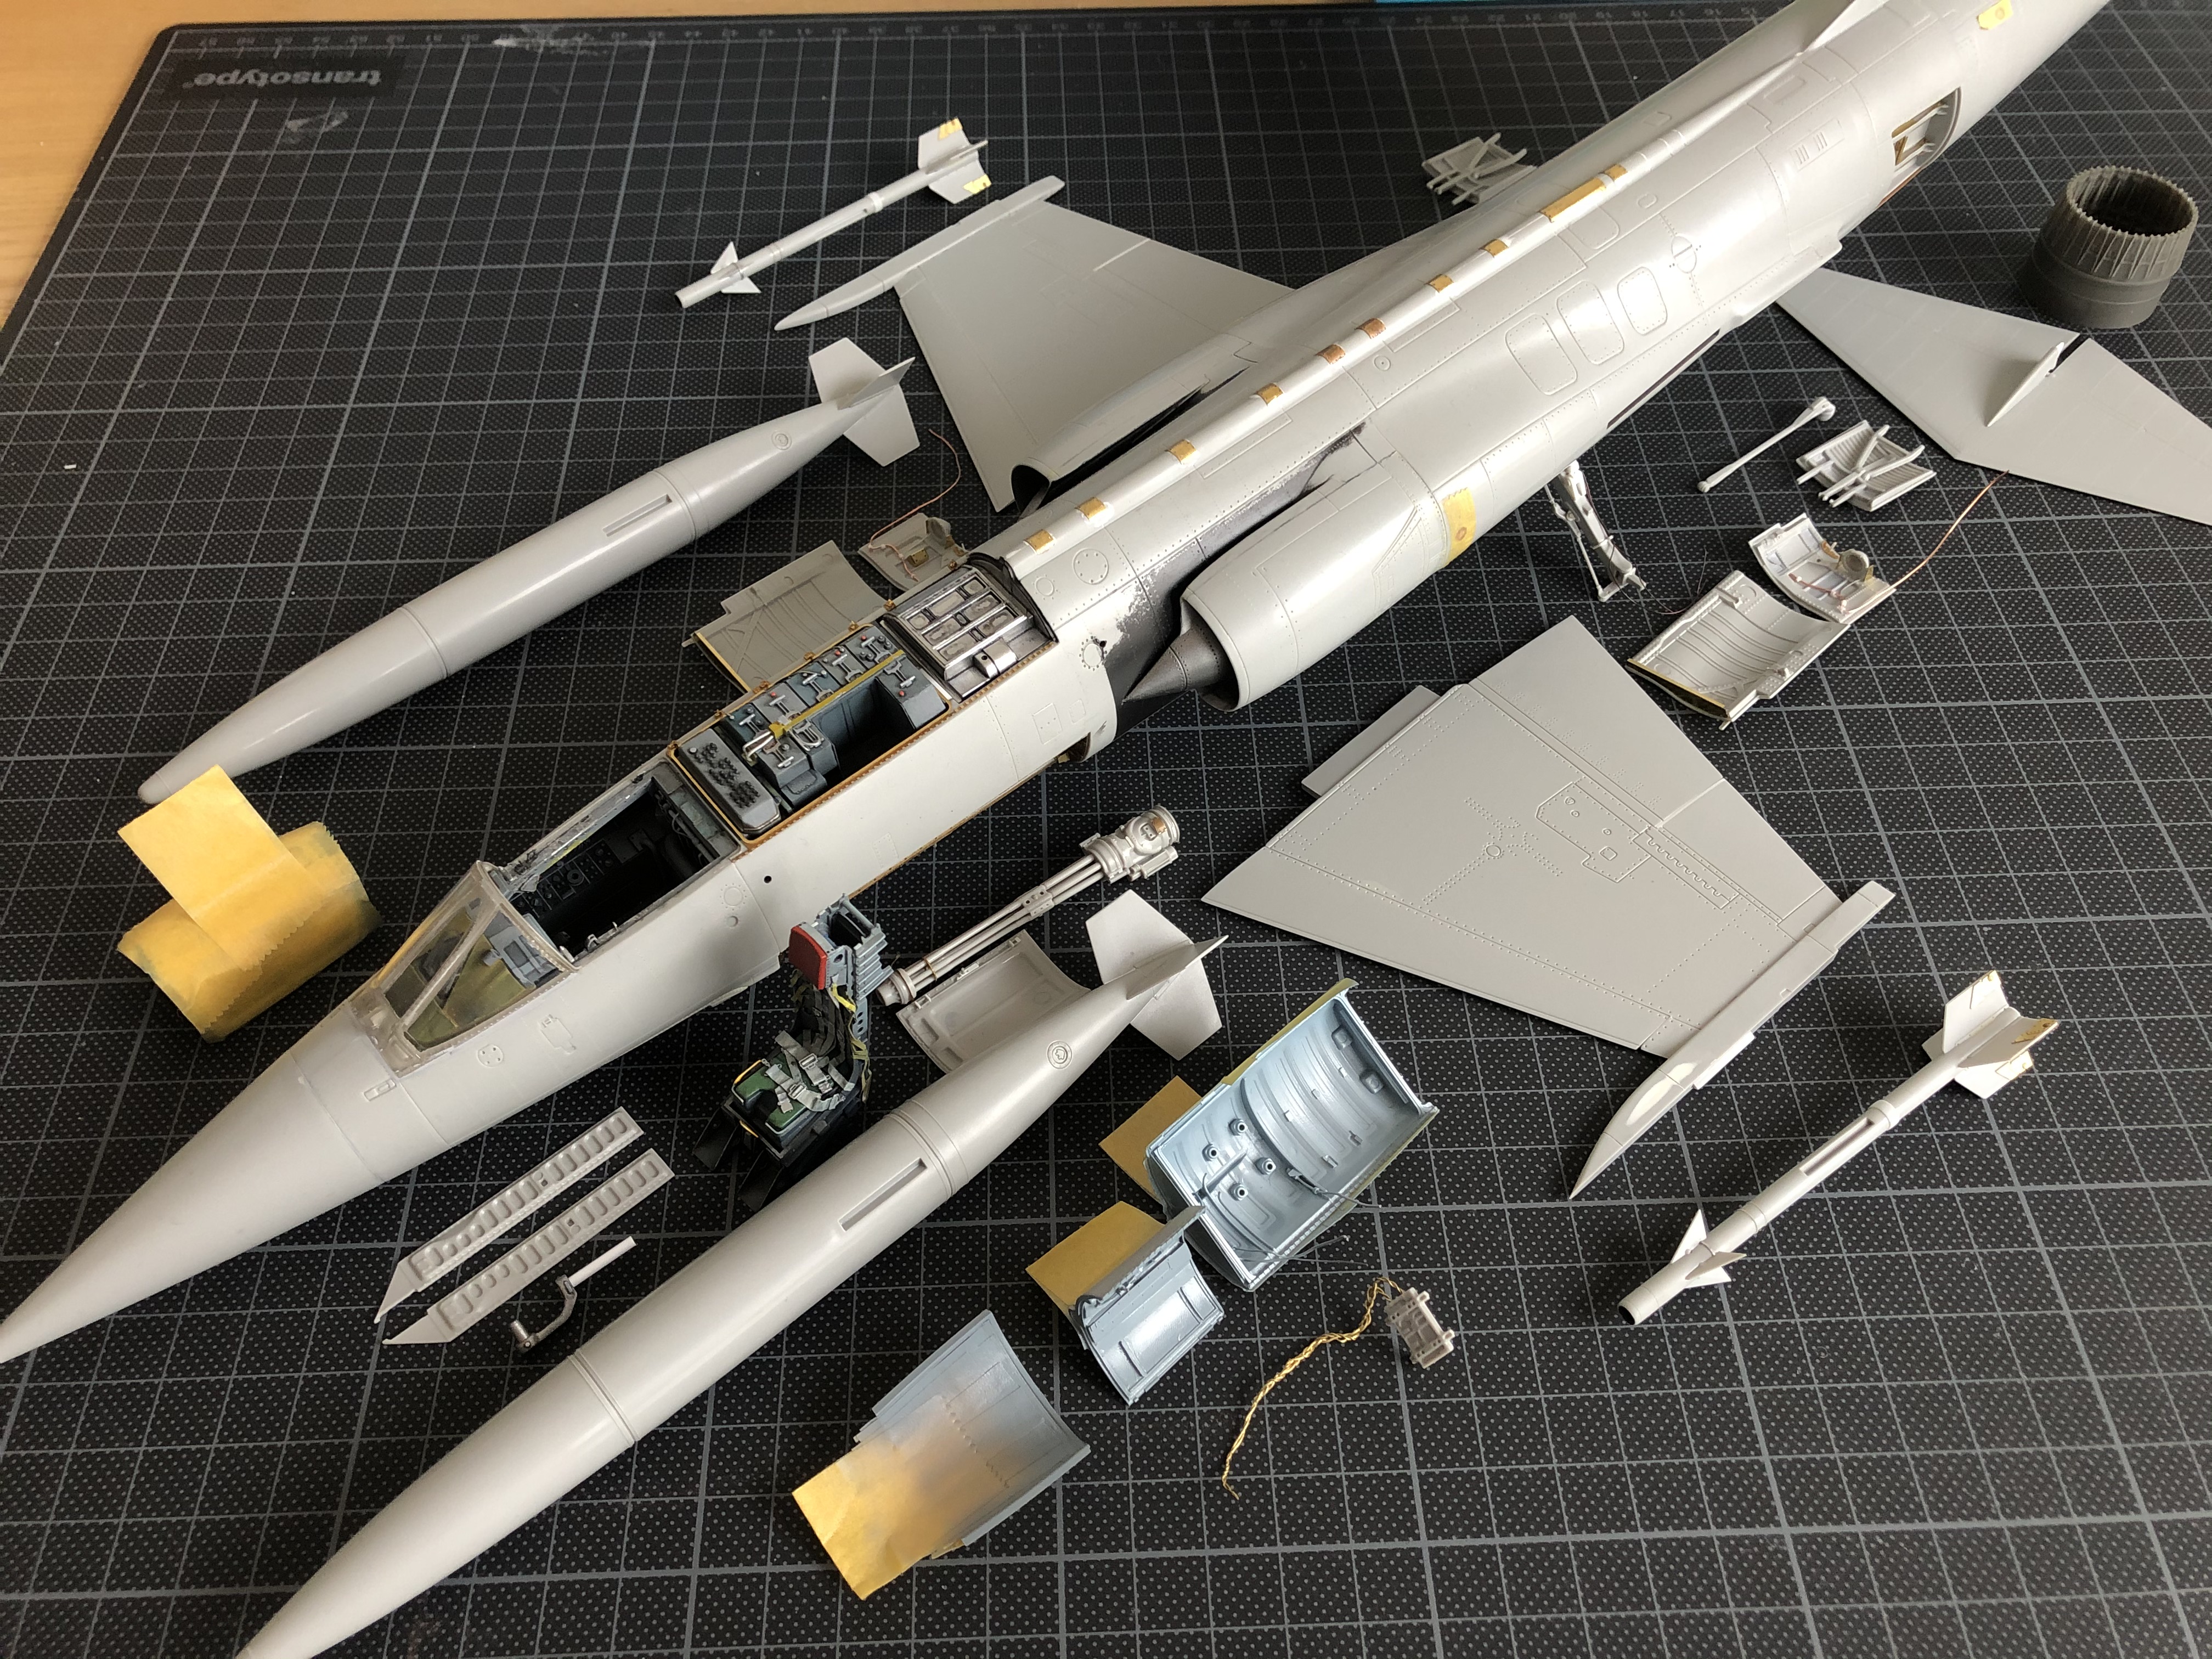
With the speed brakes done (see below), it slowly dawned on me that I am getting close to finishing the sub-assemblies. There are details to add here and there and paint to be applied, but I’m close to finishing all the tiny scratch building and construction. To celebrate I decided to clean up the kit box which was full of detritus, and lay out all the components. There’s an odd feeling of exhilaration; a sudden belief that I might really finish the whole thing.

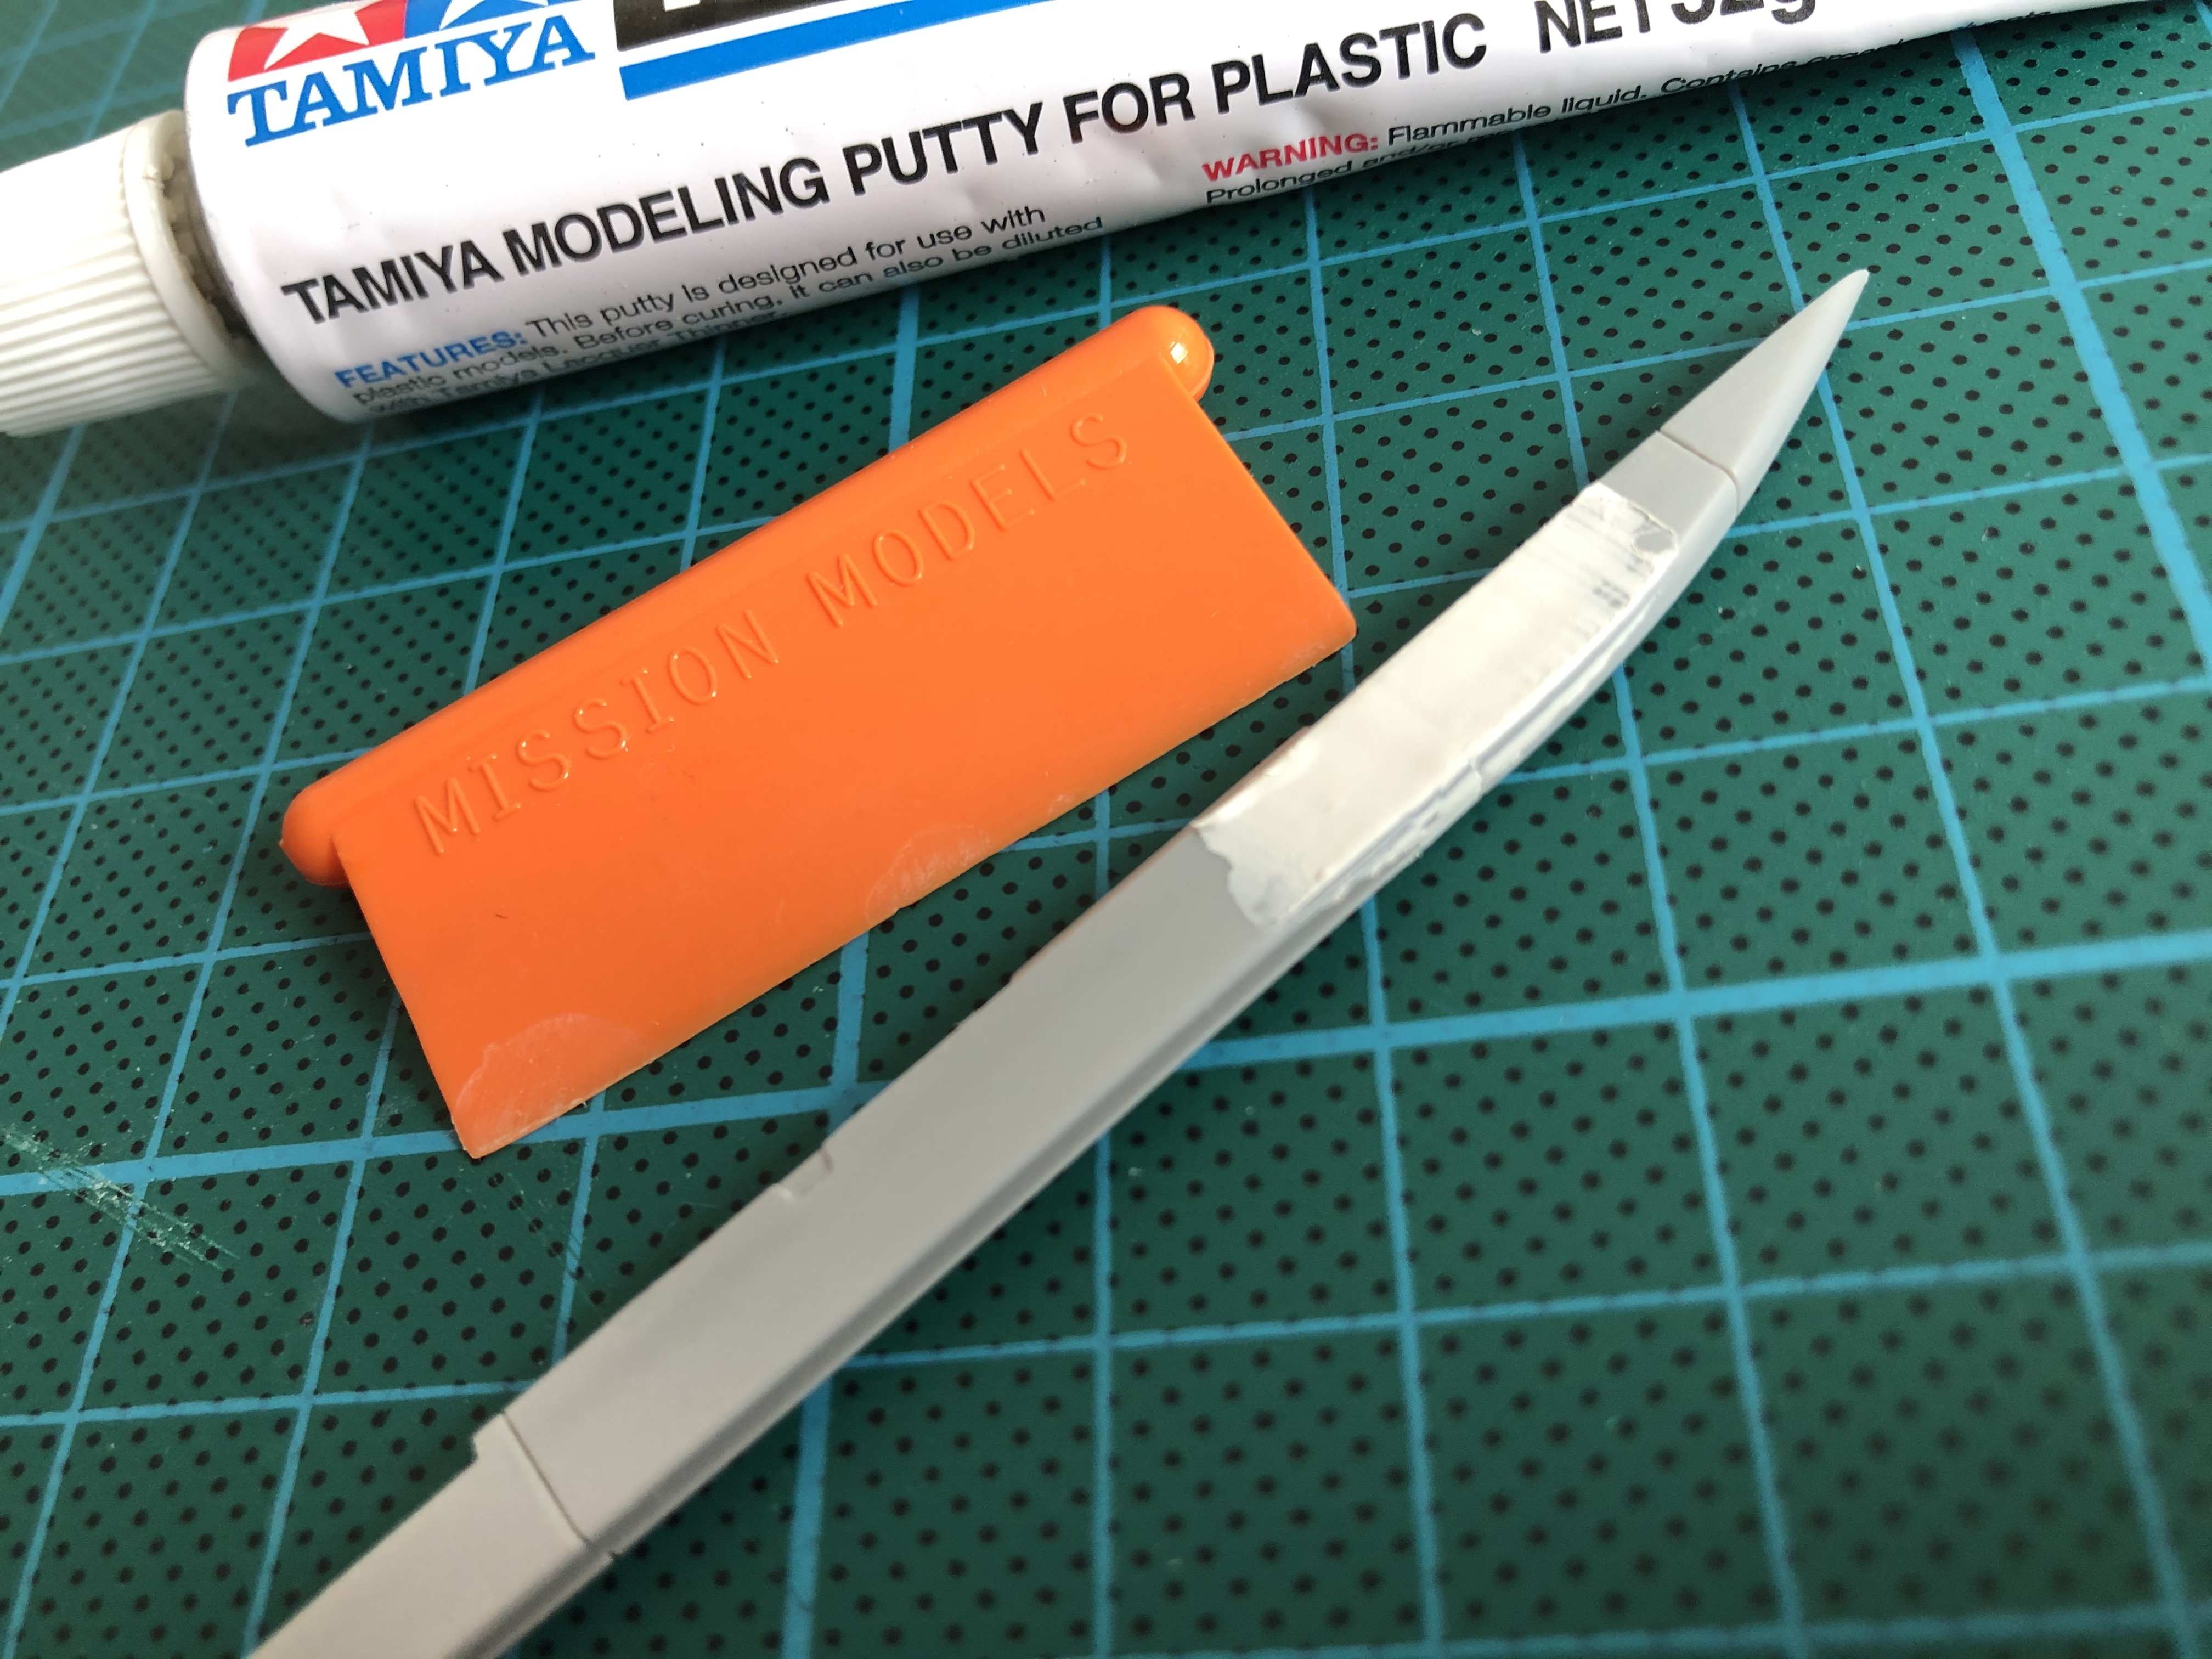
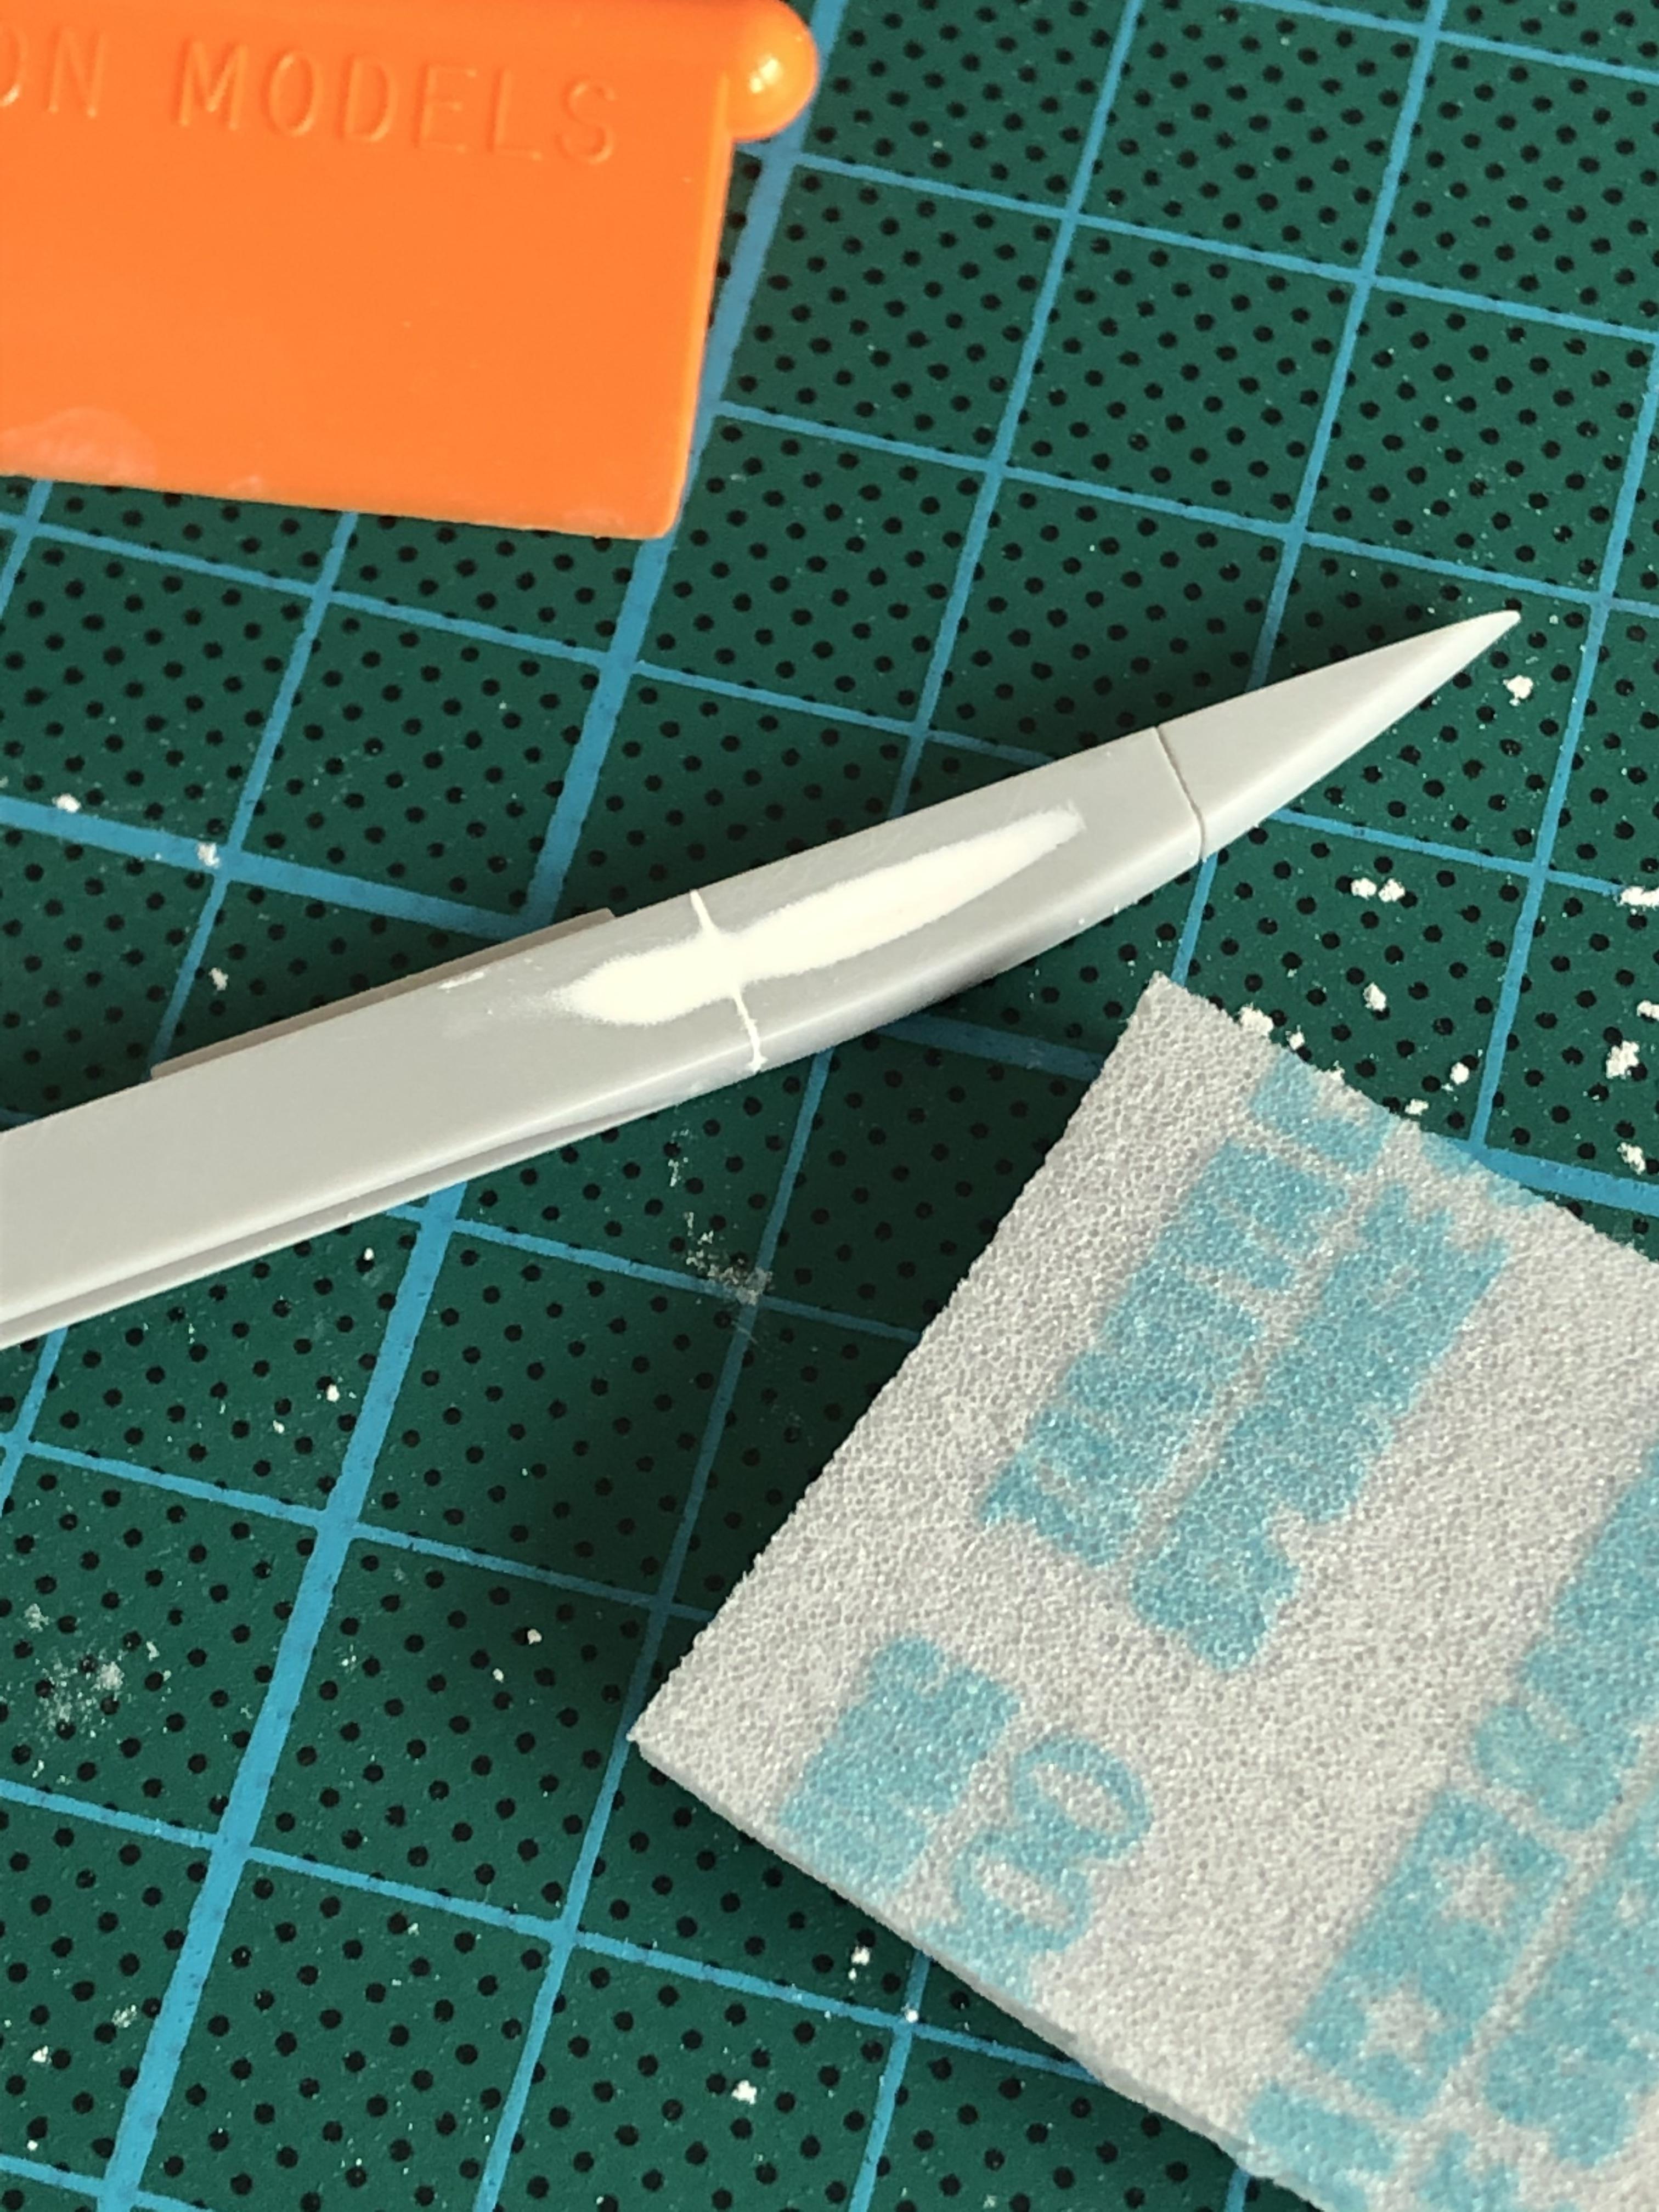
That got me motivated, and I turned my attention to some bigger parts; the wingtip missile rails and the rear stabiliser. The missile rails had sink marks. I sanded them out of one side but the other needed filling and then sanding. Not a huge job, but it would have been nice not to.

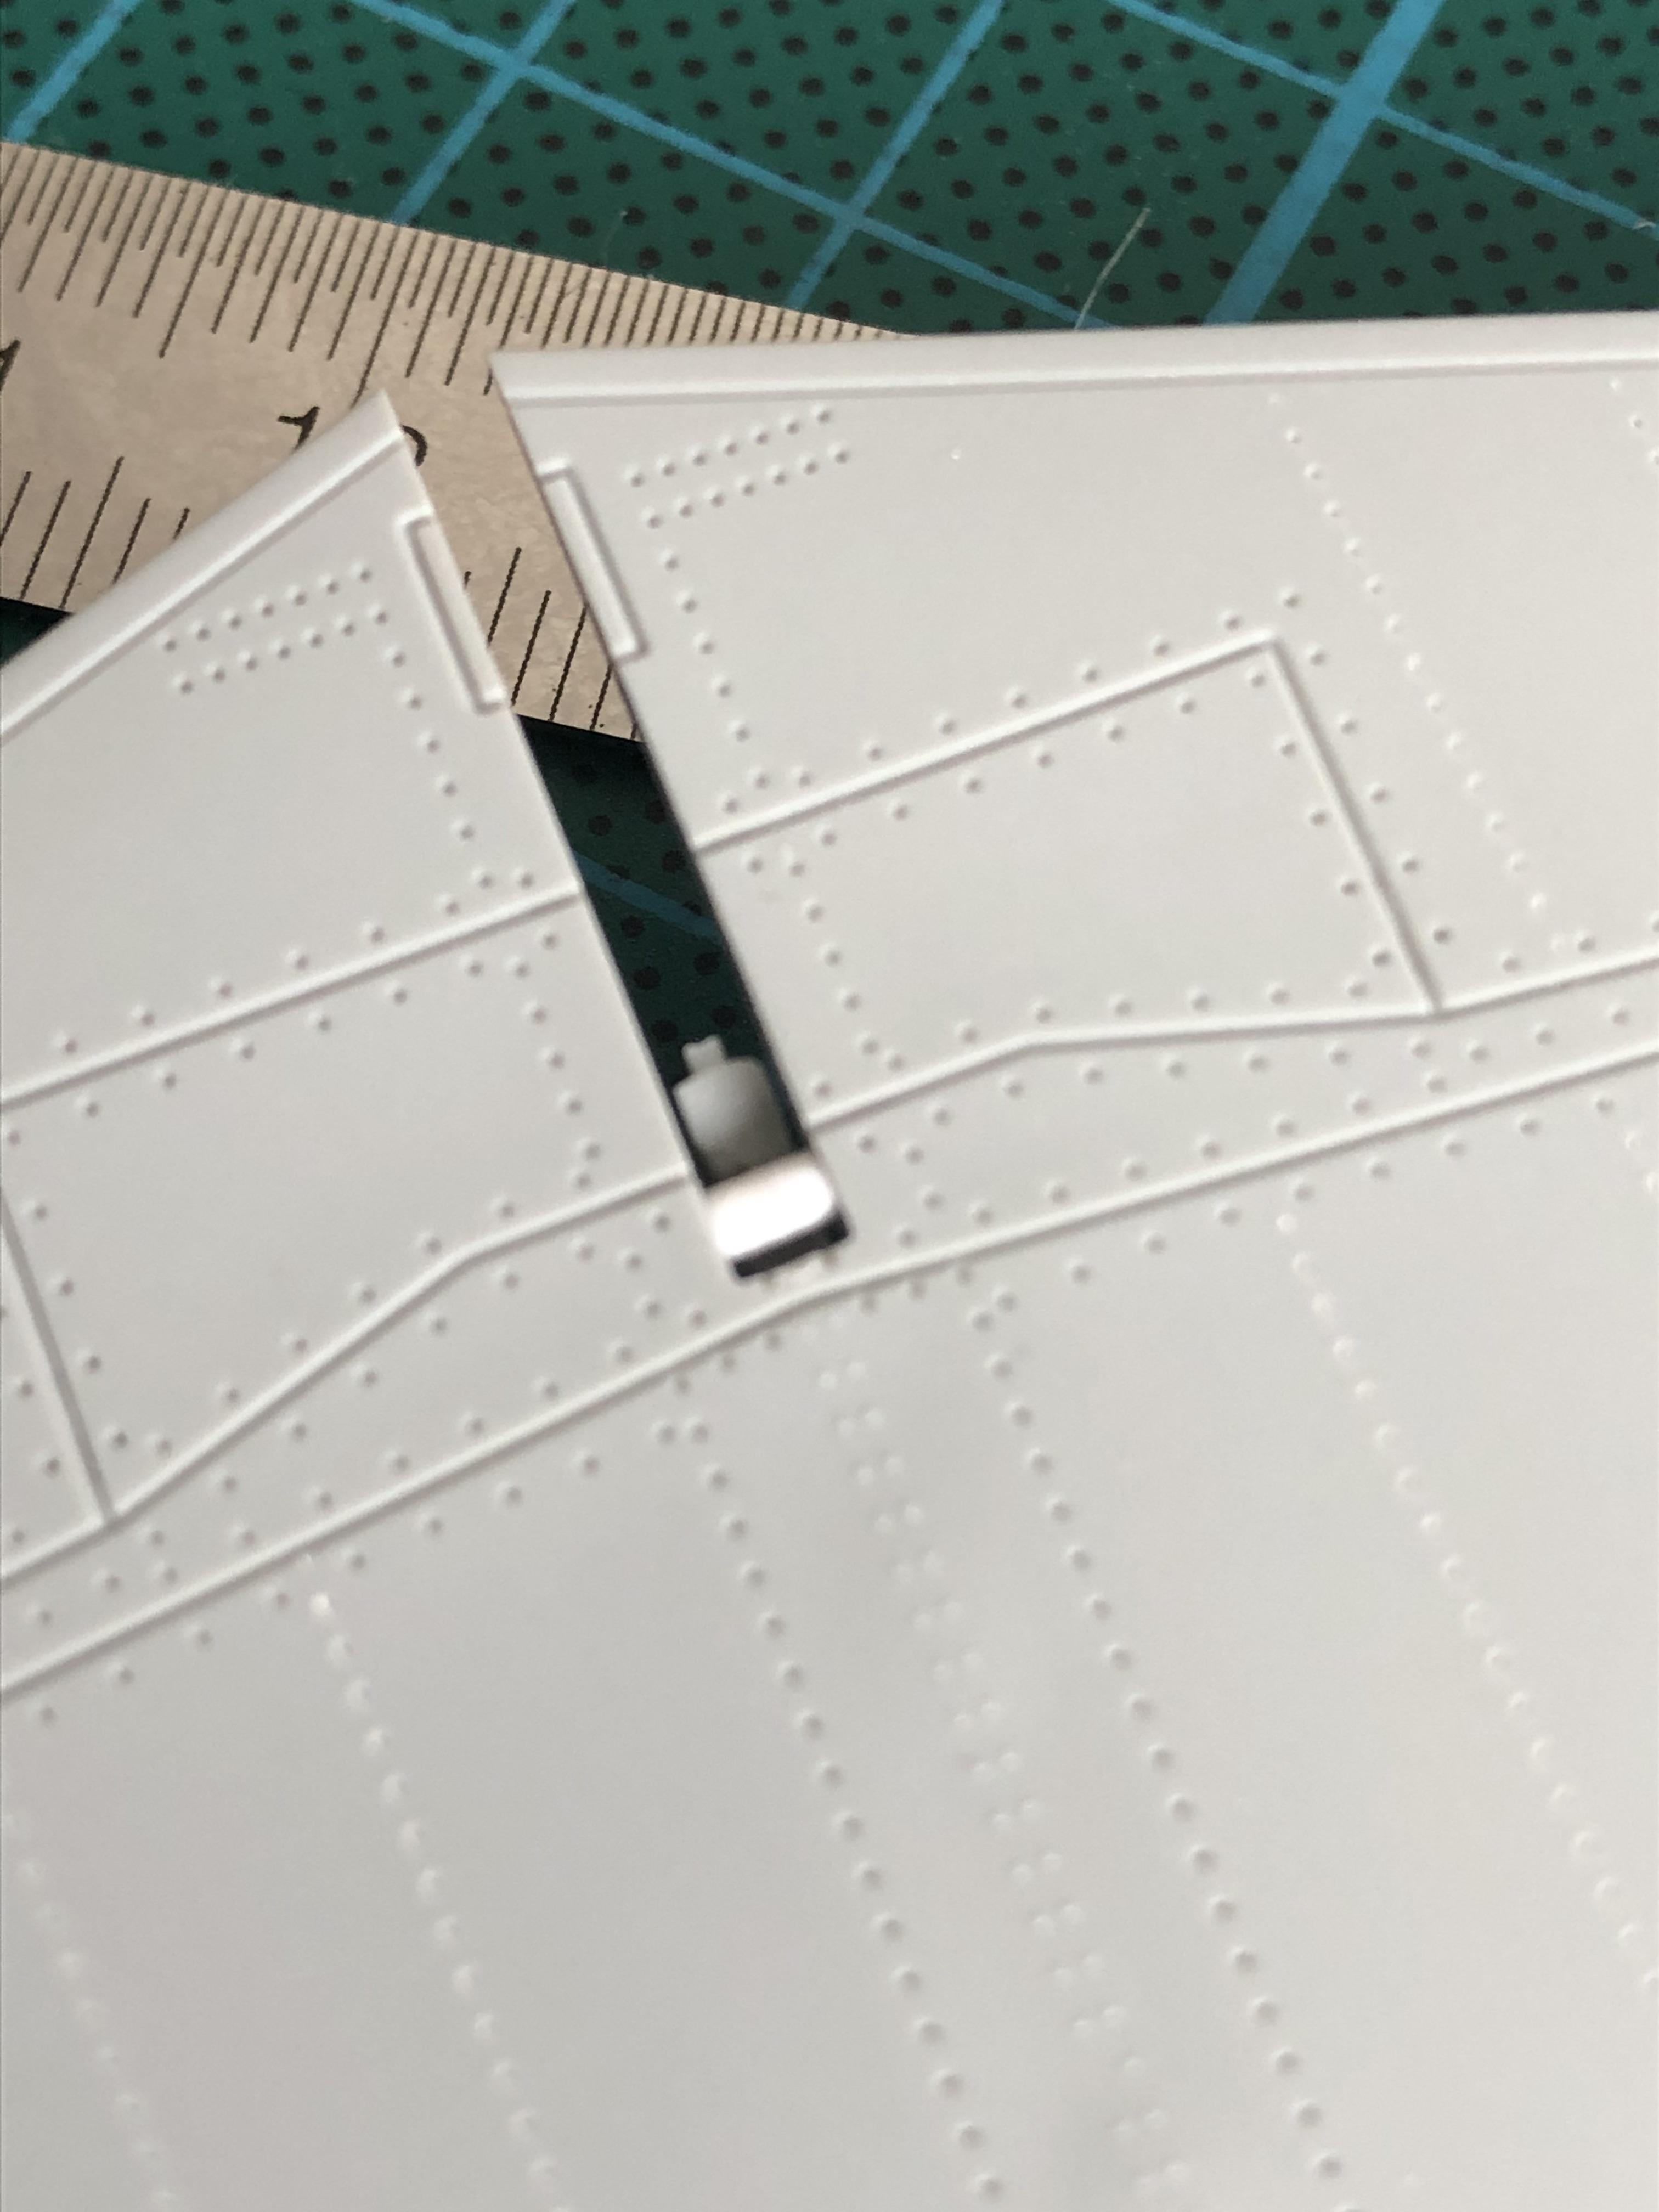
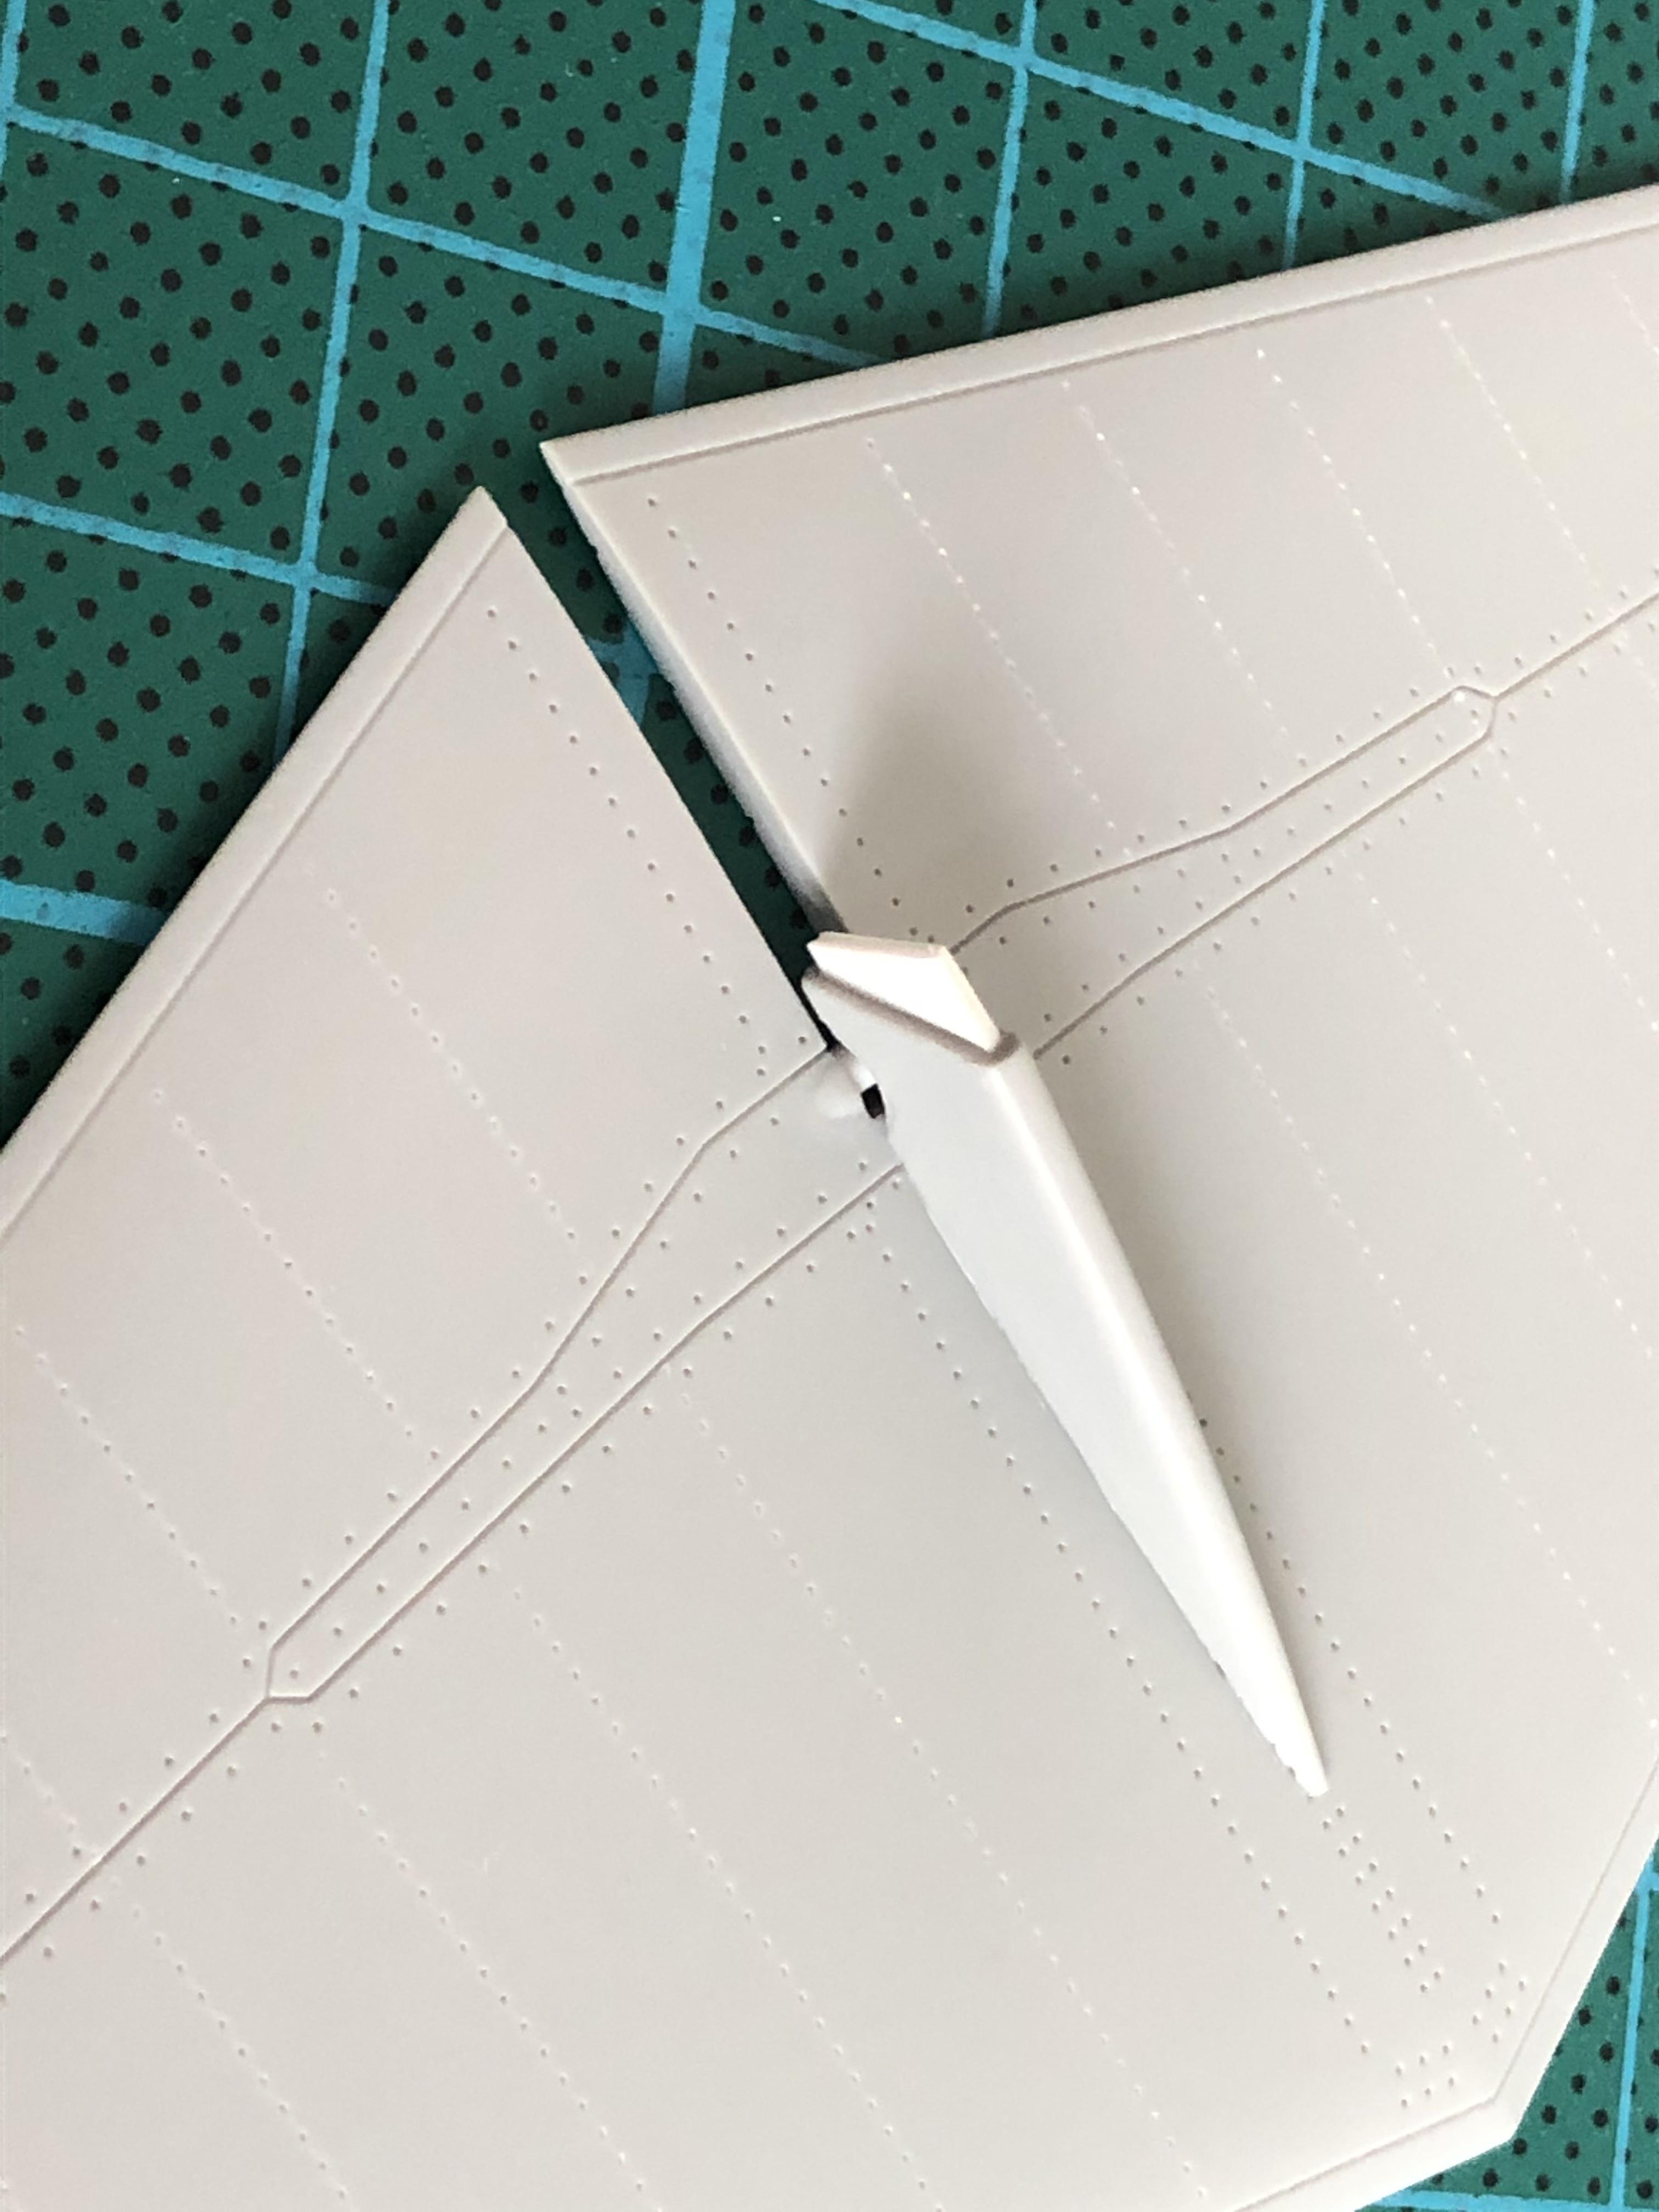
The stabiliser had such a loose fit that I made my own fitting. It’s still not a very positive lock but its better. A small spar made from plastic rod now fits a semicircular cup at the top of the tail. By increasing the length of the part on top using plastic card I managed to get extra support. I want to assemble this area after painting so my aim was to get construction problems fixed now.

I still can’t quite believe that I’ll soon have all the sub-assemblies done. Now I’ll go right back to the first page of the instructions and look for things I missed or delayed. Wow.

Happy modelling guys.


SteveAndrews
_VISITCOMMUNITY
England - South East, United Kingdom
Joined: August 16, 2010
KitMaker: 693 posts
AeroScale: 551 posts
Posted: Wednesday, February 12, 2020 - 08:32 AM UTC
Hi guys,

This is just a quick note to say that I'm slowly working my around all the last details. I'll post some photos when all the final jobs are done.

Bye for now, and happy modelling,

Steve.
SteveAndrews
_VISITCOMMUNITY
England - South East, United Kingdom
Joined: August 16, 2010
KitMaker: 693 posts
AeroScale: 551 posts
Posted: Tuesday, February 18, 2020 - 10:10 AM UTC
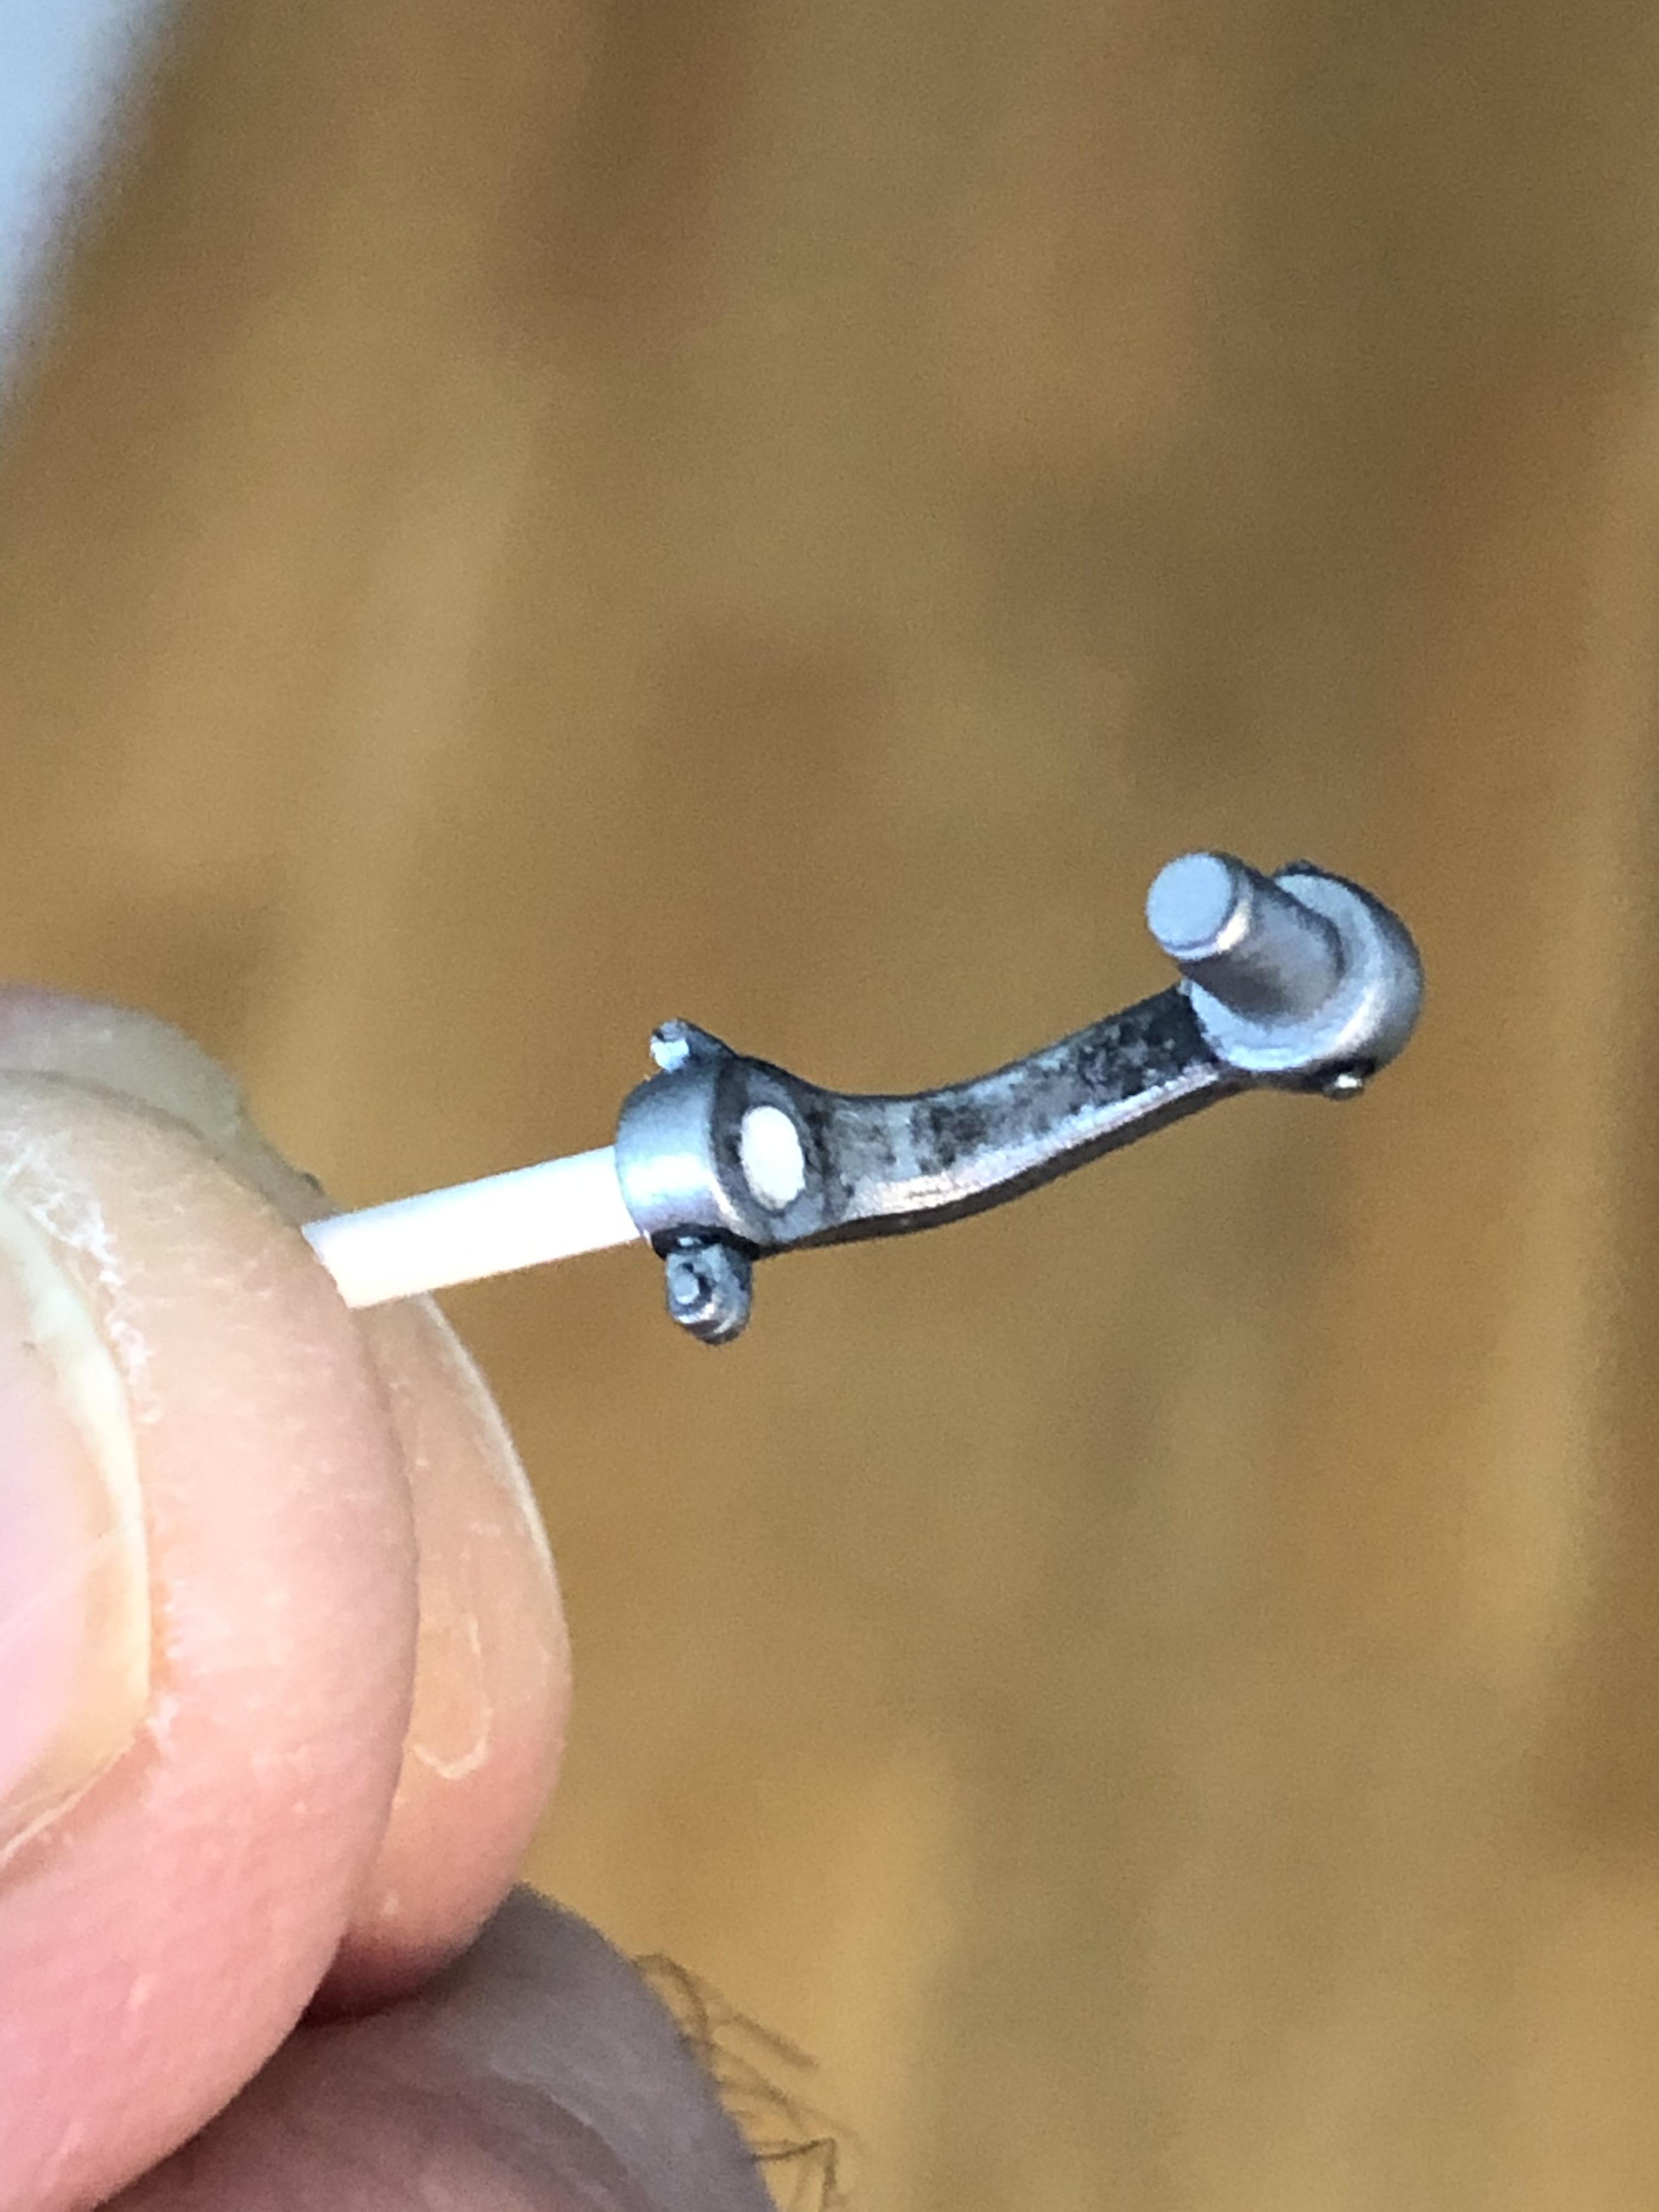
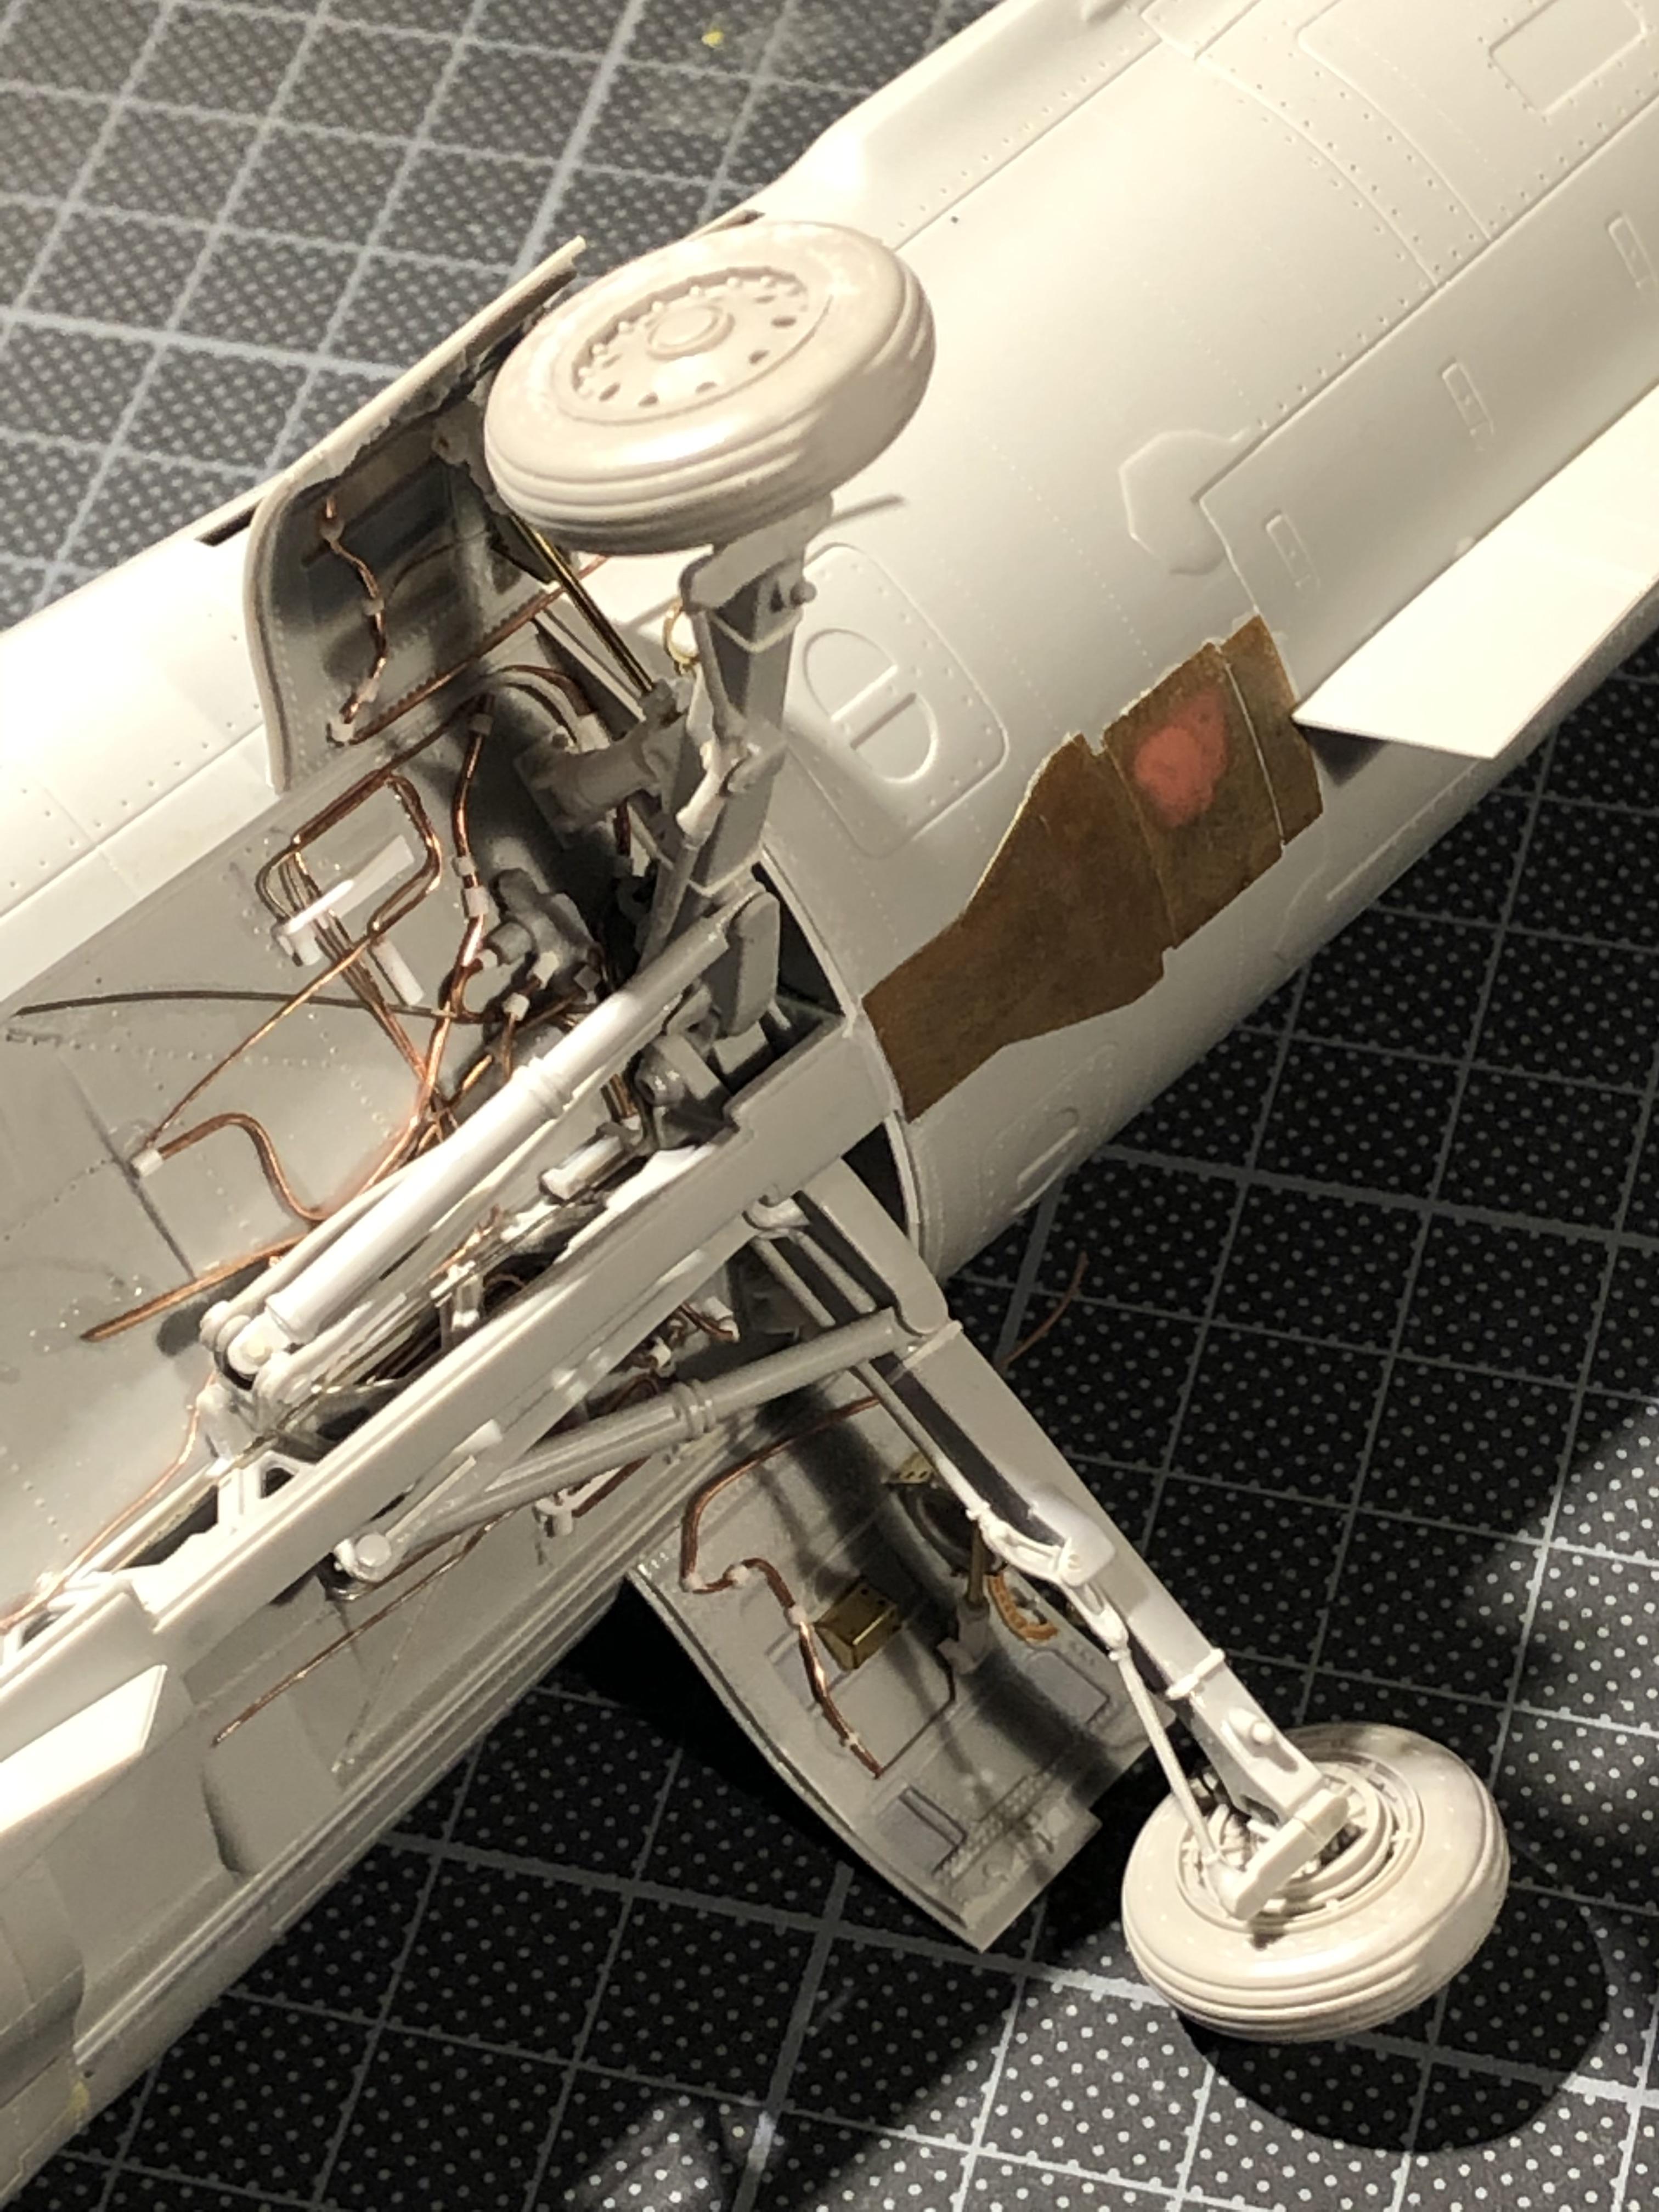
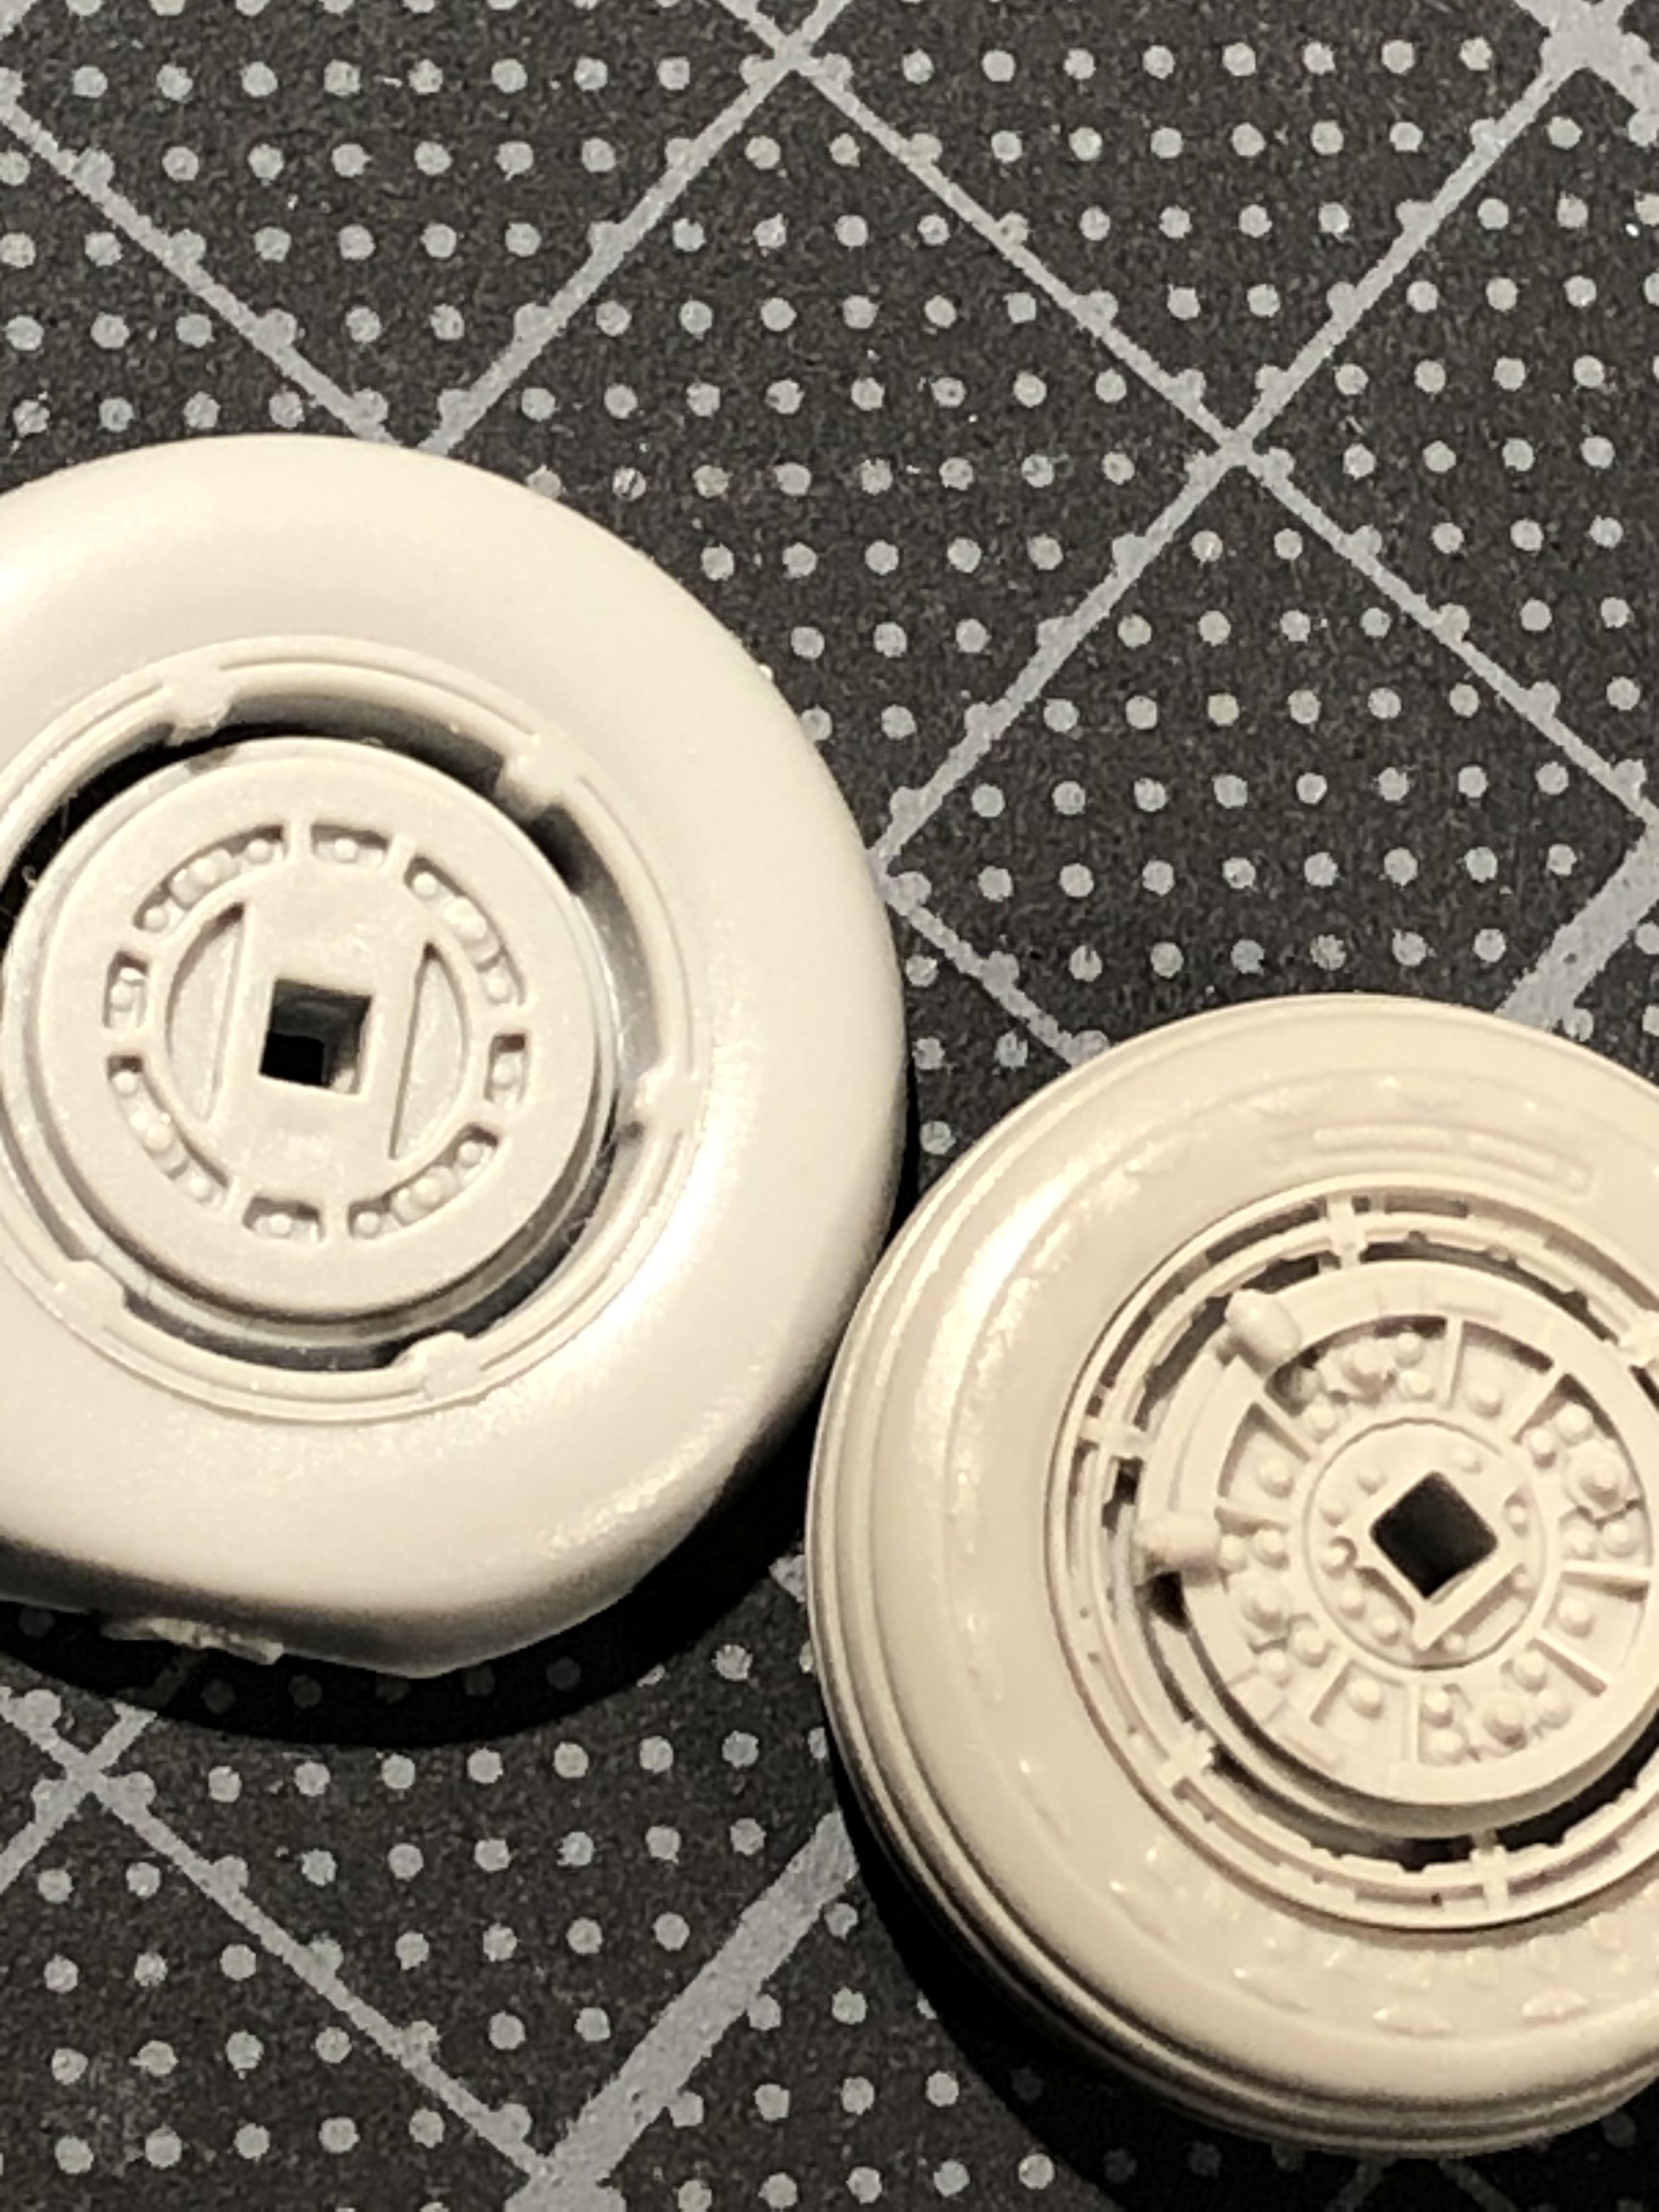
Last post I promised details. Well, I’m very happy to say that the main landing gear is now fully detailed-up. With just a little cabling to tuck away and lenses to add, it’s on the verge of total completion. Crikey. The wheels are a lovely feature. Check out the resin replacement next to the kit part.


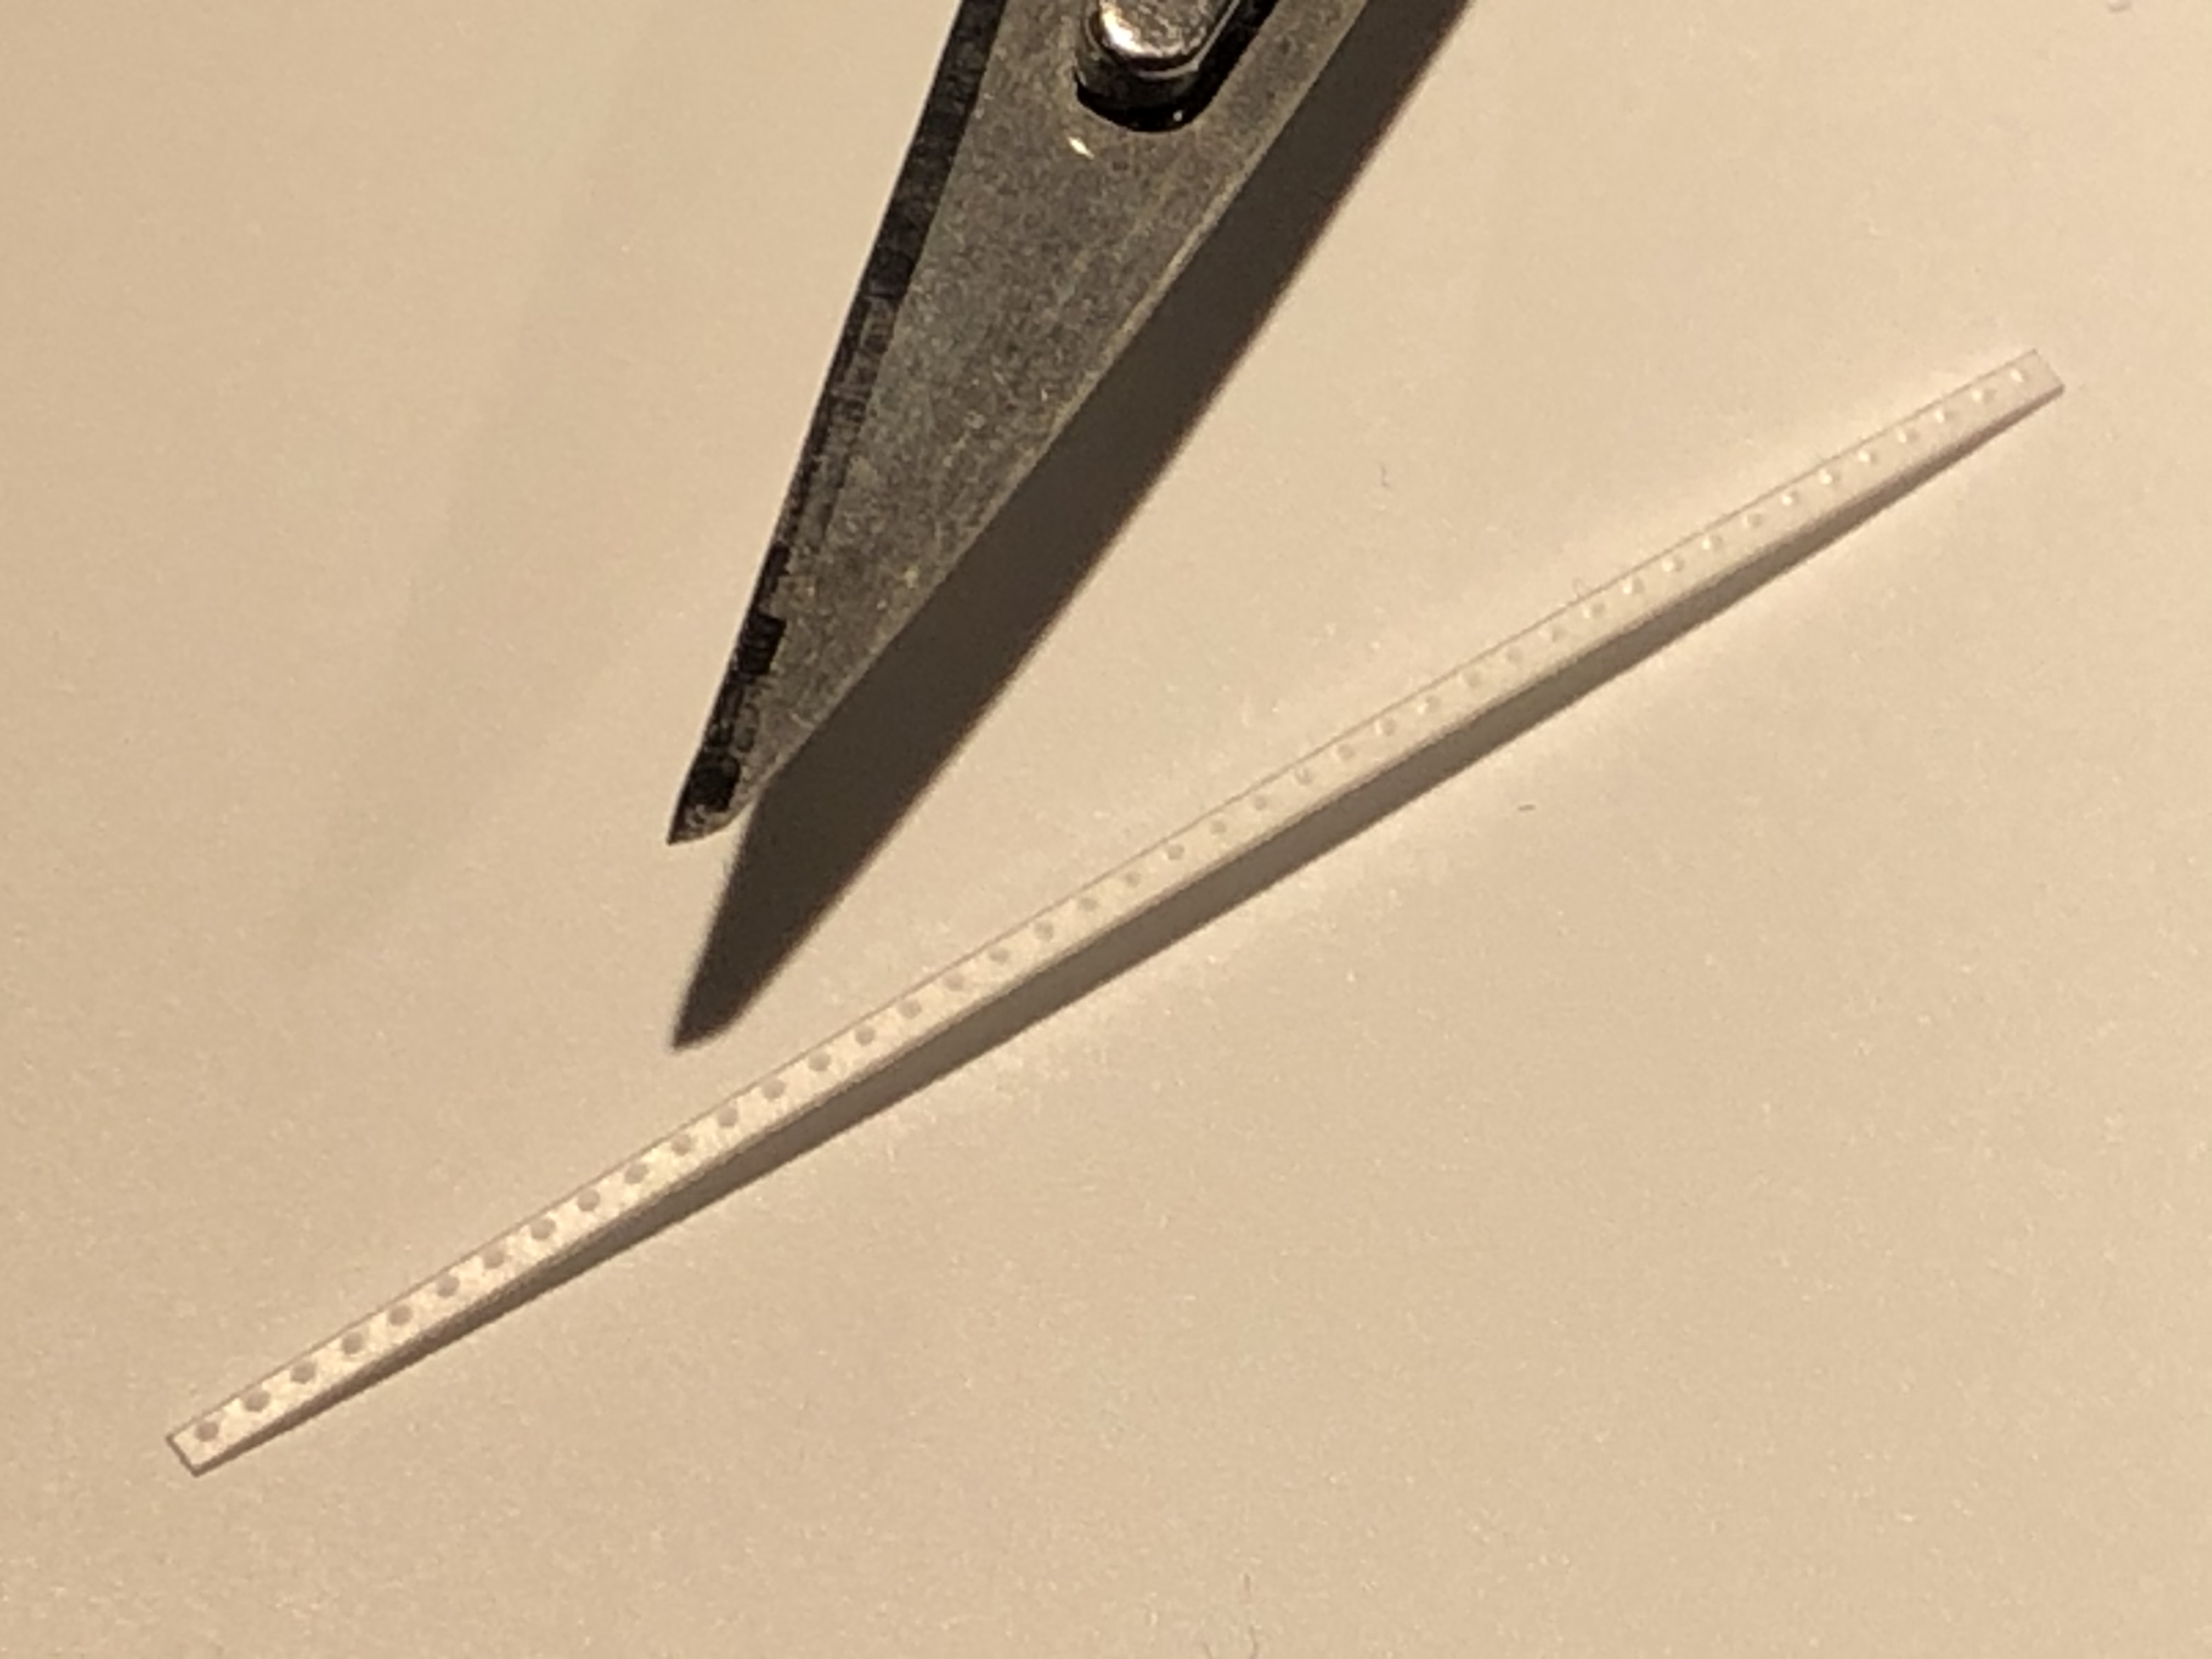
While checking some references I noticed a riveted lip that runs around most of the edge of the refuelling arm bracket. I wondered how (and if) I would make it. After some musing and experimentation I ended up using Rosie the Riveter on thin plastic strip. I ran the wheel over one side in the usual way leaving depressions. The plastic is thin so the reverse side is - you guessed it - full of little raised bumps. Perfect. I hope you can see what I mean below. These do the trick and when cut into strips are easy to bend. They are also easily melted by glue. Only afterwards did I realise that the same trick applied to metal foil gets a much sturdier and in scale result. It might be harder to attach though.


Right, that’s your lot for now :-)

Happy modelling.

Steve


SteveAndrews
_VISITCOMMUNITY
England - South East, United Kingdom
Joined: August 16, 2010
KitMaker: 693 posts
AeroScale: 551 posts
Posted: Thursday, March 19, 2020 - 07:41 AM UTC
Crikey. The world has changed. Here we are isolating ourselves to protect each other from Coronavirus. I’ve been working at home for a week now, and adjusting mentally and physically to a new reality of many, many hours indoors. The enforced isolation has its benefits of course. Now, I don’t need to justify to myself or anyone else spending hours at my modelling bench. As a result the F-104C has progressed fast. It’s ready for paint - my favourite part of the whole process.

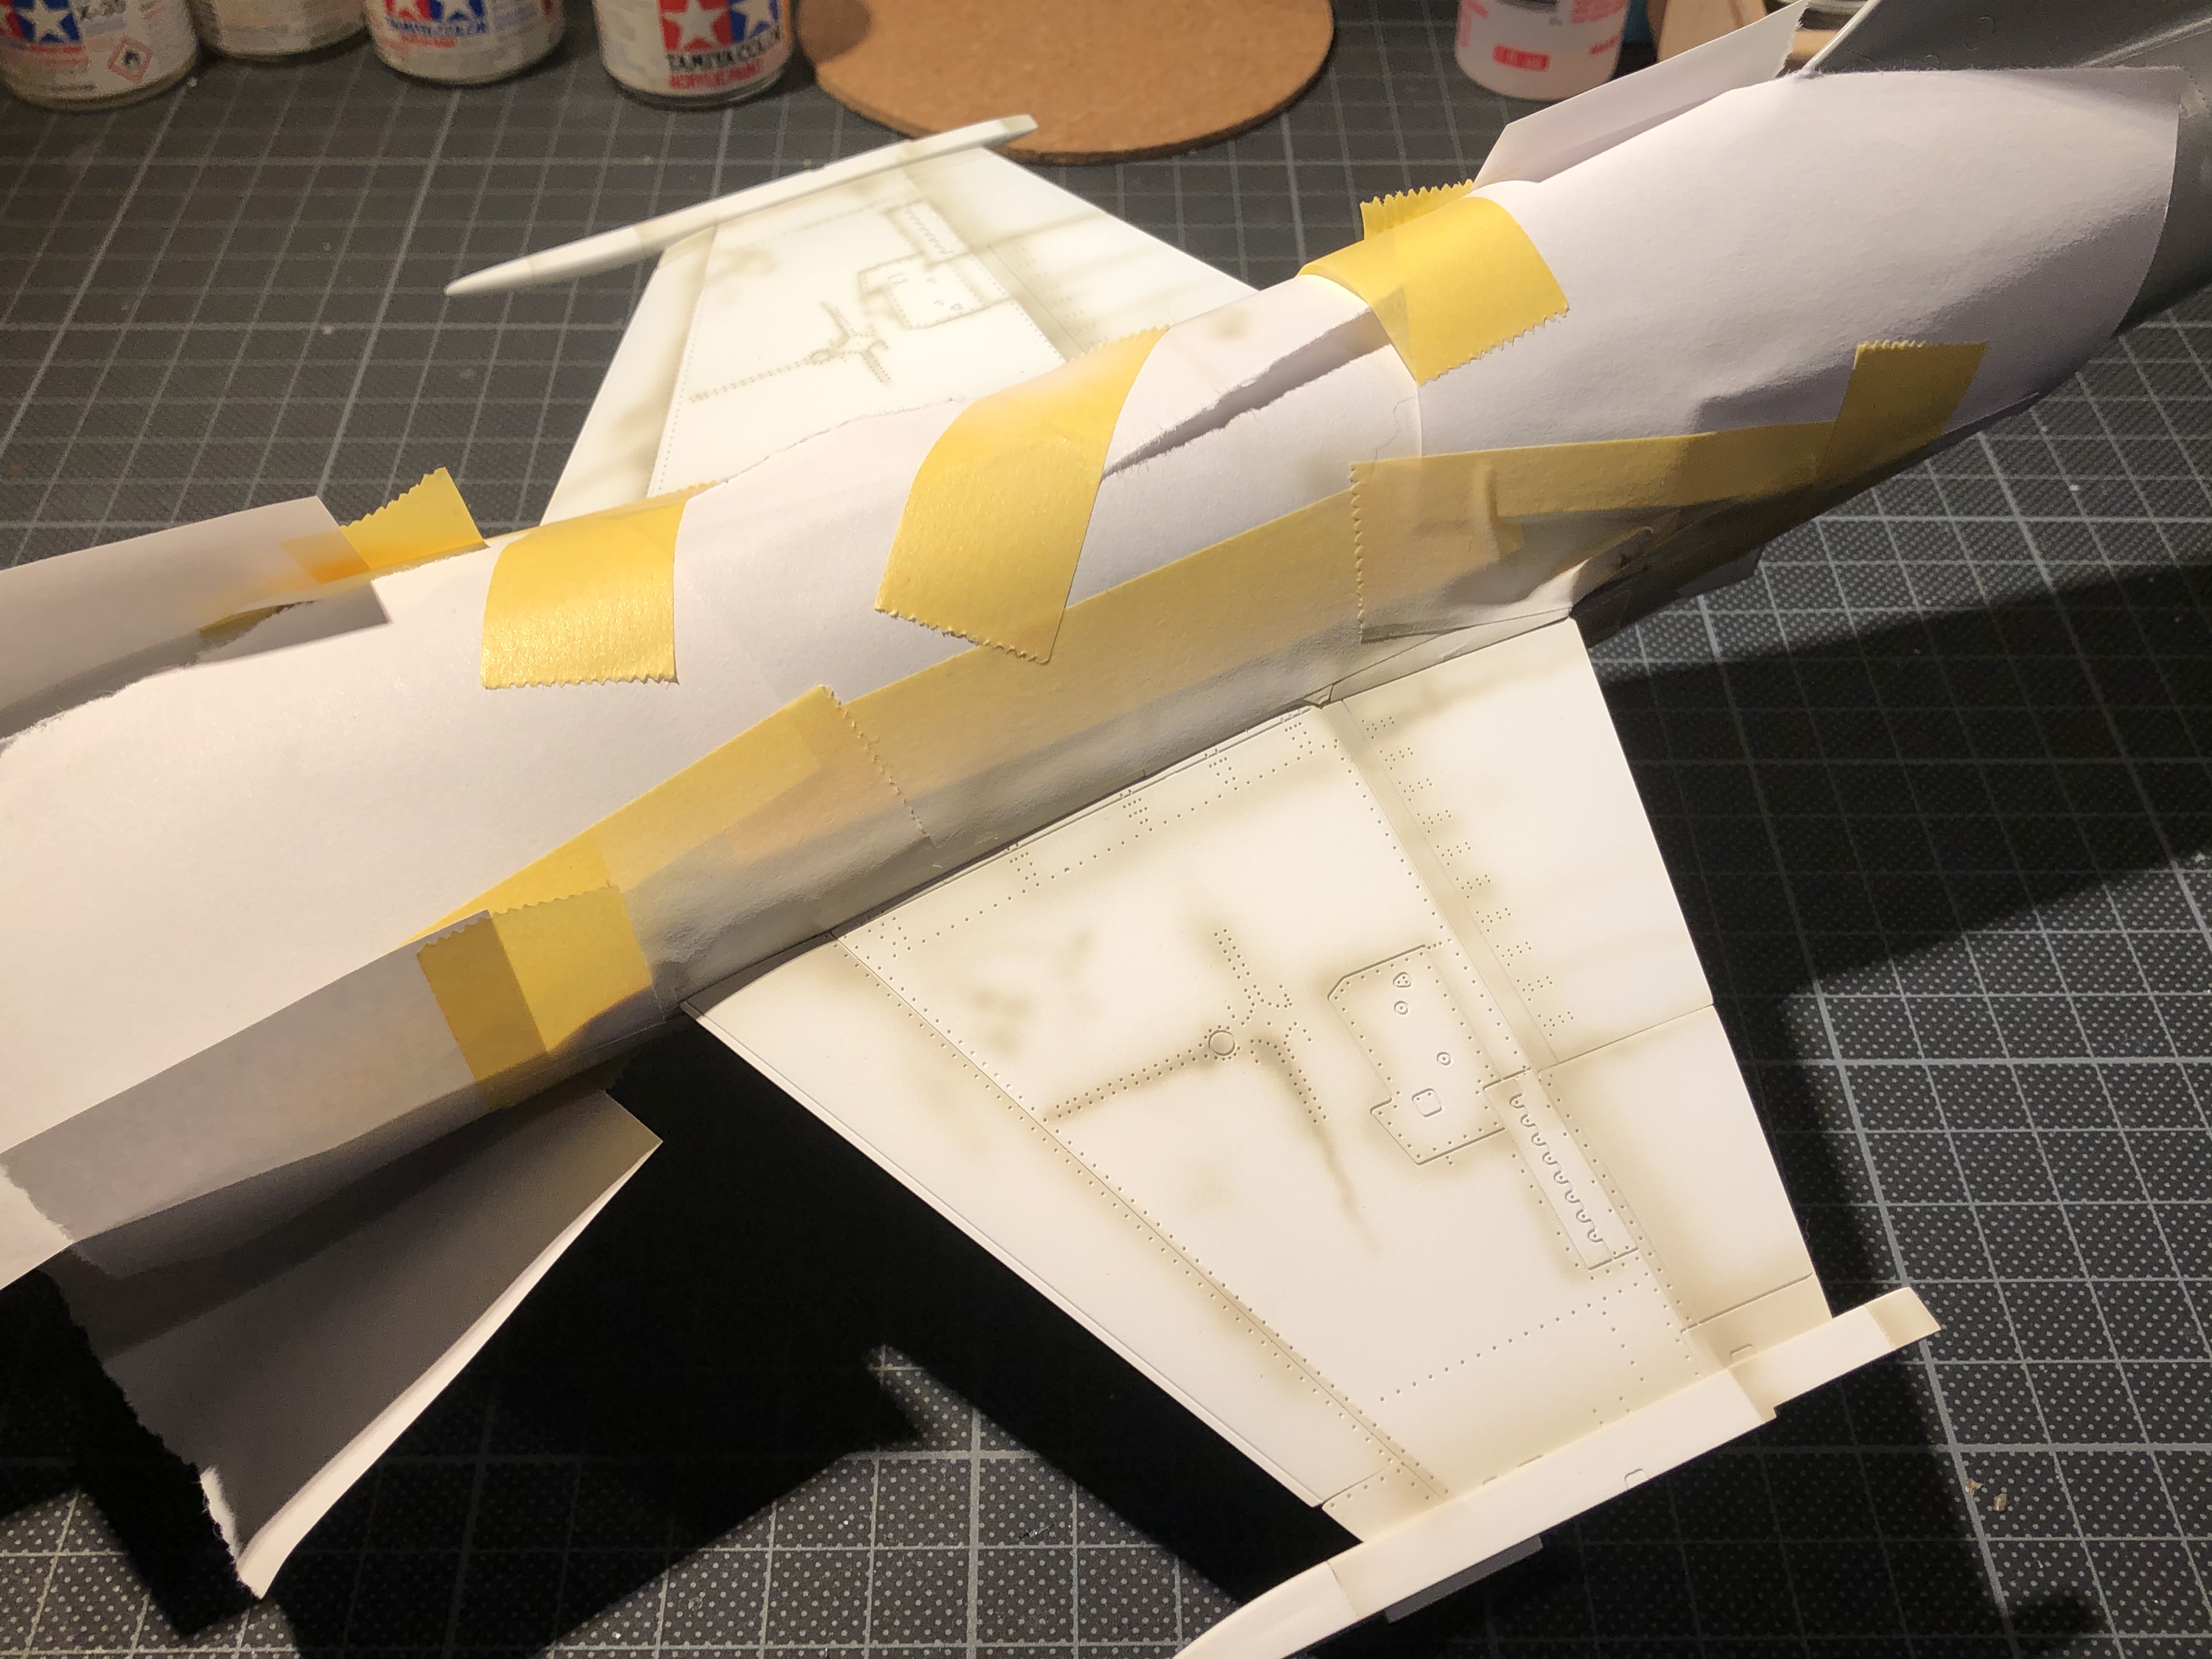
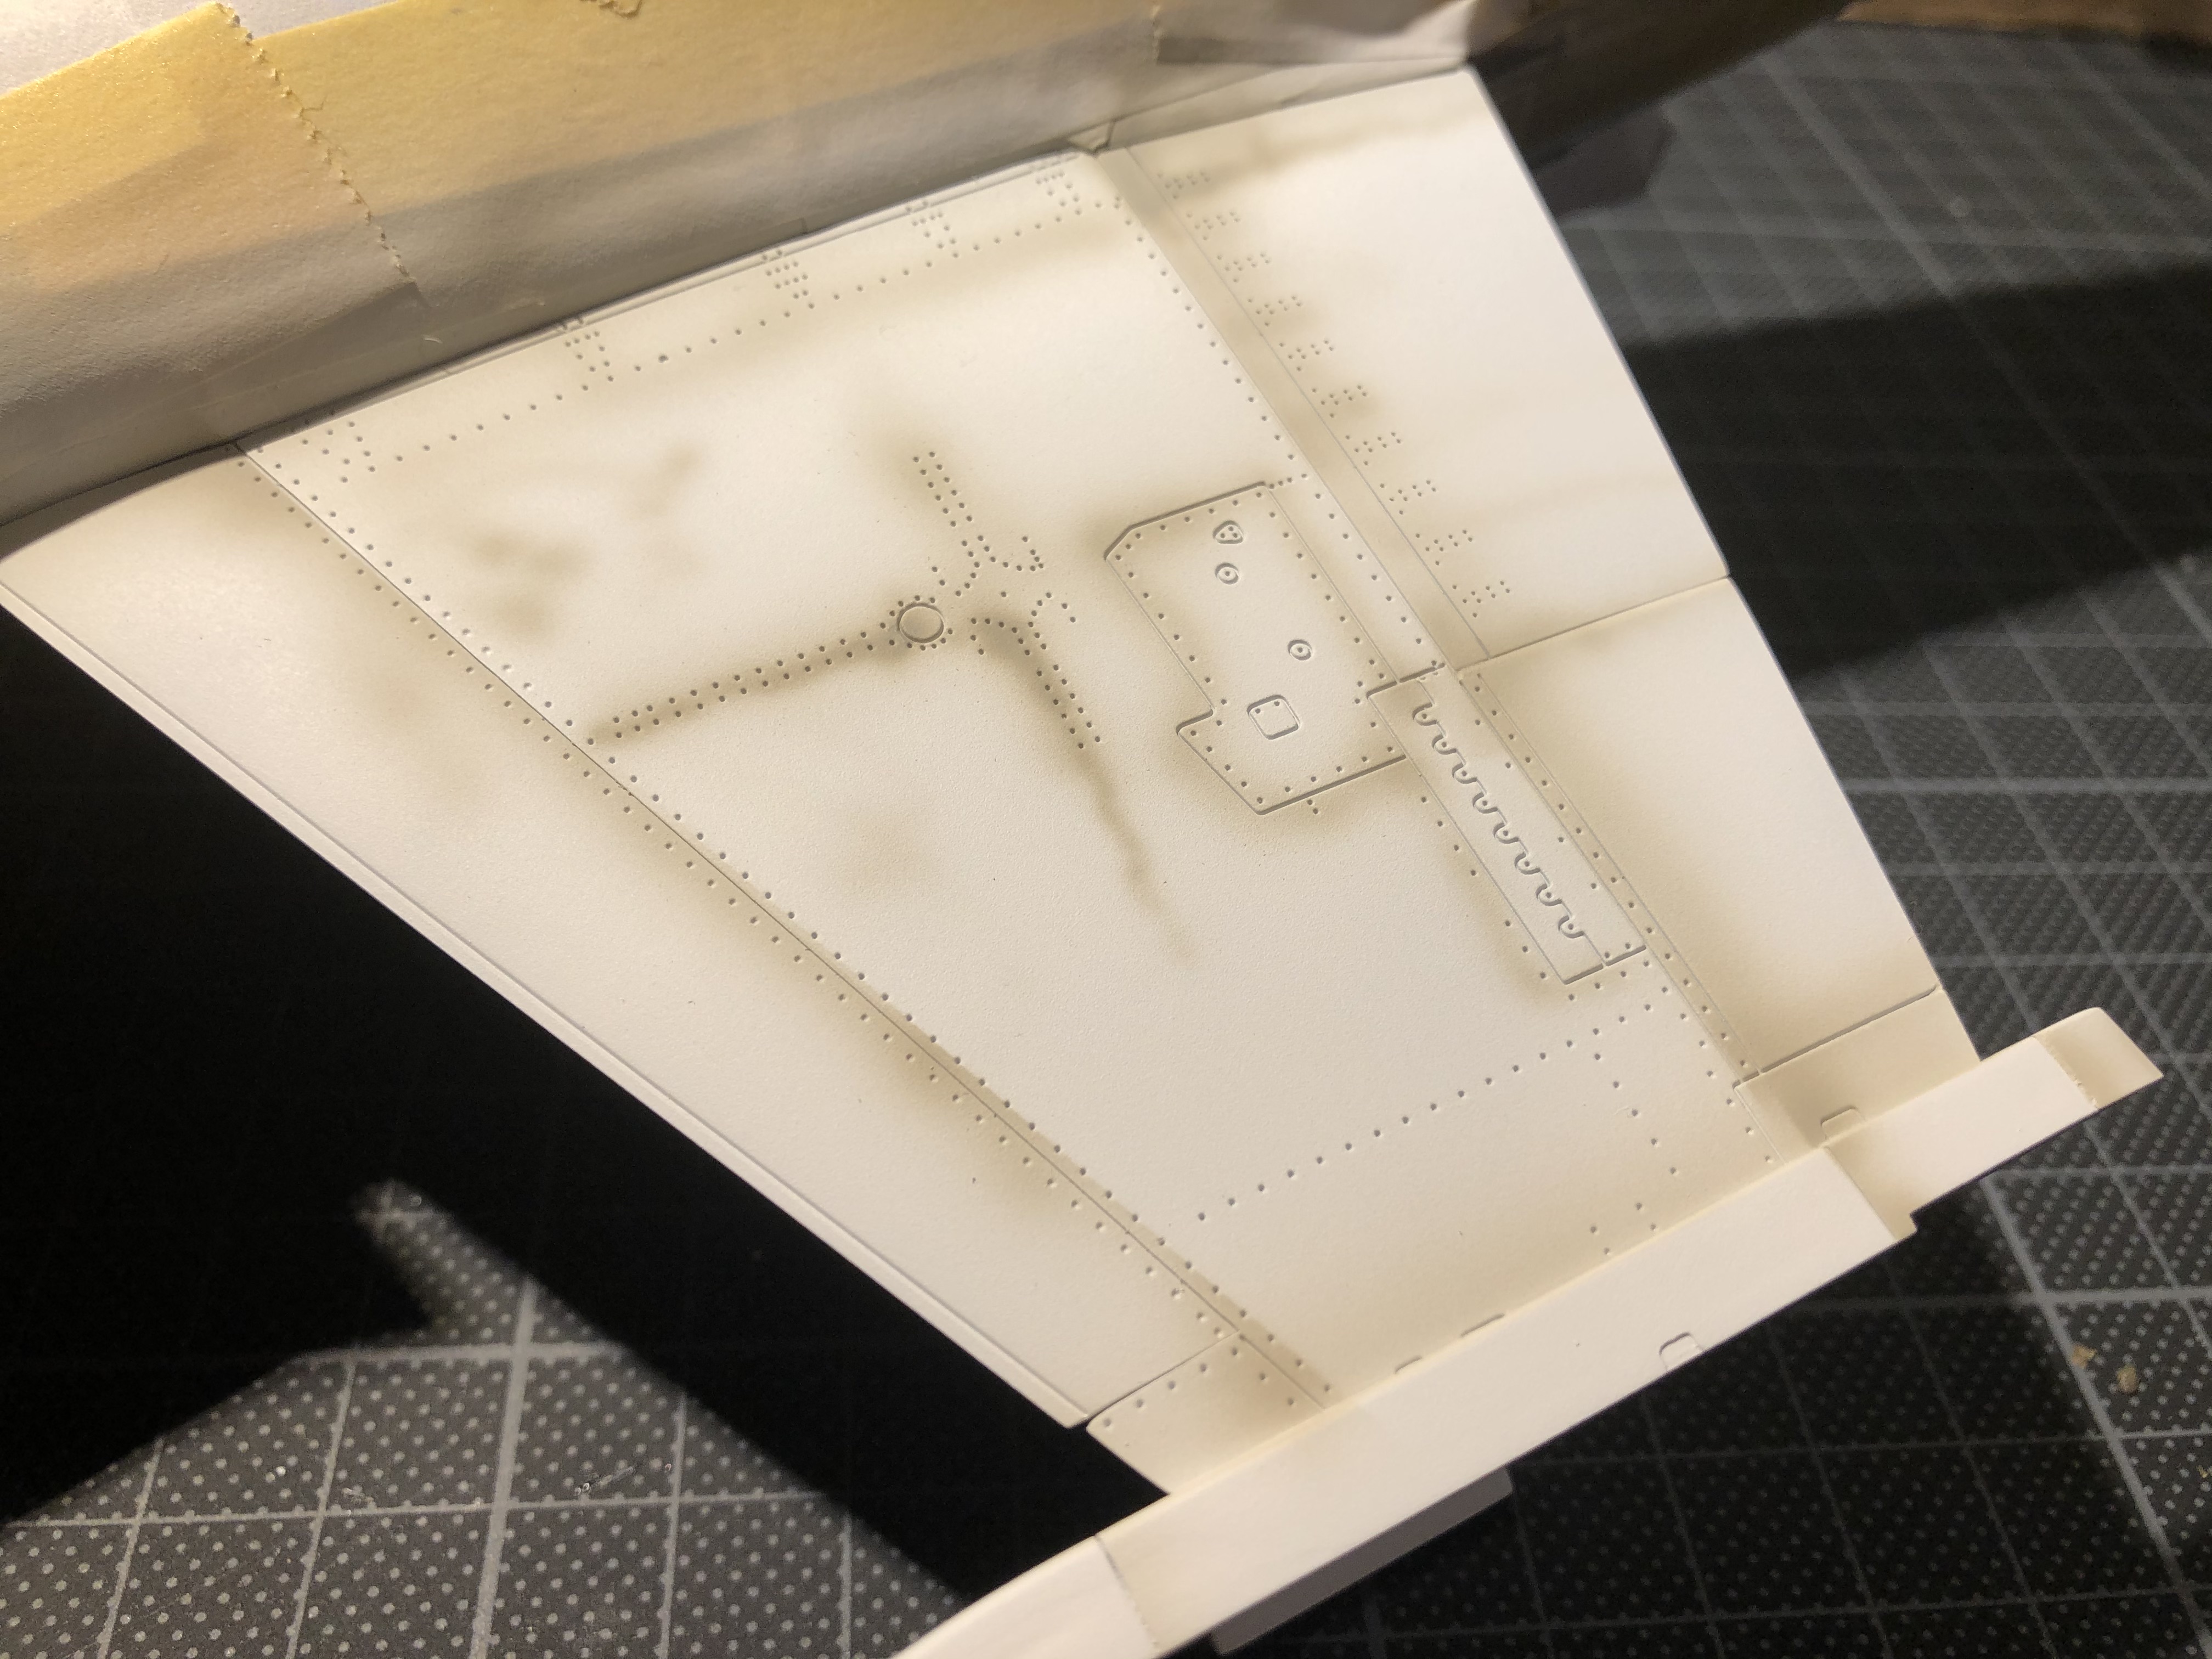
I’ve started with the wings because I’d rather do as little masking as possible on relatively delicate natural metal finish. So, its wings first, mask them off, then body. What you can see in the pics is a coat of Ultimate Primer (white of course) with some light pre-shading. When the pre-shading is dry I’ll apply final coats of creamy white. I’ve seen some lovely photos of Starfighters in Vietnam with wings that look tinted by the red earth. Who knows, maybe the dust is on the camera lens but it looks cool so I’m going with it.

Our community here has never had to meet in person to bond. So, how, are you doing guys?

Bye for now,

Steve.


Stickframe
#362
_VISITCOMMUNITY
California, United States
Joined: December 01, 2013
KitMaker: 1,661 posts
AeroScale: 4 posts
Posted: Thursday, March 19, 2020 - 08:37 AM UTC
Hi Steve,

Looks like we're in the same proverbial boat. I'm in a home quarantine in Northern California, directly east, across the bay from San Francisco.

Things started changing with speed last week. I was in SF for work on Monday, but the place was a ghost town. By Tuesday most downtown workers stayed home (including me!), and now, it's the norm. I reached out to family and friends, stocked up on some groceries etc, cleaned the kitchen, did some paper work, went for a couple of daily walks....and watched TV....

For the last few days, the solitary hobby we enjoy, has come through. My work space junkatorium includes various glues, paints, supplies etc, so, I'm building, rather, painting again. Lack of free mobility certainly forces decisions to be made.

As you are working away on the Starfighter, I began painting a Ford F150 kit, and started a relatively random F1 car I had in the stash - they're over on Auto Modeler.

Ok, stay well and keep posting -

Cheers
Nick