Peter,
Your build is outstanding, nice work!
Firstsergeant
Air Campaigns
Want to start or join a group build? This is where to start.
Want to start or join a group build? This is where to start.
Hosted by Frederick Boucher, Michael Satin
OFFICIAL: Bombers 2 Campaign
FirstSergeant

Joined: January 02, 2012
KitMaker: 139 posts
AeroScale: 70 posts

Posted: Tuesday, January 08, 2019 - 12:14 PM UTC

Propster

Joined: January 01, 2019
KitMaker: 81 posts
AeroScale: 38 posts

Posted: Thursday, January 10, 2019 - 06:09 PM UTC
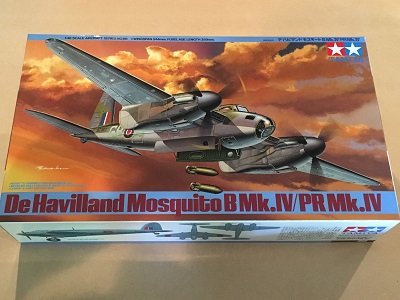
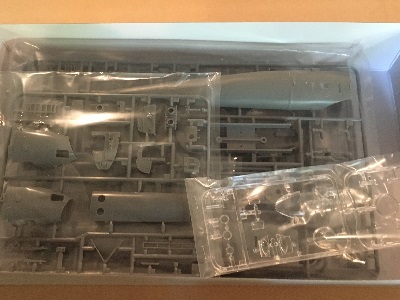
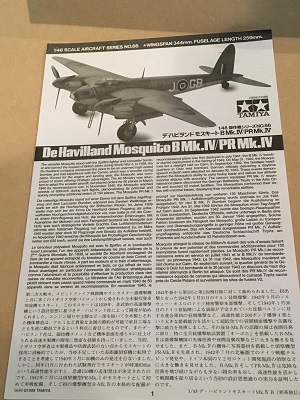
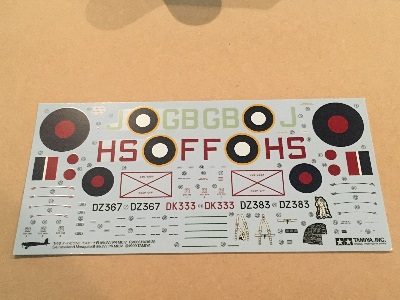
A late starter to this. I am also building one of my favourite aircraft, the de Havilland Mosquito.


Posted: Thursday, January 10, 2019 - 08:32 PM UTC
Mosquito's always a good choice, Stephen!
I should try one myself in the future, good luck with your build!
I should try one myself in the future, good luck with your build!

GaryKato


Joined: December 06, 2004
KitMaker: 3,694 posts
AeroScale: 163 posts

Posted: Friday, January 11, 2019 - 03:57 PM UTC
Finally getting some more work on kits. Here is the putty work on the He-111 wings.

Removed by original poster on 01/12/19 - 13:32:24 (GMT).
Posted: Saturday, January 12, 2019 - 06:52 AM UTC
Progress! Larry, Daryl and Daryl are all painted up and ready for a black wash.


Posted: Sunday, January 13, 2019 - 06:43 AM UTC
Hi mates,
another project nearly finished, I call my JU-88 A-4 ready!
Here are a few pictures, better ones will find their way into the gallery soon.
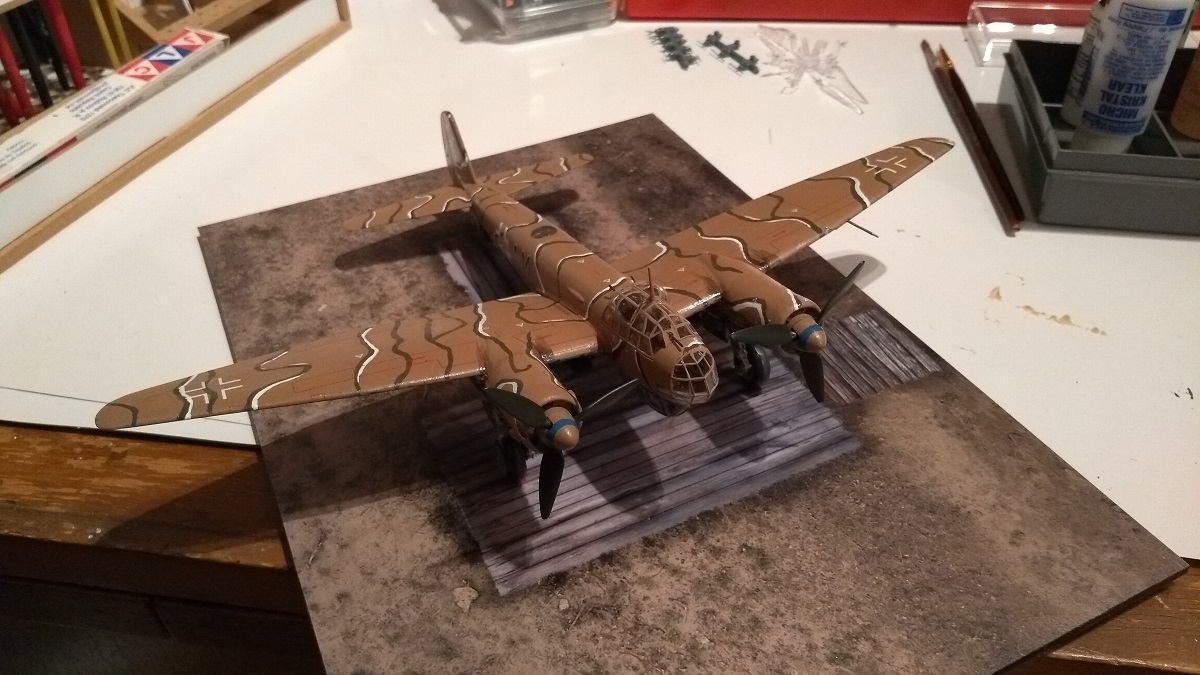
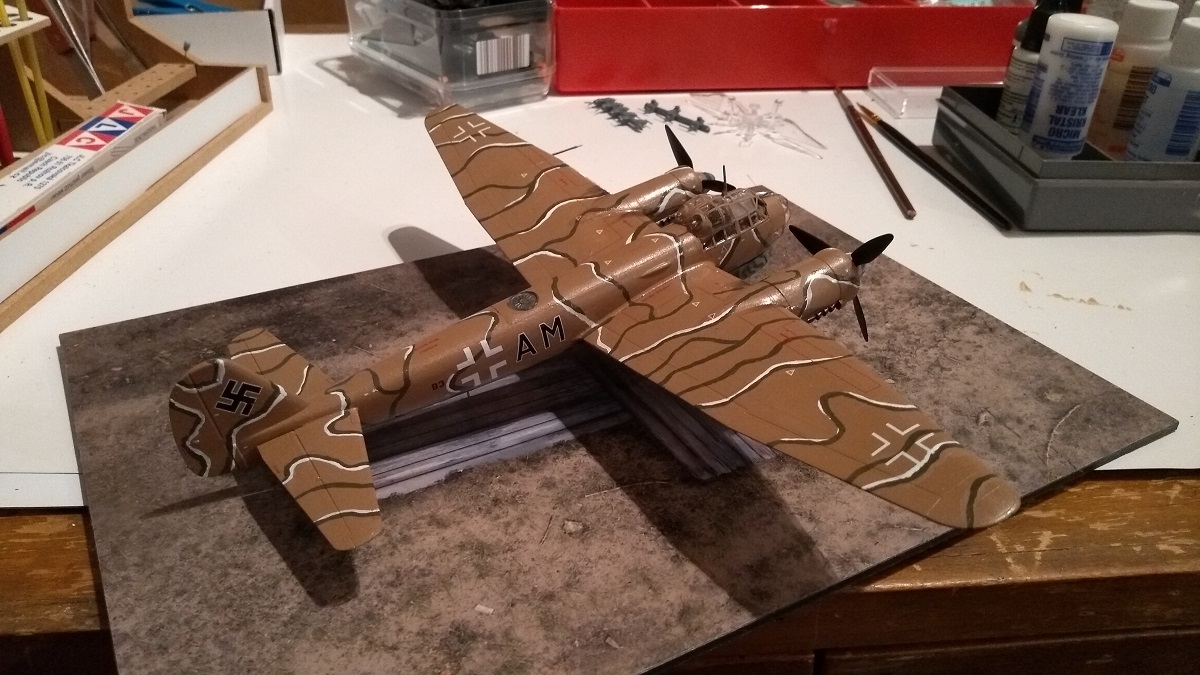
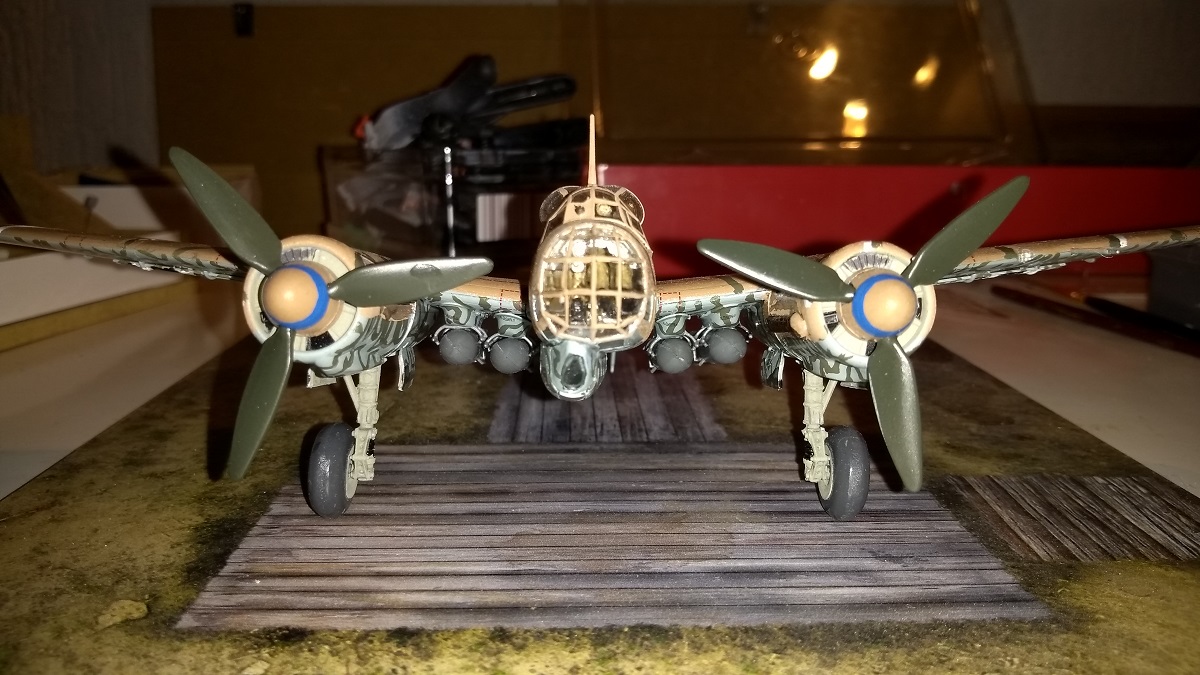
The Zvezda kit was all in all a pleasant build without really big problems and good fitting for most parts. I built it OOB plus decals from Techmod.
In the kit were the same, but without any stencils....
another project nearly finished, I call my JU-88 A-4 ready!
Here are a few pictures, better ones will find their way into the gallery soon.


The Zvezda kit was all in all a pleasant build without really big problems and good fitting for most parts. I built it OOB plus decals from Techmod.
In the kit were the same, but without any stencils....
Posted: Monday, January 21, 2019 - 09:22 AM UTC
Finished at last!
Photos will be in the gallery next

Photos will be in the gallery next

MichaelSatin


Joined: January 19, 2008
KitMaker: 3,909 posts
AeroScale: 2,904 posts

Posted: Monday, January 21, 2019 - 09:50 AM UTC
Nice work Peter!
OK, last chance for me. I'm gonna give this one more try. This one has been in the stash for a long while:
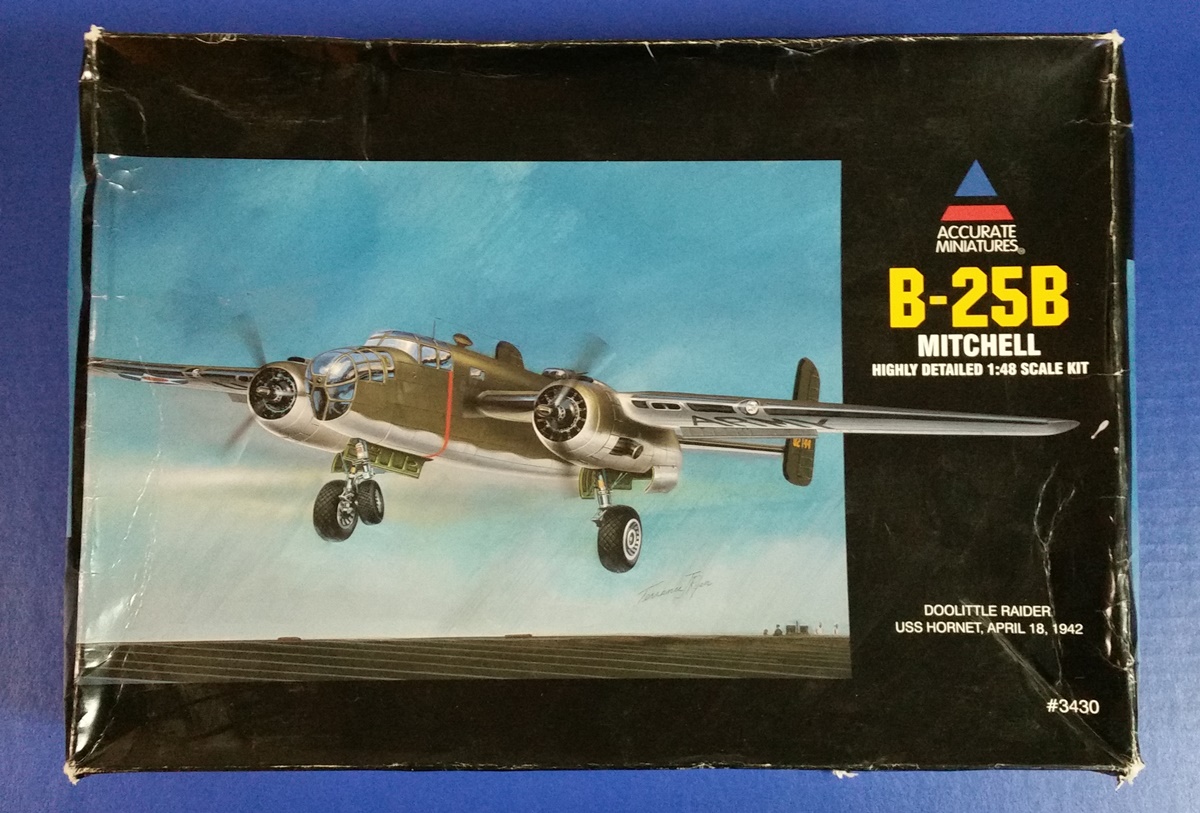
Some initial painting has been done, but not everything and no construction:
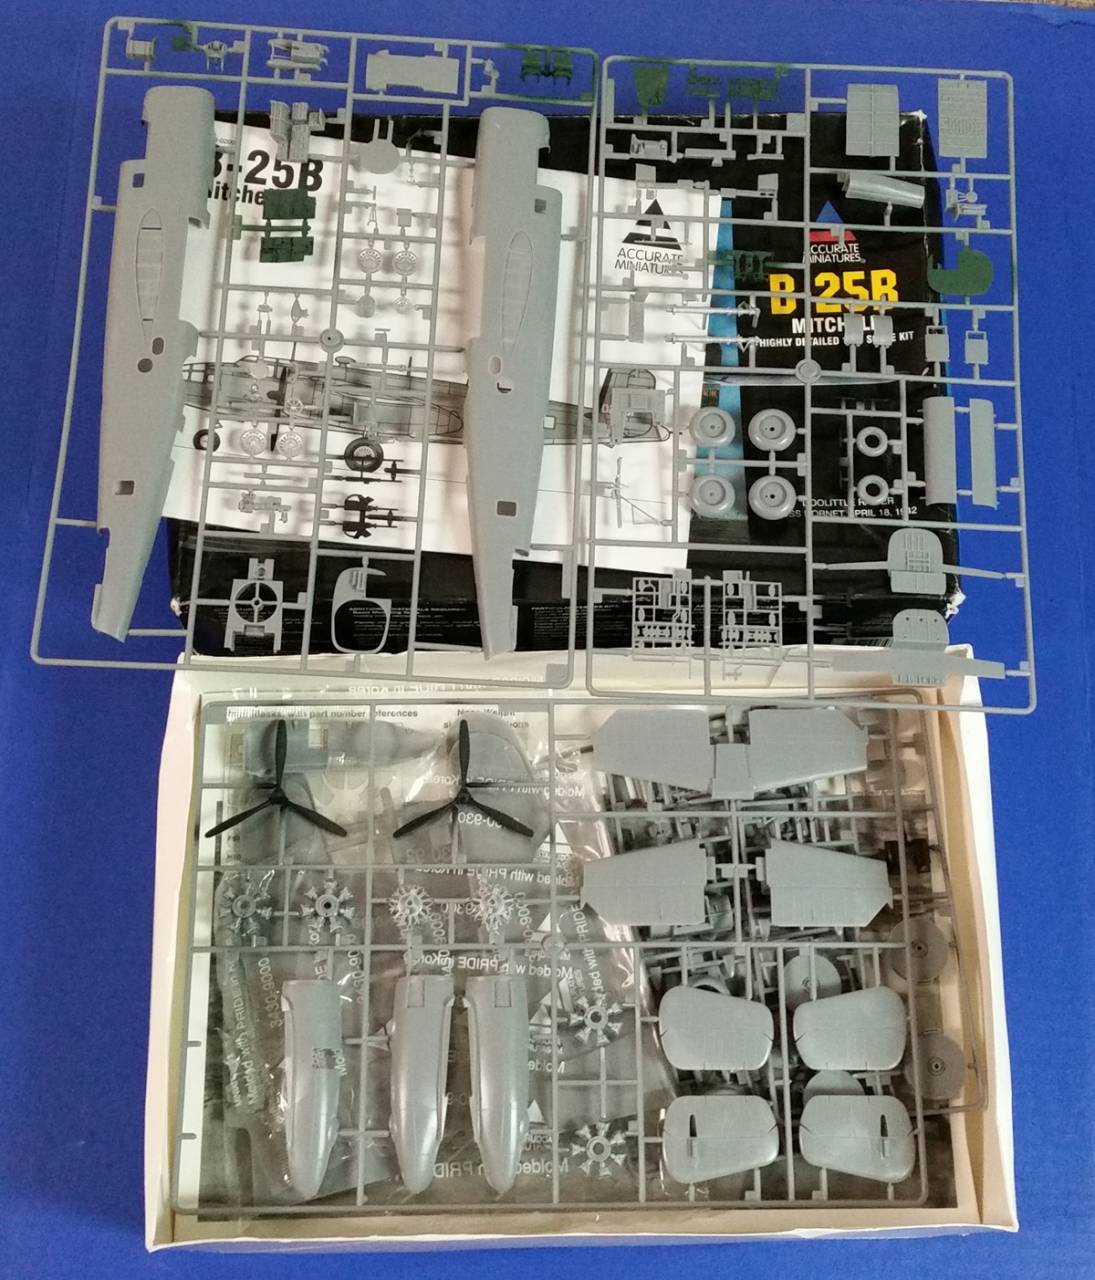
I did Doolittle's plane years ago when it first came out, so this time it's Ruptured Duck's turn. Hopefully...
Michael
OK, last chance for me. I'm gonna give this one more try. This one has been in the stash for a long while:

Some initial painting has been done, but not everything and no construction:

I did Doolittle's plane years ago when it first came out, so this time it's Ruptured Duck's turn. Hopefully...
Michael


BlackWidow

Joined: August 09, 2009
KitMaker: 1,732 posts
AeroScale: 1,336 posts

Posted: Monday, January 21, 2019 - 06:10 PM UTC
Awesome paint Job, Peter! Well done! I have decals for this bird from Luftwaffe im Fokus, never built a Ju 88 so far.
Torsten
Torsten

Posted: Tuesday, January 22, 2019 - 07:17 PM UTC
Started to build my entry, Tamiya 1/48 Avro Lancaster BI/BIII. 


Posted: Tuesday, January 22, 2019 - 07:48 PM UTC
Maybe the last time to see Larry, Daryl and Daryl in the 'flesh'. I'm close to buttoning this one up.

I tried to dress up the cockpit up with some consoles, a throttle quadrant, and some oxygen bottles. The bombardier got some consoles and a bombsight.

Larry just got a seat on a bulkhead. I may have to create some ammo cans or something.

Clearly microphotography isn't my friend, I'm going to have to do some touch-up work.

I tried to dress up the cockpit up with some consoles, a throttle quadrant, and some oxygen bottles. The bombardier got some consoles and a bombsight.

Larry just got a seat on a bulkhead. I may have to create some ammo cans or something.

Clearly microphotography isn't my friend, I'm going to have to do some touch-up work.

Posted: Friday, January 25, 2019 - 06:21 AM UTC
Yes getting up close and personal through a camera lens really does make things stand out like dogs paraphernalia! Had that happen to me on more occaisisons than I care to mention and yet with the MkI eyeball it doesn't really show up that well.
Posted: Monday, January 28, 2019 - 09:32 AM UTC
Getting close to buttoning this thing up.

Touched up the paint in most places.
Added a bomb-sight for the bombbardier

Plopped in 13 grams of weight in the bomb bay to try and make this a nose sitter.

Still need to dress up the gunner's compartment with some ammo cans.

Touched up the paint in most places.
Added a bomb-sight for the bombbardier

Plopped in 13 grams of weight in the bomb bay to try and make this a nose sitter.

Still need to dress up the gunner's compartment with some ammo cans.


RhinoSpit

Joined: September 22, 2016
KitMaker: 224 posts
AeroScale: 191 posts

Posted: Tuesday, January 29, 2019 - 09:10 AM UTC
Hello guys,
some advance on my "first" bomber:


I've used for the interior green an enamel paint provided by alclad II and i found it awesome: good covering, no thinning and quick drying time
The brown color and black color are from revell aqua: easy to use, good covering, and clean with water... perfect for small details !
And the airfix kit is a real pleasure to build: easy, very good fit and the building map is logic.
More pictures following soon.
some advance on my "first" bomber:


I've used for the interior green an enamel paint provided by alclad II and i found it awesome: good covering, no thinning and quick drying time
The brown color and black color are from revell aqua: easy to use, good covering, and clean with water... perfect for small details !
And the airfix kit is a real pleasure to build: easy, very good fit and the building map is logic.
More pictures following soon.
Posted: Tuesday, January 29, 2019 - 09:59 AM UTC
Neat work, microphotography works well for you. Must be quite a treat, putting together a stepped canopy. Keep sharing the pics! 

FirstSergeant

Joined: January 02, 2012
KitMaker: 139 posts
AeroScale: 70 posts

Posted: Sunday, February 03, 2019 - 10:53 AM UTC
Greetings,
This is my final build photo. I will upload this into the Campaign Gallery.


Thank you for a great campaign. The builds are fantastic and fun to watch.
Cheers,
Firstsergeant


This is my final build photo. I will upload this into the Campaign Gallery.
Thank you for a great campaign. The builds are fantastic and fun to watch.
Cheers,
Firstsergeant


Propster

Joined: January 01, 2019
KitMaker: 81 posts
AeroScale: 38 posts

Posted: Sunday, February 03, 2019 - 02:58 PM UTC
Hello
Some nice looking builds going on. I especially like Larry, Daryl and Daryl.
Here is the progress on my mosquito.
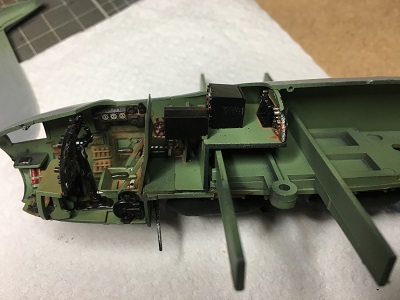
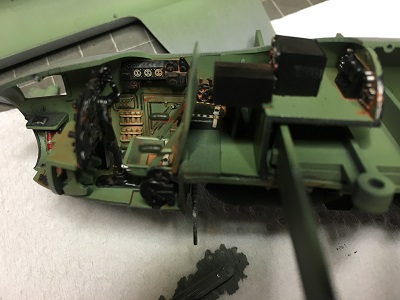
Cheers
Some nice looking builds going on. I especially like Larry, Daryl and Daryl.
Here is the progress on my mosquito.


Cheers
Posted: Sunday, February 03, 2019 - 07:25 PM UTC
Well, Stephen, I'm glad to see someone is behind me.
New home for Daryl and Daryl, before I bury them under glass.

Larry's got new digs too, however, I doubt that he'll ever be able to fire those guns.


New home for Daryl and Daryl, before I bury them under glass.

Larry's got new digs too, however, I doubt that he'll ever be able to fire those guns.


RadekZ

Joined: March 12, 2013
KitMaker: 125 posts
AeroScale: 85 posts

Posted: Tuesday, February 05, 2019 - 08:15 AM UTC
Hi guys,
Less than a month to finish, but I'm going to give it a try with IBG's 1:72 scale PZL-37B Łoś (eng. Moose) Polish medium bomber.
I'll use Yahu dedicated PE instrument panels and masks from Pmask.
Here's kit in unspoiled condition + all sprue shots.

Sprues look good, almost no flash, crisp details and ejector pins well placed, so it should be easy to hide them without cleaning them


Clear parts look okay, lens effects are minimal and although they're not perfectly smooth they're not warped:


Instructions are typical for IBG - booklet with 3D renders, which I find a little bit hard to read sometimes. Good point is that you have references to several paint branches - Vallejo, Hataka, Lifecolor, Gunze, AK Interactive:


PE sheet looks crisp, but very fragile:

If I wasn't bald I would probably turn gray after examining instruction . According to instructions you are supposed to glue/solder PE part 17 around squarish hole in PE part 4! Tough job for me. In addition this element all together is the only alternative to fill in wheel bay. There's no styrene substitute, so either you do it or you're left with big hole there.
Continuing inspection, there's a sheet of decals:

They look great, with no colour warp or displacement, but they're very thin and soft... so extra carefulness is required.
And at the end, coloured instrument panels from Yahu and Pmask masks for clear parts:


Ok, so now it's time to get cracking ... and maybe find out where is my rusty soldering station
Cheers,
Radek
Less than a month to finish, but I'm going to give it a try with IBG's 1:72 scale PZL-37B Łoś (eng. Moose) Polish medium bomber.
I'll use Yahu dedicated PE instrument panels and masks from Pmask.
Here's kit in unspoiled condition + all sprue shots.

Sprues look good, almost no flash, crisp details and ejector pins well placed, so it should be easy to hide them without cleaning them


Clear parts look okay, lens effects are minimal and although they're not perfectly smooth they're not warped:


Instructions are typical for IBG - booklet with 3D renders, which I find a little bit hard to read sometimes. Good point is that you have references to several paint branches - Vallejo, Hataka, Lifecolor, Gunze, AK Interactive:


PE sheet looks crisp, but very fragile:

If I wasn't bald I would probably turn gray after examining instruction
 . According to instructions you are supposed to glue/solder PE part 17 around squarish hole in PE part 4! Tough job for me. In addition this element all together is the only alternative to fill in wheel bay. There's no styrene substitute, so either you do it or you're left with big hole there.
 Continuing inspection, there's a sheet of decals:

They look great, with no colour warp or displacement, but they're very thin and soft... so extra carefulness is required.
And at the end, coloured instrument panels from Yahu and Pmask masks for clear parts:


Ok, so now it's time to get cracking
 ... and maybe find out where is my rusty soldering station
Cheers,
Radek
Posted: Friday, February 08, 2019 - 03:55 AM UTC
Hello fellow modelers!
It's been some time since I did an update, so here goes!
I've been building along, and must say, this is a nice kit. It's big, but it does fit for the most part. Basic modeling skills will produce a decent subject.
I did take care of the nacelles with taping them together and then superglue, followed with serious sanding from 150 -1500 grit. All with sanding sticks.
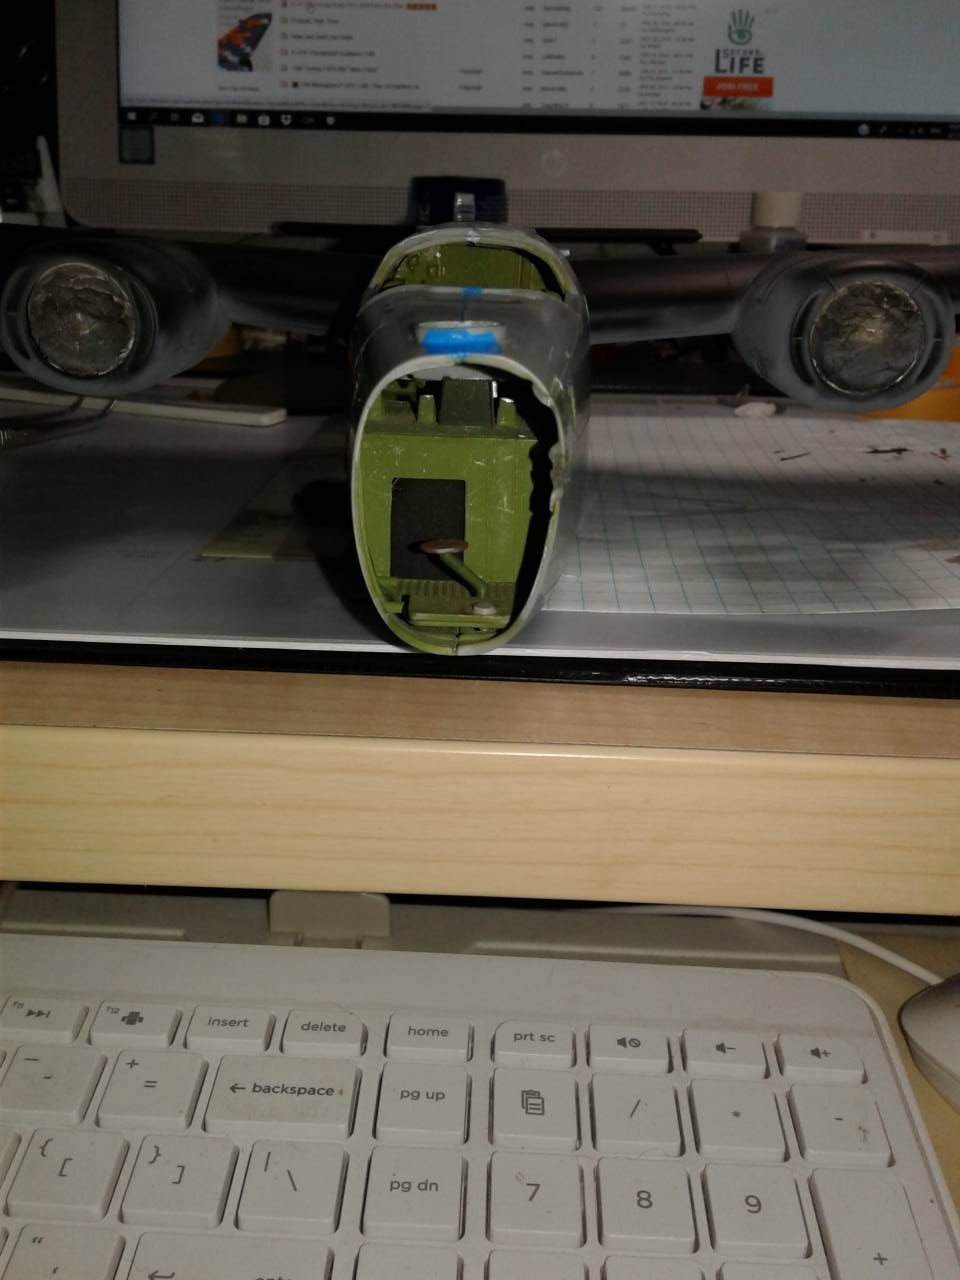
I chose to work the wings first, as I felt the fuselage would be a breeze following the wings! Ha! The tail turret is wrong on this kit, (it was made for the B-24J). I was not going to purchase the correct vacuform set as it was more than I paid for the kit. My solution would be to lay some painted Tamiya tape over the rear turret seam. I'll know, and that's about it!

I then set about doing the fuselage and getting things closed up. I chose to close the side windows, as I'm gong for a bird that is loaded, and about ready to receive the aircrew.
I did add some belts for the pilot and copilot, both turned out much better than I thought, though I'm still wondering how much will be seen once the glass is on.
I started to paint the tail first, as this bird has de-icing boots, I figured it'd be easier to do them with the tail pieces off the main assembly.
Monogram was kind enough to put down the raised detail to paint and mask the de-icing boots, however, they didn't do the rudder assembly. This has been the largest hurdle for me on this build.
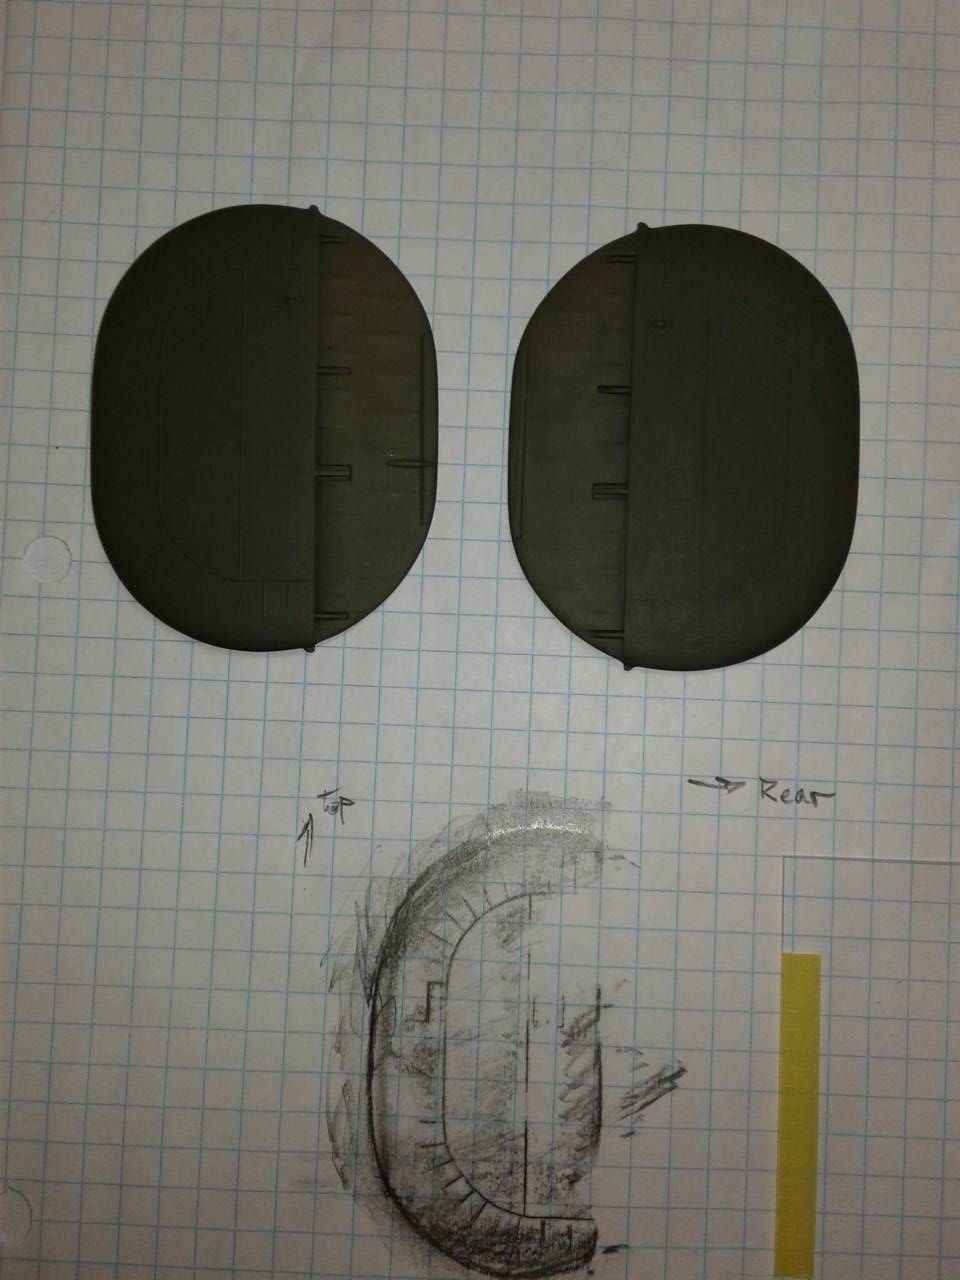
I'm at the painting stage, and this should go quickly, given I've had almost a year to figure it out!! Hahahaha!!!
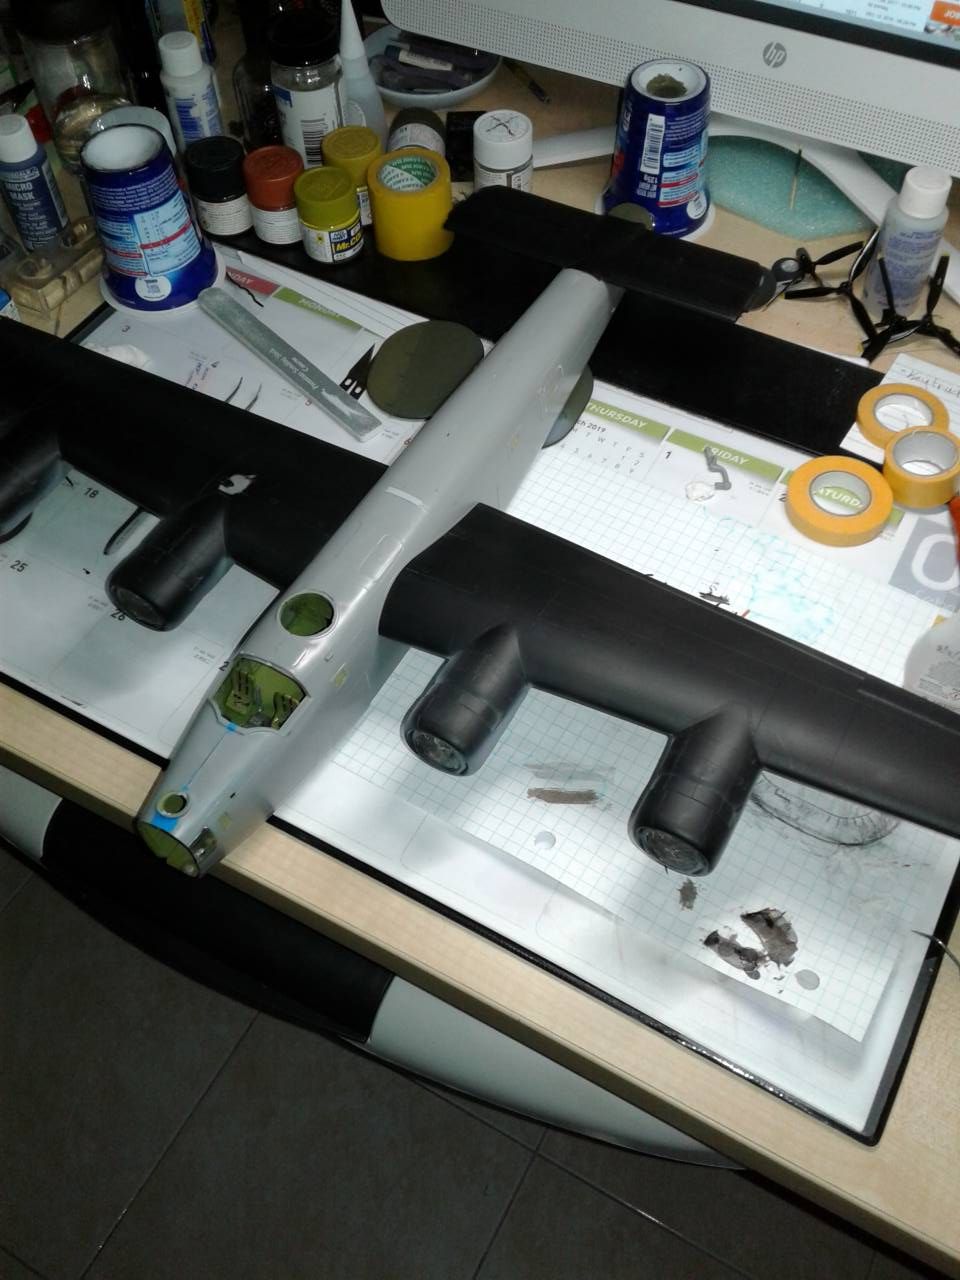
Tonight, I've put on the last area of difficulty, and after all the filling and sanding, this doesn't seem like much!
Elevator on, secured via superglue!
Painting is ongoing, and this one should be done quite soon! Yay!!
It's been some time since I did an update, so here goes!
I've been building along, and must say, this is a nice kit. It's big, but it does fit for the most part. Basic modeling skills will produce a decent subject.
I did take care of the nacelles with taping them together and then superglue, followed with serious sanding from 150 -1500 grit. All with sanding sticks.
I chose to work the wings first, as I felt the fuselage would be a breeze following the wings! Ha! The tail turret is wrong on this kit, (it was made for the B-24J). I was not going to purchase the correct vacuform set as it was more than I paid for the kit. My solution would be to lay some painted Tamiya tape over the rear turret seam. I'll know, and that's about it!

I then set about doing the fuselage and getting things closed up. I chose to close the side windows, as I'm gong for a bird that is loaded, and about ready to receive the aircrew.
I did add some belts for the pilot and copilot, both turned out much better than I thought, though I'm still wondering how much will be seen once the glass is on.
I started to paint the tail first, as this bird has de-icing boots, I figured it'd be easier to do them with the tail pieces off the main assembly.
Monogram was kind enough to put down the raised detail to paint and mask the de-icing boots, however, they didn't do the rudder assembly. This has been the largest hurdle for me on this build.

I'm at the painting stage, and this should go quickly, given I've had almost a year to figure it out!! Hahahaha!!!

Tonight, I've put on the last area of difficulty, and after all the filling and sanding, this doesn't seem like much!
Elevator on, secured via superglue!

Painting is ongoing, and this one should be done quite soon! Yay!!
Posted: Friday, February 08, 2019 - 11:44 AM UTC
@#$%^& the dog really did eat my homework.

And of course it's on the top wing of a plane I wanted an NMF.
Anybody have a problem like this before? How did you fix it?
I'm thinking of drilling a small hole under the collapsed section, pushing up with a cocktail stick and applying glue along the crack and hoping the lower section pushes up even with the rest of the wing. Then the glue might set and hold it all together, just leaving some tooth marks to fill.
Any other ideas?

And of course it's on the top wing of a plane I wanted an NMF.

Anybody have a problem like this before? How did you fix it?
I'm thinking of drilling a small hole under the collapsed section, pushing up with a cocktail stick and applying glue along the crack and hoping the lower section pushes up even with the rest of the wing. Then the glue might set and hold it all together, just leaving some tooth marks to fill.
Any other ideas?

Posted: Saturday, February 09, 2019 - 04:10 PM UTC
Well, I tried pushing up from the bottom while applying Tamiya Extra Thin on the crack. I think it's gonna be all right.


Now I got a hole on the bottom of the wing..


Now I got a hole on the bottom of the wing..

Posted: Sunday, February 10, 2019 - 08:27 AM UTC
Nice save Mark! I trust the plastic chow hound was duly chastised for its digression?

Bigrip74

Joined: February 22, 2008
KitMaker: 5,026 posts
AeroScale: 2,811 posts

Posted: Sunday, February 17, 2019 - 05:37 PM UTC
I found both the Fokker and The Bristol in a box and if I am able to scratch a tail wheel for he Fokker and find the decals for both airplanes i may have the makings to finish this campaign.
Bob
Bob
 |


