

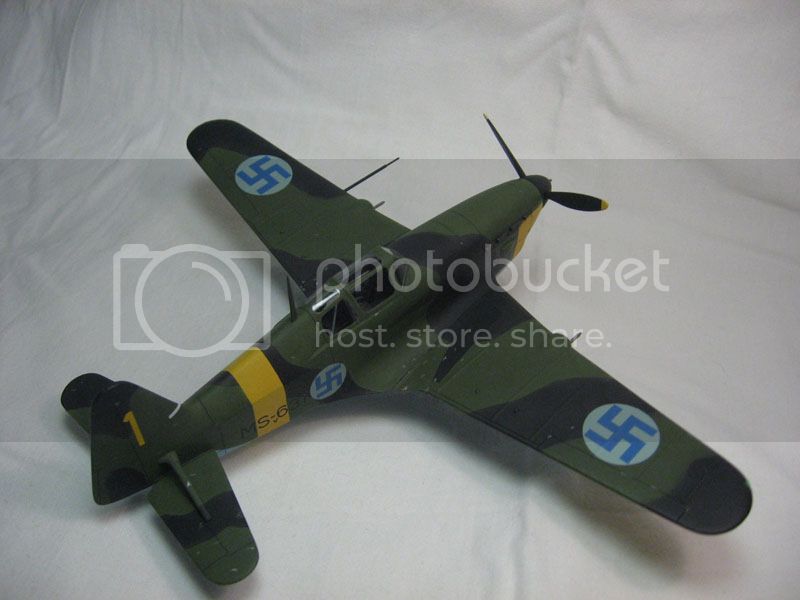
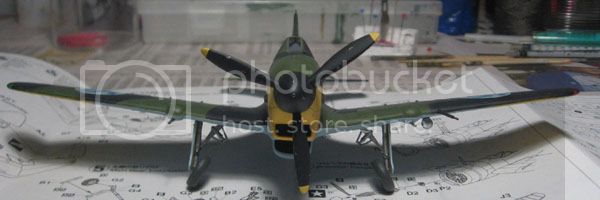
Looks good! I like the way the preshading came out. Nice and subtle!
 Other side tomorrow?
Jean-Luc

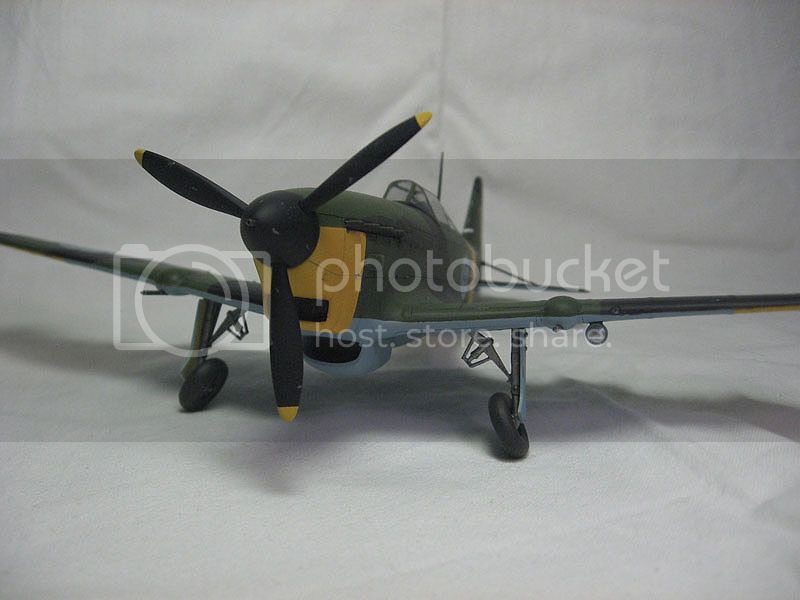
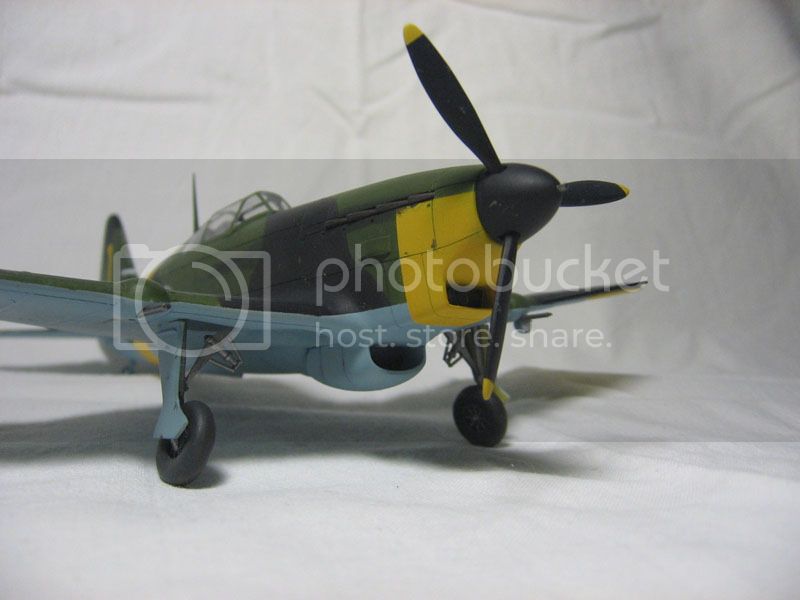
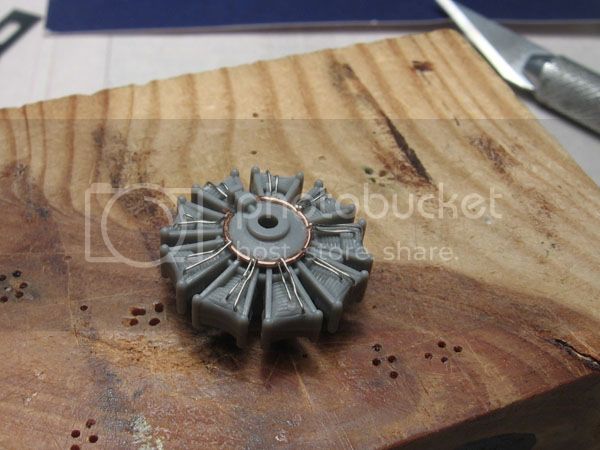
P.S. For those thinking the wheel bays are looking like frying pans, well... it's the way they looked on those Moranes! :-)


 Other side tomorrow?


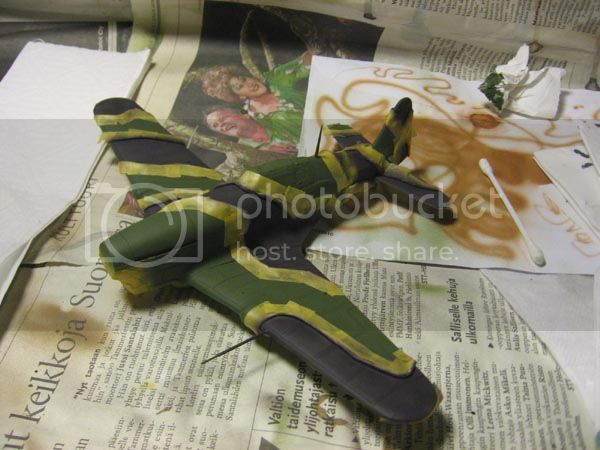

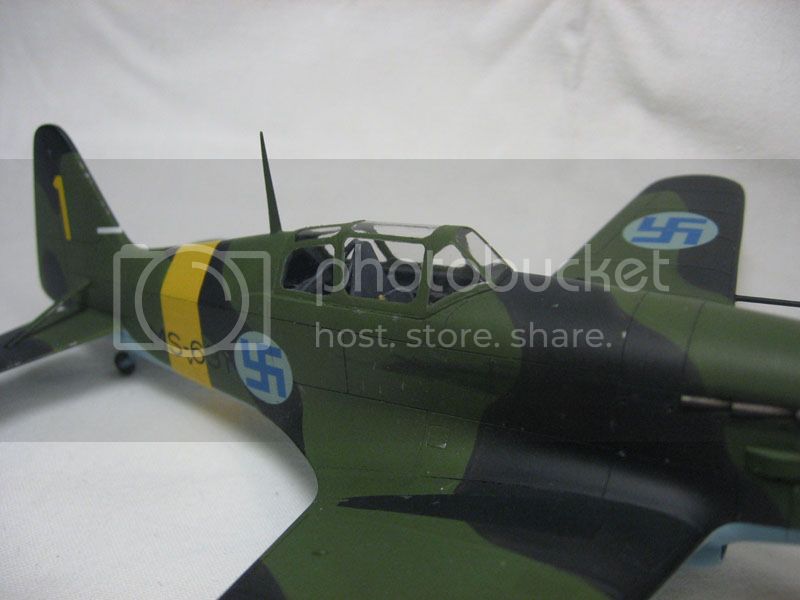
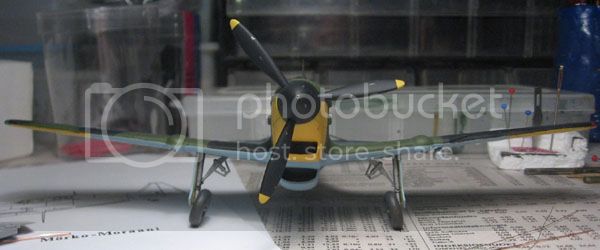
 Next time I'll spare no time masking everything that's not supposed to be certain color.
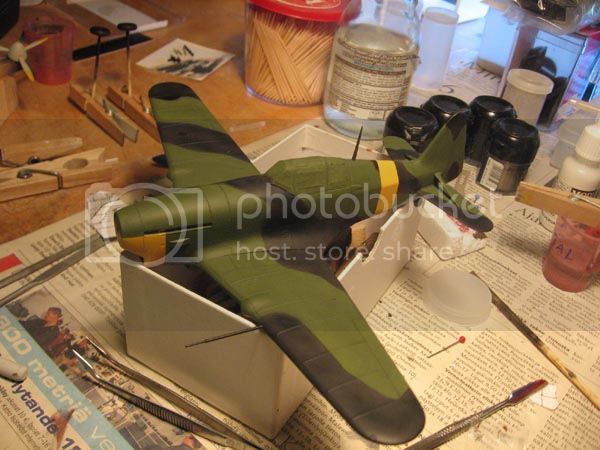
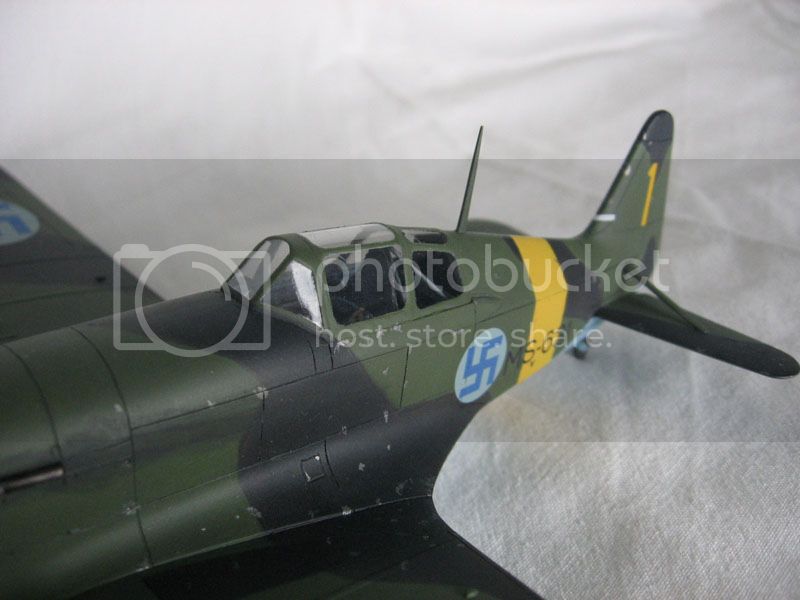
 Because of that I'll have to do some washing on the panel lines in the upper side.
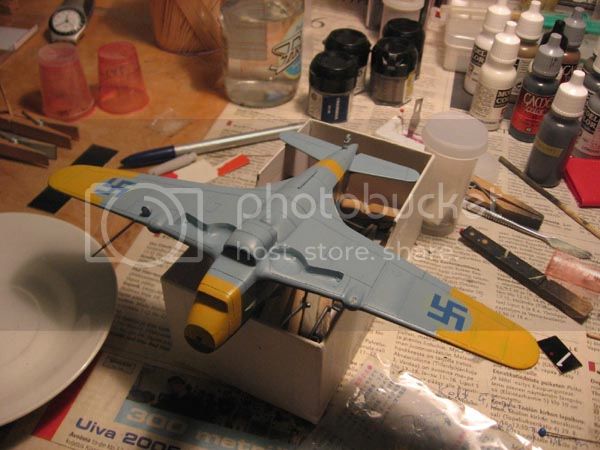
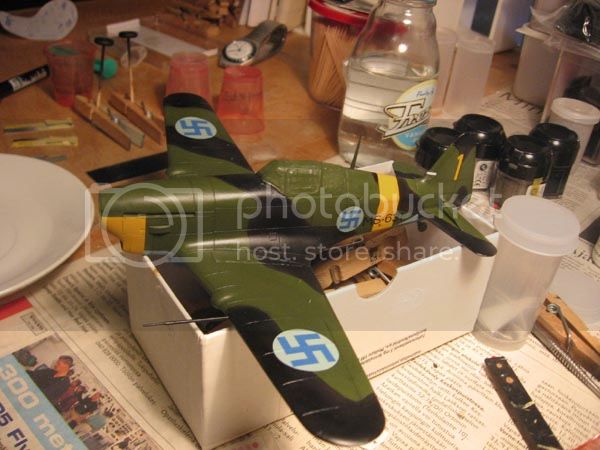
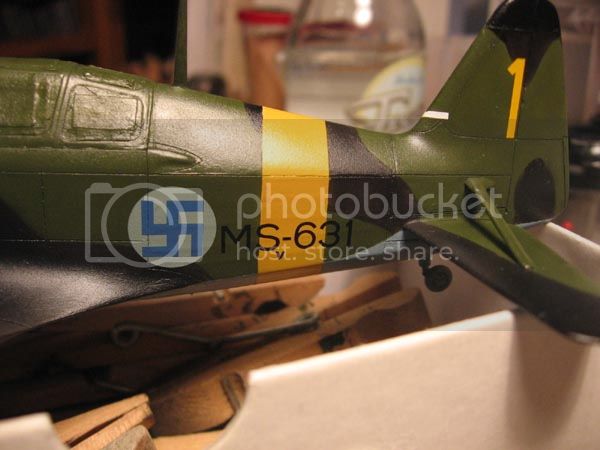


 Strange, it should have held. The decal was applied over future, one coat of future over it plus a coat of flat varnish..
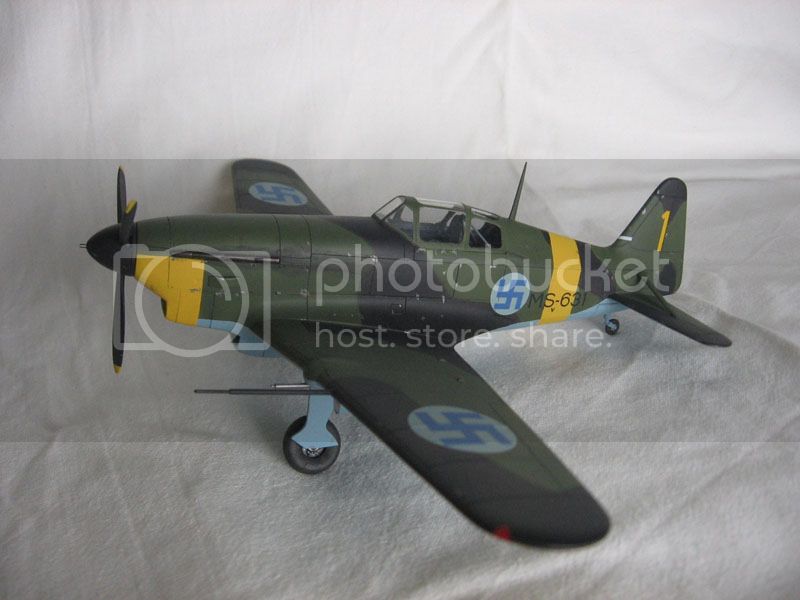


Alpha_Tango:
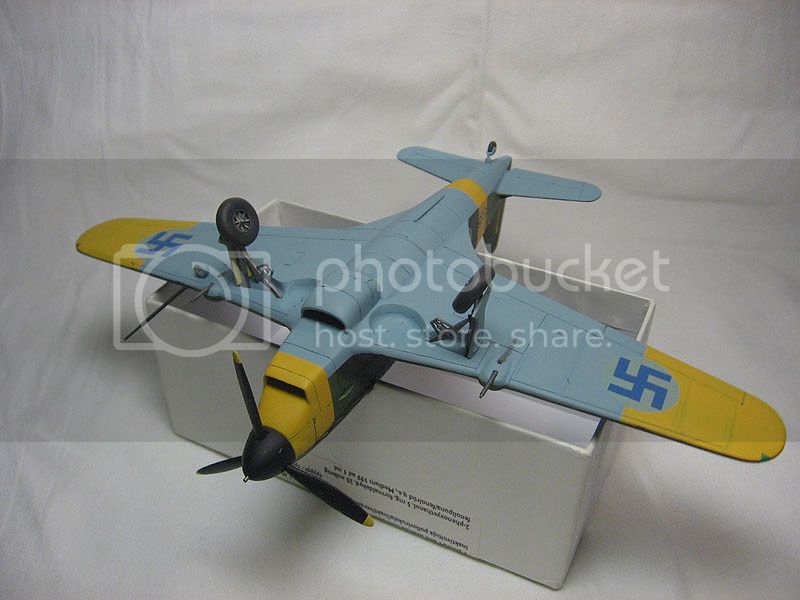
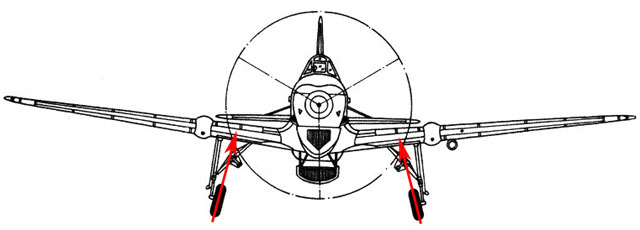
The wheels on the morane were really angled like that. I built the landing gear as it came in the kit, and they look a little too angled, but not that much. Modifying them could have easily resulted in a badly sitting model.
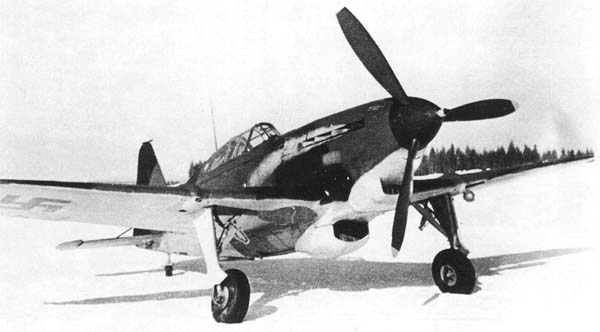
Here how the real thing looked like:
Quoted TextAlpha_Tango:
The wheels on the morane were really angled like that. I built the landing gear as it came in the kit, and they look a little too angled, but not that much. Modifying them could have easily resulted in a badly sitting model.
Here how the real thing looked like:
Hi Eetu
thanks for the picture!
Still I can't believe it was operational that way .... there must be much broken axles ...
best wishes
Steffen


 I will build the MS 406 from Classic Airframes for the "Duel" Campaign later this year (I just have to scan the sky for a nice target, read Messerschmitt ) . I think the basic kit is the same so what you did go through will help me a lot! Thanks in advance!
I will build the MS 406 from Classic Airframes for the "Duel" Campaign later this year (I just have to scan the sky for a nice target, read Messerschmitt )
Hi Eetu!
Looks much better now!
Jean-Luc
As soon as this gets to the primer stage I will start the 109.
Im ordering paints for both next week
)

 |


