Thanks for participating


 ).
).


 KIt sheet looked great,no yellow or fade.Anything else to look for to prevent disaster?Any sure-fire fix?

 Sh** happens. Anyway, good that you have replacements on the way.
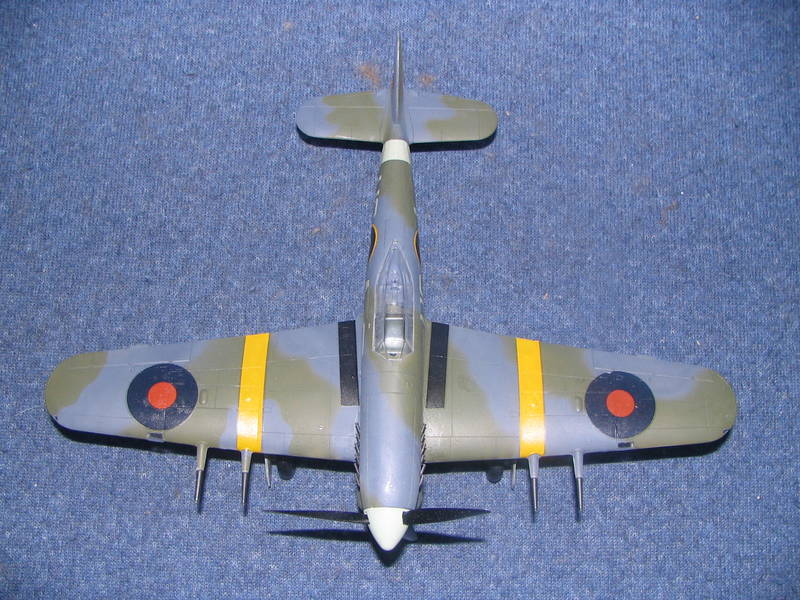
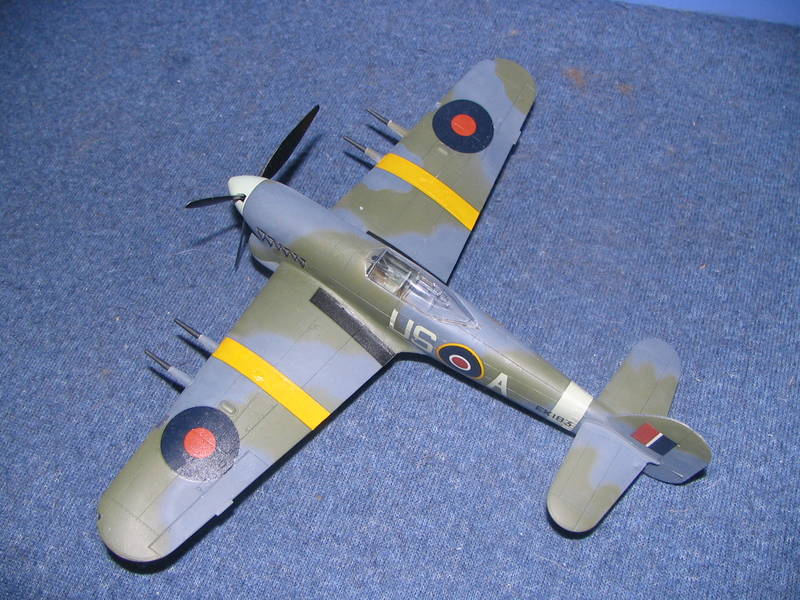
 Progress pics of my 1/32 Hurricane IID. Waiting new decals from Eaglestrike as kit ones fell apart

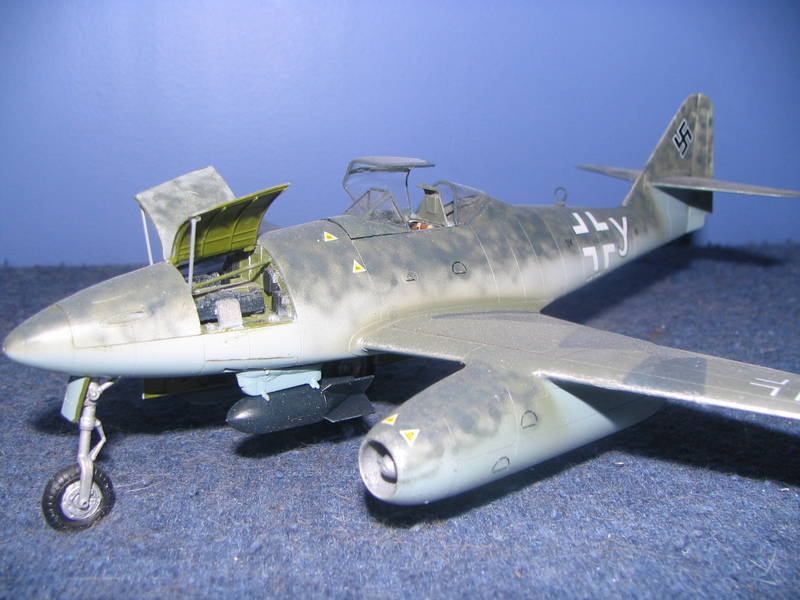
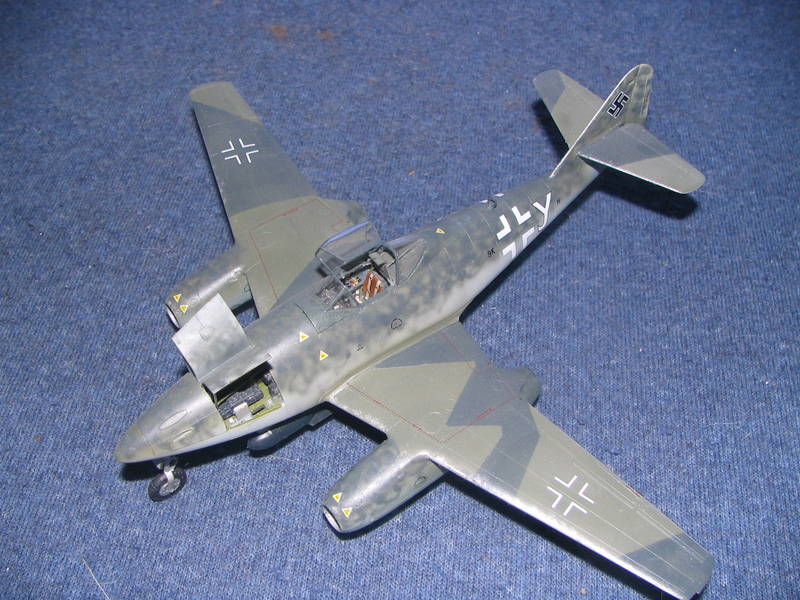
 Ted ) sp I can finally start work on the camouflage. I have masked and airbrushed over the last few day and are quite happy with the result so far. Only a few scratches in the paint and some light overspray at the underside of the rear fuselage.


Looking good. What paints did you use? Is that the usual RLM 71/70/76 scheme?


I used Testors RLM 76, Dark green, and Olive green. The colours look a little bright in the pictures as I were using flash, but I think they are very close to the standard colours.
But I had to go with what was available in Latvia. You must be a busy model building man as I can see you are also building for the Armorama campaigns.


 I try to achieve a balance between fun and accuracy... But I'm afraid it can raise some eyebrows. Bombs that is.
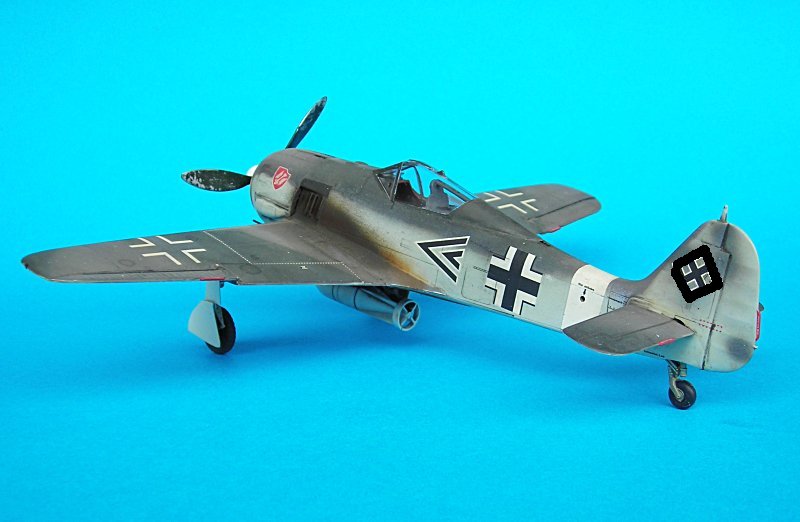
i seldom finish a model in a few weeks .. well, this time I did. My Focke Wulf Fw 190 F-1 Tunisia edition was finished it in about 3 weeks. All info and 40 pix can be found in the build thread:
Steffen


 |