Quoted Text
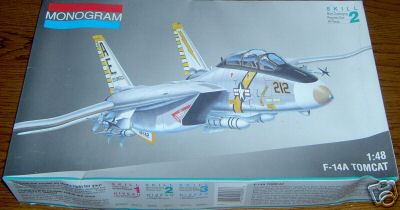
I am going to build a 48 scale Tomcat tak-off diorama for this campaign and made a lot of research about the carrier deck. I have drawn the plans of it already:
So cool! VERY nice graphics!
Tomcat31 wrote:
Quoted Text
My current thoughts are to drill a scale size hole in the base which would give the slightly curved shape and then to make a small jig out of wood or metal (something that plastic cement won't stick to) ant then place five bits of plastic rod in the jig and drop a bit of glue to bond them all together then just trim them to size and mount in the hole (I hope).
I am not meaning to be rude but I think you will die of boredom before you ever get finished

Somewhere I read about someone who hade done a tool from a metal rod of suitable diameter. This was filed round in the nose and then five grooves in a star pattern were made using a saw or file. With this tool and a hammer he could actually stamp the tiedowns in the plastic. It might also be possible to either use it hot or use liquid glue to melt them in.
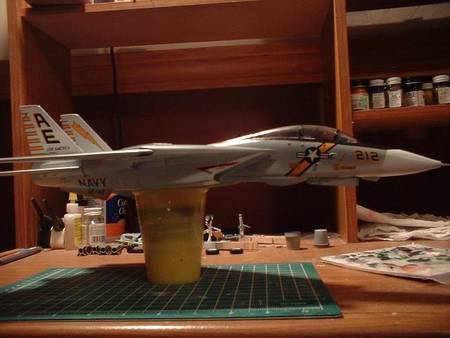
Now I'm off painting, I might post some more progress shots this weekend!
Regards
Magnus