

1⁄32Song of the Swallow
2
Comments
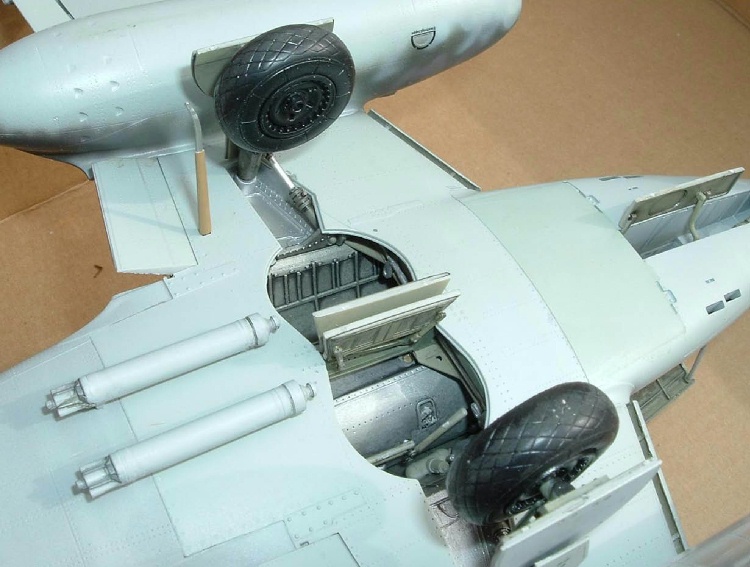
STEP 11-21 Main Gear Well Structure, RATO, Flaps, Ailerons and Wing.
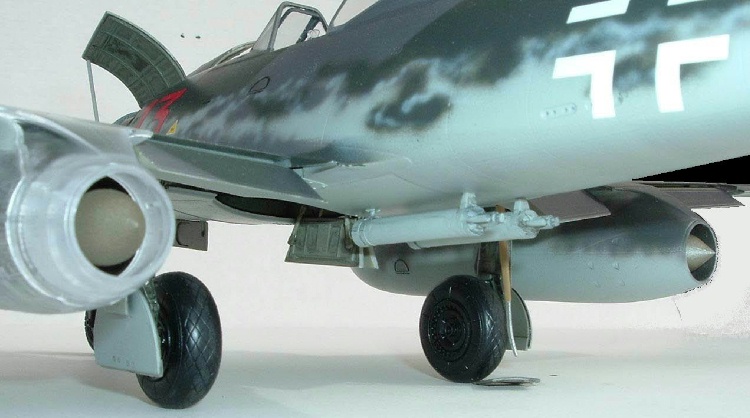
This sounds like a lot, but not really--each control surface is a separate step! Interestingly, the flaps and ailerons are molded with spars and stringers within. Unless you battle damage them, youll never see this detail. If you want the Rocket Assisted Take Off attached, you should open the holes in the bottom of the wing now. My right top wing was badly warped. The local hobby shop said Stevens International would handle this. I telephoned Stevens who said they would order a replacement but could not tell me when it might arrive. This was back in November, and I still have not heard from them. I e-mailed Trumpeter and they replied to contact Stevens. That was forwarded to Stevens (still have not heard from them) and later wrote again to Trumpeter. Awaiting replies, I resumed trying to unwarp the wing with warm (then hot) water, and resorted to increasingly drastic measures. The day after I succeeded in straightening it (it has hammered brass strengtheners superglued and epoxied on it, and survived with cracks in the leading edge) I received a reply from Trumpeter that they would provide the part. I seem to be the lucky one, as I have found no other kit owner who has had any warped parts. I have also seen a couple of letters indicating Stevens is better at customer service than I can attest to. Step 20 includes mounting the control surfaces and leading edge slats. I attached mine for painting, and removed them for handling. The leading edge slats were aerodynamically actuated, thus it is proper to model them extended when not in flight. Many of the wings mounting slots need to be trimmed open. Some slats fit so well that I did not use any glue. I used no glue on any of the flaps, ailerons, elevators nor the rudder due to the great fit. Tip: this is when Trumpeter shows you to mount the clear navigation lights on the wing tips. I did not, and there is no reason not to wait until after the model is painted. The instructions tell us to color these clear parts. Museum Schwalbe appear to have clear lenses and colored bulbs, so I drilled into the pieces and added a drop of paint. Step 21 is attaching the engines and main gear inner doors. For reasons I mentioned earlier, I suggest you wait. The inner doors are to be glued together, and four actuator rods are attached to them that terminate on the center main gear well spar. The doors have small shallow indentions to guide you to proper positioning of these arms. Be aware that the arms are probably meant to touch the center spar, though there are no attachment pins. Mine dont but I am certain it is because that I affixed the two gear doors together with too shallow an angle. Be wary, because too great an angle and the rods will not fit.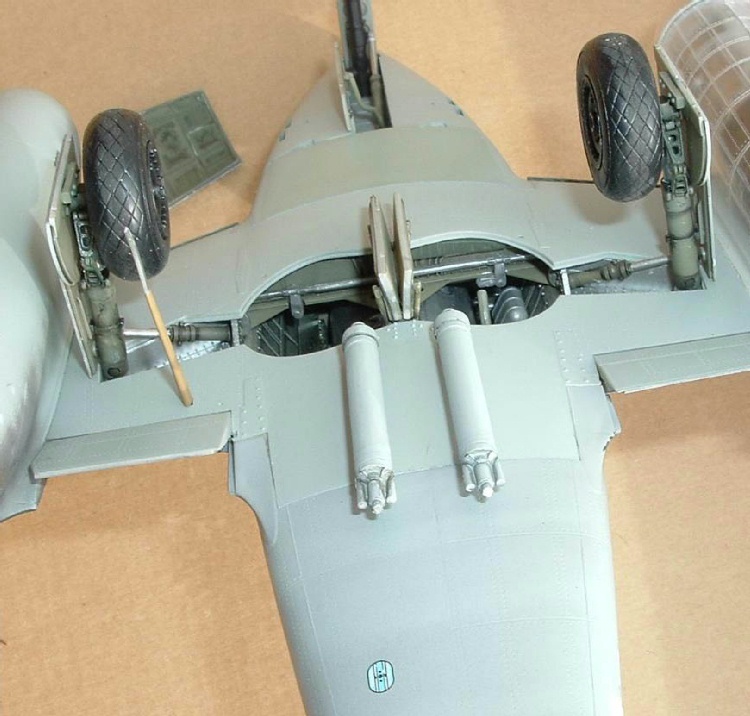
About the Author


FROM: TENNESSEE, UNITED STATES
I'm a professional pilot with a degree in art. My first model was an AMT semi dump truck. Then Monogram's Lunar Lander right after the lunar landing. Next, Revell's 1/32 Bf-109G...cried havoc and released the dogs of modeling! My interests--if built before 1900, or after 1955, then I proba...
Comments

Hello Everyone,
I hope you enjoy my building review of my two sixty-two.
Additionally, here is Merlin's In-Box Review
and my building-in-progress 'blogs': Fred's In-progress Building Post URLs
Merlin also reviewed the Eagle Cal decals: Messerschmitt Me 262 Decal Sheets (1:32)
...and newly built flying Schwalben...OFFICIAL Me 262 PROJECT UPDATES
APR 11, 2006 - 03:50 AM
Copyright ©2021 by Fred Rick Boucher. Images also by copyright holder unless otherwise noted. The views and opinions expressed herein are solely the views and opinions of the authors and/or contributors to this Web site and do not necessarily represent the views and/or opinions of AeroScale, KitMaker Network, or Silver Star Enterrpises. Images also by copyright holder unless otherwise noted. Opinions expressed are those of the author(s) and not necessarily those of AeroScale. All rights reserved. Originally published on: 2006-04-10 00:00:00. Unique Reads: 22115

WEB HOSTING BY


Copyright ©2021 AeroScale and Kitmaker Network, a subsidiary of Silver Star Enterprises
All Rights Reserved. Please read our Conditions of Use and Privacy Policy.
All Rights Reserved. Please read our Conditions of Use and Privacy Policy.